15. Interface and application programming
- Write an application that interfaces a user with an input and/or output device that you made
For this assignment I decided to use the board I designed in Electronic design and that I already had used for Embedded programming, Input devices and Output devices. So I had two options in mind:
- use the servo motor and control it with a slider in an interface;
- make the potentiometer control a sketch in p5.
🦐 P5.js
p5.js is a JavaScript library for creative coding, with a focus on making coding accessible and inclusive for artists, designers, educators, beginners, and anyone else! p5.js is free and open-source because we believe software, and the tools to learn it, should be accessible to everyone.
Using the metaphor of a sketch, p5.js has a full set of drawing functionality. However, you’re not limited to your drawing canvas. You can think of your whole browser page as your sketch, including HTML5 objects for text, input, video, webcam, and sound.
p5.js is a JavaScript framework designed for artists, designers, and technologists that adopts Processing‘s “sketchbook for code” concept. Drawing in p5.js is similar to coding in HTML canvas but with a more straightforward syntax. p5.js’s web-based nature makes it simpler to set up, prototype, and test on various platforms and scenarios.
👽 Preparing the computer
I wanted to make sure that my computer was ready to code with p5.js before I started this assignment. Along with that, I needed some background on p5.js and explanations of how it interacts with Arduino.
How do Arduino and p5.js communicate? To enable serial connection, we must set up a layer between Arduino and p5.js, as shown in the accompanying figure. We will make use of the p5.js serialport package in this tutorial. There are additional, more recent libraries for p5.js’s microcontroller communication (e.g., p5bots library). With this serialport library, environment setup is simpler.
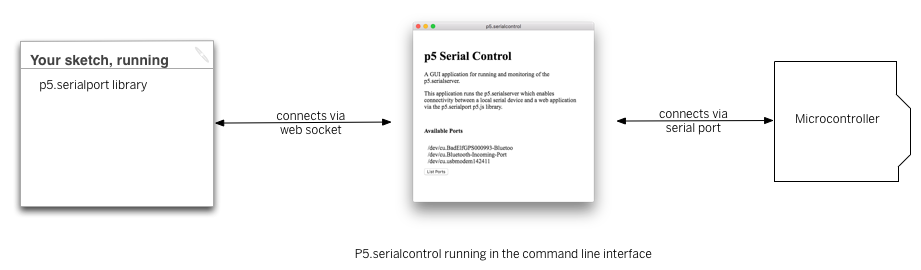
p5.js was born as a porting of Processing for web development, and because of this it also integrates the ability to handle messages via devices connected in USB ports, and thus via the serial communication protocol, thanks to a class of dedicated functions. To enable this functionality, it is necessary to have a program that acts as a websocket. that is one that allows a serial port to interface in real time with the program running on a browser. So, to start off I downloaded p5 SerialControl, which is a desktop application and server for p5.serialport.js.
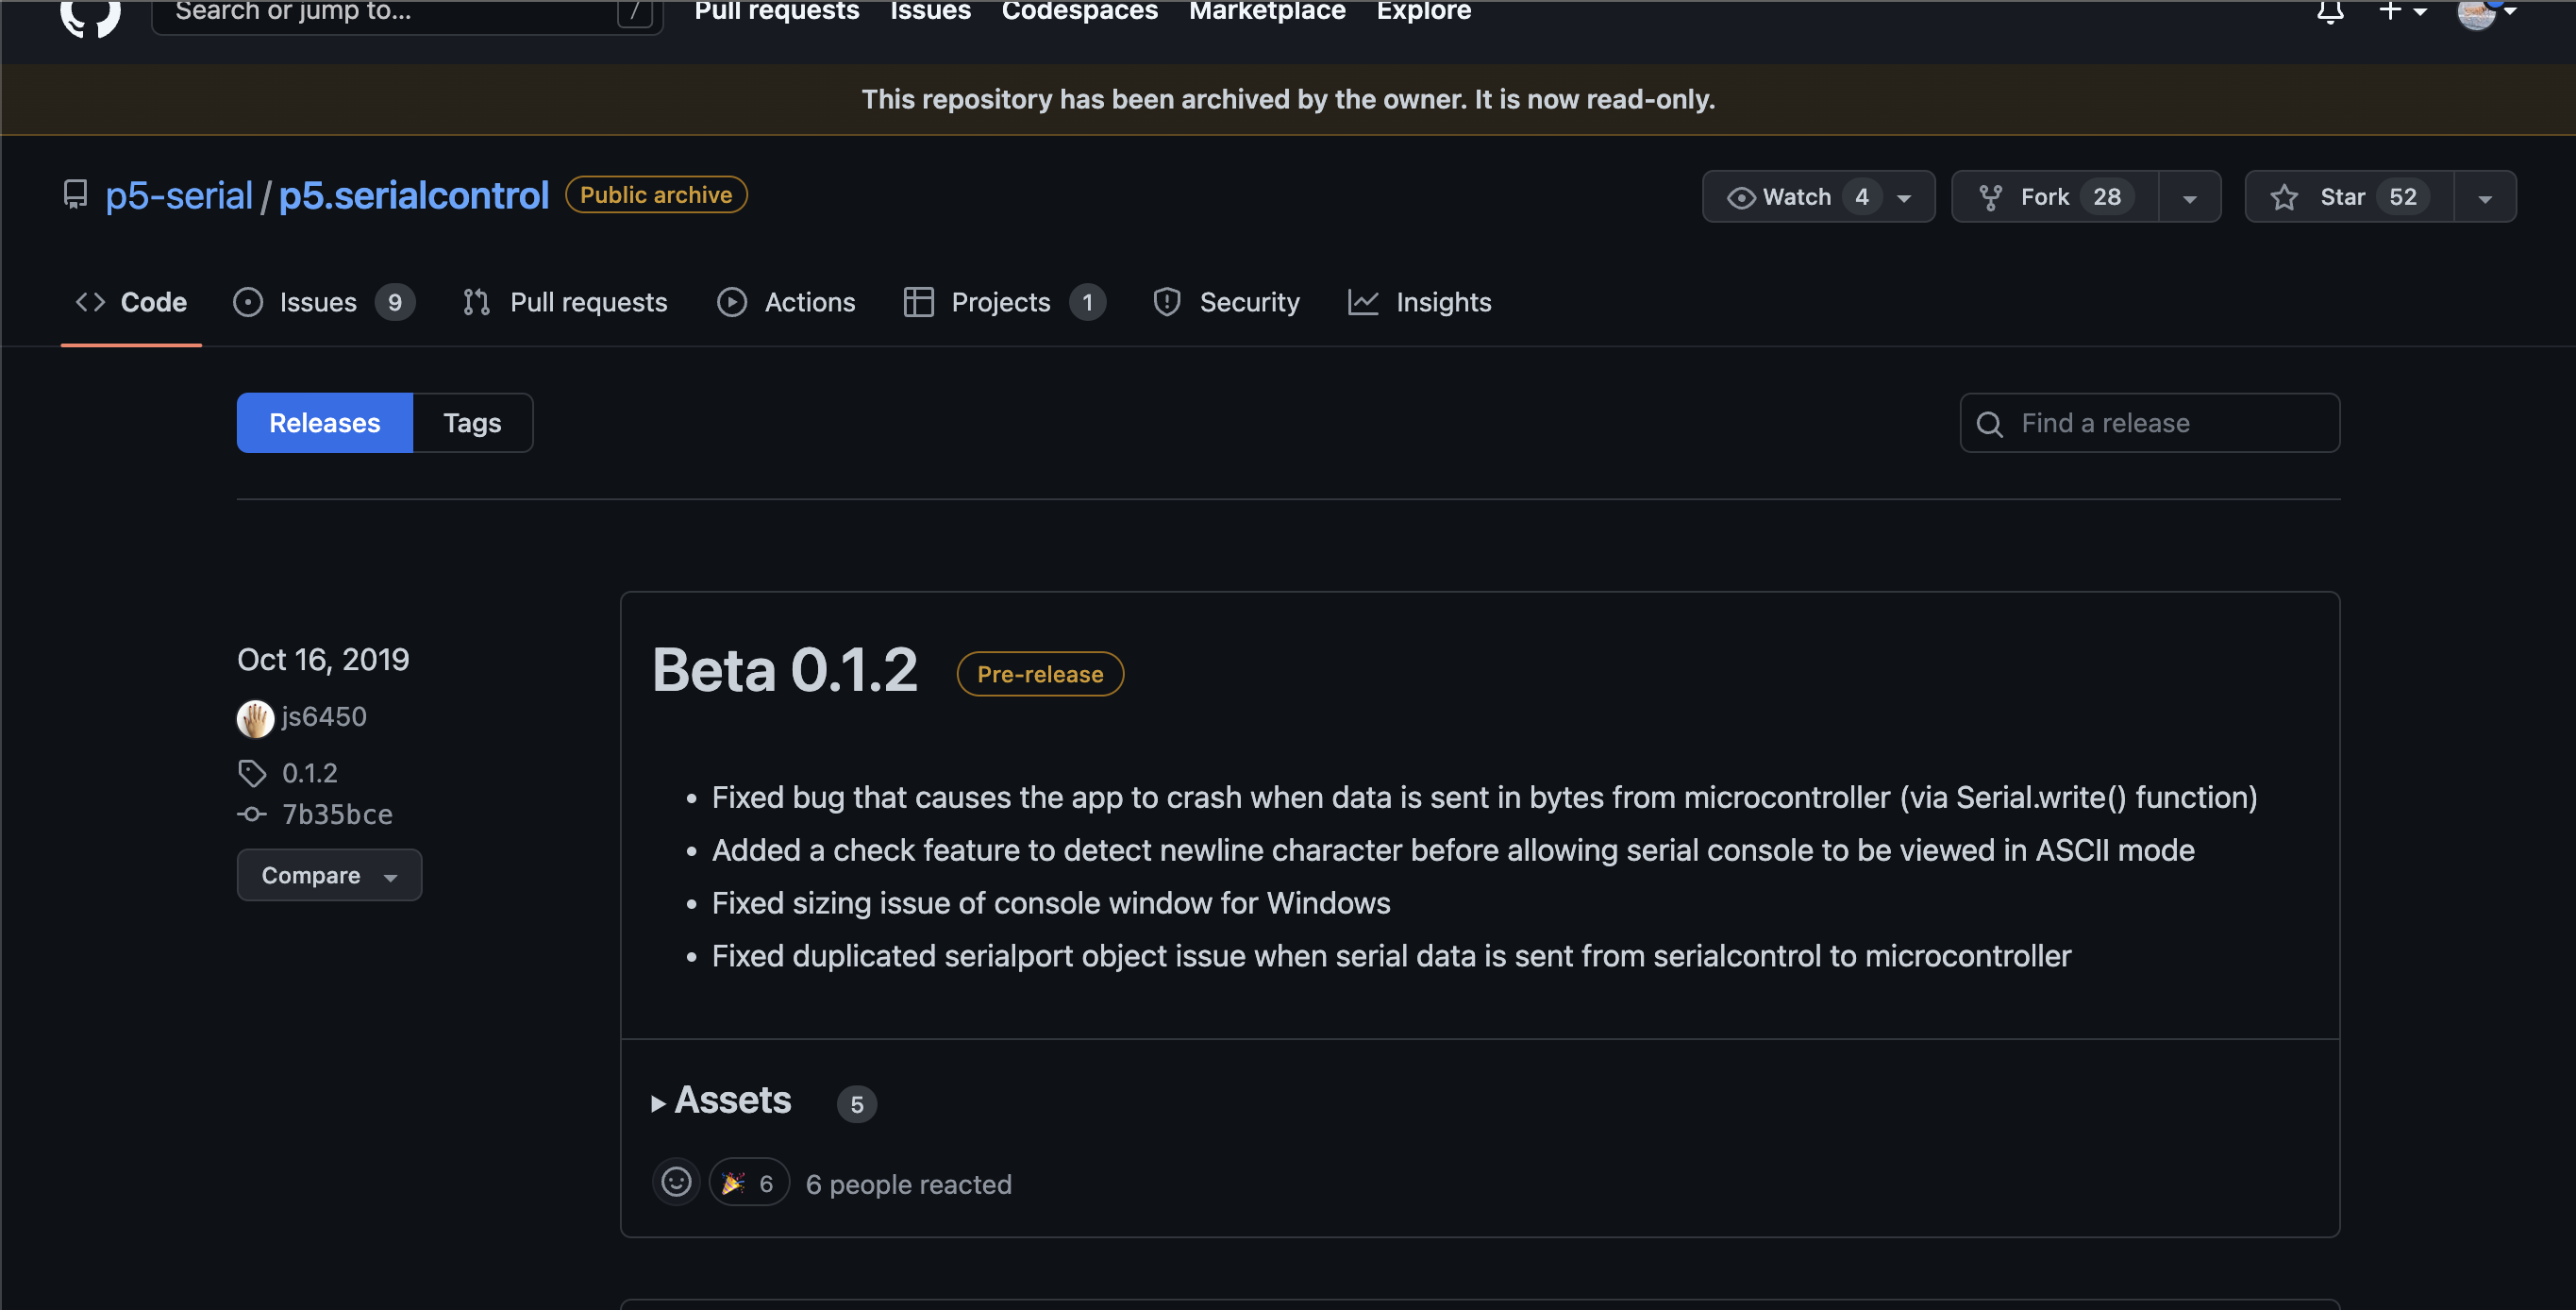
SerialControl’s repository is part of the p5-serial project, created in 2015 at New York University’s Interactive Telecommunications Program by Shawn van Every, Jen Kagan, and Tom Igoe.
To download it I opened the repository with the releases and clicked on Beta 0.1.2.
and downloaded the zip with the darwin program.

Once I did so, I unzipped the folder and opened the application, which looks like this.
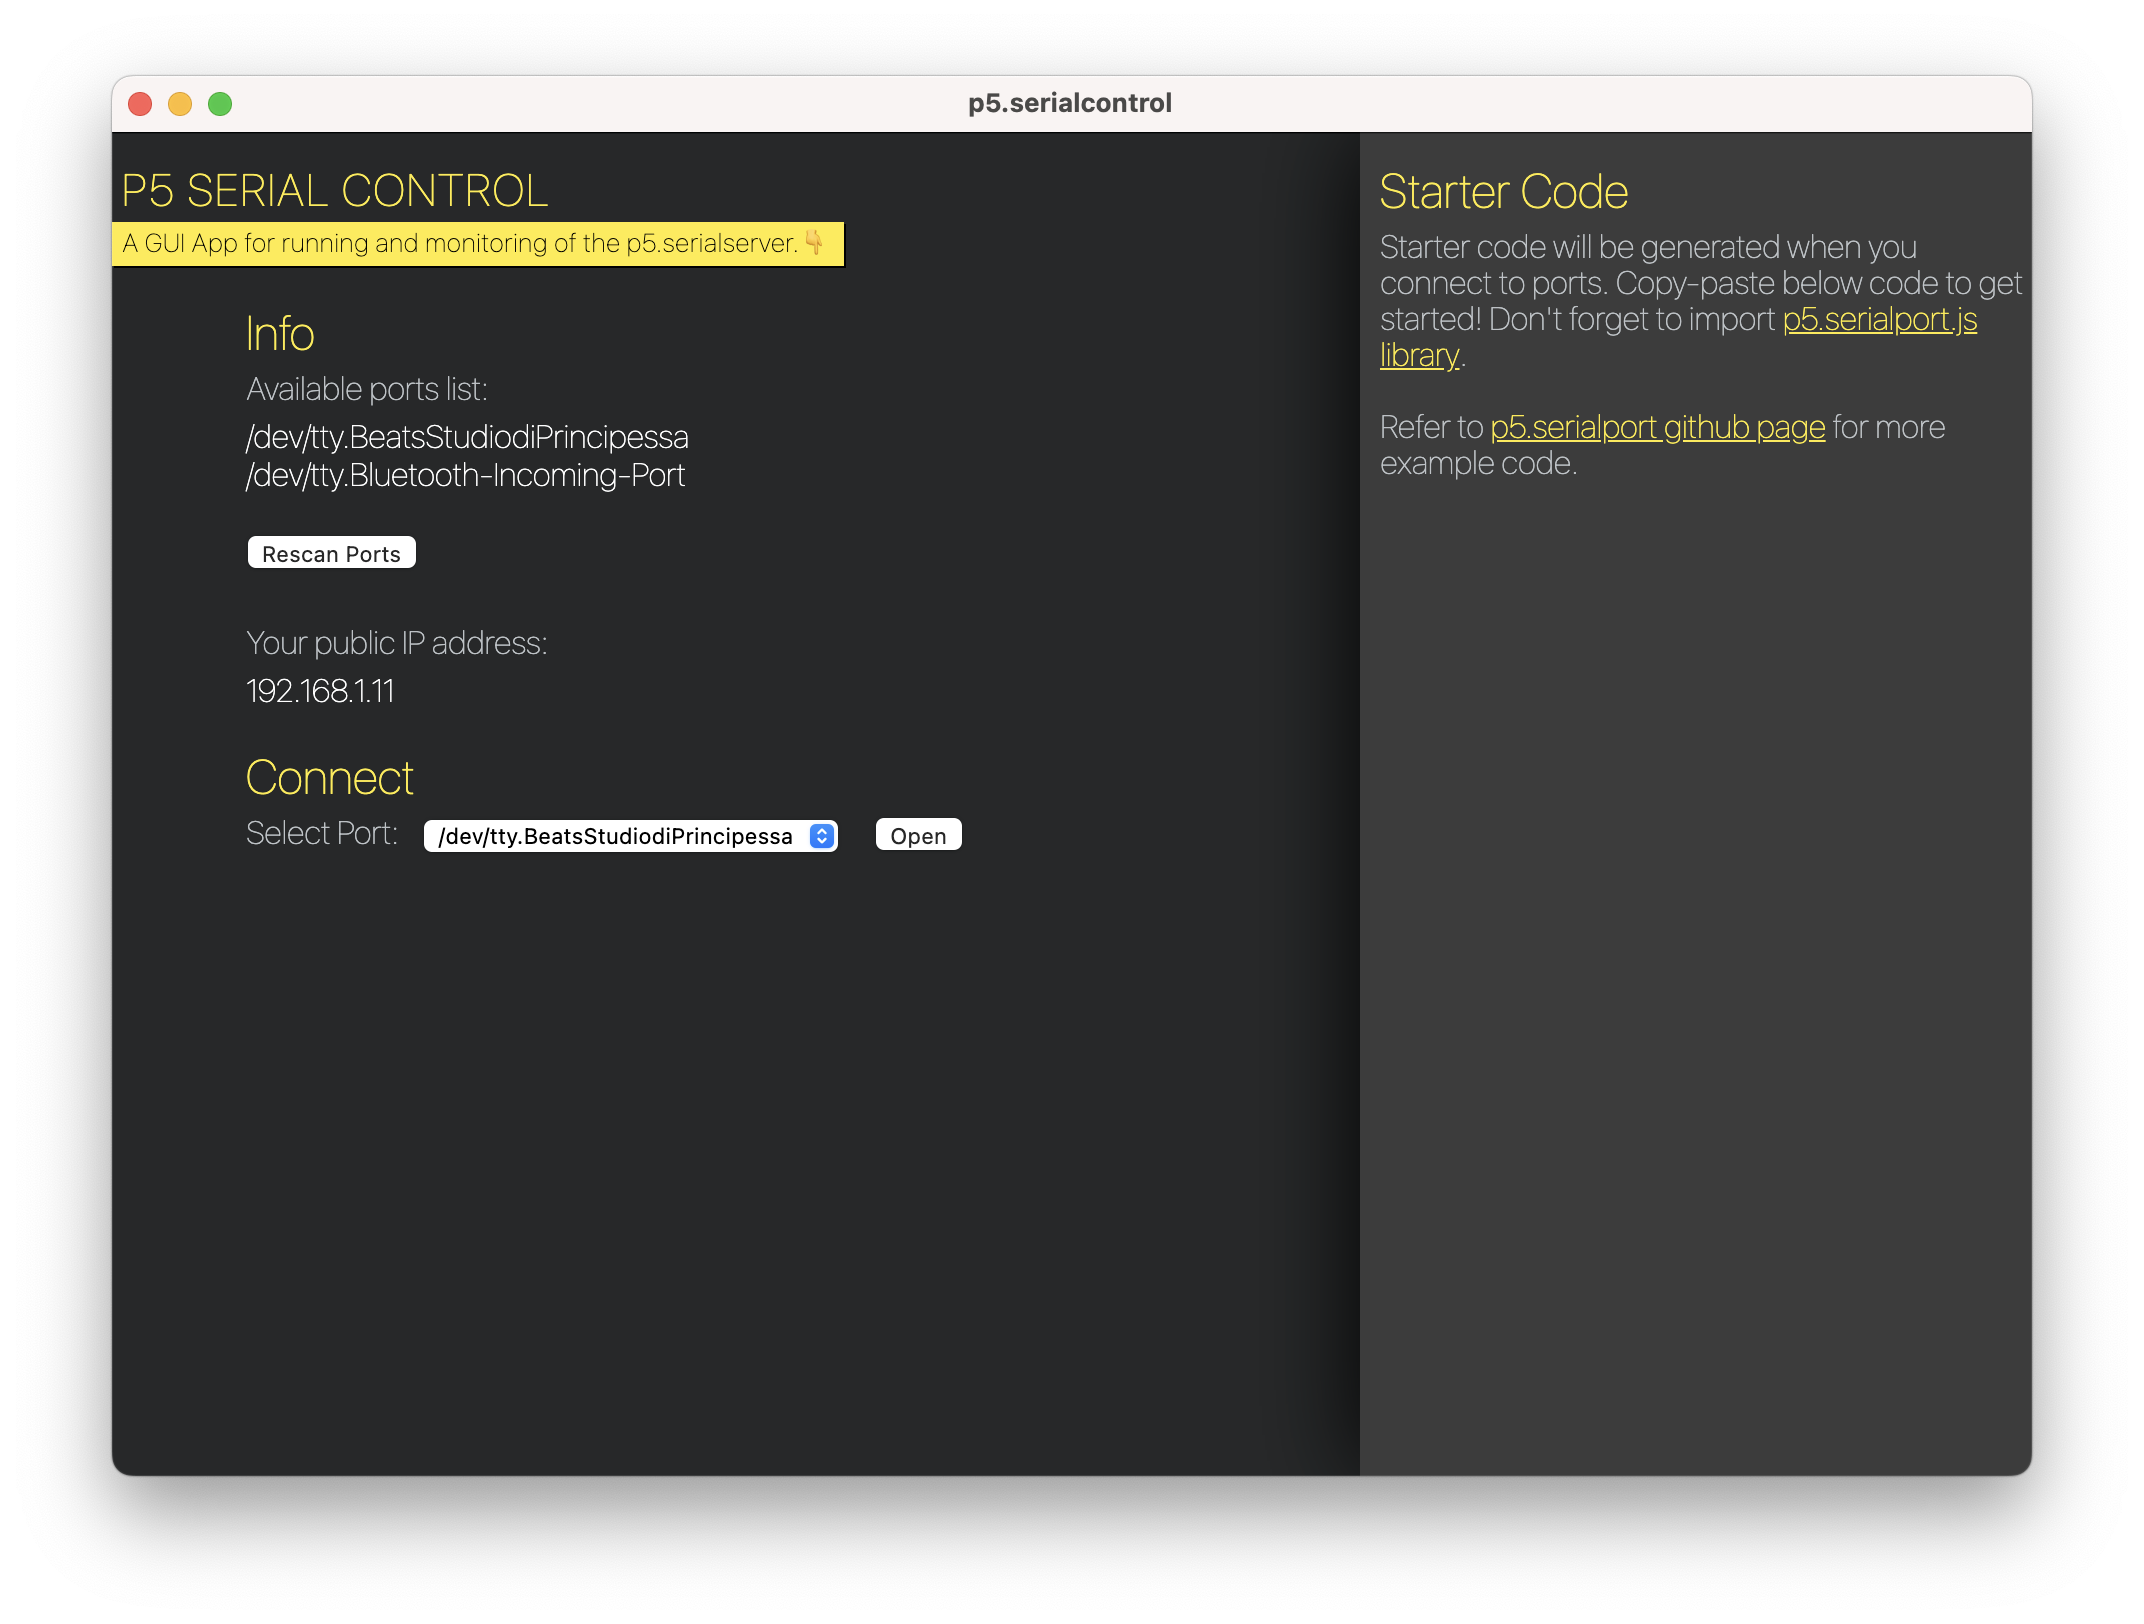
Its peculiarity is that you can choose the port dedicated to your board in the relevant list, then a piece of code is generated for you to copy into your p5.js sketch to begin programming by exploiting the serial port.
🦙 Code
I then opened Arduino IDE and I uploaded the following code that I wrote. Keep in mind I had to use Software Serial because I was using an ATtiny44.
SoftwareSerial is a library that allows serial communication on other digital pins of an Arduino board, using software to replicate the functionality (hence the name “SoftwareSerial”).
I included it using #include and I defined the RX and TX pins as they were.
Then I initiated SoftwareSerial with a variable called mySerial.
int servoPin = 8;
int potPin = 7;
int val;

#include <SoftwareSerial.h>
const byte rxPin = 0;
const byte txPin = 1;


SoftwareSerial mySerial(rxPin, txPin);


void setup() {
  pinMode(servoPin, OUTPUT);
  pinMode(potPin, INPUT);
   mySerial.begin(9600);
   mySerial.println("Hello");
}

void loop() {
  val = analogRead(potPin);
  val = map(val, 0, 1023, 0, 180);
  // analogWrite(servoPin, -val);
  // delay(15);
}
to start off with a basic code to see if the port was working. This is the moment I realised I did not understand how Arduino IDE communicated with p5.js.
First off, only one program can be talking to the serial so you have to run Arduino IDE in background if you want to communicate through p5serial control otherwise you will receive errors on either one of the programs. Sameway, if you do not stop you p5.js sketch and you keep it running you cannot upload the program via Arduino IDE.
Once I closed Arduino IDE, I saw the board waving at me through p5.js. It was a happy moment.
I then changed my code with the aim to see the angles of the potentiometer in my serial monitor. However the code was not working because I forgot to add this important line:
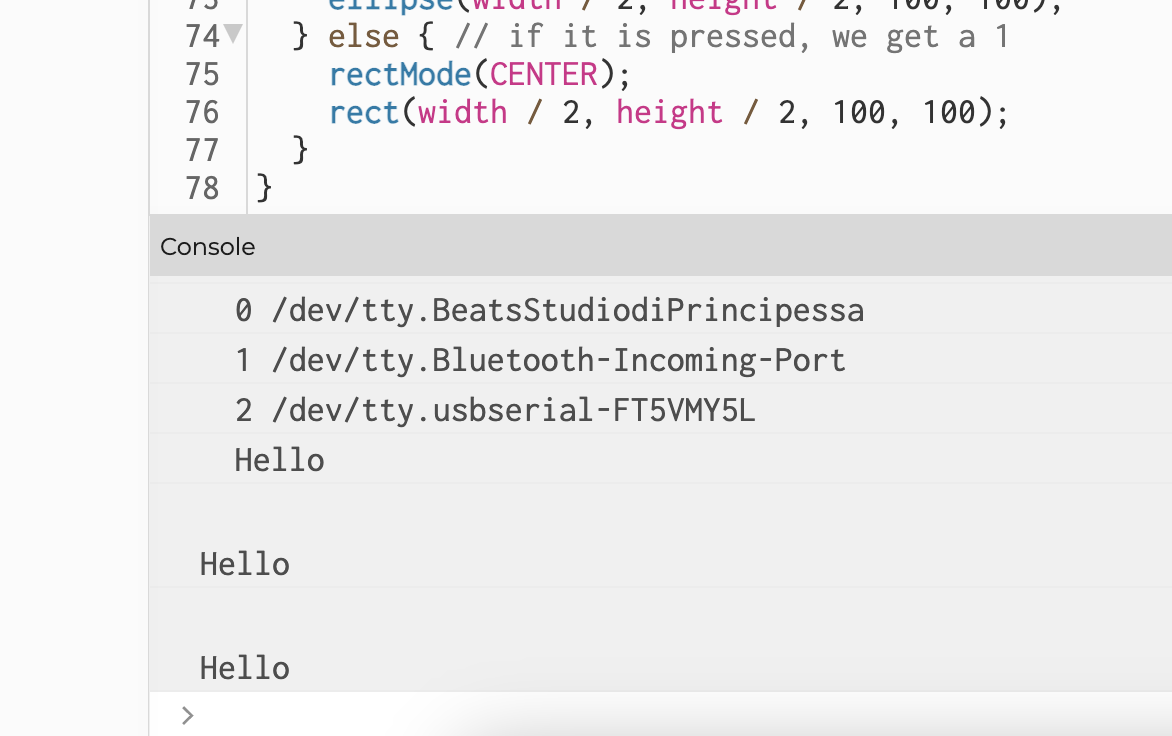
mySerial.write(val);
mySerial.write is the code that indeed writes the data of the potentiomenter to the serial port to let p5.js read this value. Once I did this and uploaded the program, I could see in my p5.js sketch editor serial monitor strange values, but this meant that the potentiometer was communicating.
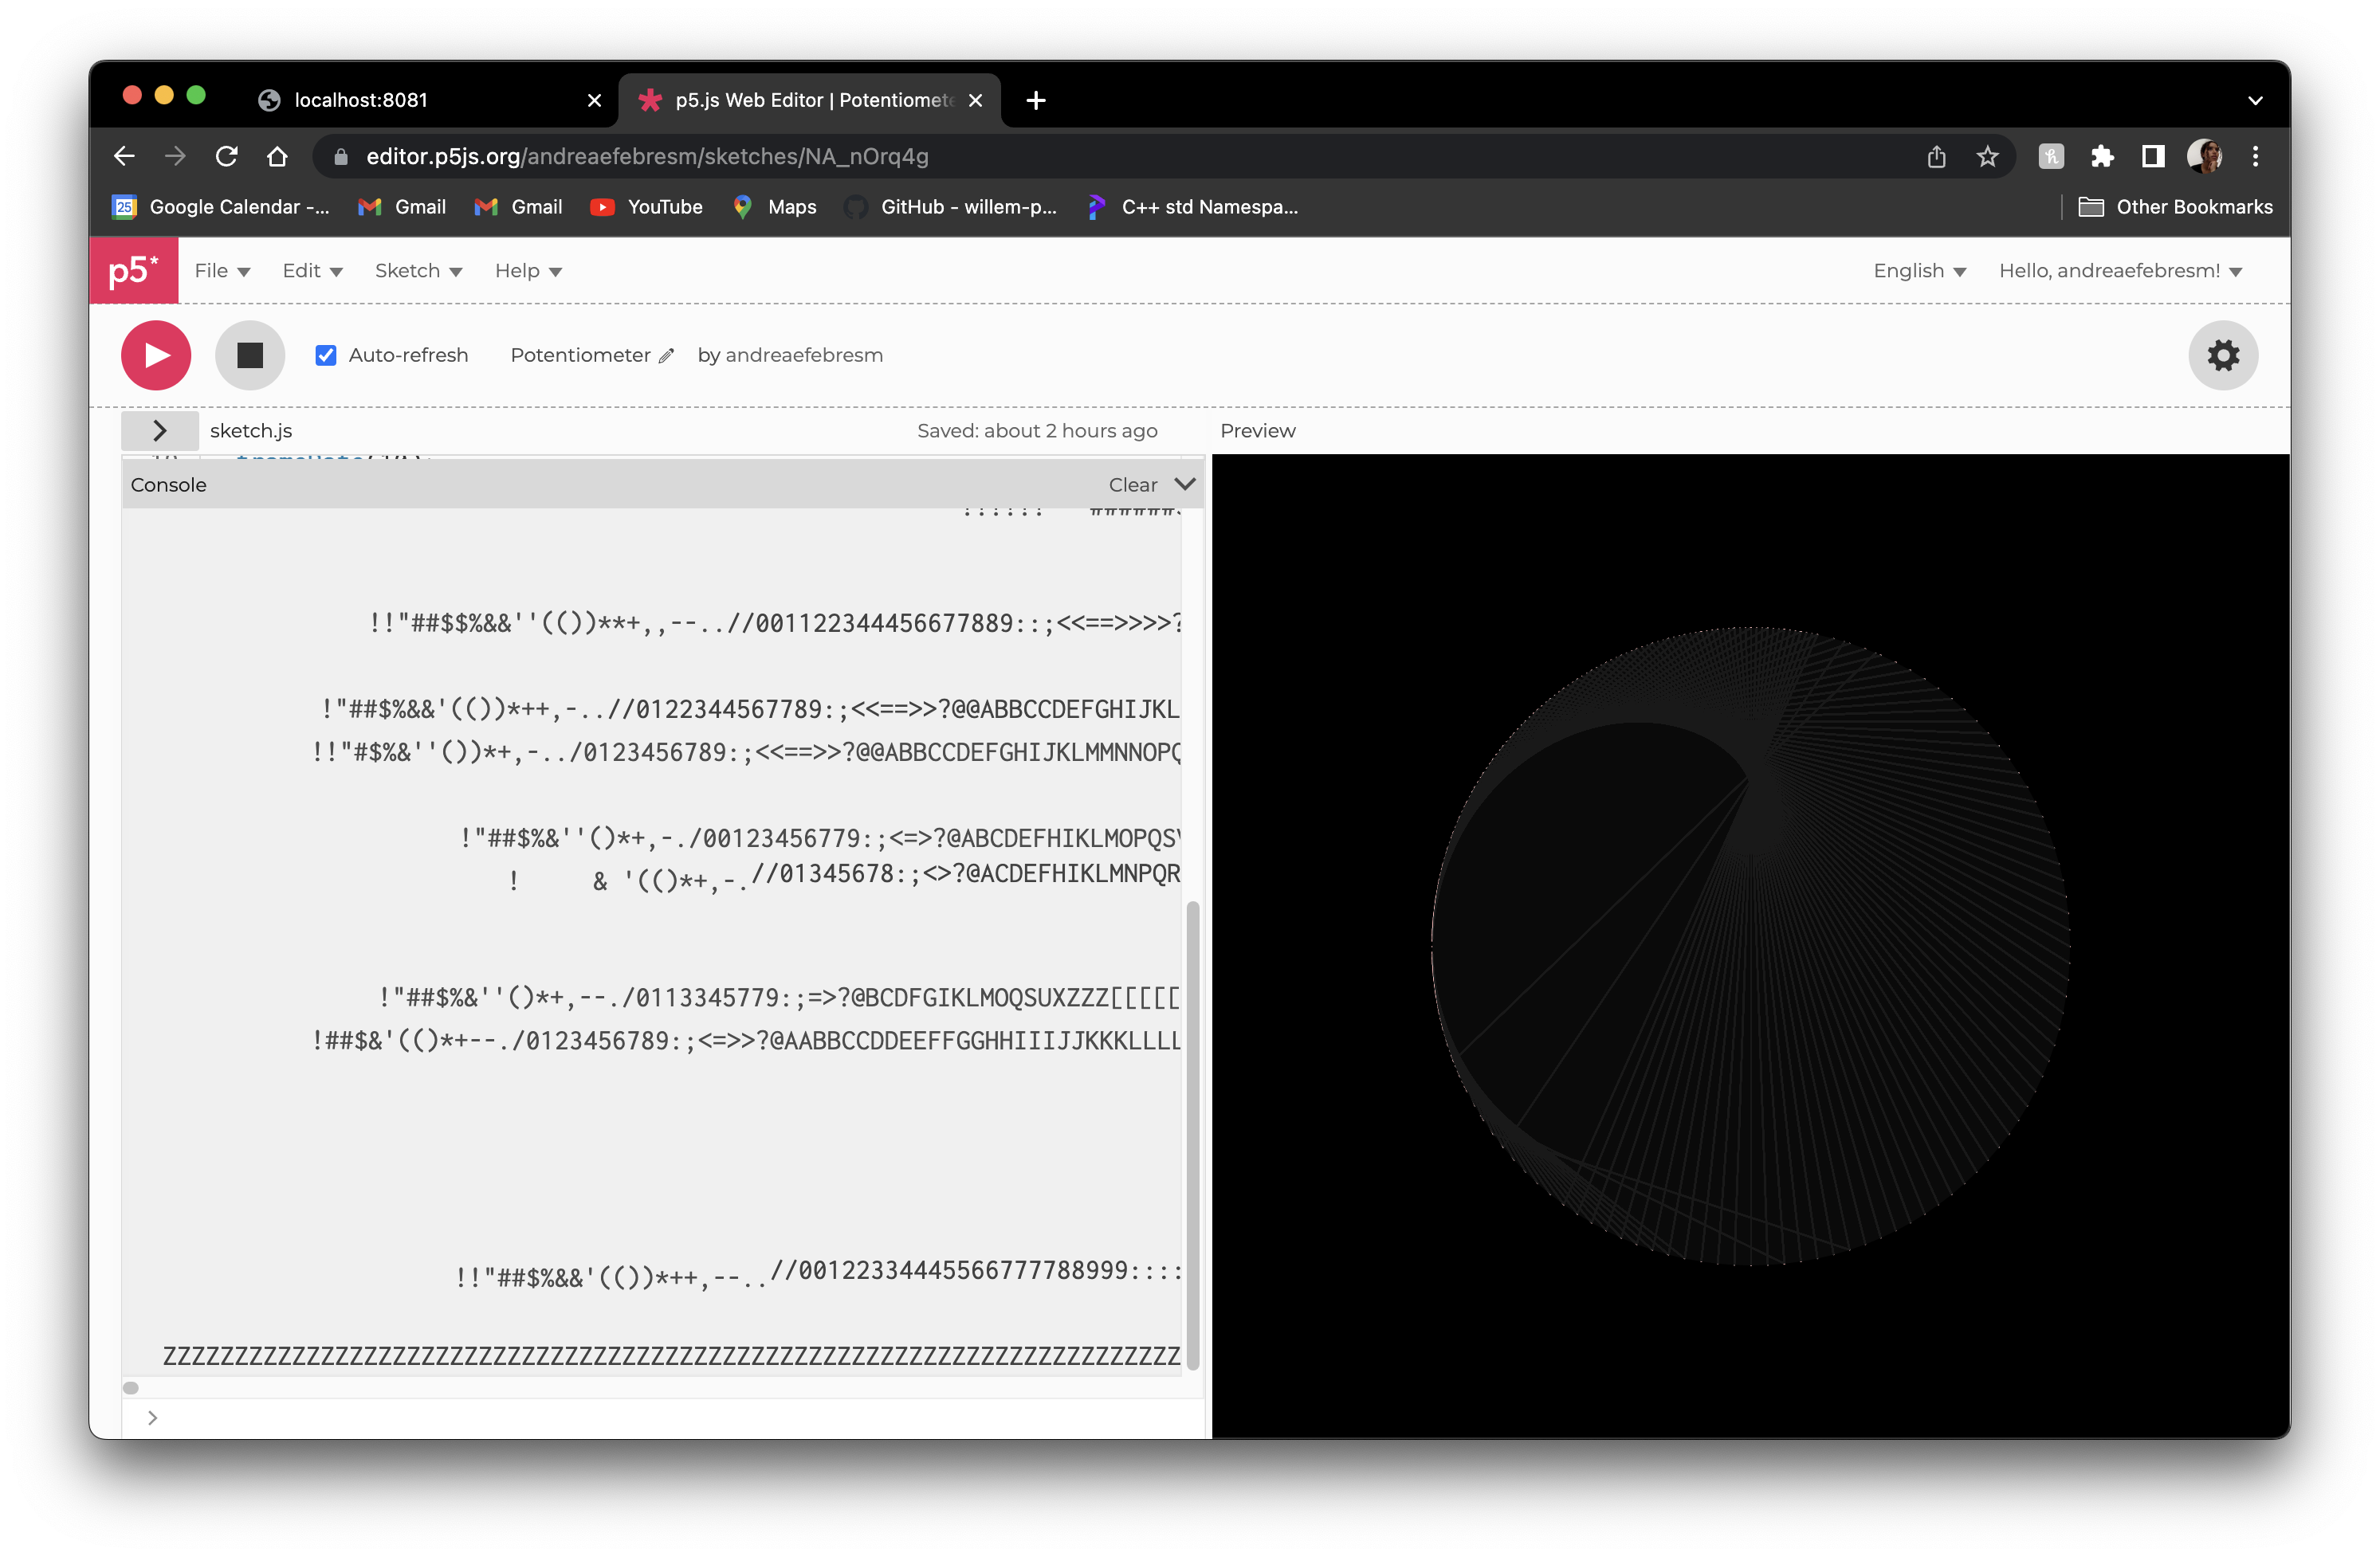
🦚 Generative artwork
The final idea is to control the following sketch with a potetiometer. The sketch is now triggered only by mouse click, but I figured I could trigger the speed of the rotation with the angle of the potentiometer instead of using the framerate.
function setup() {
  createCanvas(windowWidth, windowHeight);
  noStroke();
  angleMode(DEGREES);
  background(0);

  noStroke();
  fill(10,10,10);
  ellipse(width/2, height/2, 400);

  frameRate(10);
}

 function draw() {

// cursor
    if ((width/2)-100 <mouseX < (width/2) + 200) {
    cursor(HAND);
  } else {
    cursor(ARROW);
  }

    // click

  if (mouseIsPressed) {
    translate(width/2,height/2);
    rotate(-frameCount*3);
    stroke(lerpColor(color('#4D5359'), color('#FCB5B5'),frameCount/120));
    line(200,0,cos(frameCount*2)*200,sin(frameCount*2)*200);

  } else {
    noStroke();
    fill(10,10,10,5);
    ellipse(width/2, height/2, 400);

    textSize(40);
    noStroke();
    textAlign(CENTER);
    textFont('Avenir Next');
    text('Keep it clicked', width/2, (height/2)-300);
    fill(255, 255, 255);

  }
 }
I changed the code to this one:
let serial; // variable for the serial object
let latestData = "waiting for data"; // variable to hold the data

let pot;

function setup() {
  createCanvas(windowWidth, windowHeight);
  noStroke();
  angleMode(DEGREES);
  background(0);

  noStroke();
  fill(10,10,10);
  ellipse(width/2, height/2, 400);

  frameRate(10);
  // serial constructor
  serial = new p5.SerialPort();
  // get a list of all connected serial devices
  serial.list();
  // serial port to use - you'll need to change this
  serial.open('/dev/tty.usbserial-FT5VMY5L');
  // callback for when the sketchs connects to the server
  serial.on('connected', serverConnected);
  // callback to print the list of serial devices
  serial.on('list', gotList);
  // what to do when we get serial data
  serial.on('data', gotData);
  // what to do when there's an error
  serial.on('error', gotError);
  // when to do when the serial port opens
  serial.on('open', gotOpen);
  // what to do when the port closes
  serial.on('close', gotClose);
}

function serverConnected() {
  console.log("Connected to Server");
}

// list the ports
function gotList(thelist) {
  console.log("List of Serial Ports:");

  for (let i = 0; i < thelist.length; i++) {
    console.log(i + " " + thelist[i]);
  }
}

function gotOpen() {
  console.log("Serial Port is Open");
}

function gotClose() {
  console.log("Serial Port is Closed");
  latestData = "Serial Port is Closed";
}

function gotError(theerror) {
  console.log(theerror);
}

function gotData() {
  let currentString = serial.readLine(); // store the data in a variable
  trim(currentString); // get rid of whitespace
  if (!currentString) return; // if there's nothing in there, ignore it
  console.log(currentString); // print it out
  latestData = currentString; // save it to the global variable
}

 function draw() {

// text
   textSize(40);
   noStroke();
   textAlign(CENTER);
   textFont('Avenir Next');
   text('Use the potentiometer', width/2, (height/2)-300);
   fill(255, 255, 255);

// cursor
   if ((width/2)-100 <mouseX < (width/2) + 200) {
    cursor(HAND);
  } else {
    cursor(ARROW);
  }


   if(frameCount < 170){
      translate(width/2,height/2);
    rotate(-frameCount*3);
    stroke(lerpColor(color('#4D5359'), color('#FCB5B5'),frameCount/120));
    line(200,0,cos(frameCount*2)*200,sin(frameCount*2)*200);

   } if (frameCount >= 170 && frameCount <=340){
      translate(width/2,height/2);
    rotate(-frameCount*3);
    stroke(lerpColor(color('#4D5359'), color('#EE9345'),frameCount/120));
    line(200,0,cos(frameCount*2)*200,sin(frameCount*2)*200);

   }
   if (frameCount >= 340 && frameCount <=510) {
      translate(width/2,height/2);
    rotate(-frameCount*3);
    stroke(lerpColor(color('#4D5359'), color('#A3954'),frameCount/120));
    line(200,0,cos(frameCount*2)*200,sin(frameCount*2)*200);

   }

   pot = latestData;

   frameRate(pot);
 }