3. Computer Aided design
Assignment
- Model (raster, vector, 2D, 3D, render, animate, simulate, …) a possible final project, compress your images and videos, and post a description with your design on your class page
⚠️ Disclaimer
I have a background of hating 3d modeling. Let’s start with that in mind.
I have studied Product Design and always tried to avoid 3d modeling because I believe that I do not have the brain functions to understand certain things. For example, I struggle in understanding how to design with a parametric approach. But to be honest, it’s not that I do not understand: the problem is that for me is boring and I am lazy on this. Since I wanted to challenge myself, I decided to use Fusion360, which I already knew a little, to design my model to be parametric. Fusion 360 is a cloud-based 3D modeling, CAD, CAM, CAE, and PCB software platform for product design and manufacturing.
SPOILER ALERT: it did not work, for now.
💆🏽♀️ Previously
Last week I sketched on the machine I want to create. So I started the design from this 2D sketch. I designed this sketch using Figma, a collaborative web application for interface design. I have been usign Figma for a year for UX design and I use it also for sketching 2D very “fast” things.
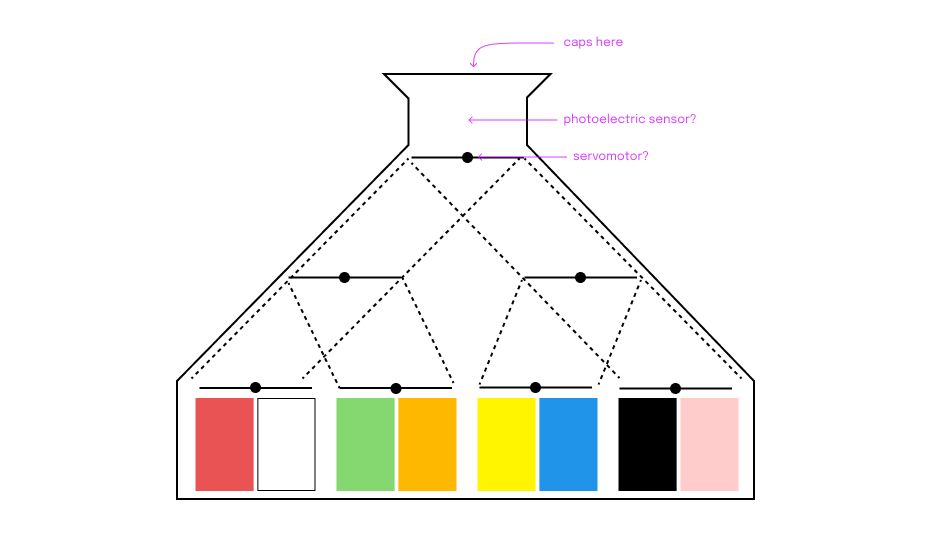
Figma is very similar to basic Illustrator when talking about easy vector drawing.
For the outline I used the PEN.
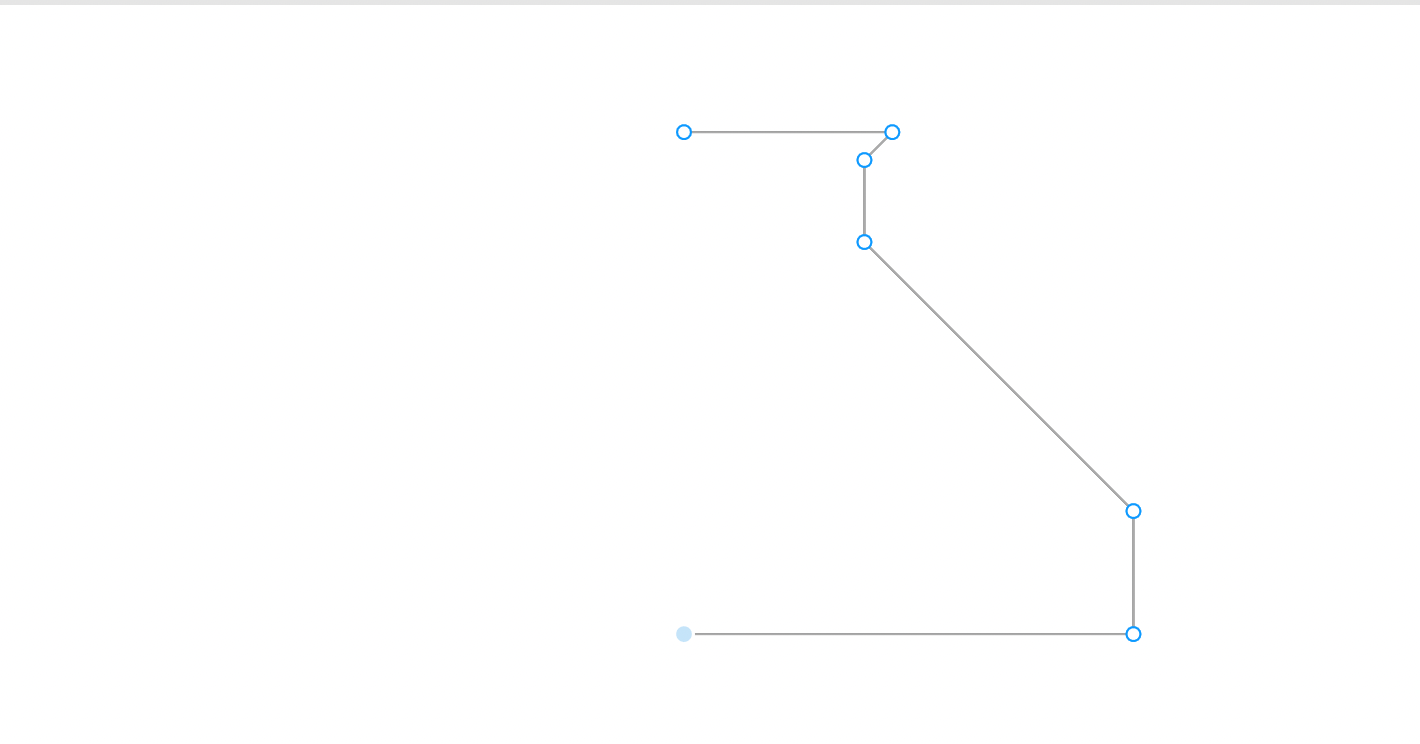
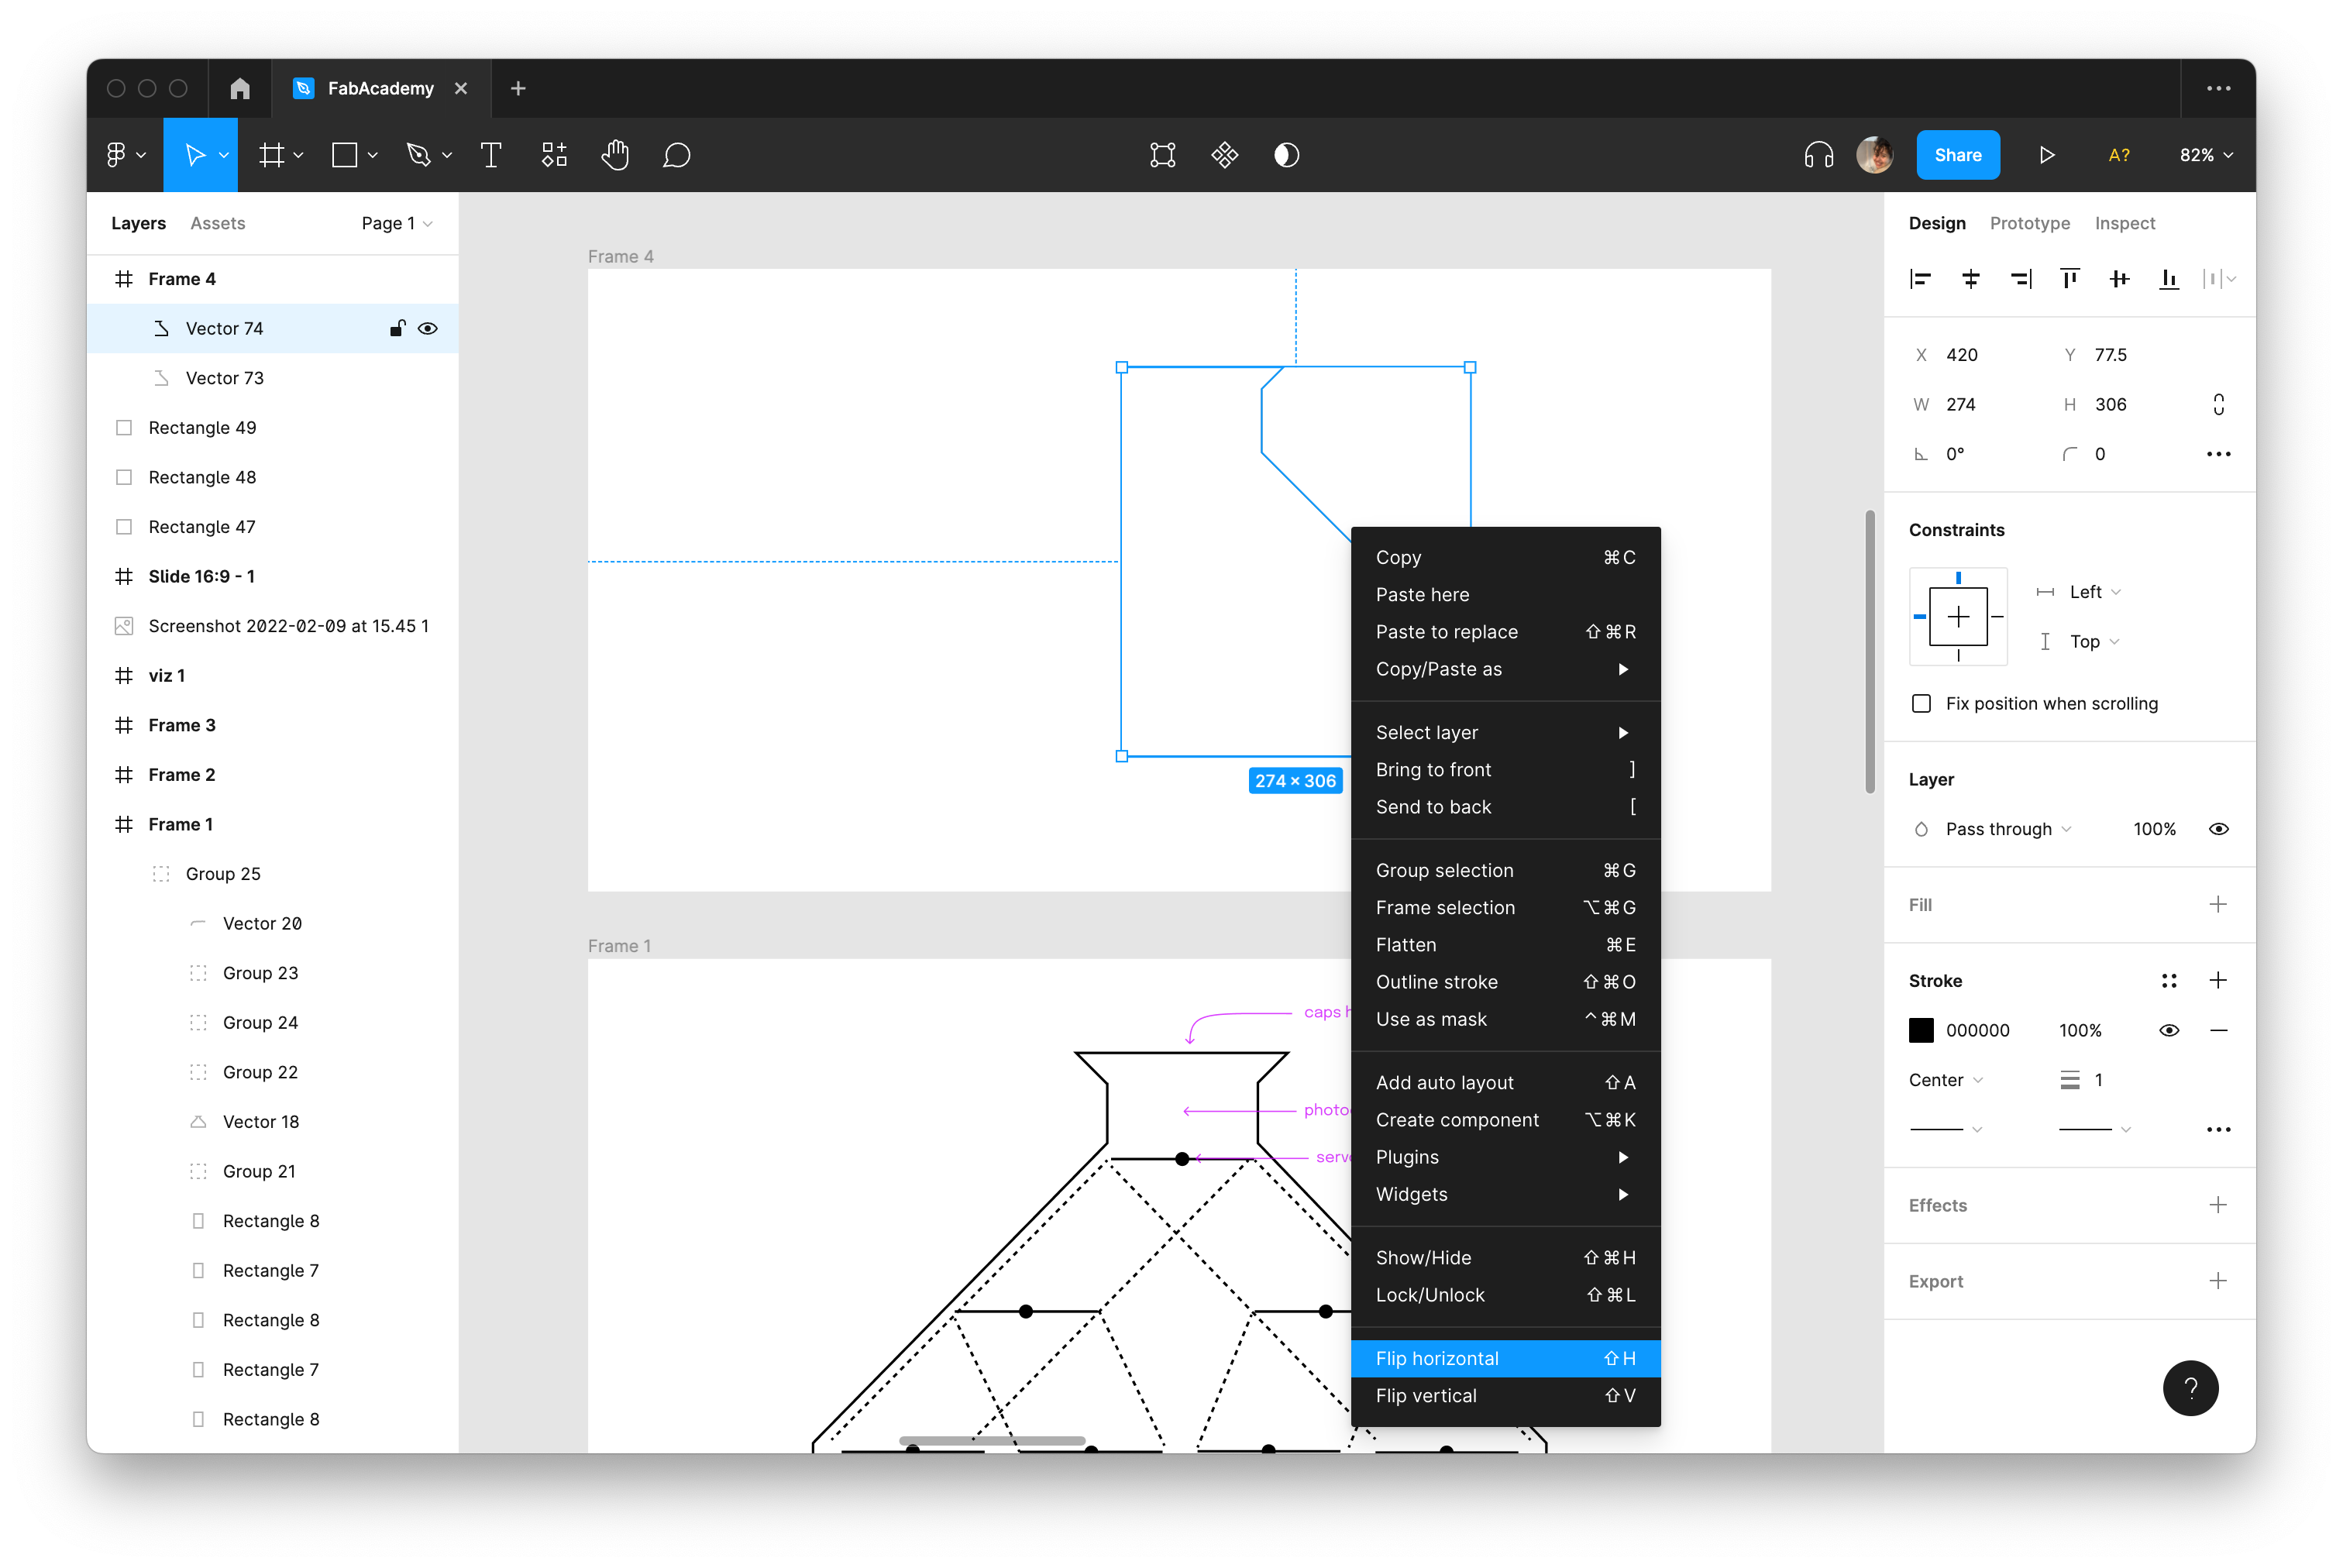
I started with doing one point and then keeping shift pressed I did a second point (by clicking left in a frame). I kept shift pressed in order to have a perfectly horizontal line, but you can do the same for vertical lines or 45 degrees lines. I did half the outline, in order to be able to copy&paste the outline and then flip it horizontal (right click on the selection and flip horizontal).
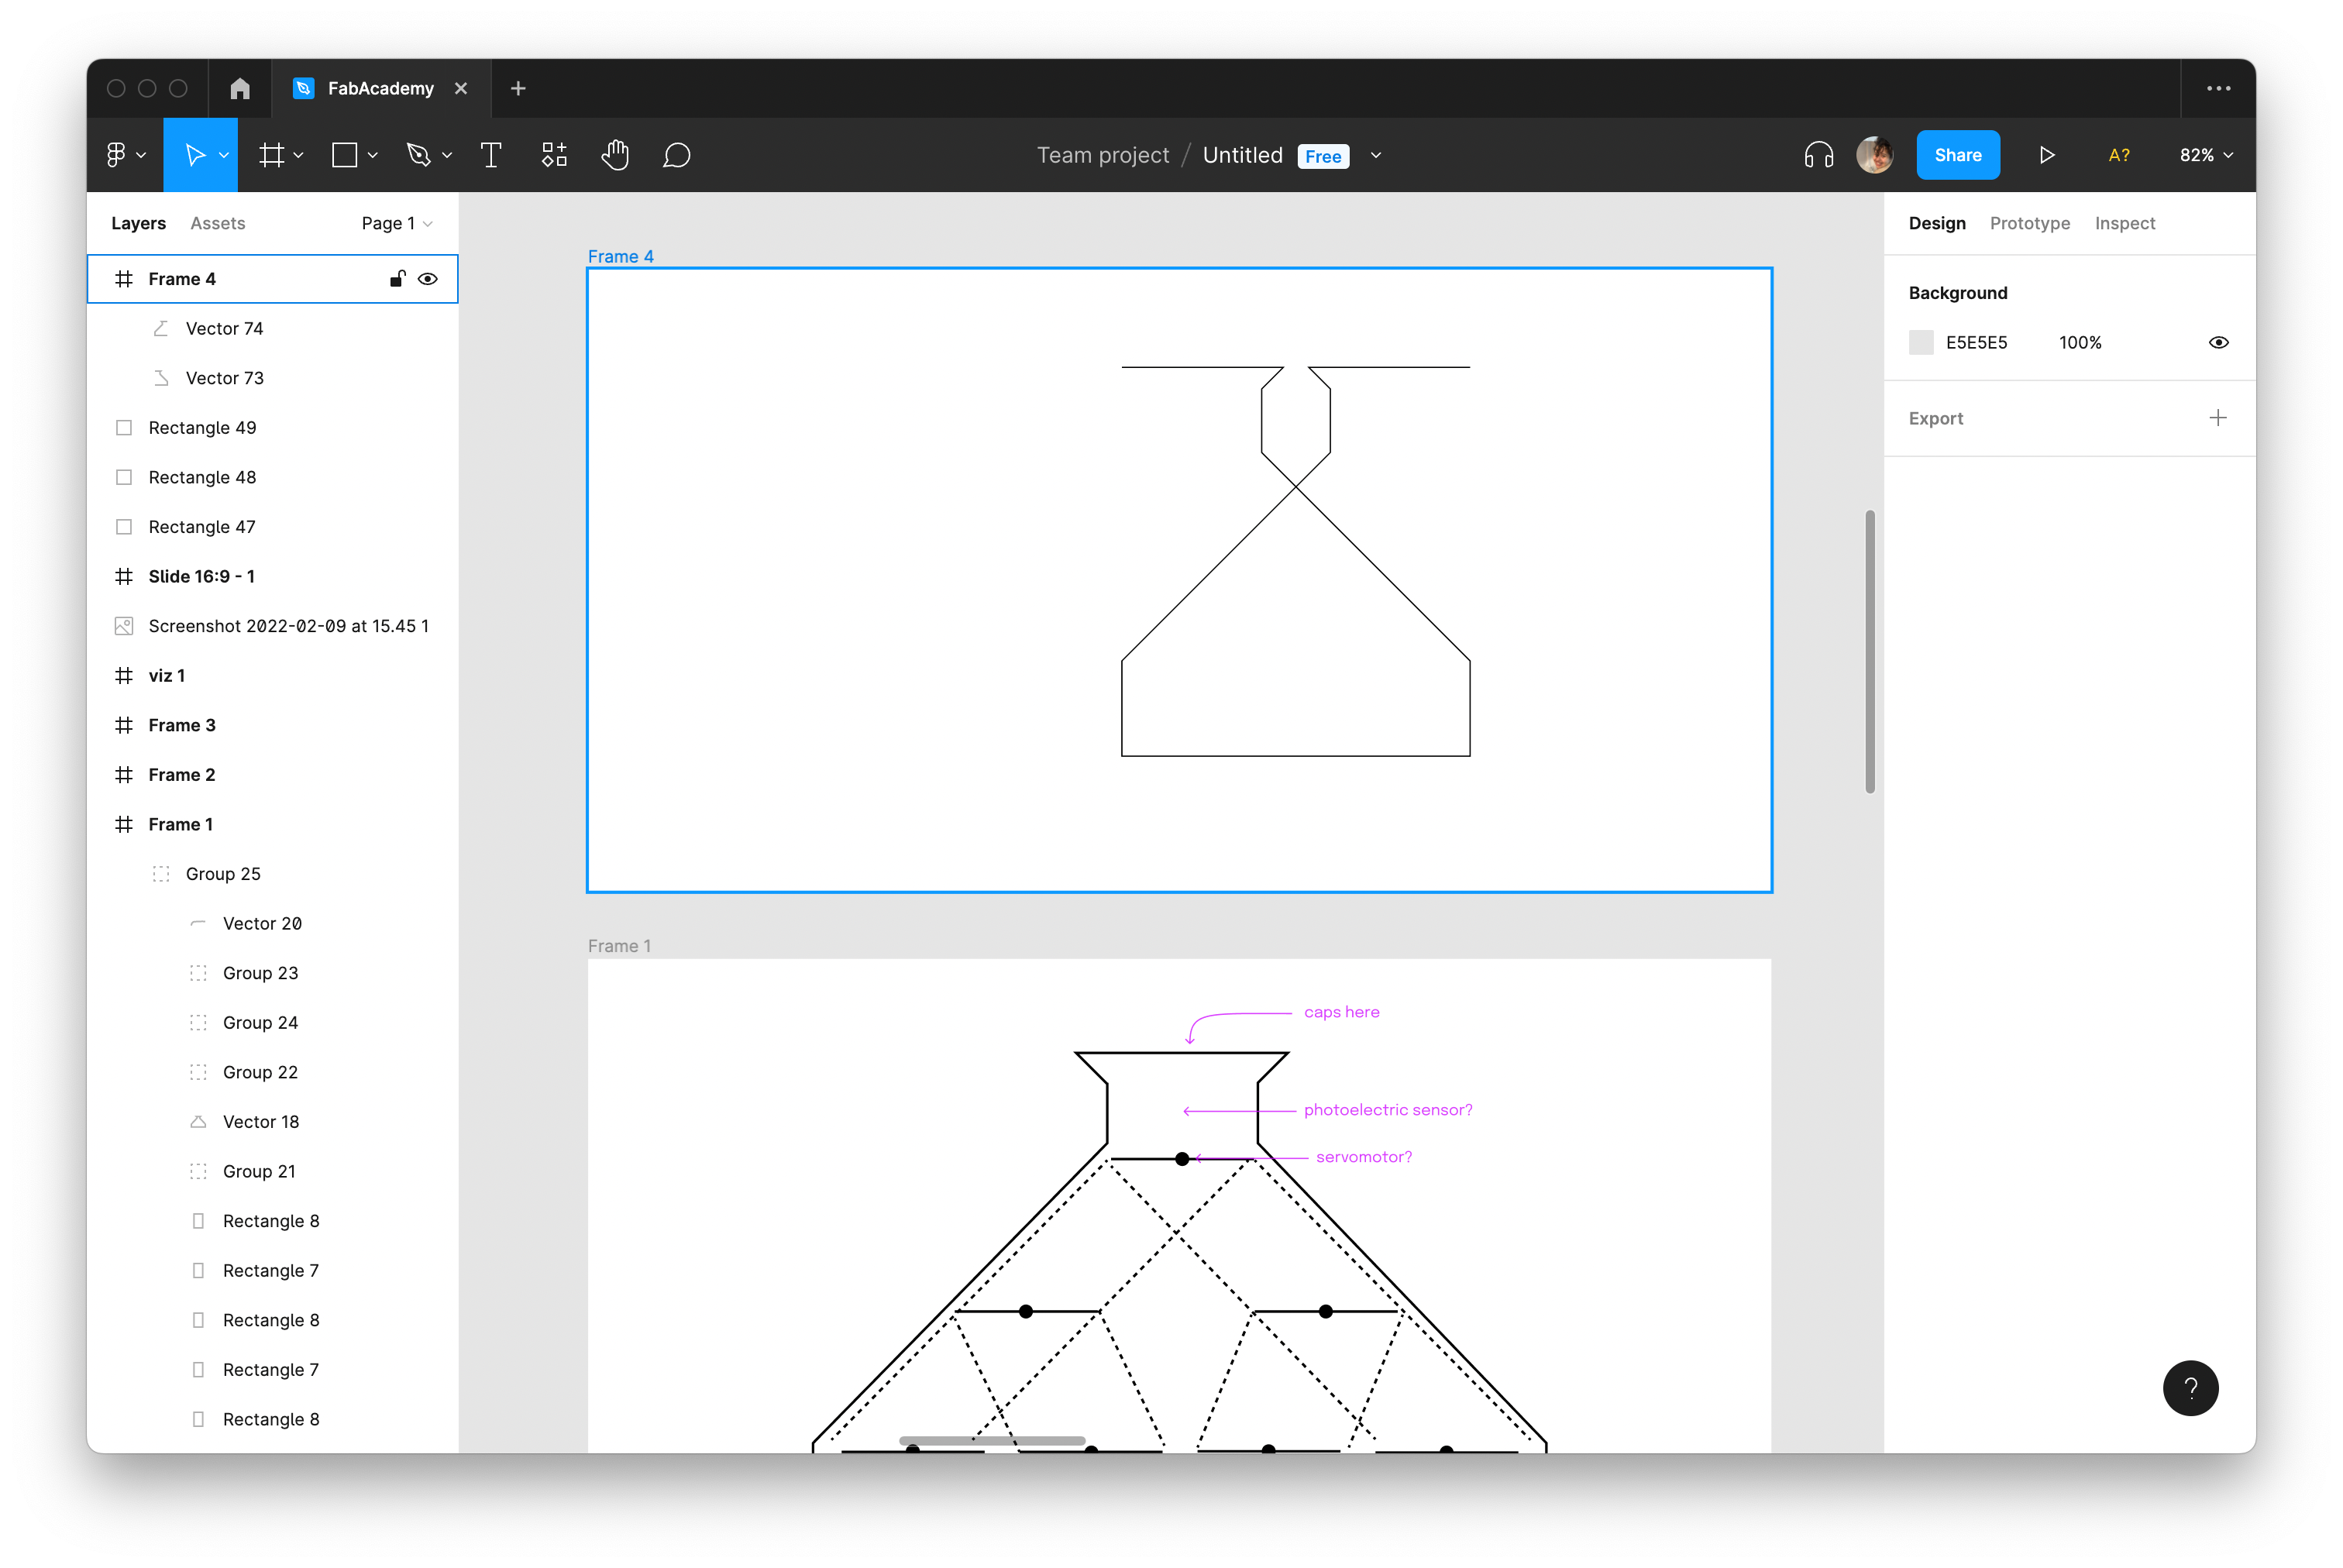
Once the outline was ready, I proceeded in designing the rectangles that represent the colors with the rectangle function.
I did one rectangle and then I copied it with alt+shift, then I clicked COMMAND+D to duplicate it 6 times to have a total of 8 rectangles. I then grouped the rectangles in two by two selecting two rectangles and doing COMMAND+G.
Figma has a cute function which is it allows you to adjust the distance of elements by selecting them and dragging. I used this function to distance the groups all in one passage.
I proceeded to colour the rectangles.
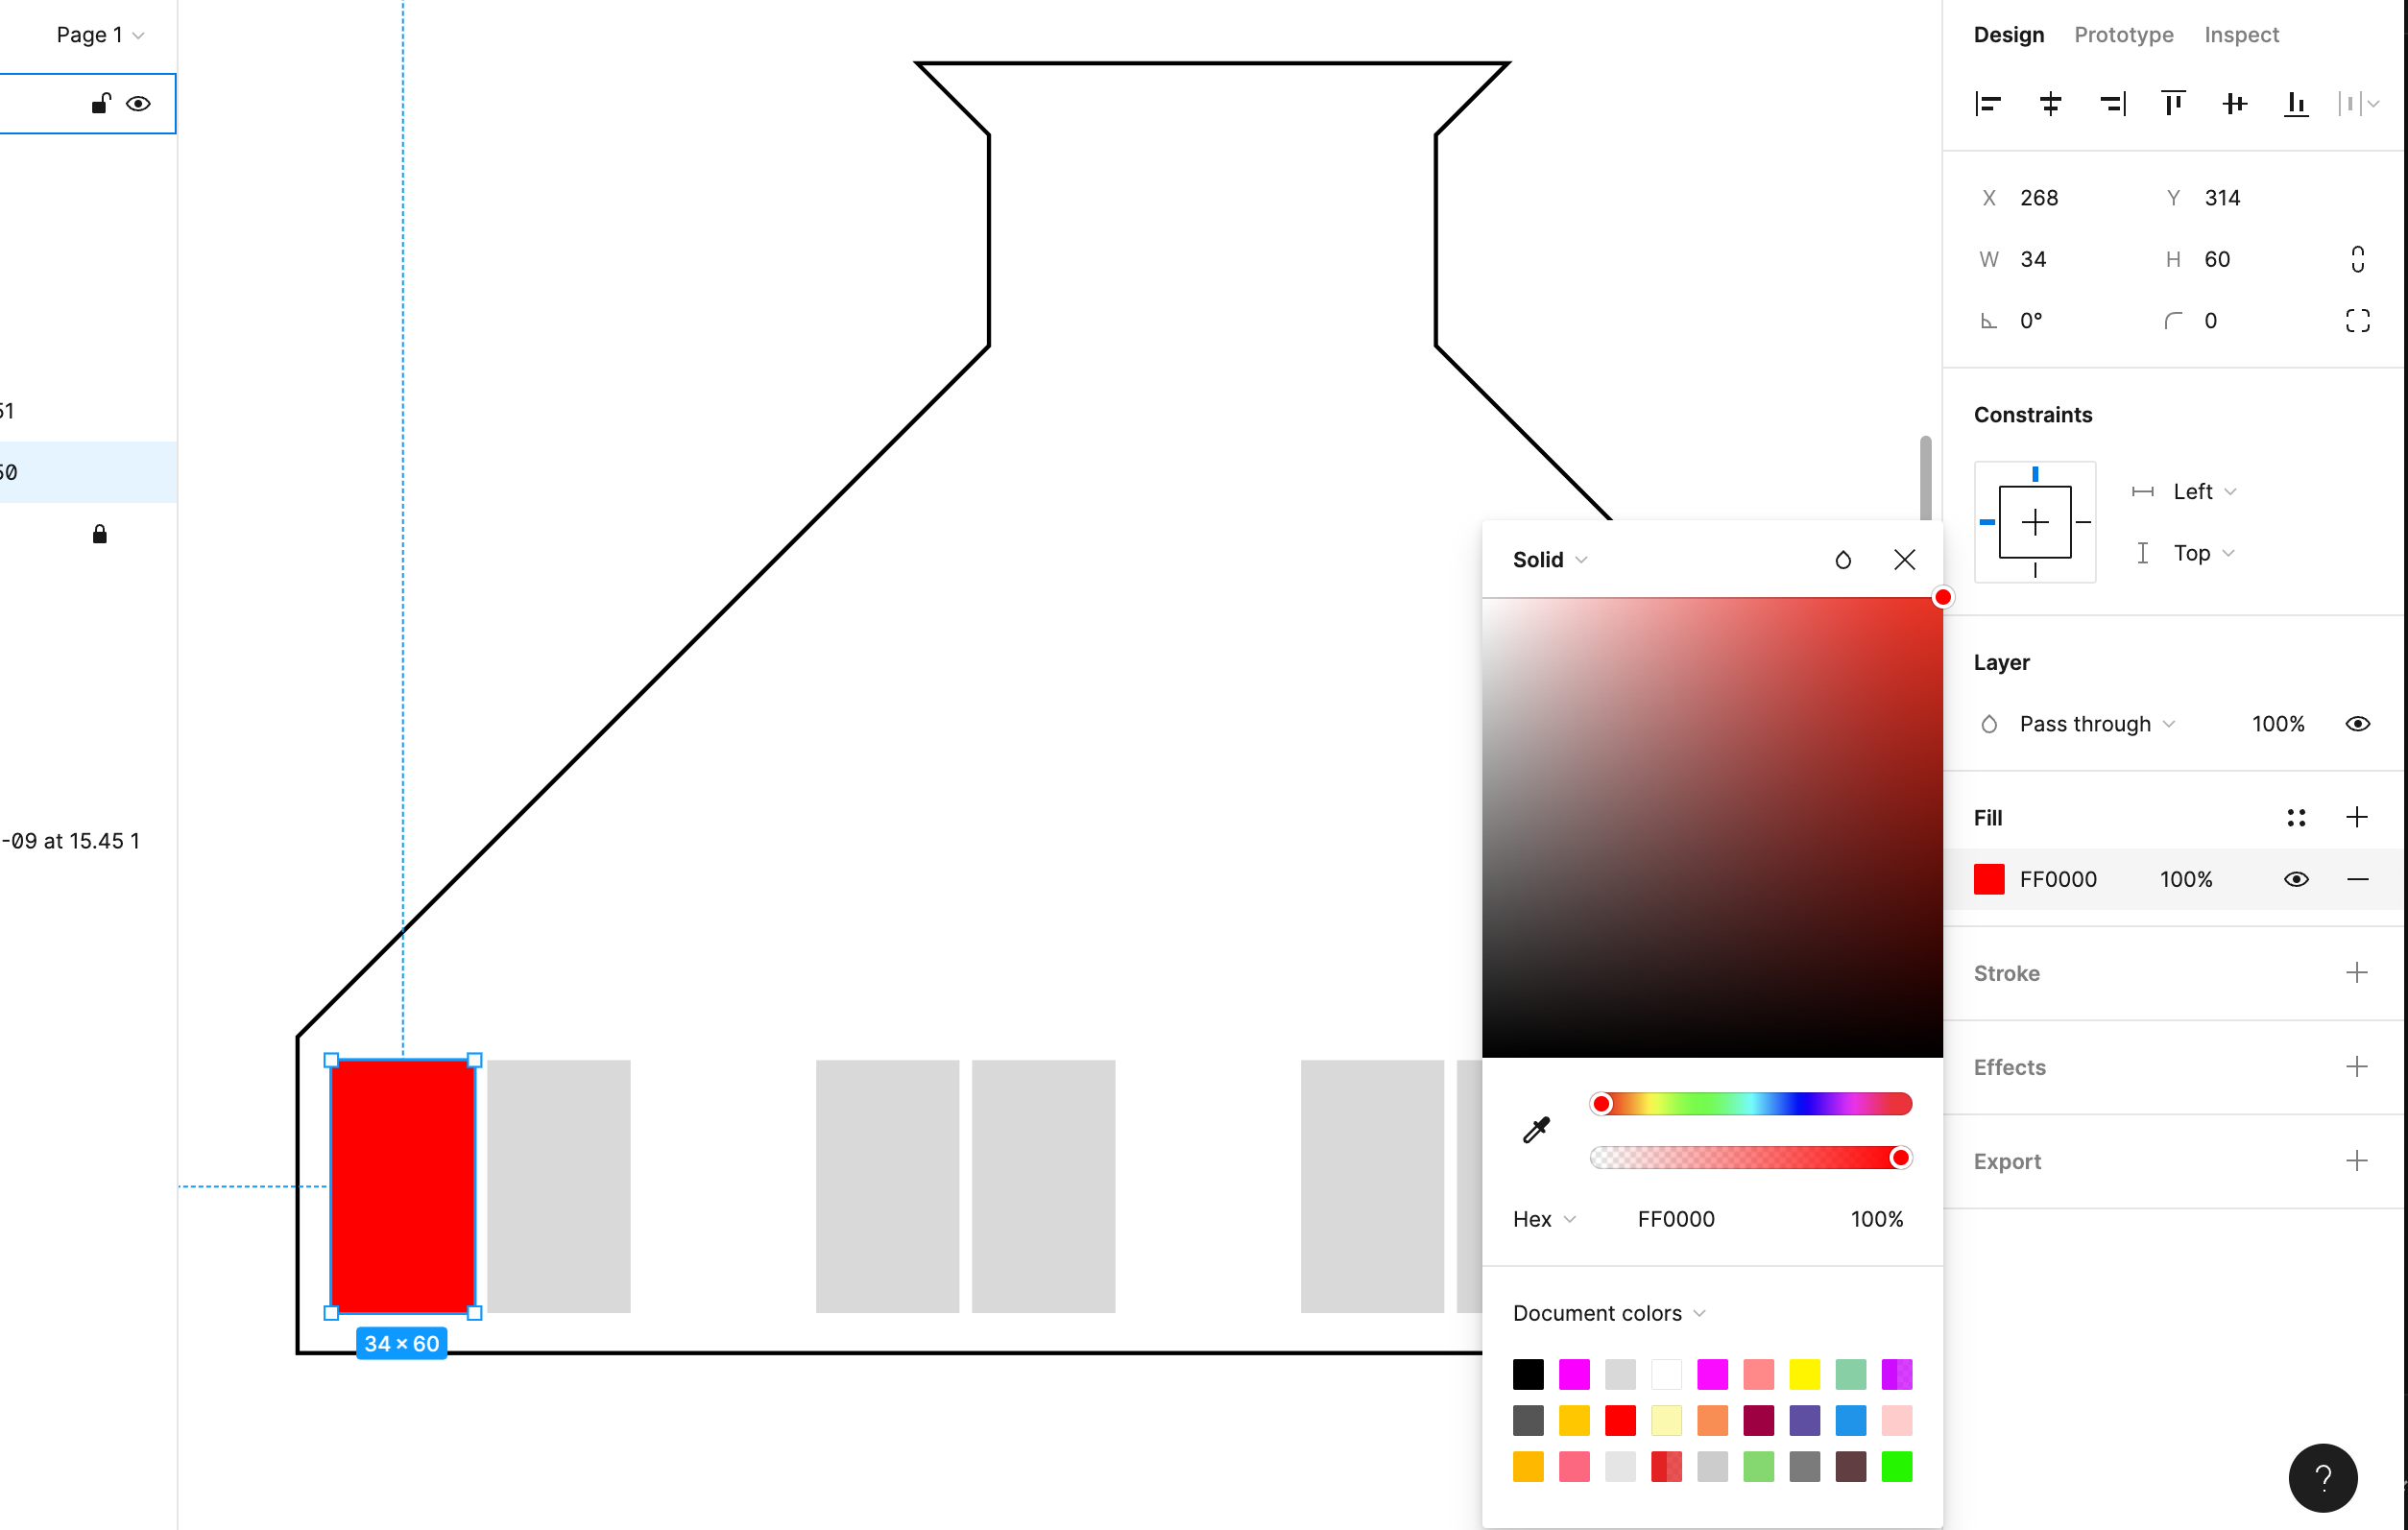
I then created the leverages with one line (done with the pen) and one circle in the middle. I grouped these two elements and copied it, positioning them in the correct place in order to create 8 paths. I then designed the paths with lines with a dottet stroke.
💅🏽 3D design
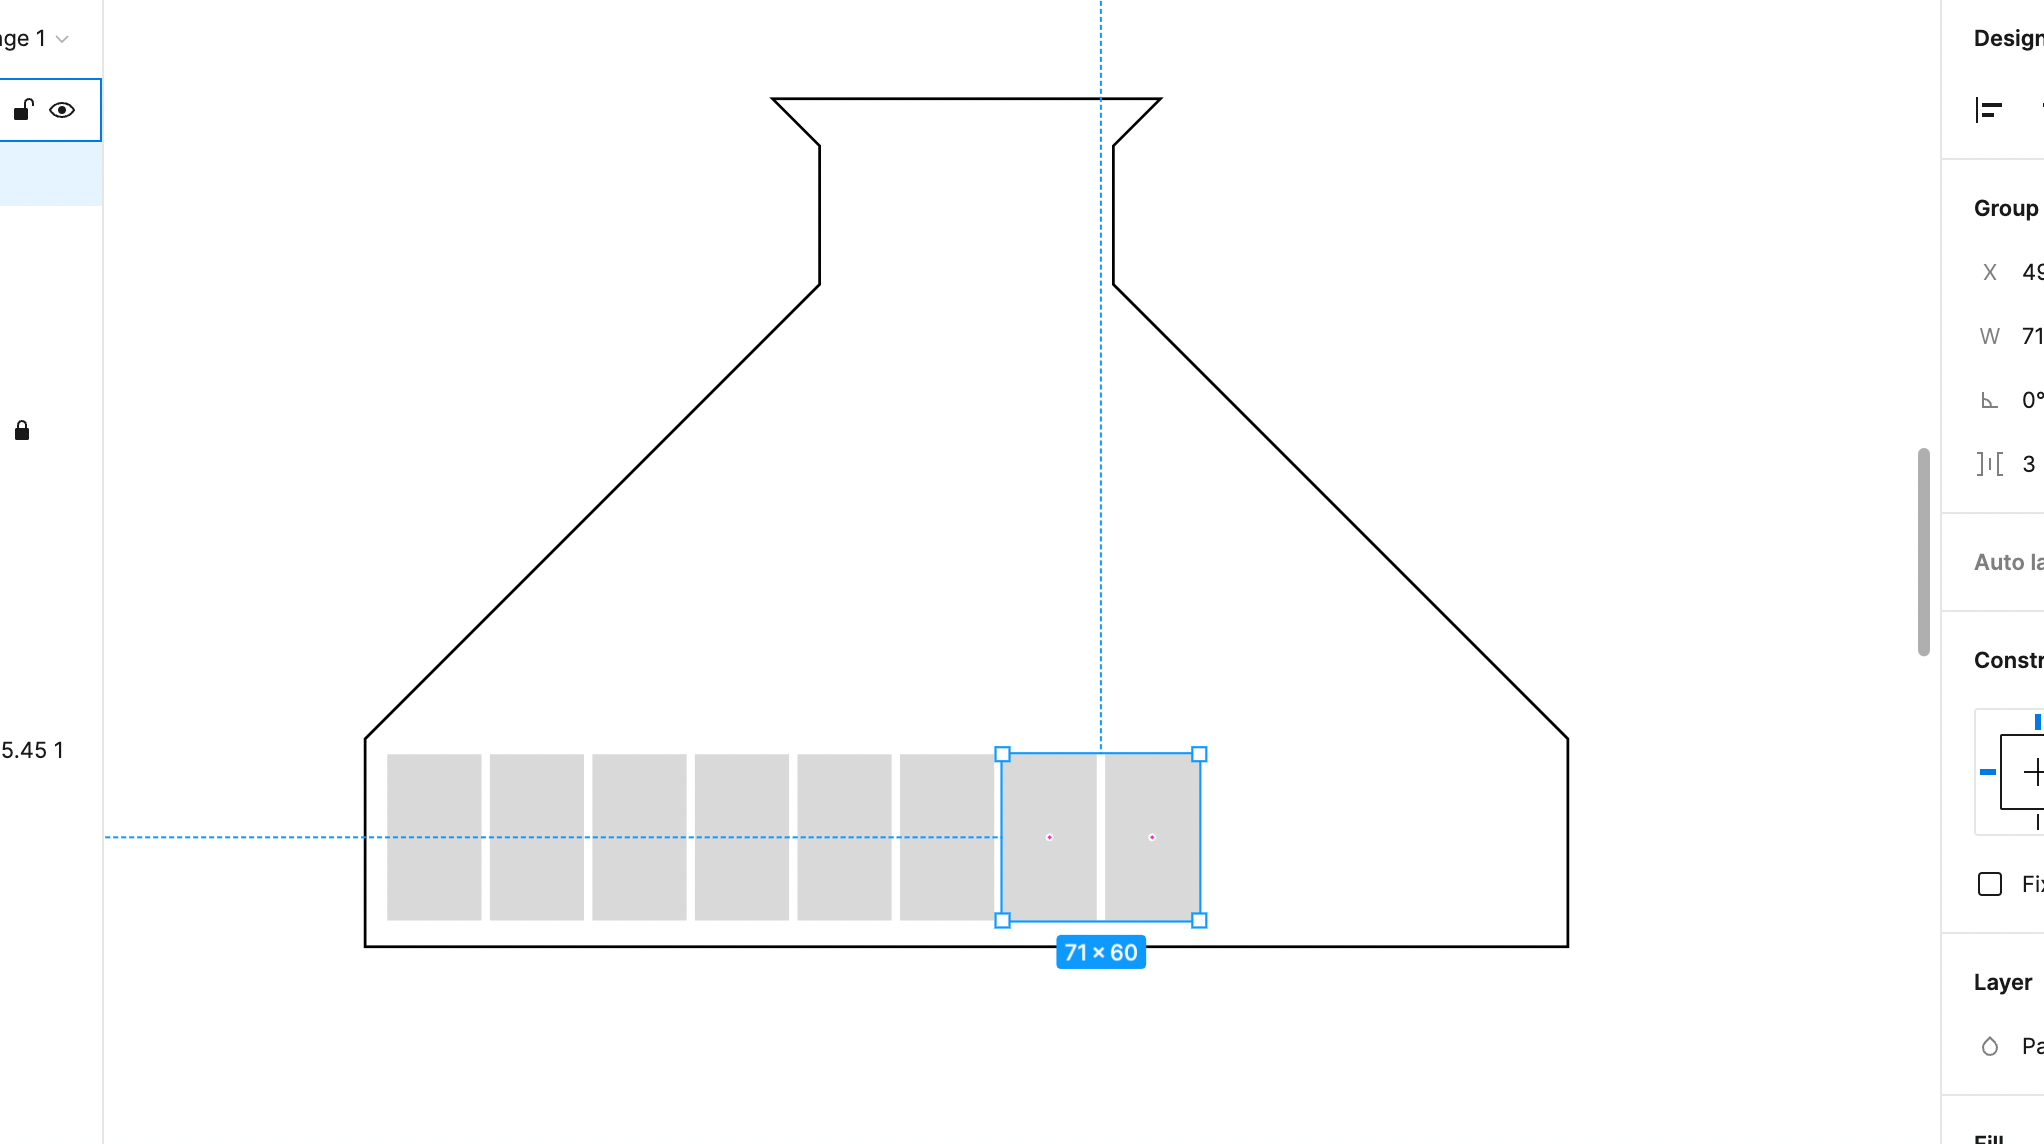
I started the sketch from the funnel part. I immediately ran into a design doubt: how big should the opening be? Not knowing how to give an answer at the time, I set it at 10 cm and thought I could make the whole sketch dependent on that measurement. (In fact, it doesn’t make sense as an approach because it’s not the most important measurement, but whatever).
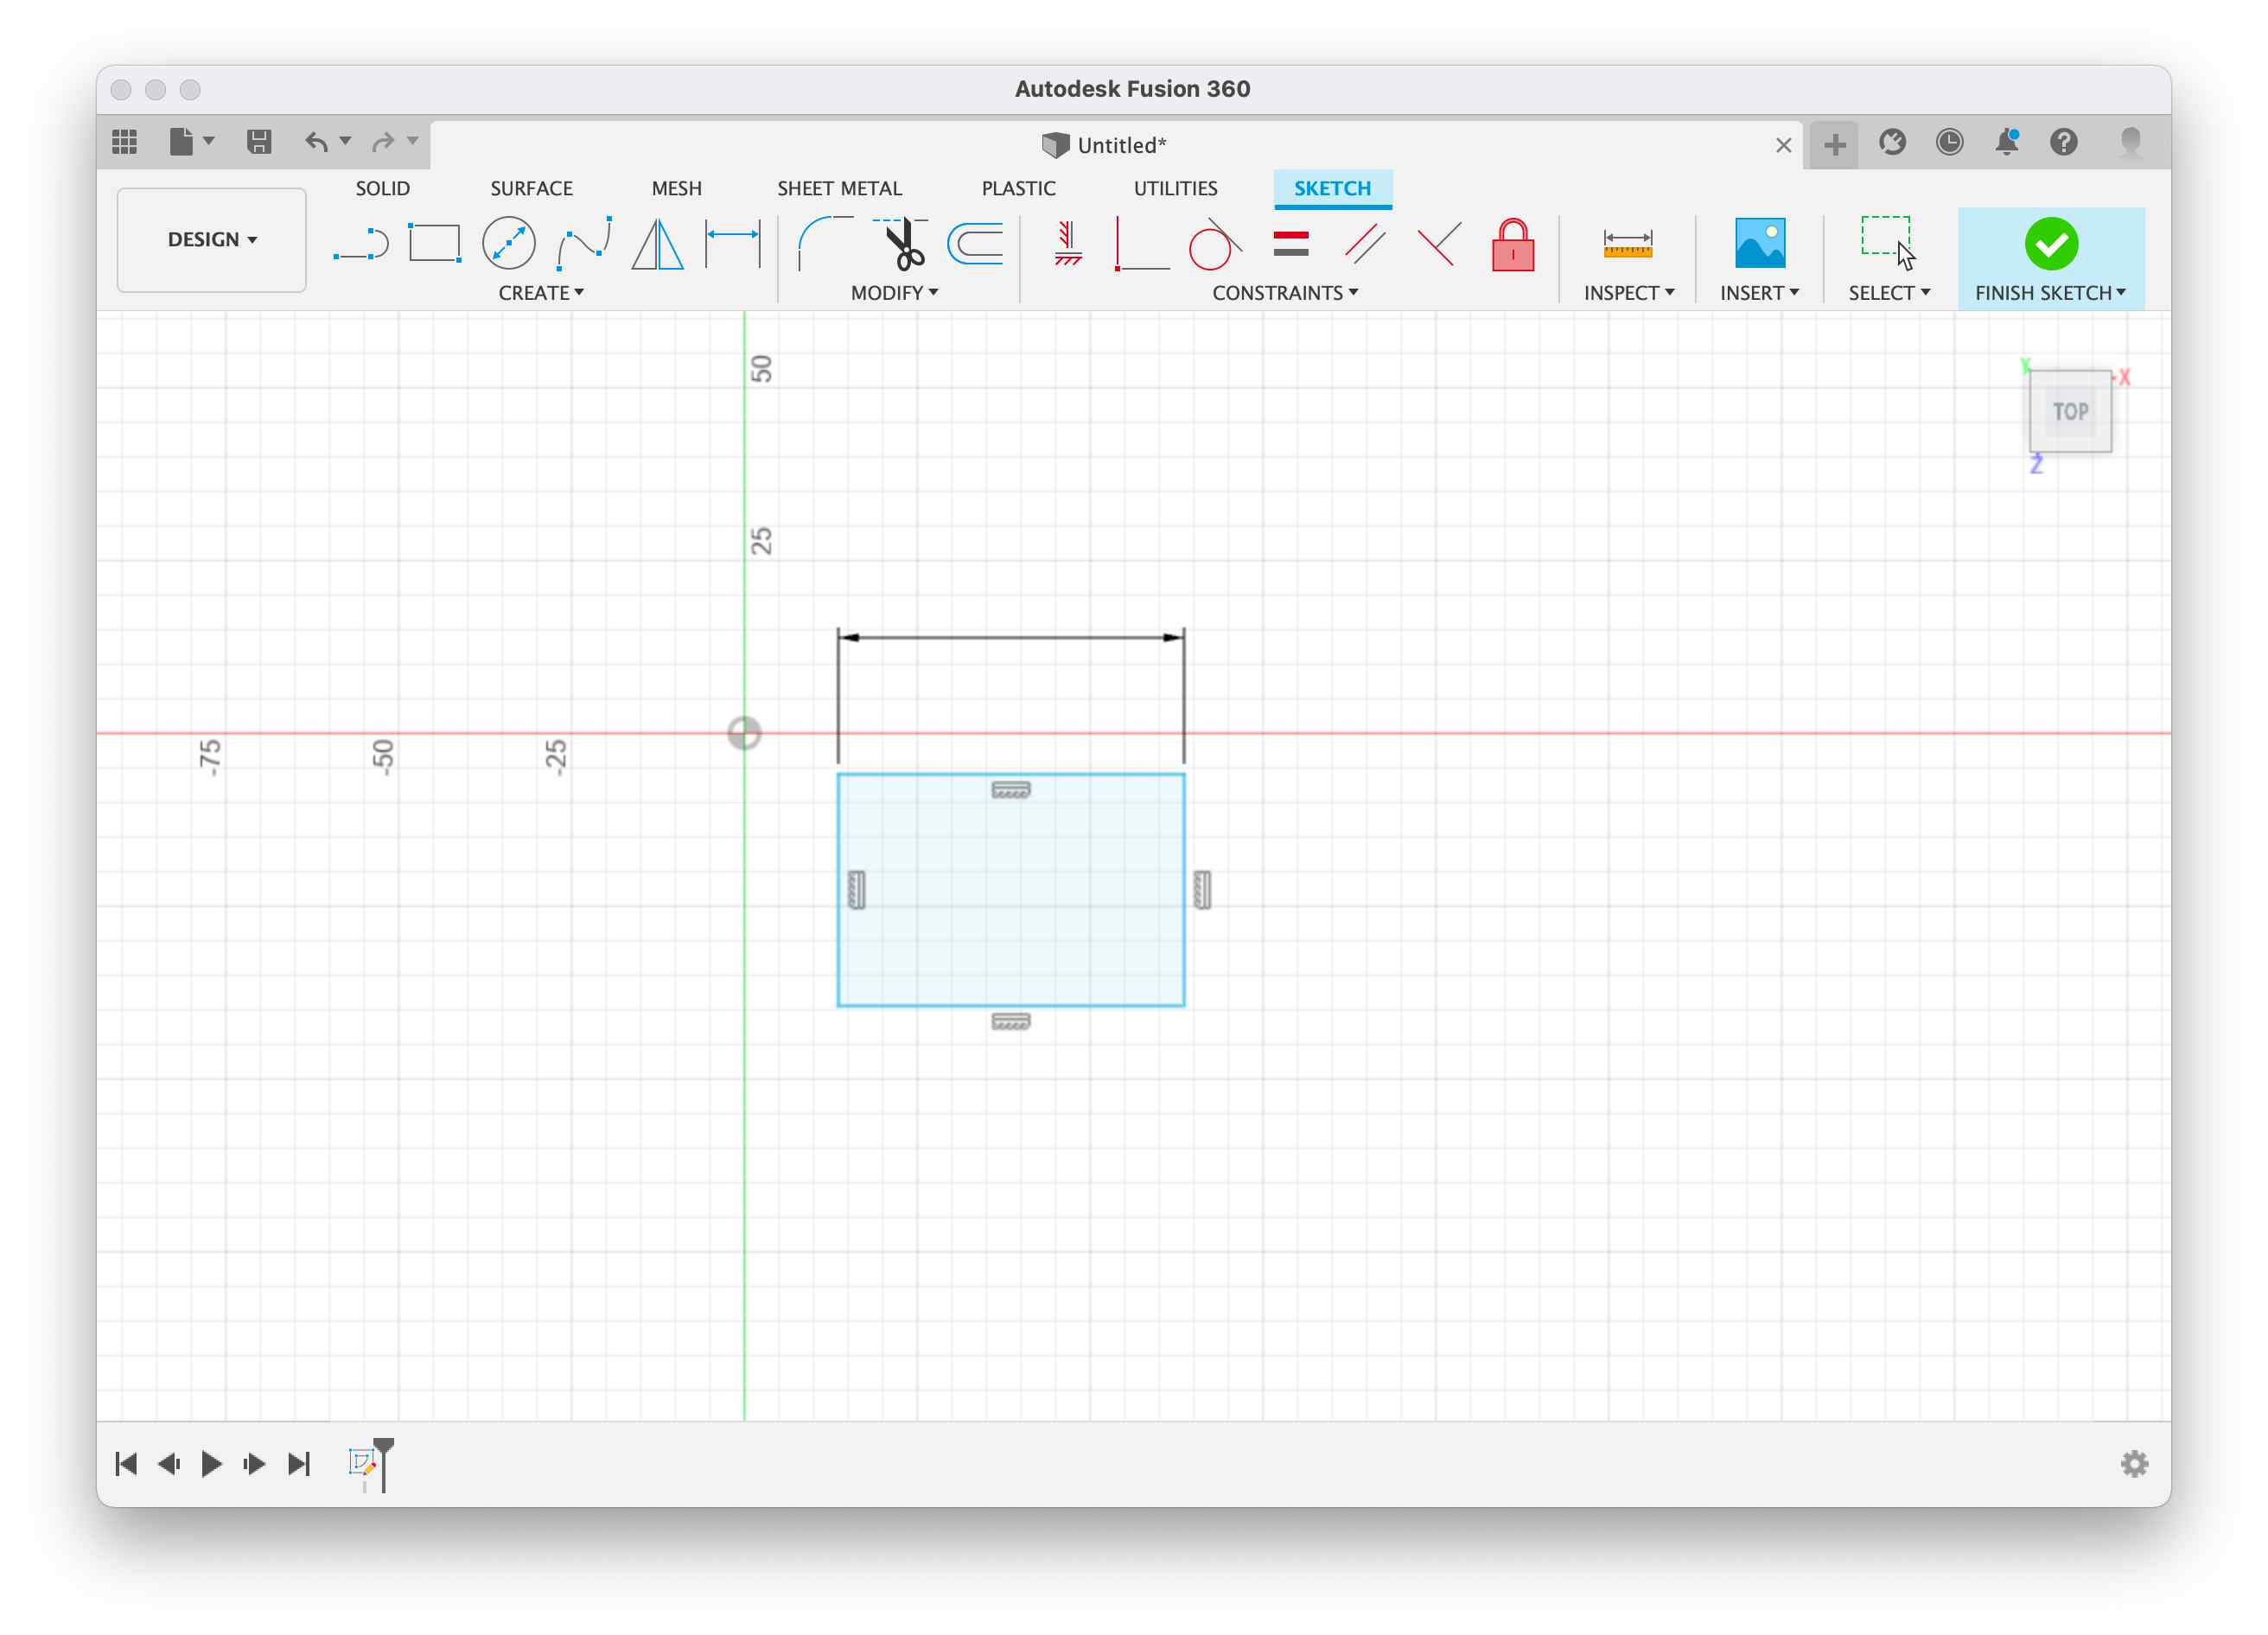
I made a square with two sides defined by the parameter d3 = 100 mm and then extruded it by 100 mm. I then moved on to the top trunk of the pyramid. For this part, I created the sketch on a horizontal plane with an offset from the cube I had constructed.
I drew a square with a side value dependent on d3.
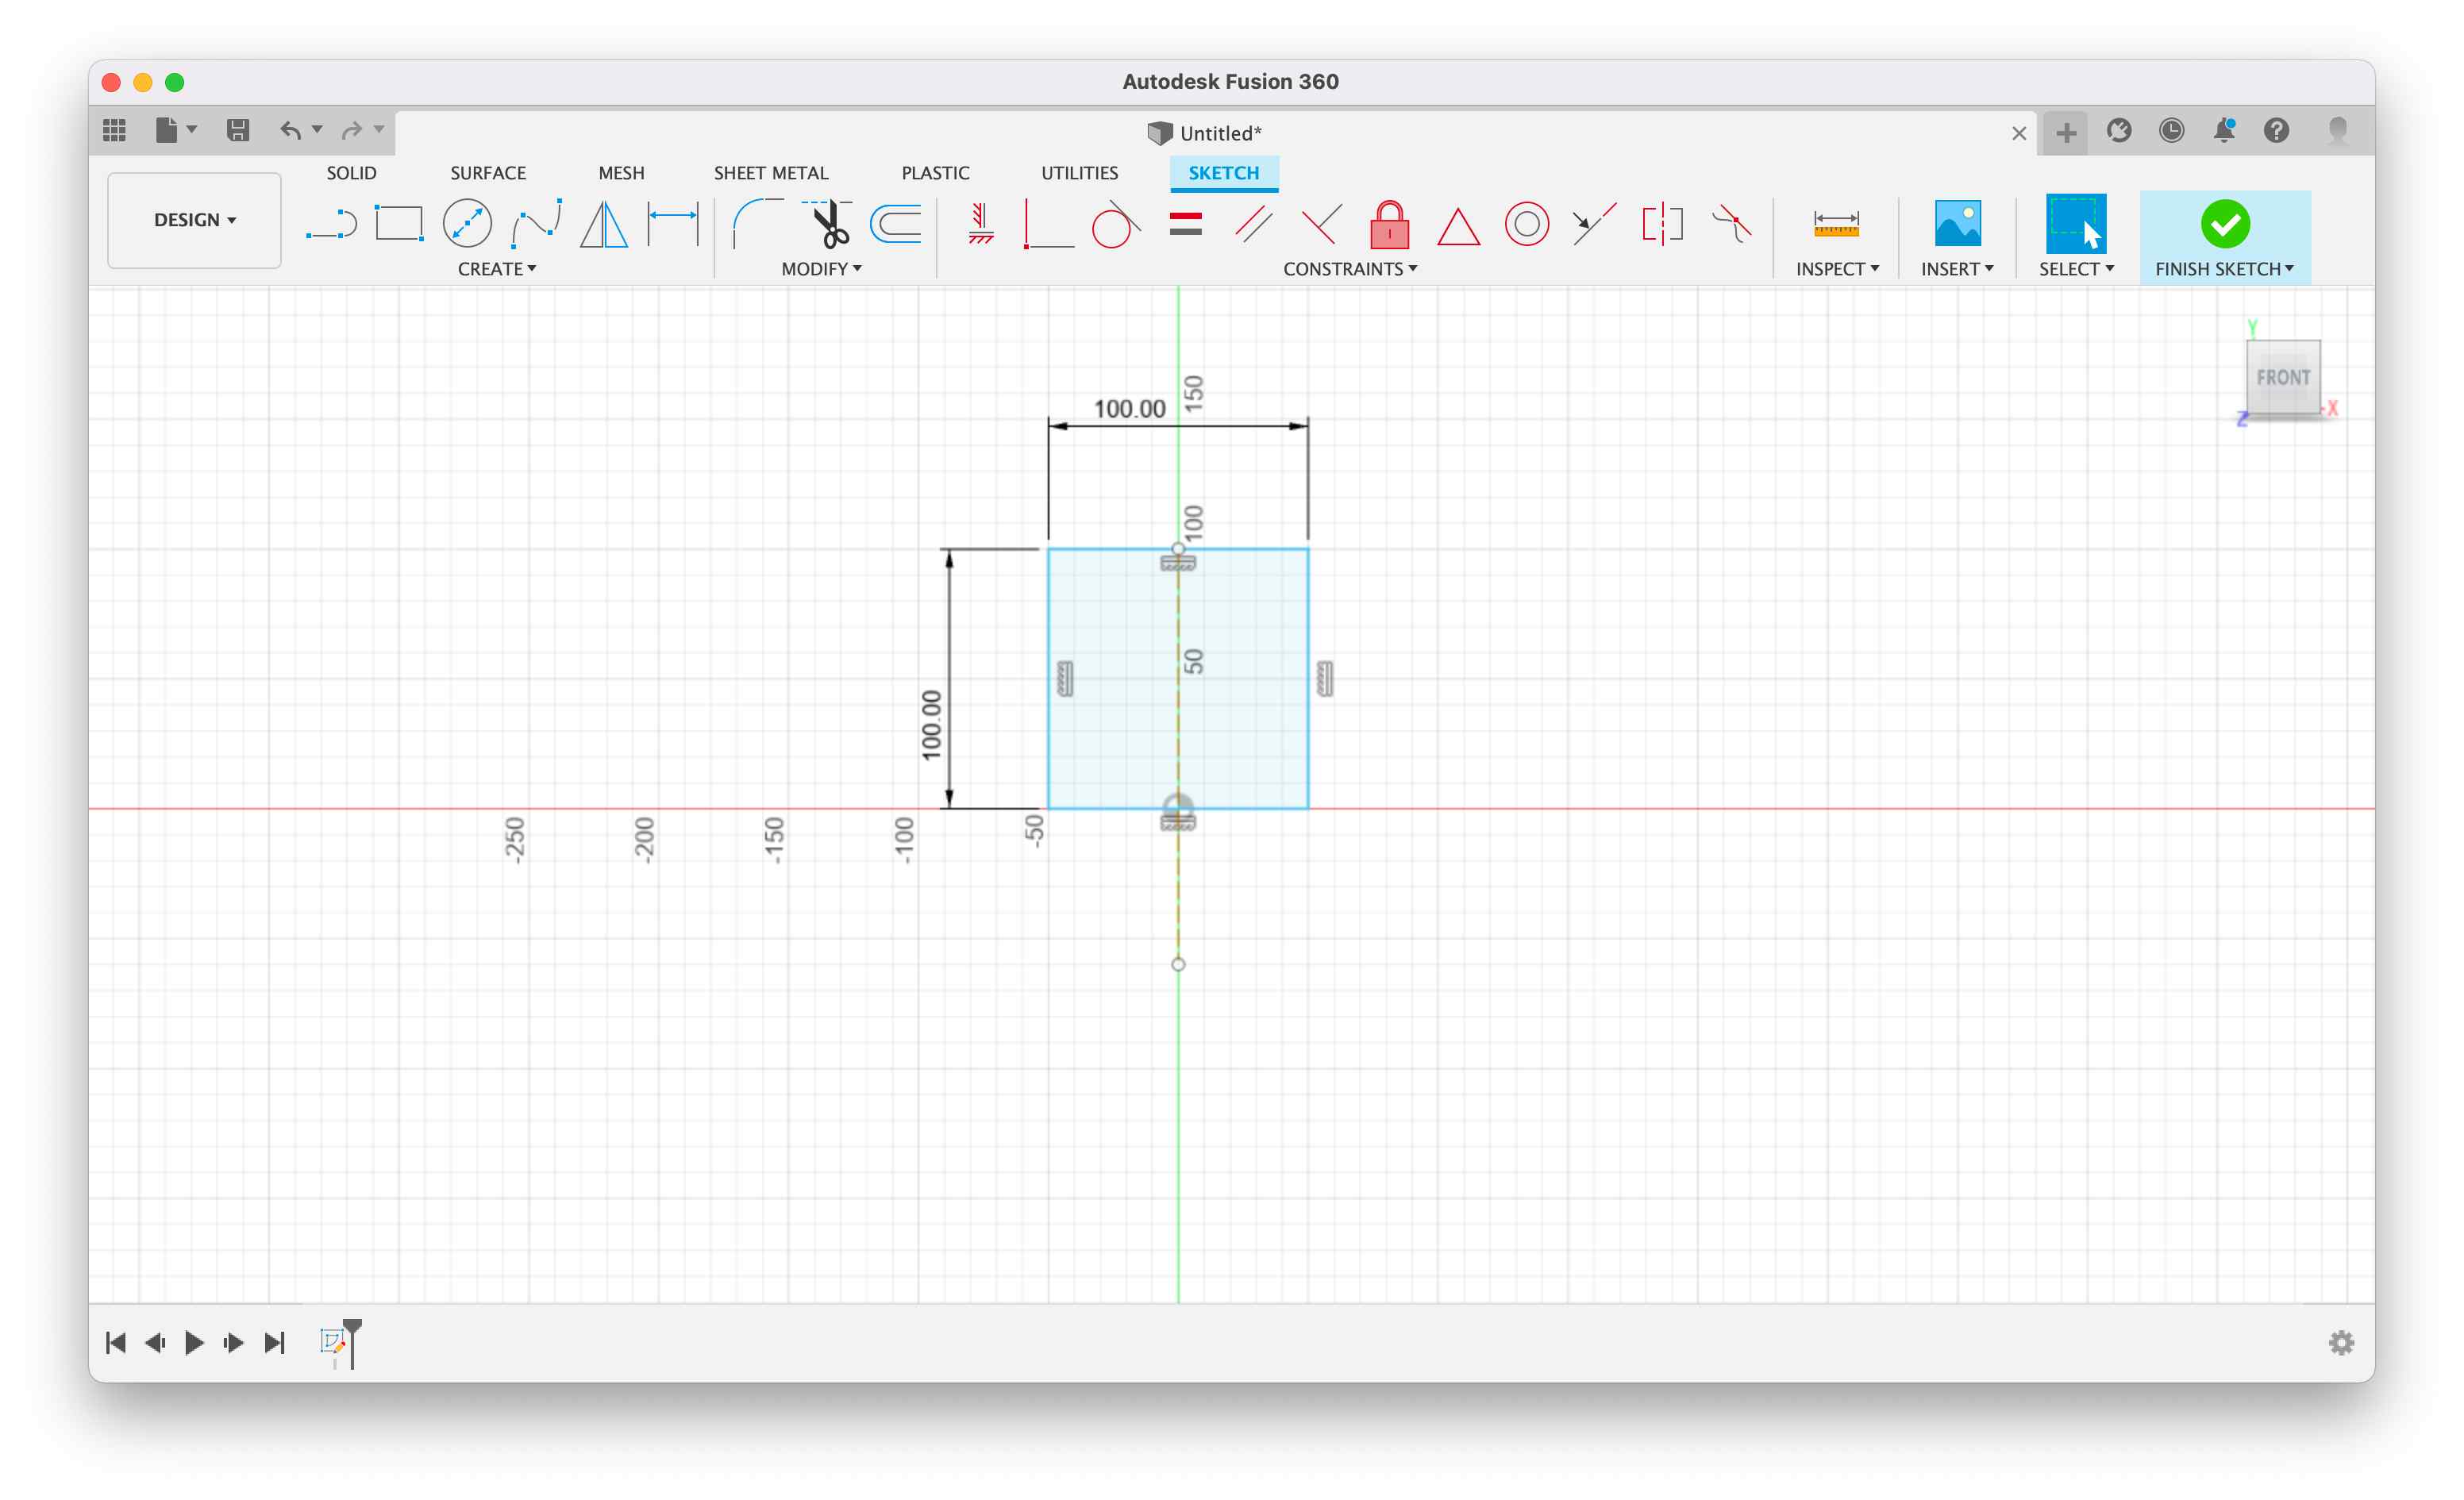
I then made a loft between the two squares, to create a truncated pyramid. I then proceeded to make the trapezoid below the cube, drawing directly on the front plane of the cube. To make this shape, I created the shape I wanted without giving constrains and then defined a mirror symmetrical with respect to z.
I started to think in this moment that I needed to check the parameters and try to understand the smartest way to proceed.
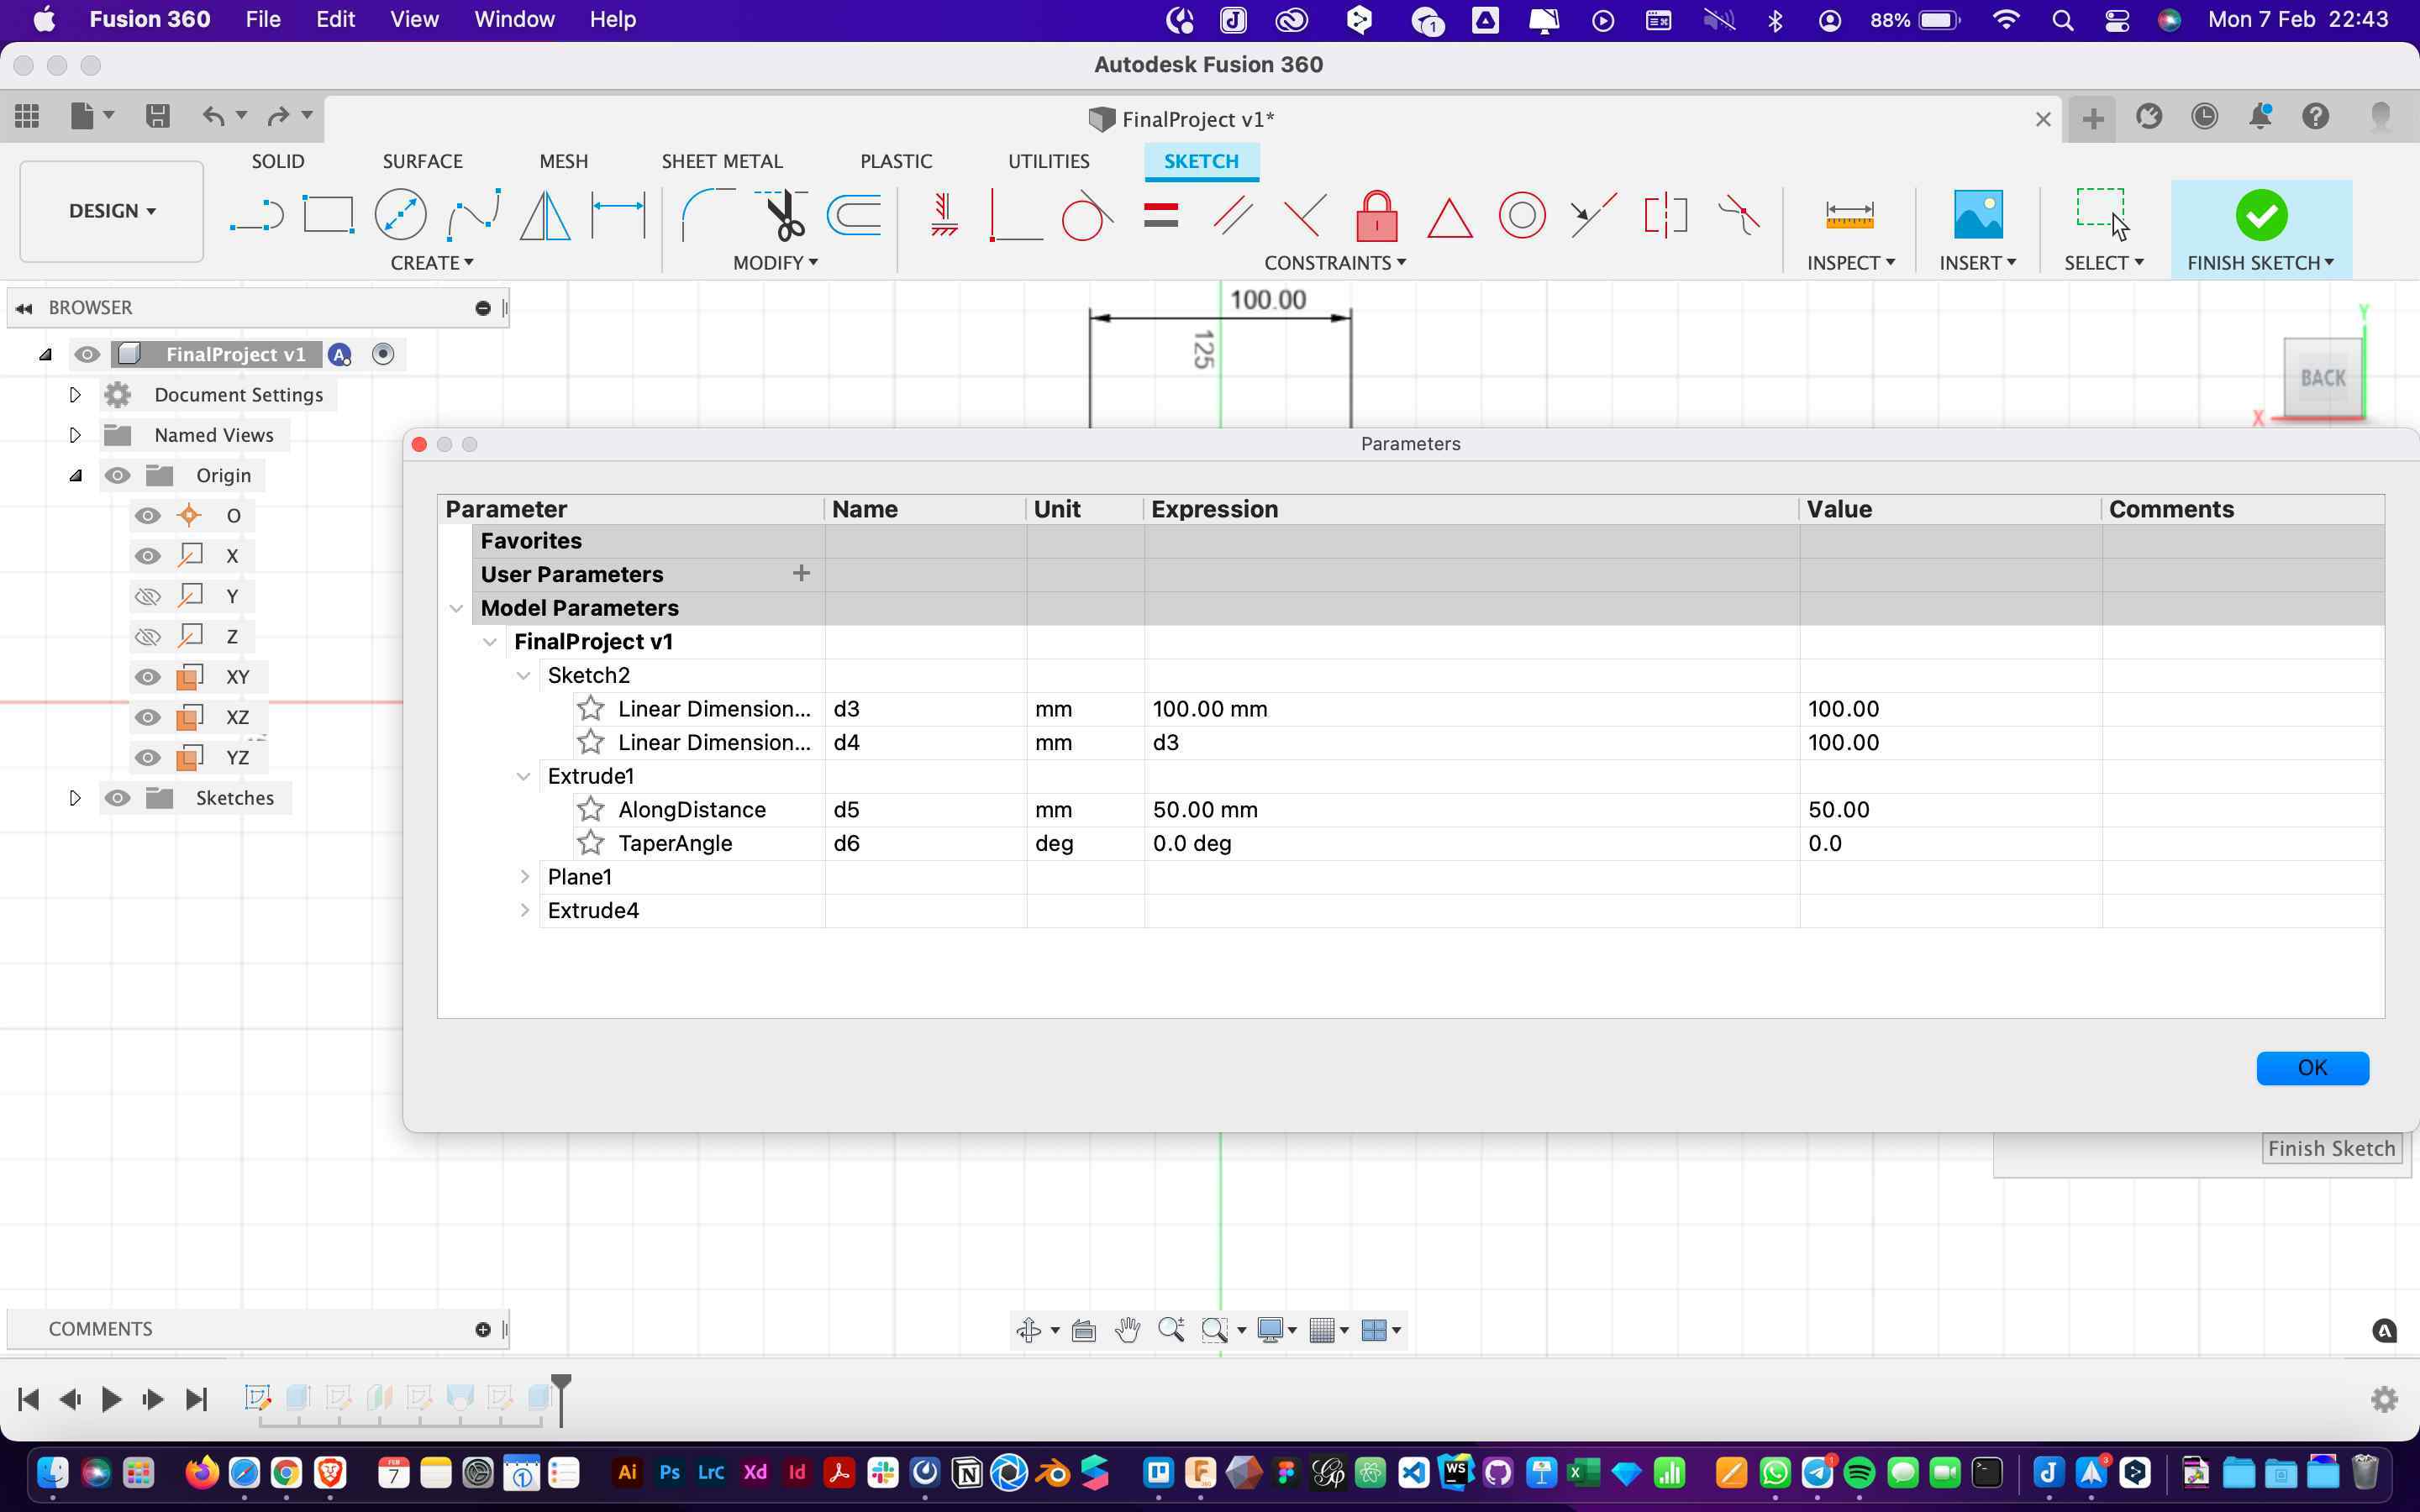
I then set the angle between the oblique side and the side of the cube to 135 degrees.
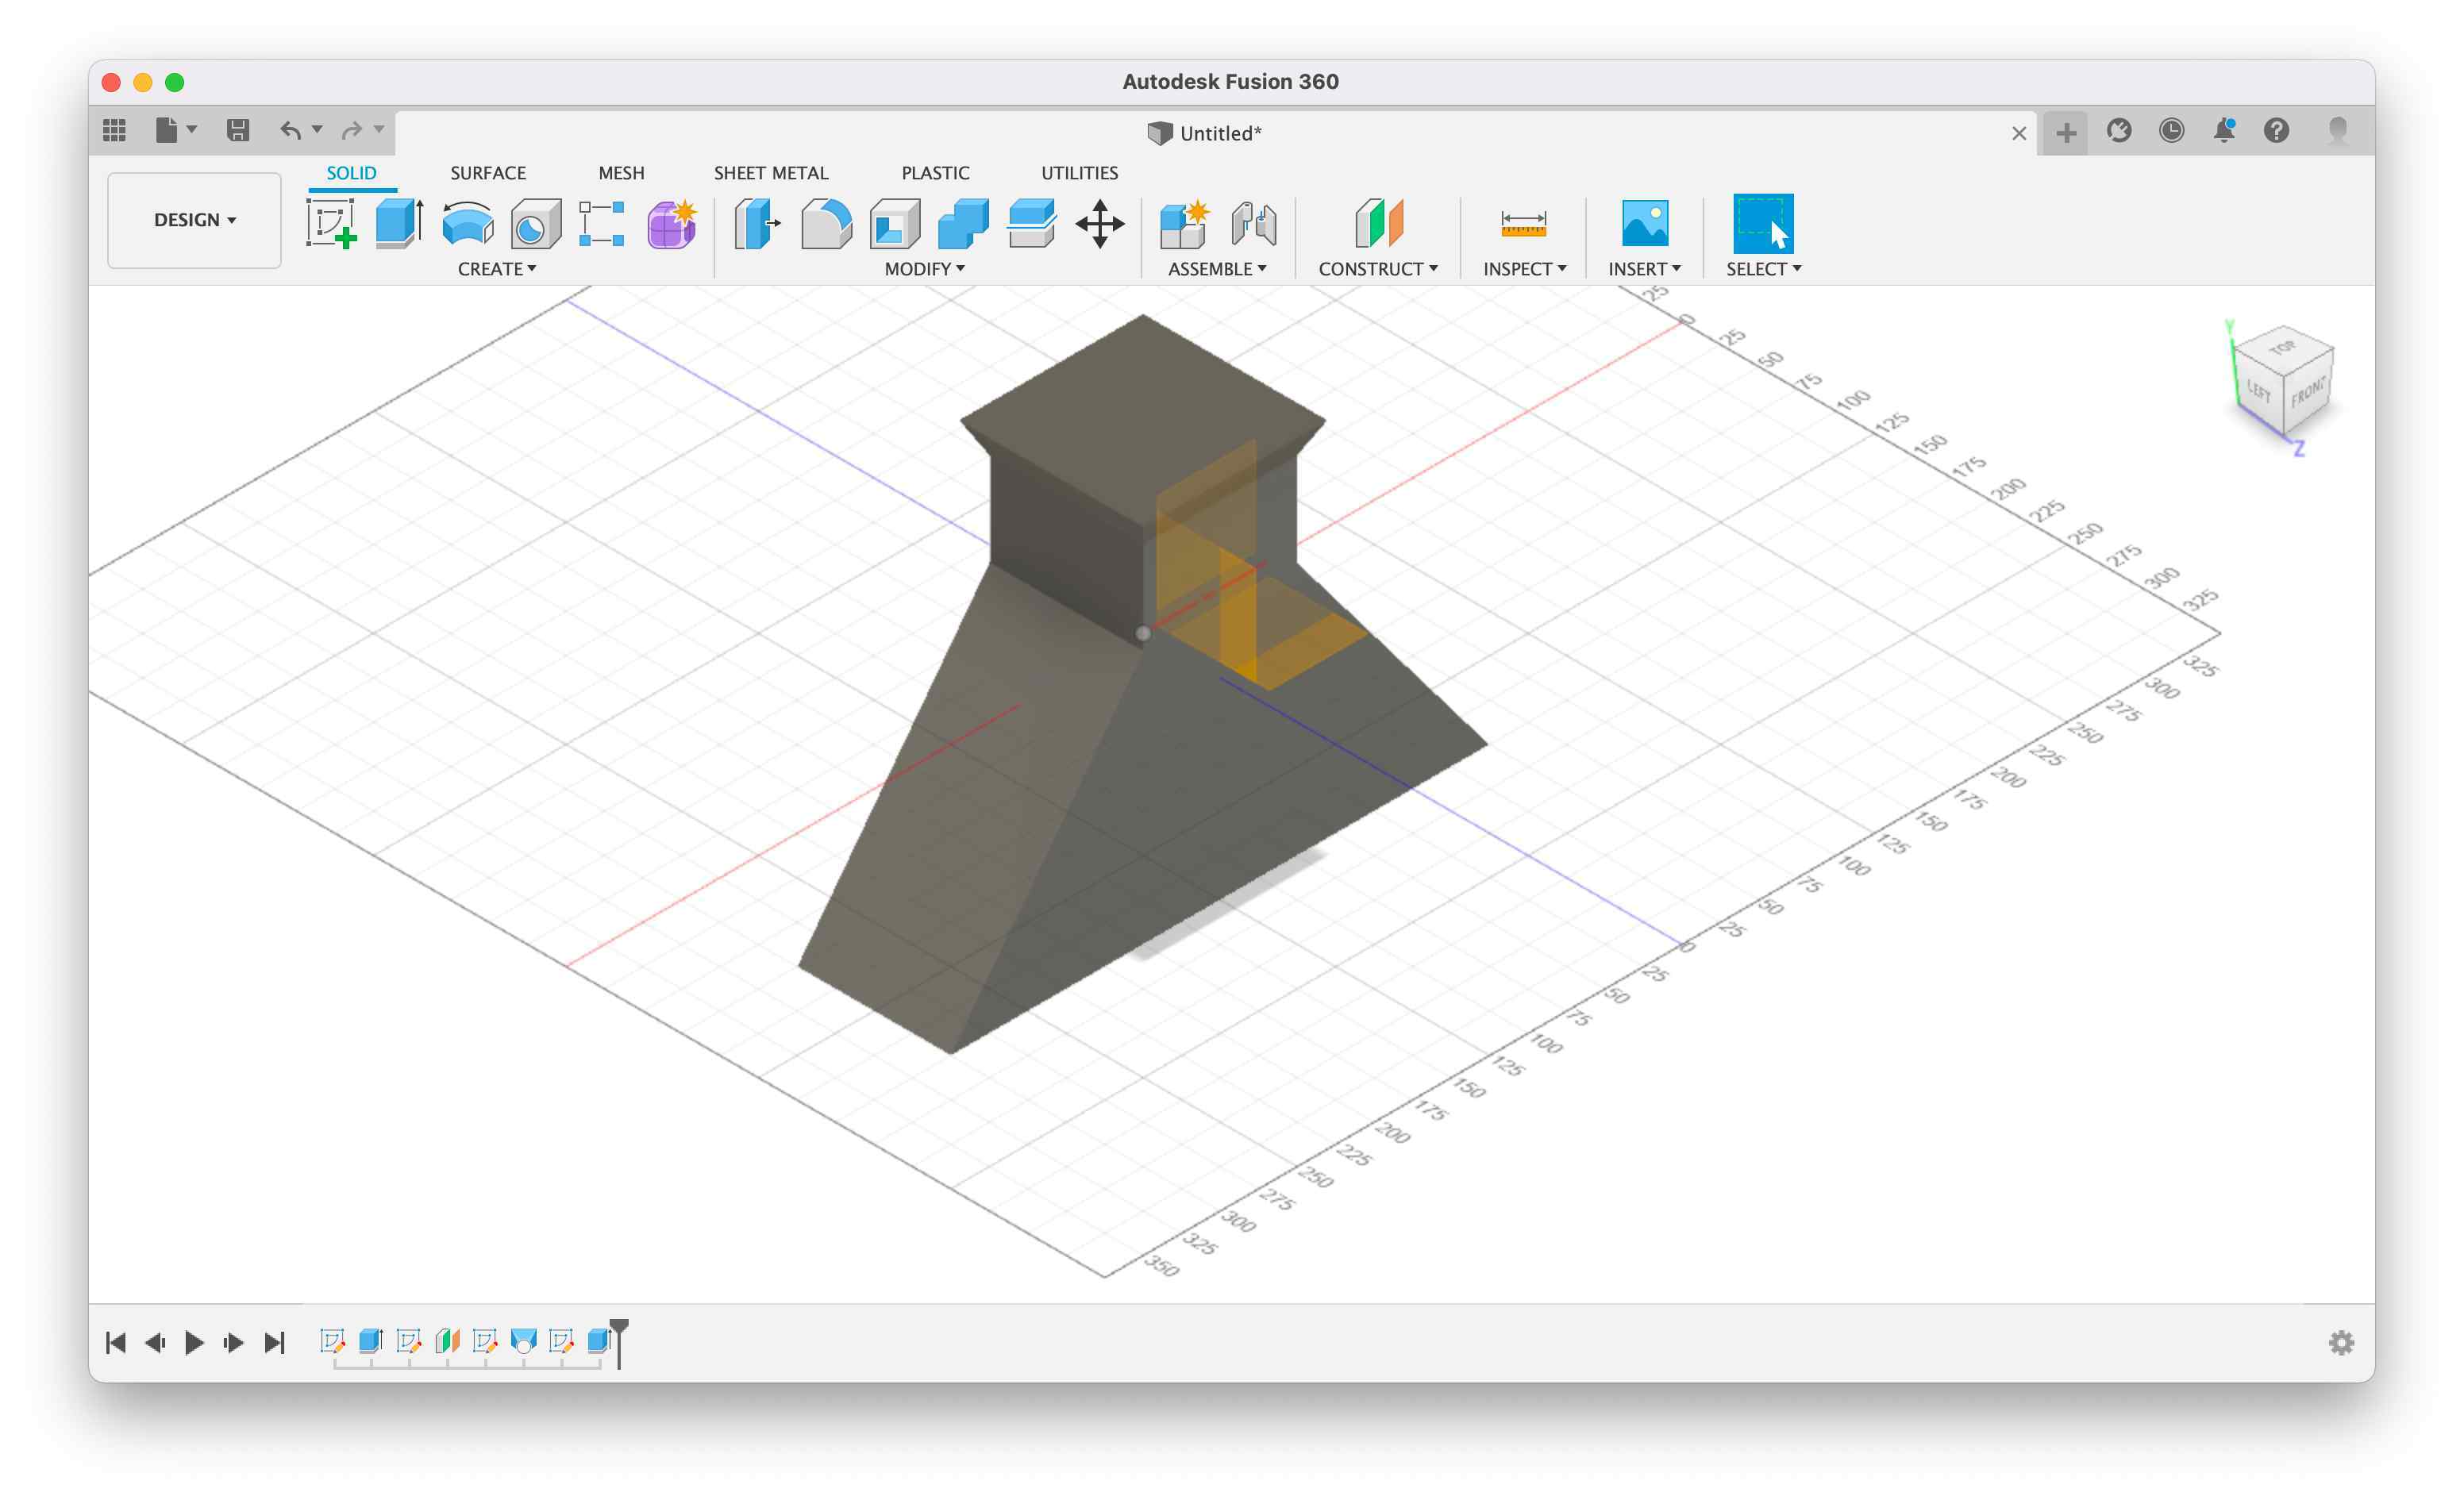
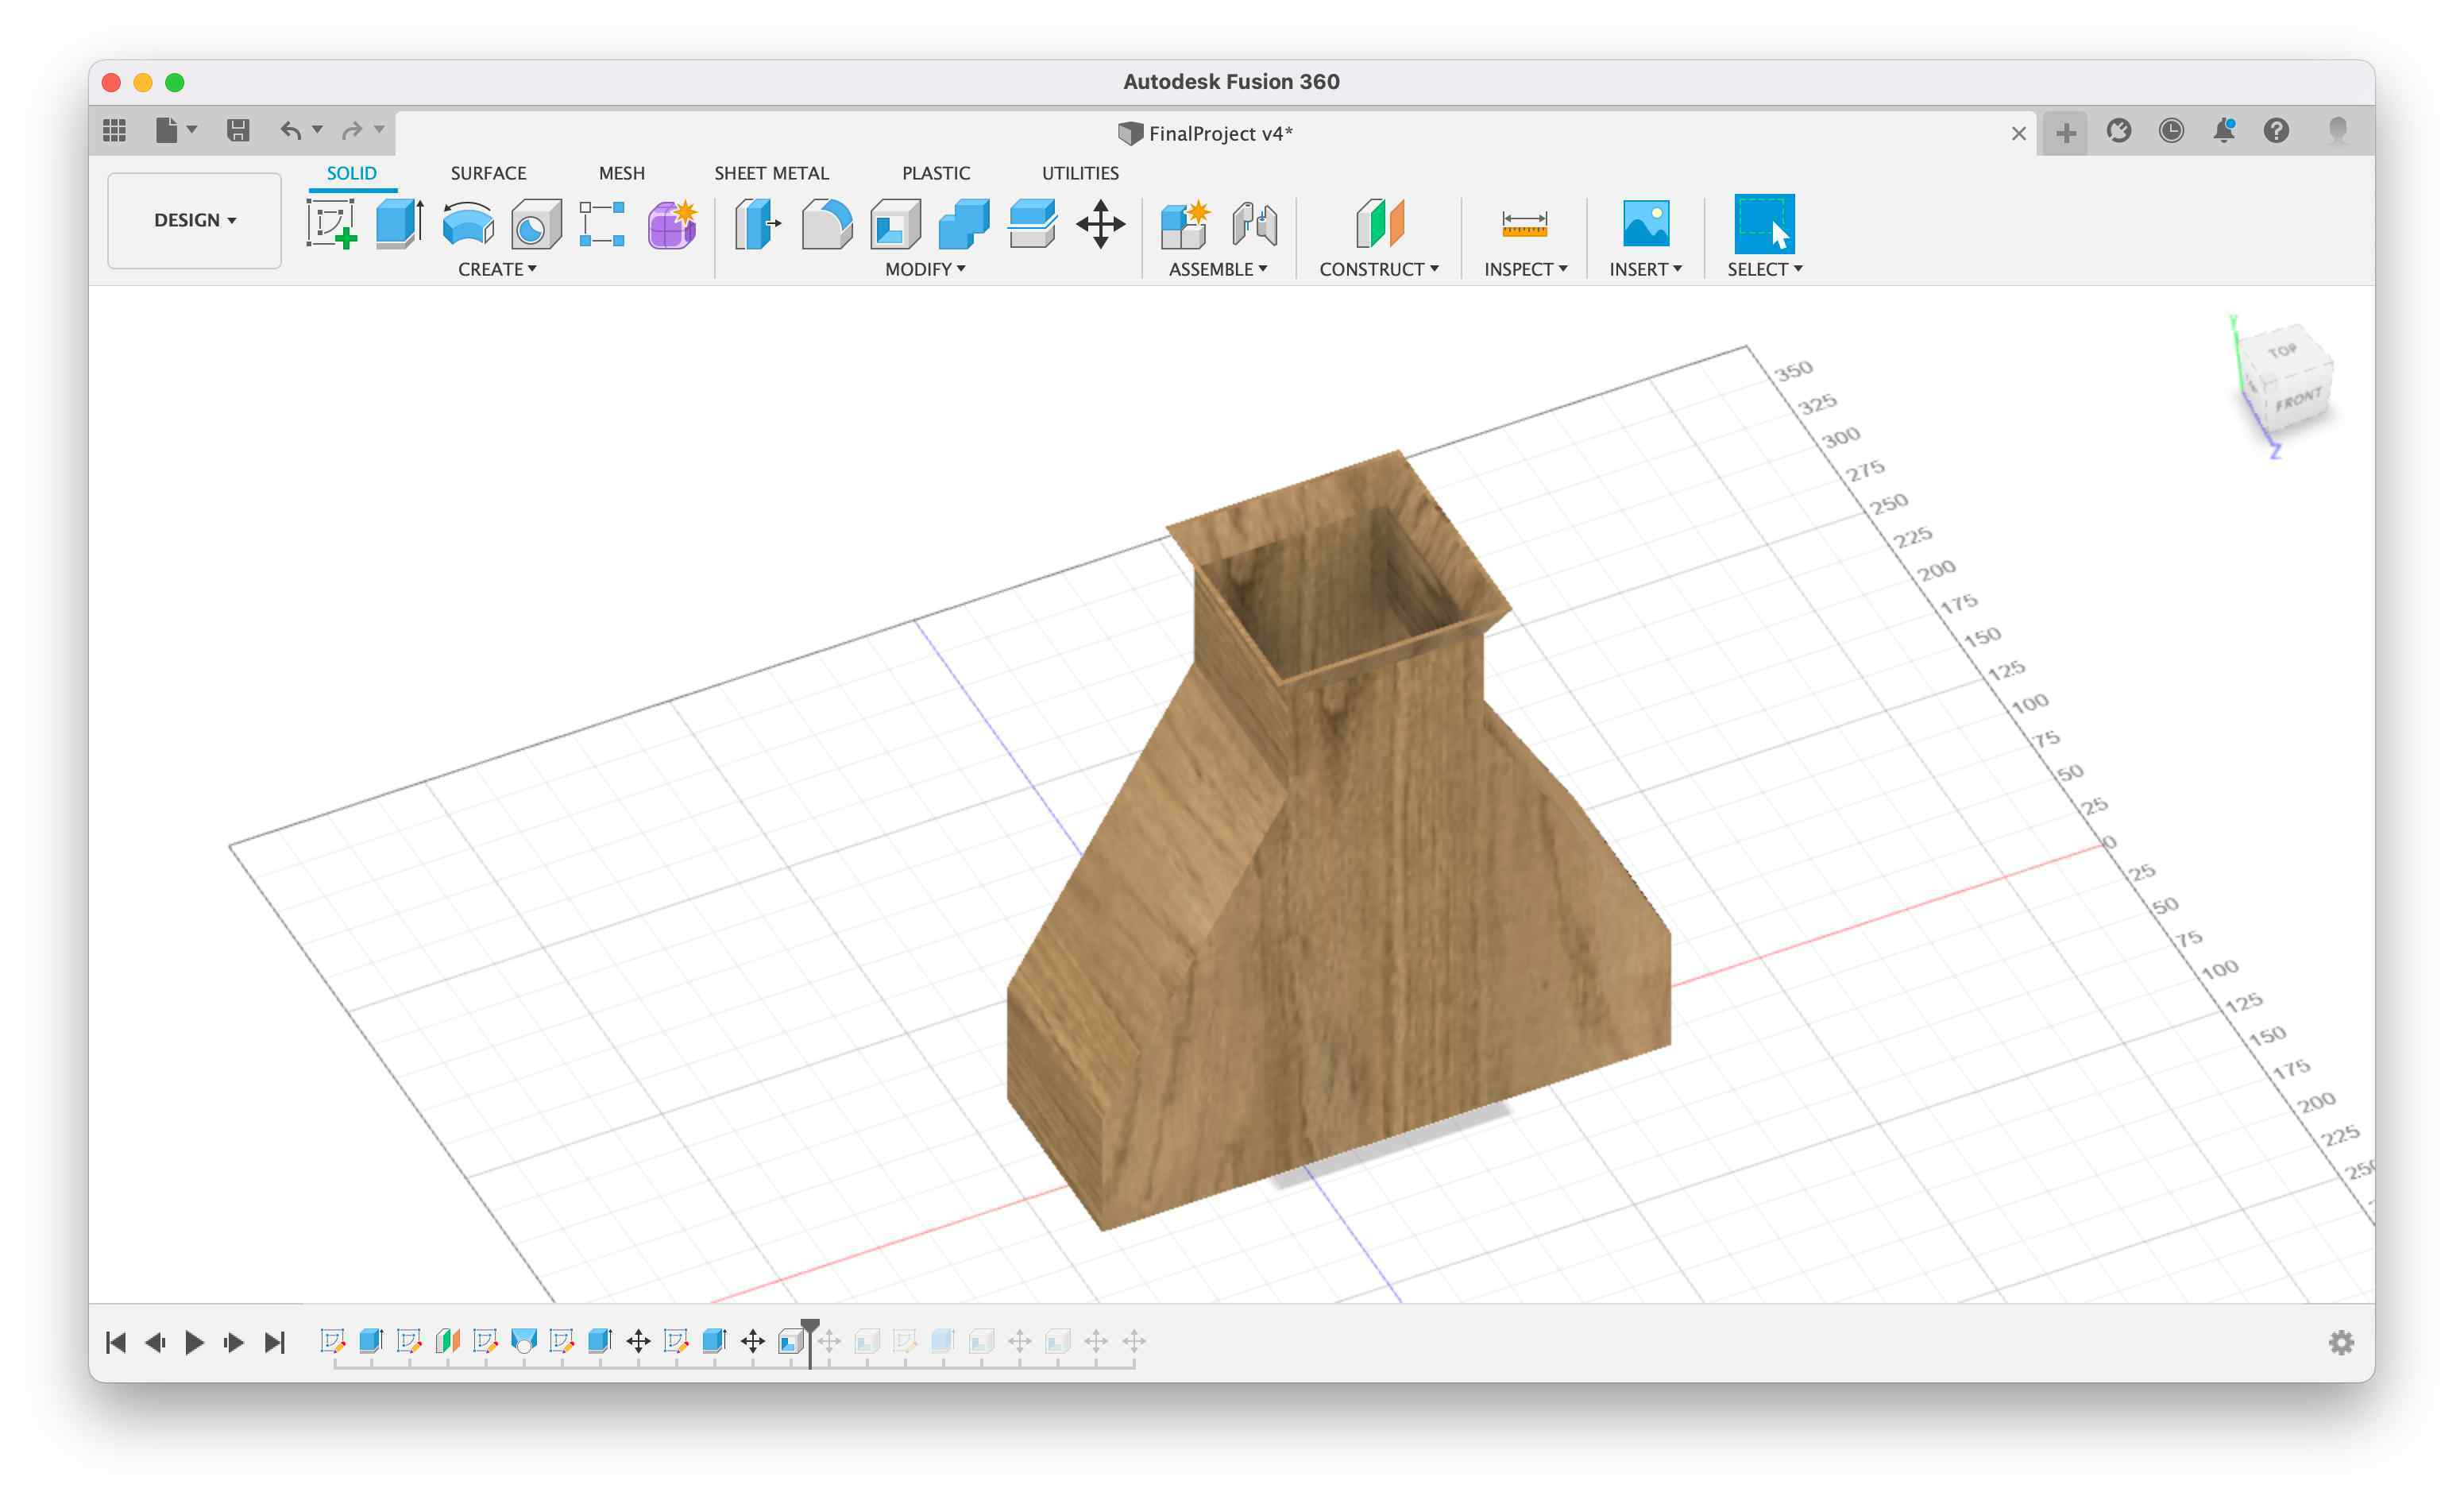
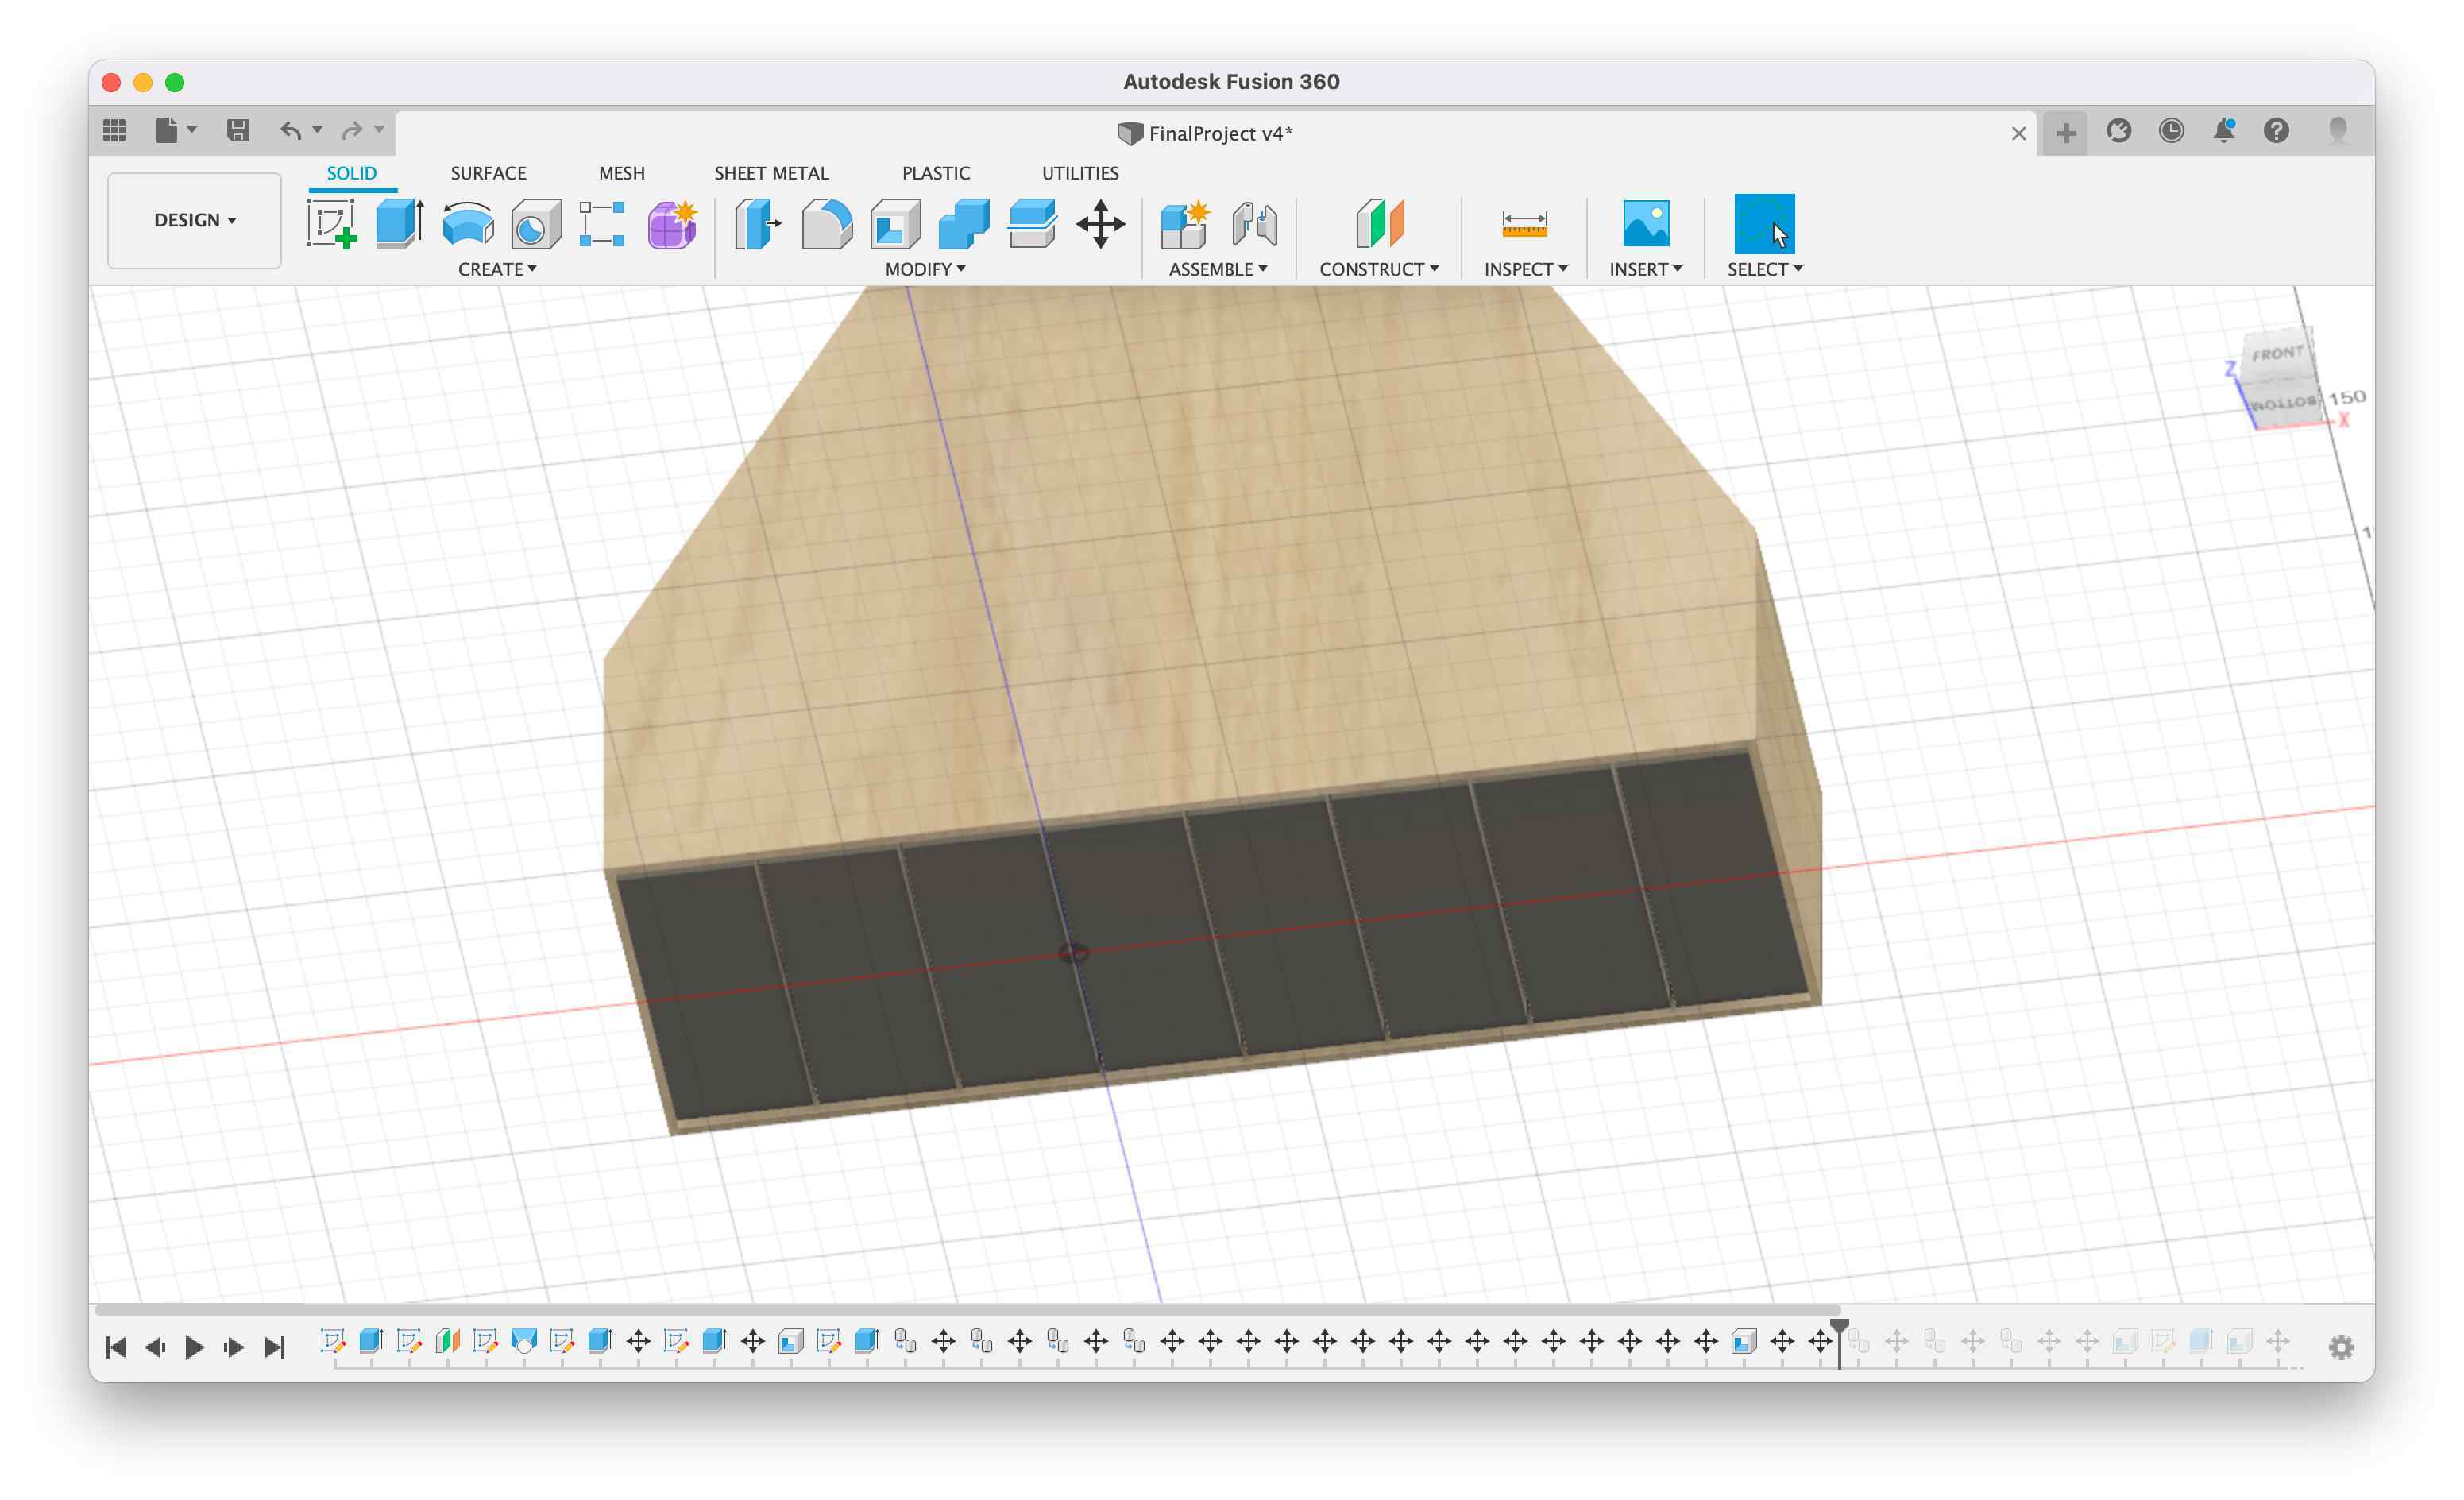
Once the basic structure was finished, I made it hollow creating a shell.
📦 Boxes
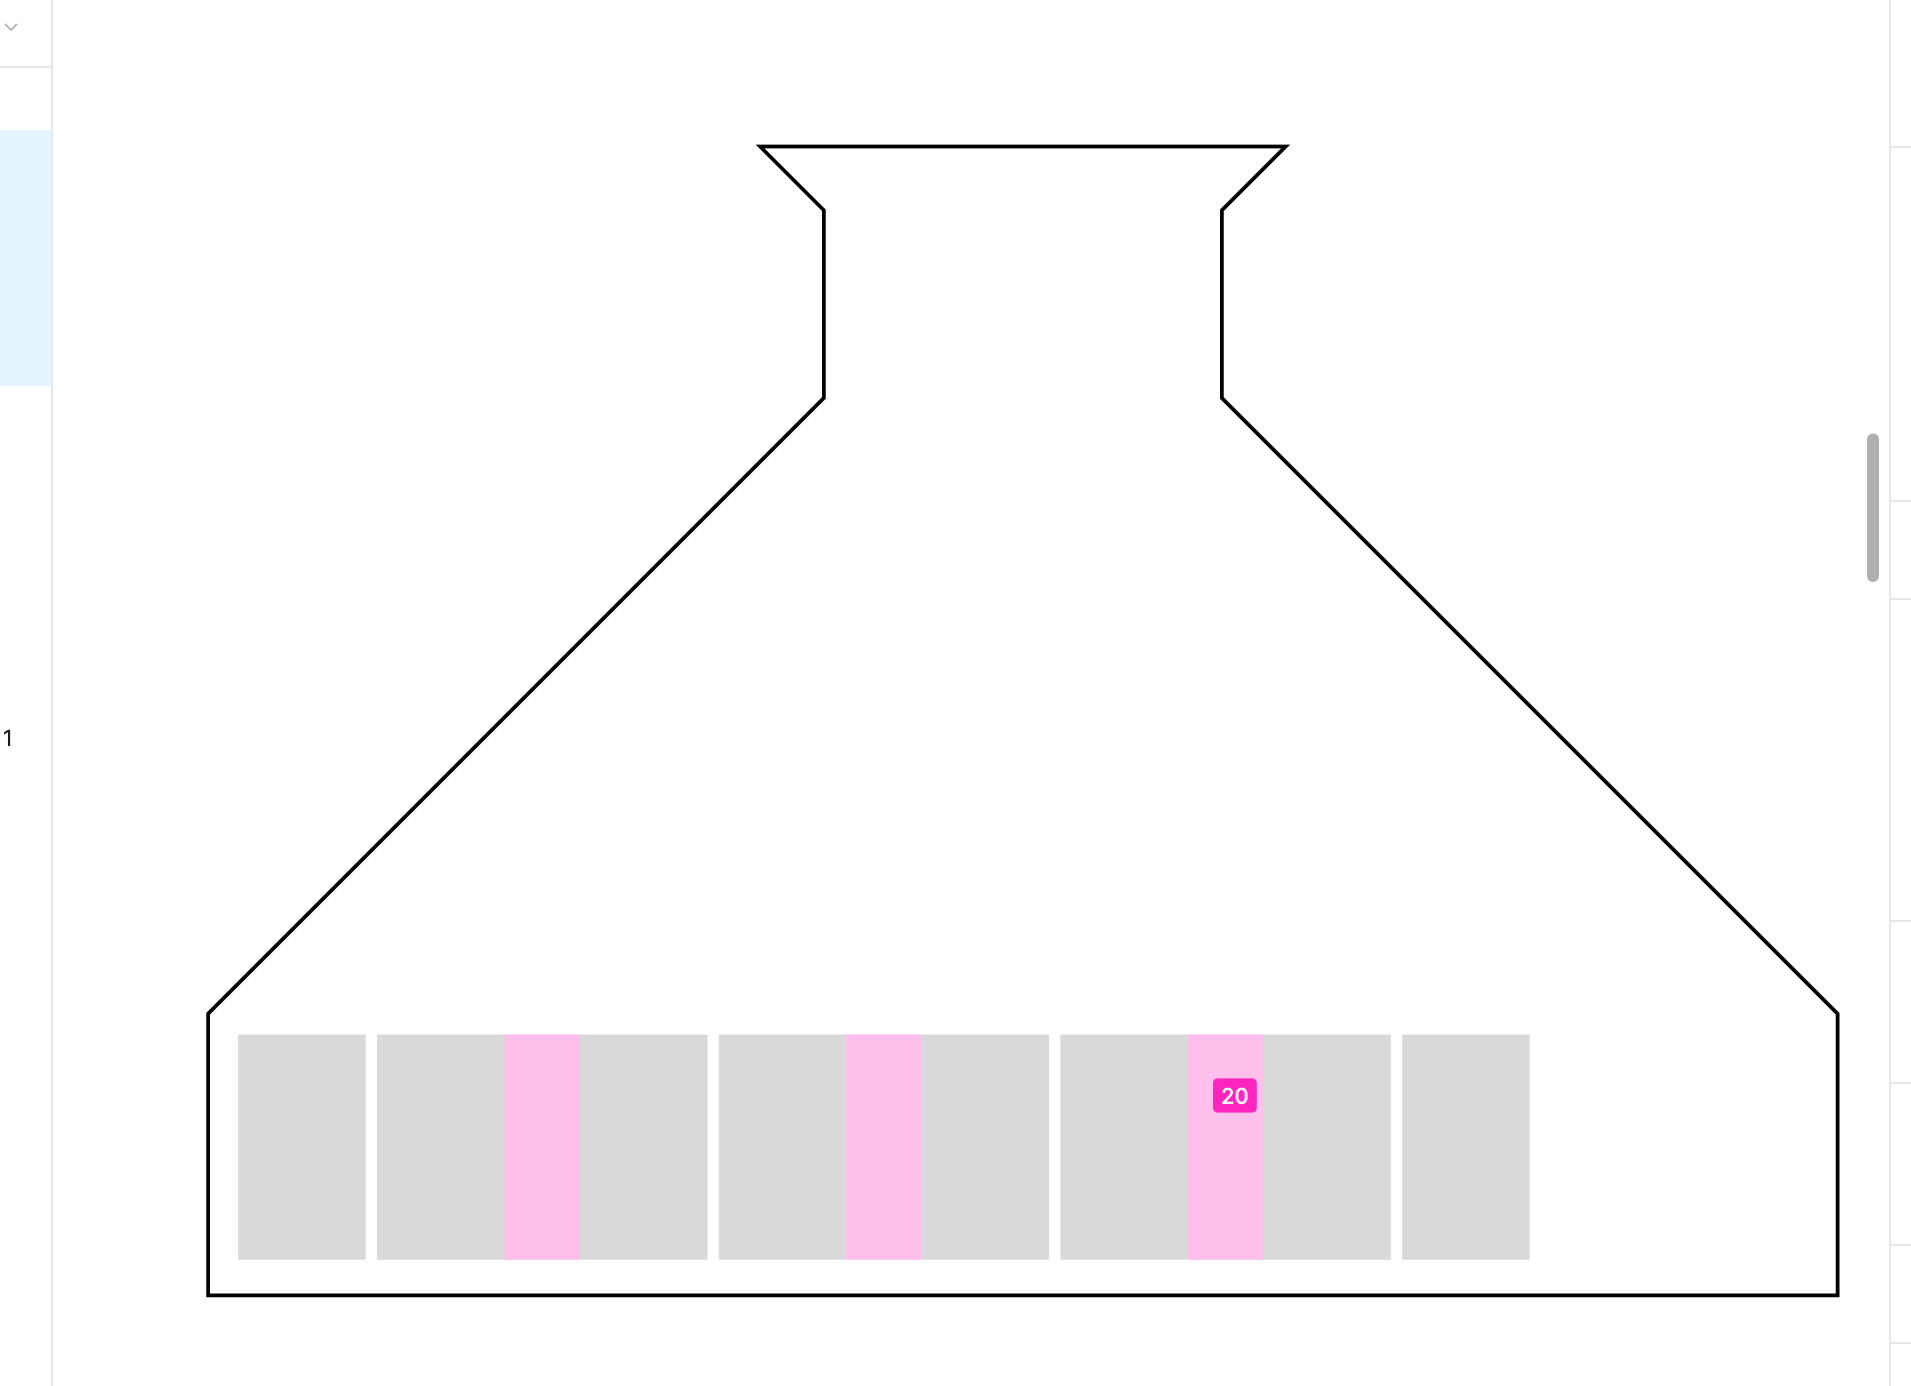
I proceeded in sketching the box that will be collecting the caps for each color, creating a new body.
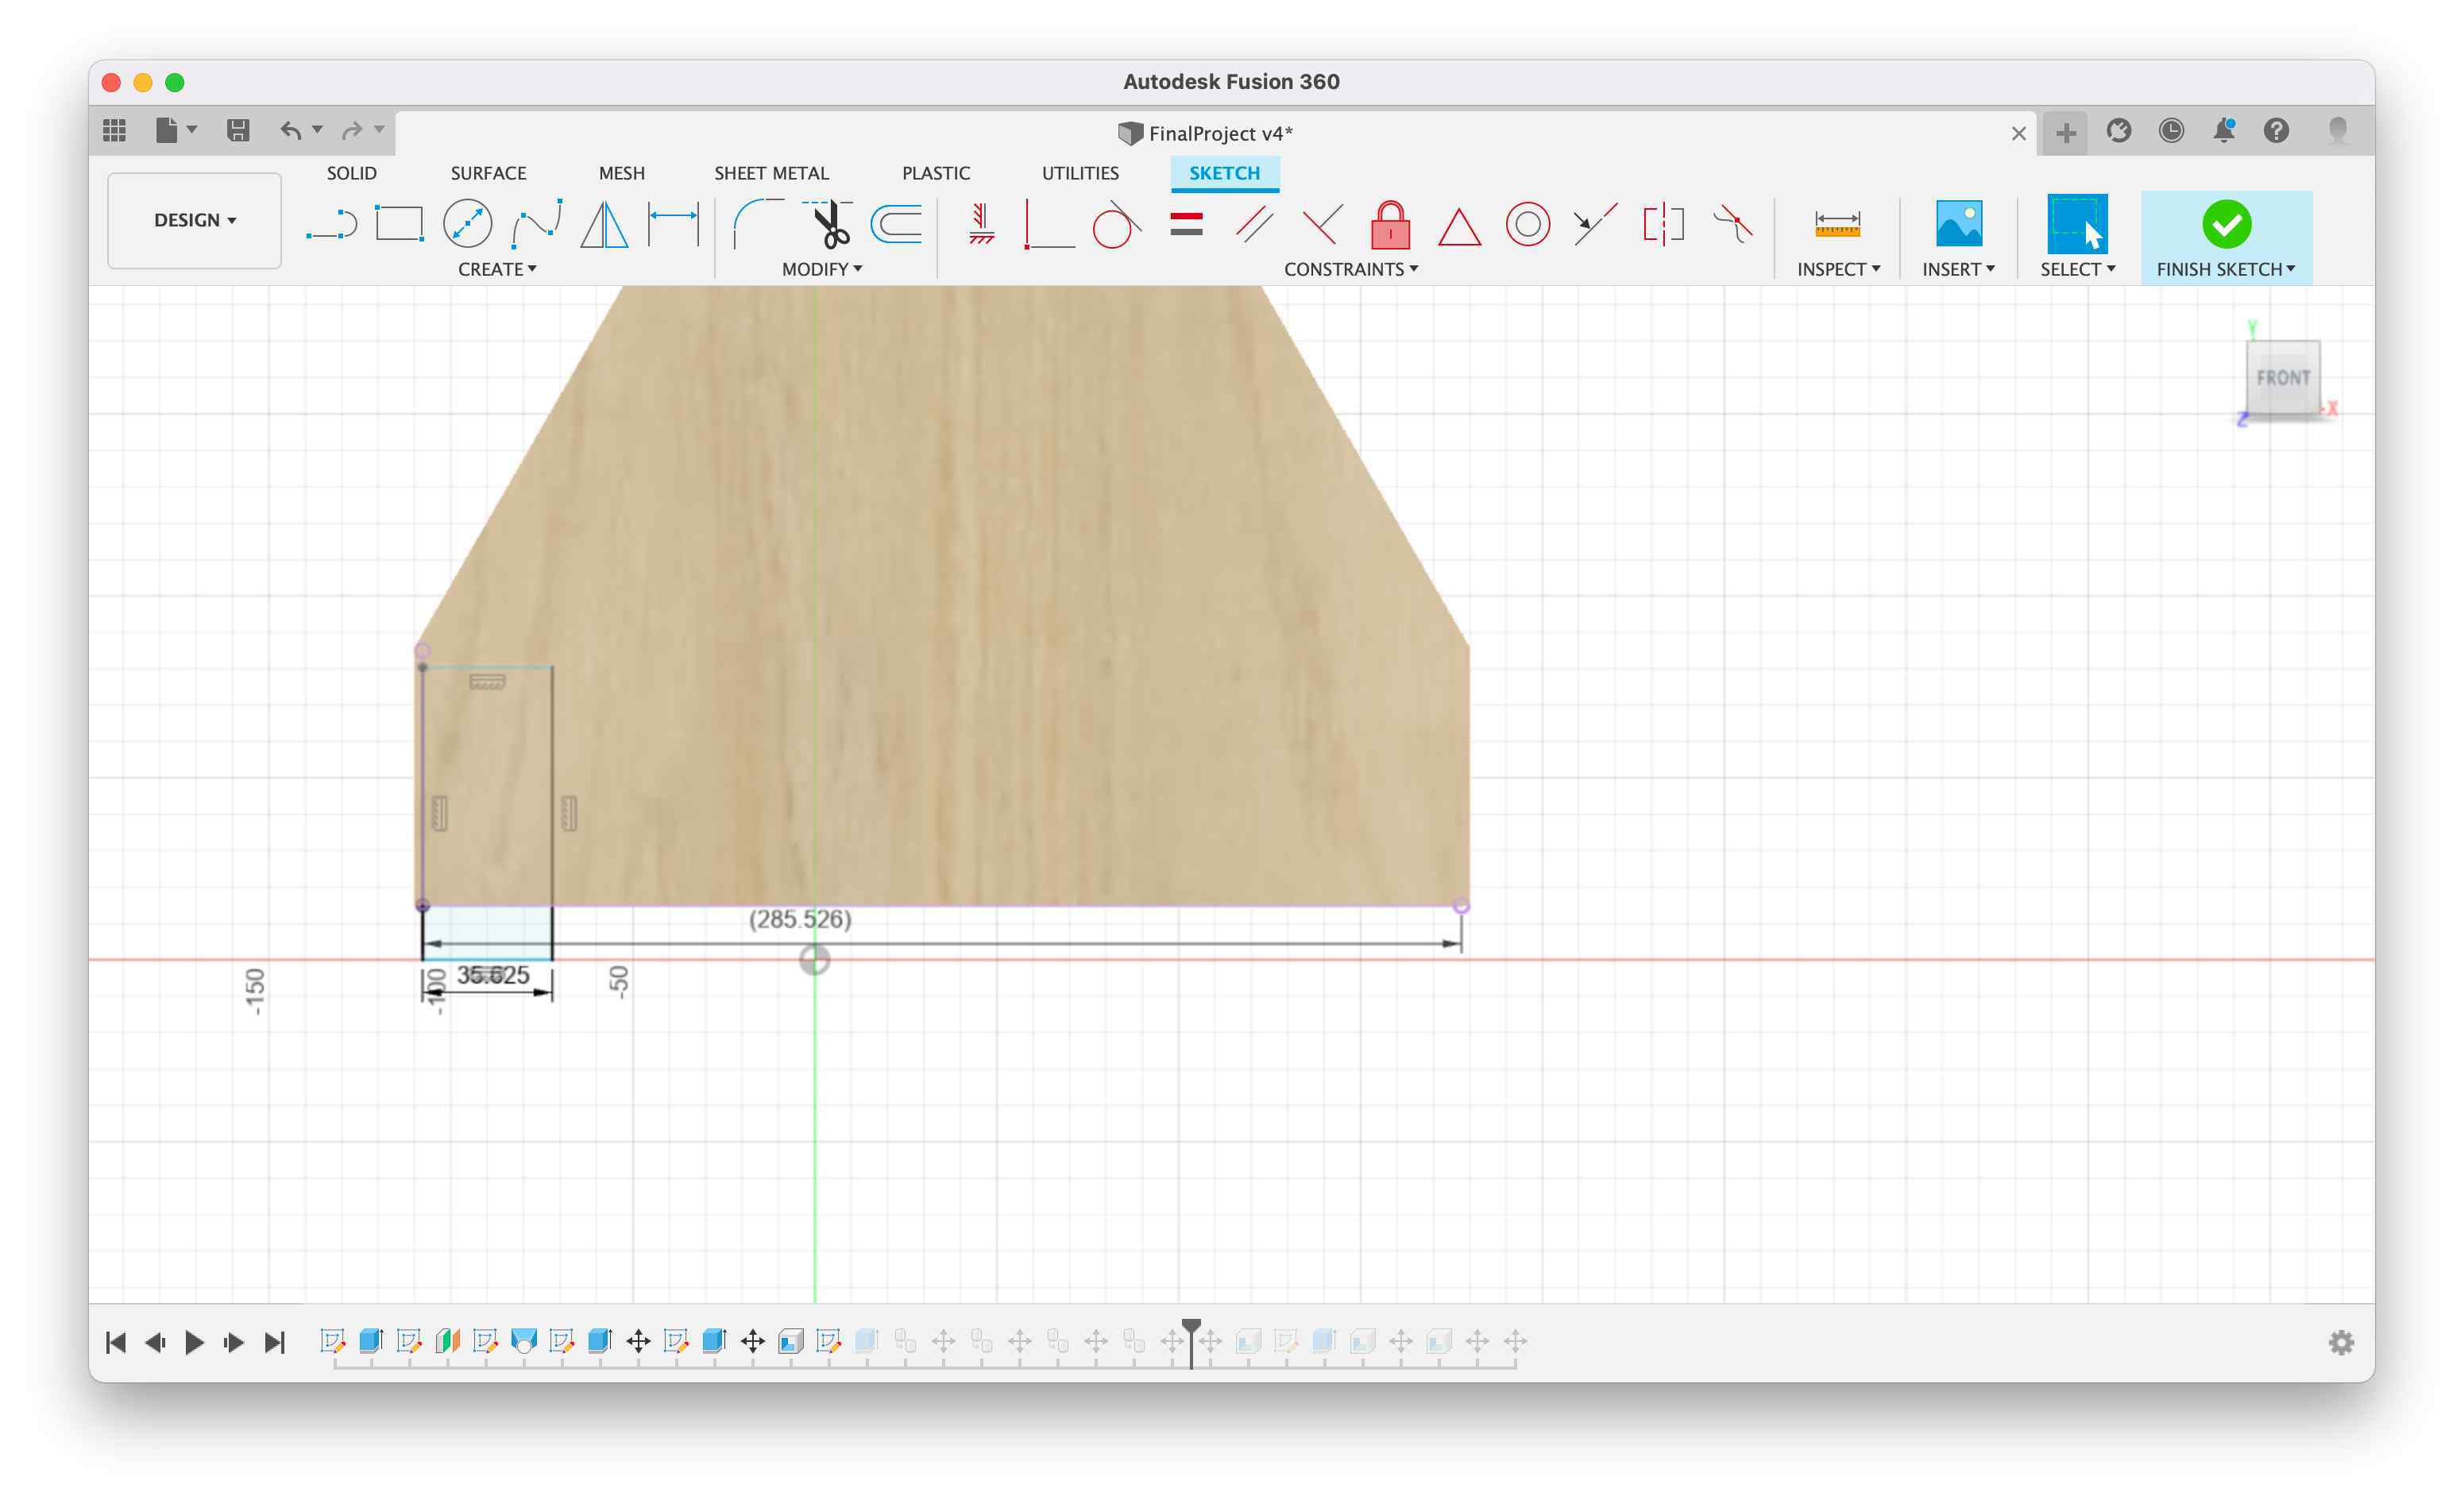
Once I made one box, I creted 7 copies of them with Move.
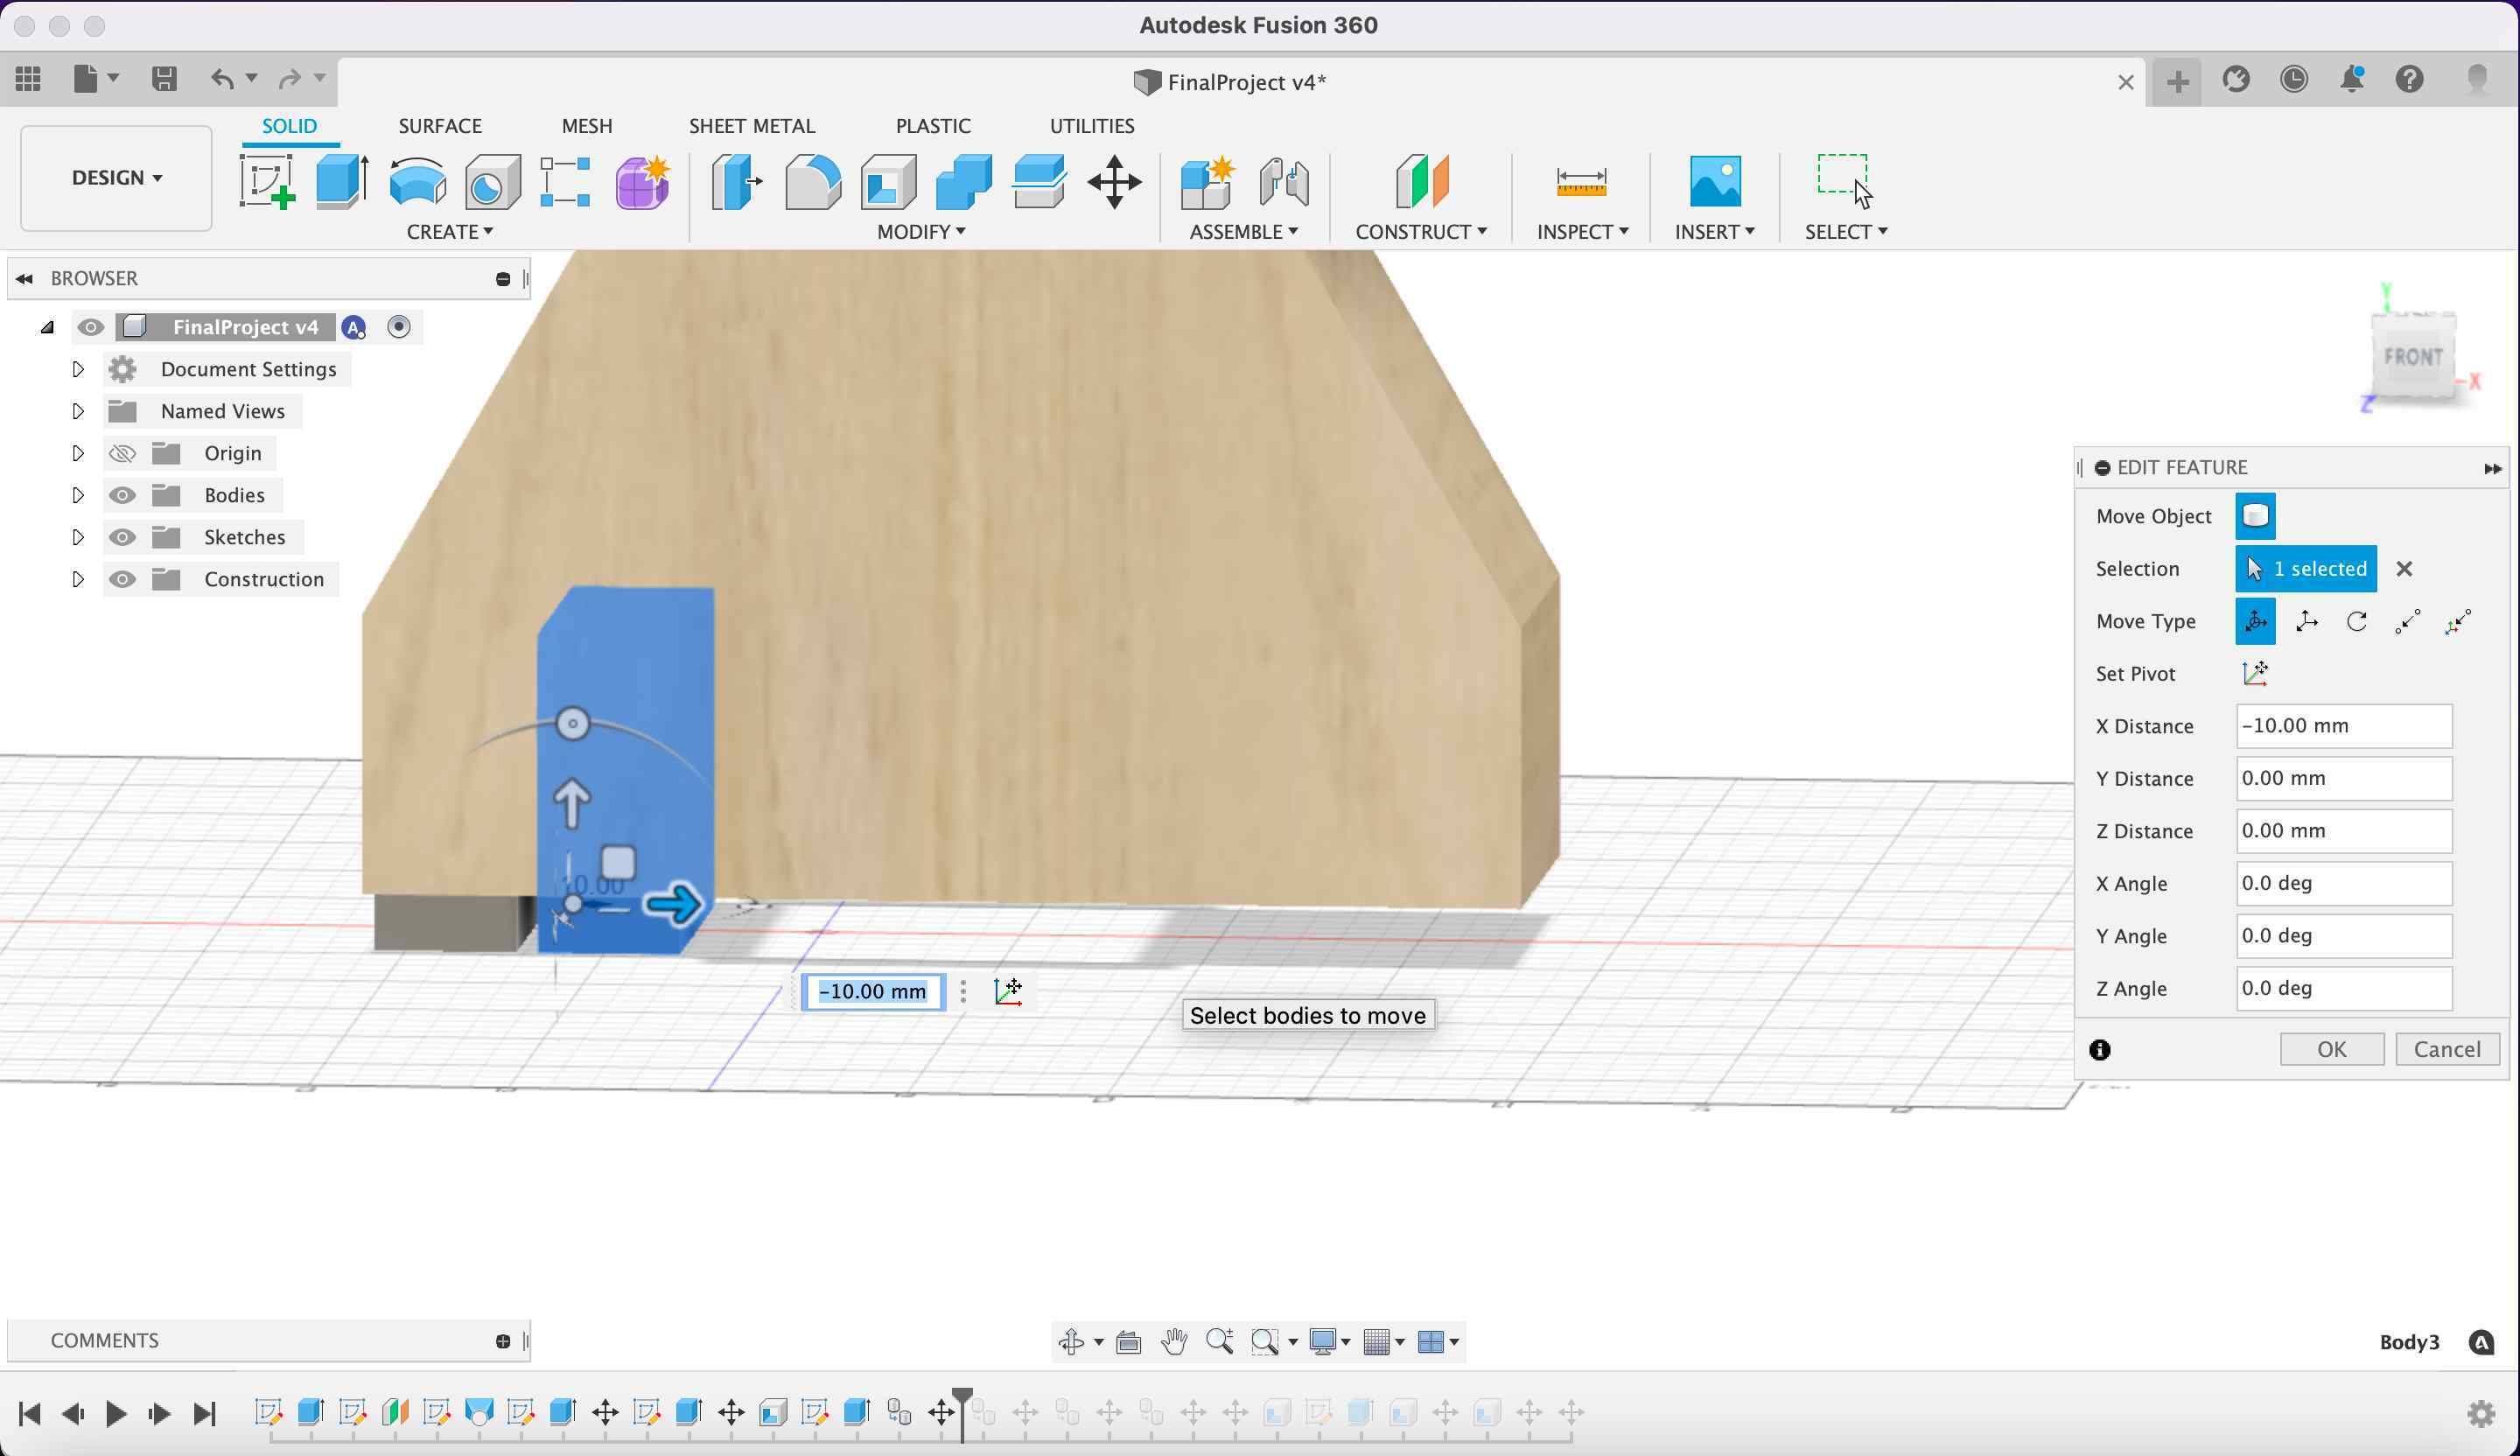
I lost a lot of time understanding how the distances should be parametric but I did not find an answer yet.
🌞 Final thoughts and what’s missing
I understood that the smartest way to make my machine parametric, is basing everything on the number of colours that I want to detect with the sensor. In this way, the dimensions can change accordingly and I do not have to change everything by hand if I do not manage to detect 8 colours. Also, I have to understand how to divide the components.