8. Computer controlled machining
This week I worked on designing, milling and assembling something big (~meter-scale). For this assignment we’ll use the Shotbot we have in our lab, which I also used to mill my PCB boards (big machines for tiny objects), but of course milling such a big object it’s another story, a horror story.
Since the CNC world is so wide, I didn’t have a clear idea on what I should design, because there are plenty of things you can do with a Shotbot, from furniture to installations to decorations and so on. The first idea that came into my mind was to design a home for my turtles, but then I thought I could do something large scale for my house! At this point I started thinking to (too) many projects, such as a folding bed, a shelf for my kitchen, a little cupboard for my bathroom, a fancy shelf for my Lego collection and other marvelous things. Later I thought that my home couldn’t bear any other object inside of it, because its walkable space is minimal, so the only two areas left were the ceiling or the garden. For the ceiling I was thinking of a sort of carousel hanging from it, with different themed objects attached to it, like for example planets, stars, astronauts and so on. For the garden a bench could be very useful, but maybe a little too simple? The thing is that if I decide to design a “simple” object, I should at least characterize it with textures and carvings to make it interesting and challenging producing it.
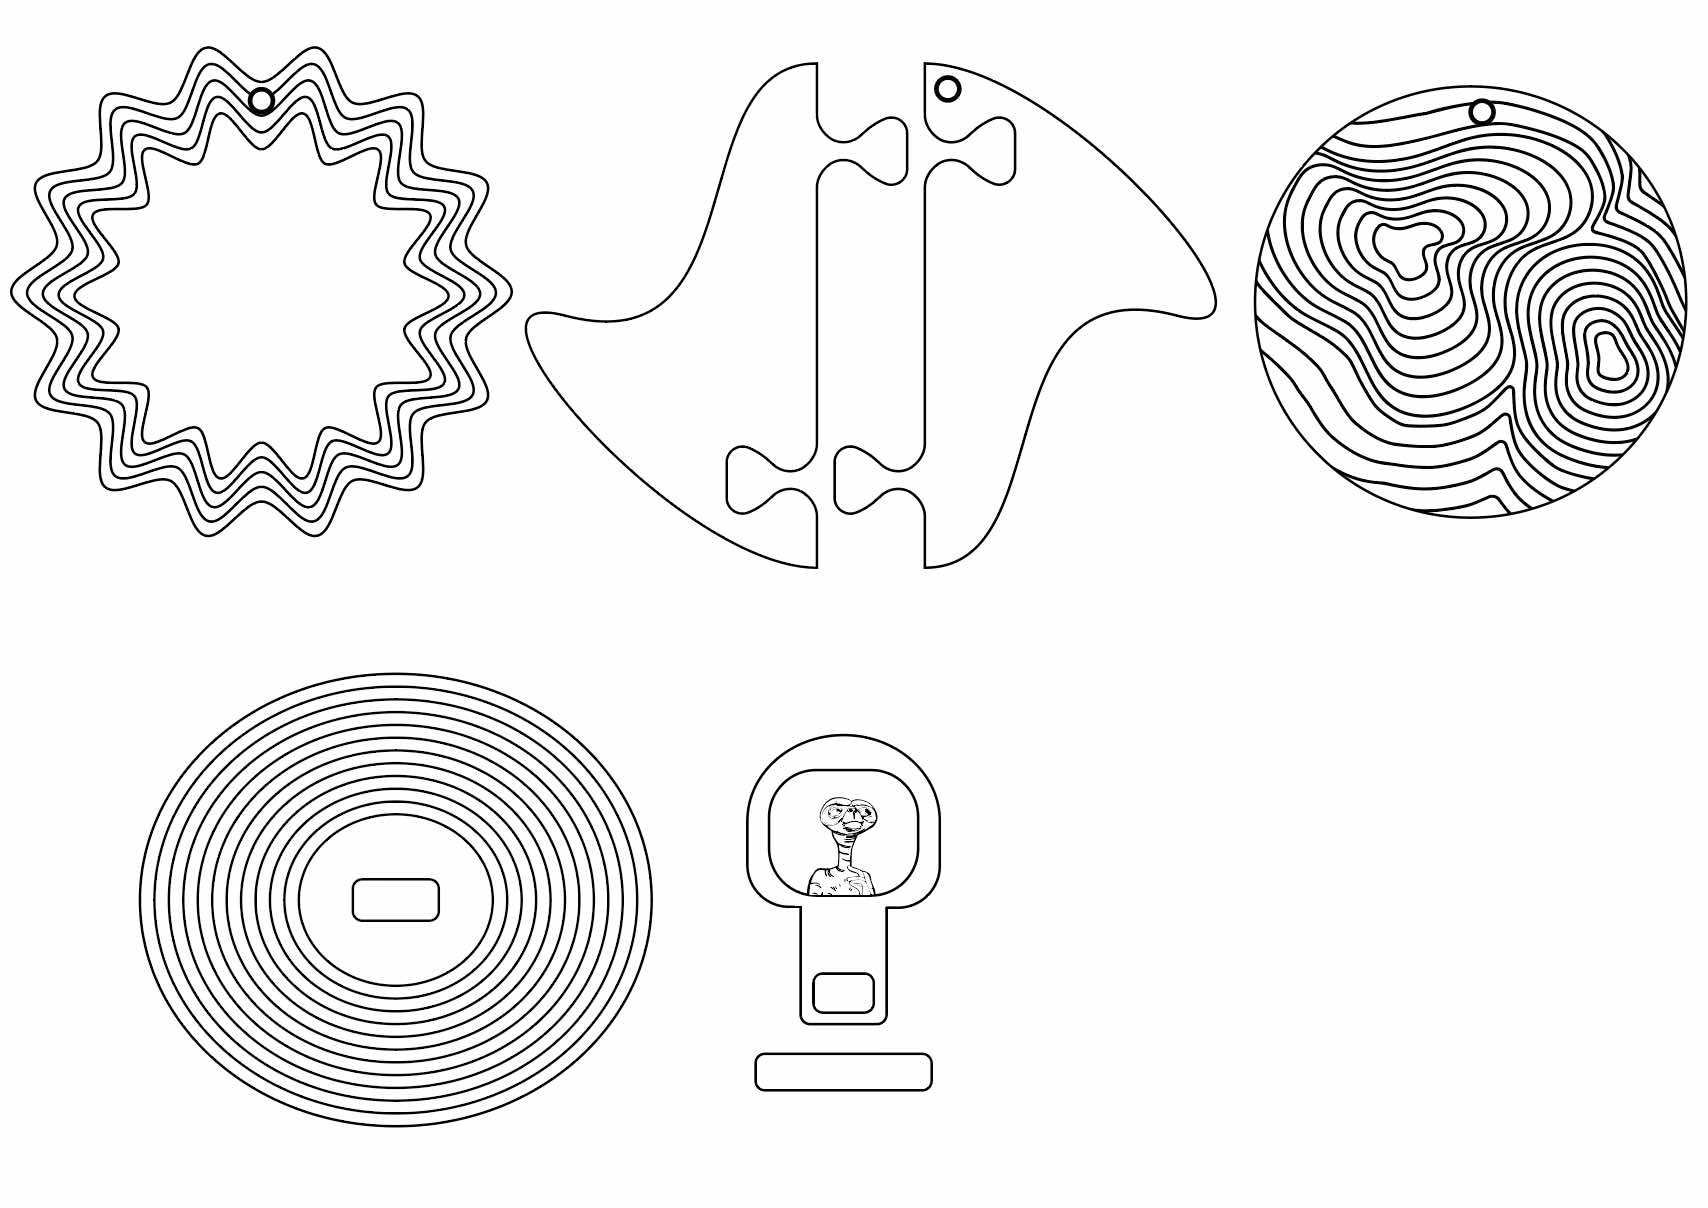
I decided to start drawing the carousel, with planets and characters, using different technics such as carving, engraving and level curves.
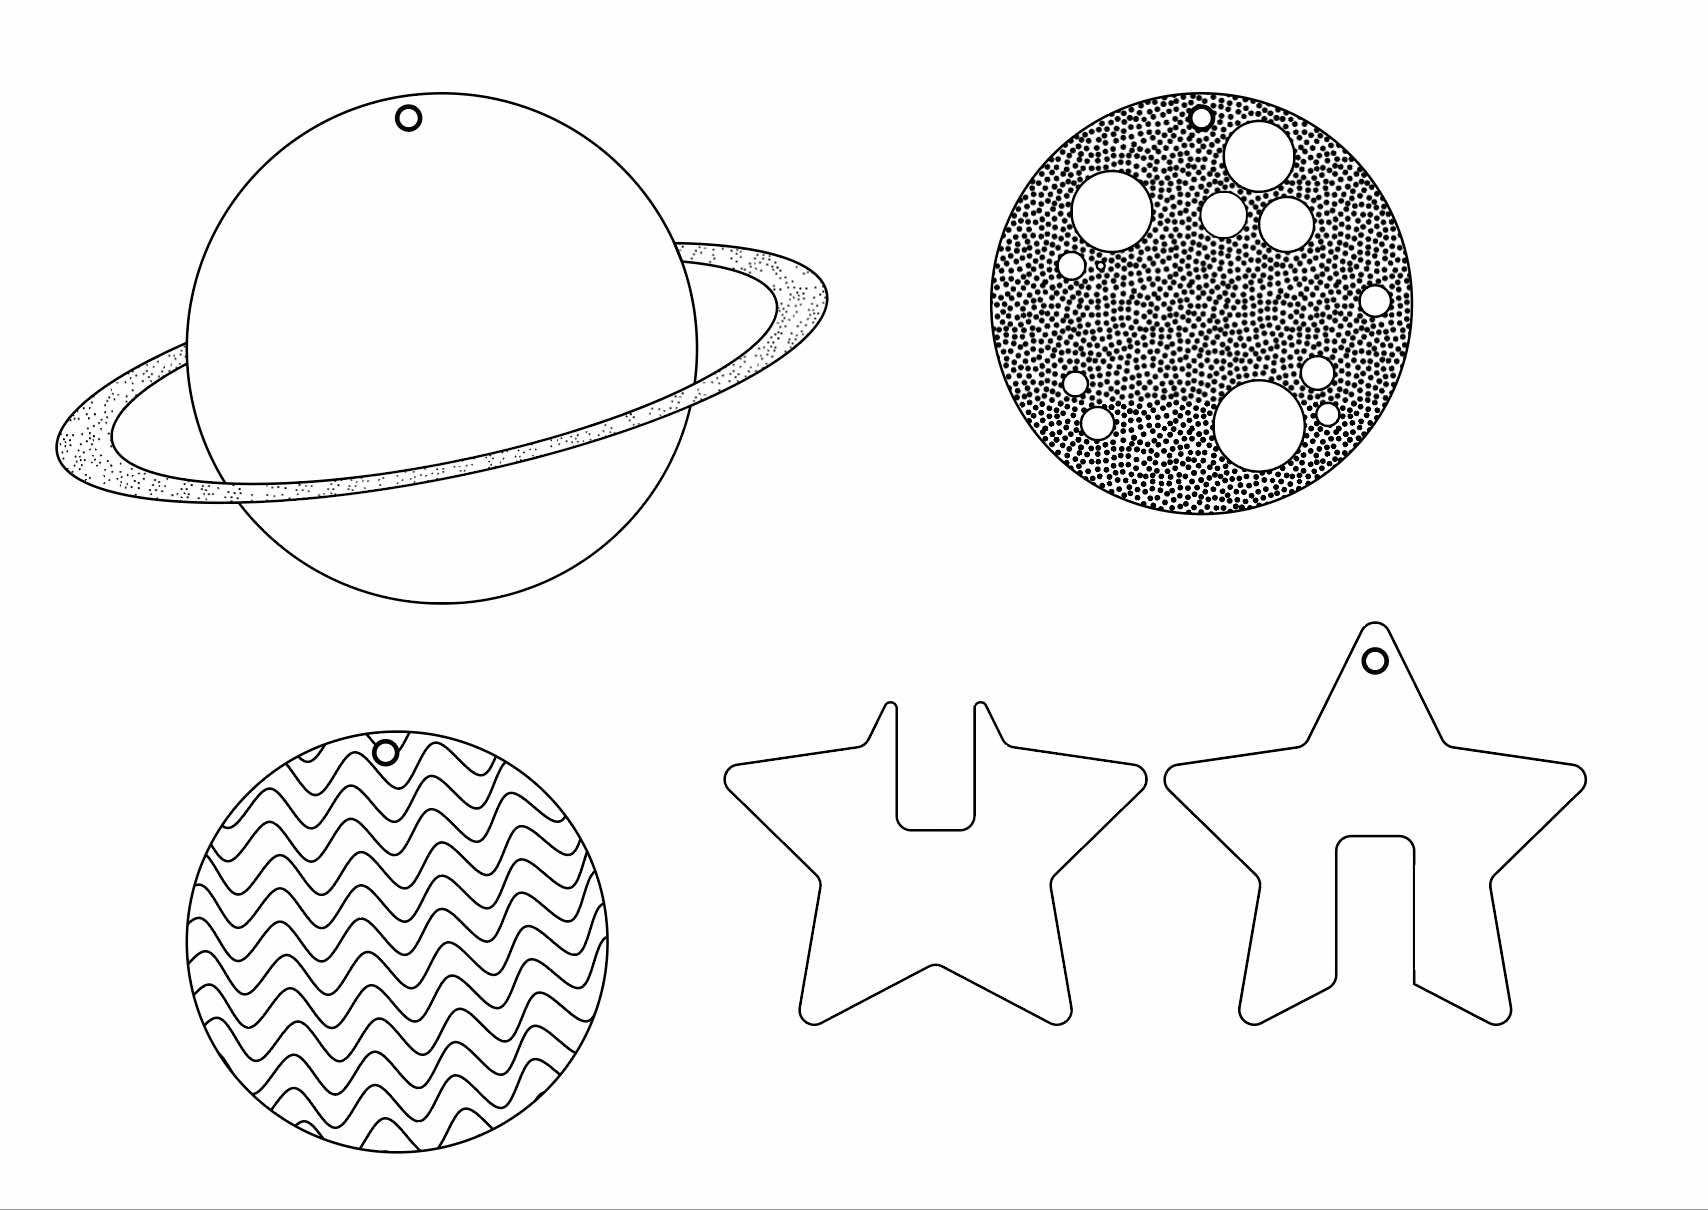
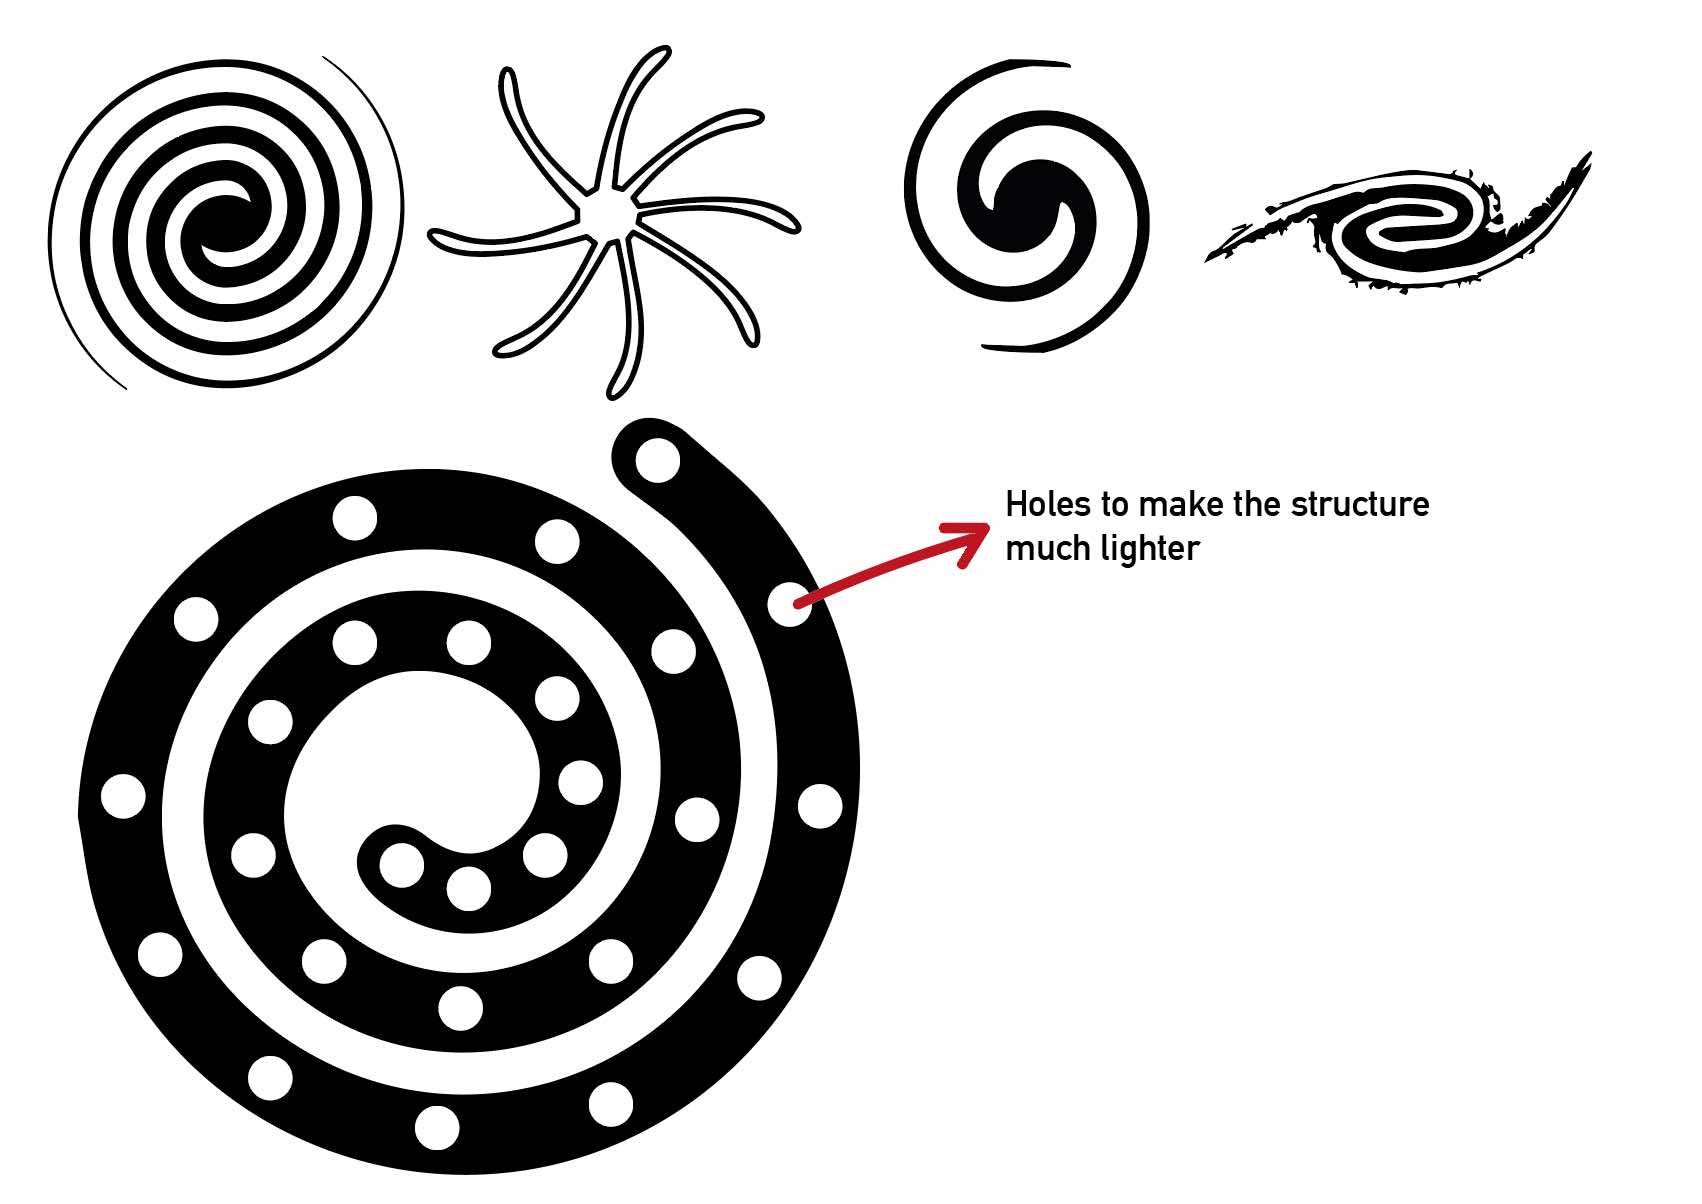
To do the sketches I used Illustrator, then I’ll export the file as .dwg to open it on Fusion360, so that I can decide dimensions and adjust the details. The structure will be in a different thickness, much lighter, so that once it’s hung on the ceiling it will float like a spring. The upper part has more holes in order to make it lighter than the lower part with less holes.
Now is time to export the file in .dxf and import it in on V-carve. Here I had some trouble with the outline of the 3d planet and with the “wavy” ones, because in Illustrator I han a single outline, but in V-carve I had a double outline, which makes it impossible to go on in the process. I tried to edit the file on Fusion 360, but still gives me double lines as V-carve. I found on youtube a video where this guy taught how to design a 3D carved project directly on Fusion 360, but unfortunately he uses only geometrical shapes, so I’m still figuring out how to deal with my wavy outlines.
Meanwhile, the lampshade of my ikea lamp broke so I took it as a sign of fate and abandoned this idea of the carousel :’)
Since my house in very small, I wanted to do something simple, at least for the shape, but at the same sophisticated, playing with geometries and shadows. This is the reference I found:
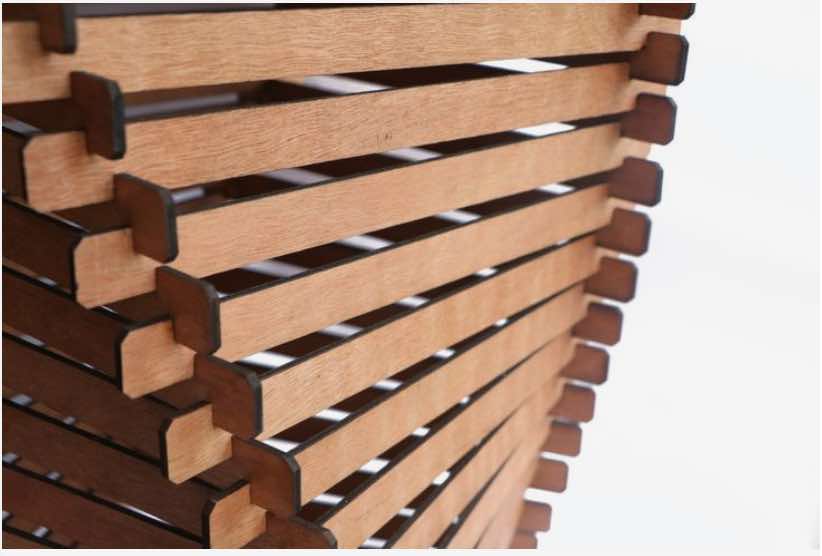
I absolutely love the simplicity of the shape (same one repeated) but also the dynamism it has! So I started to do some sketches to understand how to model it.
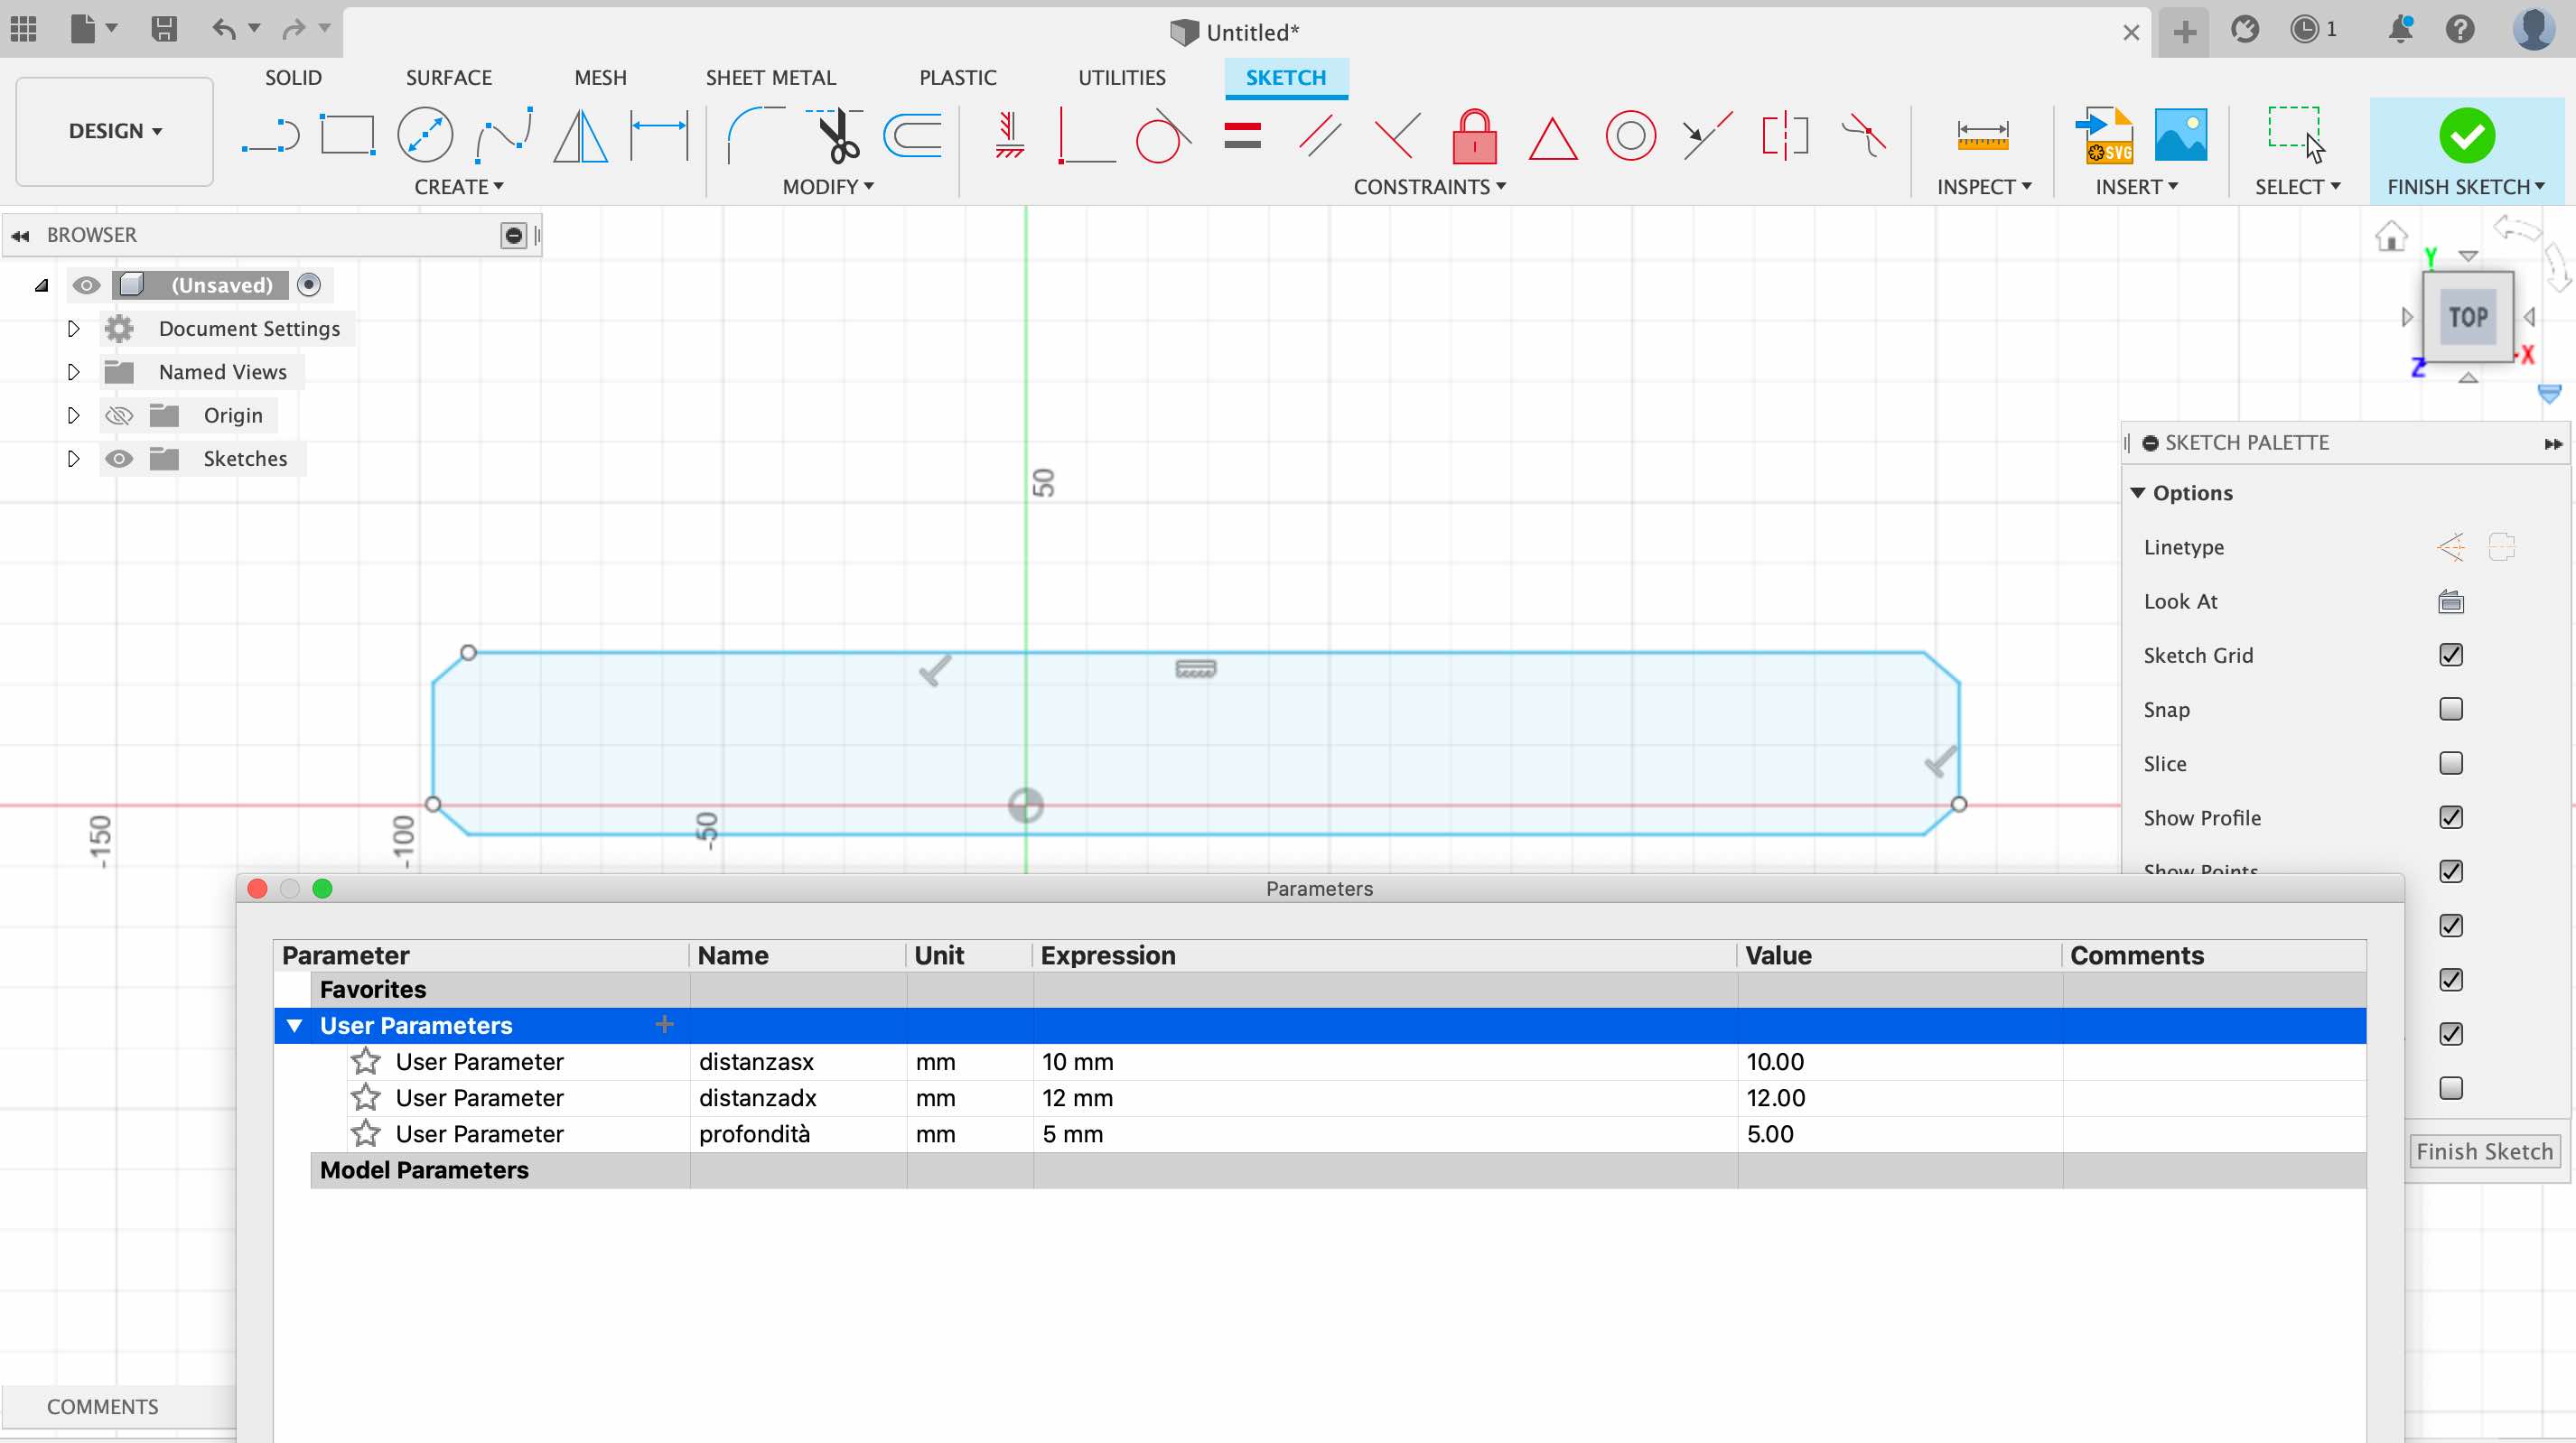
Since it does not have specific dimensions, I decided to give parameters to it, in order to make it easier to adjust as we go.
I chose to try the pattern on path command, which I never used before. To do that, we need a spline which will be our path to follow. There are different ways to do it, so different attempts. First attempt was doing a plane under the object, and another offset plane at the same height we want our lamp to be. The offset one must be rotated. Now we can use the loft command, or draw splines from the top and bottom vertices.
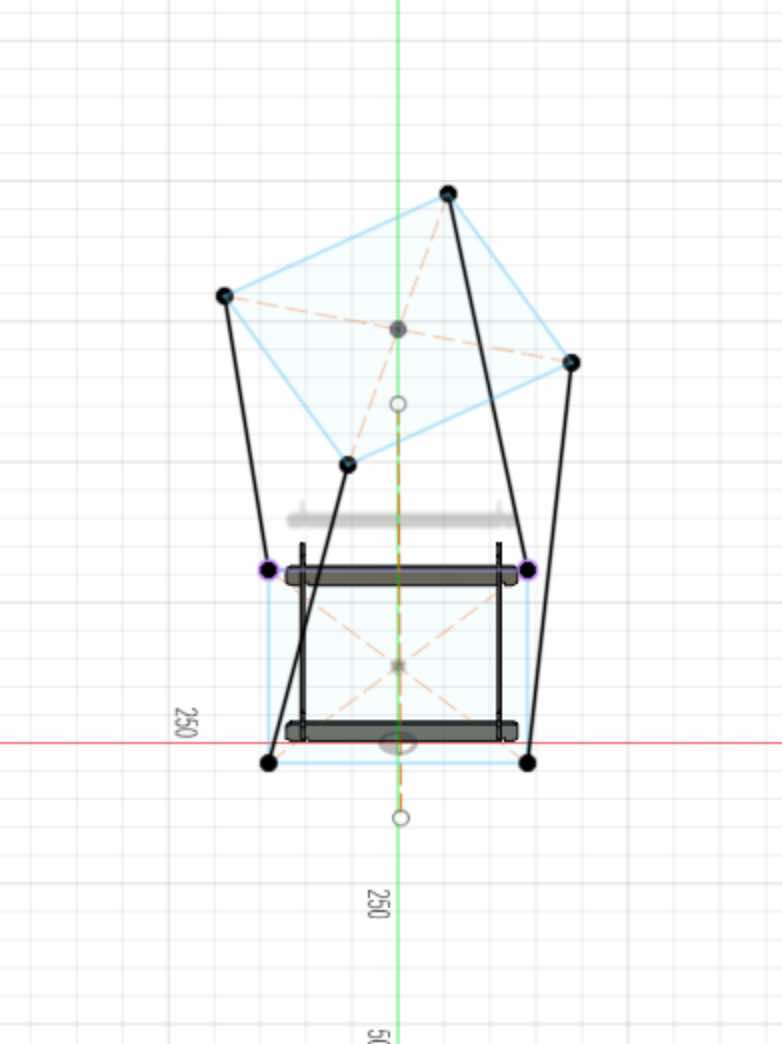
As you can se we built a sort of path, so let’s try the pattern command to see the result.
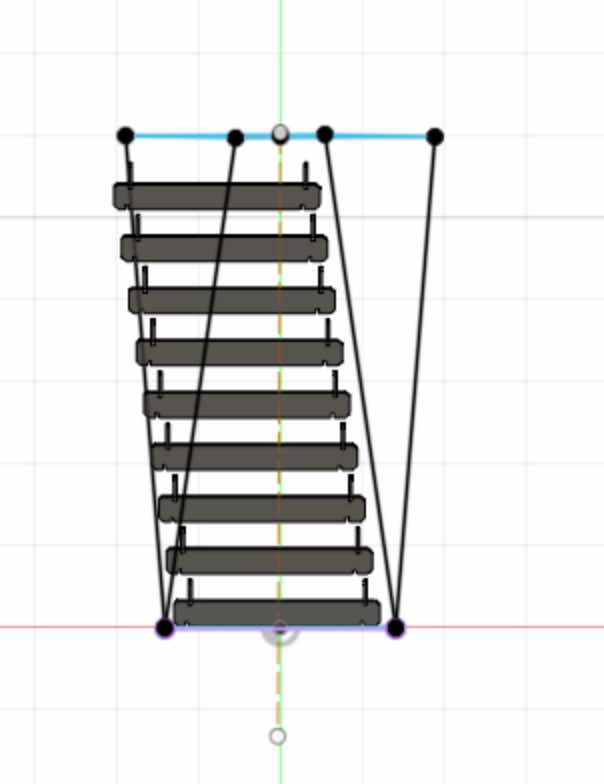
Definitely not as expected, but not too bad. The object followed just one path, so it didn’t rotate as we wanted it. Maybe a spiral spline could fix this problem, so let’s try by using a coil.
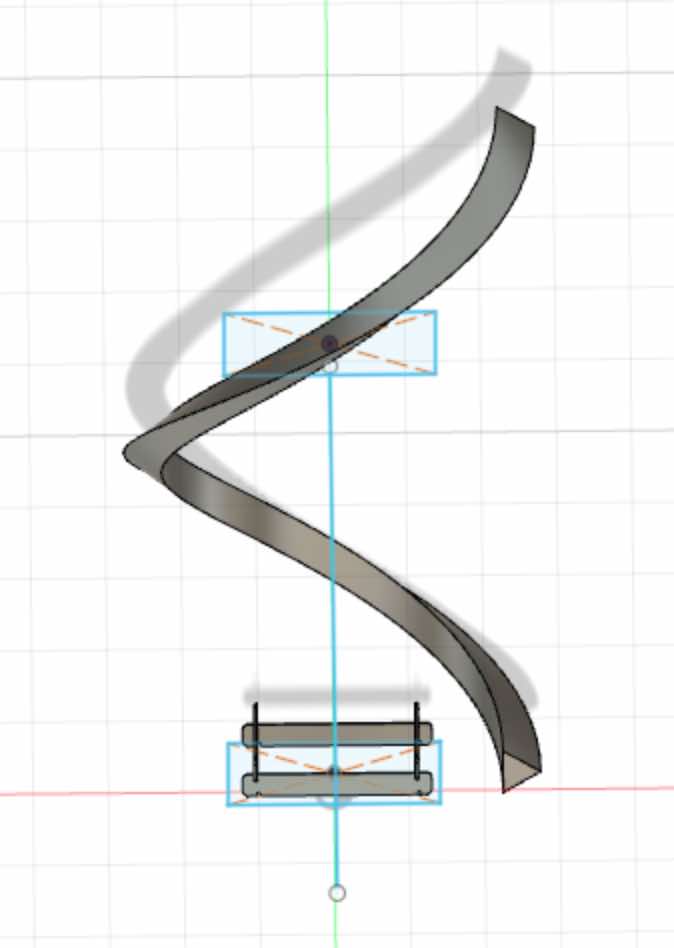
Giving the coil a triangular shape we can decide which path we prefer to use for the rotation. But also in this case we didn’t reach our goal.
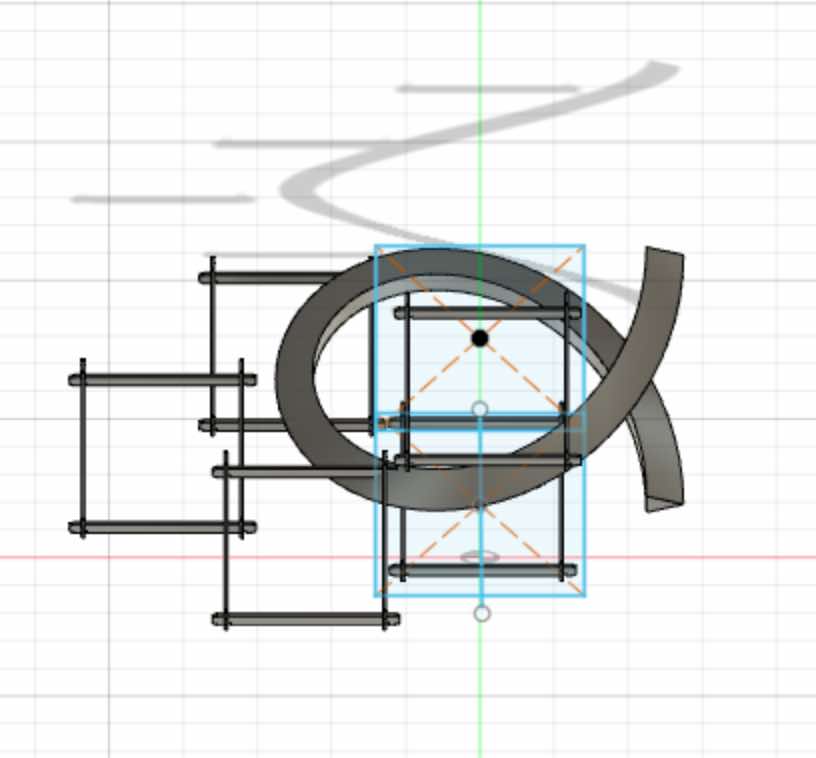
We can see a rotation for sure, but our structure is all over the place, and we can’t build a lampshade like that!
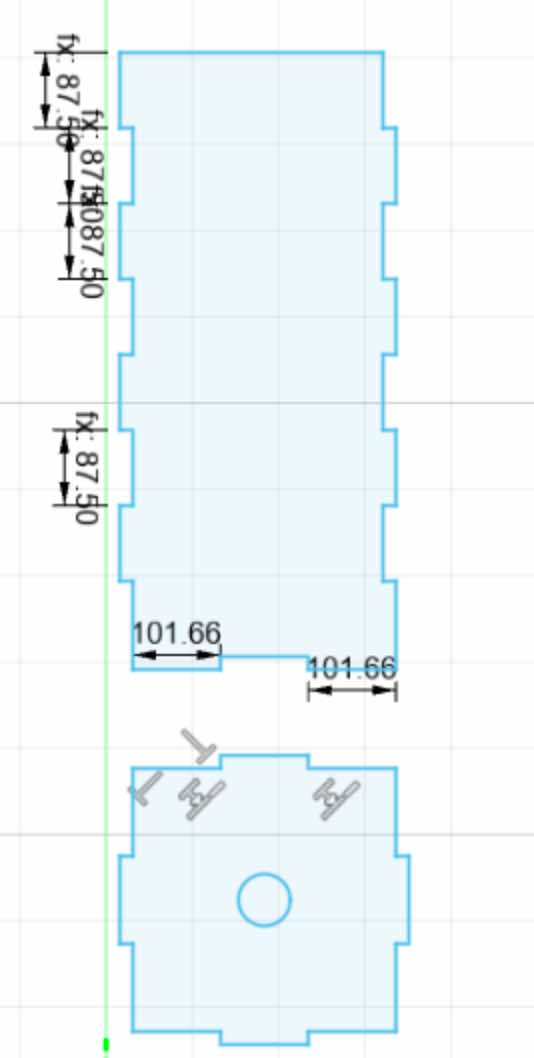
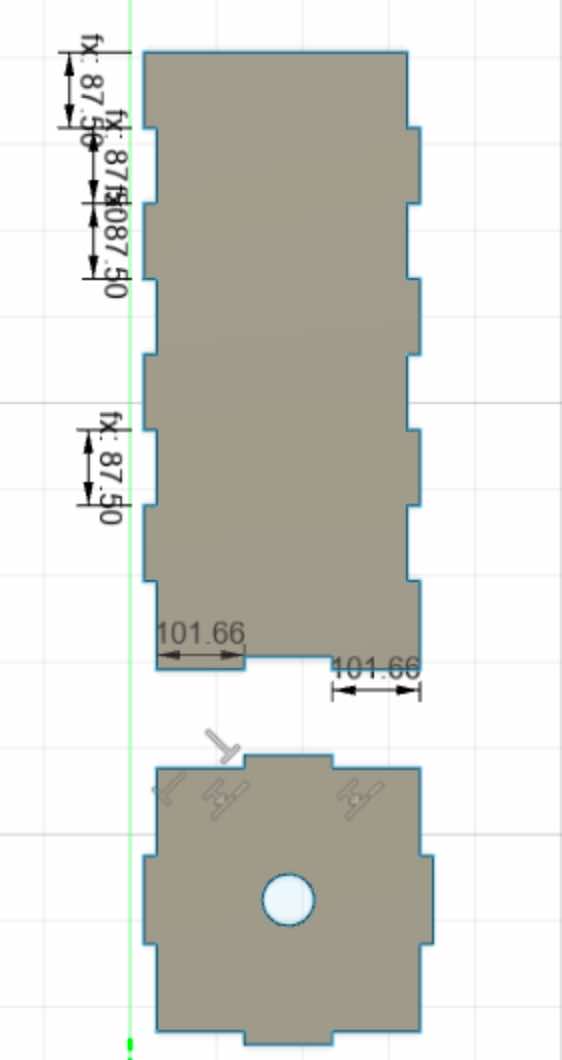
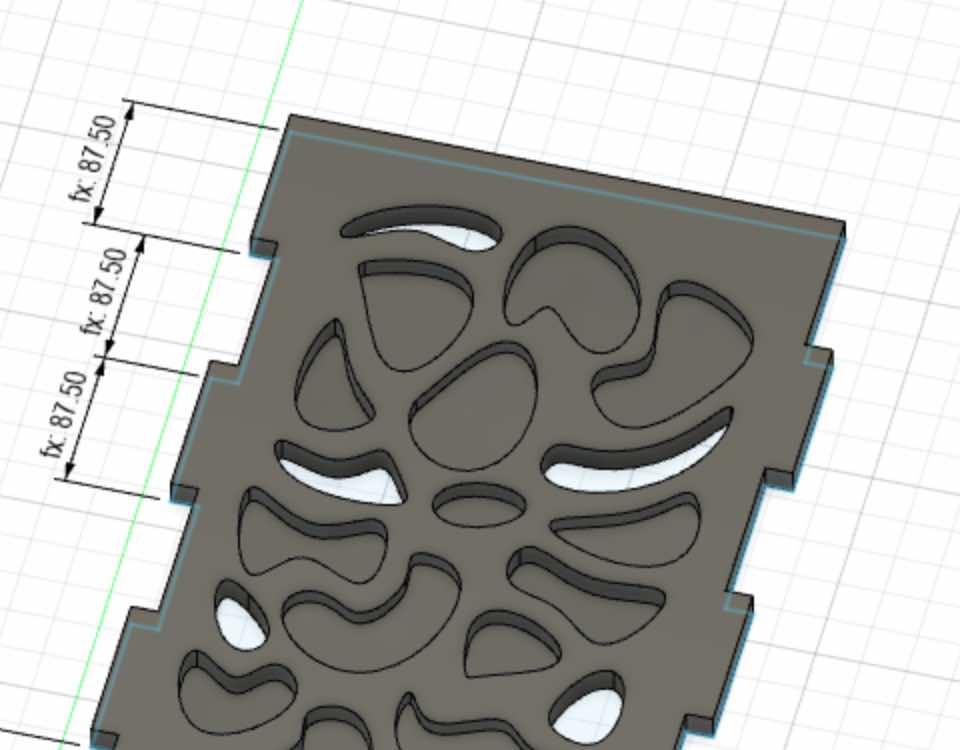
Things were getting a little messy, so i decided to design the lampshade in another way. First of all I made the sketch of the structure, which is composed by 4 lateral faces and a bottom faces, with the joints to assemble it.
Now it’s time to get creative and start to decorate! I chose to draw organic shapes using splines.
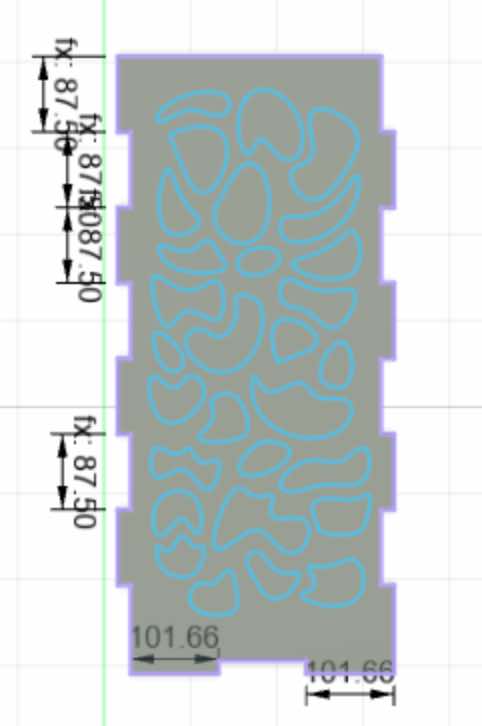
To add some details and make it more sophisticated, The single shapes where extruded with 4 different heights, so that once the light is one it will create geometrical shadows on the walls.
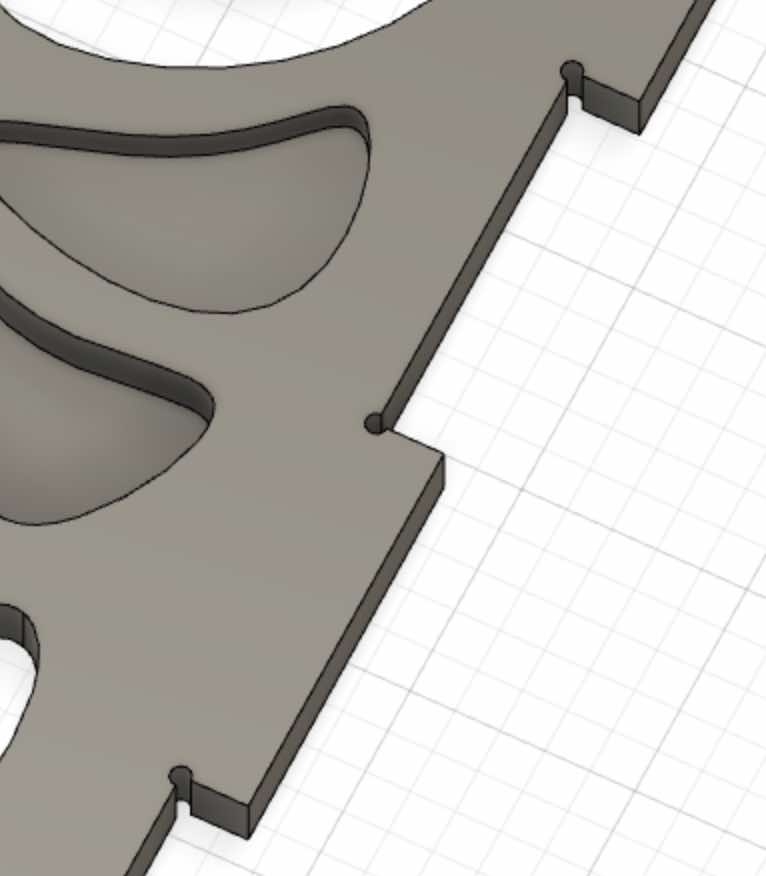
With the command “hole” I added the dogbones.
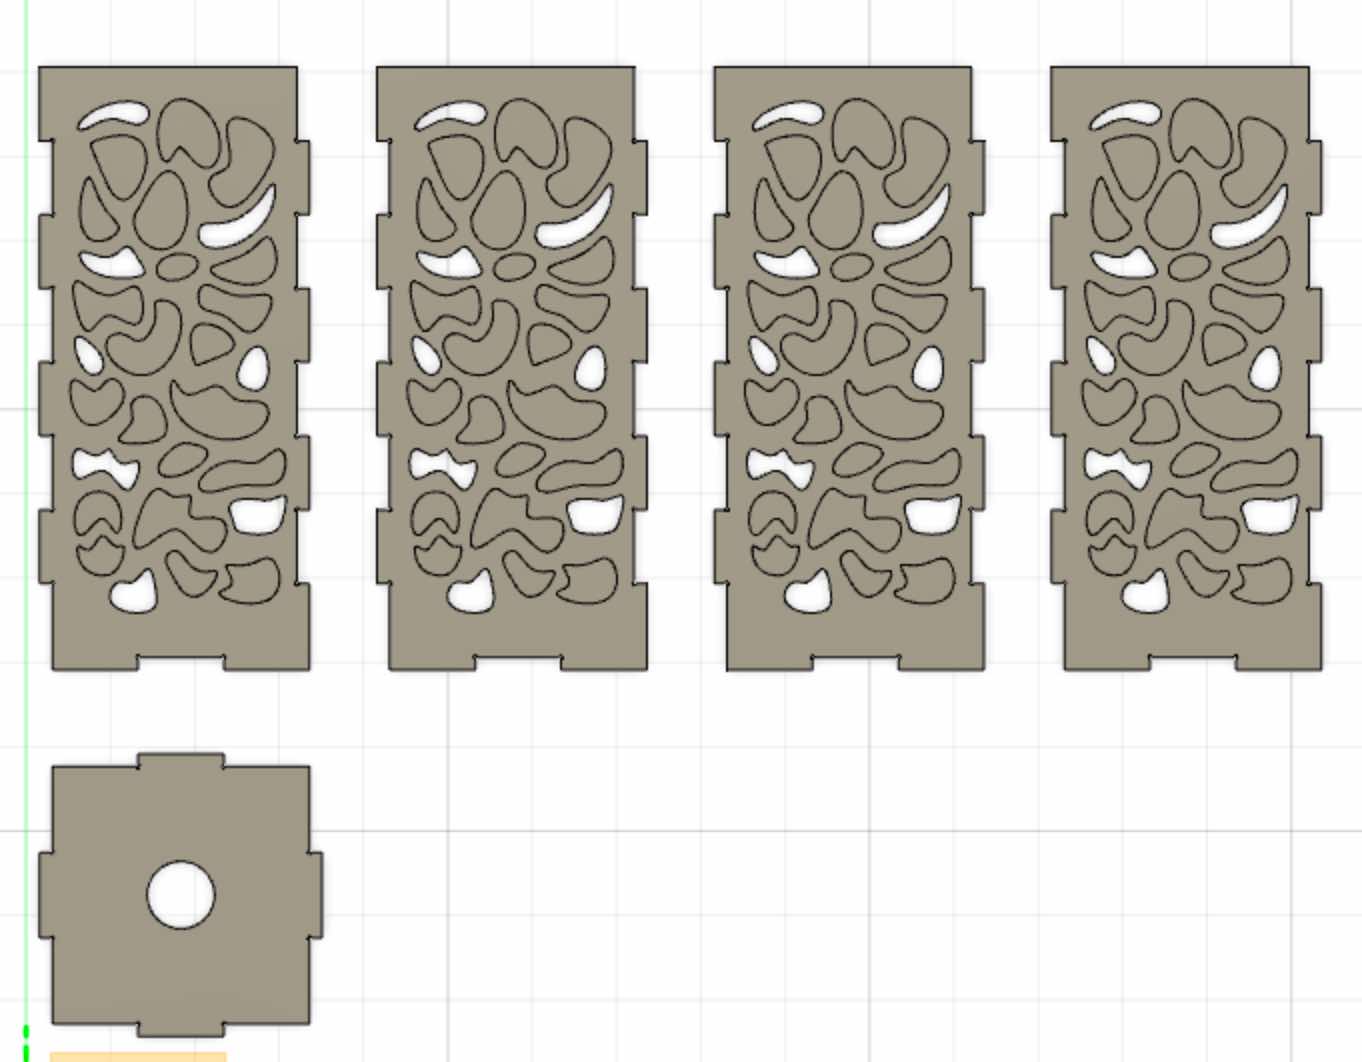
And this is the final result.
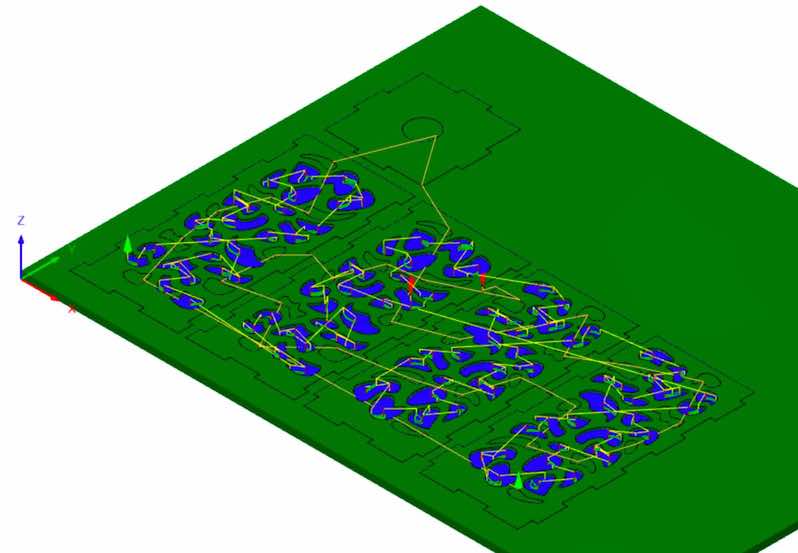
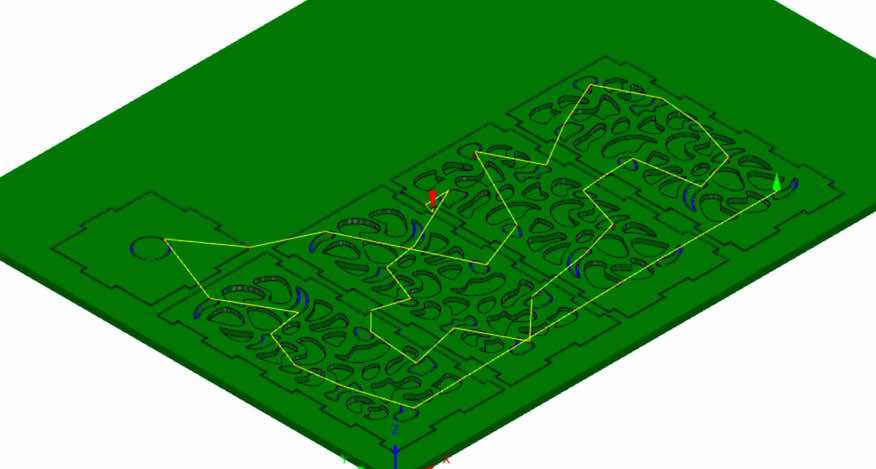
In manufacture setup I decided to do a pocket 3D process, for the internal milling, and a contour process for the outline and the internal cut-out.
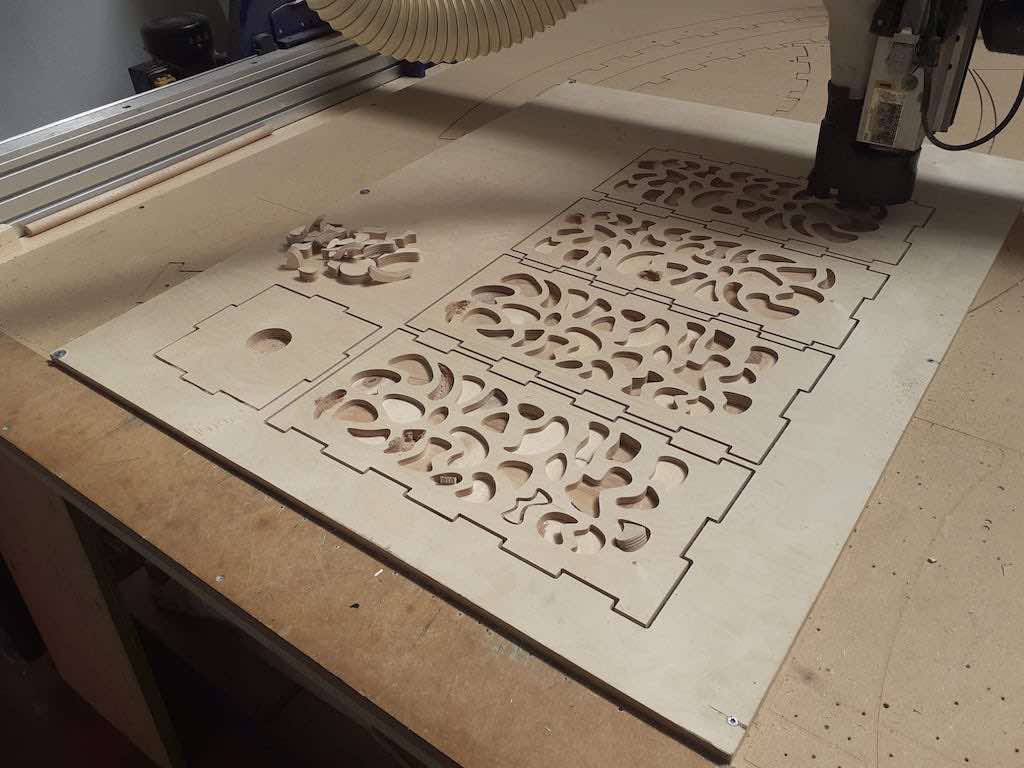
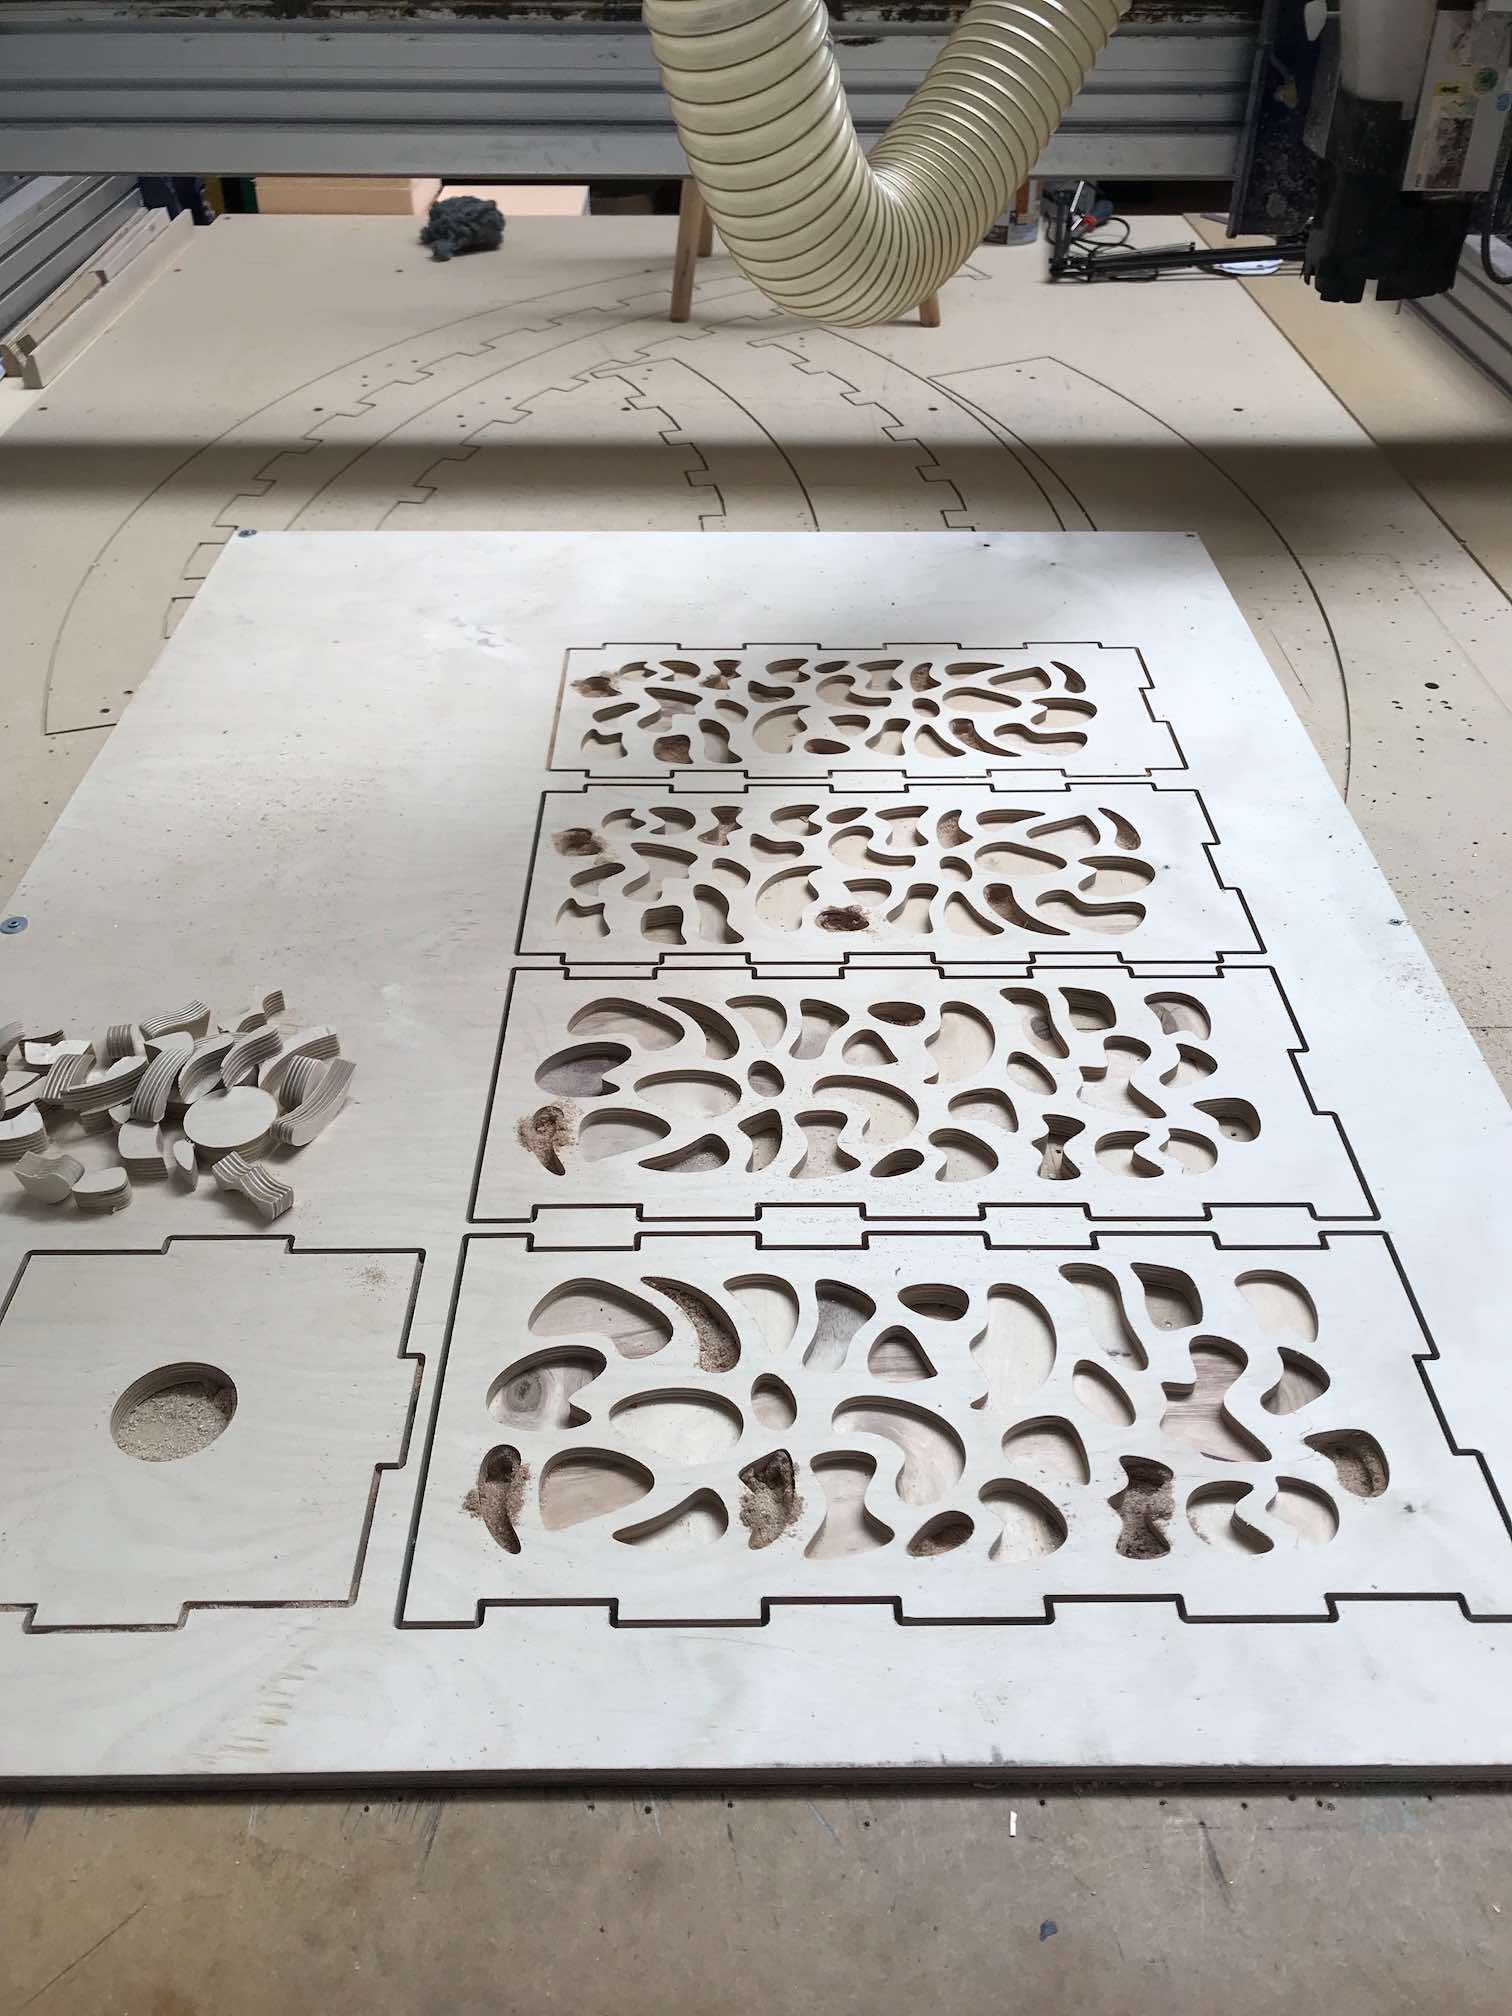
Now we can start milling! Here’s a sneak peek during and after milling the lampshade.
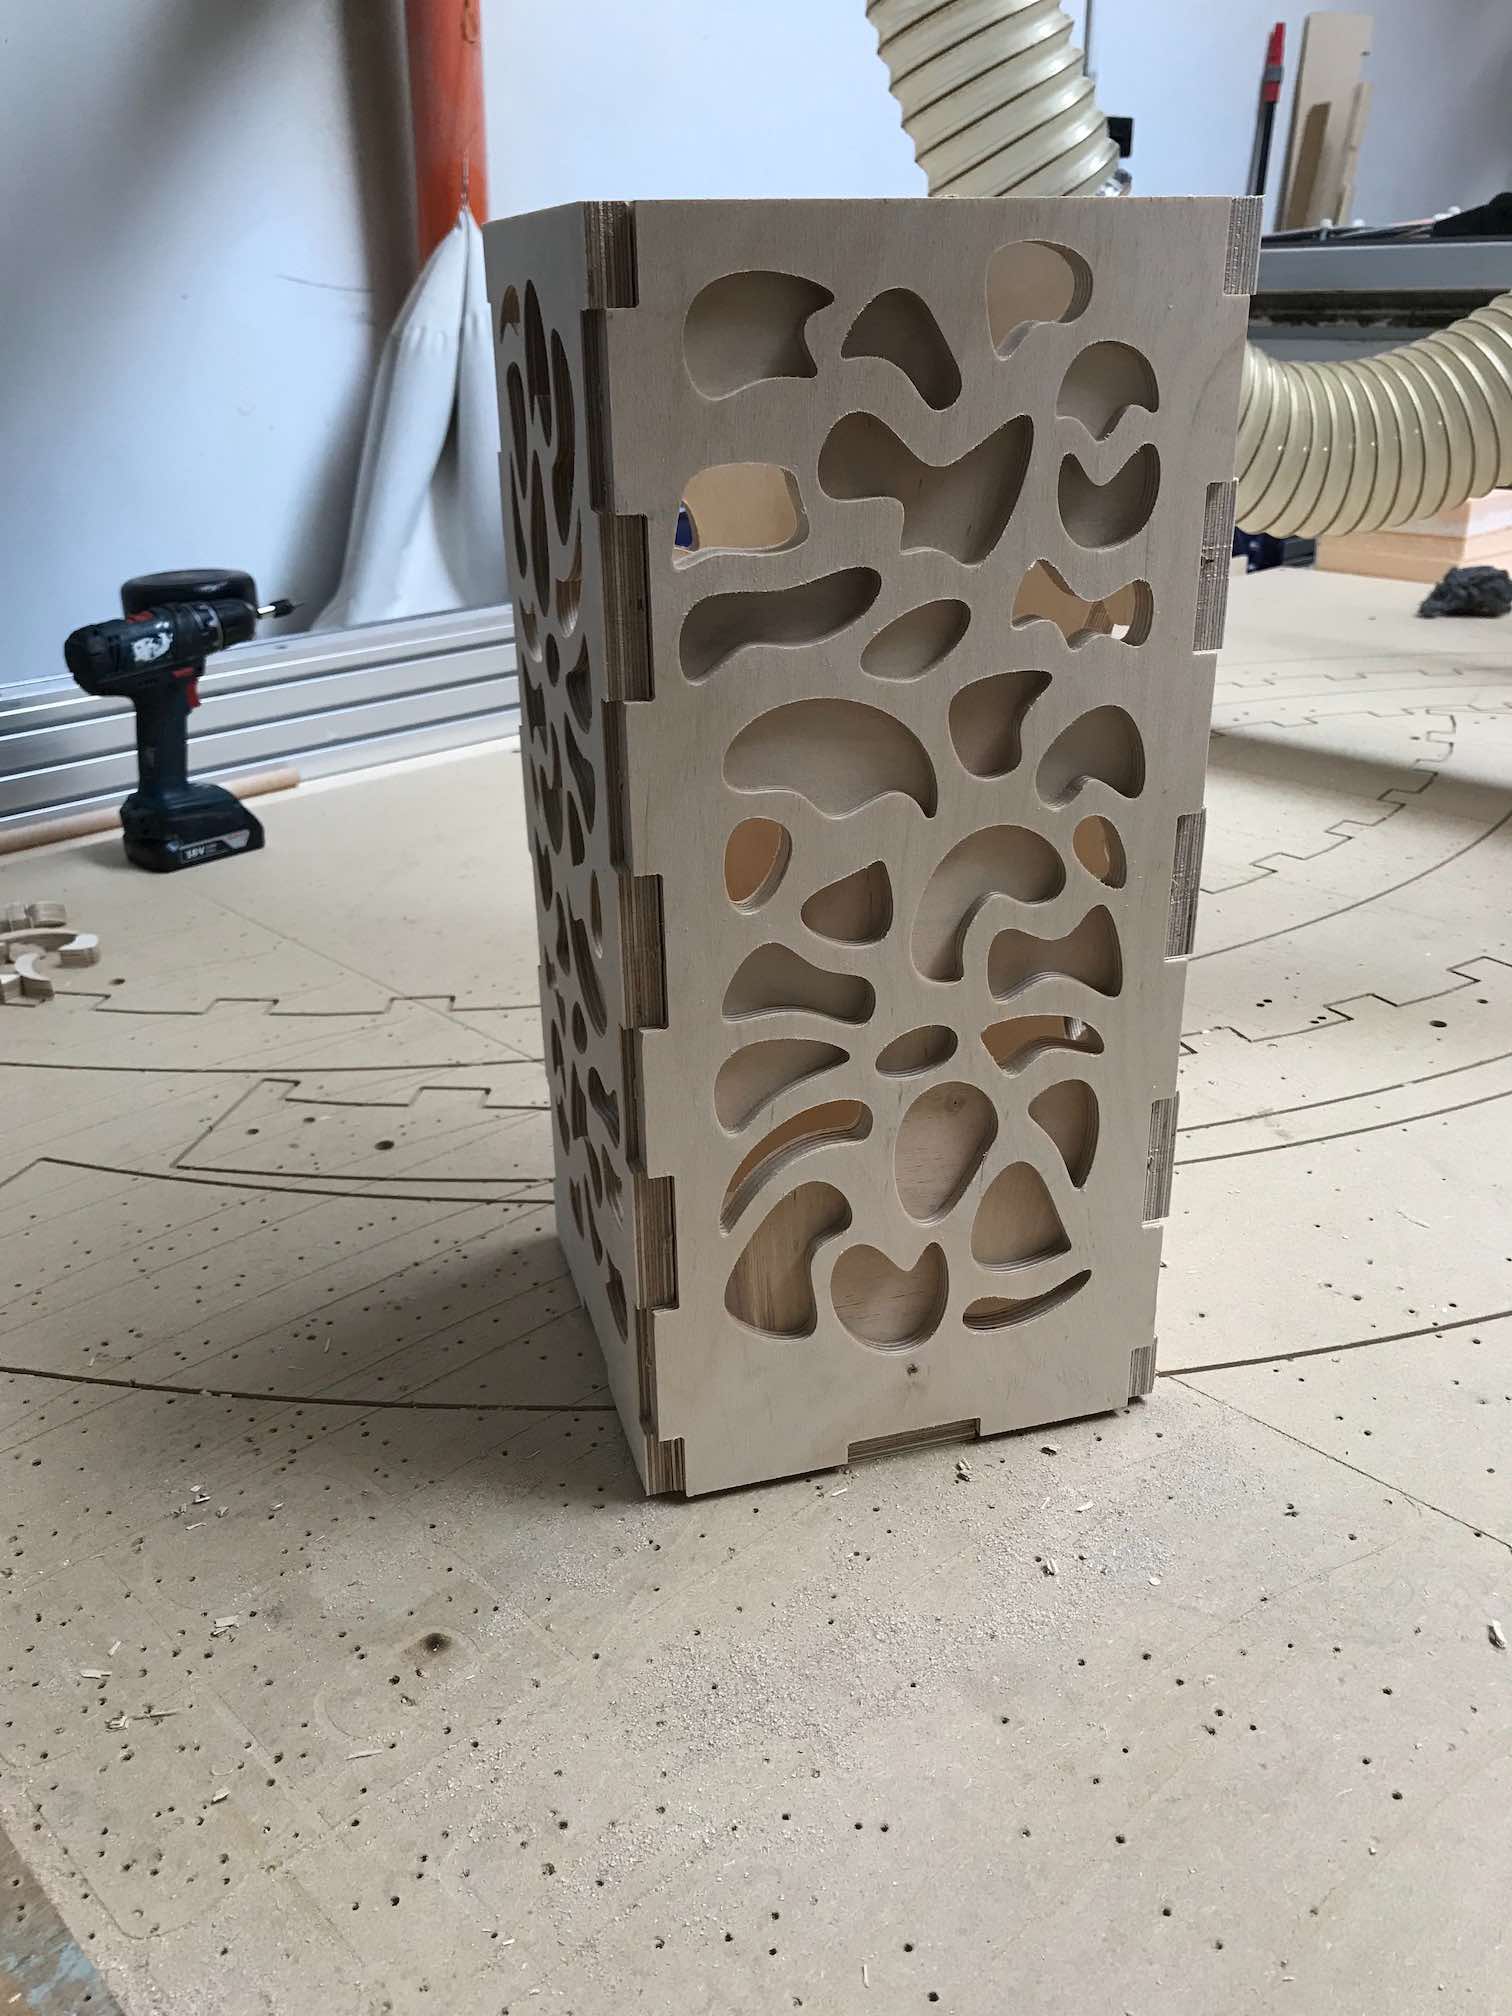
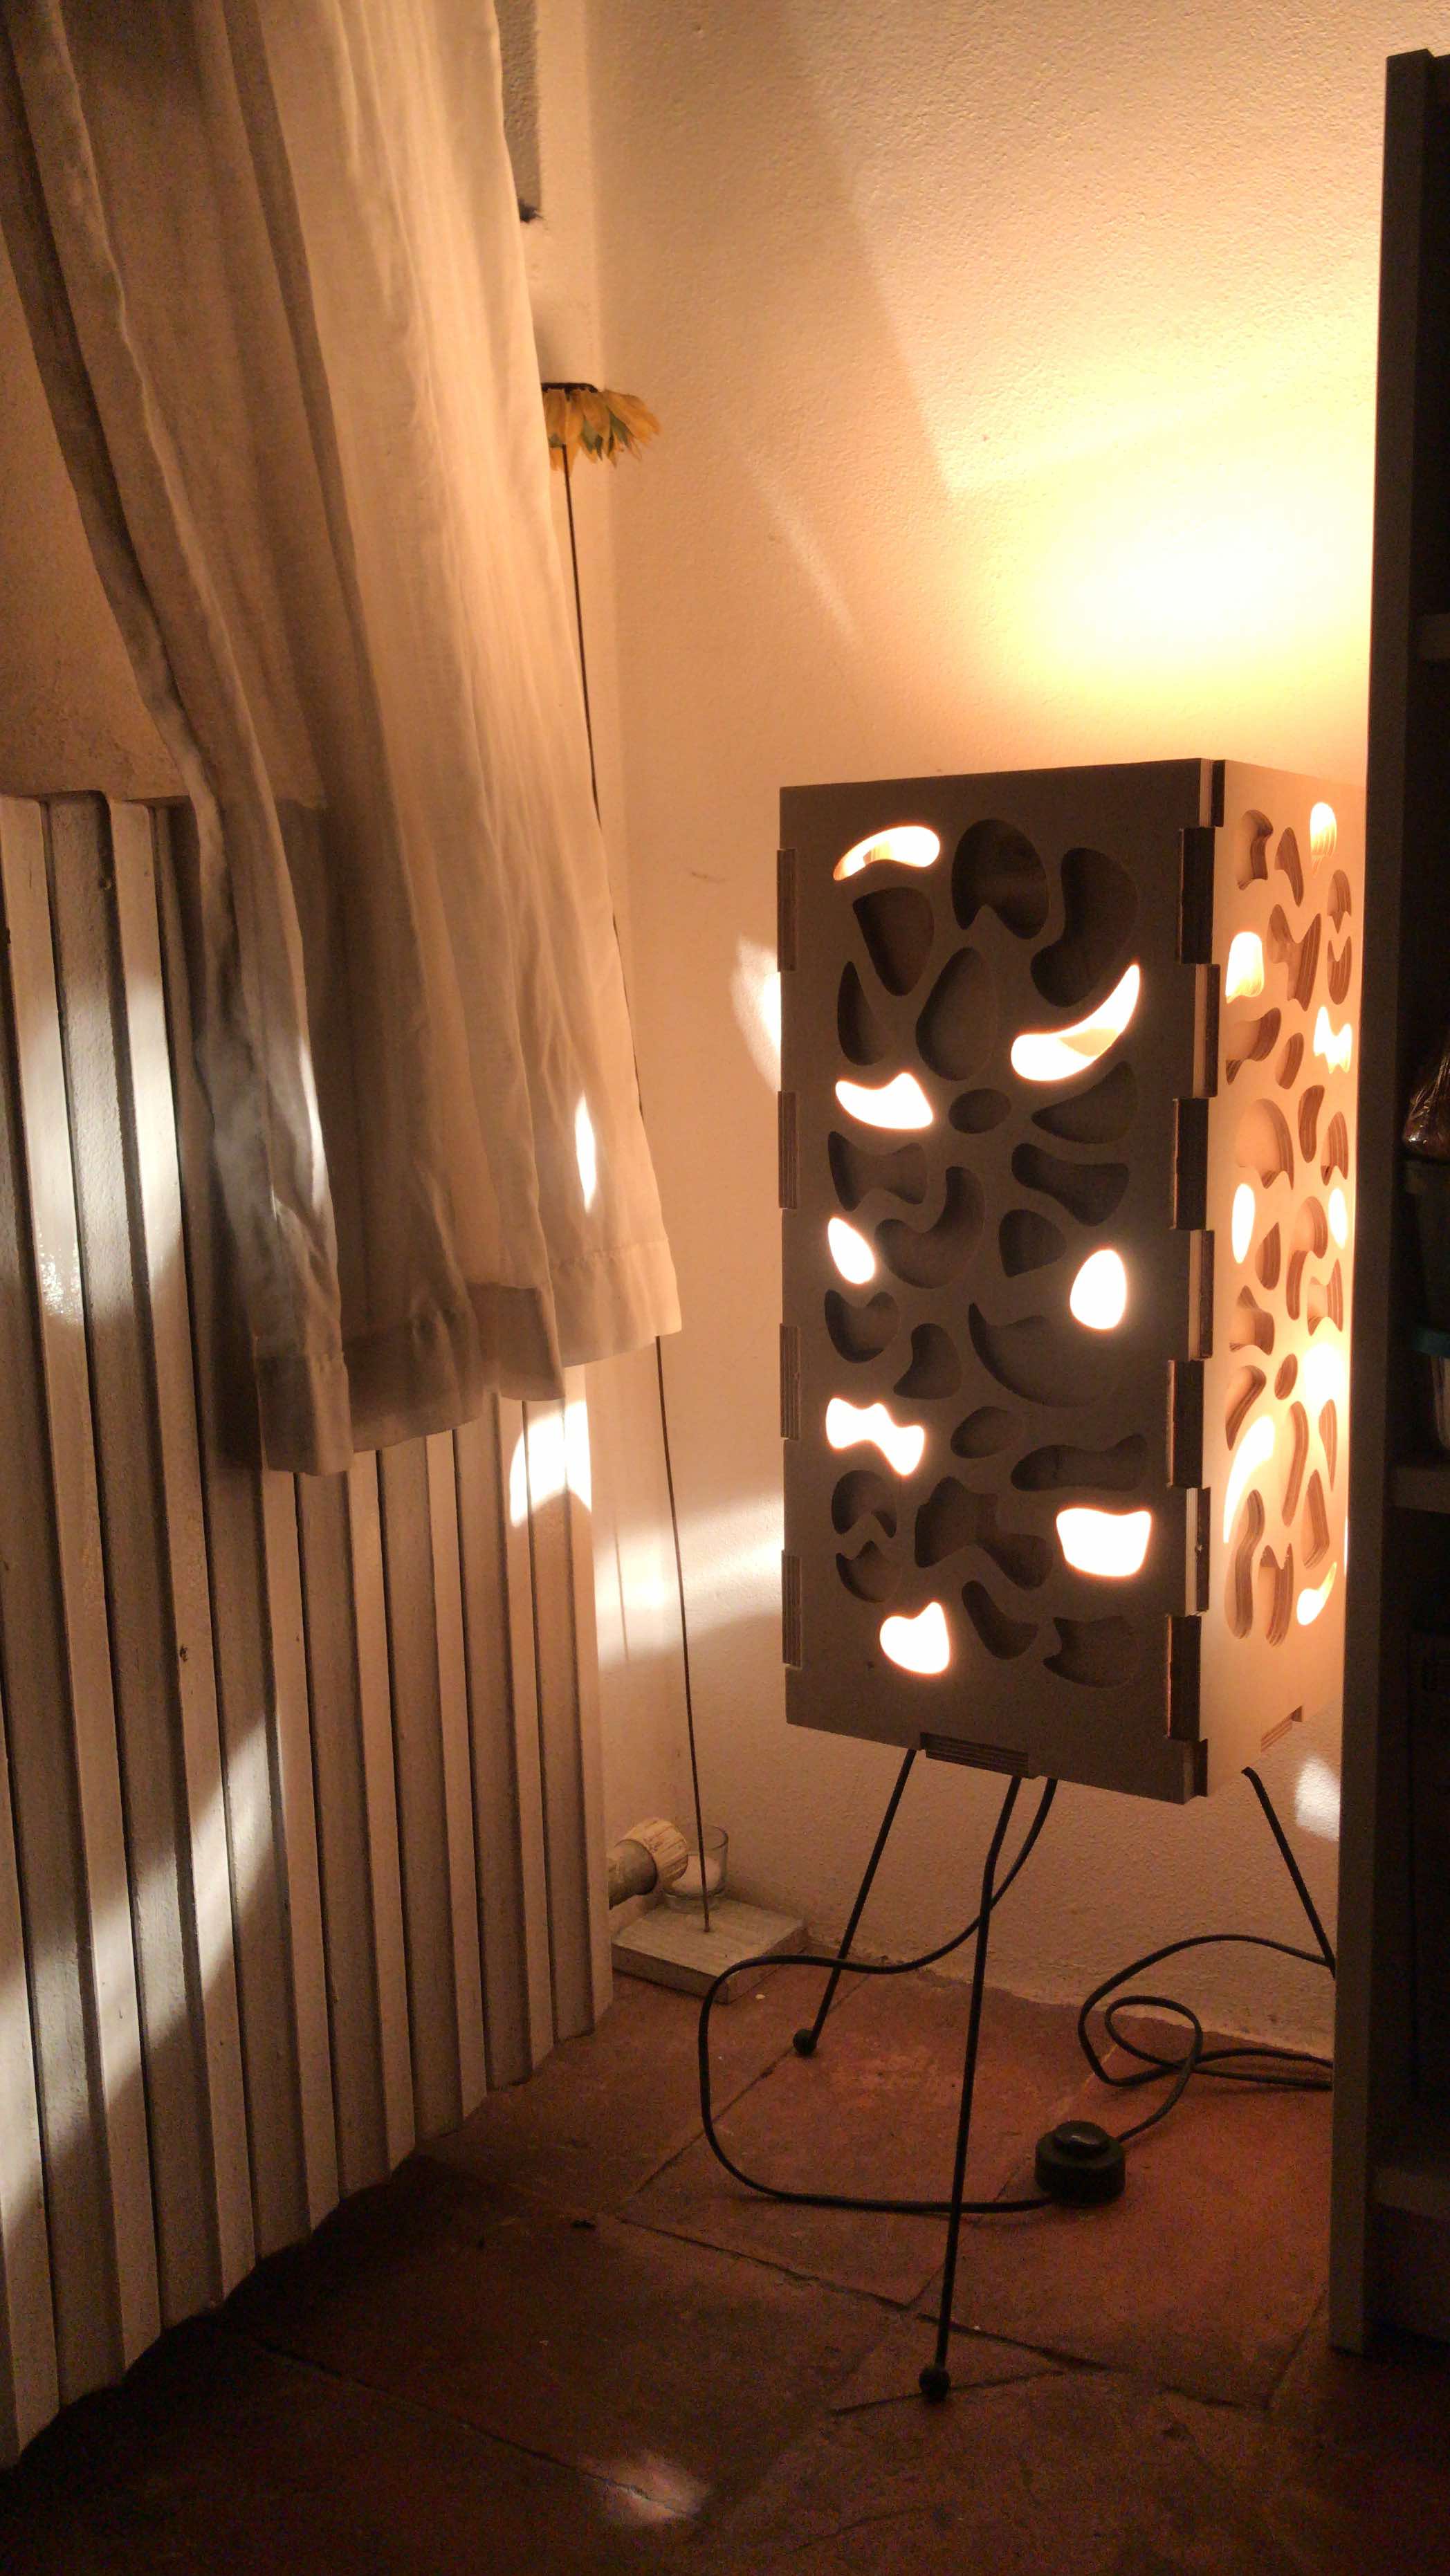
And finally, here is what we were all waiting for…TADAAA!
And a brand new meme for you: