4. Computer controlled cutting
Vinyl-cutter
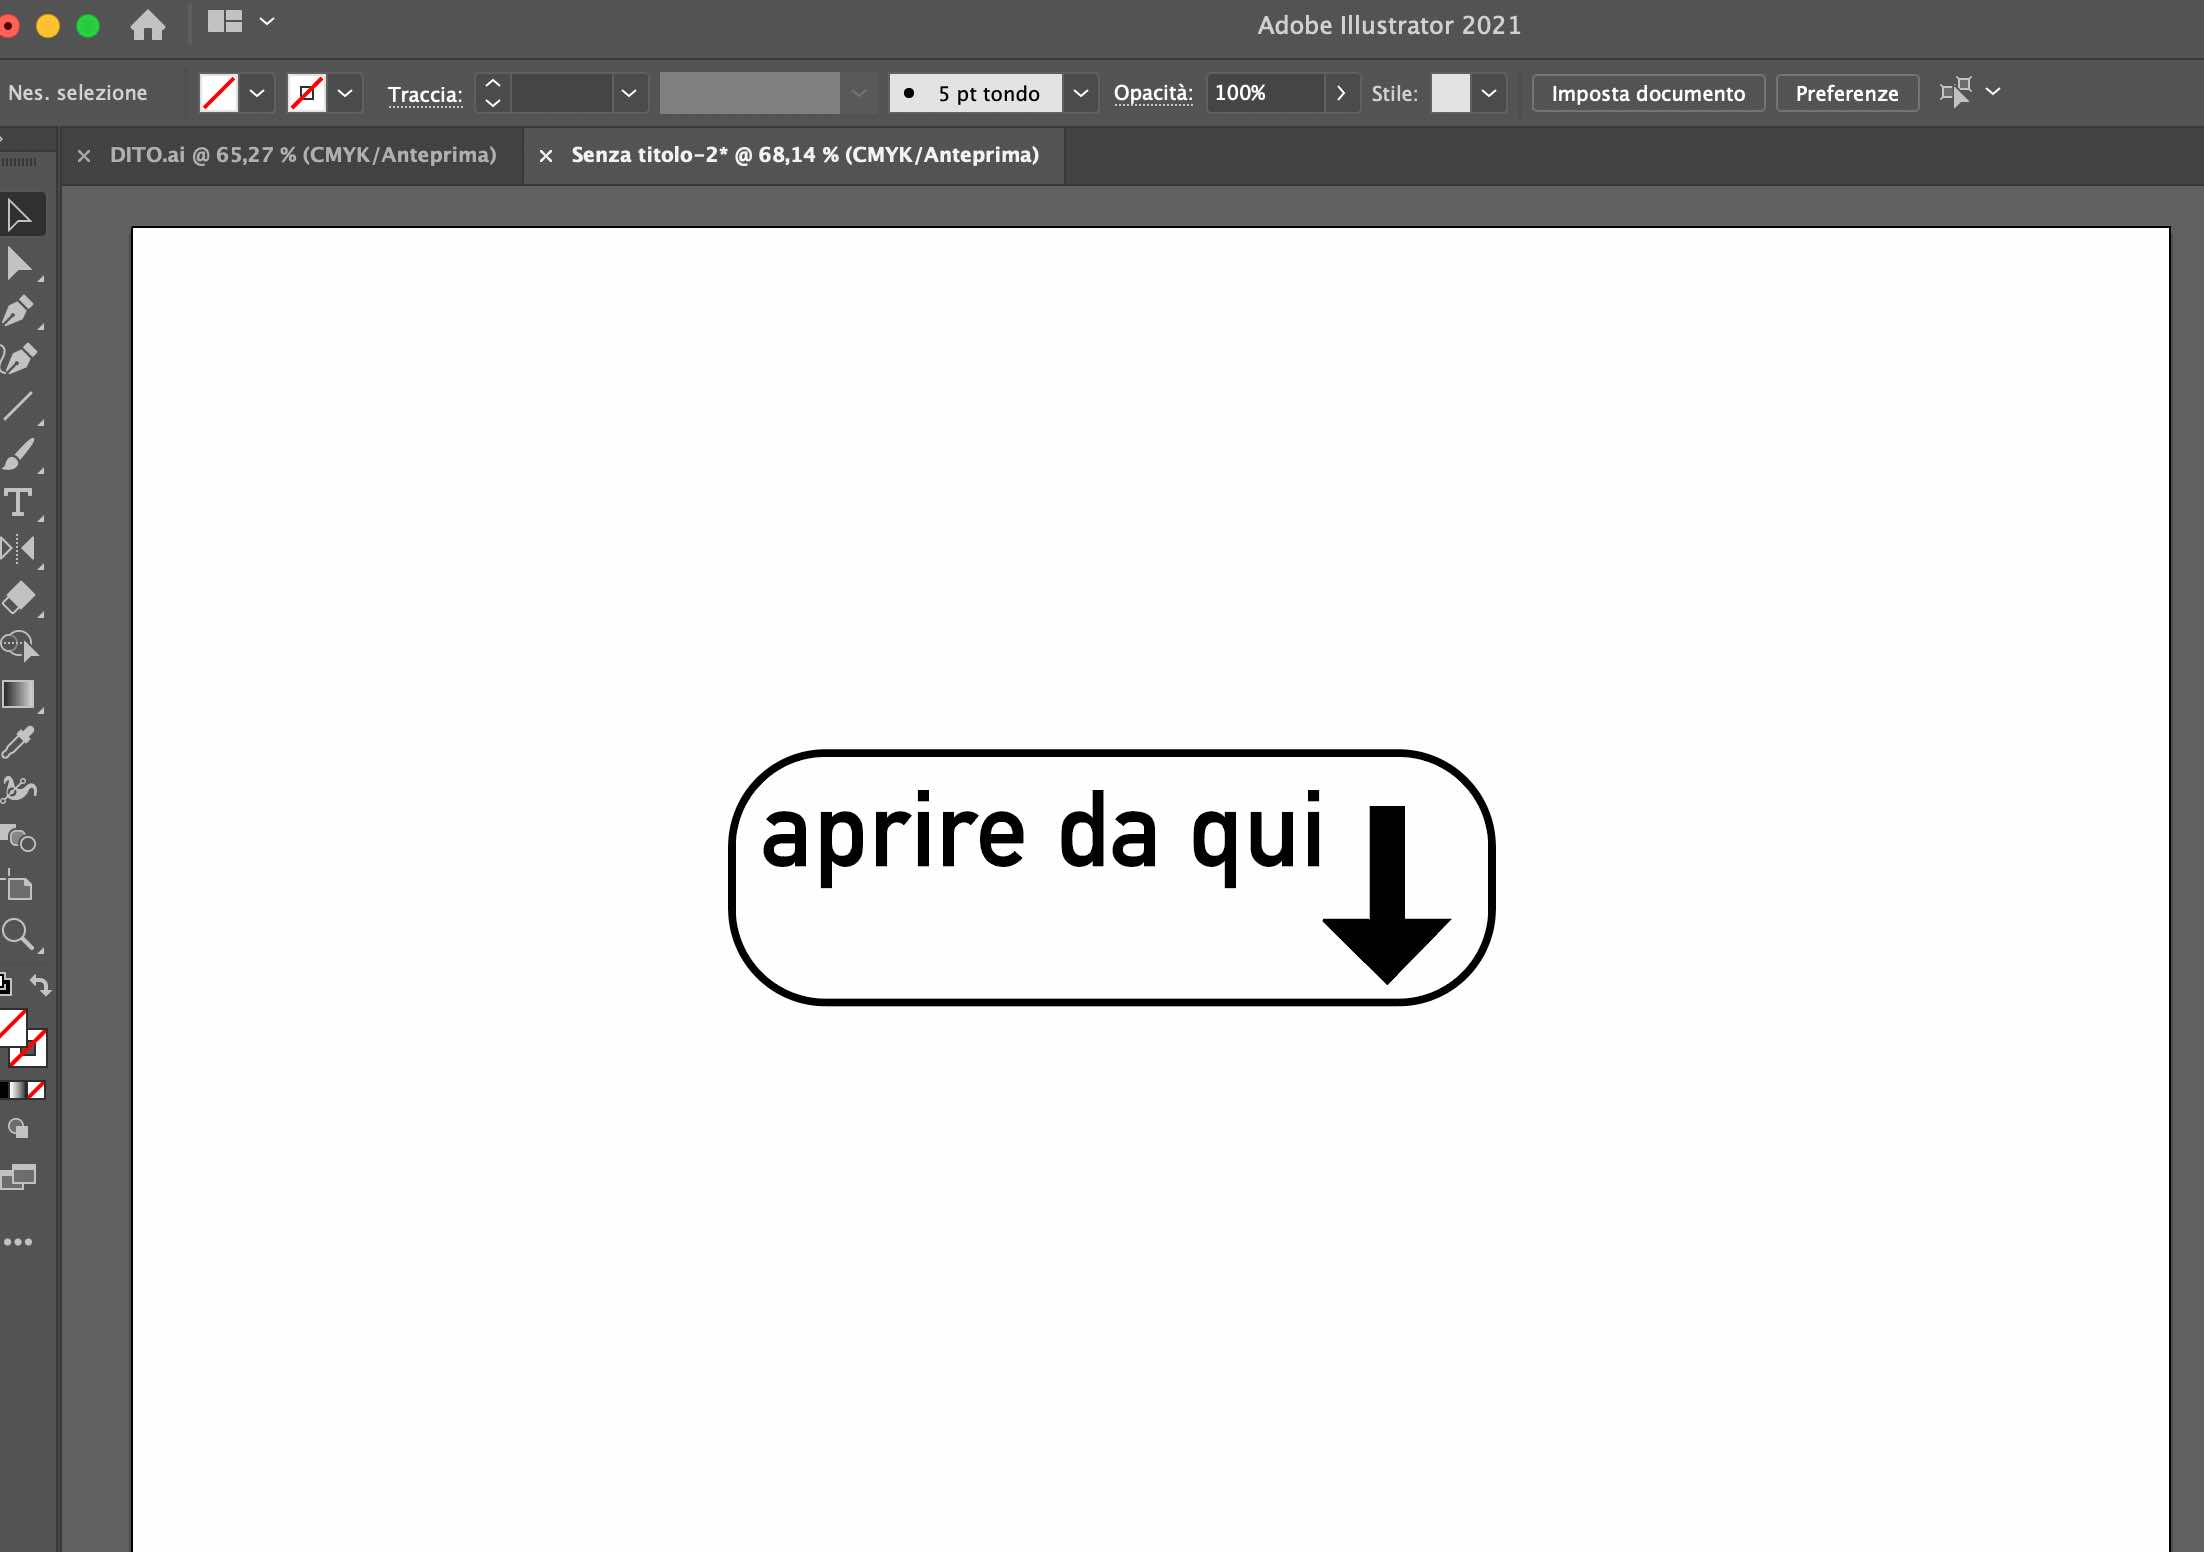
This week we learned (almost) how to use a vinyl cutter, specifically a Roland. As a first attempt I wanted to make a sticker for my pc. i recently bought my first macbook and i don’t know why, but every time i open it from the wrong side (yes i know, the logo should help me, instead it confuses me even more). So I decided to draw a rectangle on Illustrator with the words “open here”.
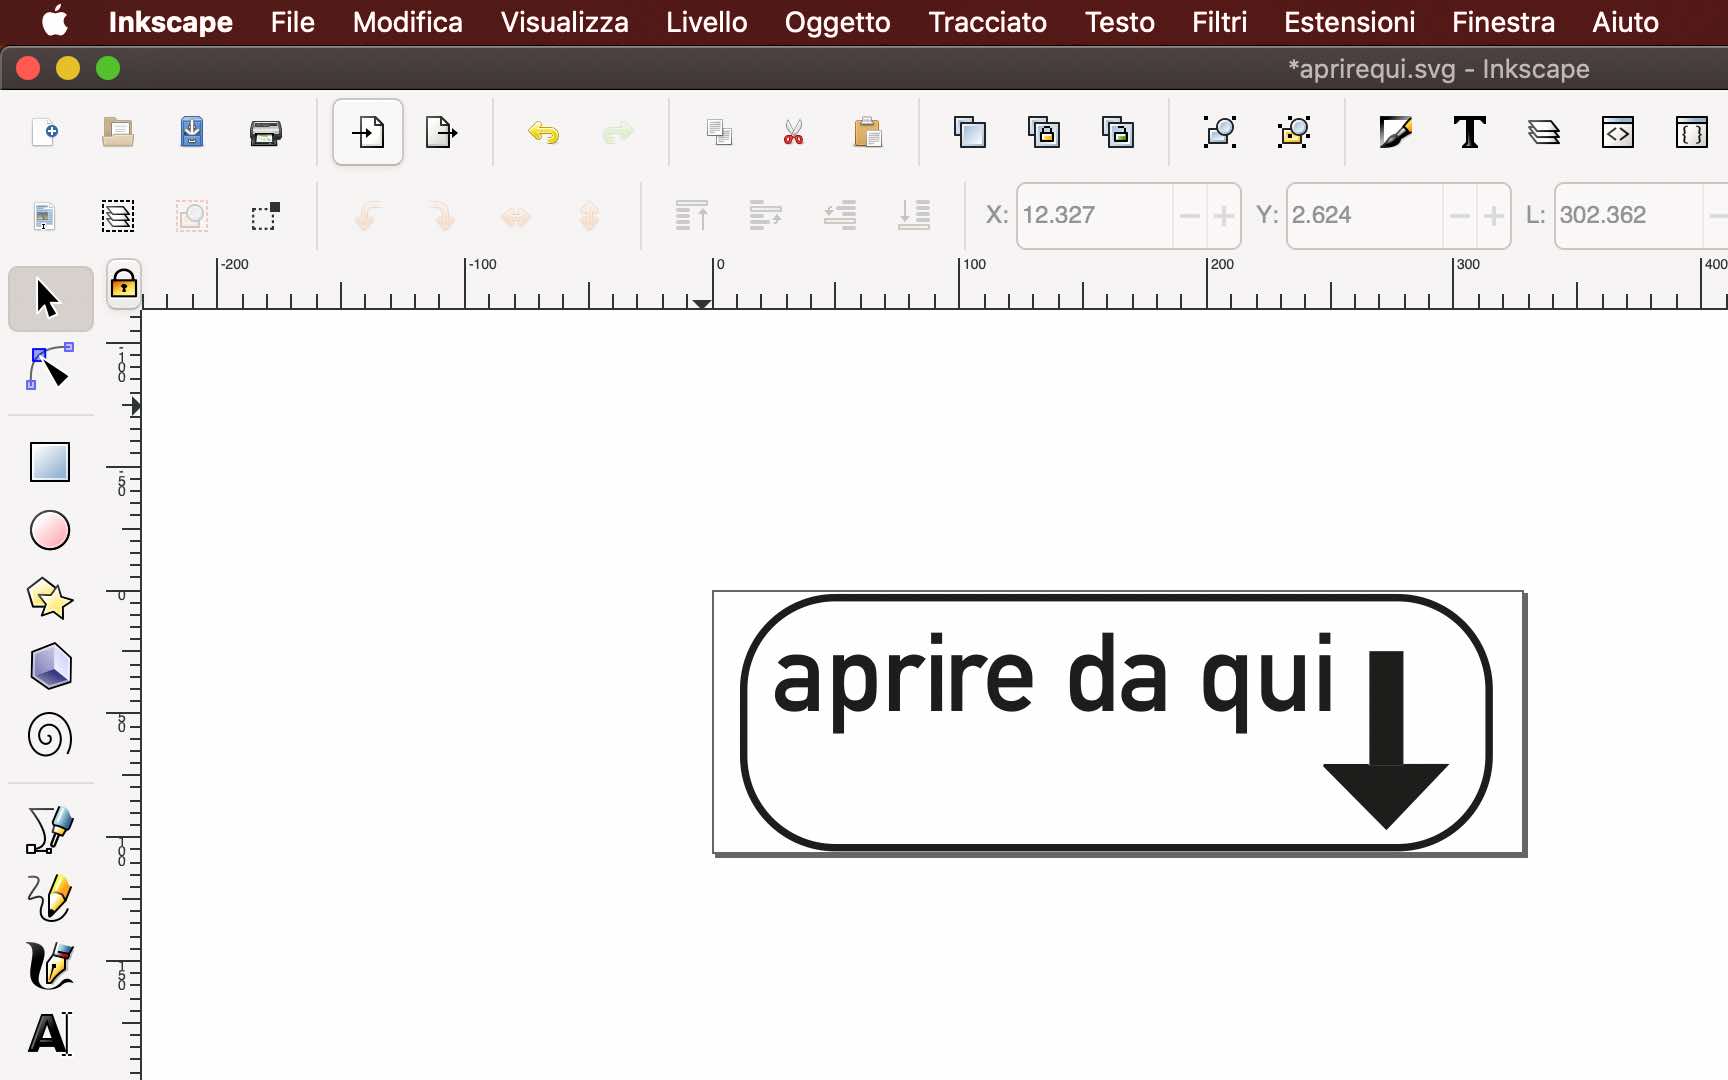
After saving it in .svg, I opened the file in Inkscape for the latest changes and turned on the machine.
At this point you have to follow a few steps, such as choosing the material, placing it inside the machine, tell the machine if it is a piece of material or a whole roll, choose the printing origin and measure the surface on which you want to print. Before printing our image it is recommended to do a test by clicking the “test” button on the Roland, which will print a small square. Now we are ready to print our image directly from Inkscape, which thanks to a plug-in makes the process very simple and intuitive.
Once the machine has finished its job, we can take a cutter and remove the excess parts from the sheet, choosing whether we want the original or negative image. Then you take a portion of paper tape and lay it on the print, trying not to make bubbles and flattening everything with a ruler. If everything is done correctly, we will have our sticker on the paper surface, ready to be stuck on whatever we want.
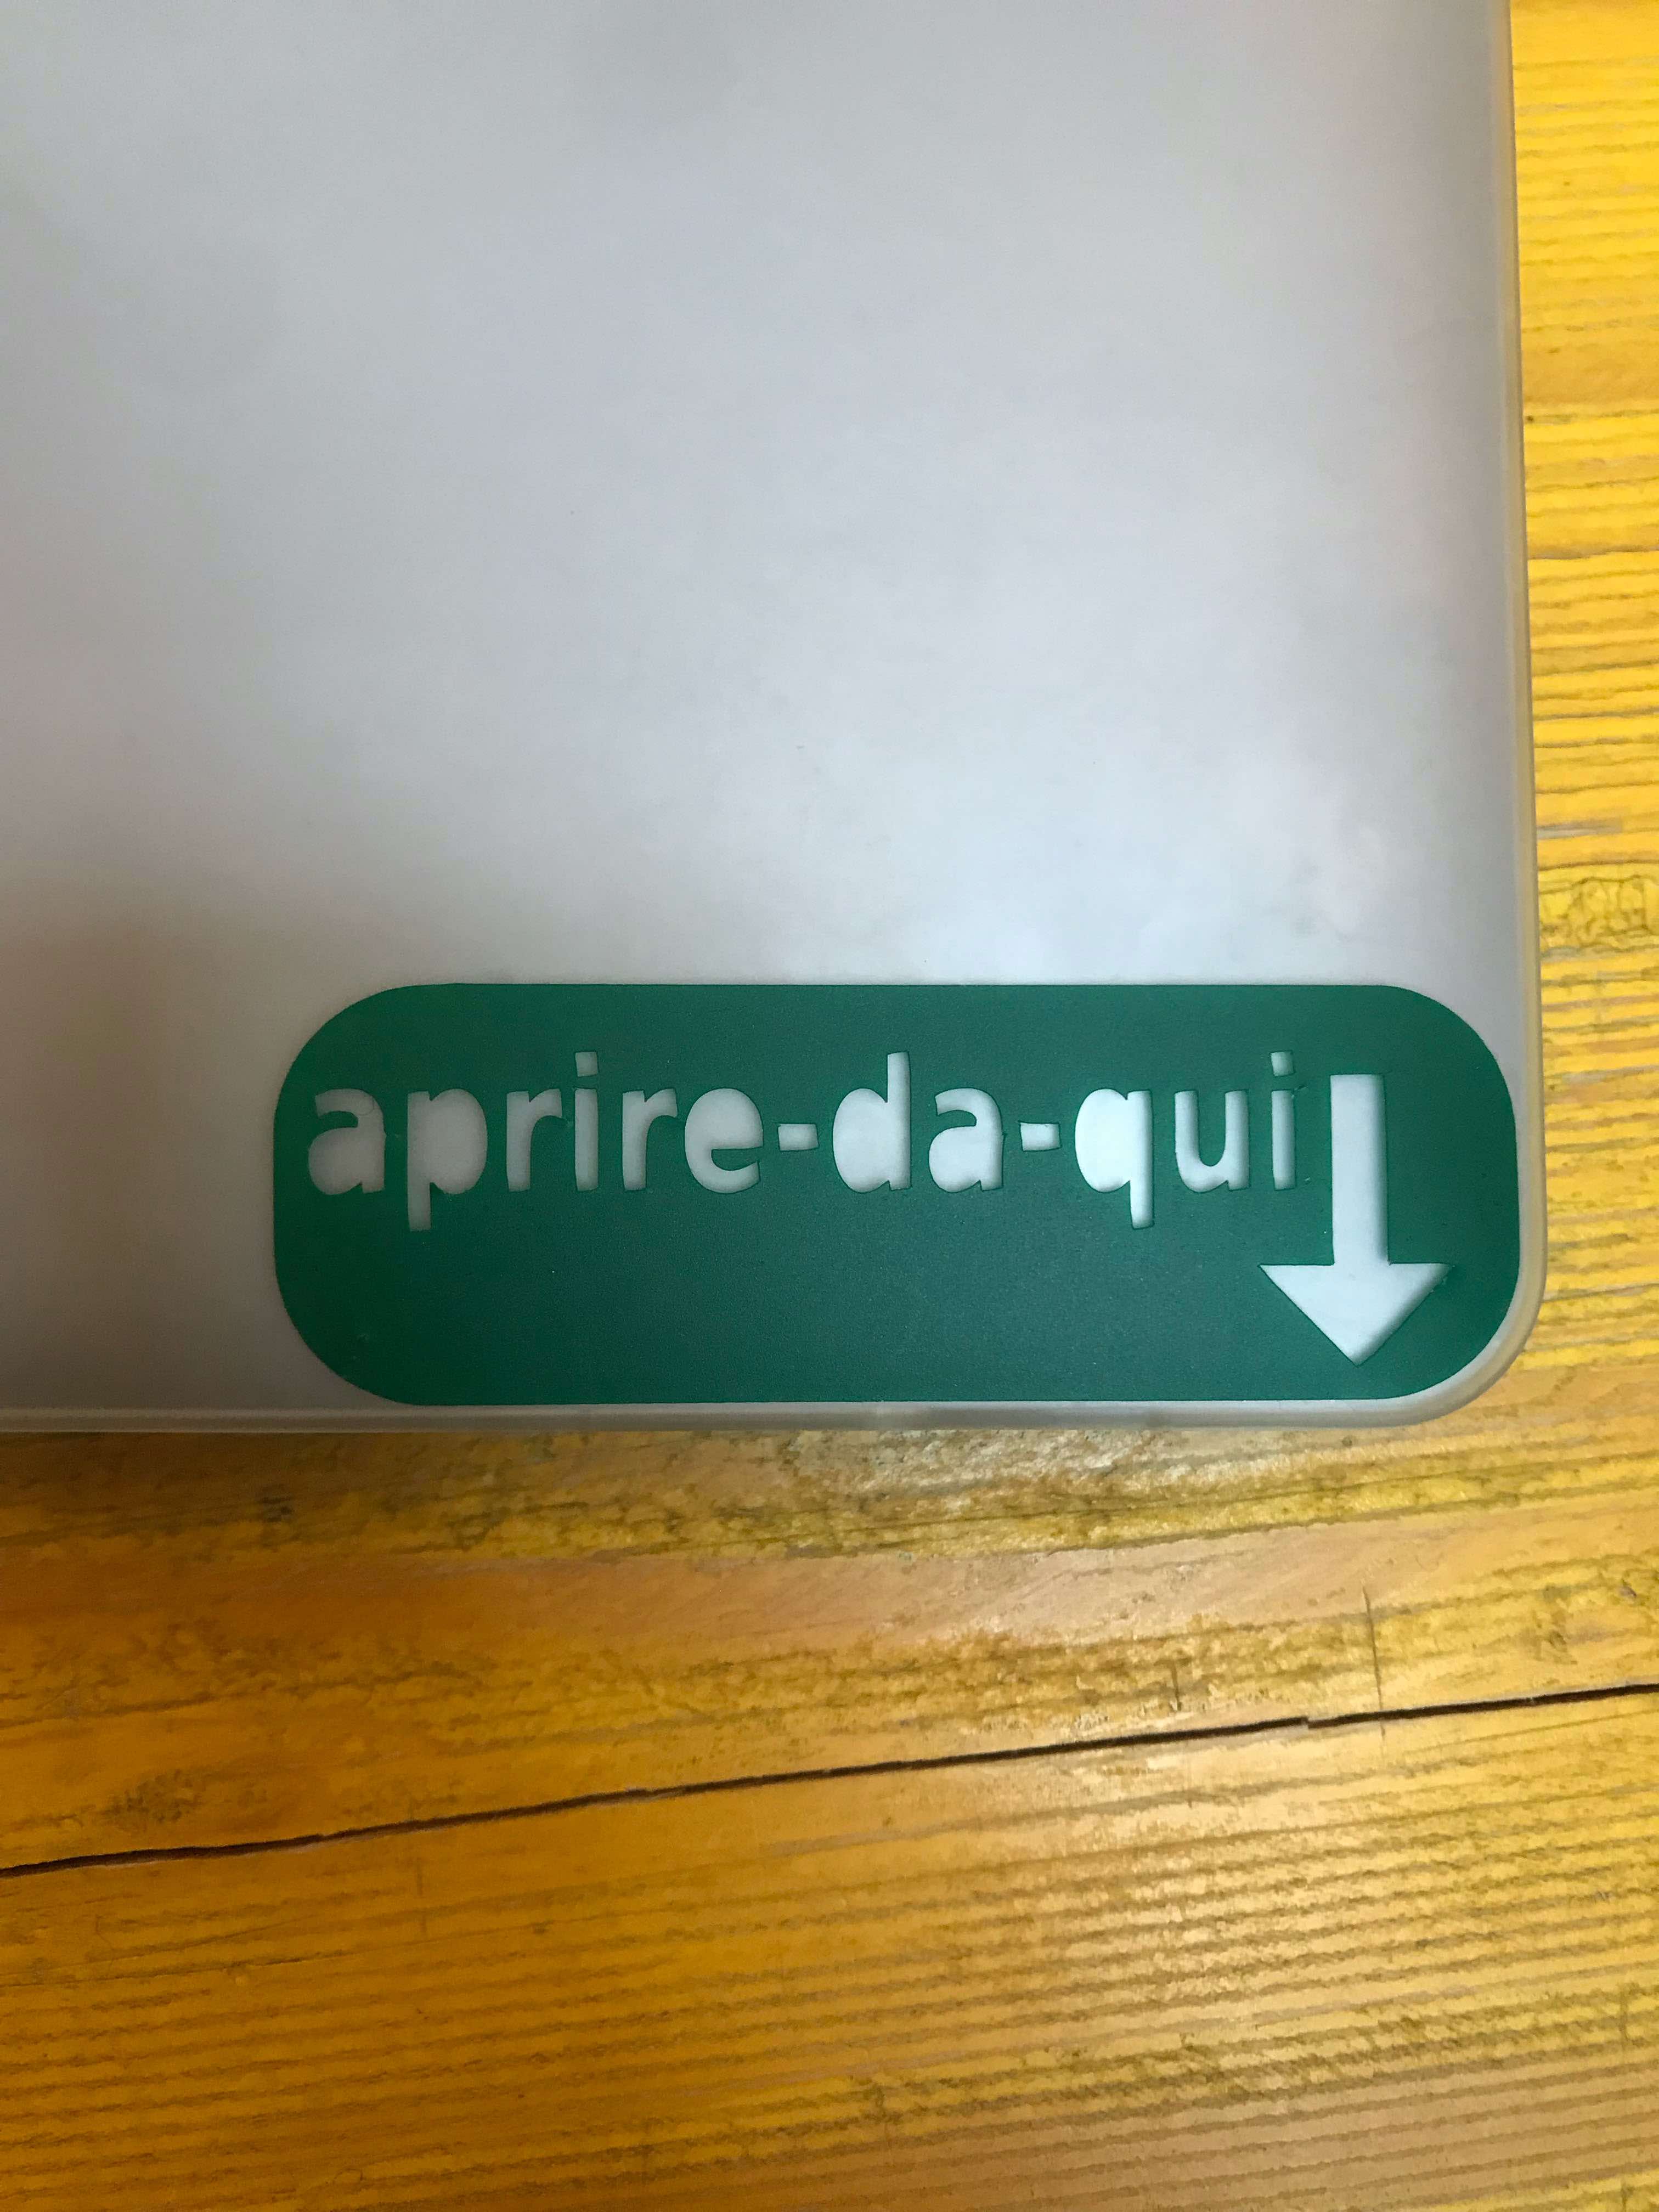
As you can see from the pictures, the first attempt was unsuccessful, but no problem, we can do it again!
As second image I chose the Noface character from Spirited Away (if you have never seen this cartoon, stop reading and watch it now!).
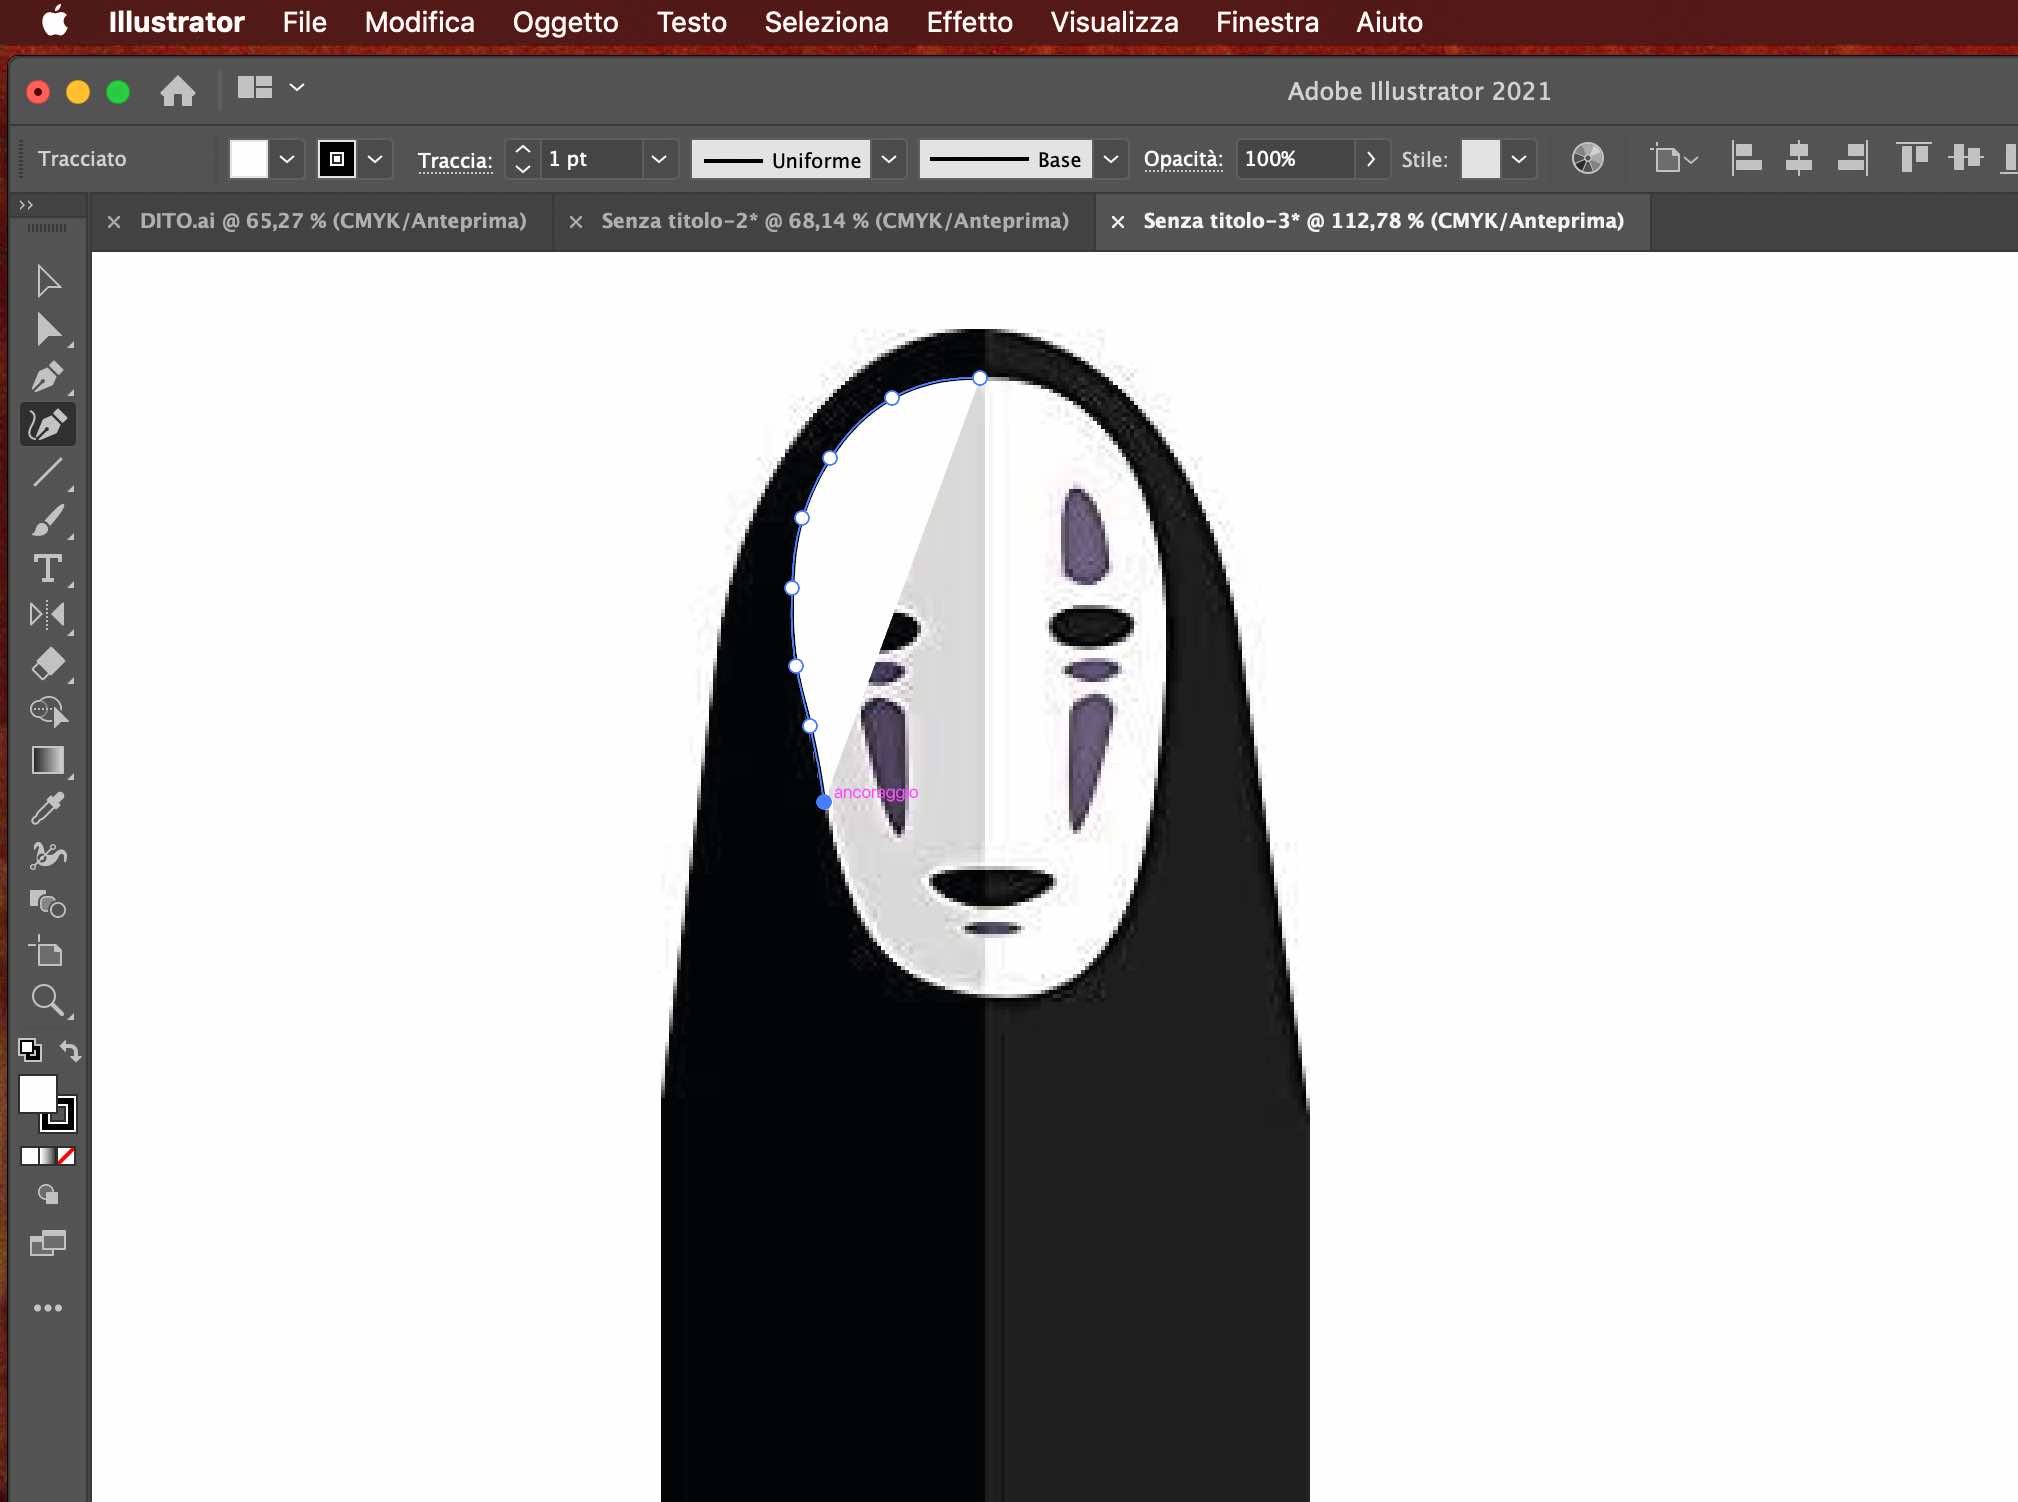
I downloaded an image from the internet and opened it on illustrator, then using the pen tool I traced the portion of the image that interested me.
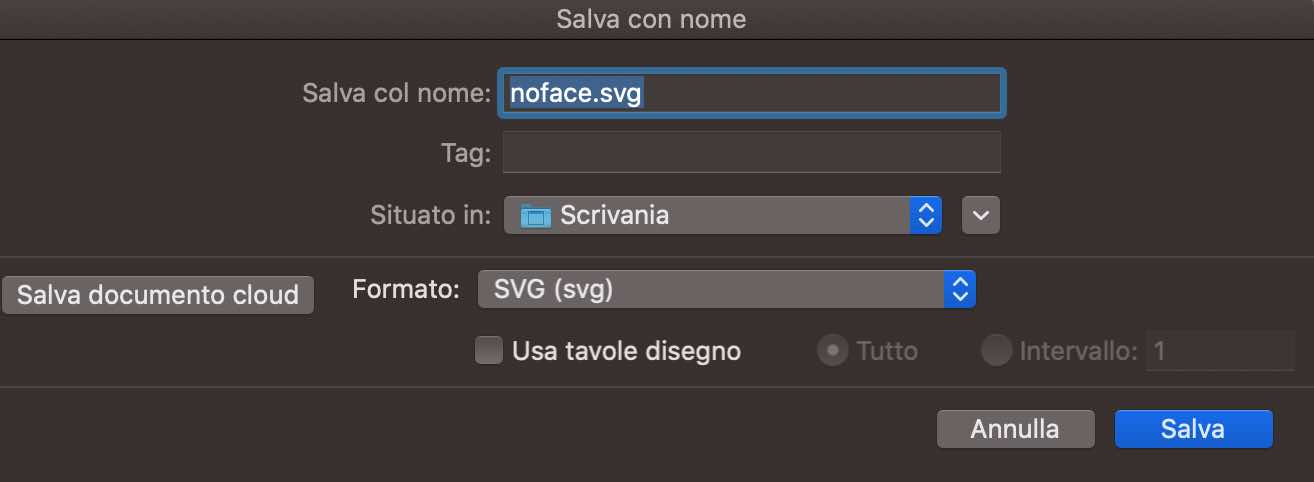
Once the file has been saved in .svg and imported to Inkscape, it’s time to print!
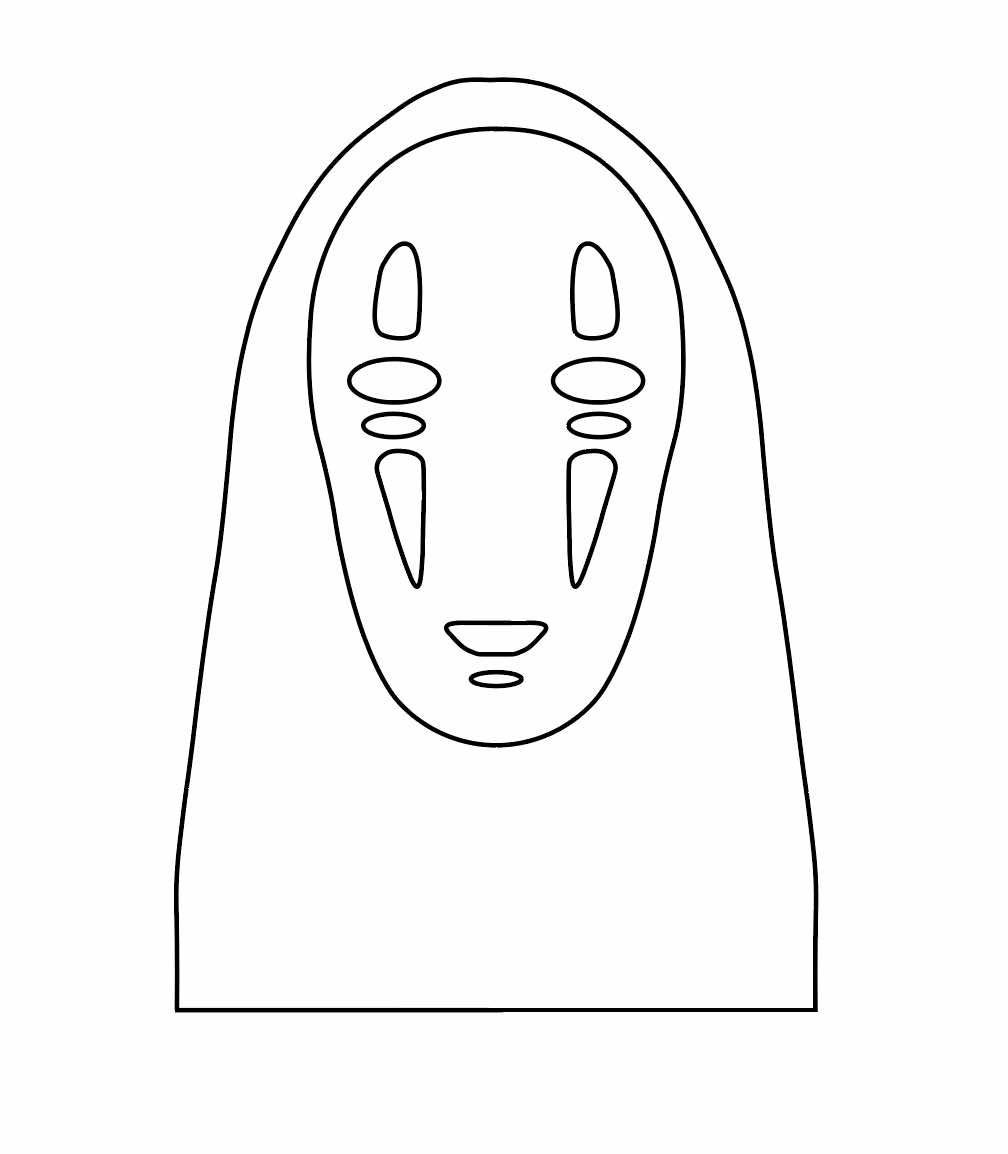
This is the final result :)

Lasercut
Here we are for a new episode of “Andrea and her failures”! This time we will talk about laser cutters, that is? A laser cutter is a type of CNC (Computer Numerical Controlled) machine, meaning that it’s controlled by a computer. Makers can design their ideas on a digital software and send it to the laser cutter to be cut. Once the laser cutter received the file, the machine uses a laser beam to cut into or etch into the material on the cutting bed. Laser cutters are a good all around tool because they can be used to make different style of design. Common laser cutters are primarily used to cut materials like wood, acrylic, cardboard, paper and etc. My idea was to make fancy glasses out of plexiglass, to show them off this summer at parties to which I will not be invited: ‘) To see if I liked the design of the glasses I tried a simpler material, that is our beloved wood. DISCLAIMER: since I do not consider myself an established designer, I have entrusted myself to the magical world of the internet as regards the joints, because who wants glasses that cannot be opened and closed? So an amazing shout out goes to “r4f” for having this idea before me!
Once I understood the joints, I also designed the frame on Illustrator, with the only trick of adding holes in the wooden frame, to make them usable and give them to a friend at Christmas.
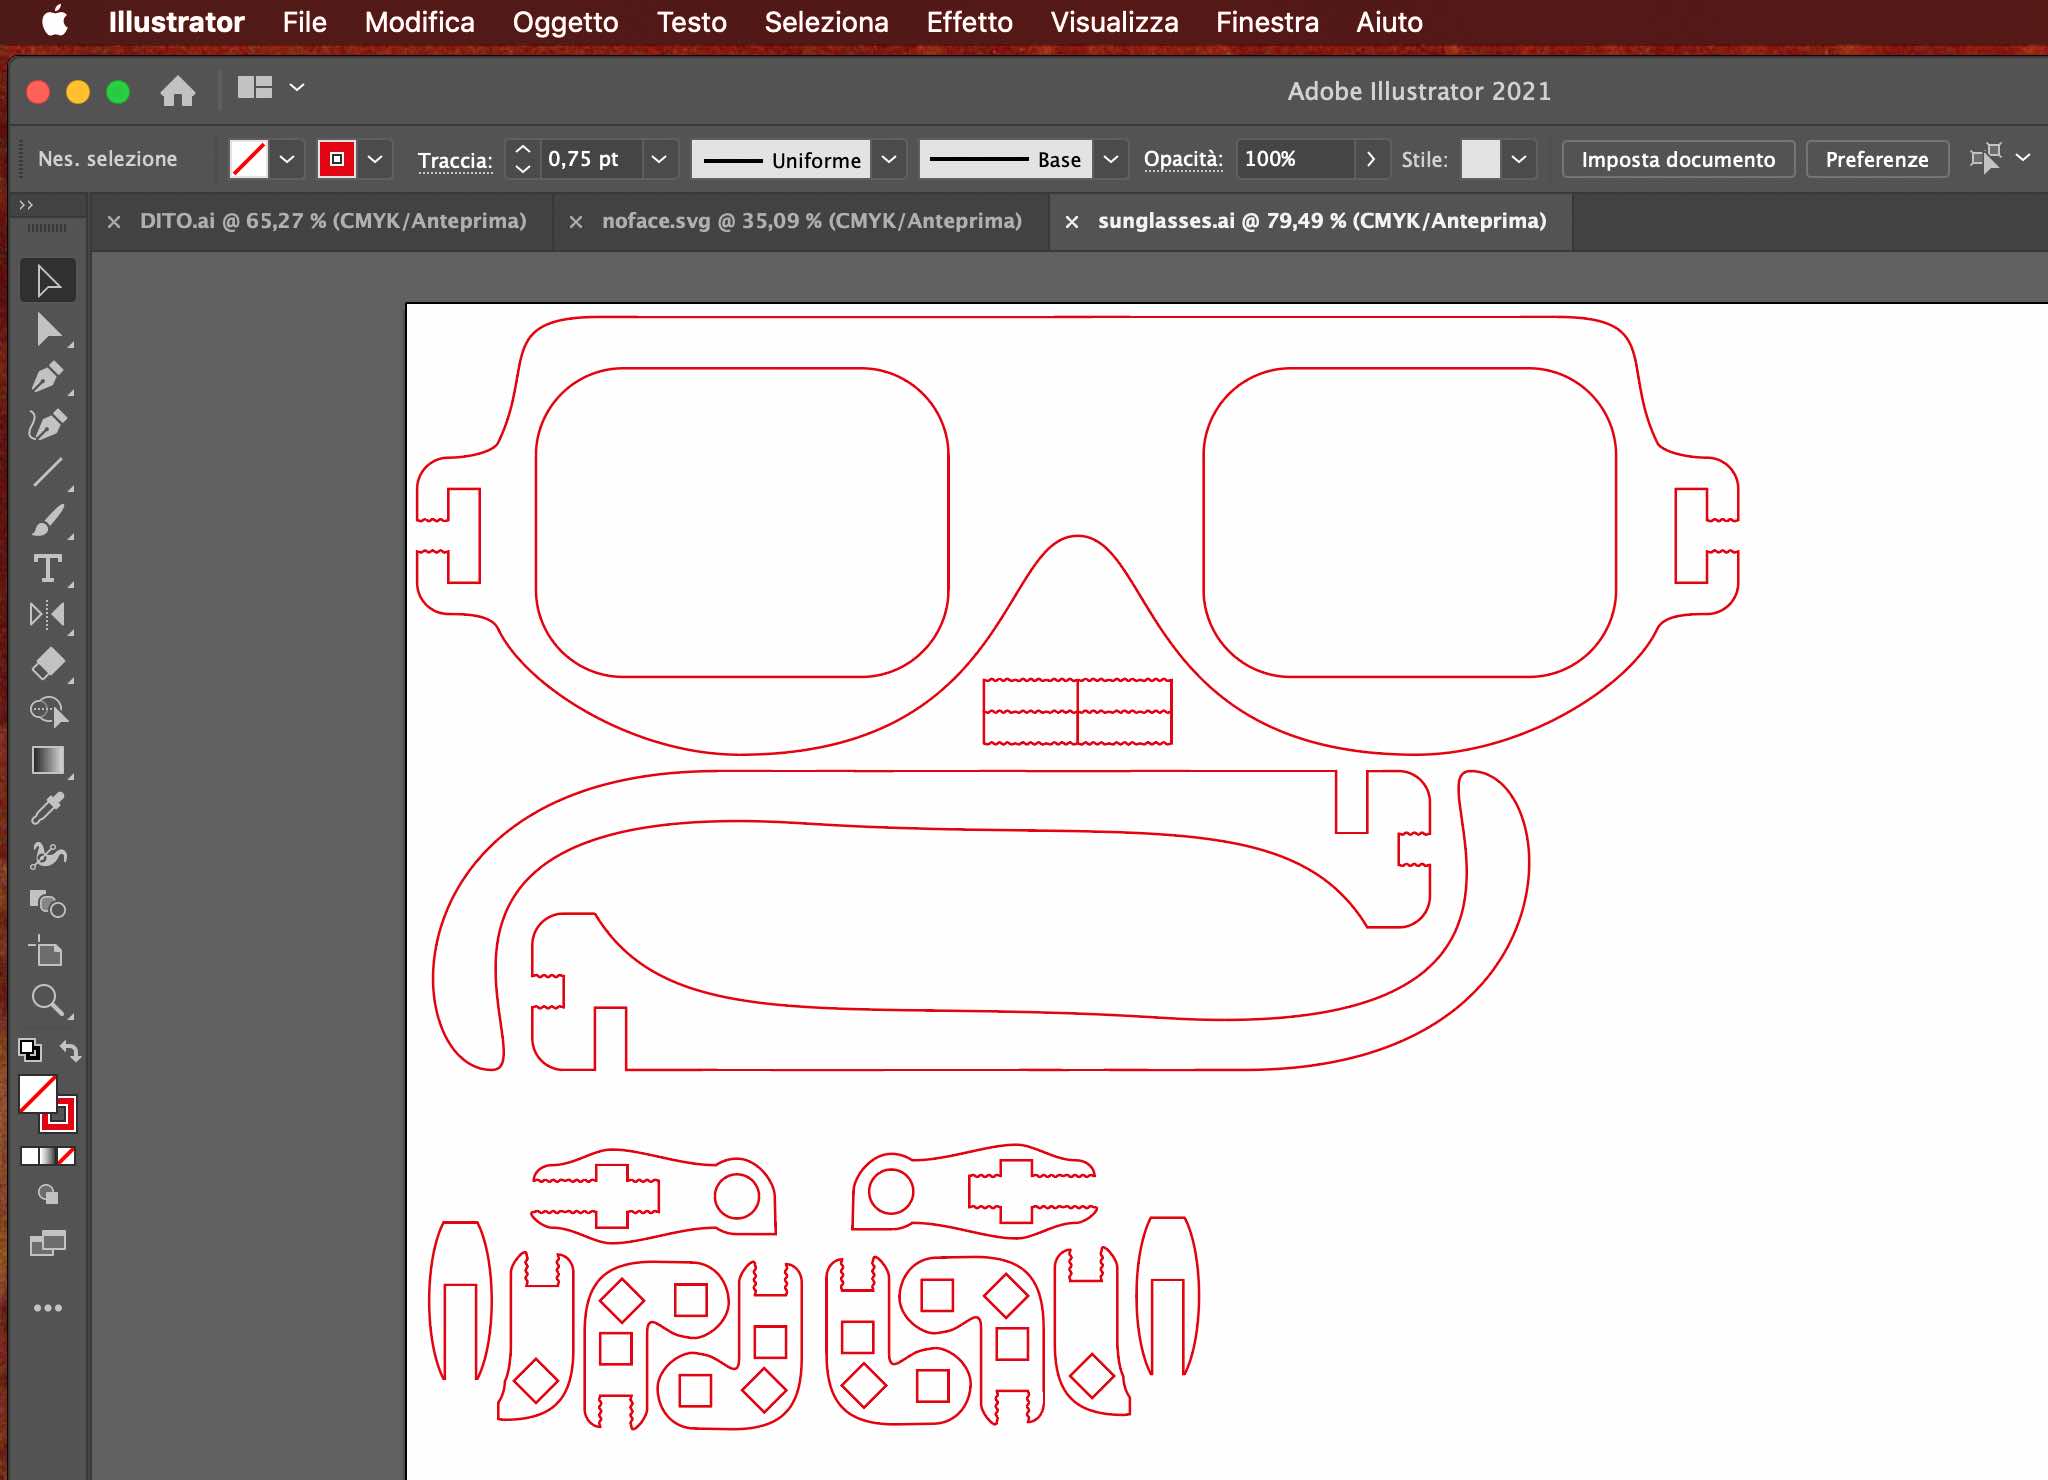
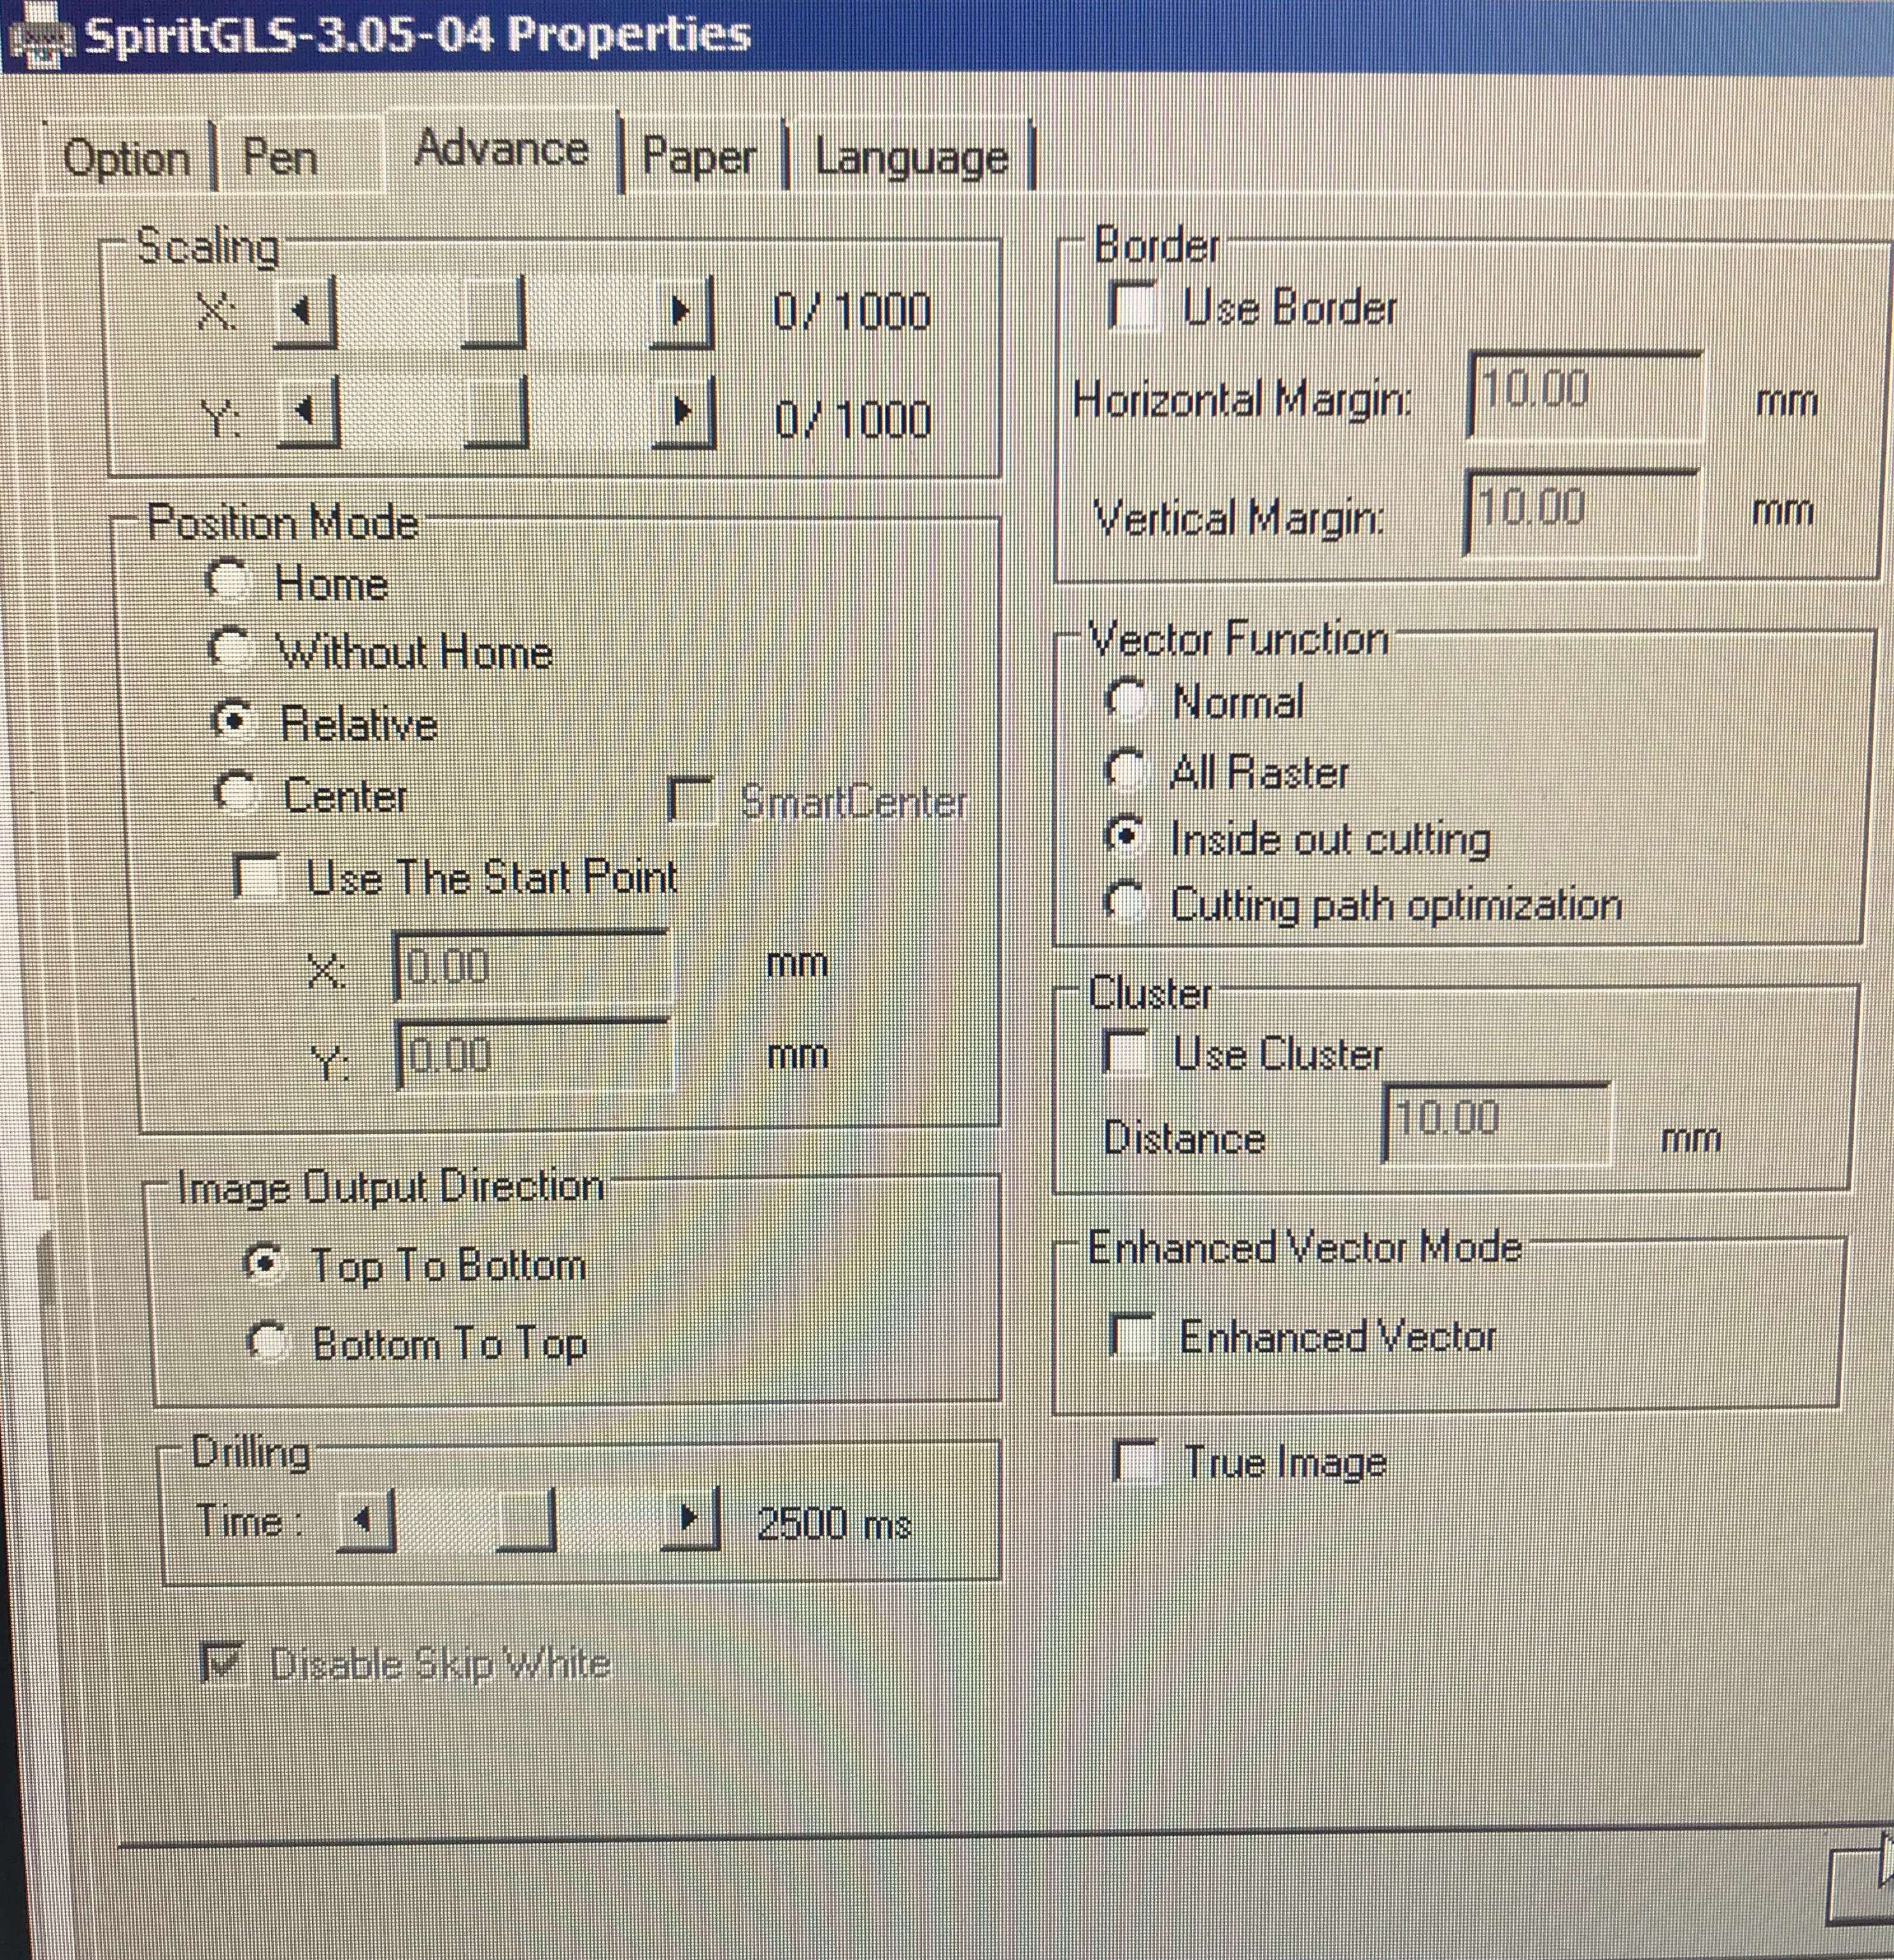
I saved the file in .svg and opened it in rhino on the Fablab computer. As soon as you click on “print” a screen will appear full of tricks and changes to be made before the actual printing.

First of all go to Properties, then on “Pen”. Here flag “vector” because in my case there are no engravings, for now, then decide speed (2.0) and power (100). These values change depending on the material and its thickness, I used a 3mm thick scrap of wood, so these values should be fine (spoiler: not even by mistake). At this point we just have to choose the origin of the laser and tell the machine where to start with the “relative” flag that we find in the “set” menu.
Below is a photo of me doing the autofocus with a questionable animalier shirt, but I still thank my classmate and friend and homonymous Andrea for the pic. (Check her website for more useful and aestethically pleasent infos)
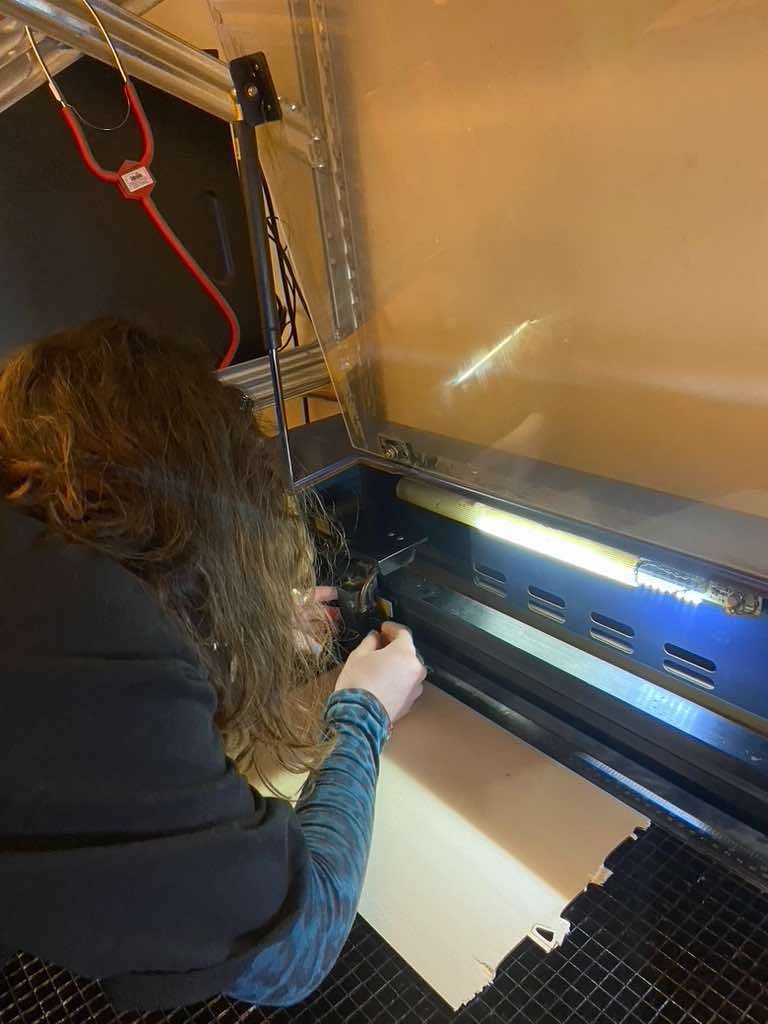
We are officially ready to print but first TURN ON THE VACUUM !!
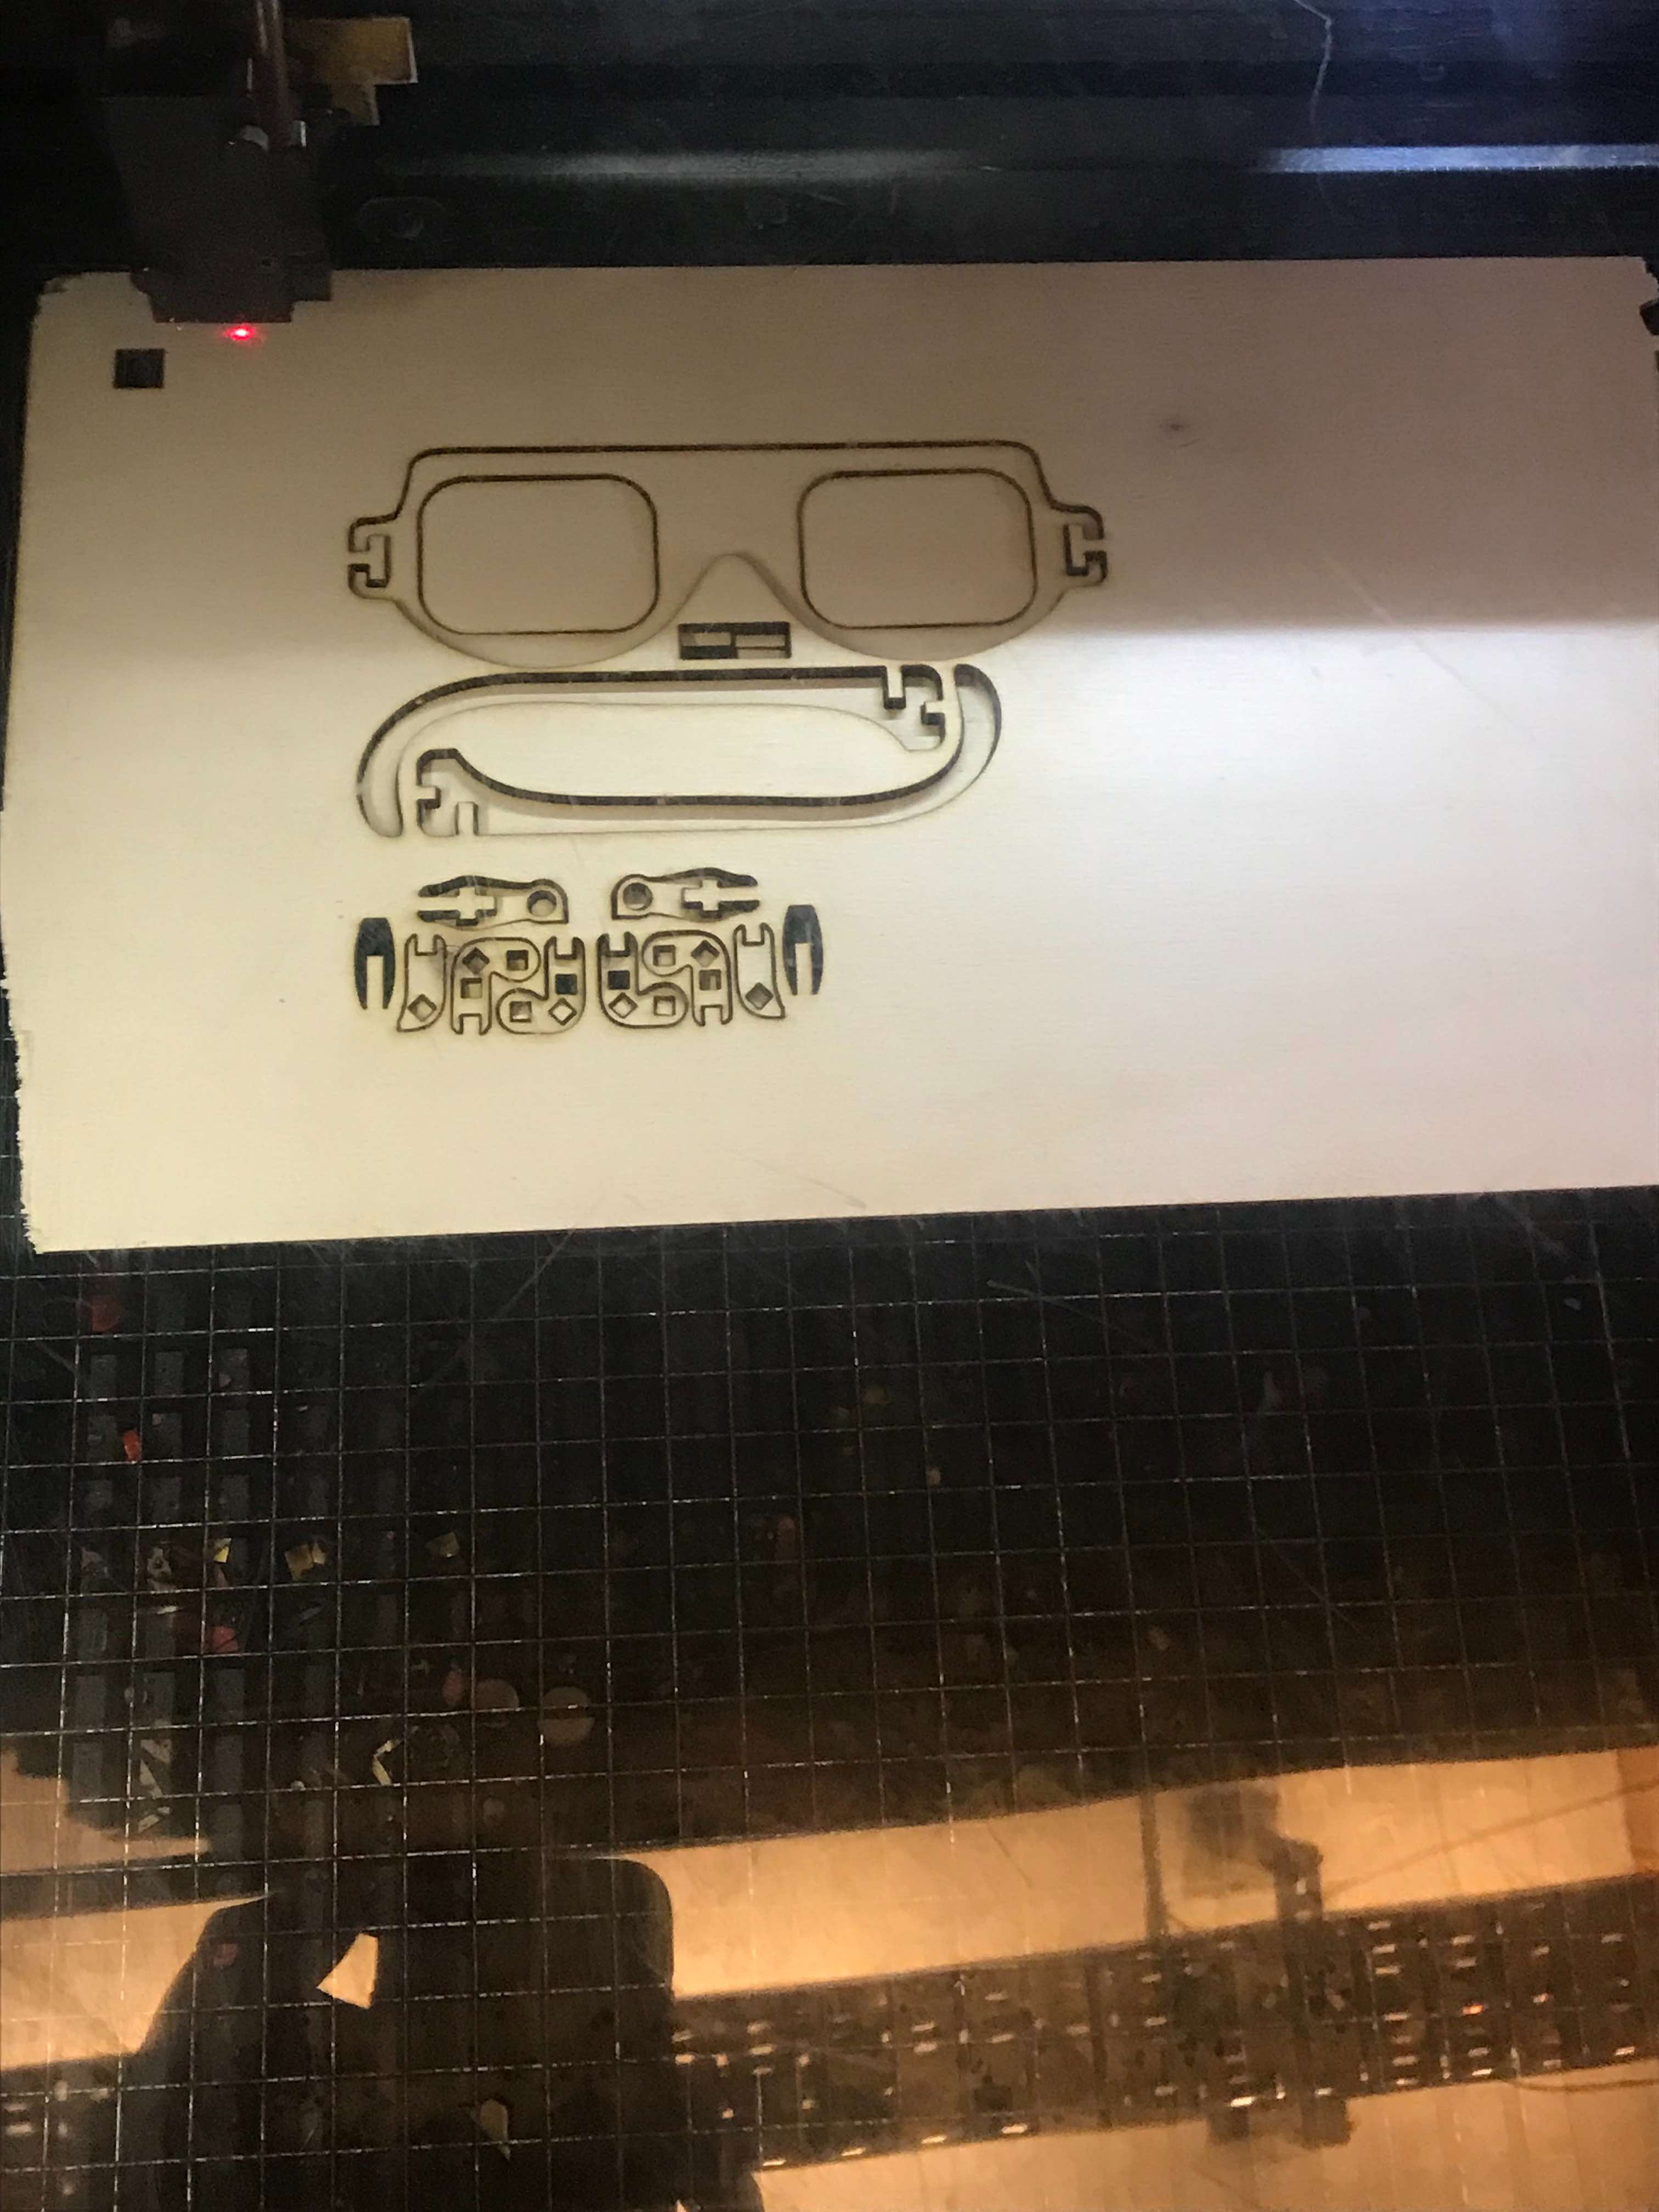
From this photo everything seems perfect, “luck of the beginner” would say the envious, but NO. Do you know why? Because I forgot a fundamental thing, and I’m not talking about the vacuum, but the damned KERF. In case you don’t know what I’m talking about, this is a piece of material that is burned by the laser and evaporates like Fawkes the phoenix in Harry potter, and you stand there stunned and sad because you thought you were attentive and perfect and concentrated and… by the way, remember to take this value into account, otherwise your projects will end up like mine, apparently right, but with too weak joints.
How to solve this problem? By changing the speed and power values, to reduce the burn time or its power.
But since the initial purpose was to make plexiglass glasses, I started experimenting with this type of material. Using the 5mm thick material, I found out that setting the speed to 1.1 / 1.2 would not have kerf, great news after the last failure. Despite this, I continued to have problems with the joints, so I put this project aside and started thinking about something else.

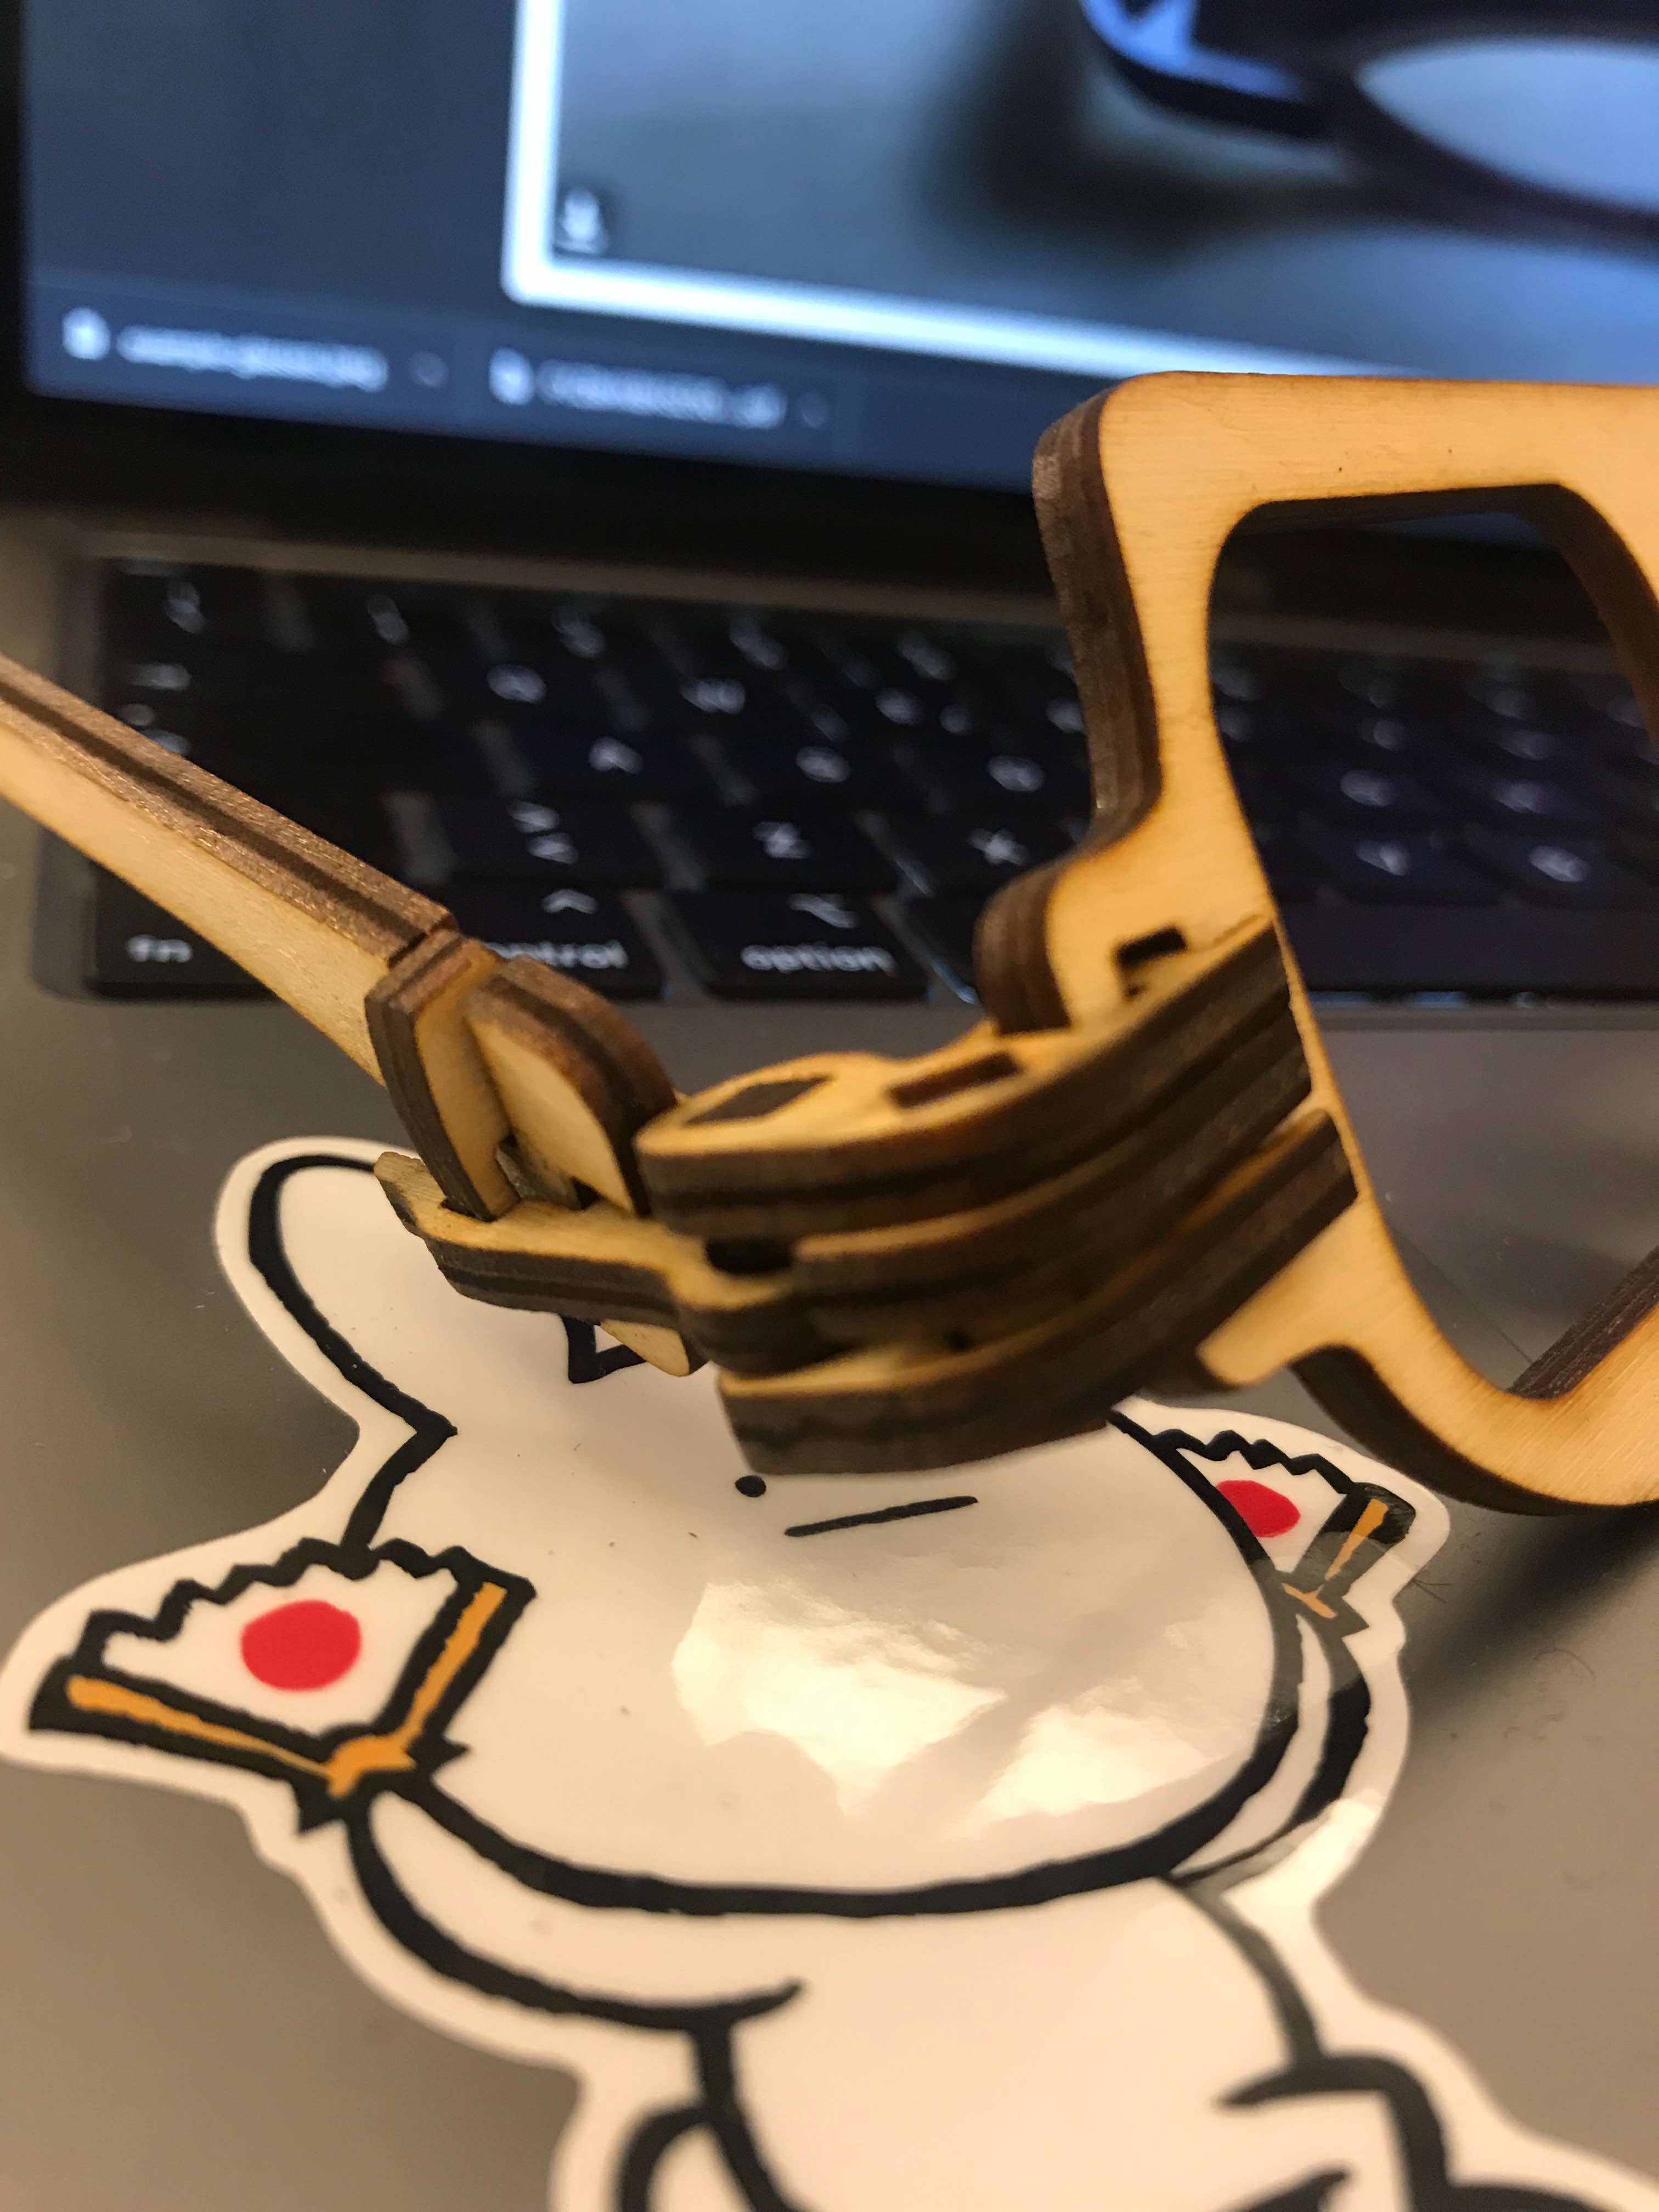
Until I remembered of a youtuber I follow, his name is Chris Ramsay and he reviews 3d puzzles on his channel, so I said to myself, why not replicate one?
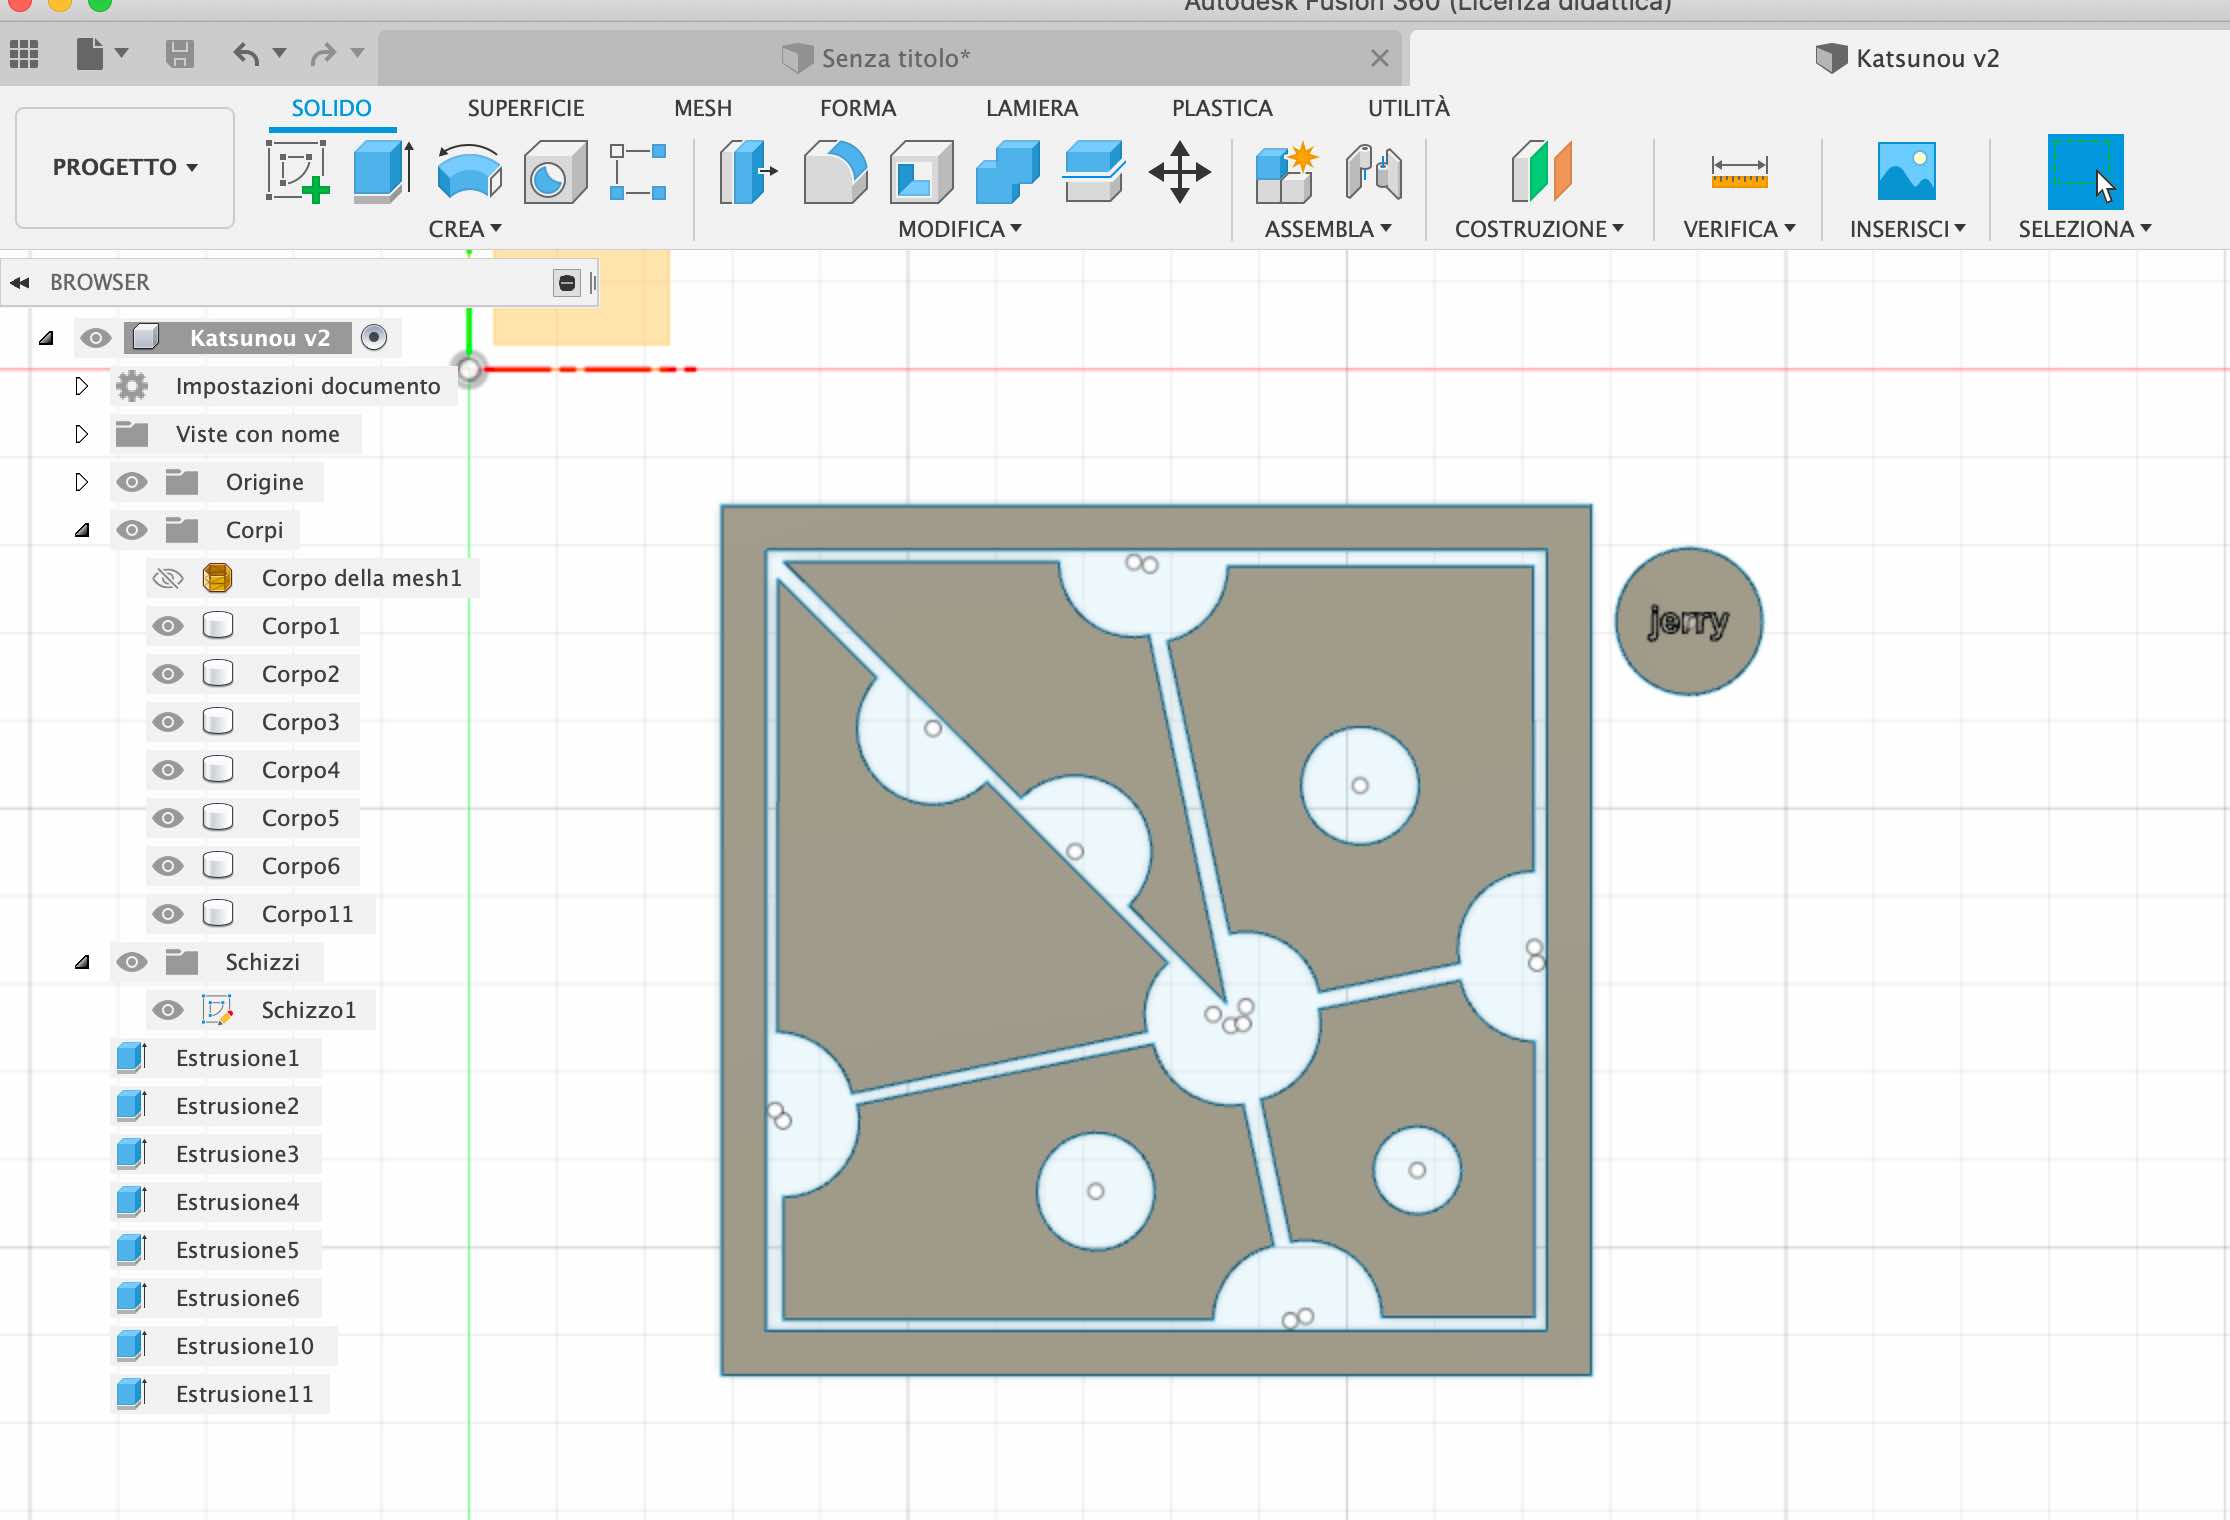
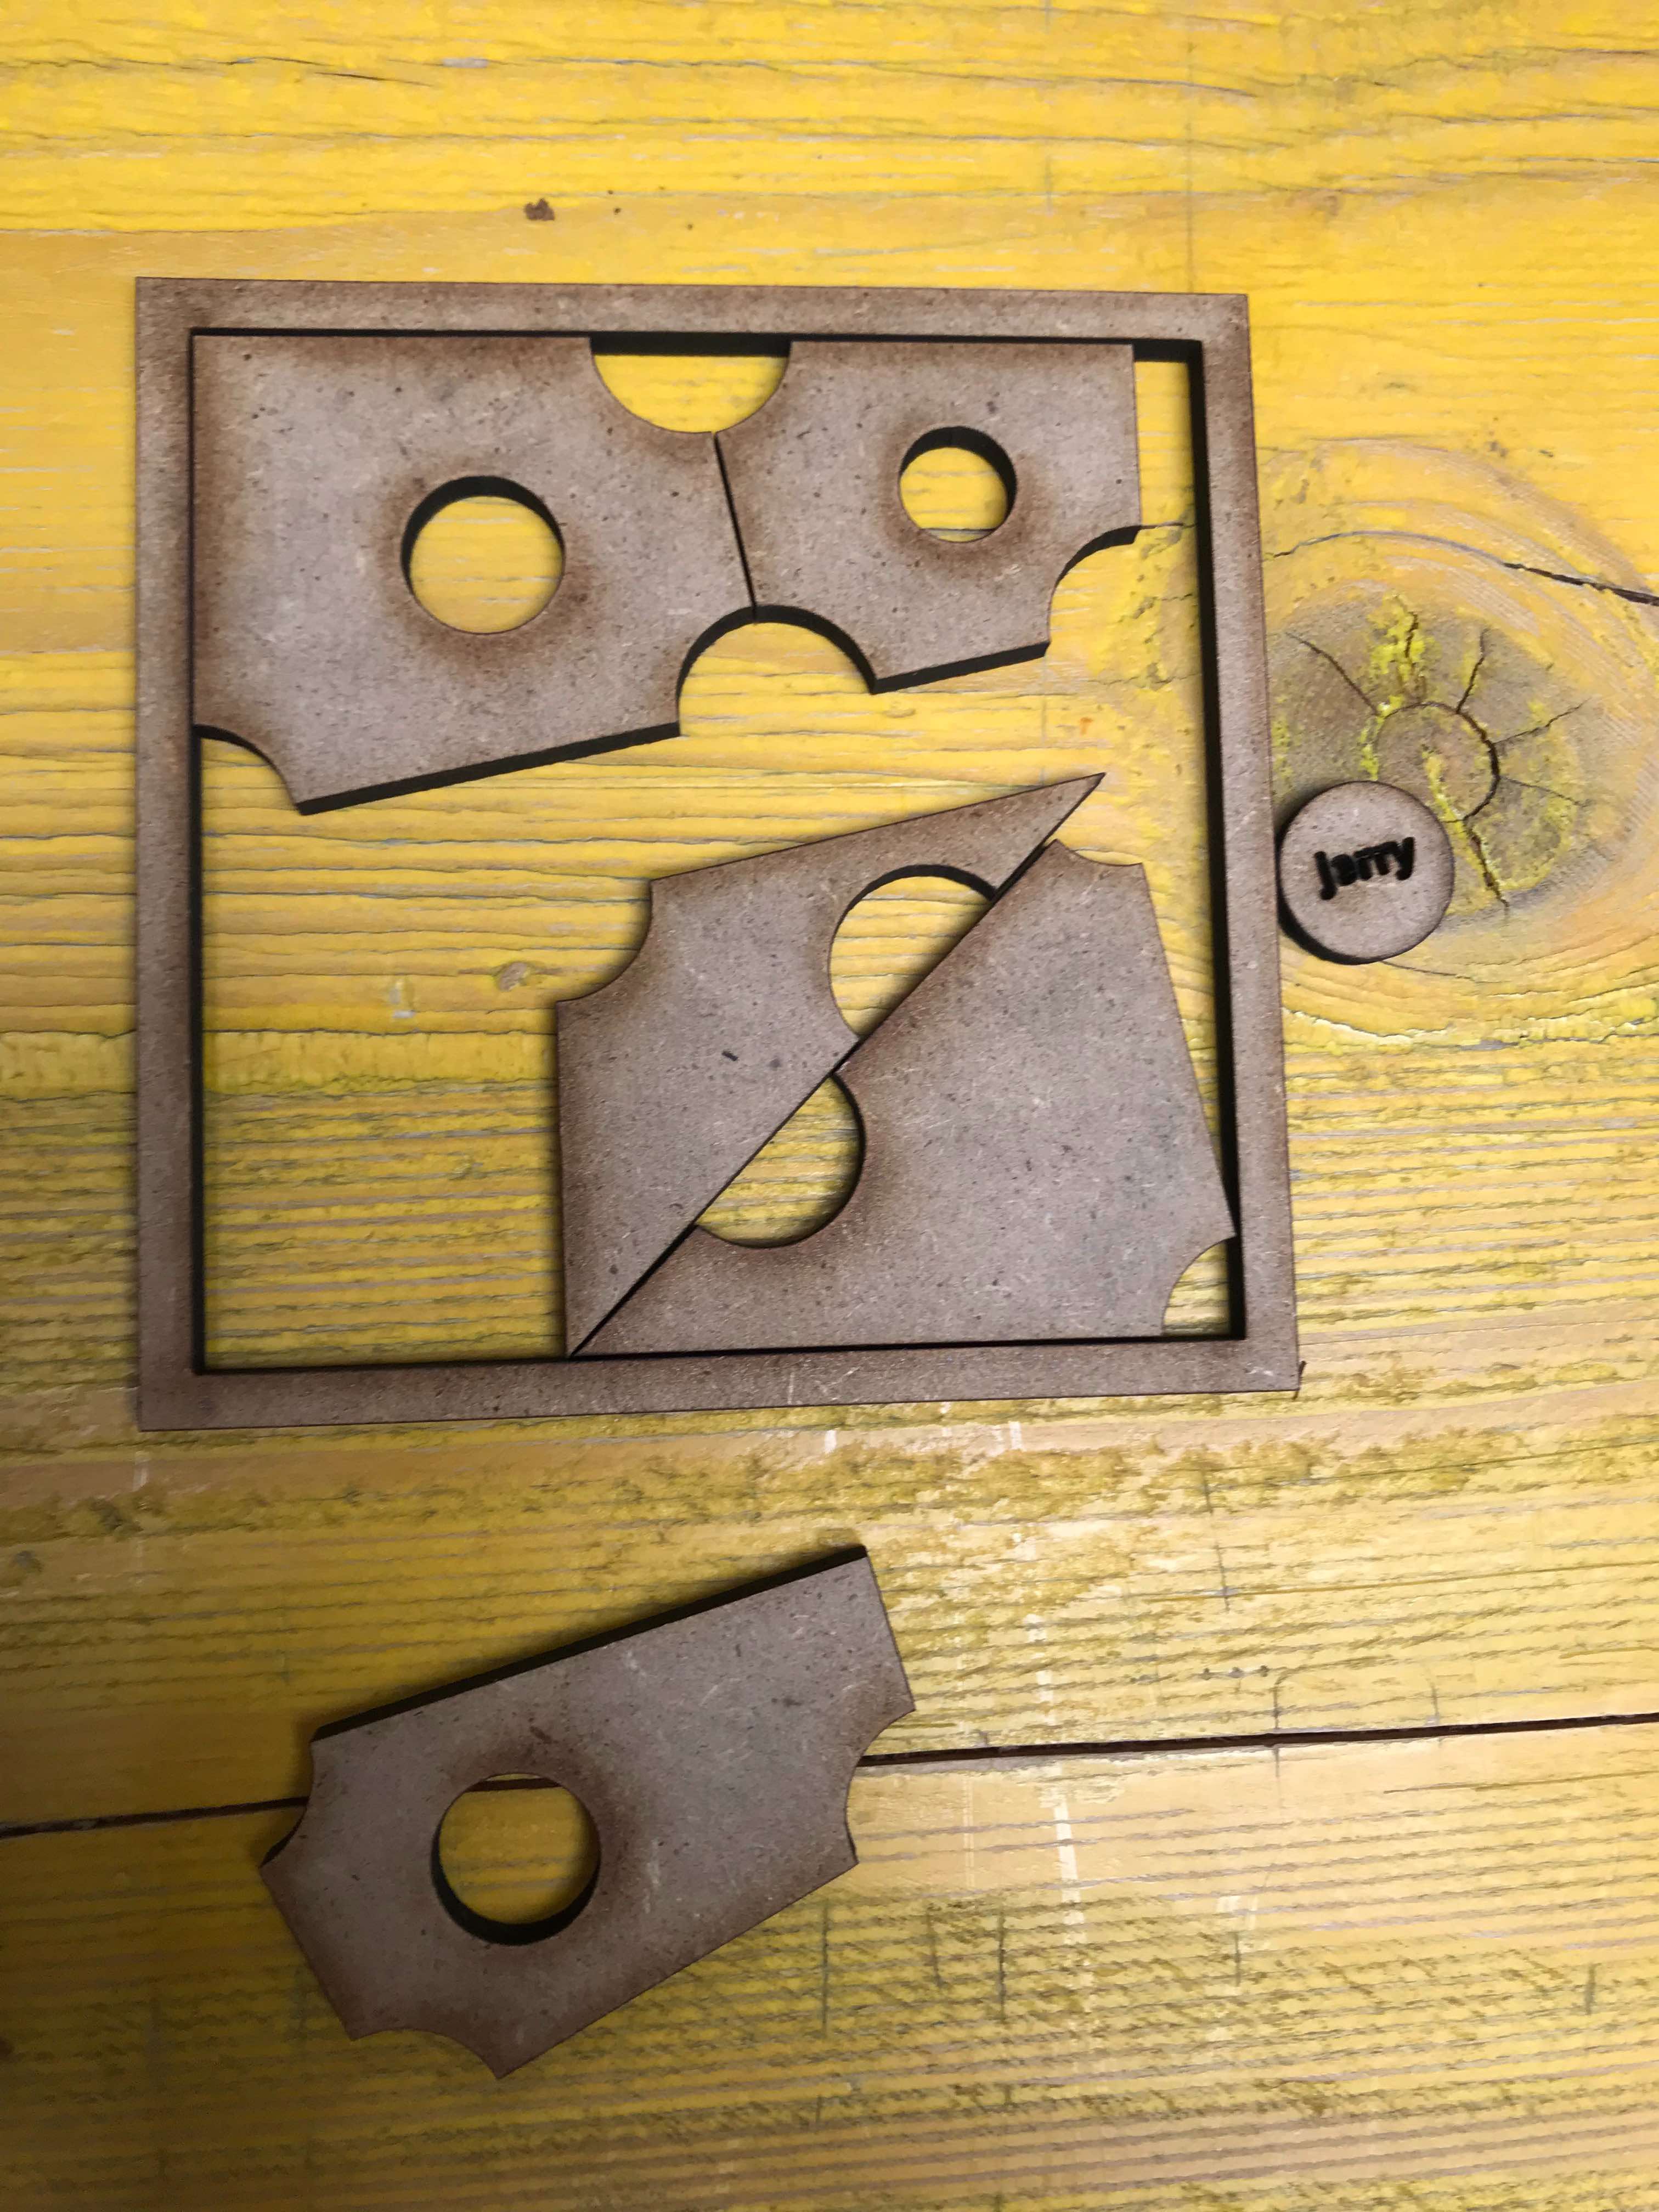
So I draw a Katsunou Cheese Puzzle, and it turned out pretty well.
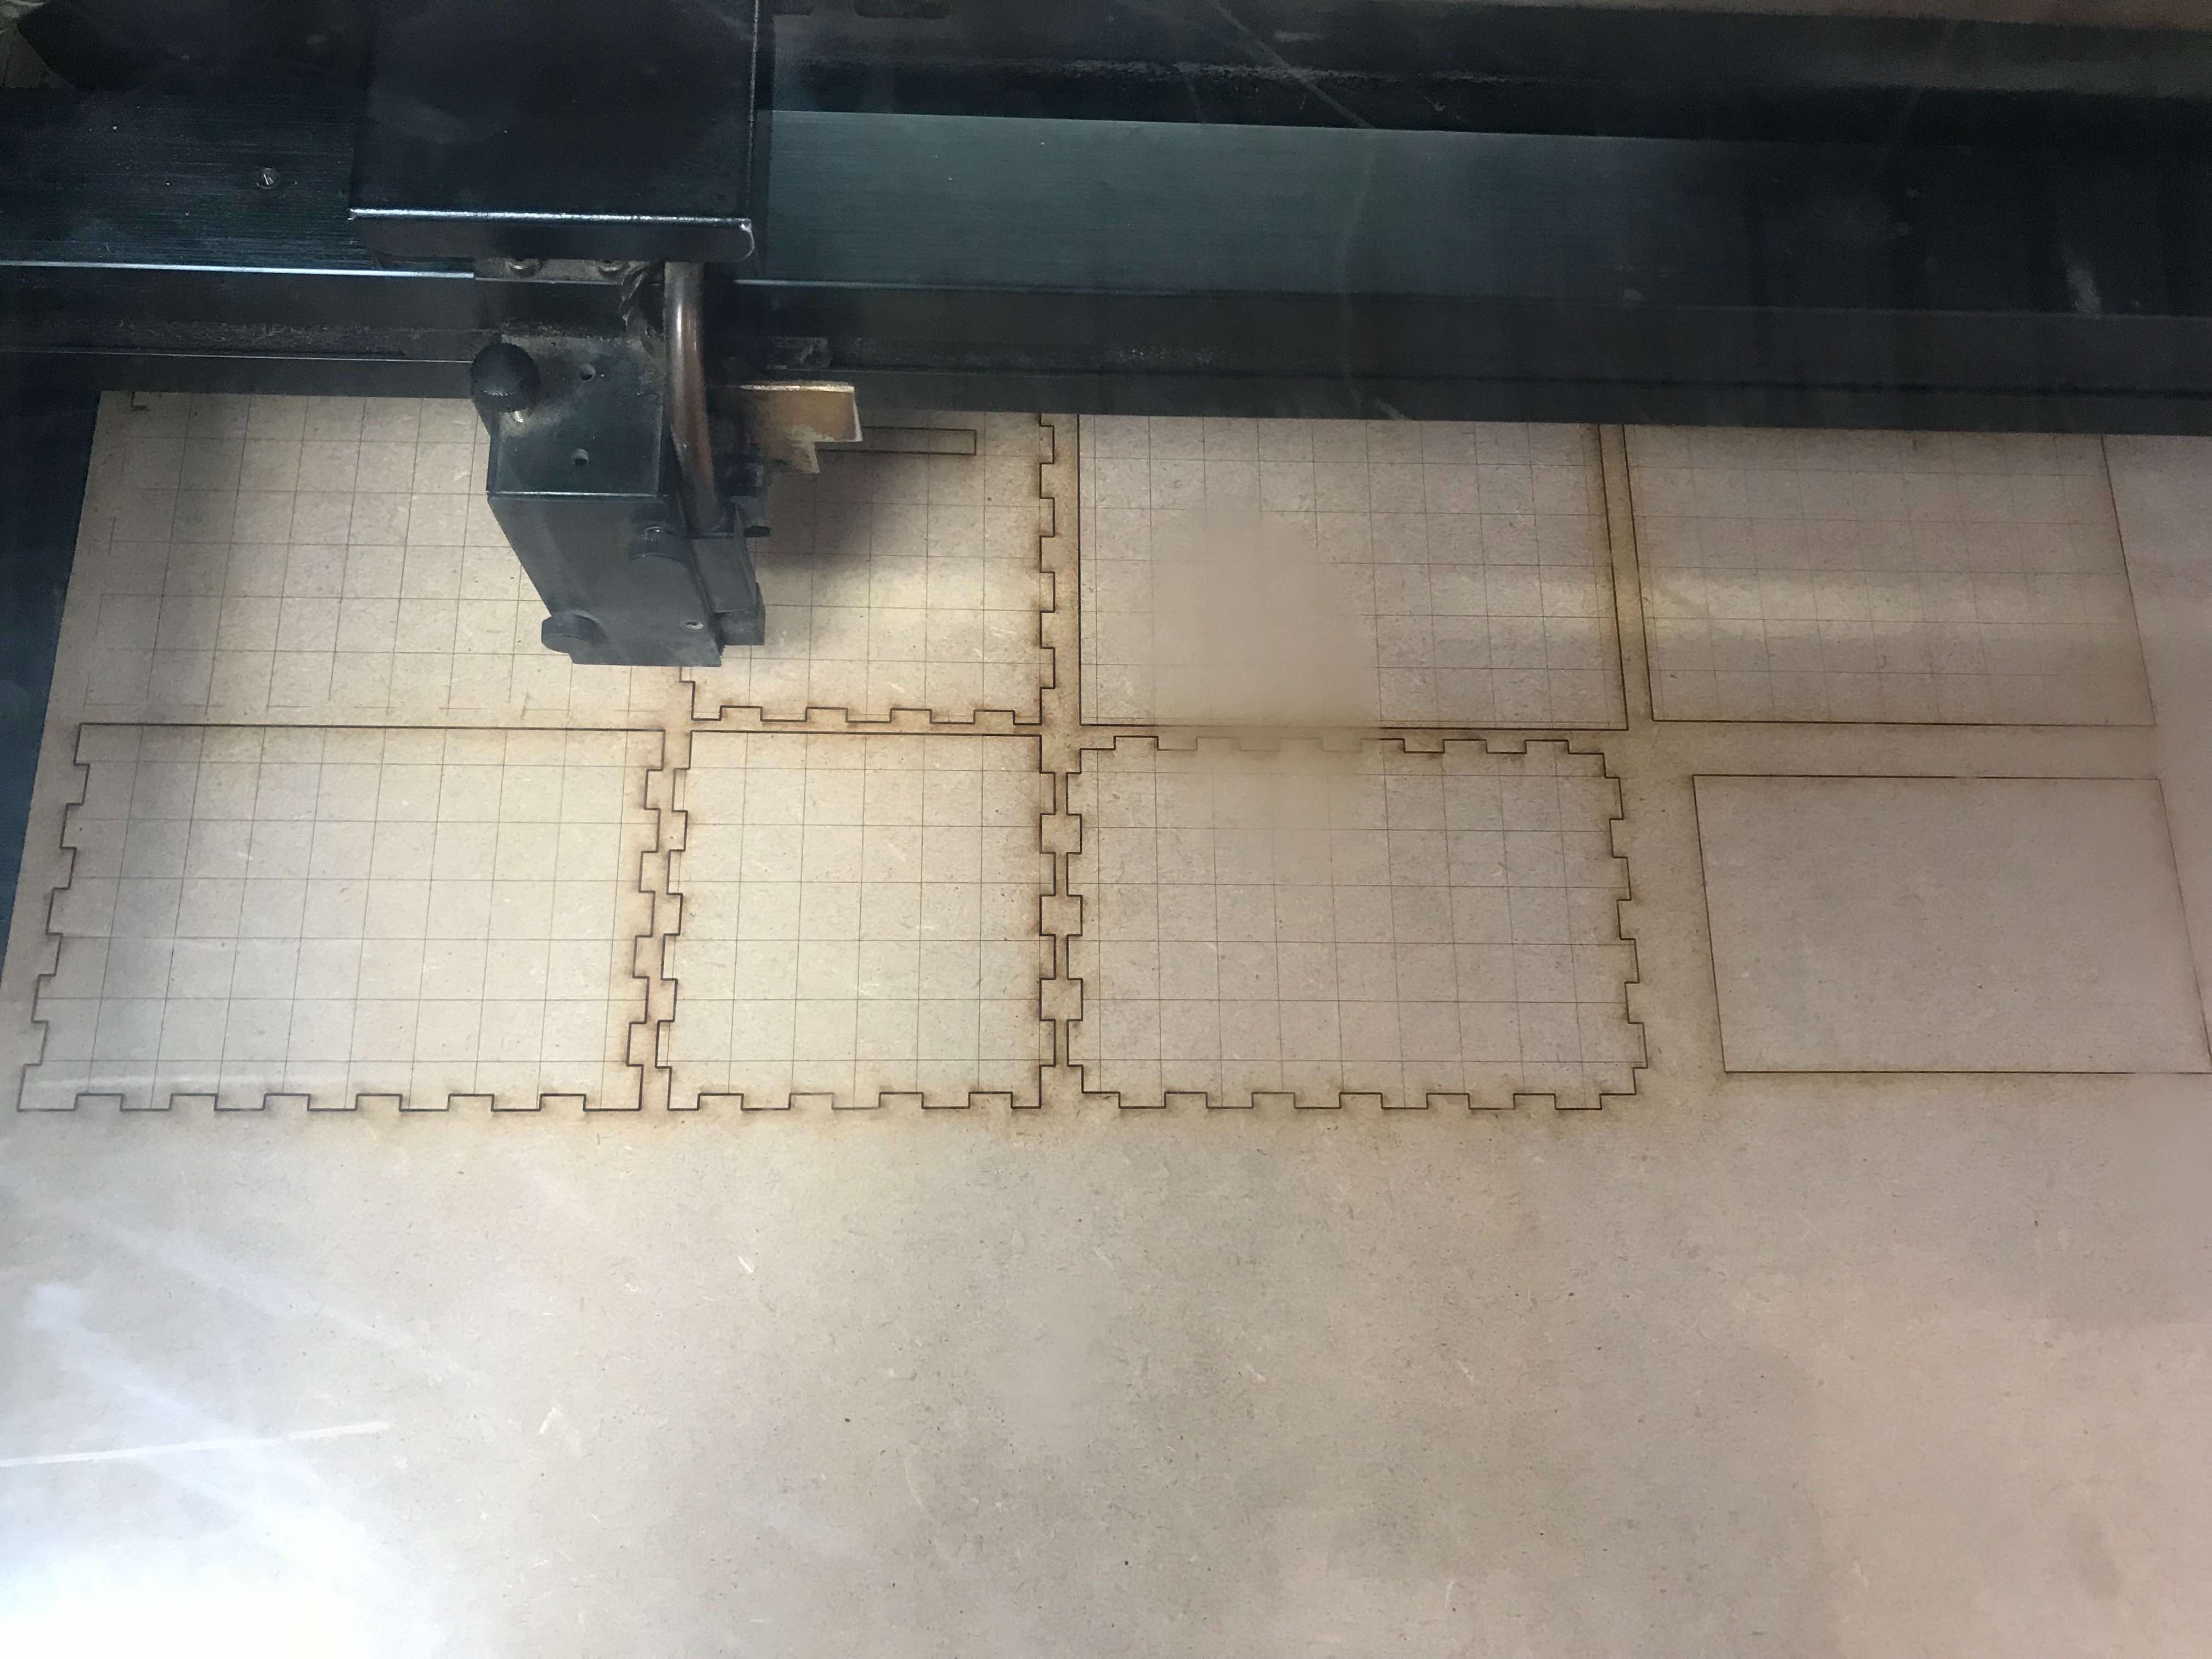
Then I wanted to try and make something modular, so I decided to design a box for my final project packaging.
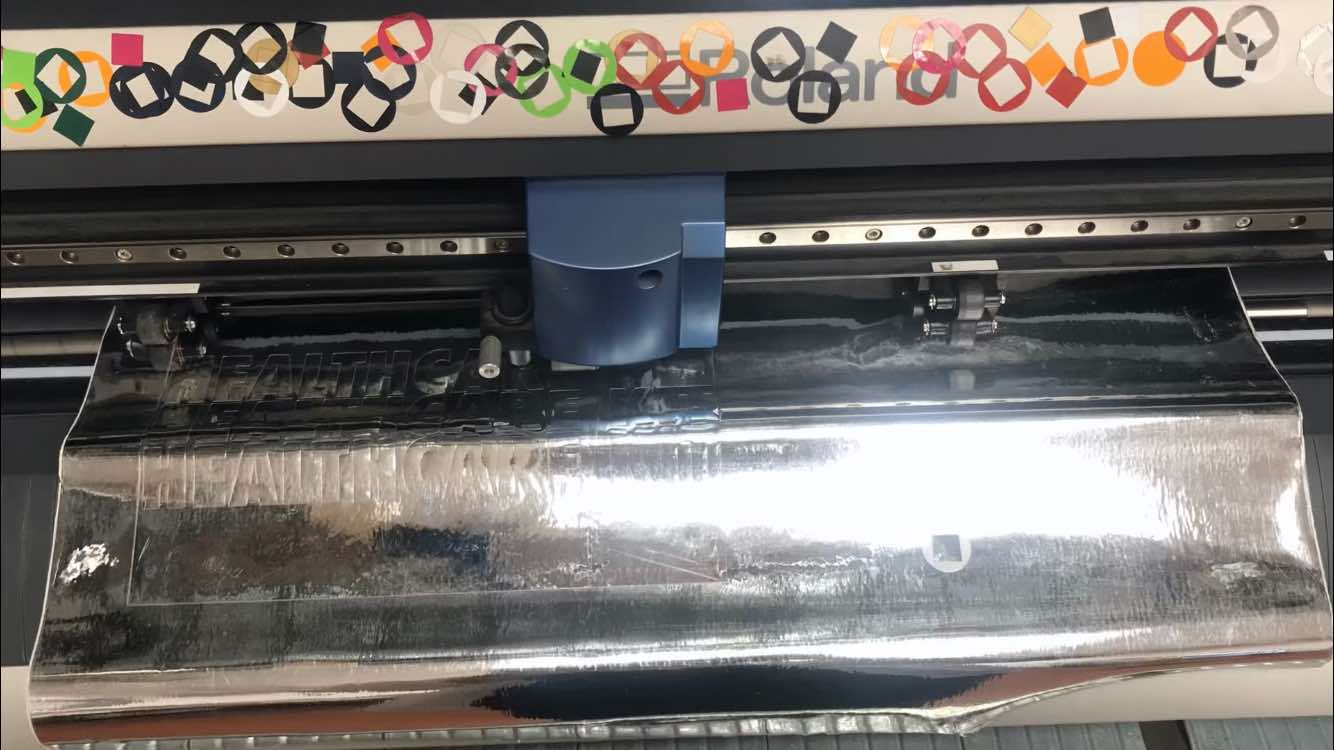
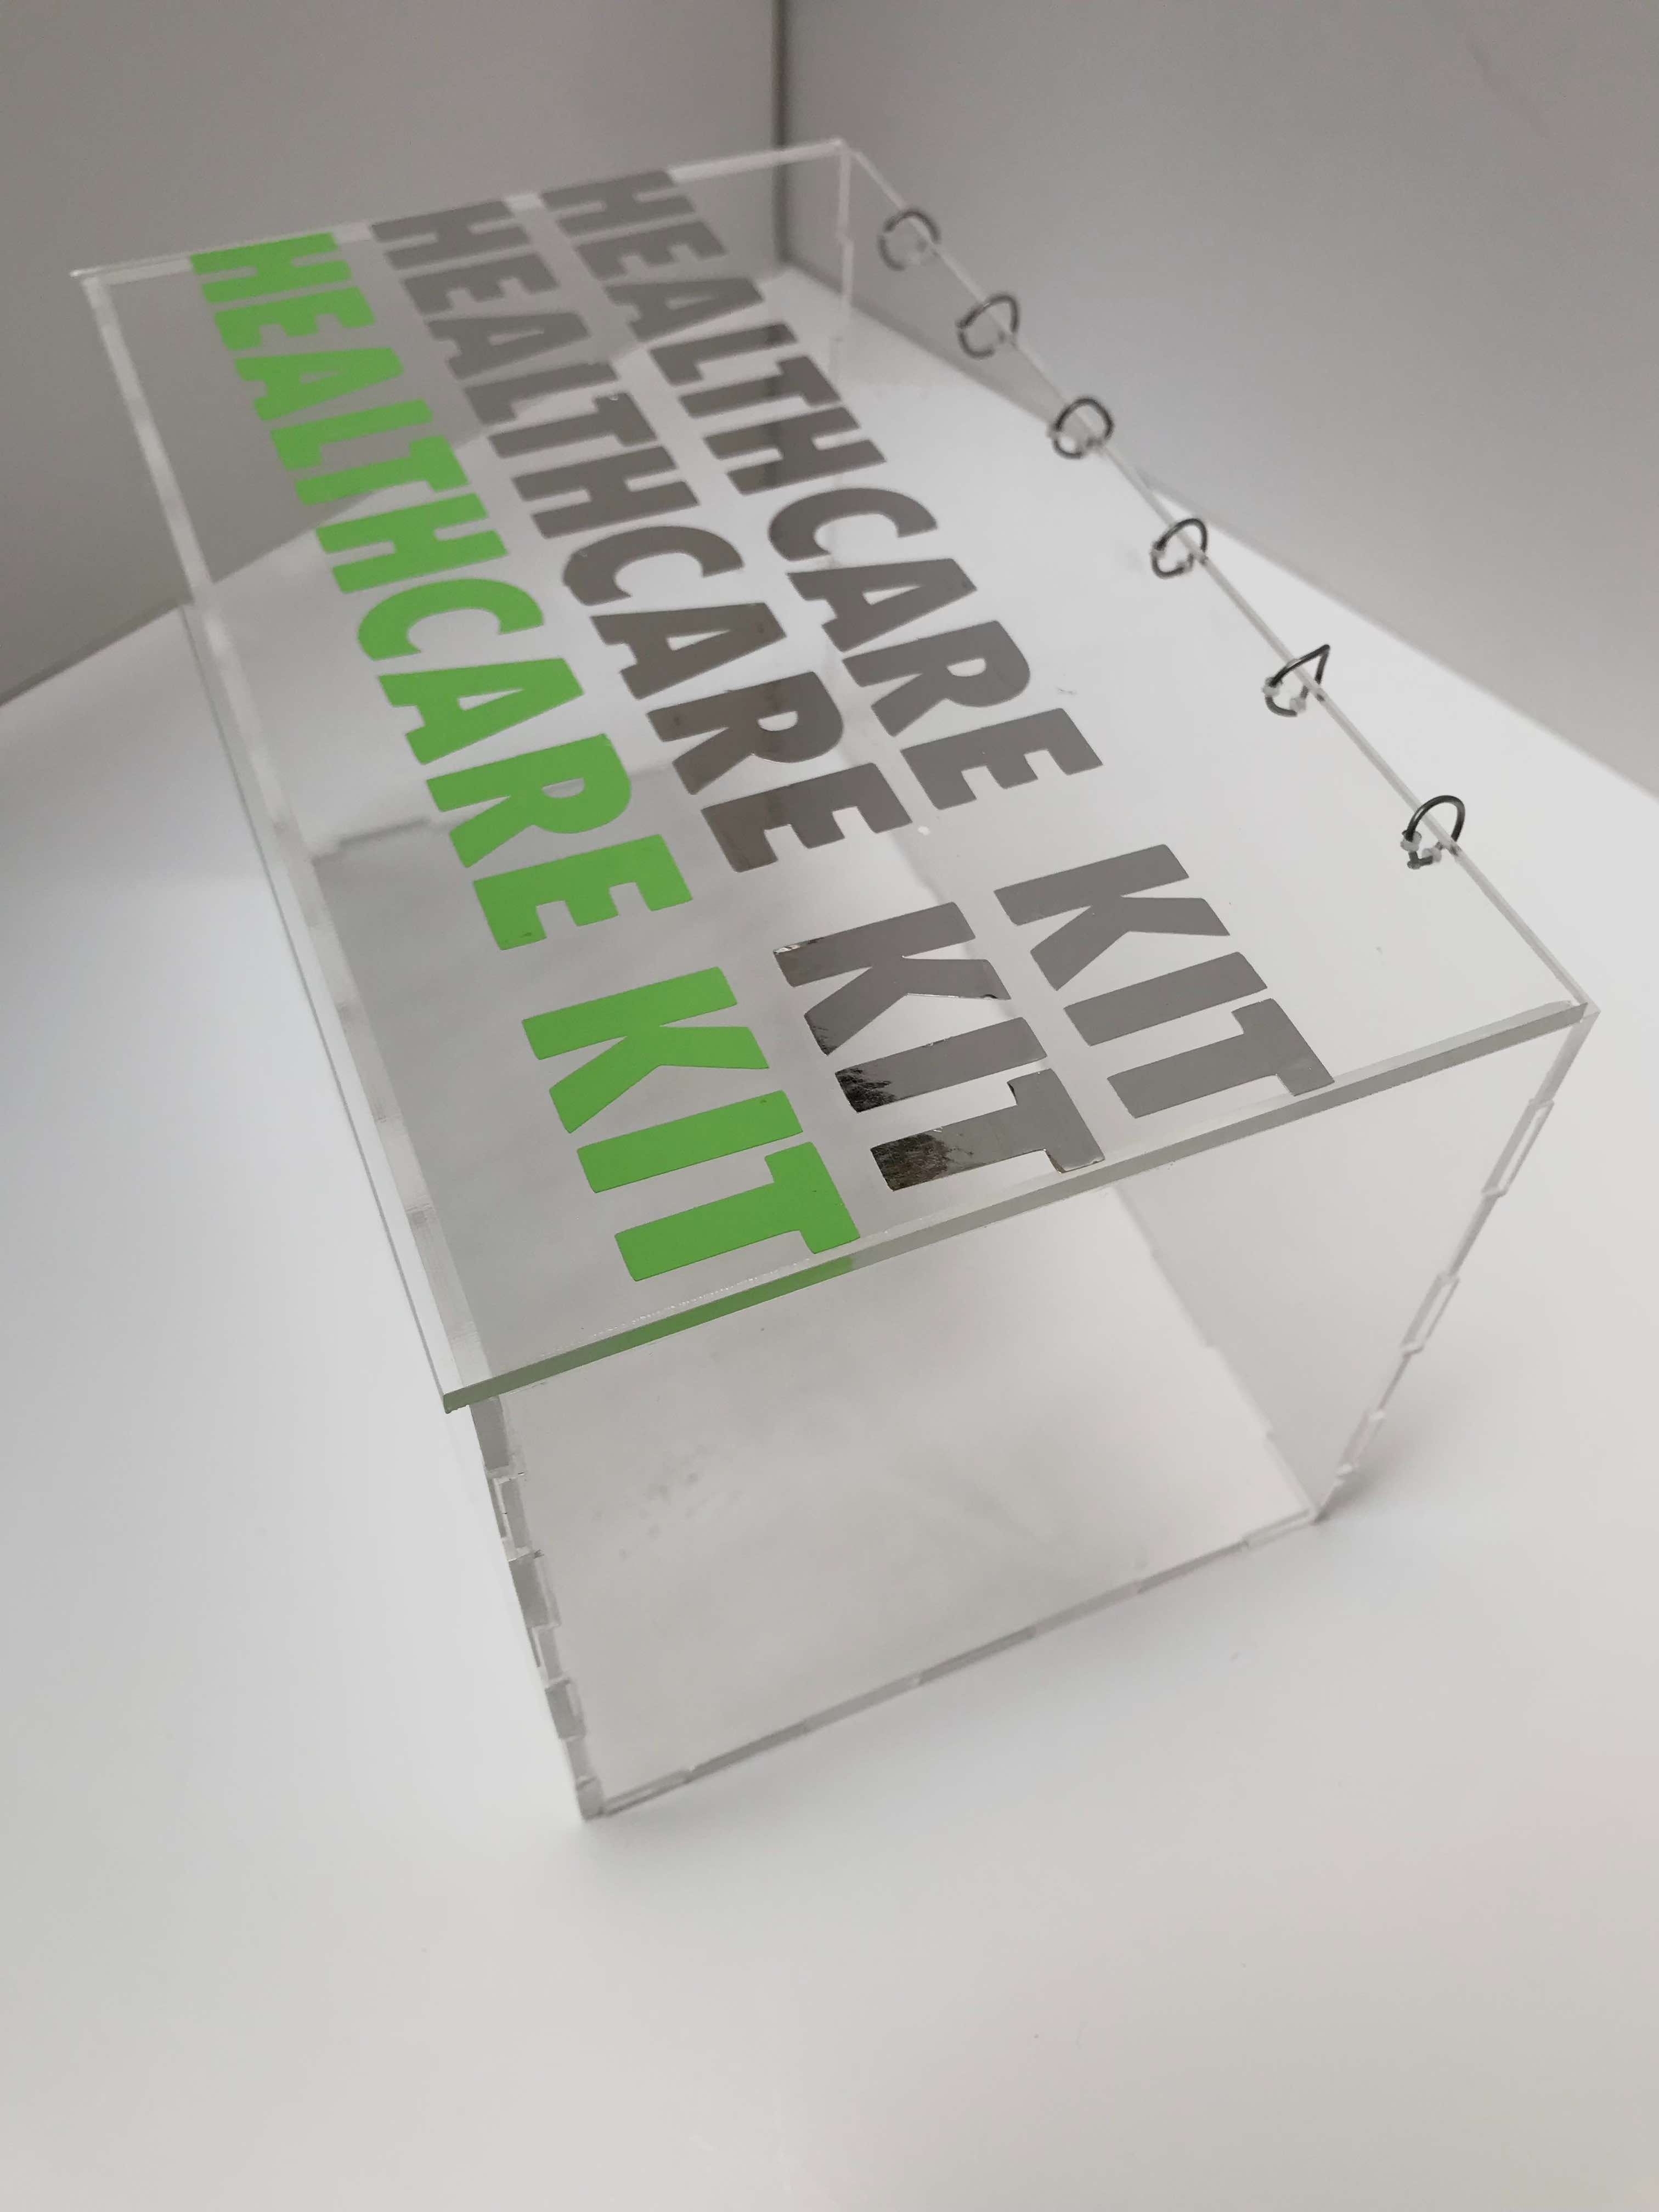
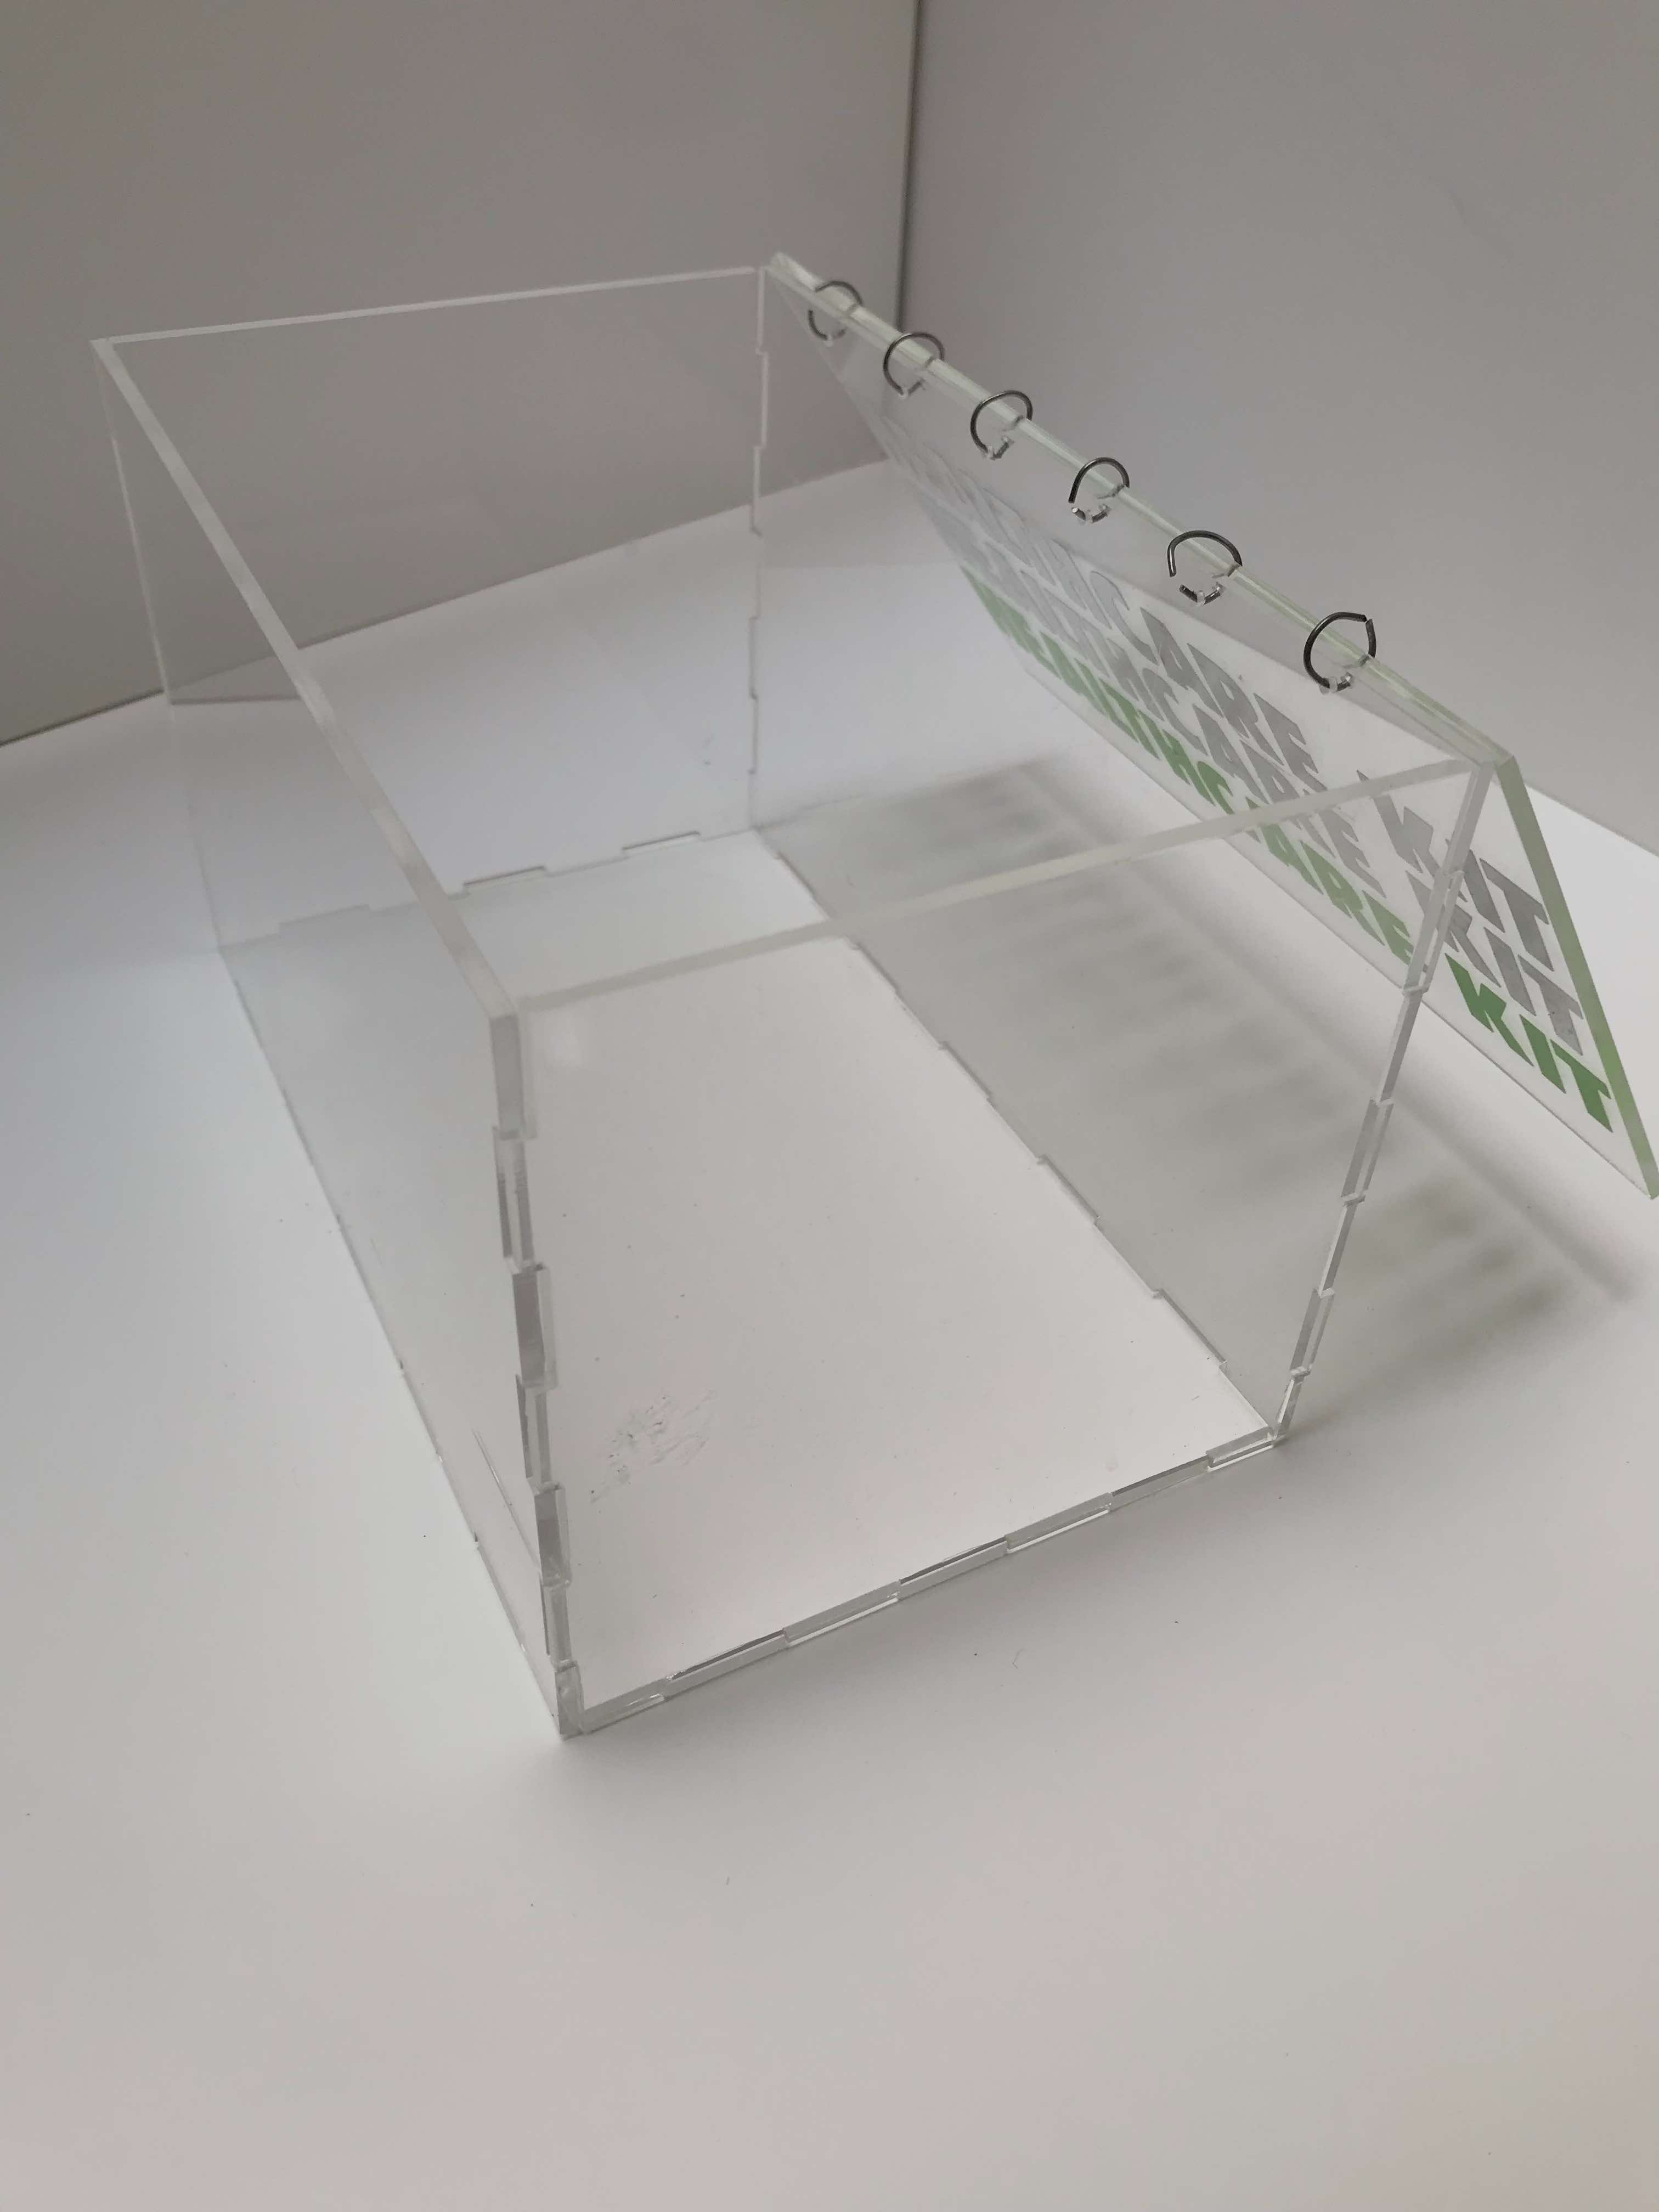
I’m going to use a lasercutter, since the material of the box is acrylic, and a vinyl cutter, to decorate it. In addition to the acrylic I will use wire to open and close the box, while the rest of the faces will remain united through joints.
Here’s the CAD of the box, and the file to use for the vinylcutter:


And the box and the sticker in the making!
I know you were looking forward to this meme: