2. Project management
This week I worked on defining my final project idea and started to getting used to the documentation process.
I’m not going to lie, this first week has been tough. In 24 years I’ve never been told what GIT, bash, markdown, Visual Code, Atom, Terminal were. Even the terms “push”, “pull”, “commit” have changed their meaning!
So there were a few things to do in order to complete the weekly assignment: SSH Key, cloning repo and MkDocs.
SSH key

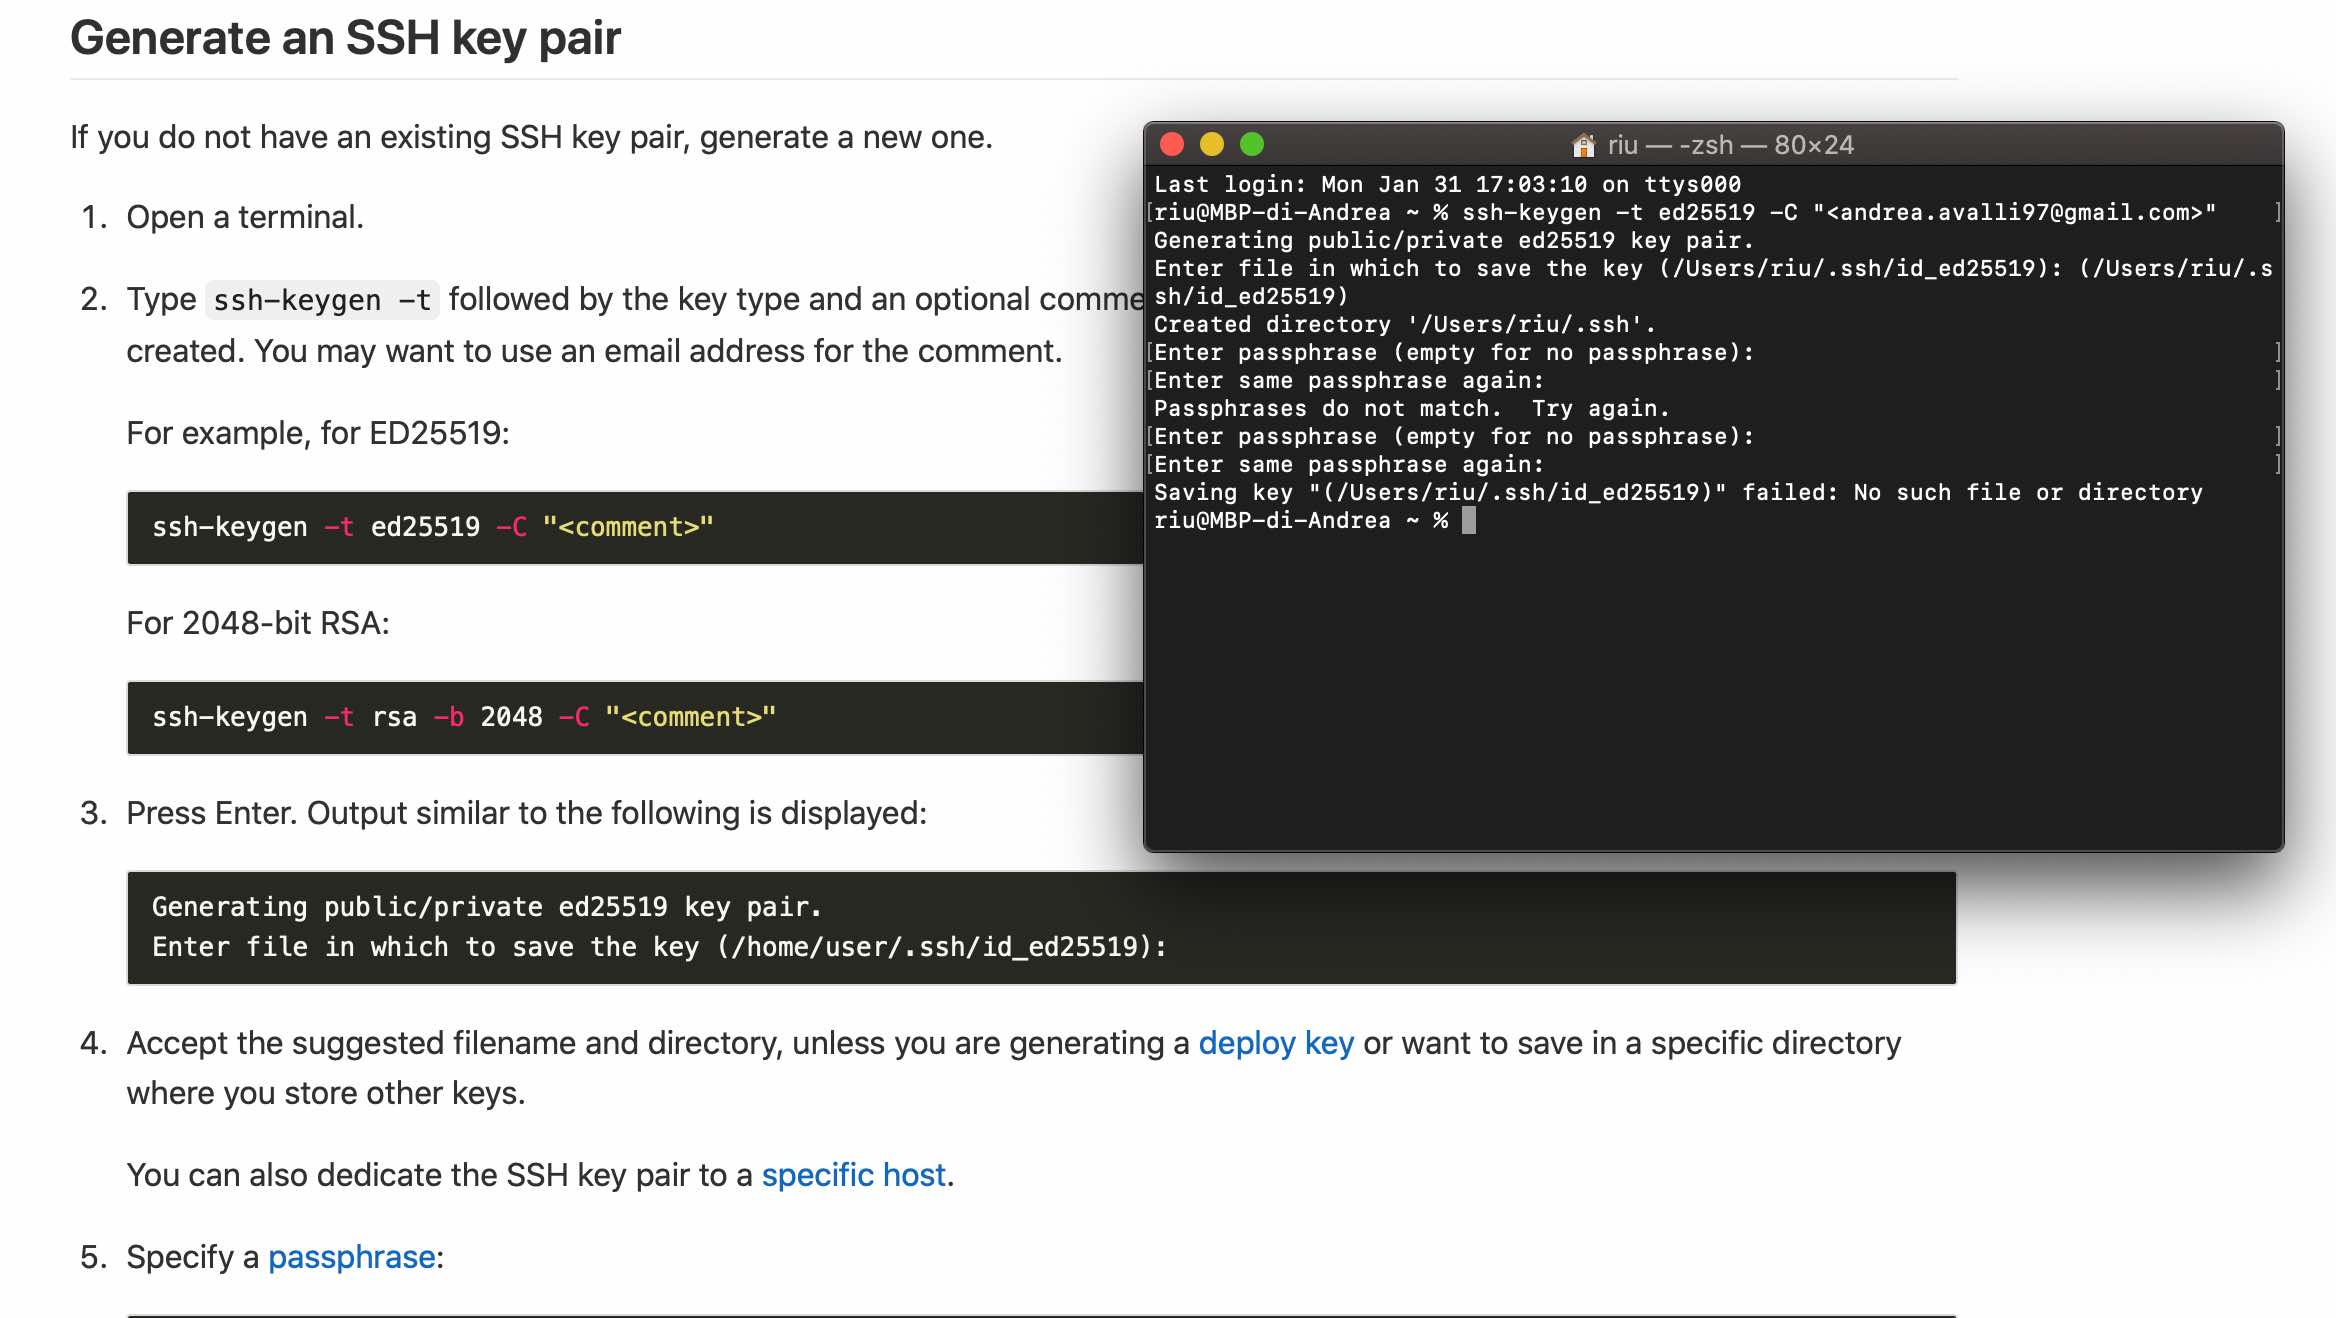
First thing first: generating a SSH key. SSH keys allow you to establish a secure connection between your computer and GitLab, that is essential for our workflow. To do this we need to go to our GitLab profile preferences and click SSH Keys. In this section you can find a useful tutorial clicking on “generate one”. At first I got in trouble because I decided to use a passphrase (I’ve never created one, so I wrote a whole poem of 50+ characters). Afterwards, fortunately, my instructor told me it wasn’t mandatory, so I did another SSH key without using a passphrase.
Cloning Repo
In order to upload and update your repo to the GIT repo of Fab Academy, you have to install Git. Git is usually preinstalled in Linux and macOSX, on Windows you have to install GitBash instead. Now we are ready to clone our repo using Git. After modifying the site sections, such as Index, About, Assignments and other features like background color, font and images, we are ready to commit! During this process we have commit and push the changes in the repository and in GitLab. I personally used Visual Studio Code to stage the changes, commit them and push them.
MkDocs
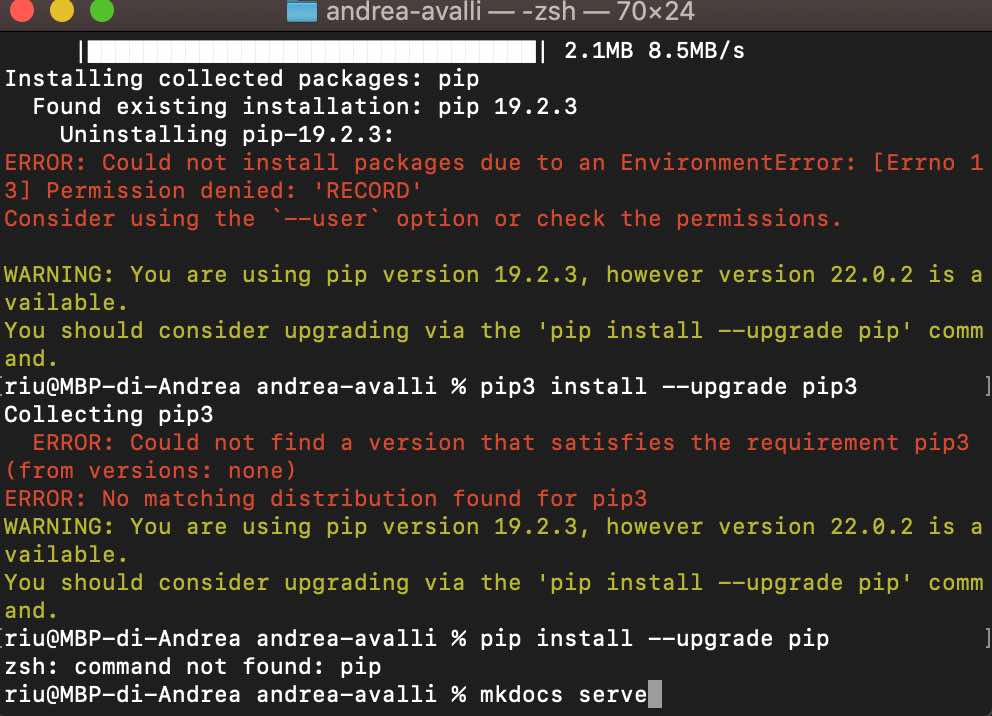
Mkdocs is a fast and simple static site generator. It has many great features such as preview your documentation as you write, writing documentation with Markdown and easy customization with themes and extensions.
Not all things go as planned:
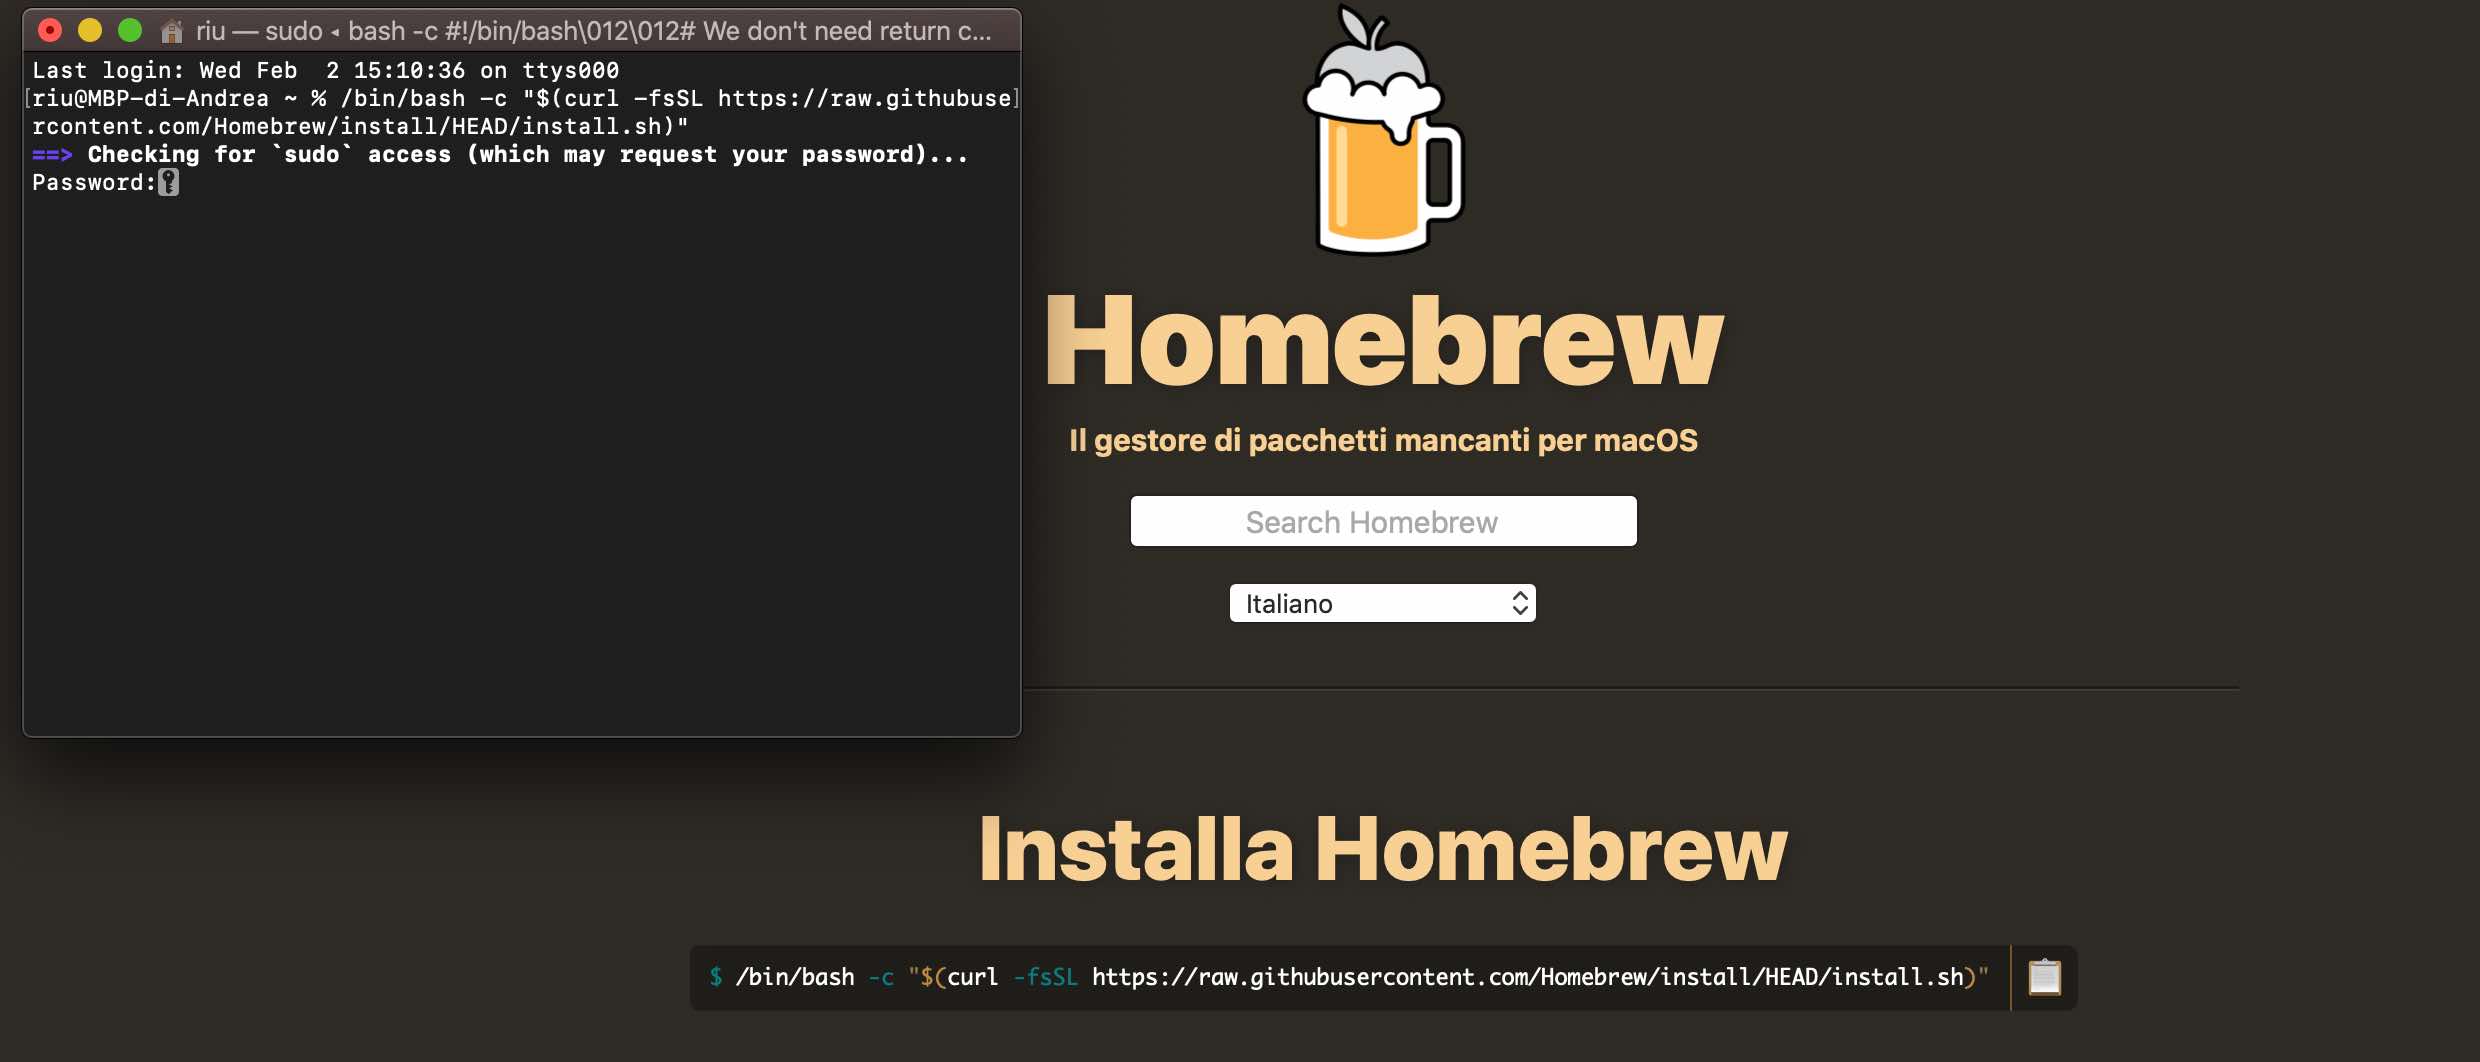
The first step was to install Homebrew, which is a free and open-source software package management system that simplifies the installation of software on Apple’s operating system, macOS, as well as Linux. When you open the website, you’ll find a code to copy in your terminal.
Once we installed it, we can run the command -brew install mkdocs-, and just wait. In this last process I got stuck, because not all the material got properly installed, but eventually did it. Now we are able to build documentation on our personal computer, that will give you the opportunity to edit Markdown and preview final website side by side on your desktop computer.
Here’s your weekly meme: