6. 3D Scanning and printing
Welcome strangers to this new episode of the Fab Academy! We are gathered here today to talk about 3d printing and scanning. Since I am new to these topics I decided to first inform myself on both techniques by making a 101 guide for beginners. On the group assignment site you can find the full versions, but I have decided to summarize the main points here too.
The most important thing to remember while designing for 3D printing is the fact that your digital design will become a physical object. In the digital design environment, there are no laws of physics to adhere to, such as gravity. Anything can be “drawn” in 3D on a digital canvas, but not everything can be 3D printed!!!
Here is a list of things to be careful about in order not to make mistakes, or at least to make fewer mistakes :)
- Overhangs
All 3D printing processes build parts layer-by-layer. Material cannot be deposited onto thin air, so every layer must be printed over some underline material. Overhangs are areas of a model that are either partially supported by the layer below or not supported at all. There is a limit on the angle every printer can produce without the need of support material. For example, for FDM and SLA this angle is approximately 45 degrees.
- Wall thickness
The second thing to keep in mind when designing a part to be 3D printed is wall thickness. Every 3D printing process can produce accurately features that are thin up to a certain point. As a good practice, always add thickness to your models. Walls with thickness greater than 0.8 mm can be printed successfully with all processes.
- Warping
Something that is often easily overlooked while designing a 3D model is the fact that the materials used for 3D printing undertake physical change: they are melted, sintered or scanned with a laser and solidified. The heating and cooling of material can cause the parts to warp while printing. Warping can typically be avoided by using correct machine calibration and having adequate surface adhesion between your part and the print bed. A good practice is to avoid large flat surfaces and add rounded corners to your 3D models.
- Level of detail
When you are creating a 3D model with intricate details, it is important to keep in mind what is the minimum feature size each 3D printing process can produce. The minimum level of detail is connected to the capabilities and mechanics of each 3D printing process and to the selected layer height.
3D scanning can be a faster and easier technique to create a 3D model for 3D printing if you just want to recreate an existing object. Once you have your 3D model, you can add the modifications to it, it can actually be a great basis to start your project. There are different types of 3D scanning, so let’s see them specifically.
- Laser 3D scanning
Laser 3D scanning is certainly the most common and used 3D scanning technique. Digitally capturing the shape of the object using laser light to get a digital representation of the real object. A scanner using laser light is a little bit like a camera: it can only capture what is in its field of view. With this process, a laser dot or line is projected on an object from the device and a sensor measures the distance to the surface of this object. By processing this data it can be converted into a mesh and then a CAD model (absurdly crazy!).
- Photogrammetry
Photogrammetry is a science of making a measurement from photographs. It seems pretty simple, no? This method uses the parallax obtained between several pictures, taken from different points of view. Photogrammetry can be used to record complex 2D and 3D motion fields. This process collects the data regarding the shape, the volume, and the depth of the subject that you are trying to scan. This is the method used to turn several pictures into an accurate 3D design. It won’t allow you to get the most accurate result, but by using good photogrammetry software you could actually reach a satisfying result. If you have a smartphone, you can download one of the many 3D scanning apps that already exist in the market. First, you place the object or the person you want to scan to stand somewhere where you can walk around it/her/him. Then, you start the scanning procedure as indicated by the app, and the sensors of the camera of your mobile phone collect all the needed data. Once the 3D scanning is finished, and the data is collected, the app turns them into your digital 3D model (easy peasy lemon squeezy).
- Structured Light Scanning
With this Structured Light Scanning method, one of the camera positions used in previous scanning methods is actually replaced by a projector that projects different light patterns on the surface of an object. The way the objects distorts these patterns is recorded, allowing to create the 3D scan. The structured light scanning process is used in facial or environment recognition technologies (super professional).
Now that we have dealt with the theorical part, let’s move on to the practical part. The individual assignment of the week was to design and print a small object, and to scan an object to create a 3D model and print it.
3D Printing
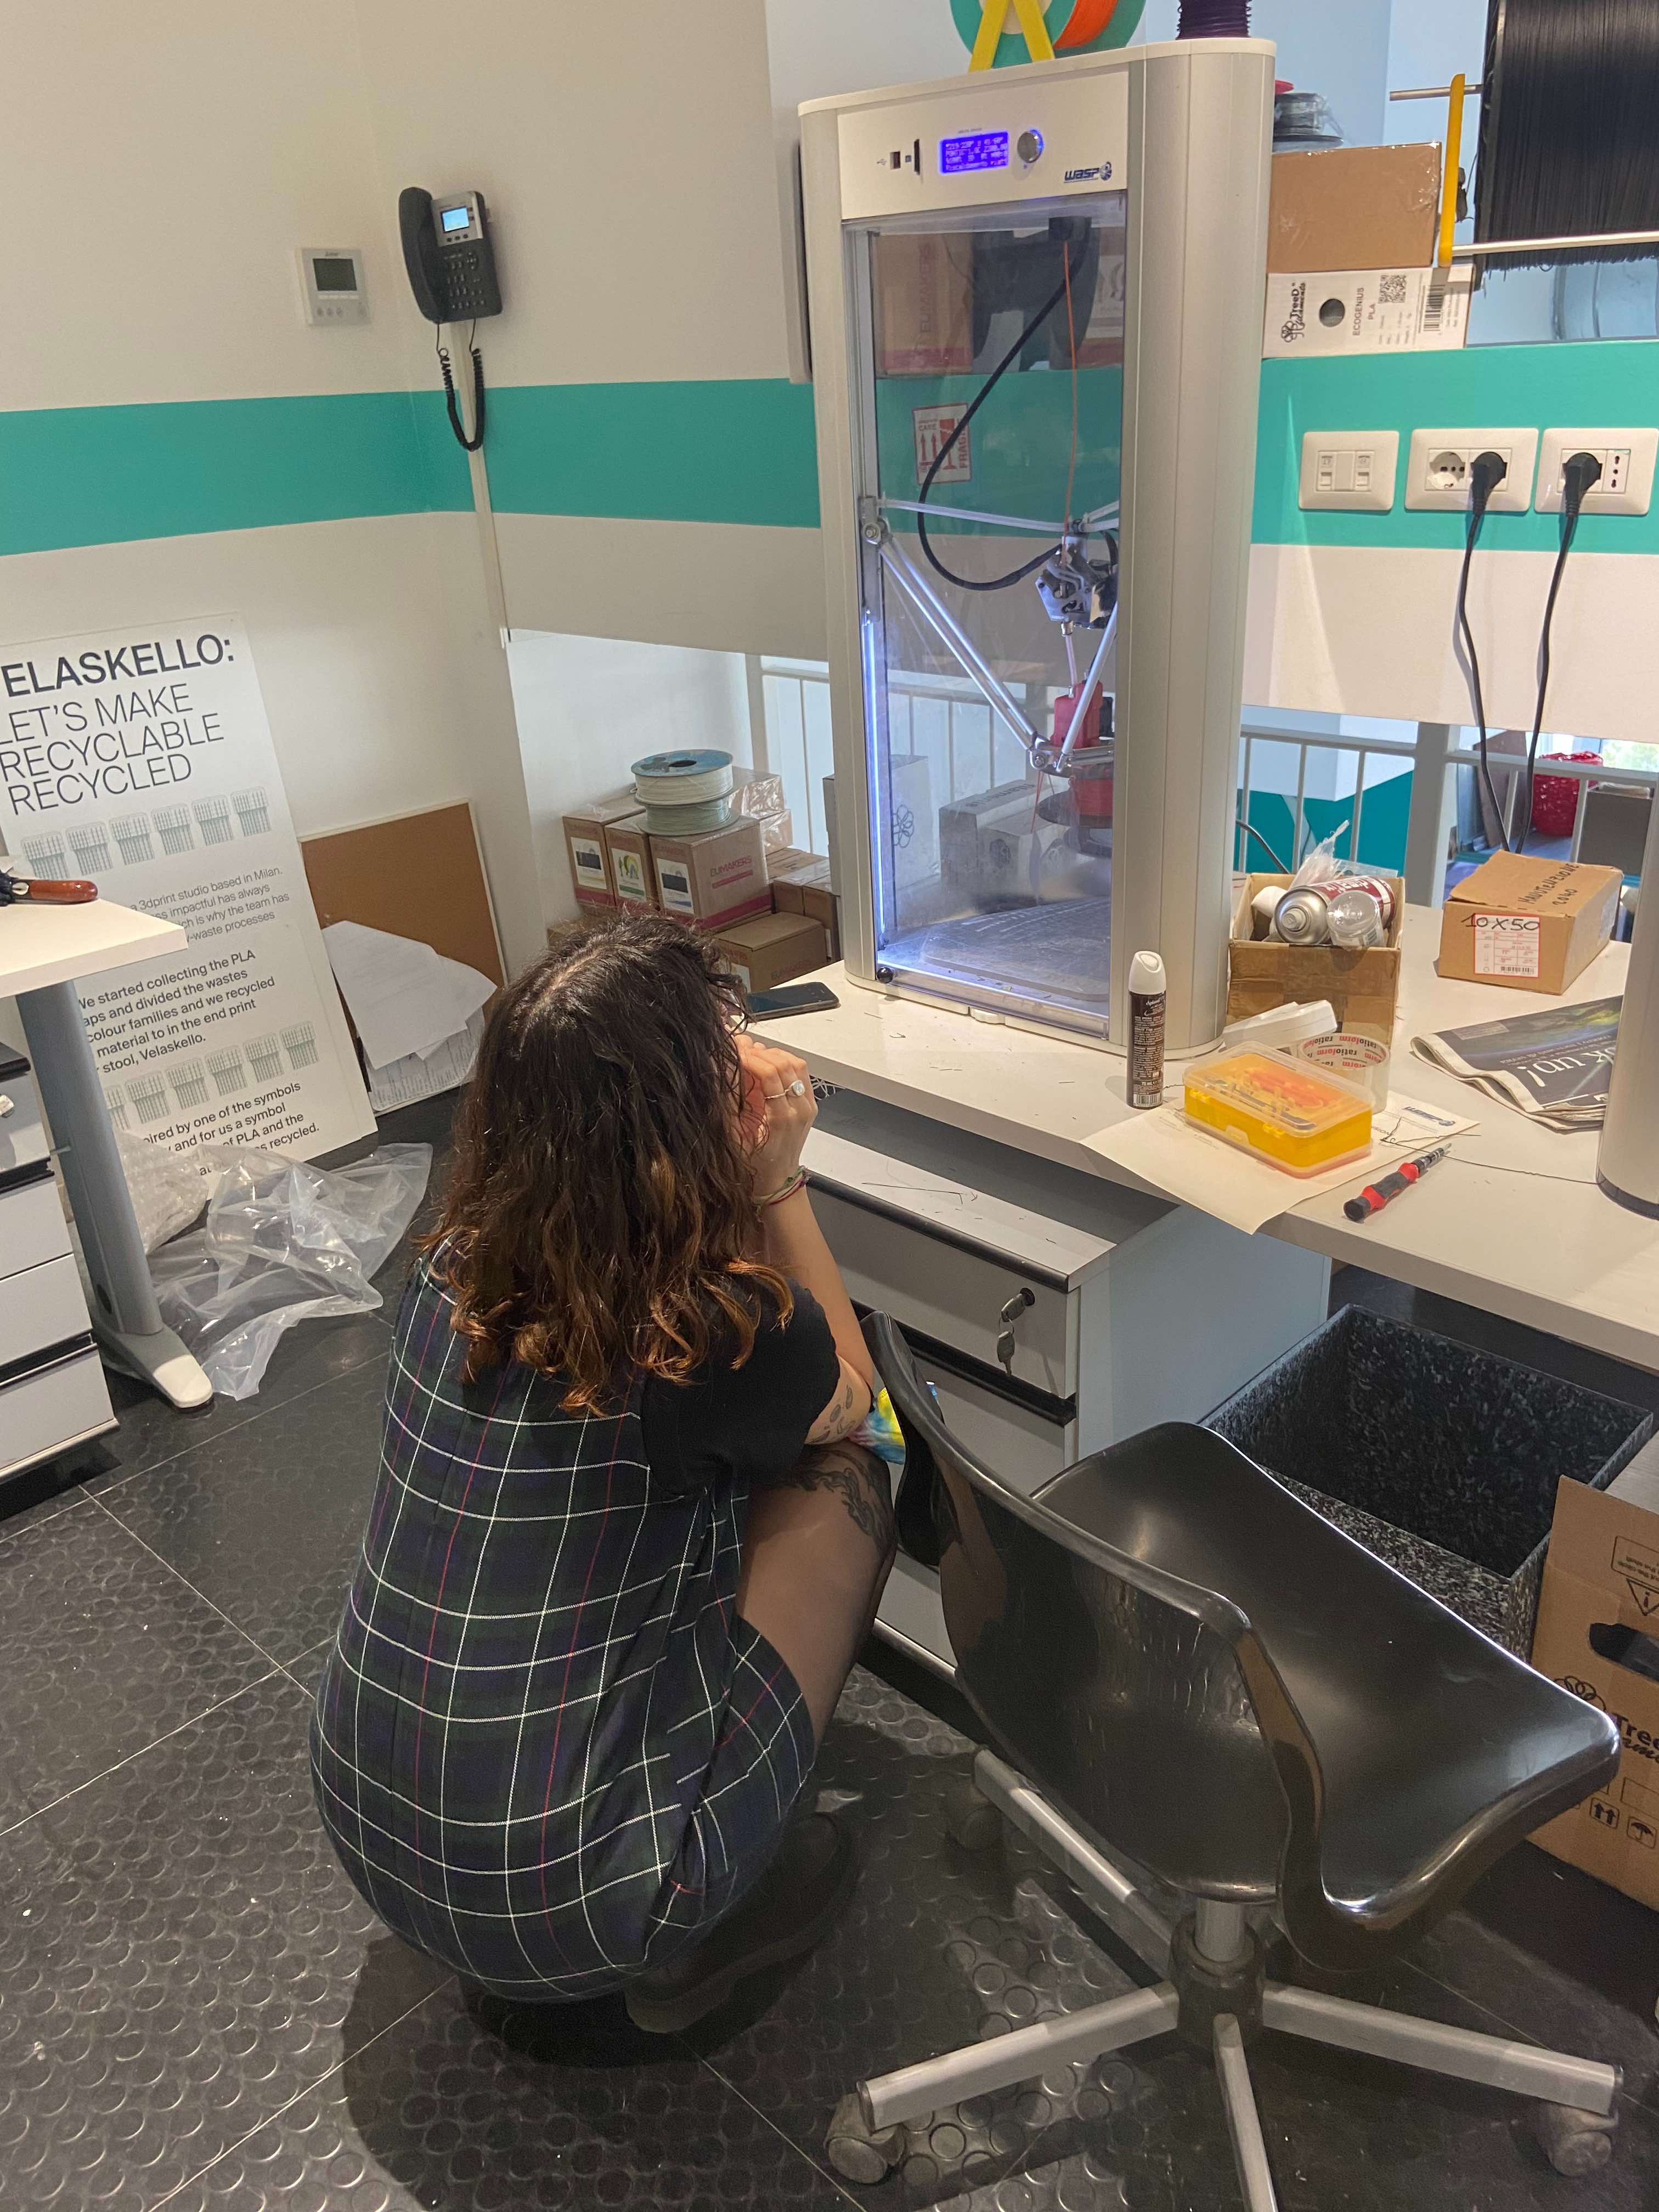
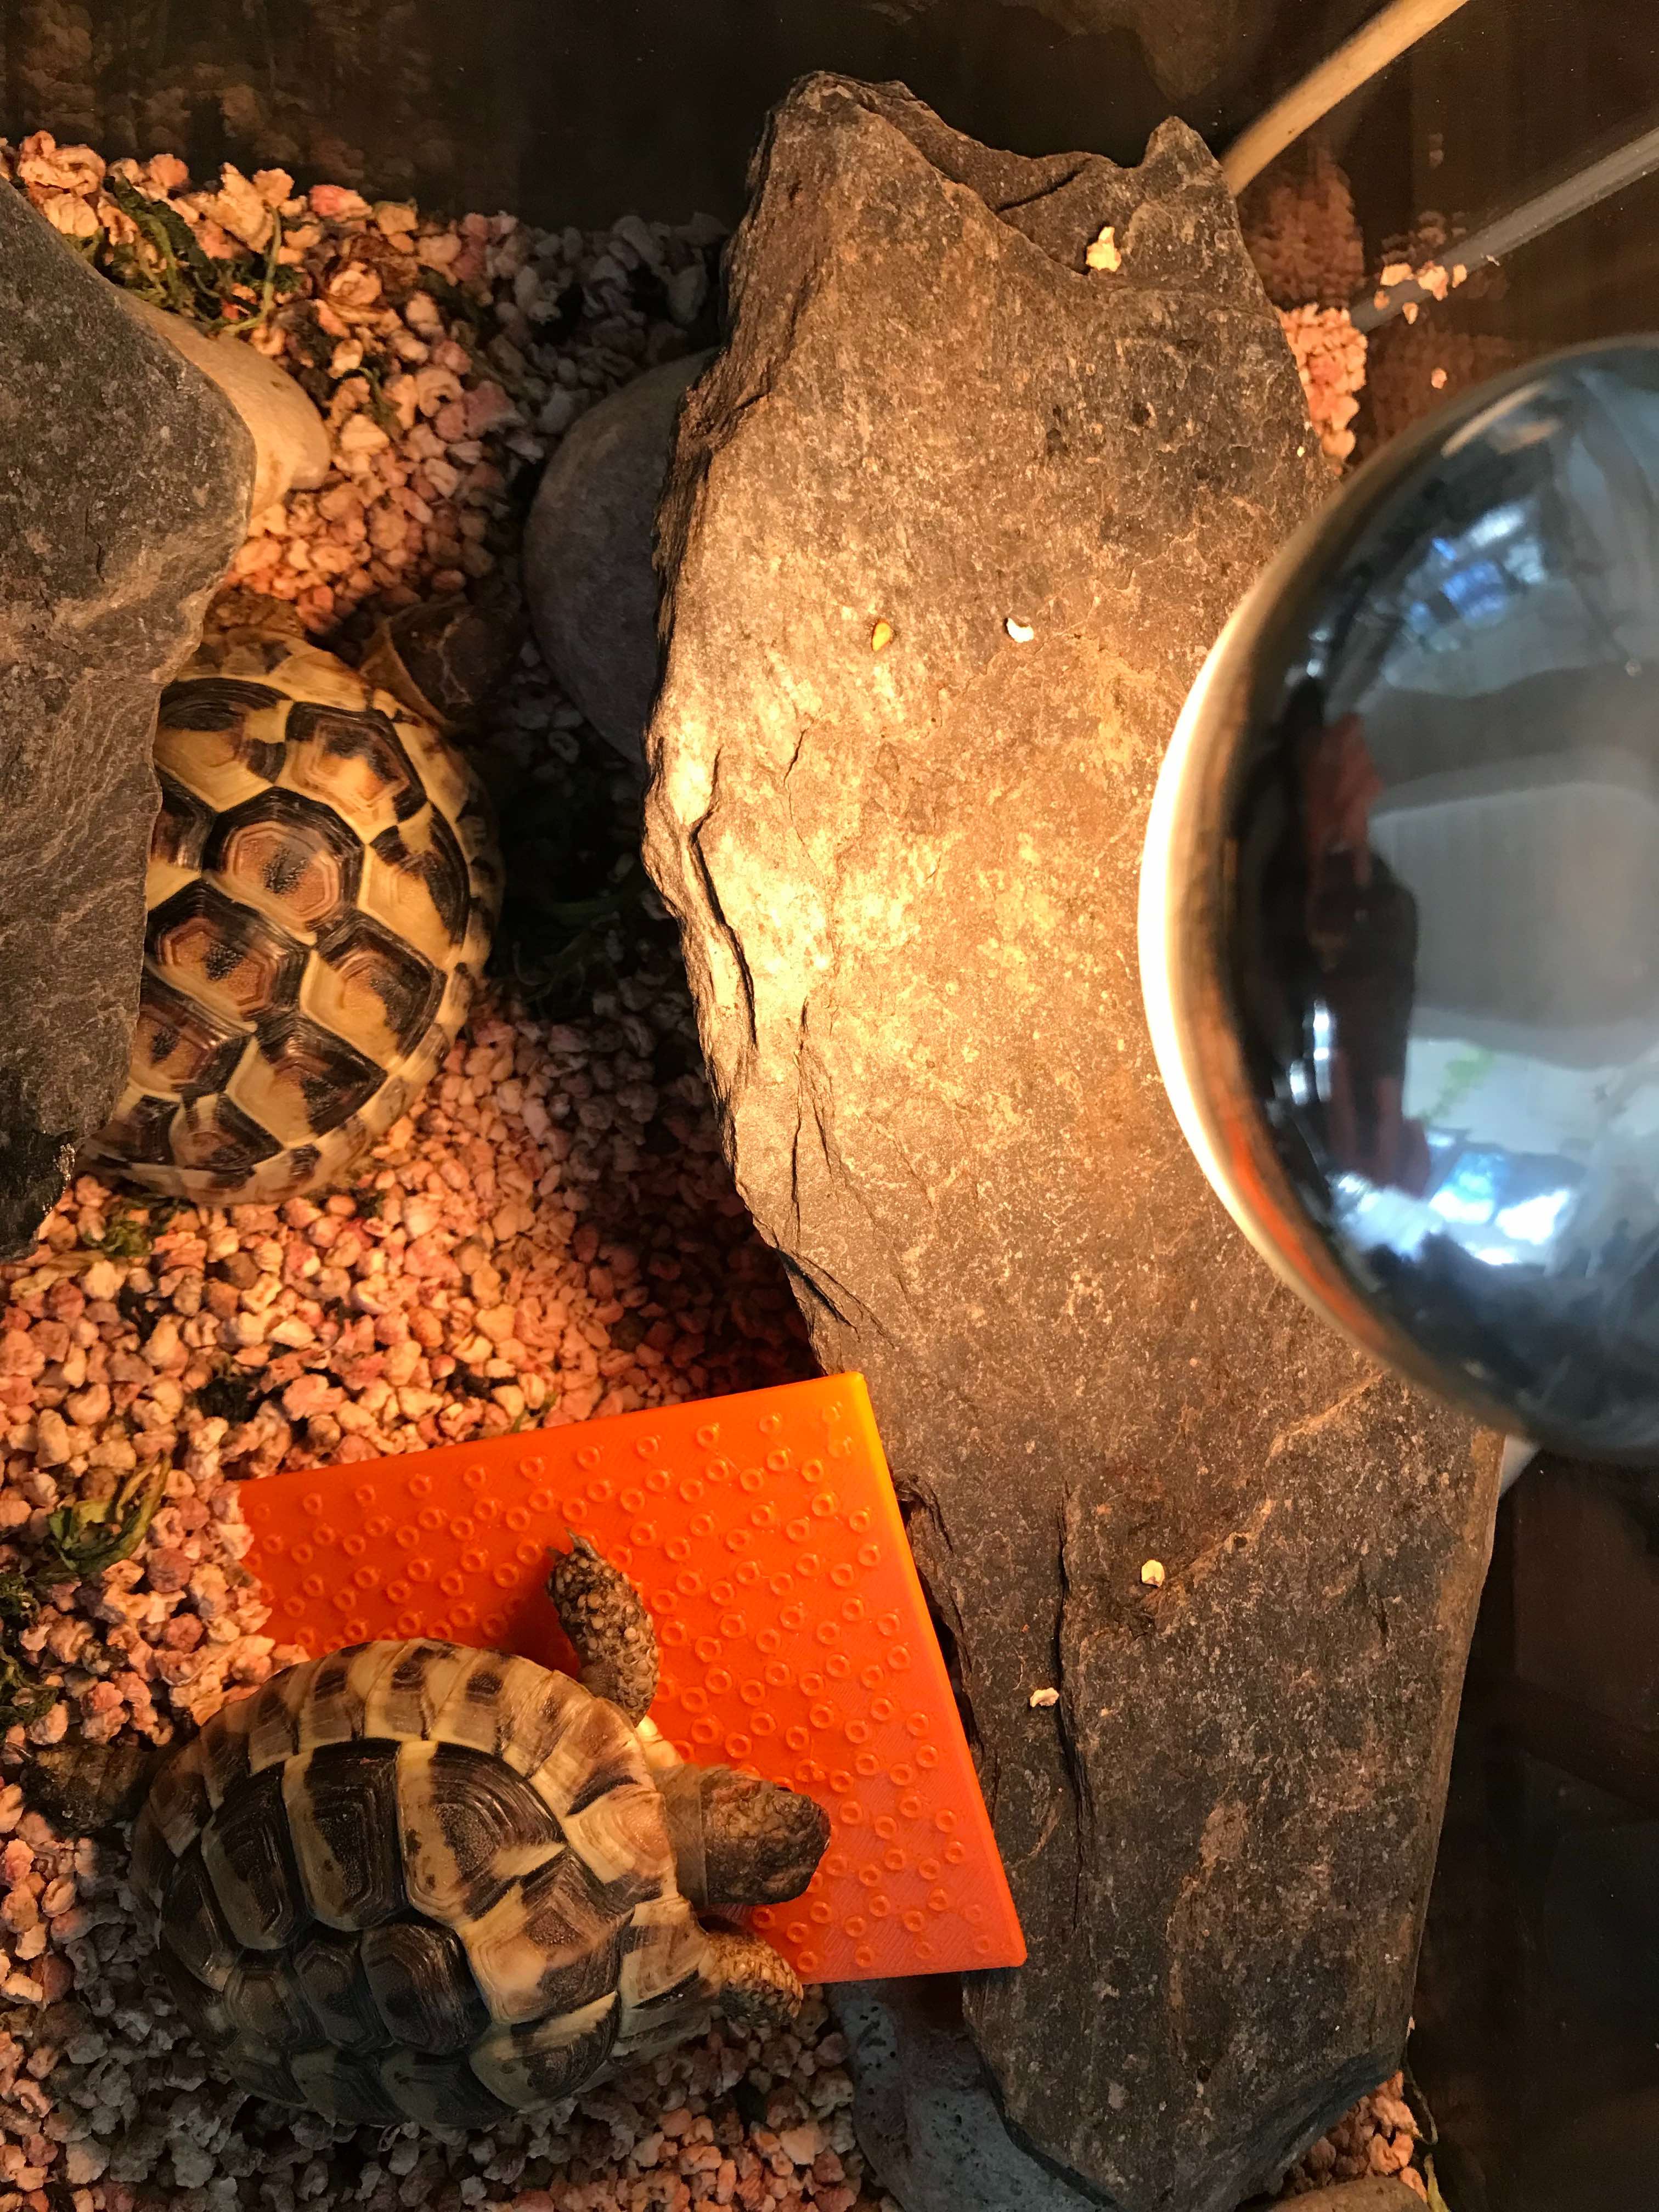
For the first exercise I decided to print a ramp for my turtles, because one of them struggles to go up and when it does it overturns. So I designed a small bridge with a pattern to keep them from slipping and printed it in PLA on a Delta Wasp 2040.
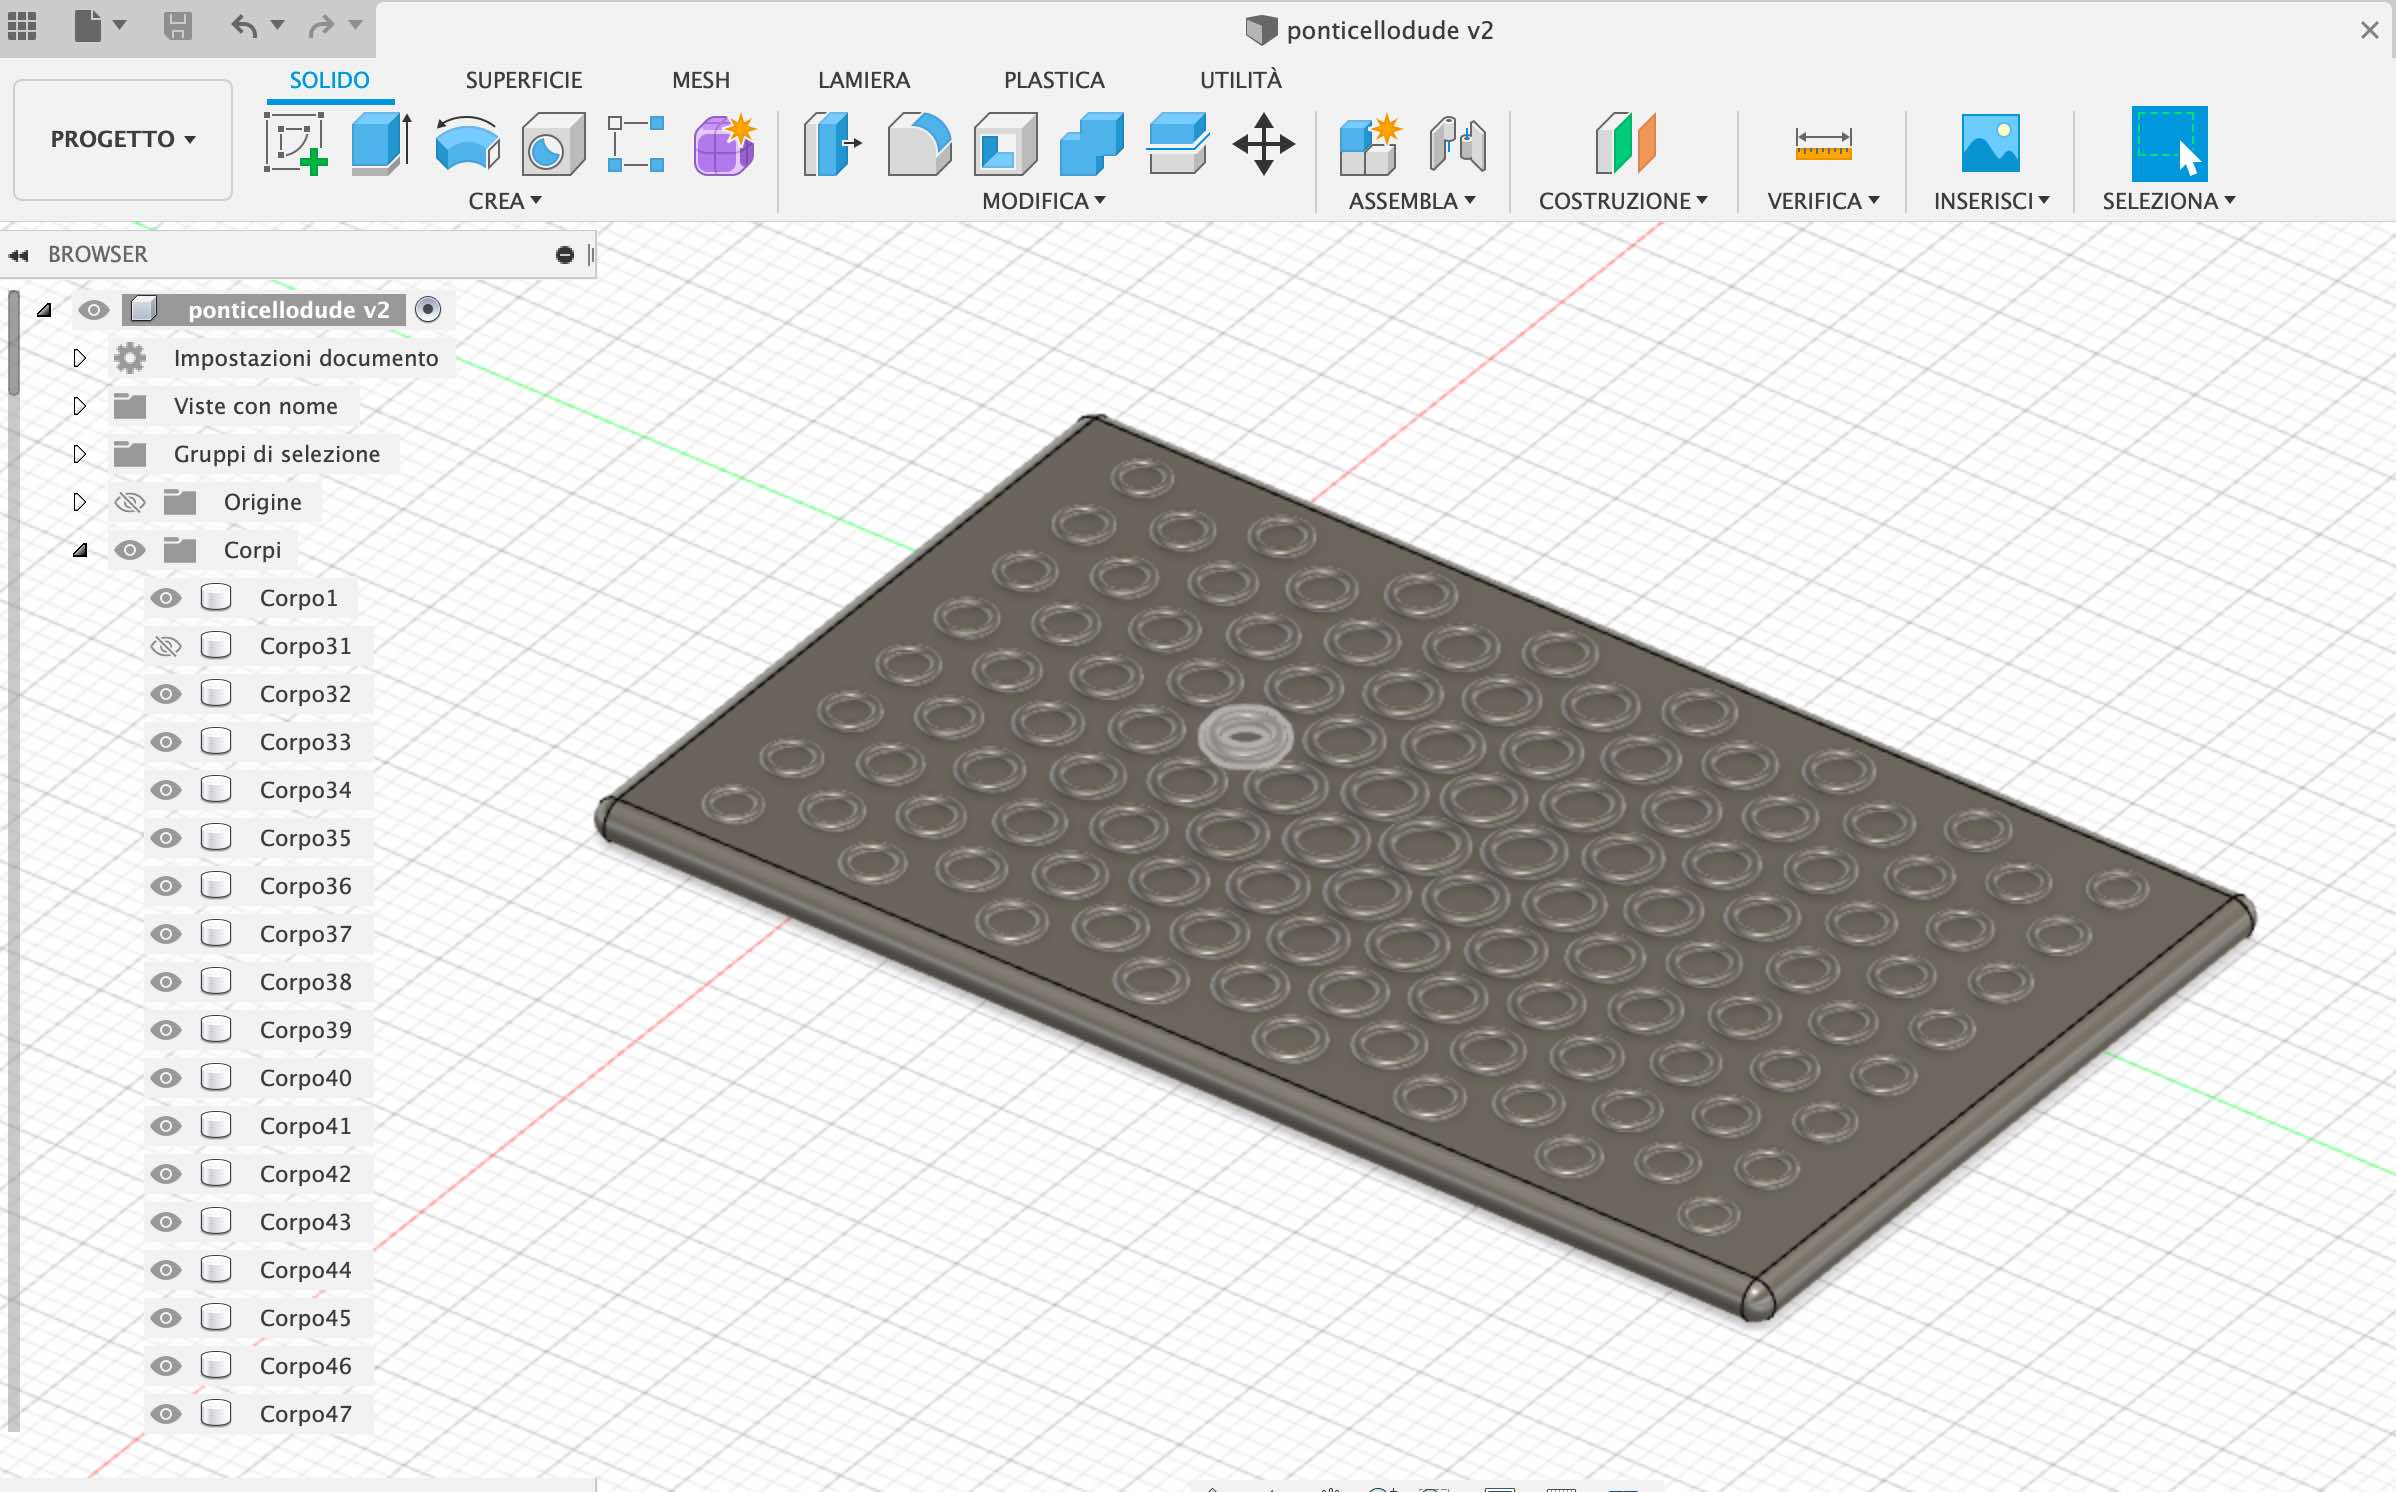
I’ve started by doing the 3d model on Fusion 360, and export it as a .stl file.
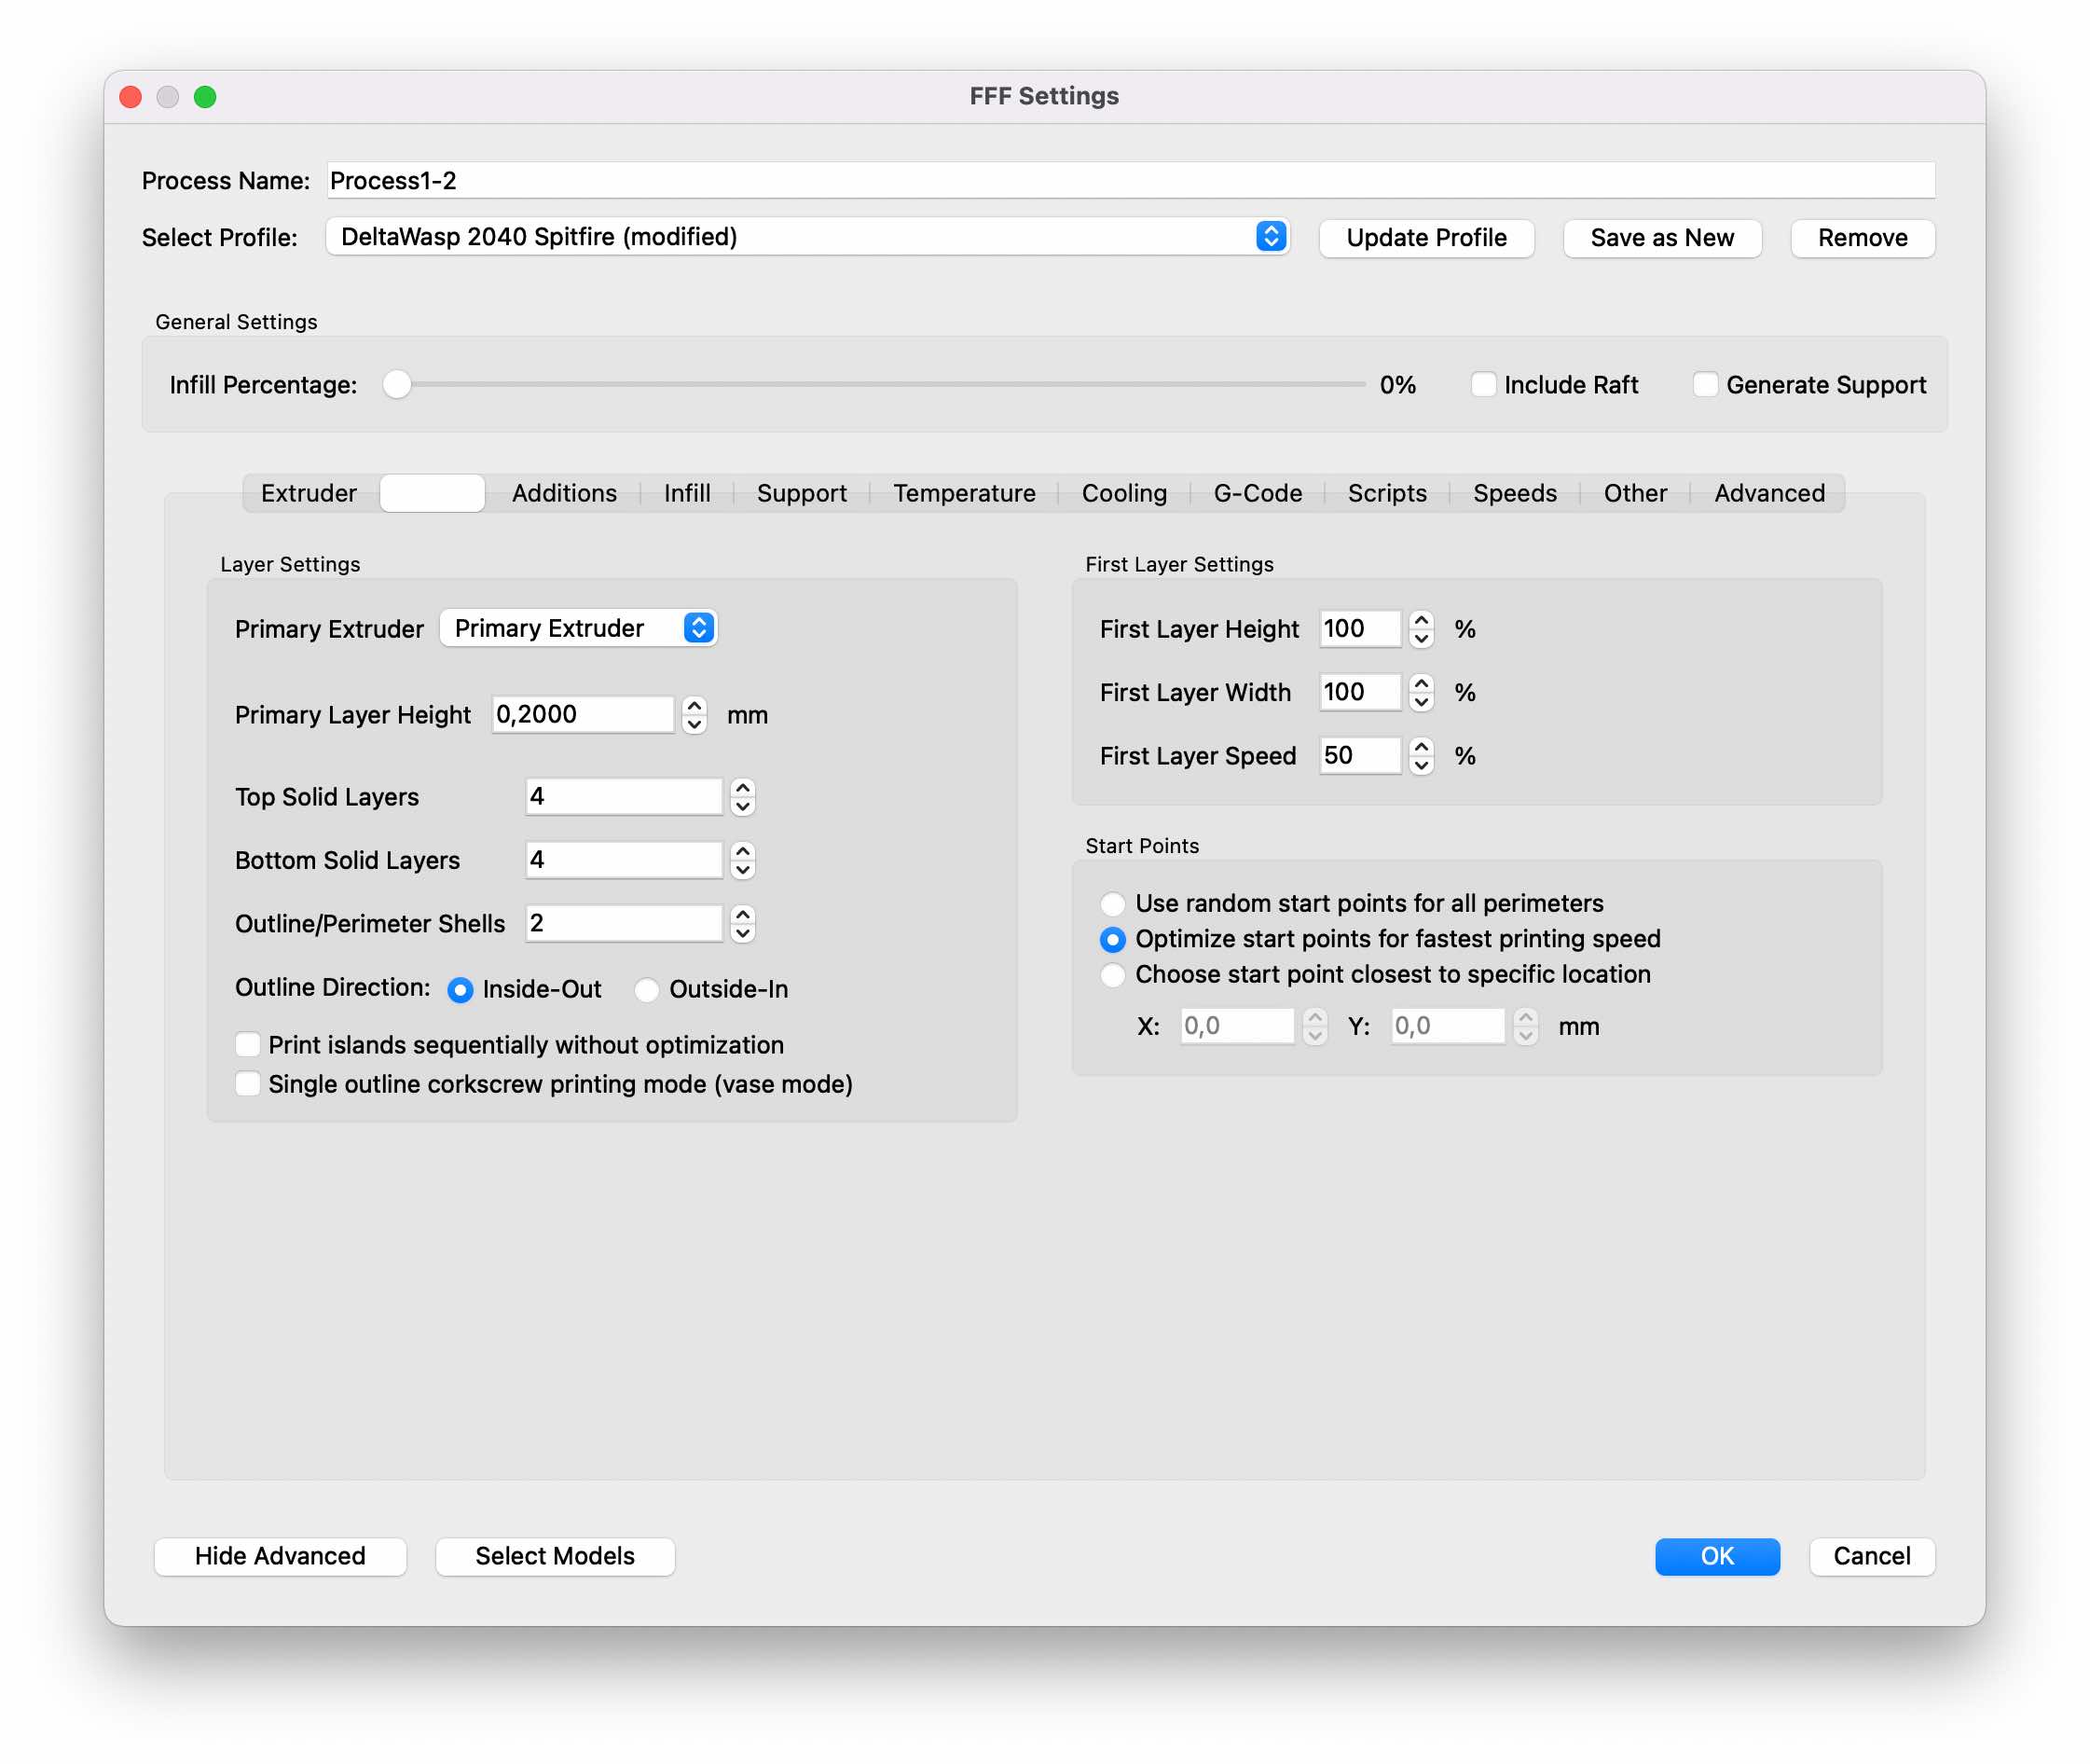
I then imported everything to Simplify, which translates 3D models into instructions your printer understands. These instructions are given in the settings, where you can change the values of: extruder size, layer height, infill, various supports, etc. Now the file is ready to be placed on the SD card to insert it into the printer.
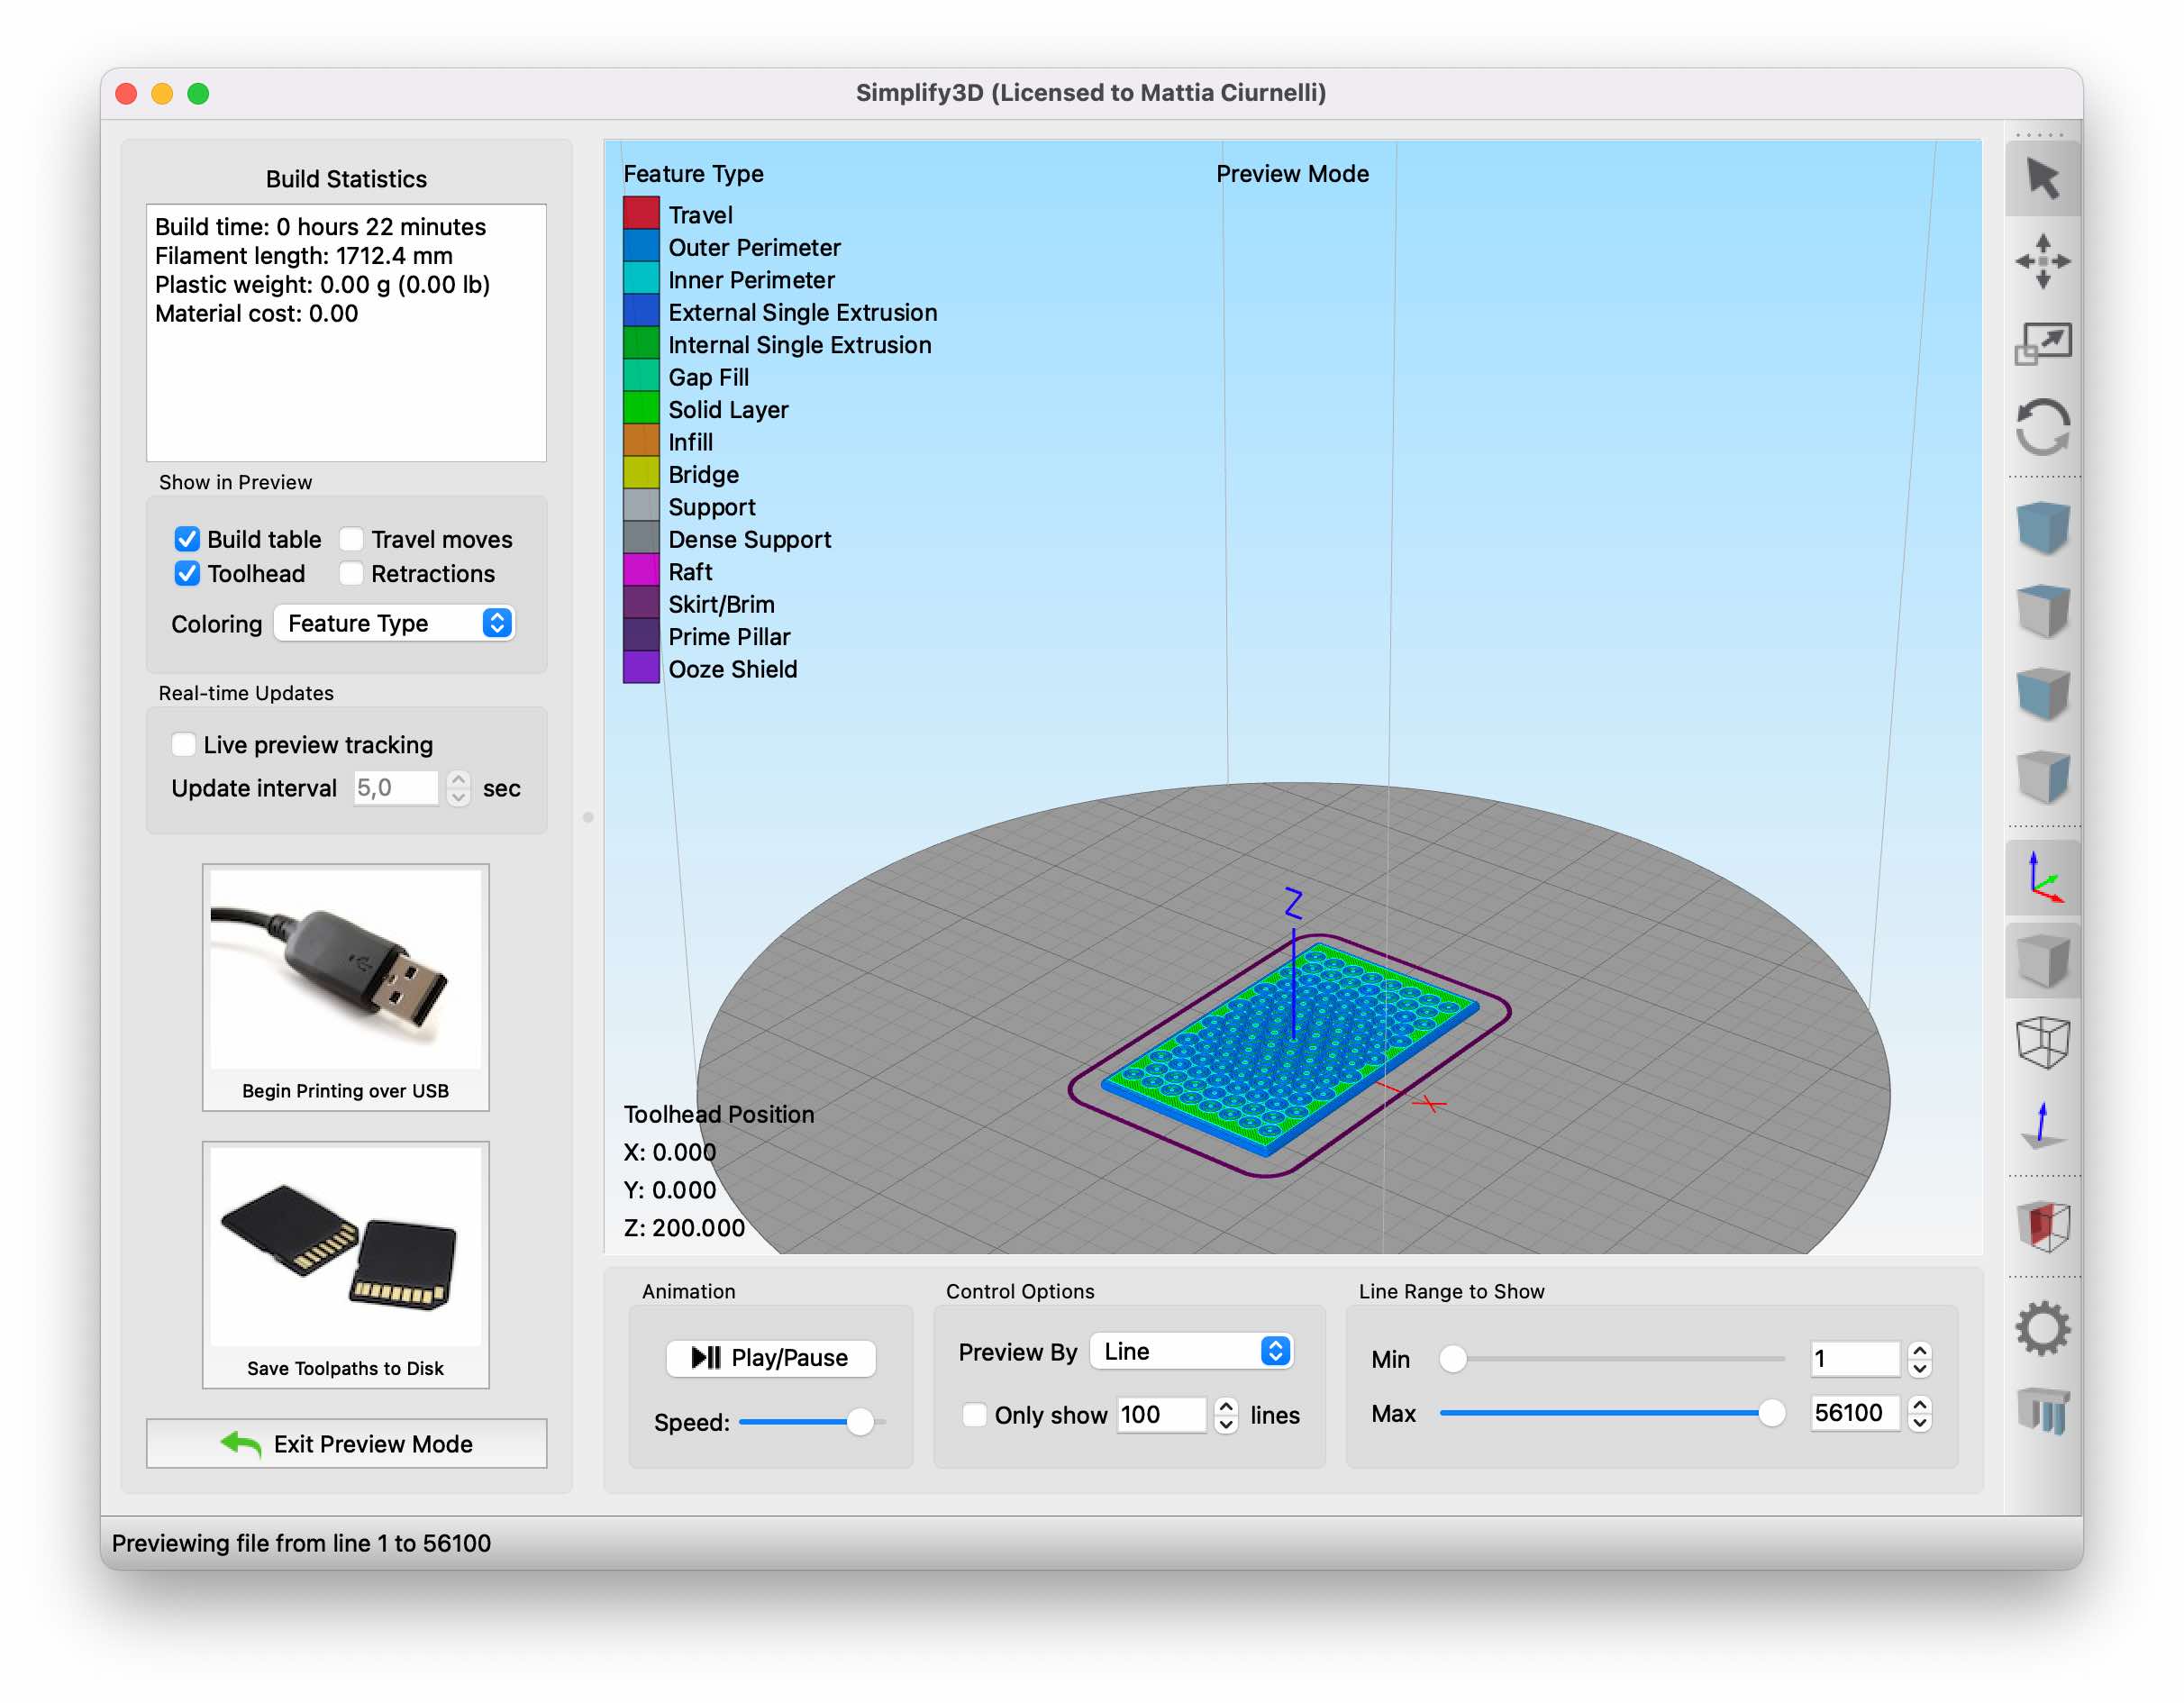
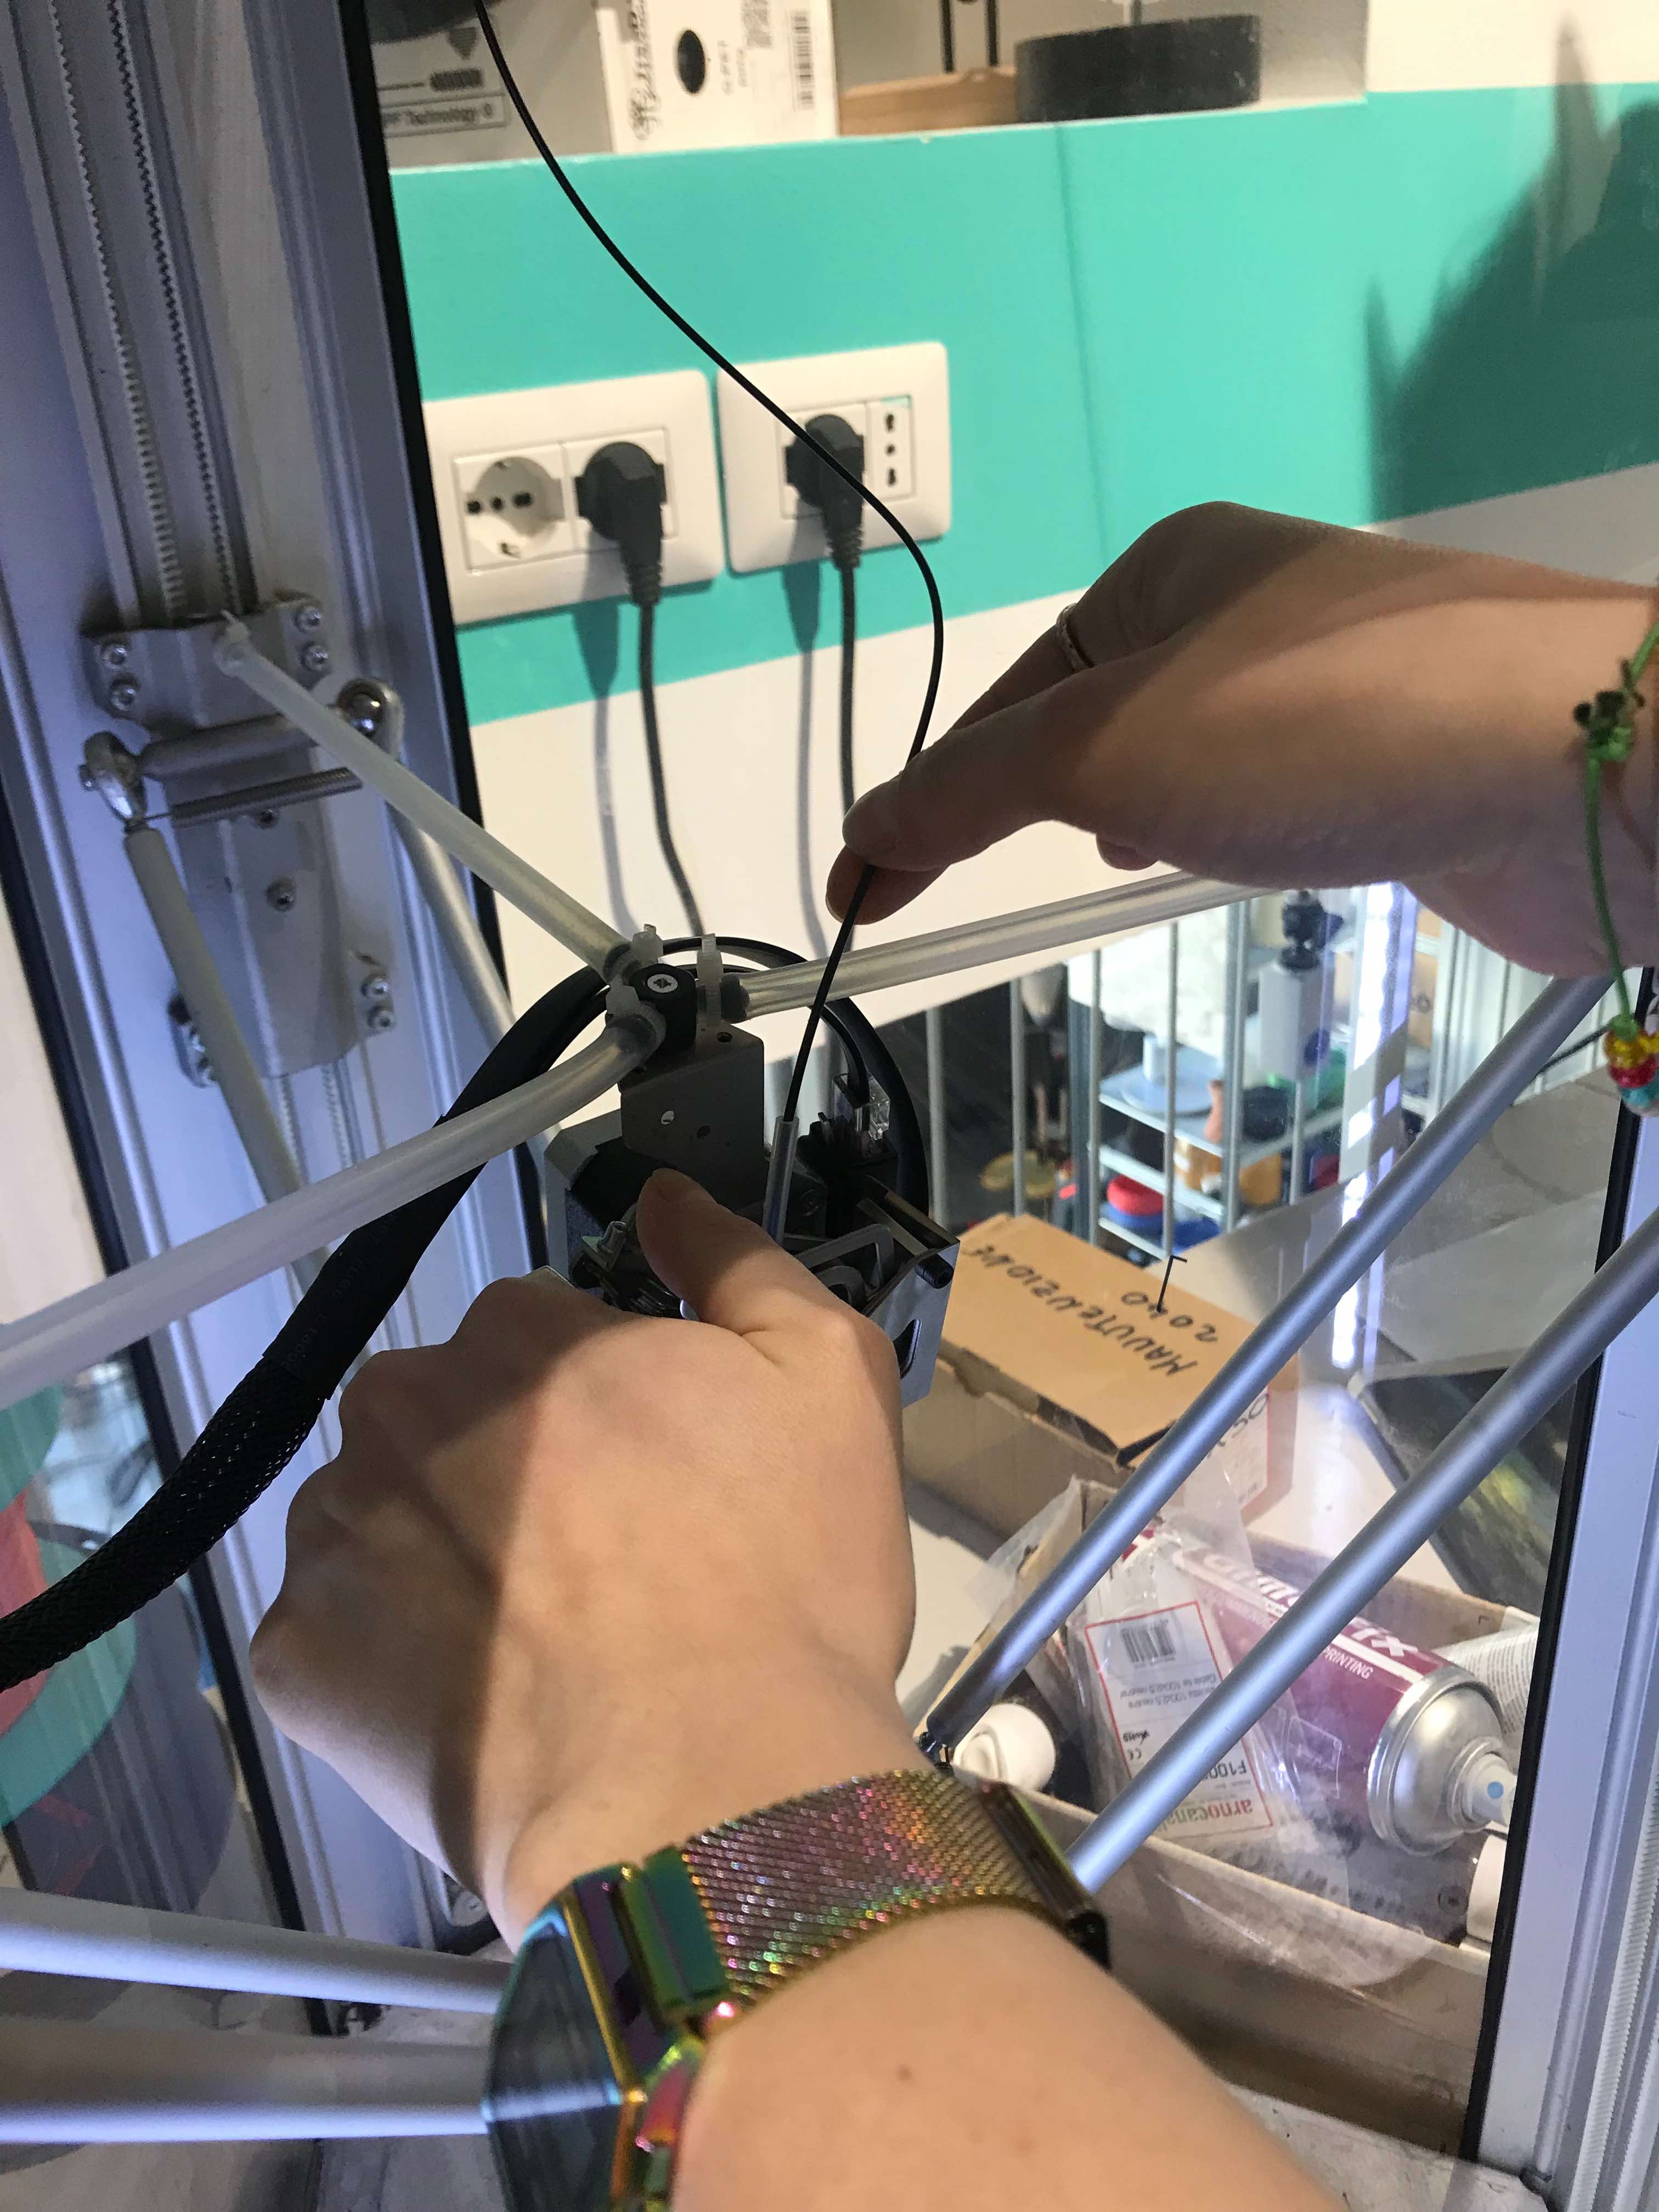
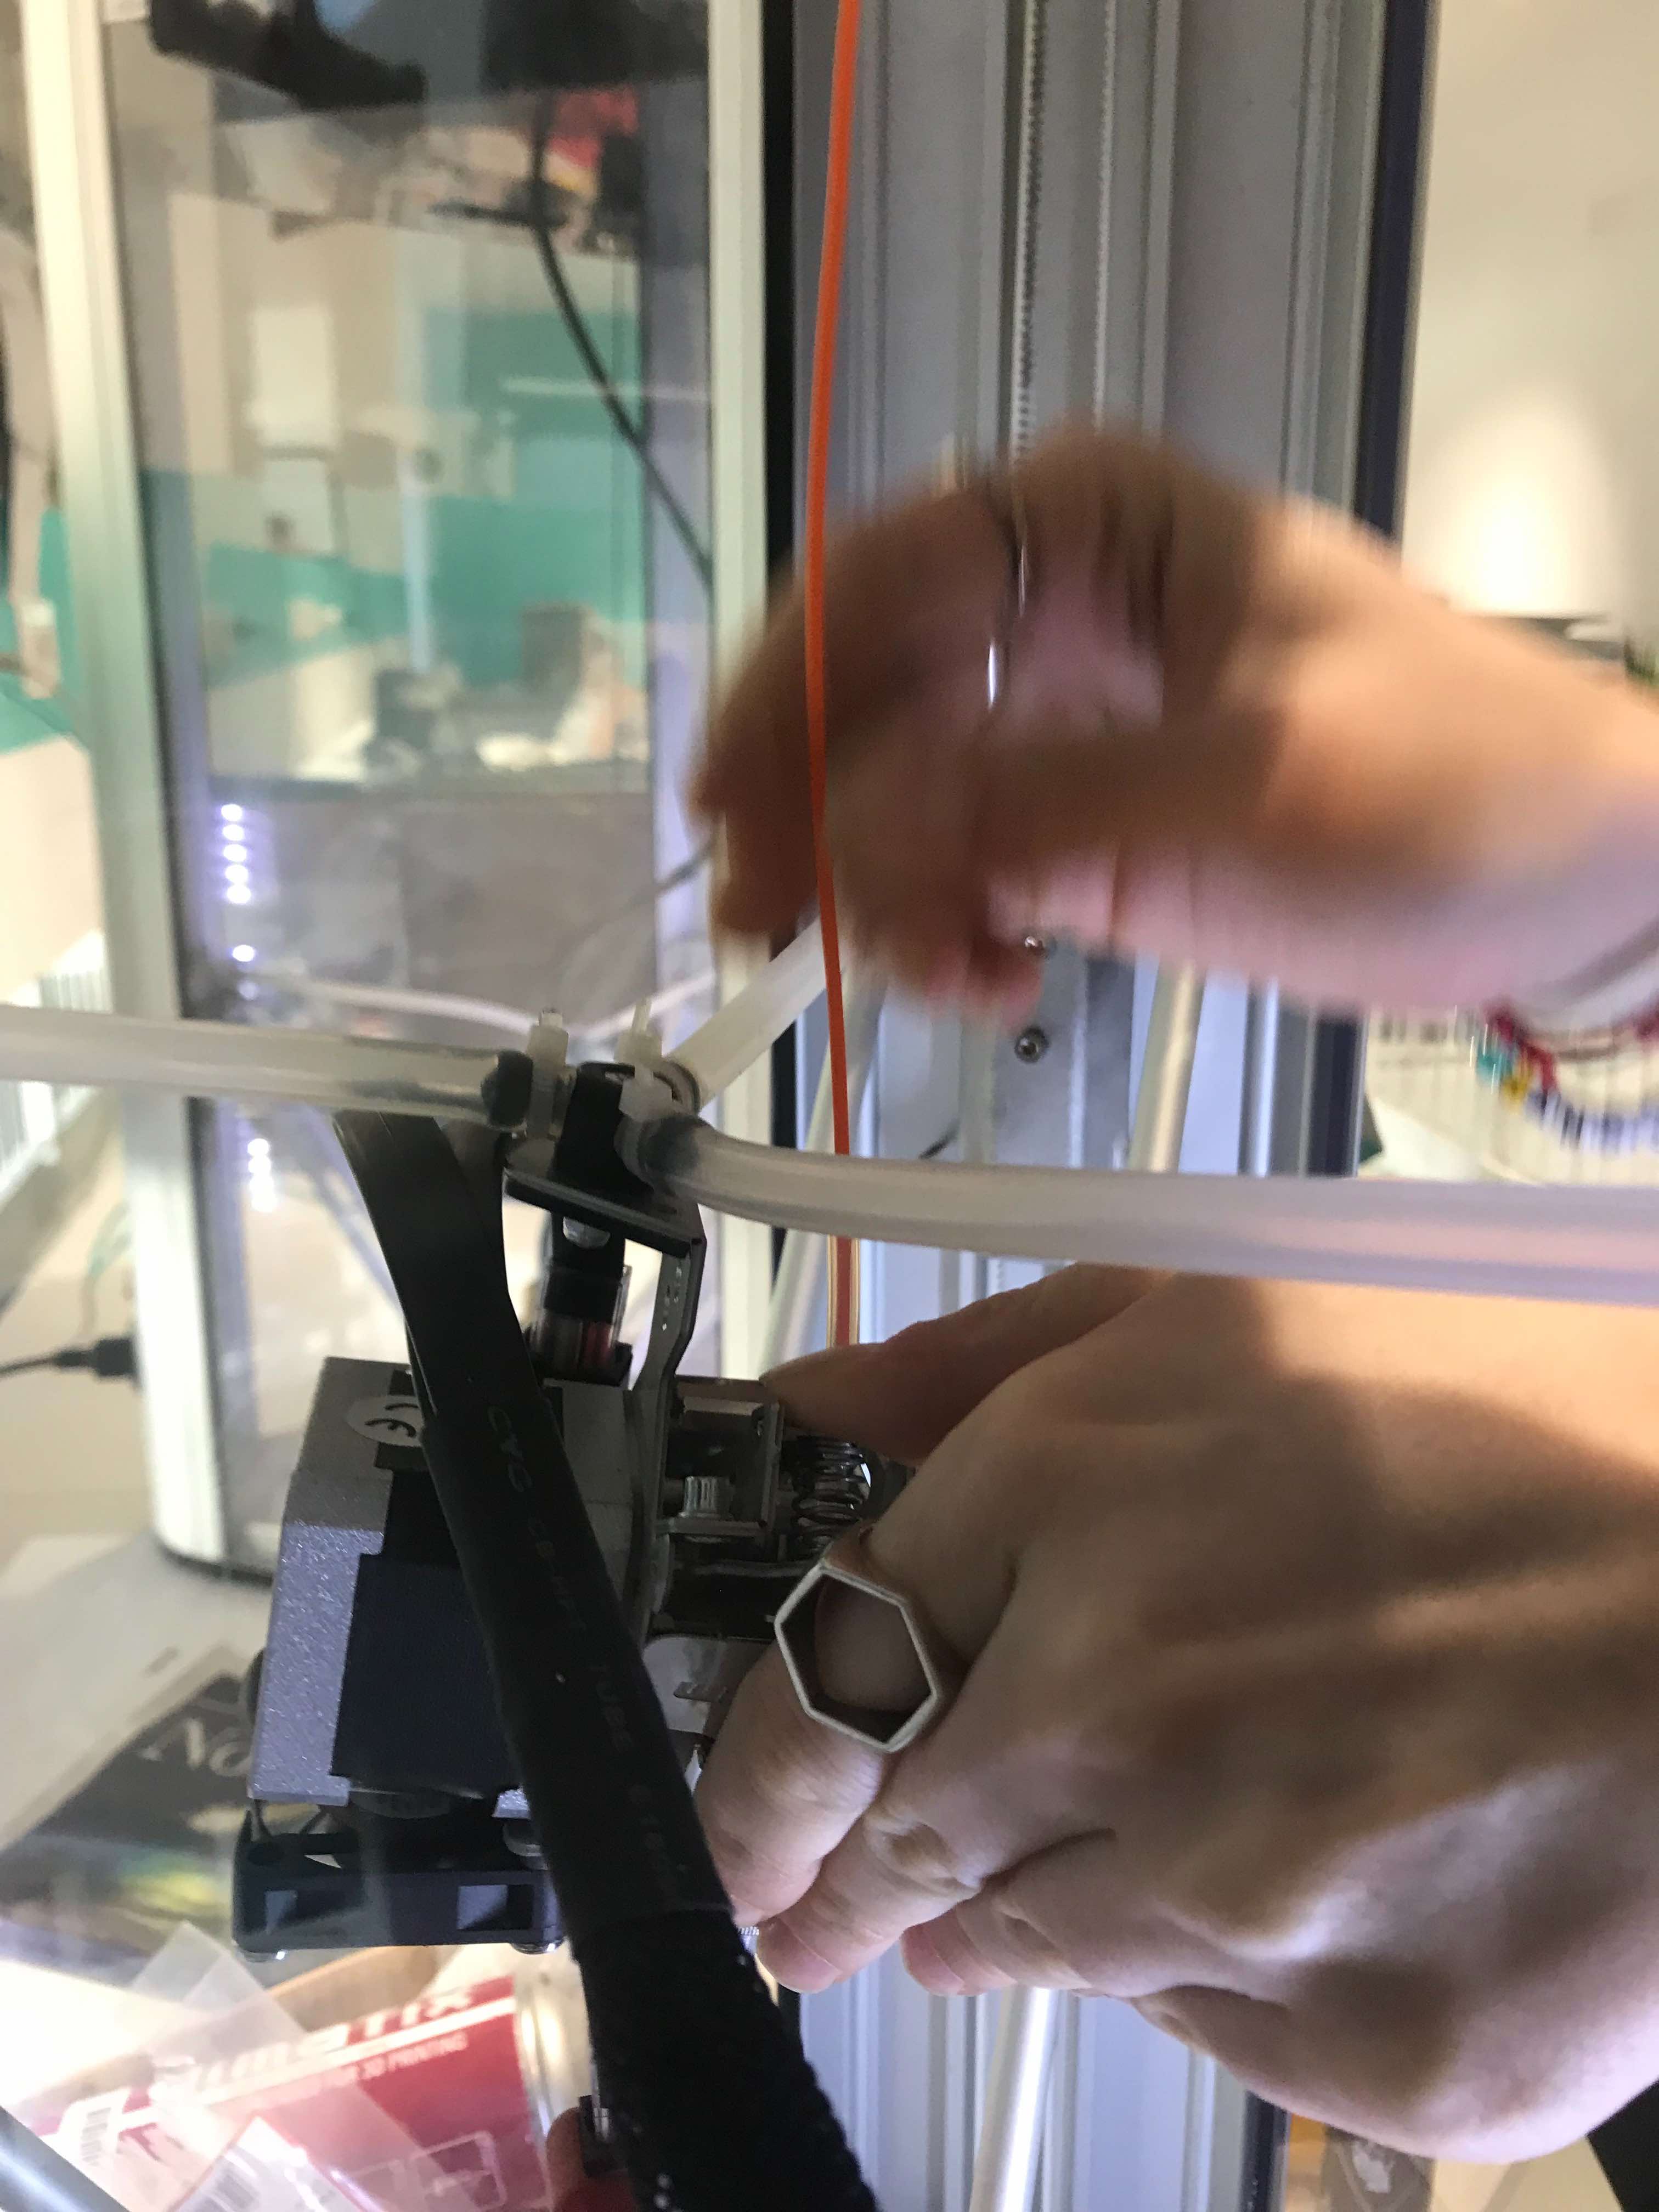
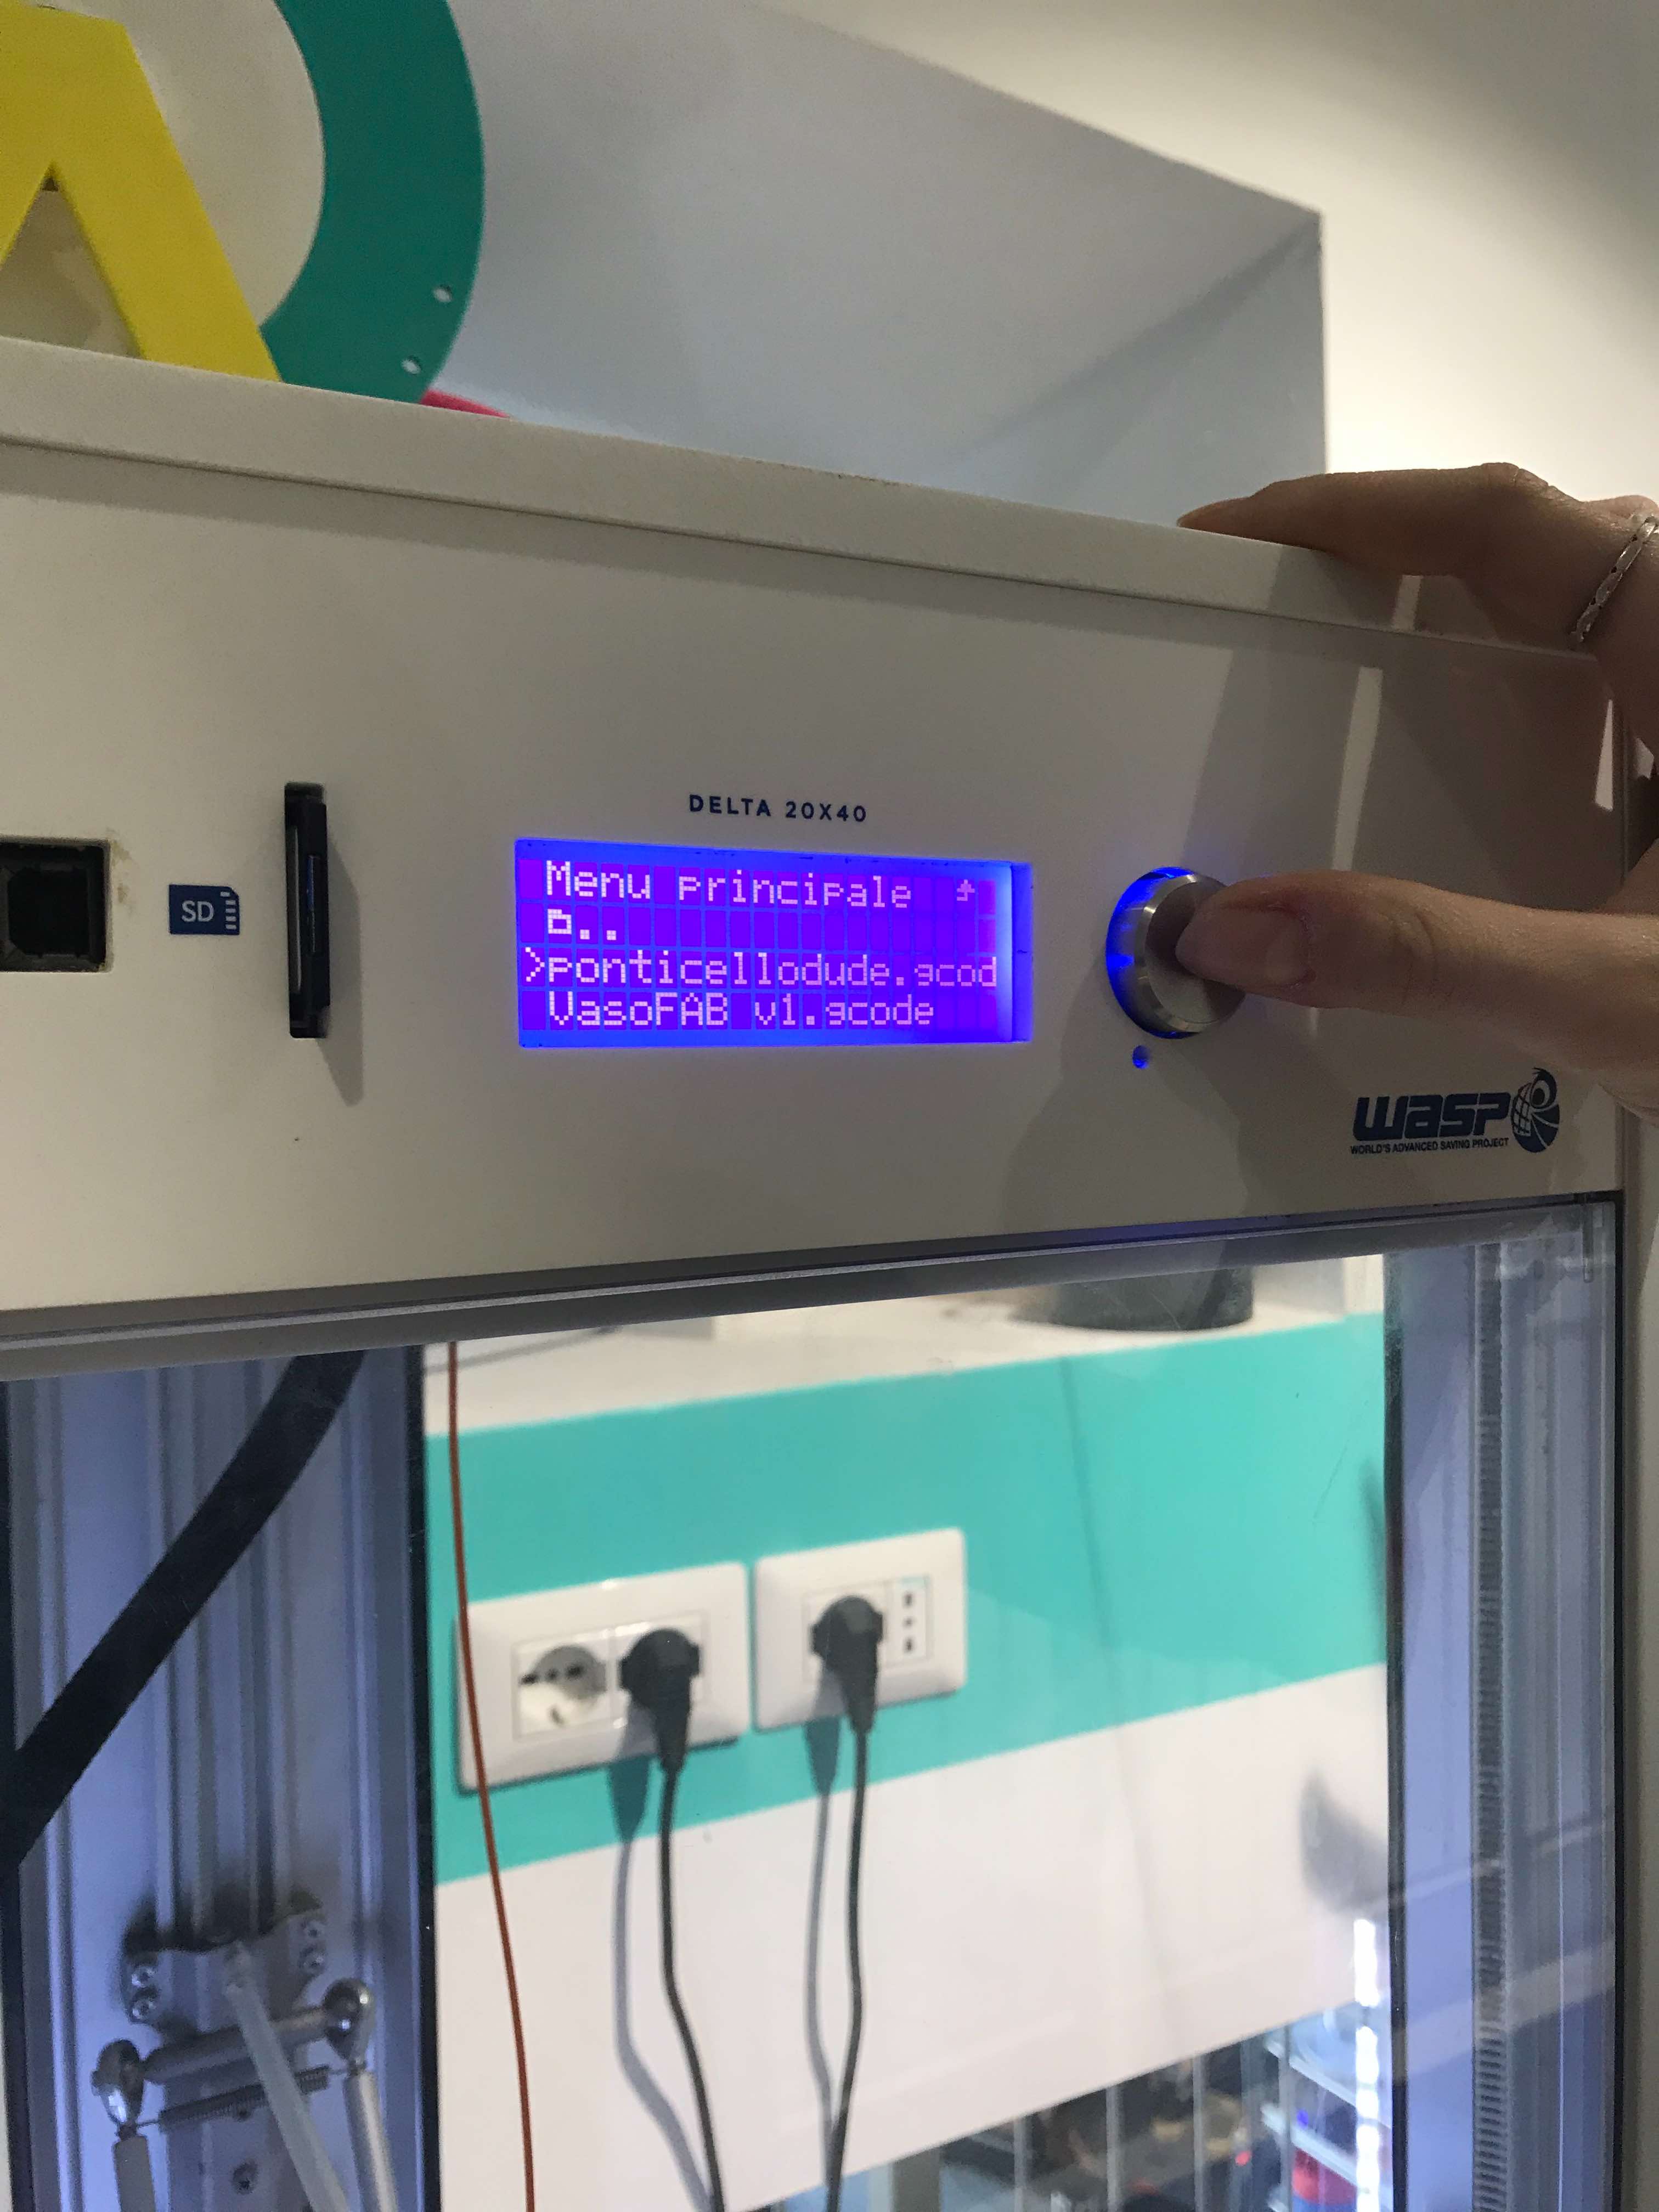
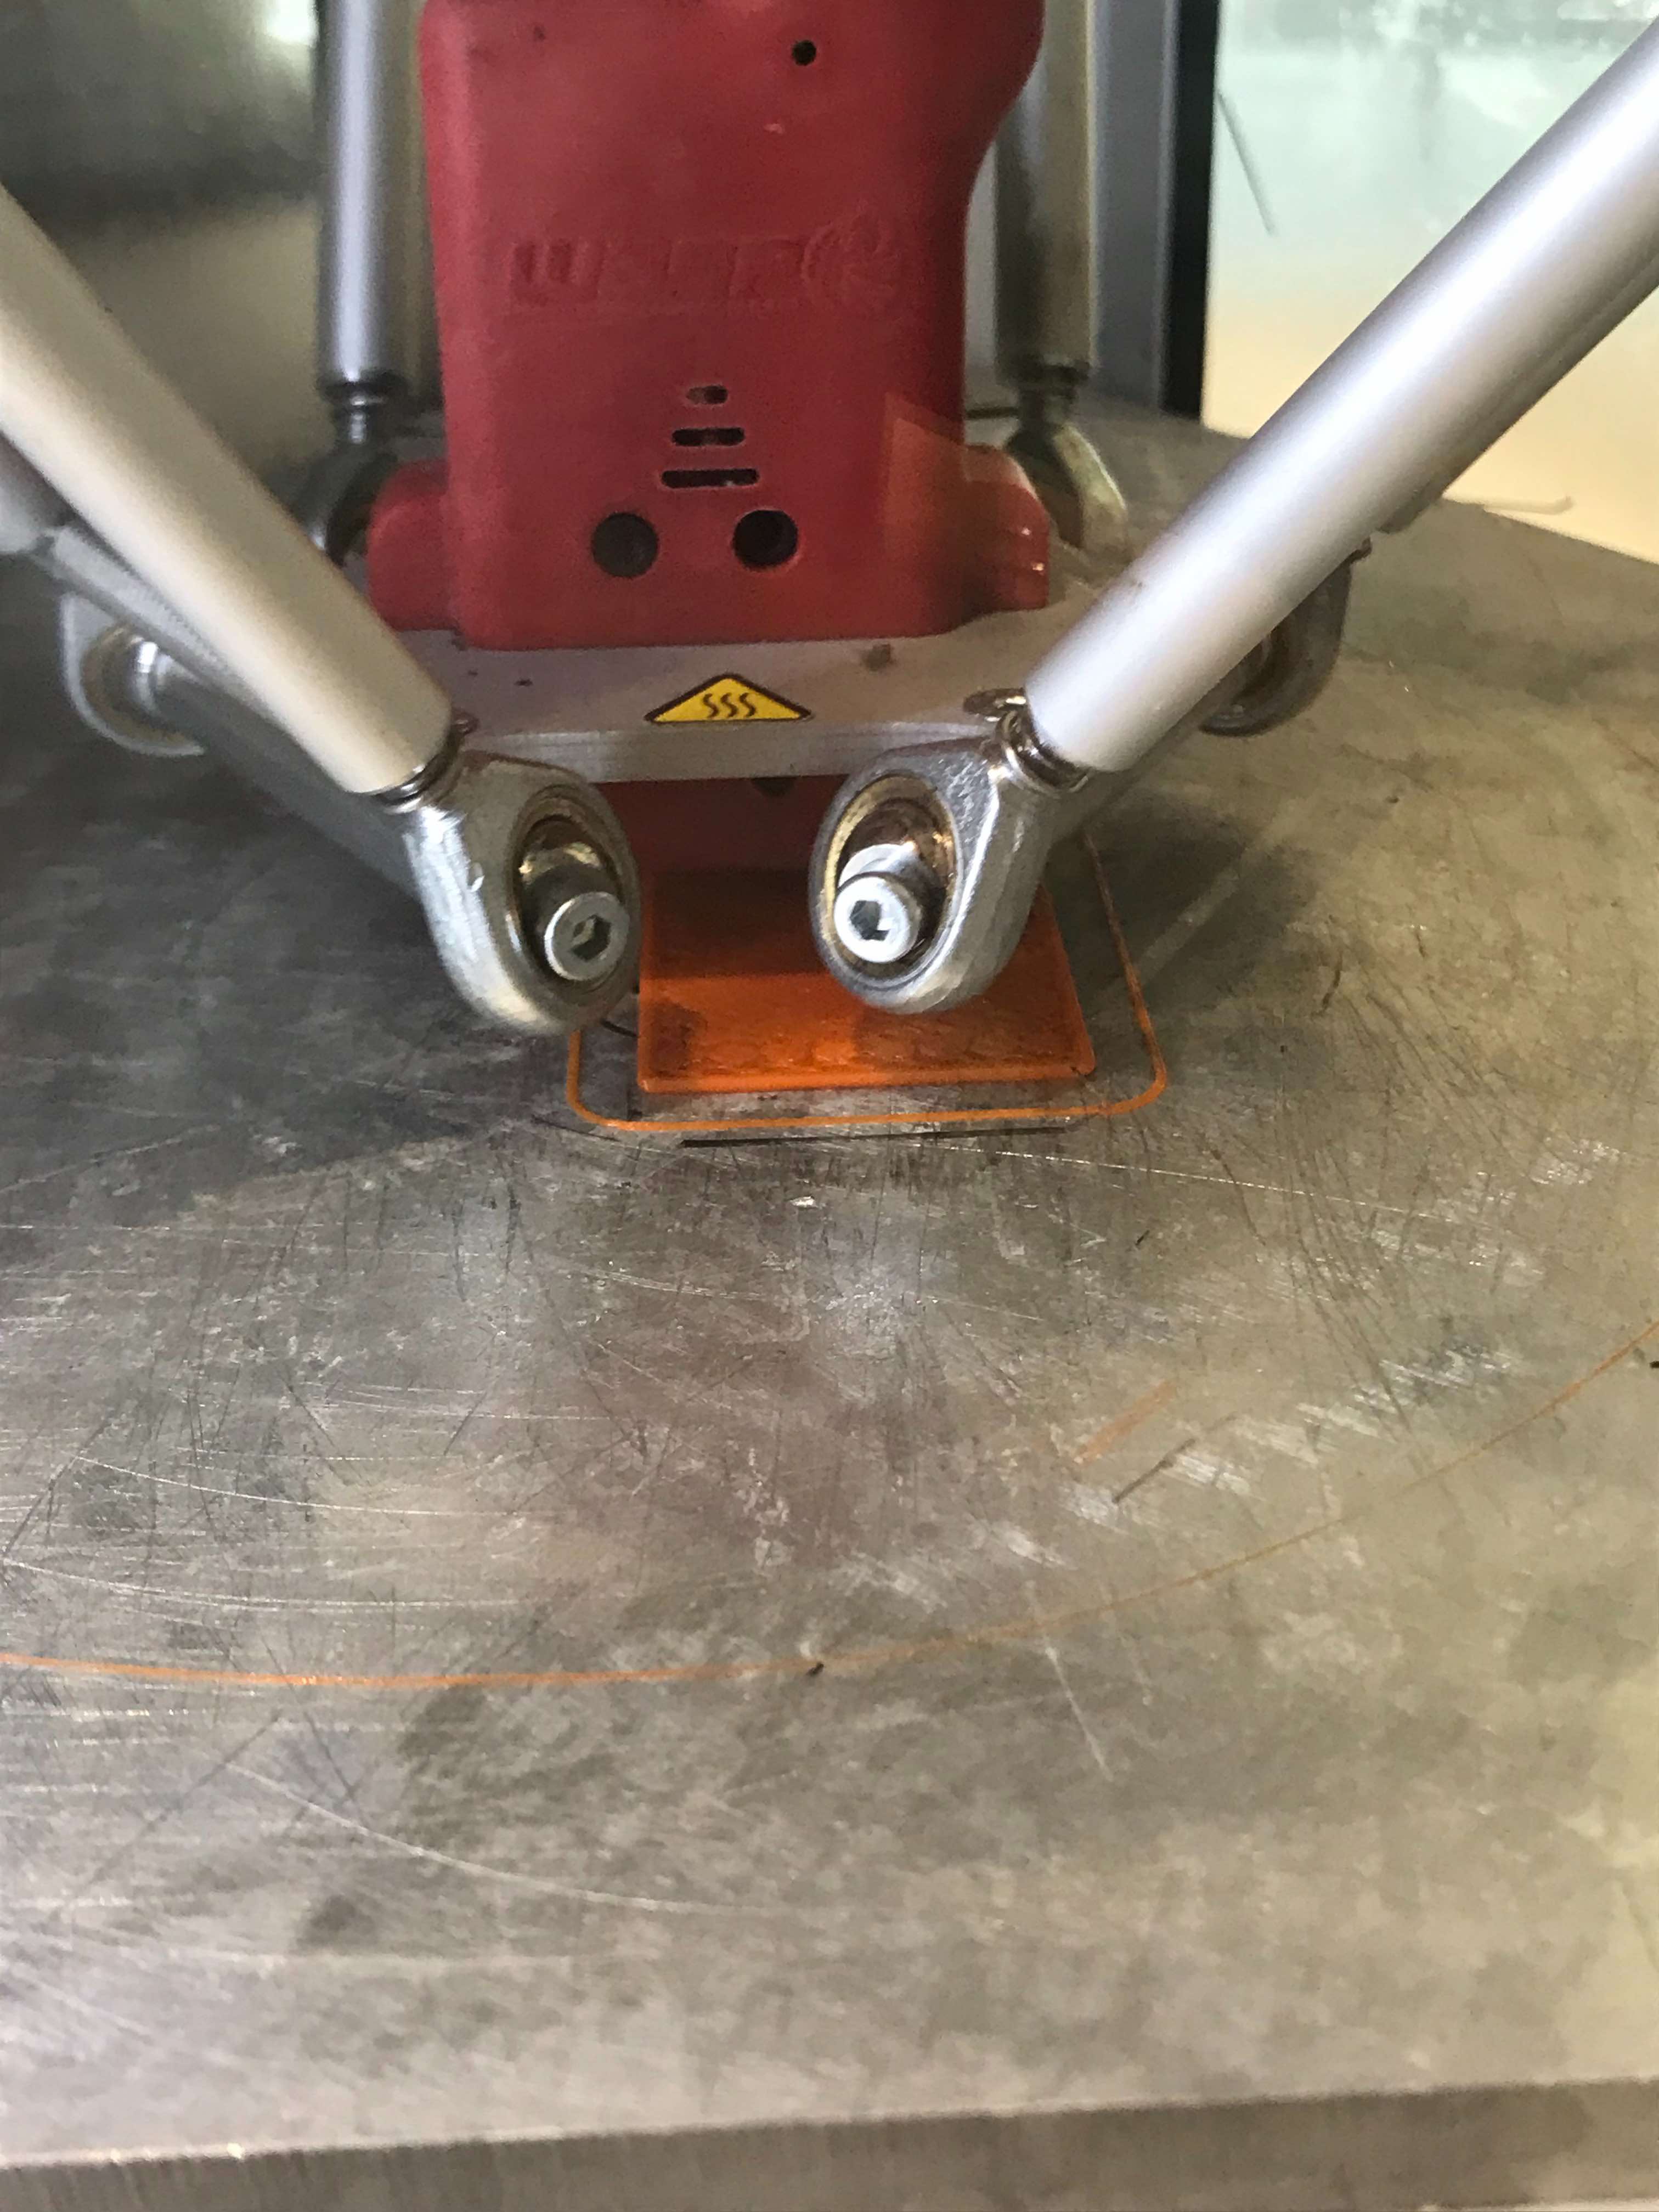
In the next pictures you’ll see various steps to follow before printing, such as waiting for the machine to be sufficiently warm, changing the material/color, waiting for the previous color to disappear, then select your file and you’re good to go!
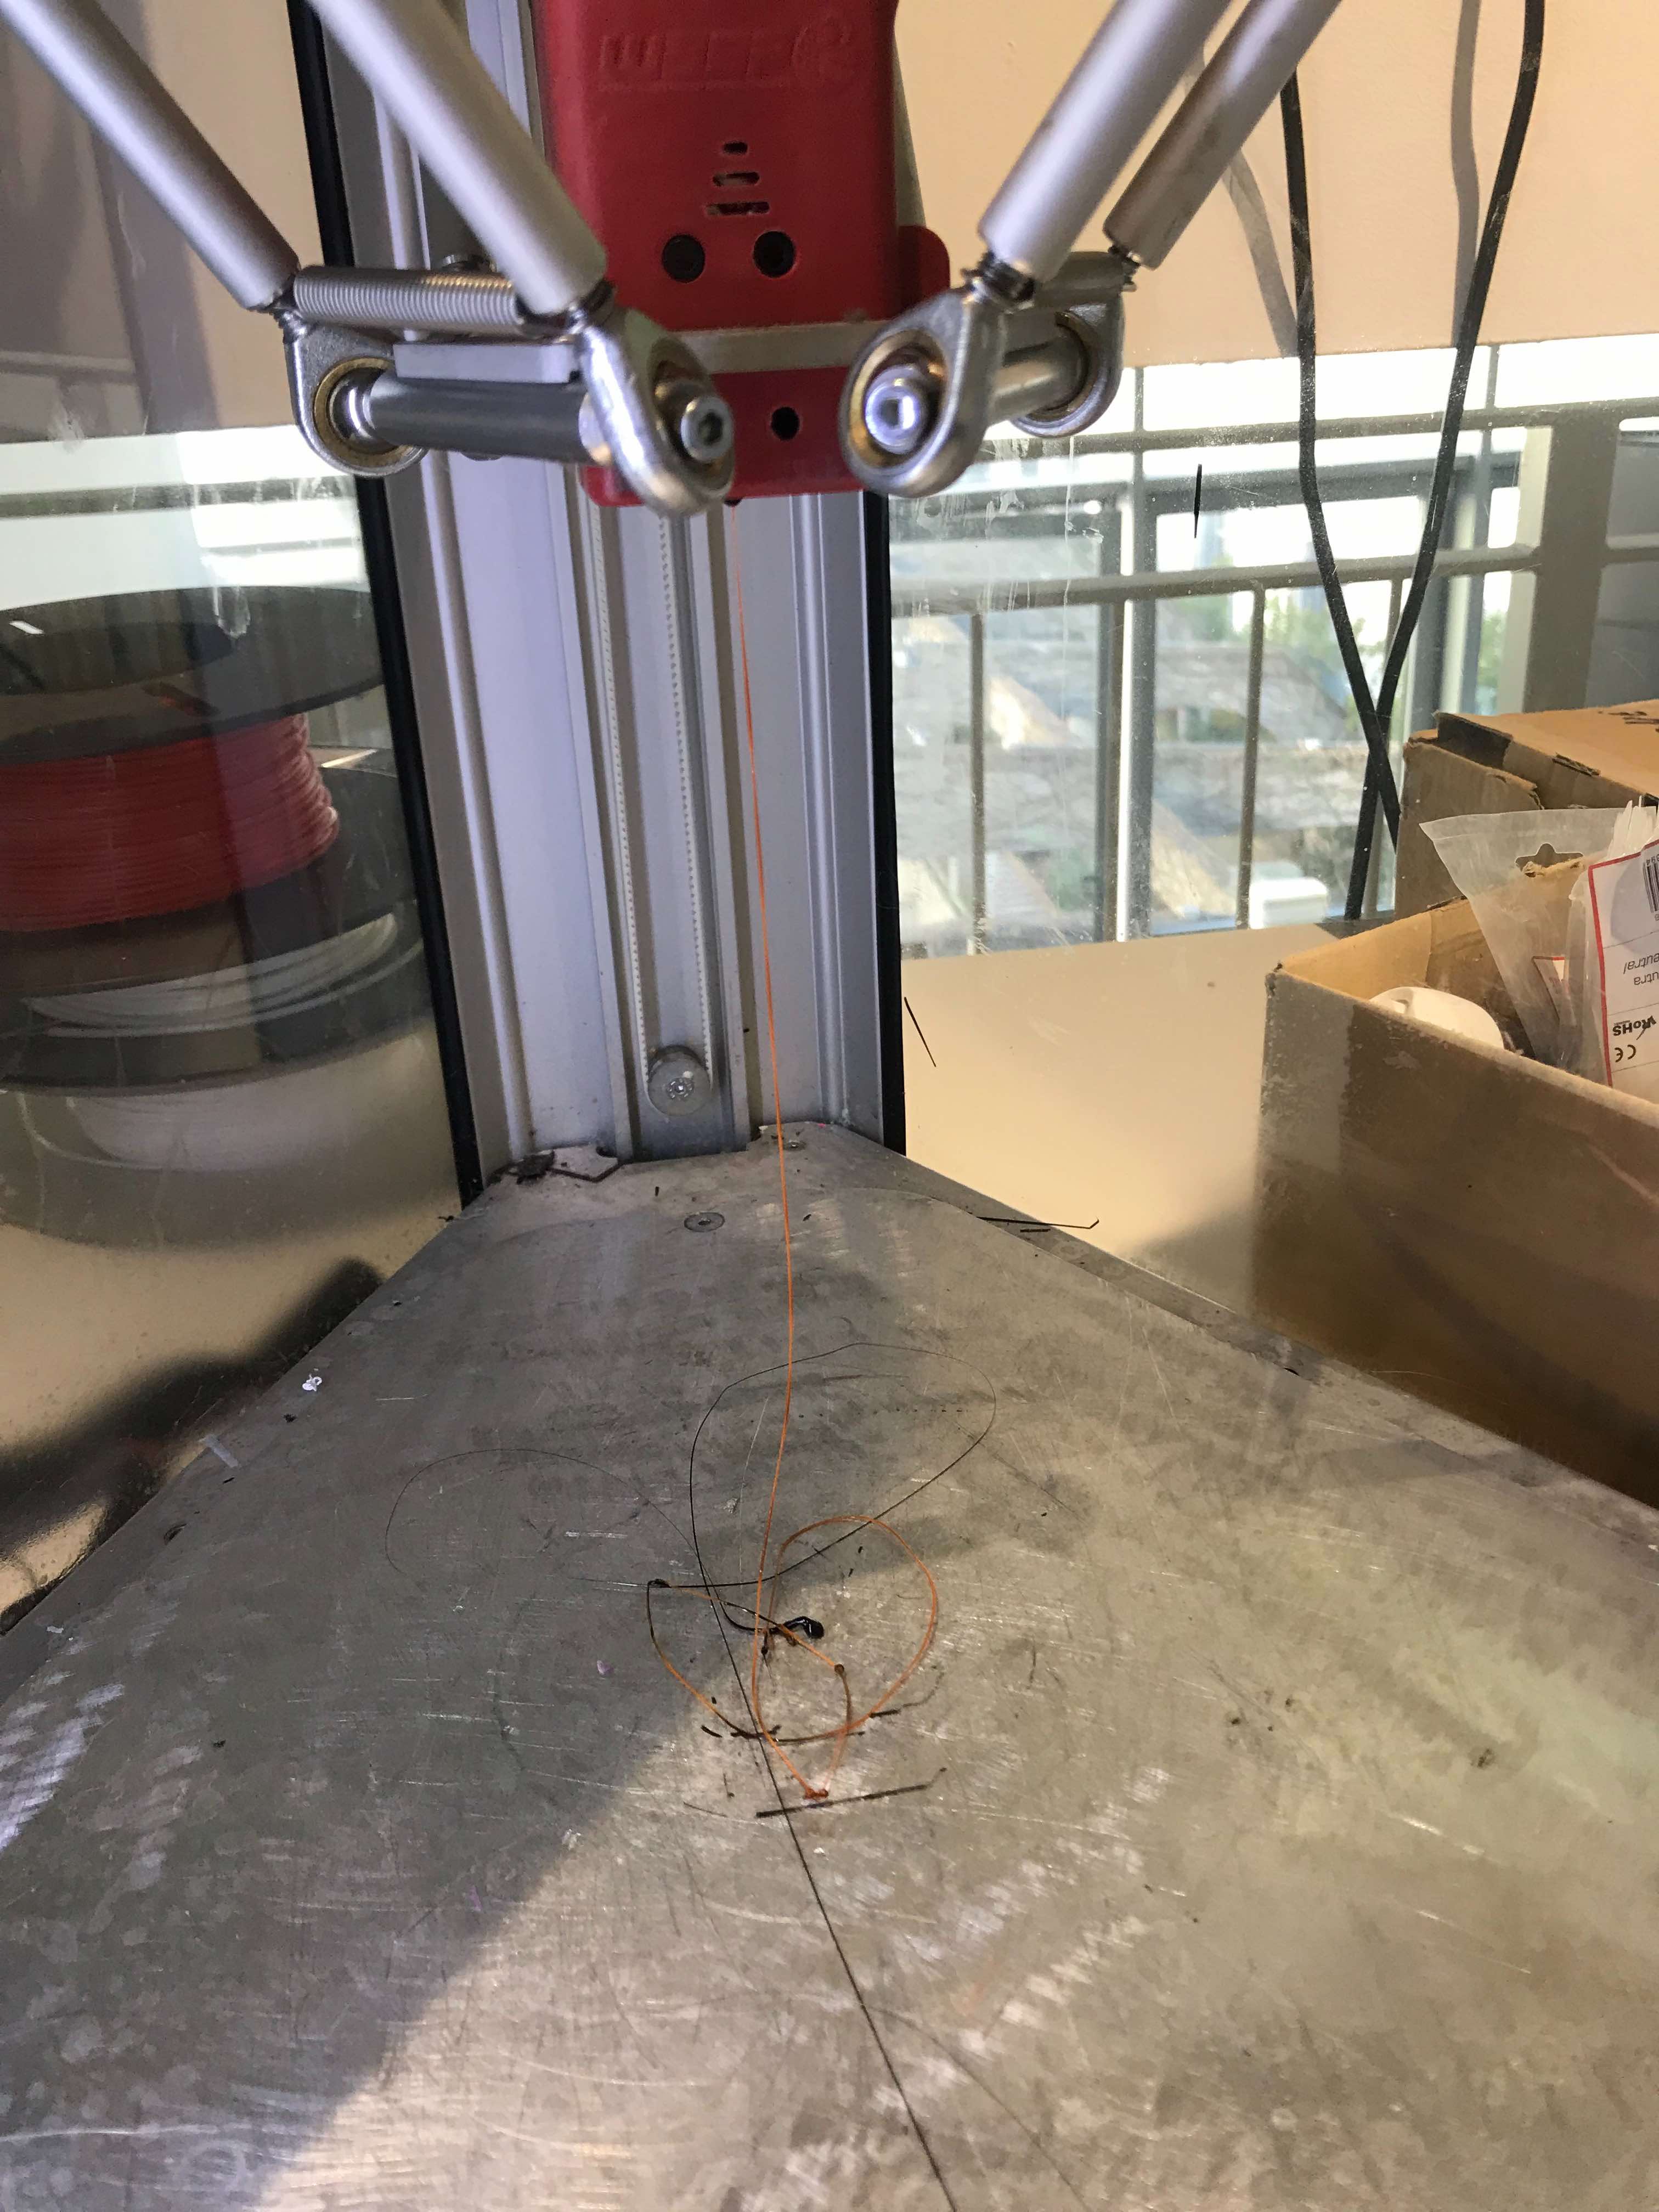
After a few seconds the machine will start running, and if you have done everything properly you’ll see your project being printed correctly, which is…DRUMROLL…NOT my case! I totally got the measurements wrong.
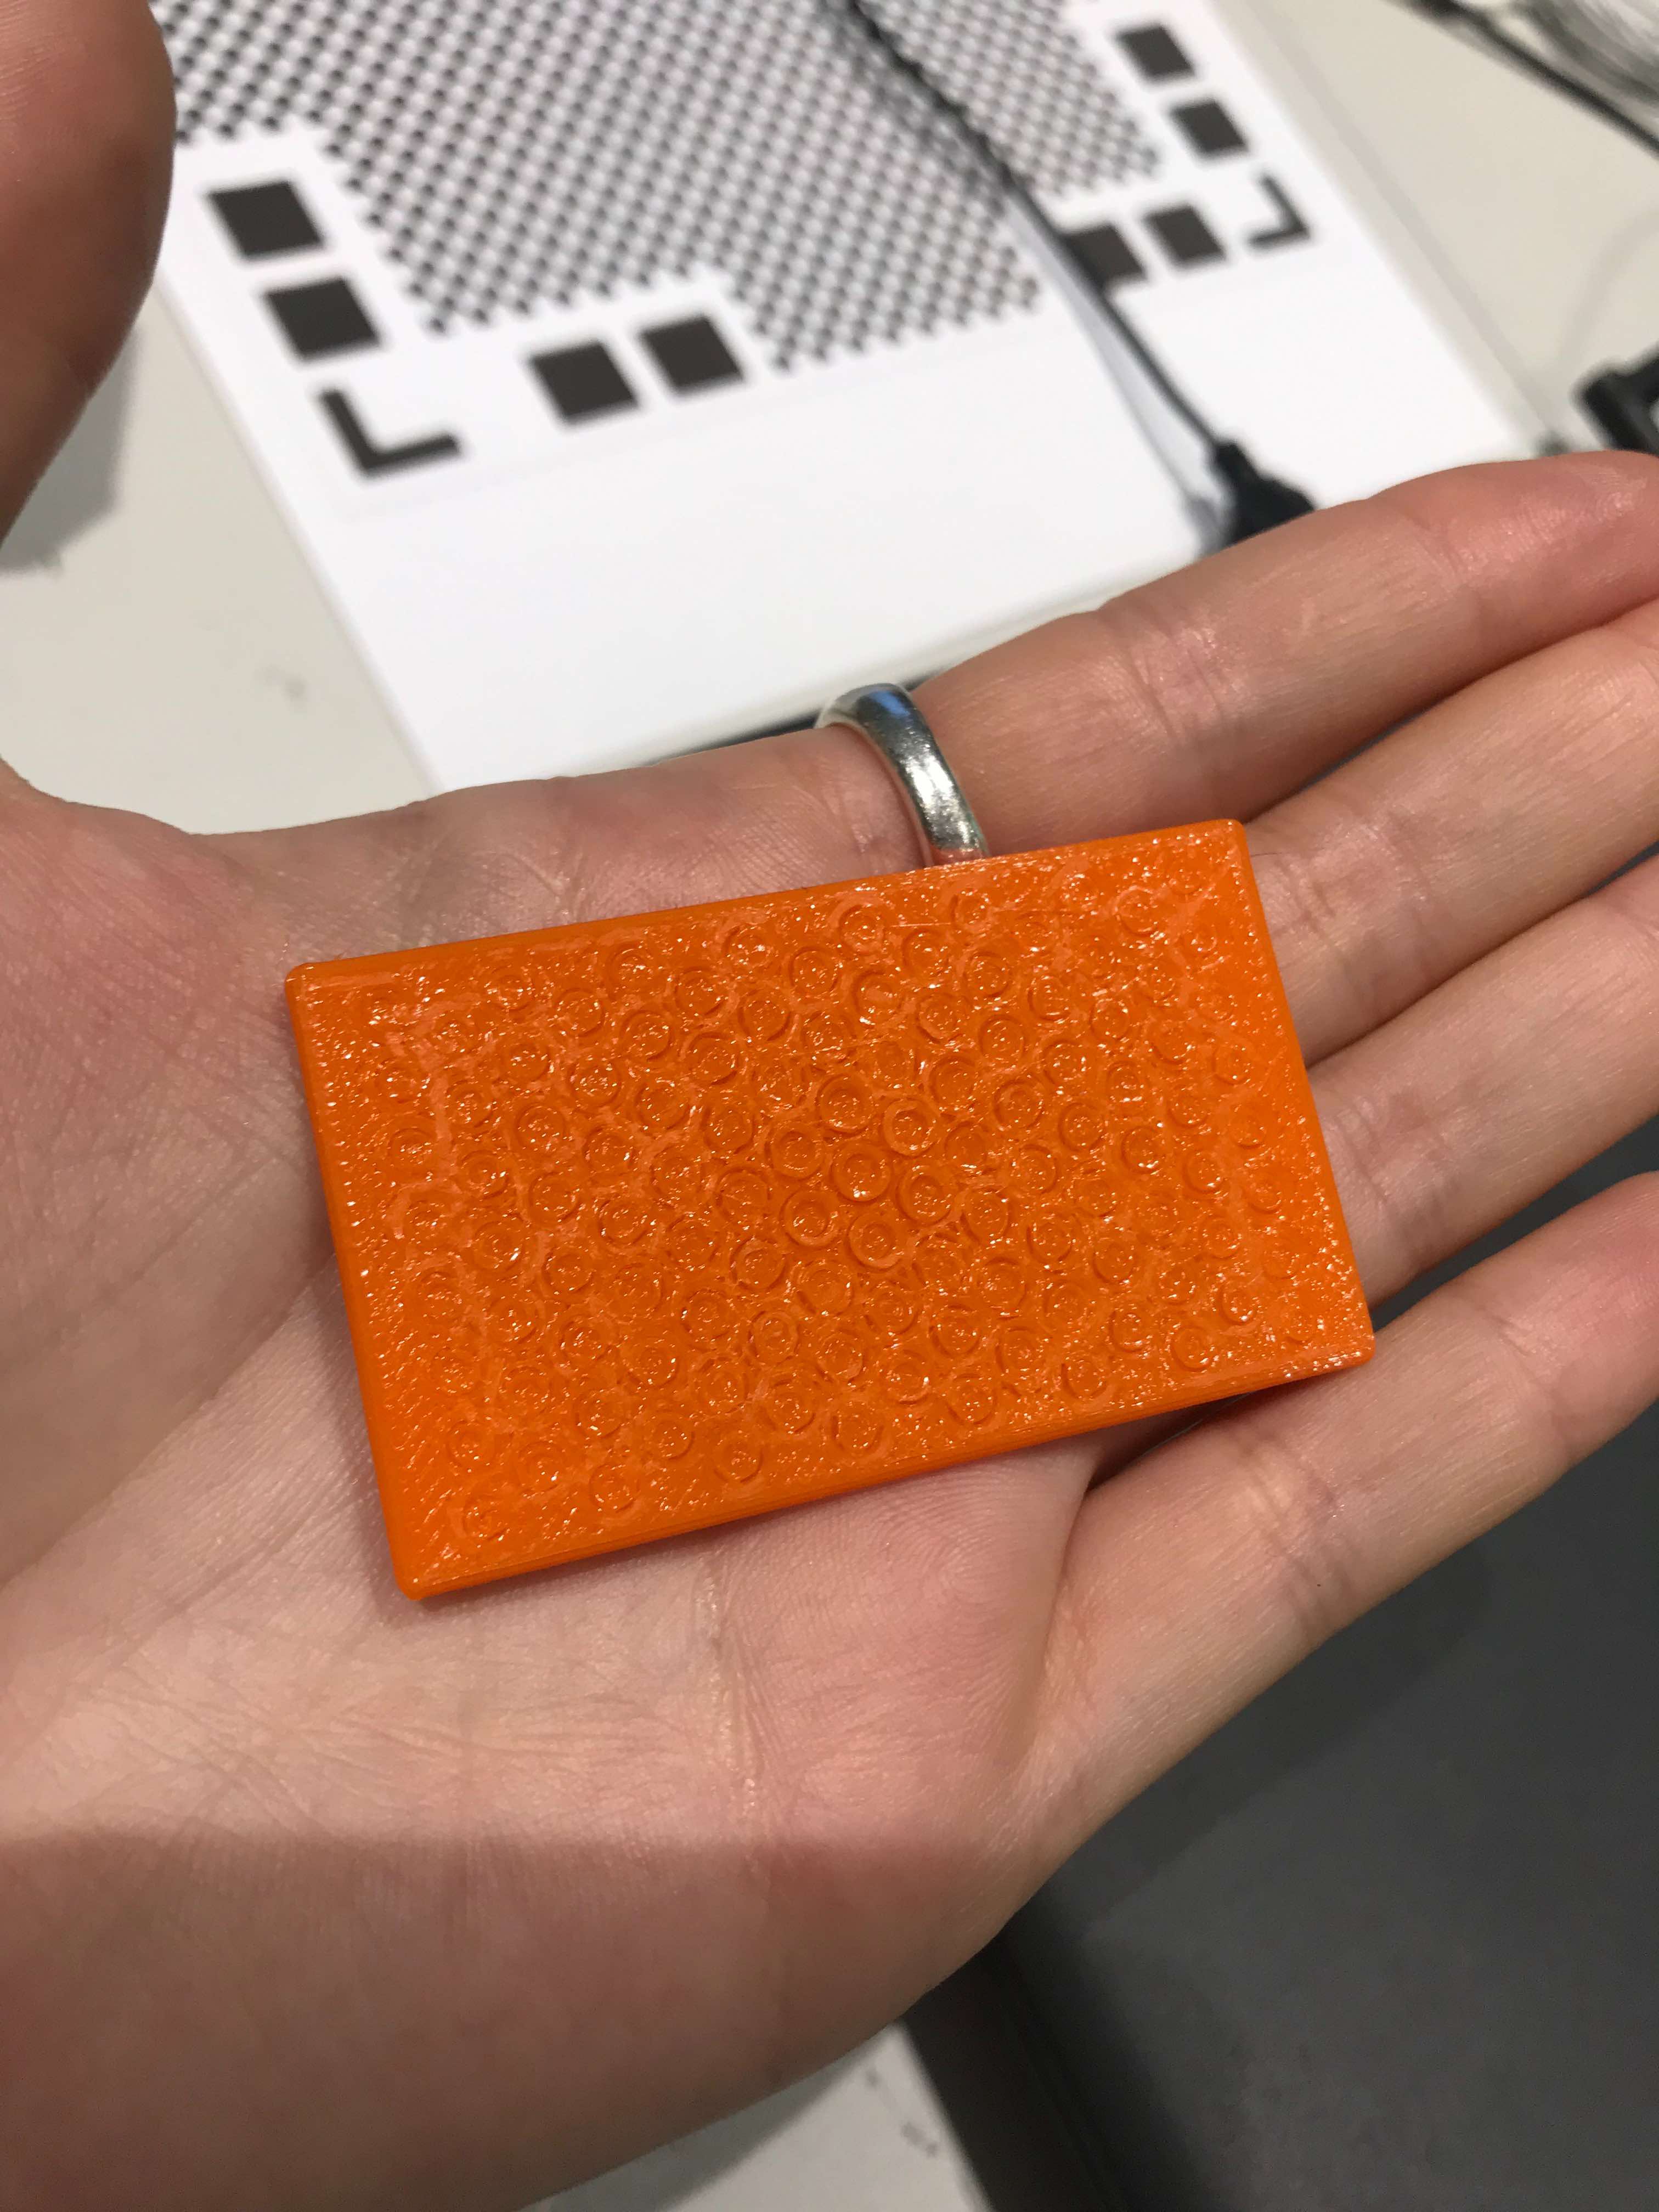 A mini bridge came out, or maybe a mini card to which I’ll have to find a new utility!
And now we wait for the final result!
Since this object can be made substractively (my bad) I had to thing about something else. So I decided to print a little edamame pod. The edamames will be printed using a phosphorescent PLA, the pod with a simple black PLA.
To model the project I used Blender, just to spice up things a little bit. Here you can see an overview of it.
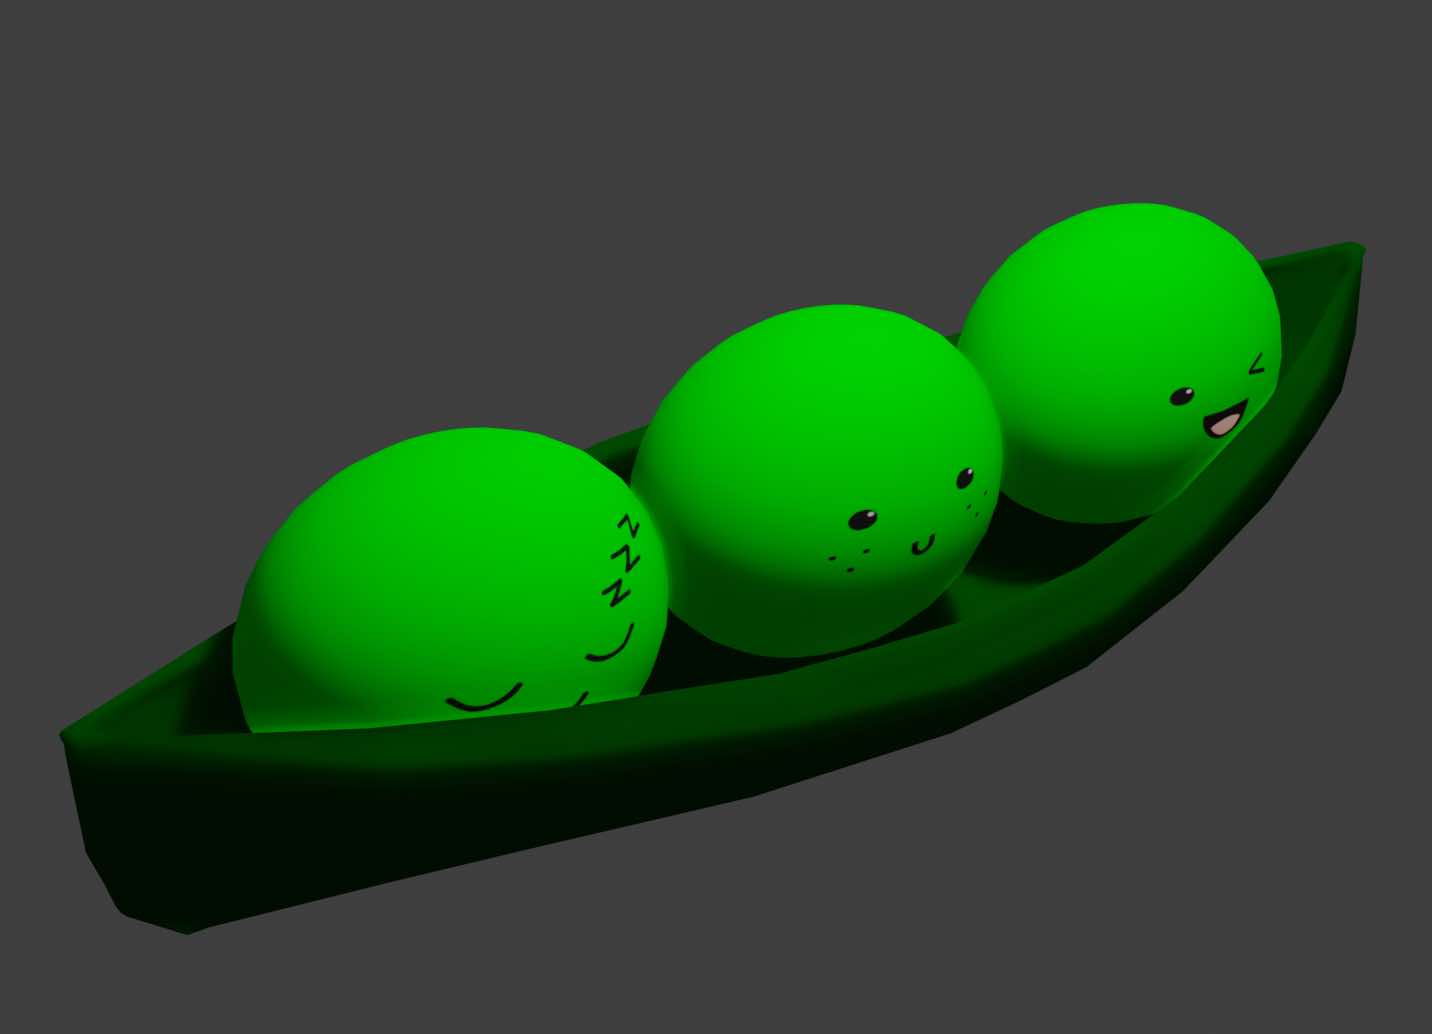
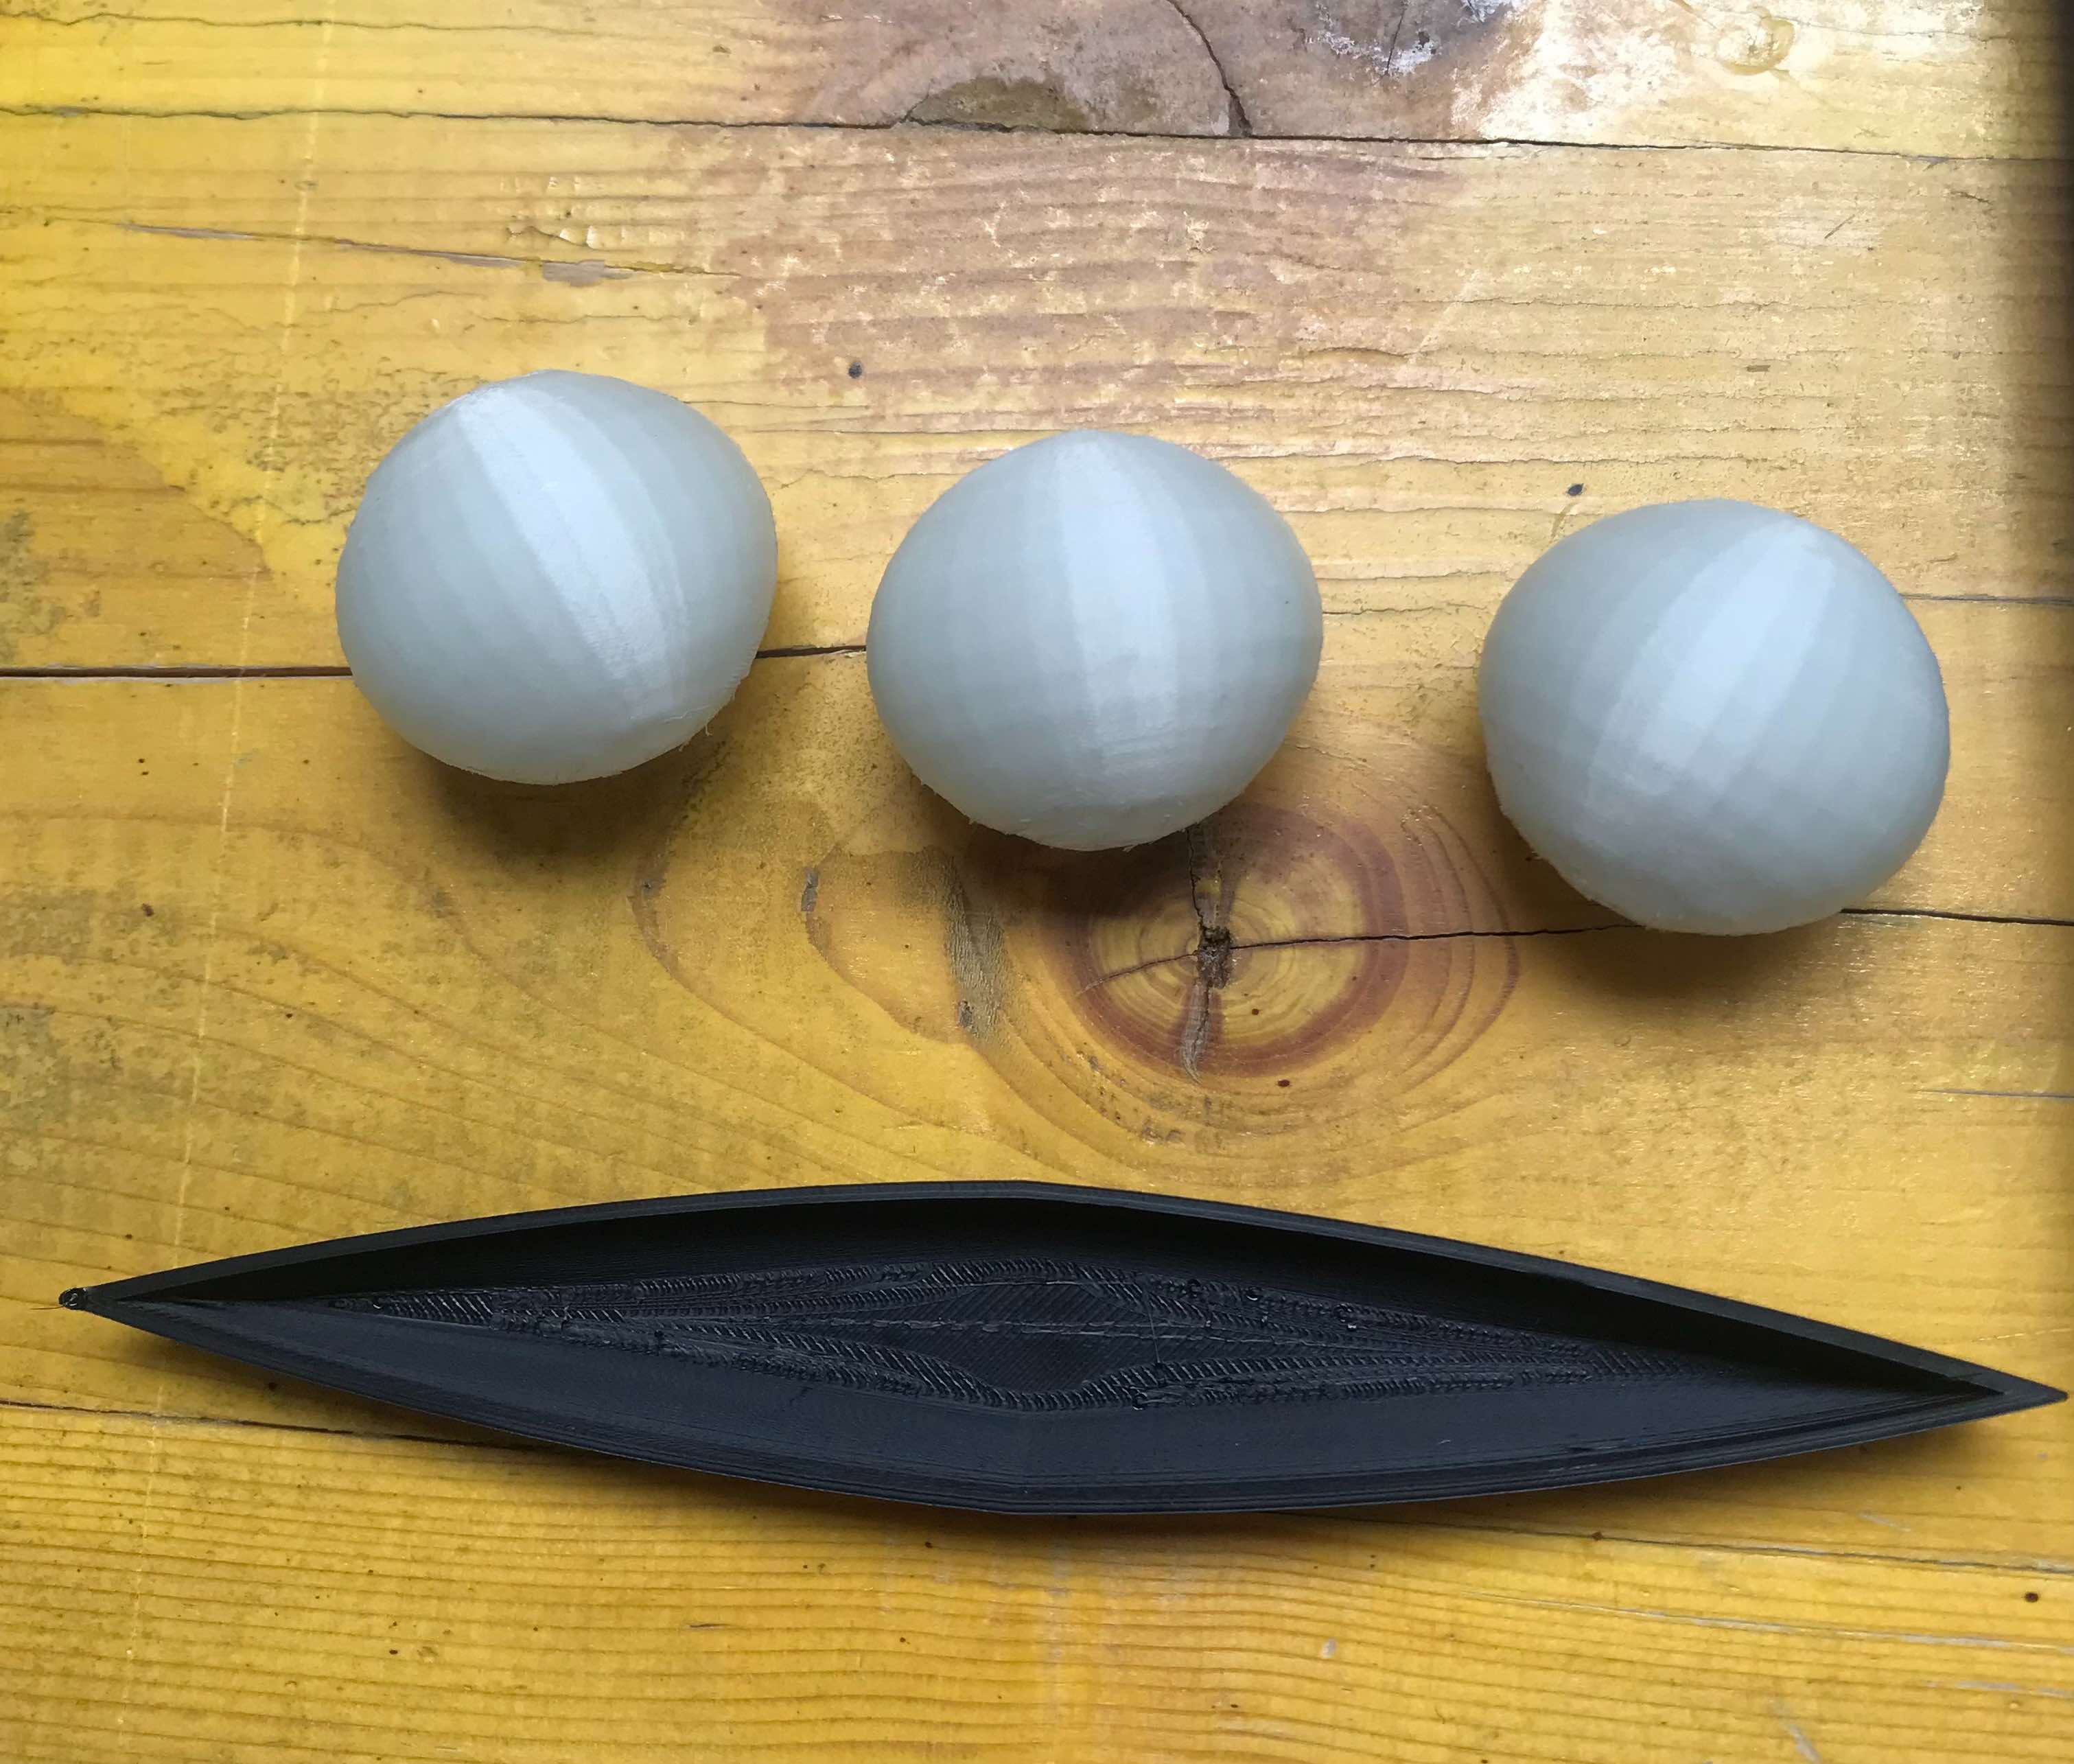
Here are the single elements printed:
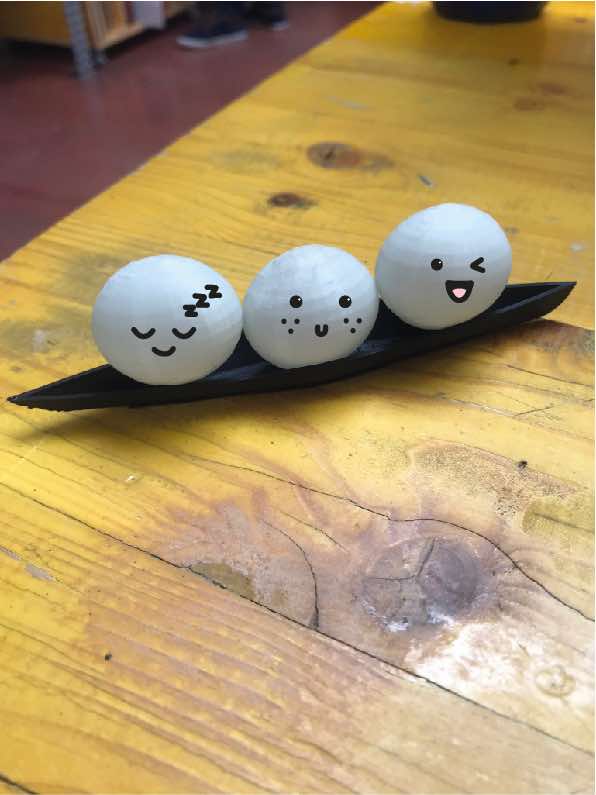
Here’s the final result :3
3D scanning
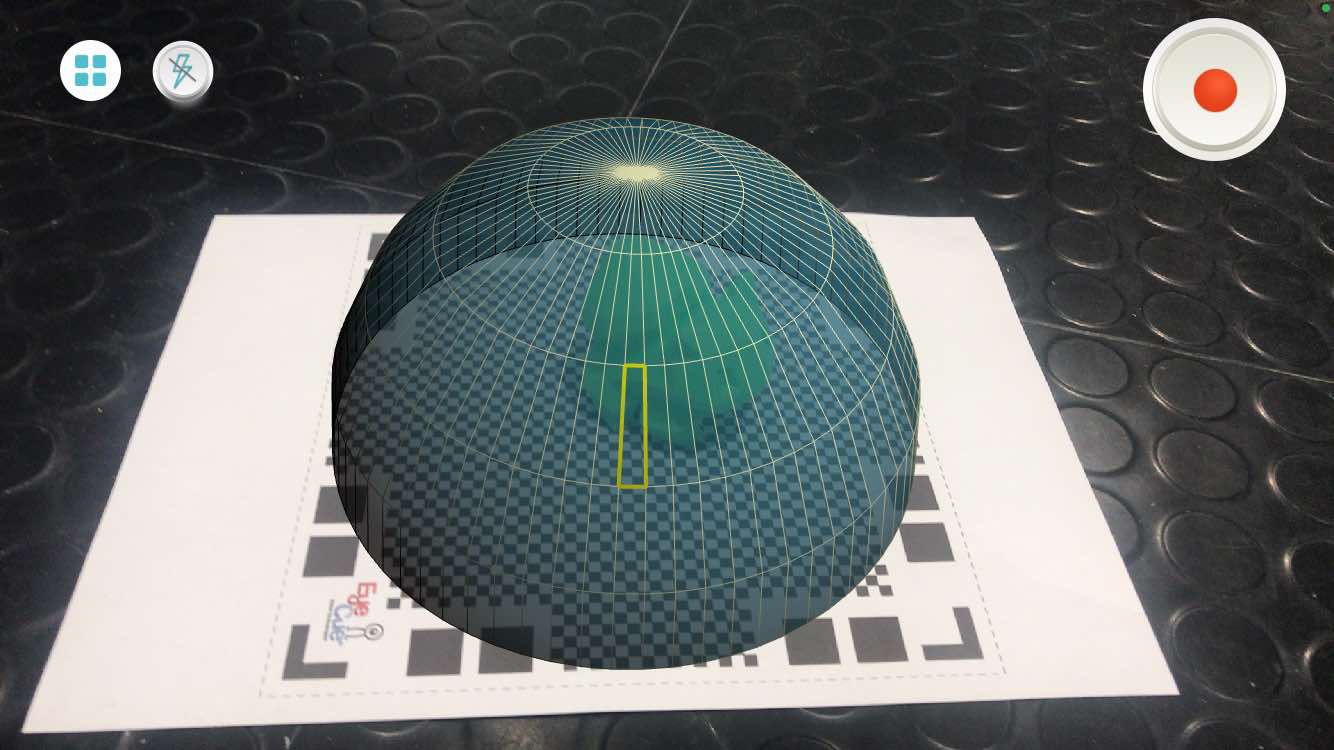
For 3D scanning I tried various apps and softwares. The first one is QLone, which can be downloaded for free from the App Store. This app allows you to scan the object with a pad at the base that you can easily print, to make the scan more precise.
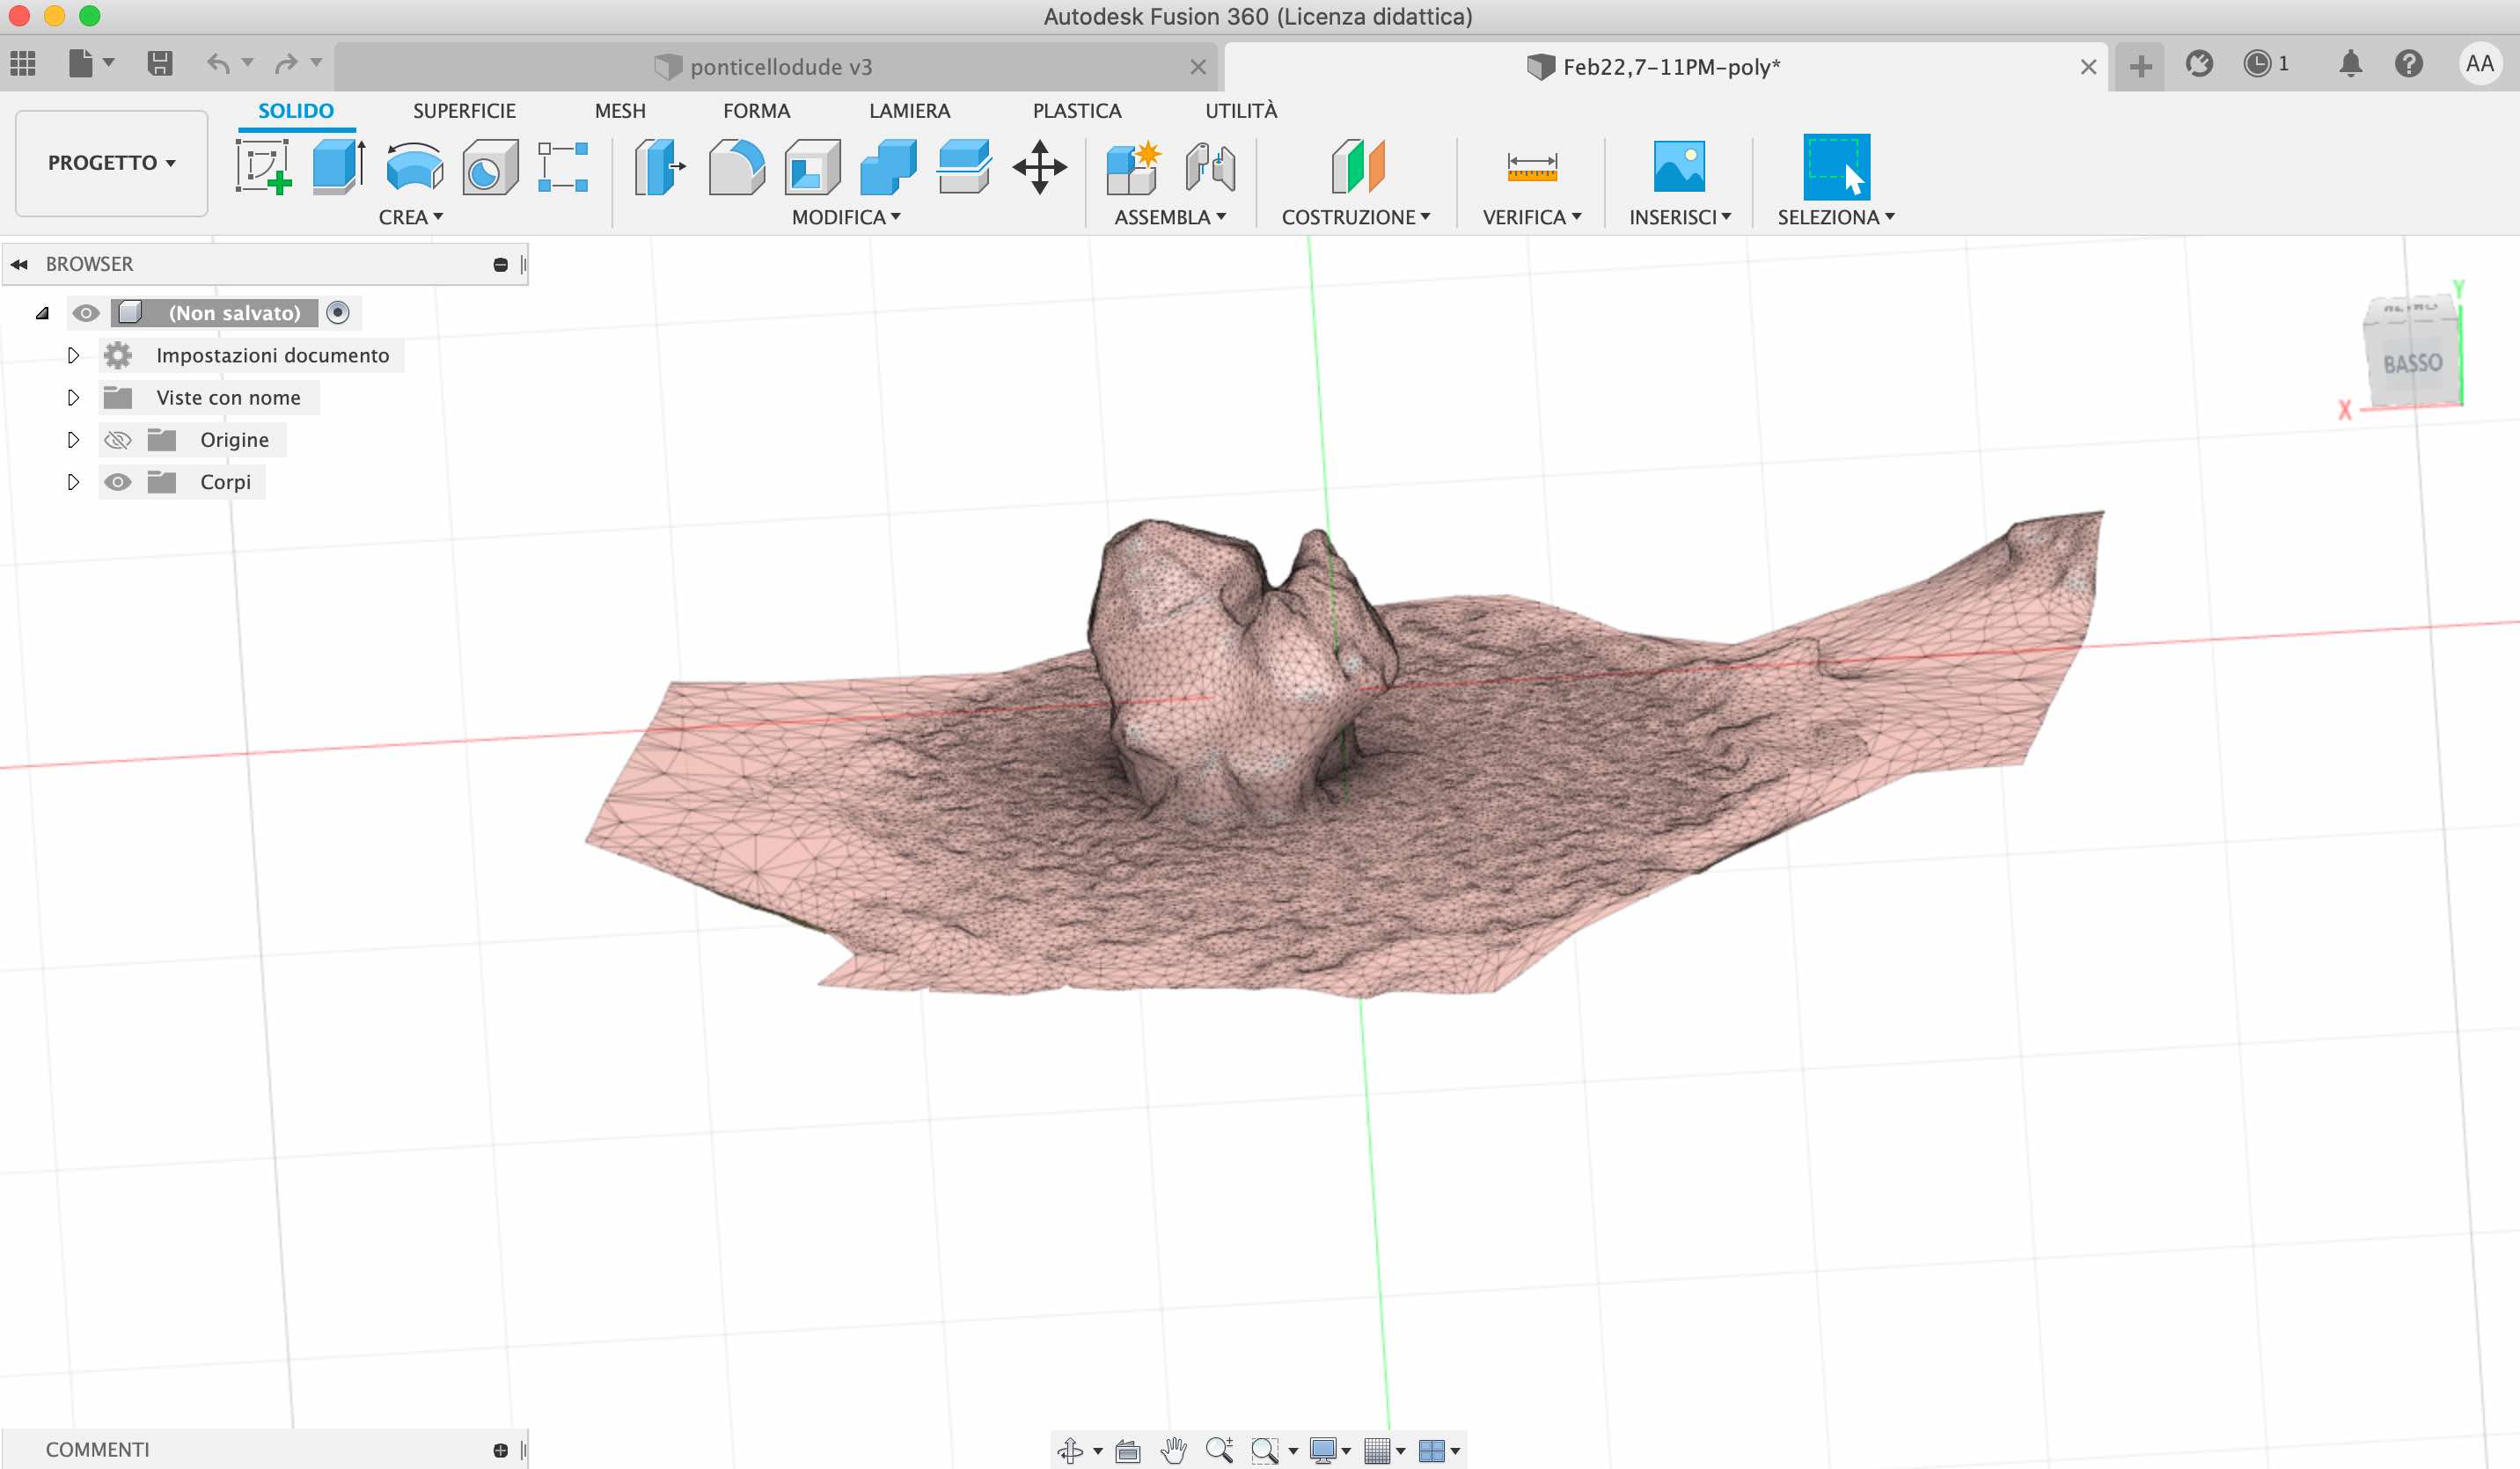
Not understanding how it worked, I decided to try another app called Polycam. It allows you to scan through video or photos, after which it processes all the frames, and after a few minutes you have a 3d model on your phone to export in all possible and imaginable formats.
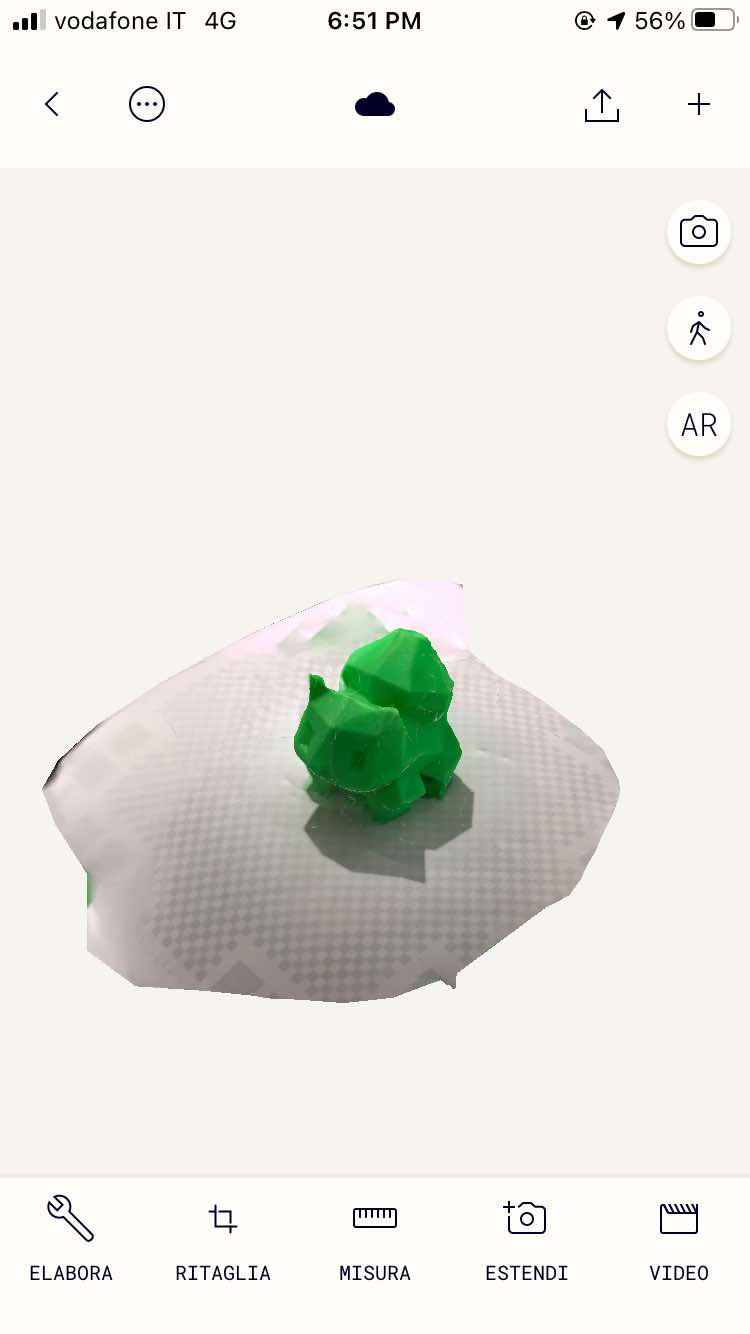
The result is just awful, so I’ll have to find another solution.
Thanks for your attention and can’t wait to see you in the next episode!