5. Electronics production
This week assignment was to make an in-circuit programmer by milling and stuffing the PCB, test it, then optionally try other PCB processes.
As you can already imagine, I have never had anything to do with the world of electronics, although it has always fascinated me a lot.
In the documentation you can already find designs ready to be milled, in my case I chose Ali , because it is explained very well and it seems like a good starting point, then I also did a test of Brian together with my classmates.
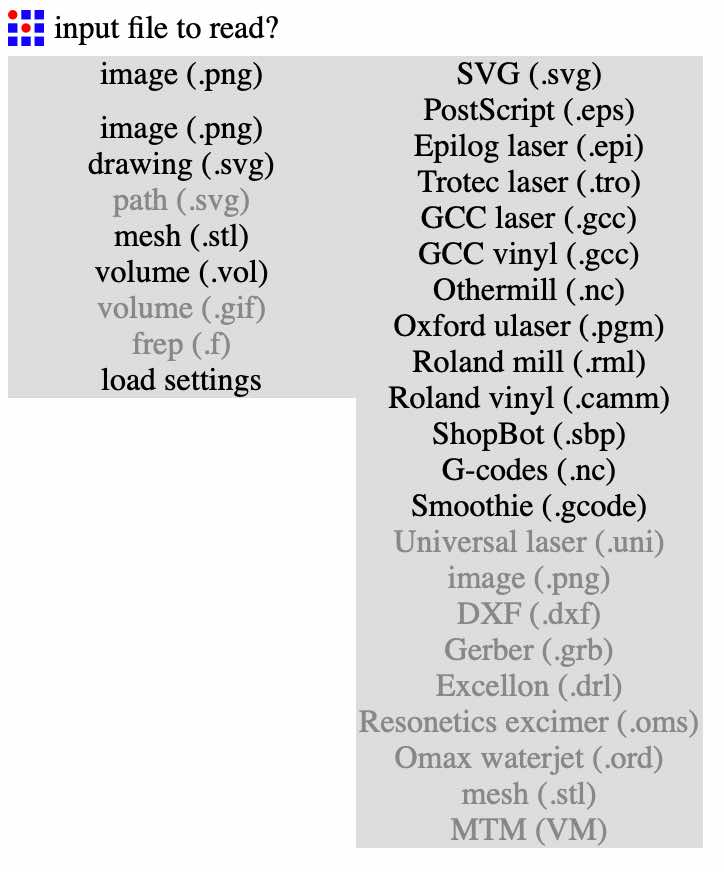
The first thing I did was install mods to be able to use local fab modules, which we will need to transform the programmer from CAD to CAM to send it to our machine.


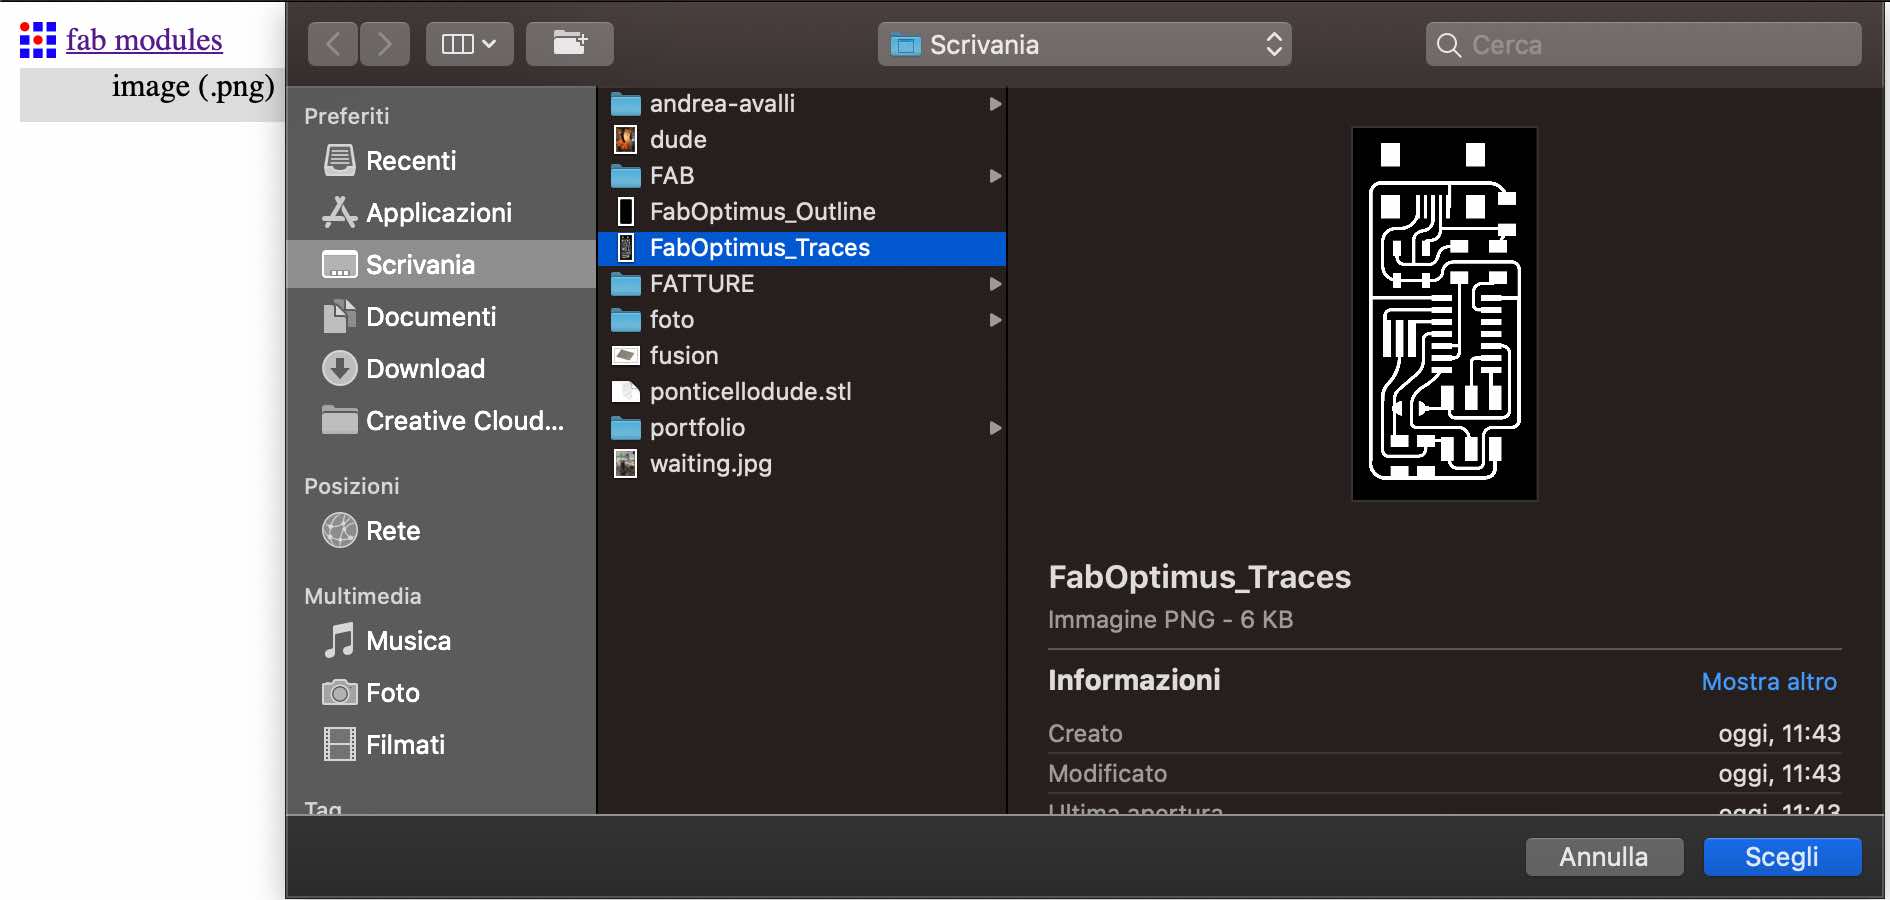
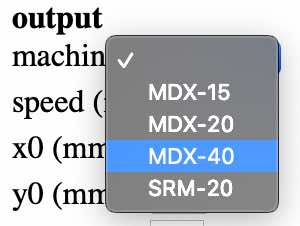
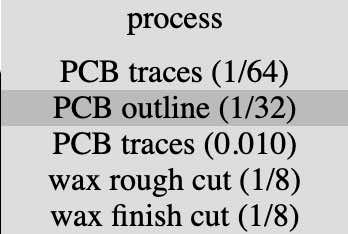
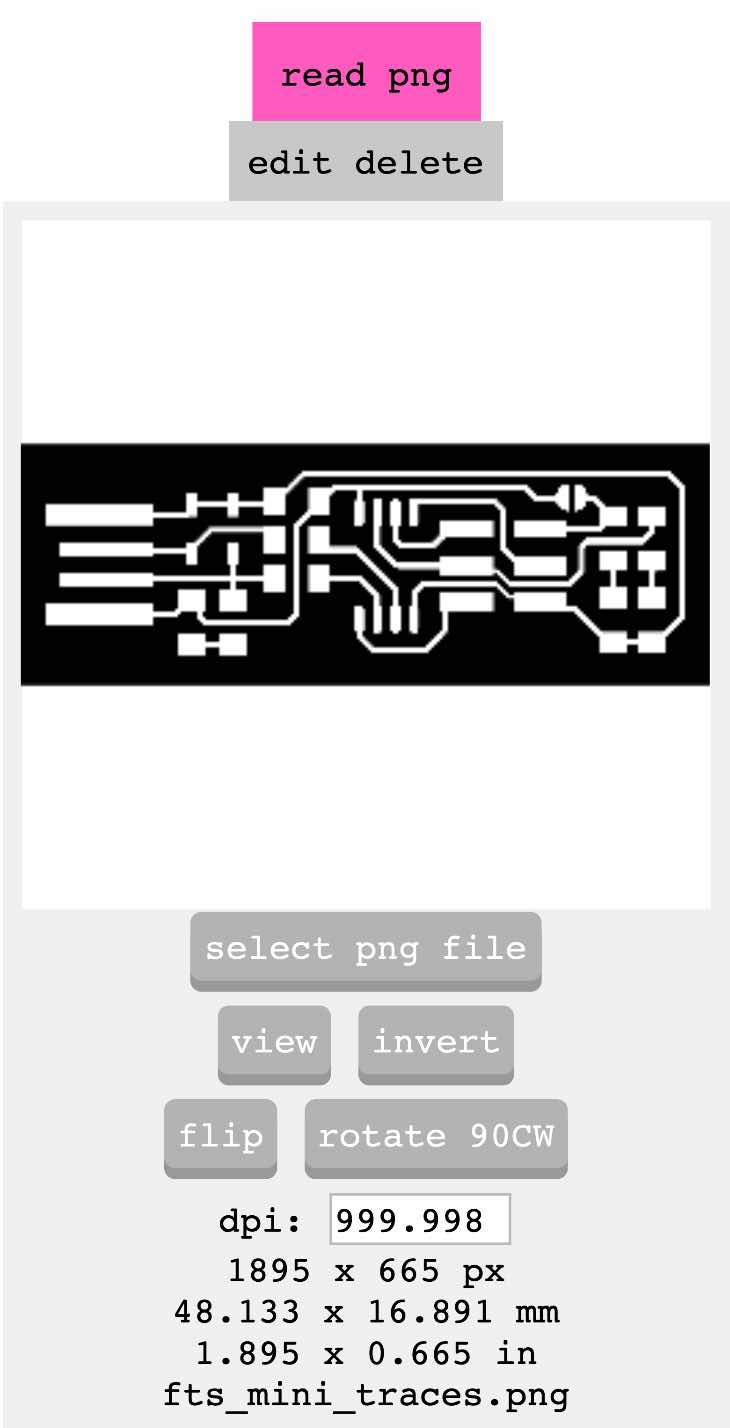
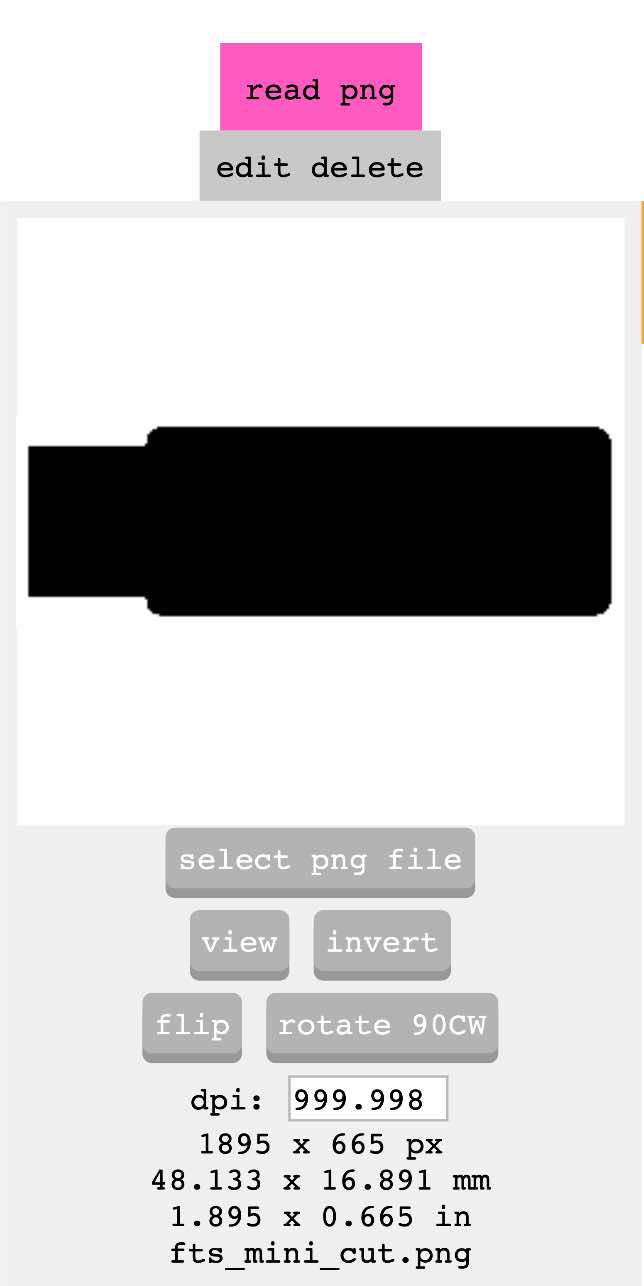
In the documentation we will find two files for each programmer, one for traces and the other for outlines. This is because they will be milled at two different times, using two different tips. Now we can open Fab modules and import our first .png file, choose the machine to use (in our case a Roland MDX-40), make the various changes and then calculate and save.
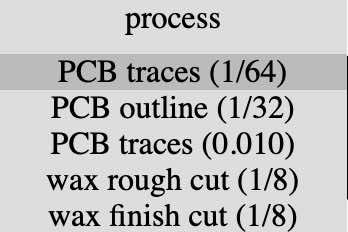
We repeat the same thing for the other file, remembering to change the tip from 1/64 to 1/32.
Now that we have our files ready for Roland… SURPRISE! We had technical problems, so we switched machines, a giant machine, a Shopbot. For this reason we have to change our files to be readable by the Shopbot, and now we are finally ready to mill! Before starting, the coordinates of the x, y and z axes must be decided. For the first two it will be enough to move in the space of our PCB to decide where to start, while for the z axis a probe is used to ensure that the tip is not too far or too close to the board.
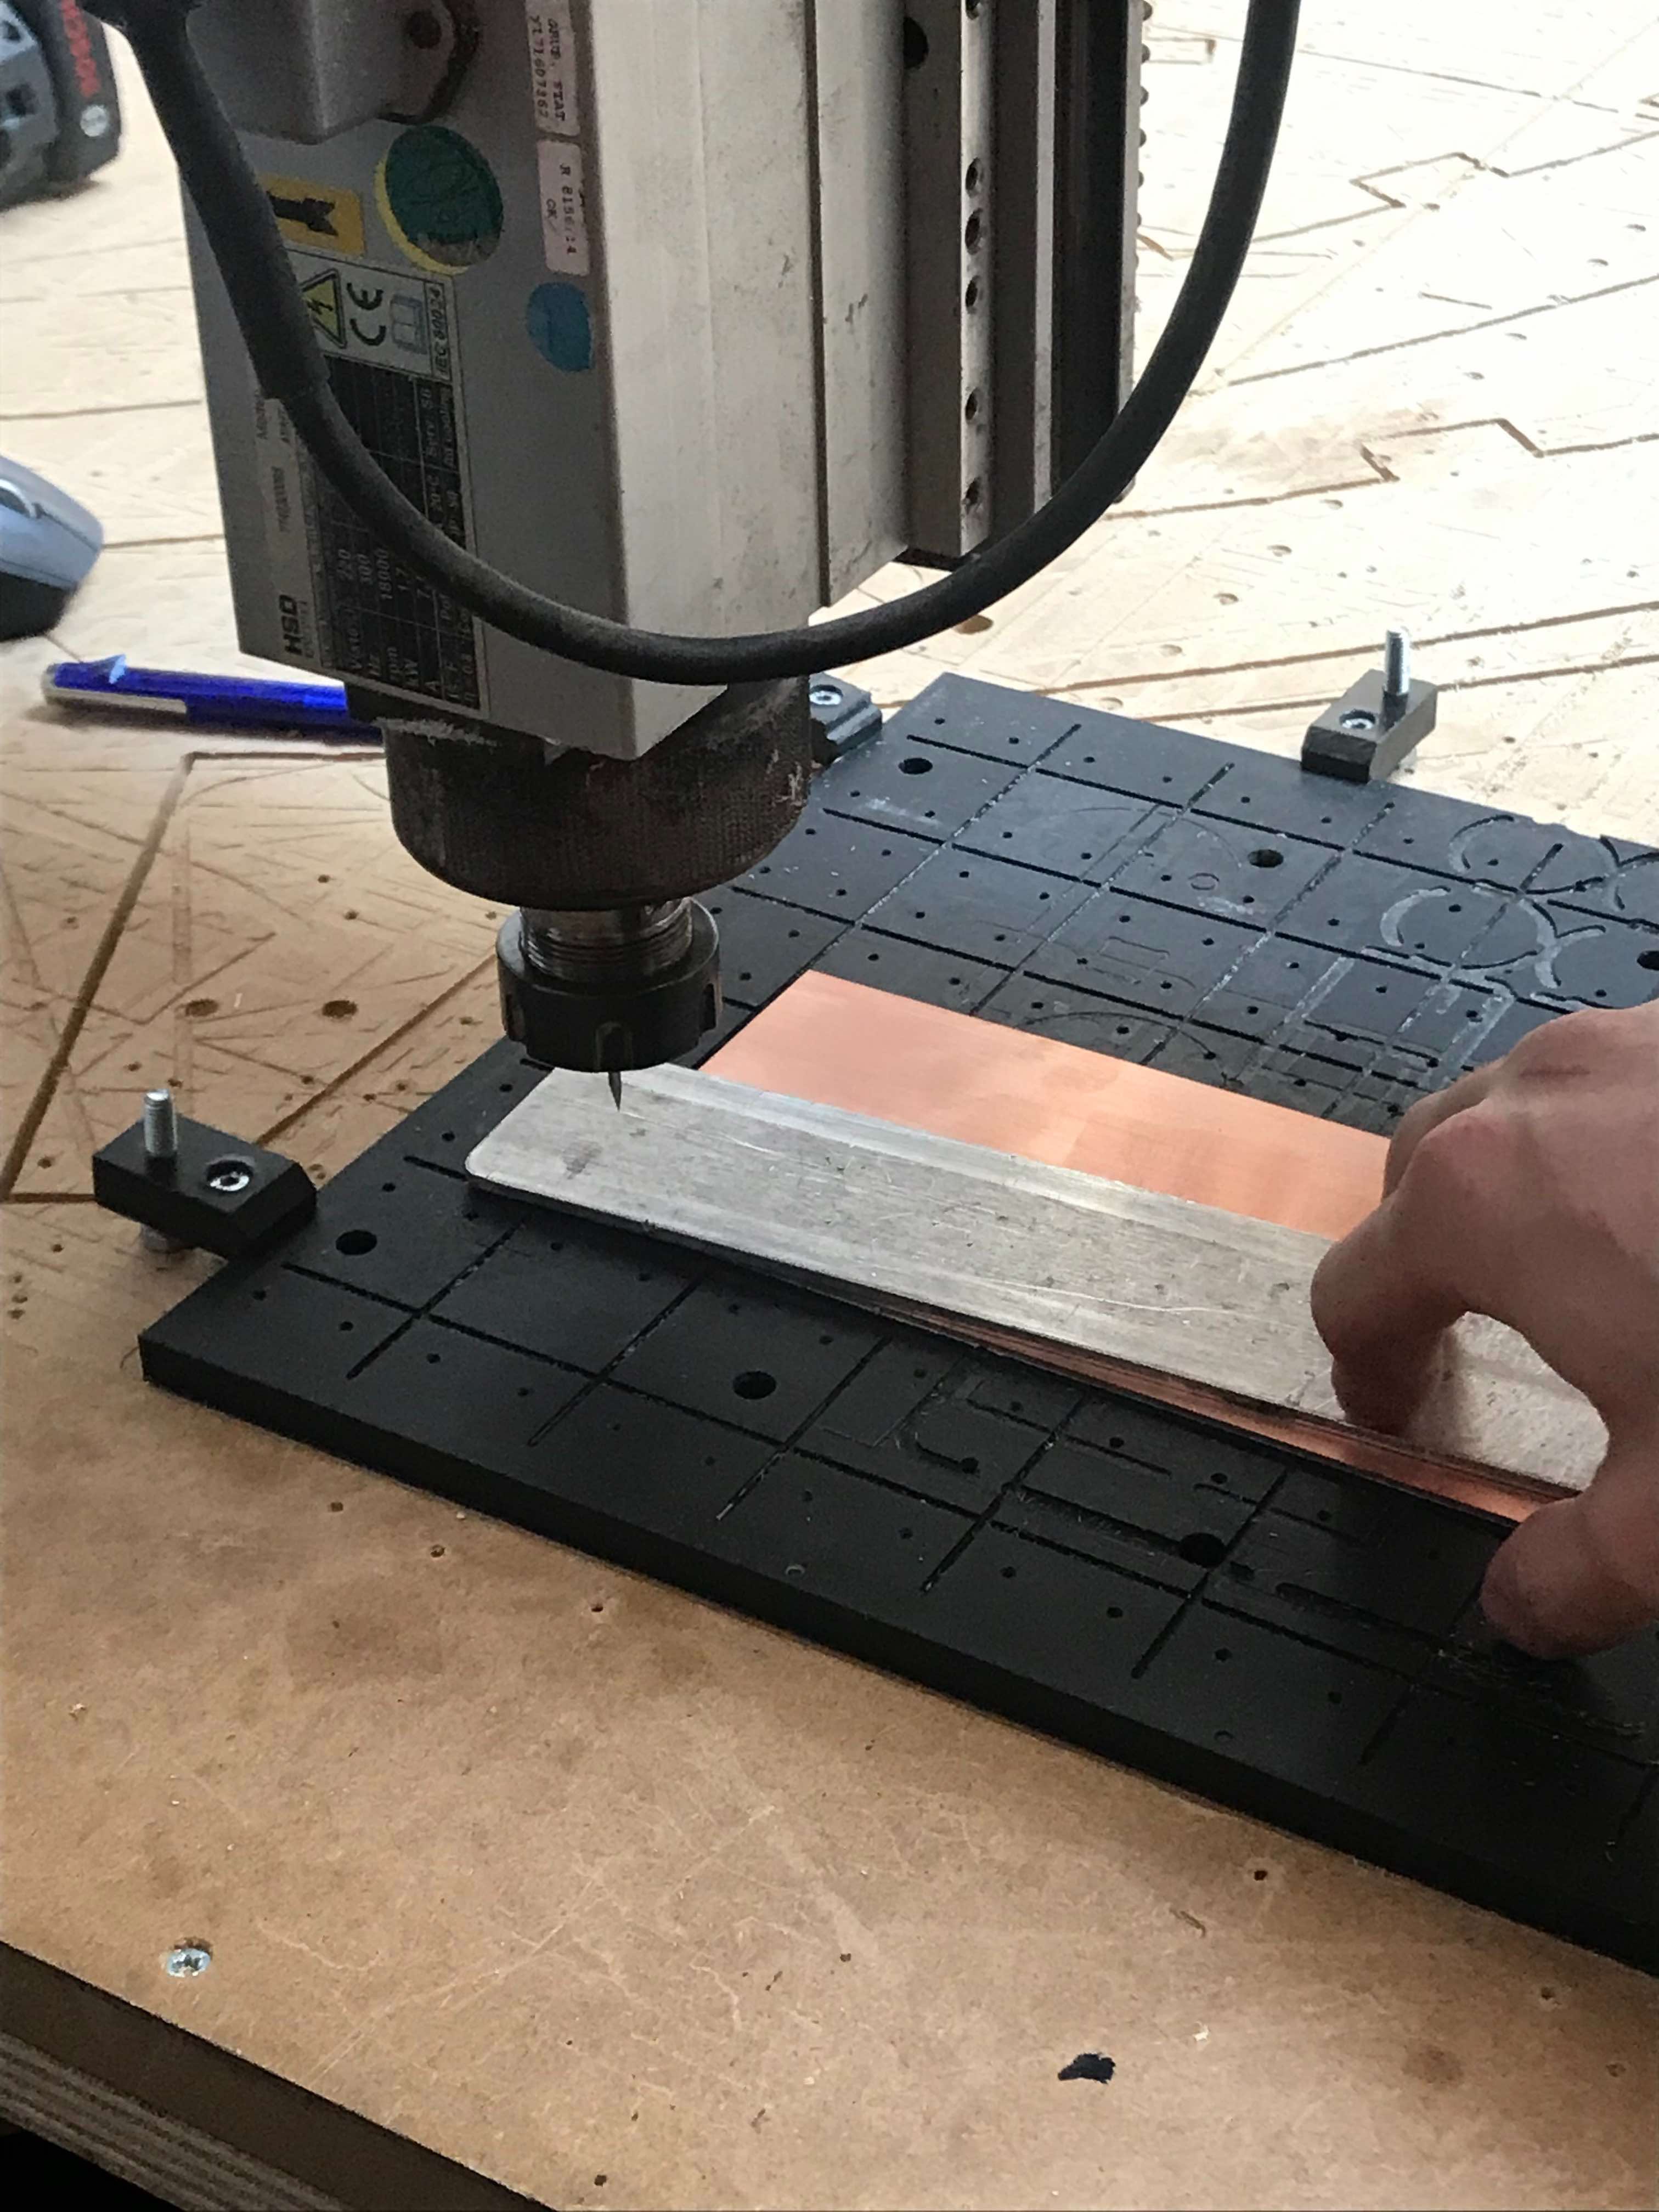
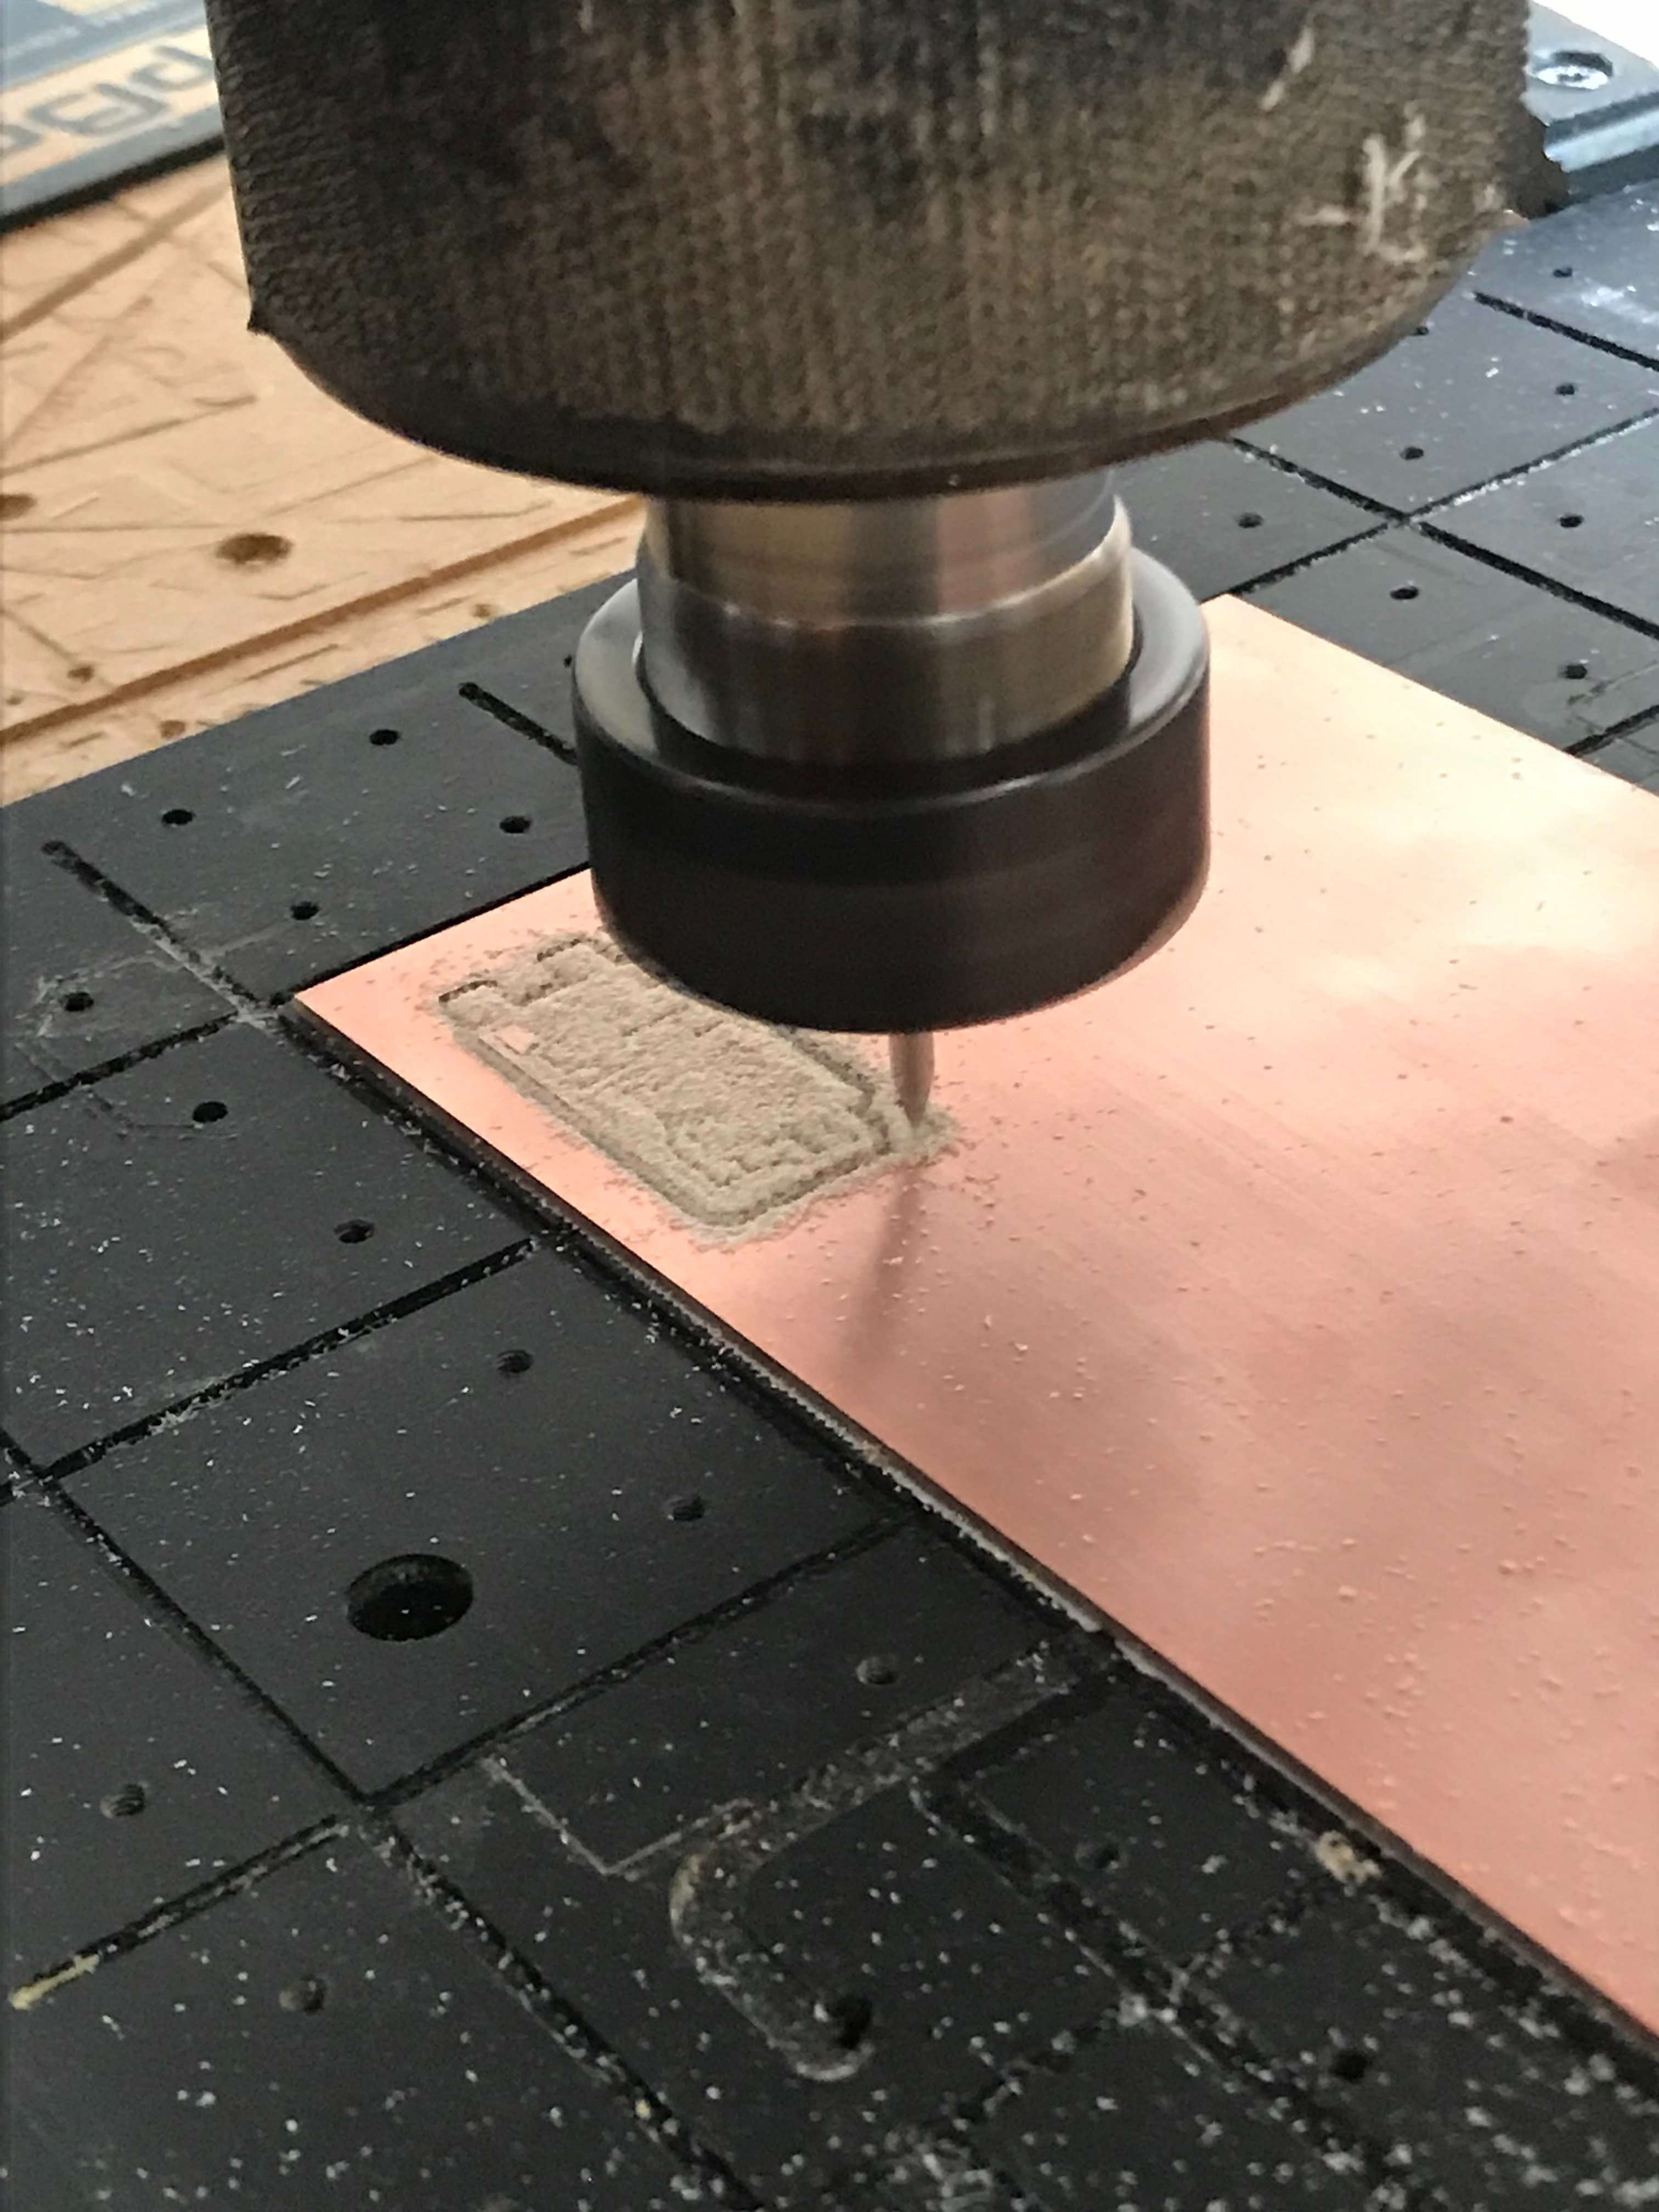
Using ModsCE we then transformed Brian’s CAD into CAM again for Shotbot.

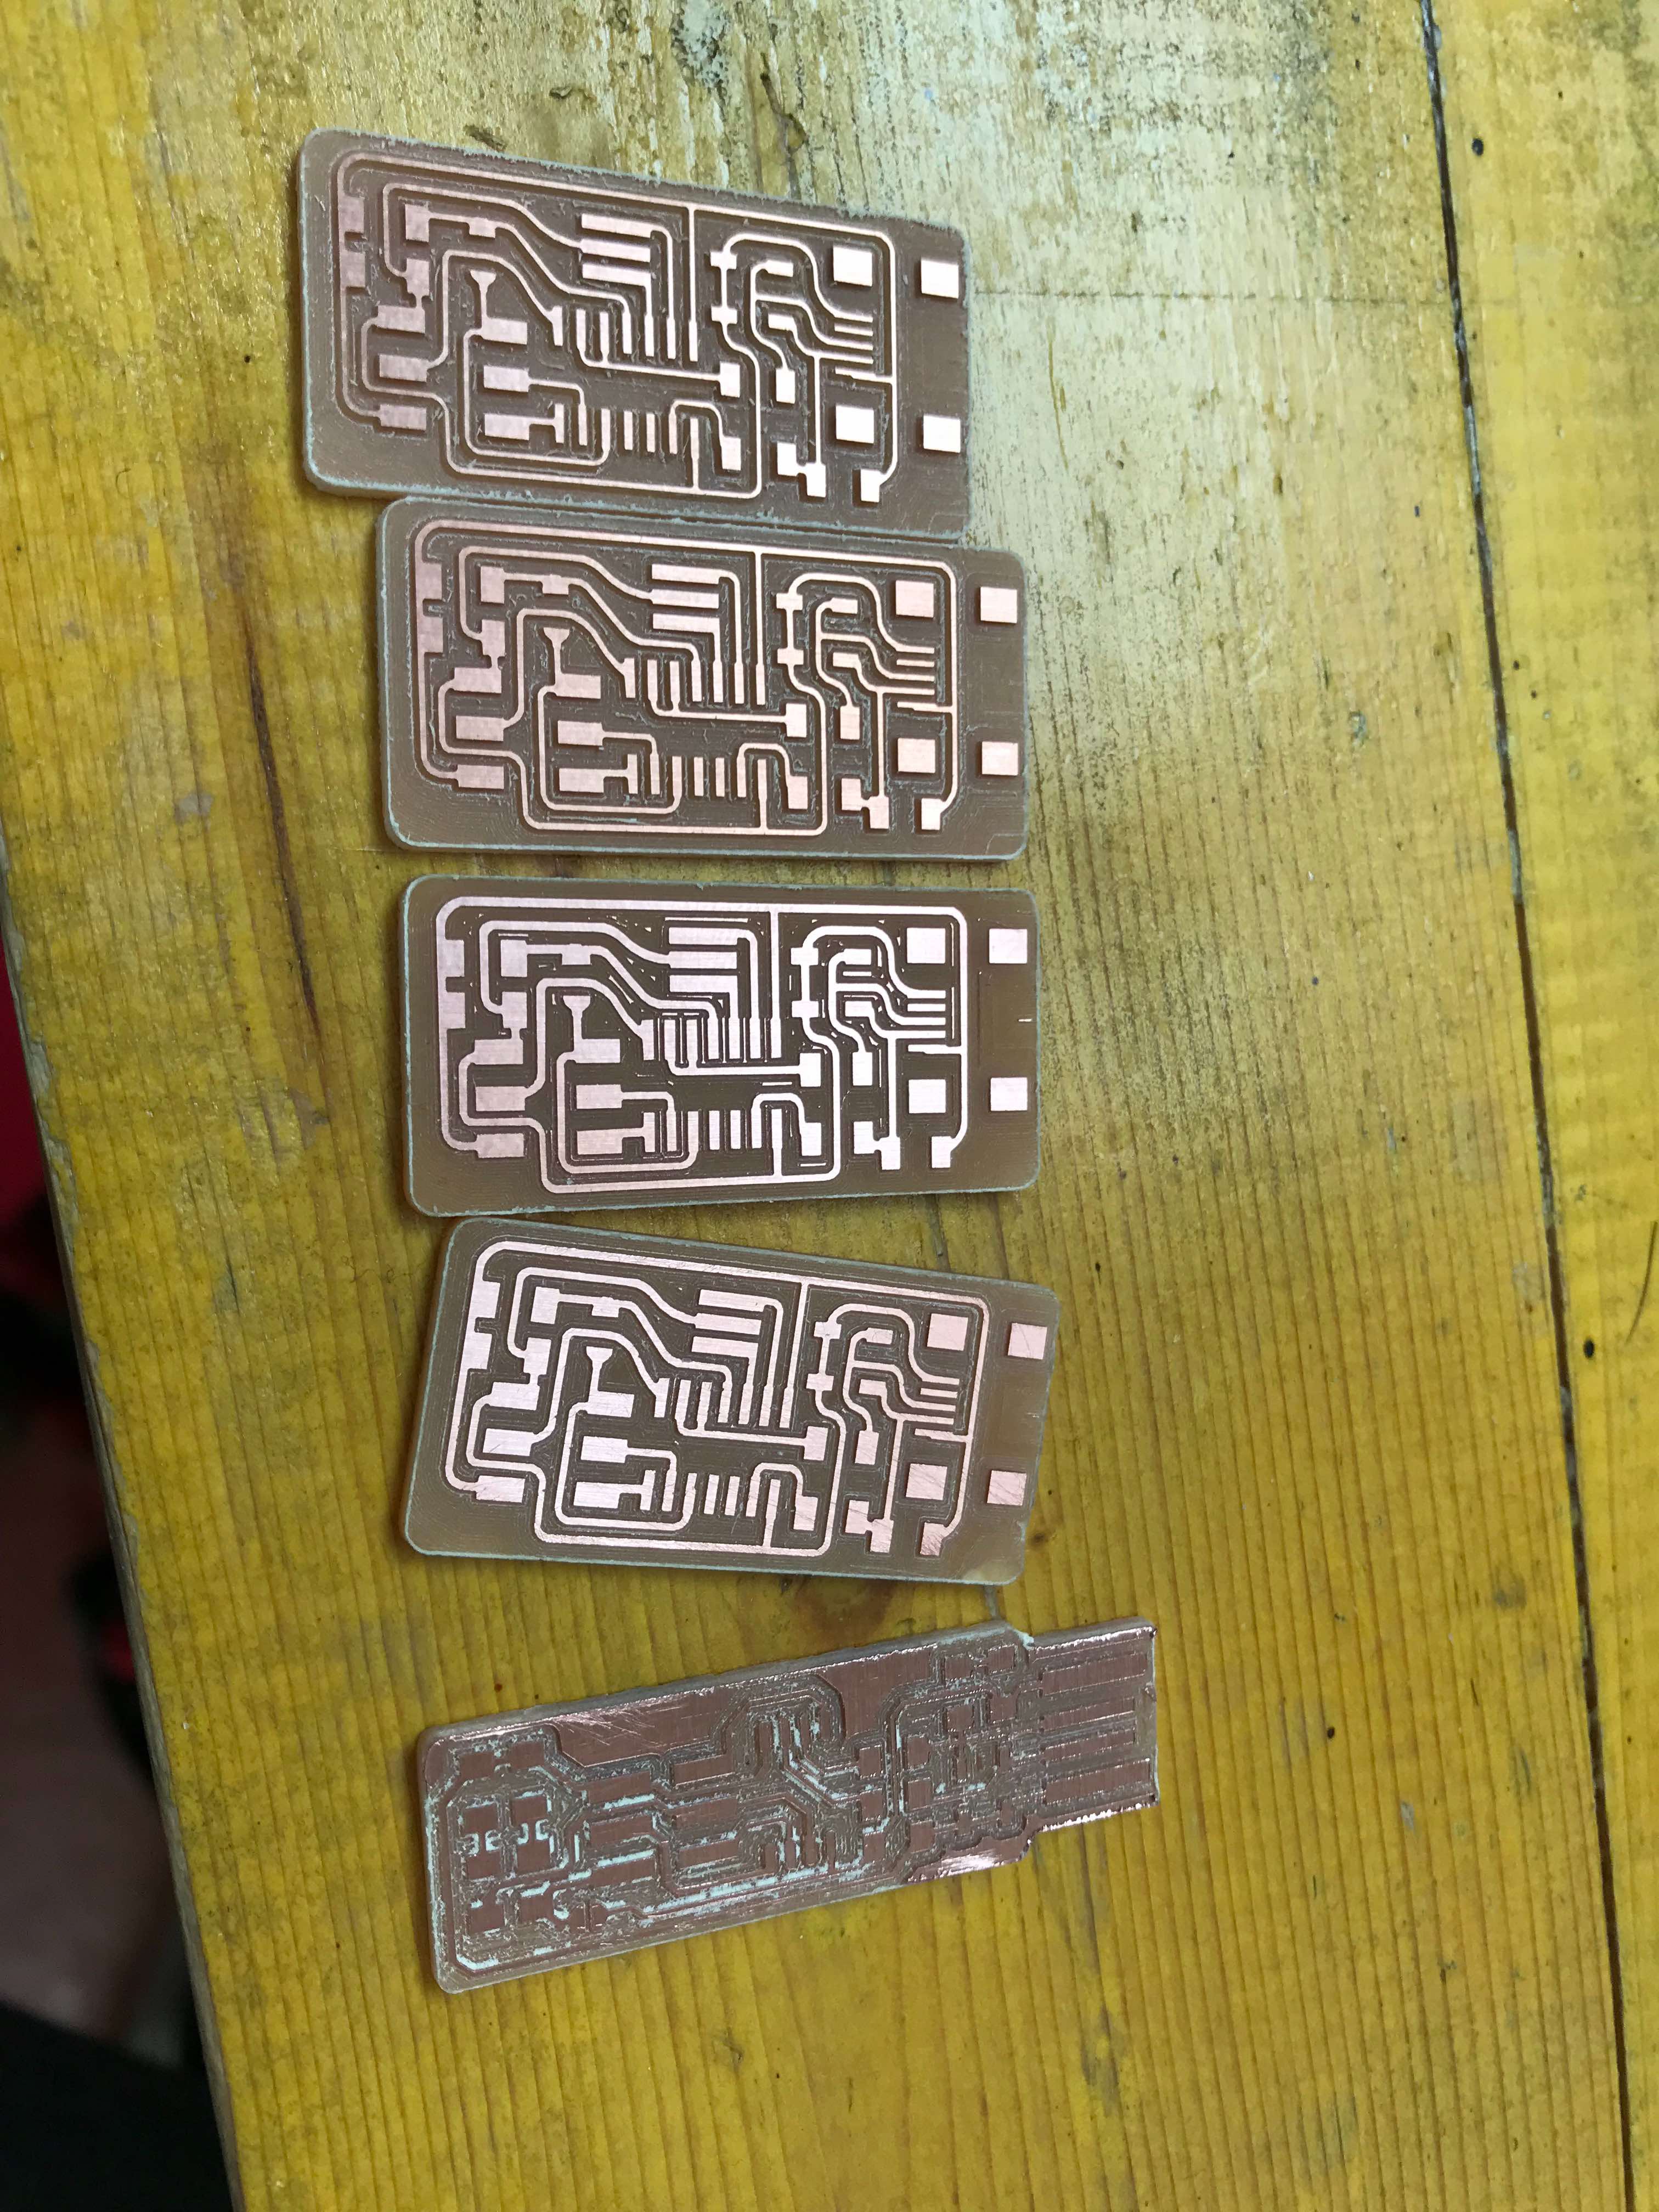
Here there are some of the final results!
We have arrived at the most critical moment of the week: SOLDERING. I can’t deny it was tough, lots of tears, lots of sweat and lots of swearing. To test, I decided to start with the worst board, in order to avoid ruining everything.
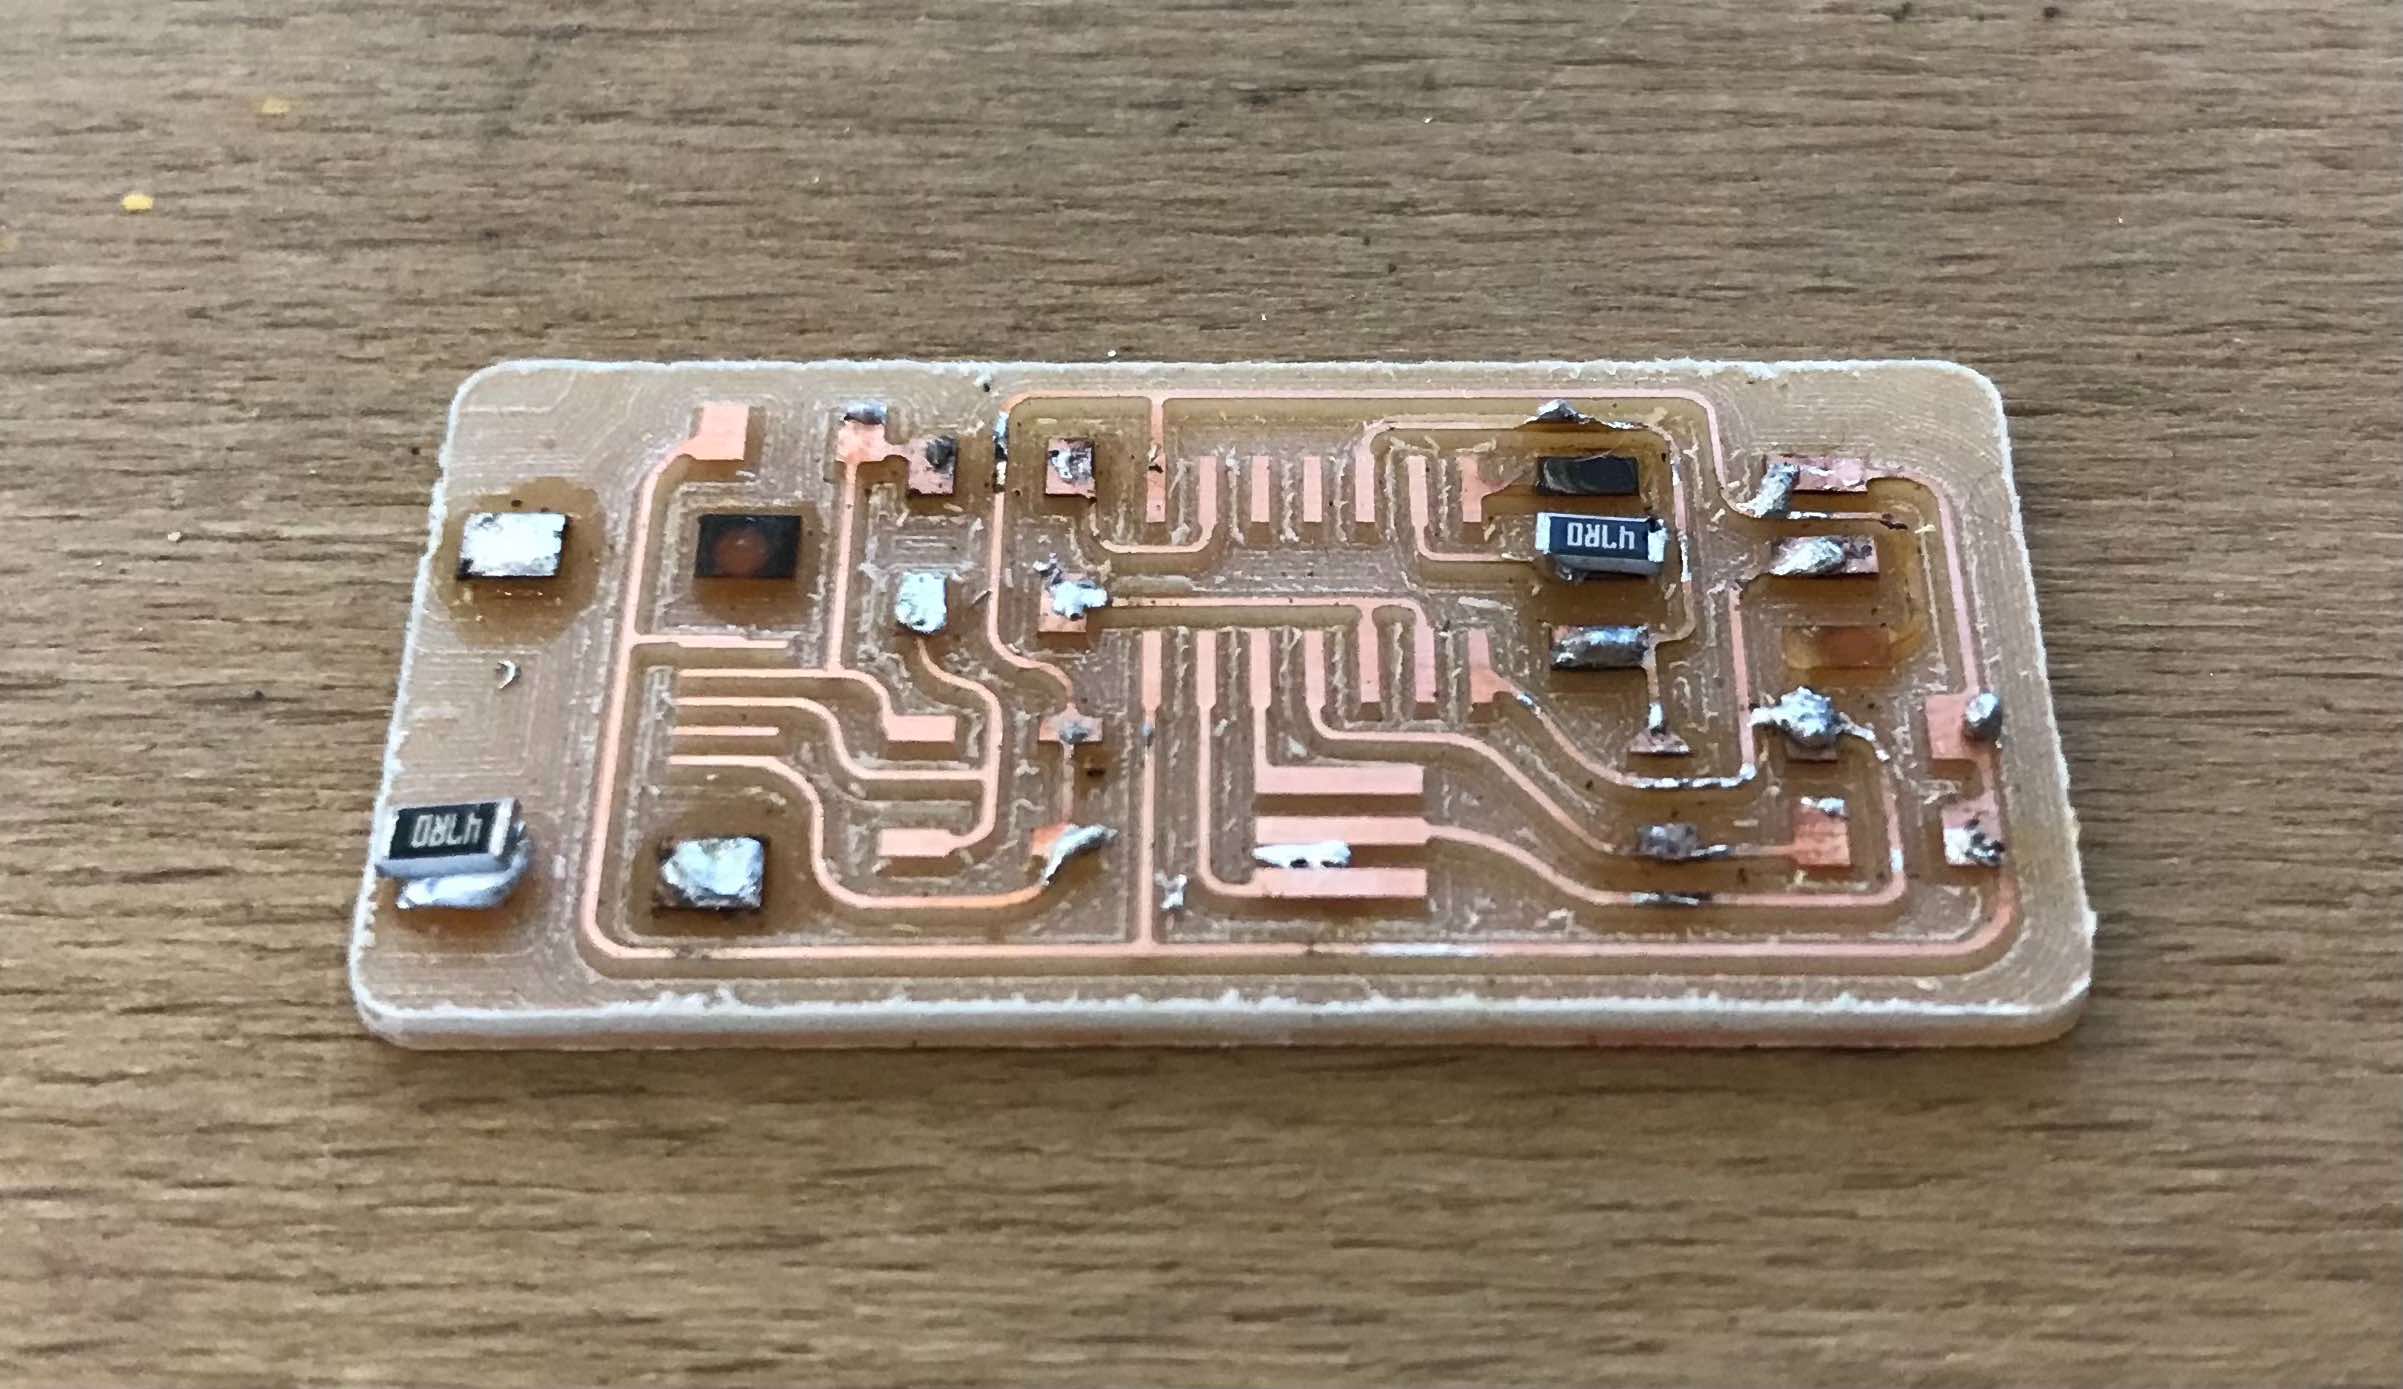
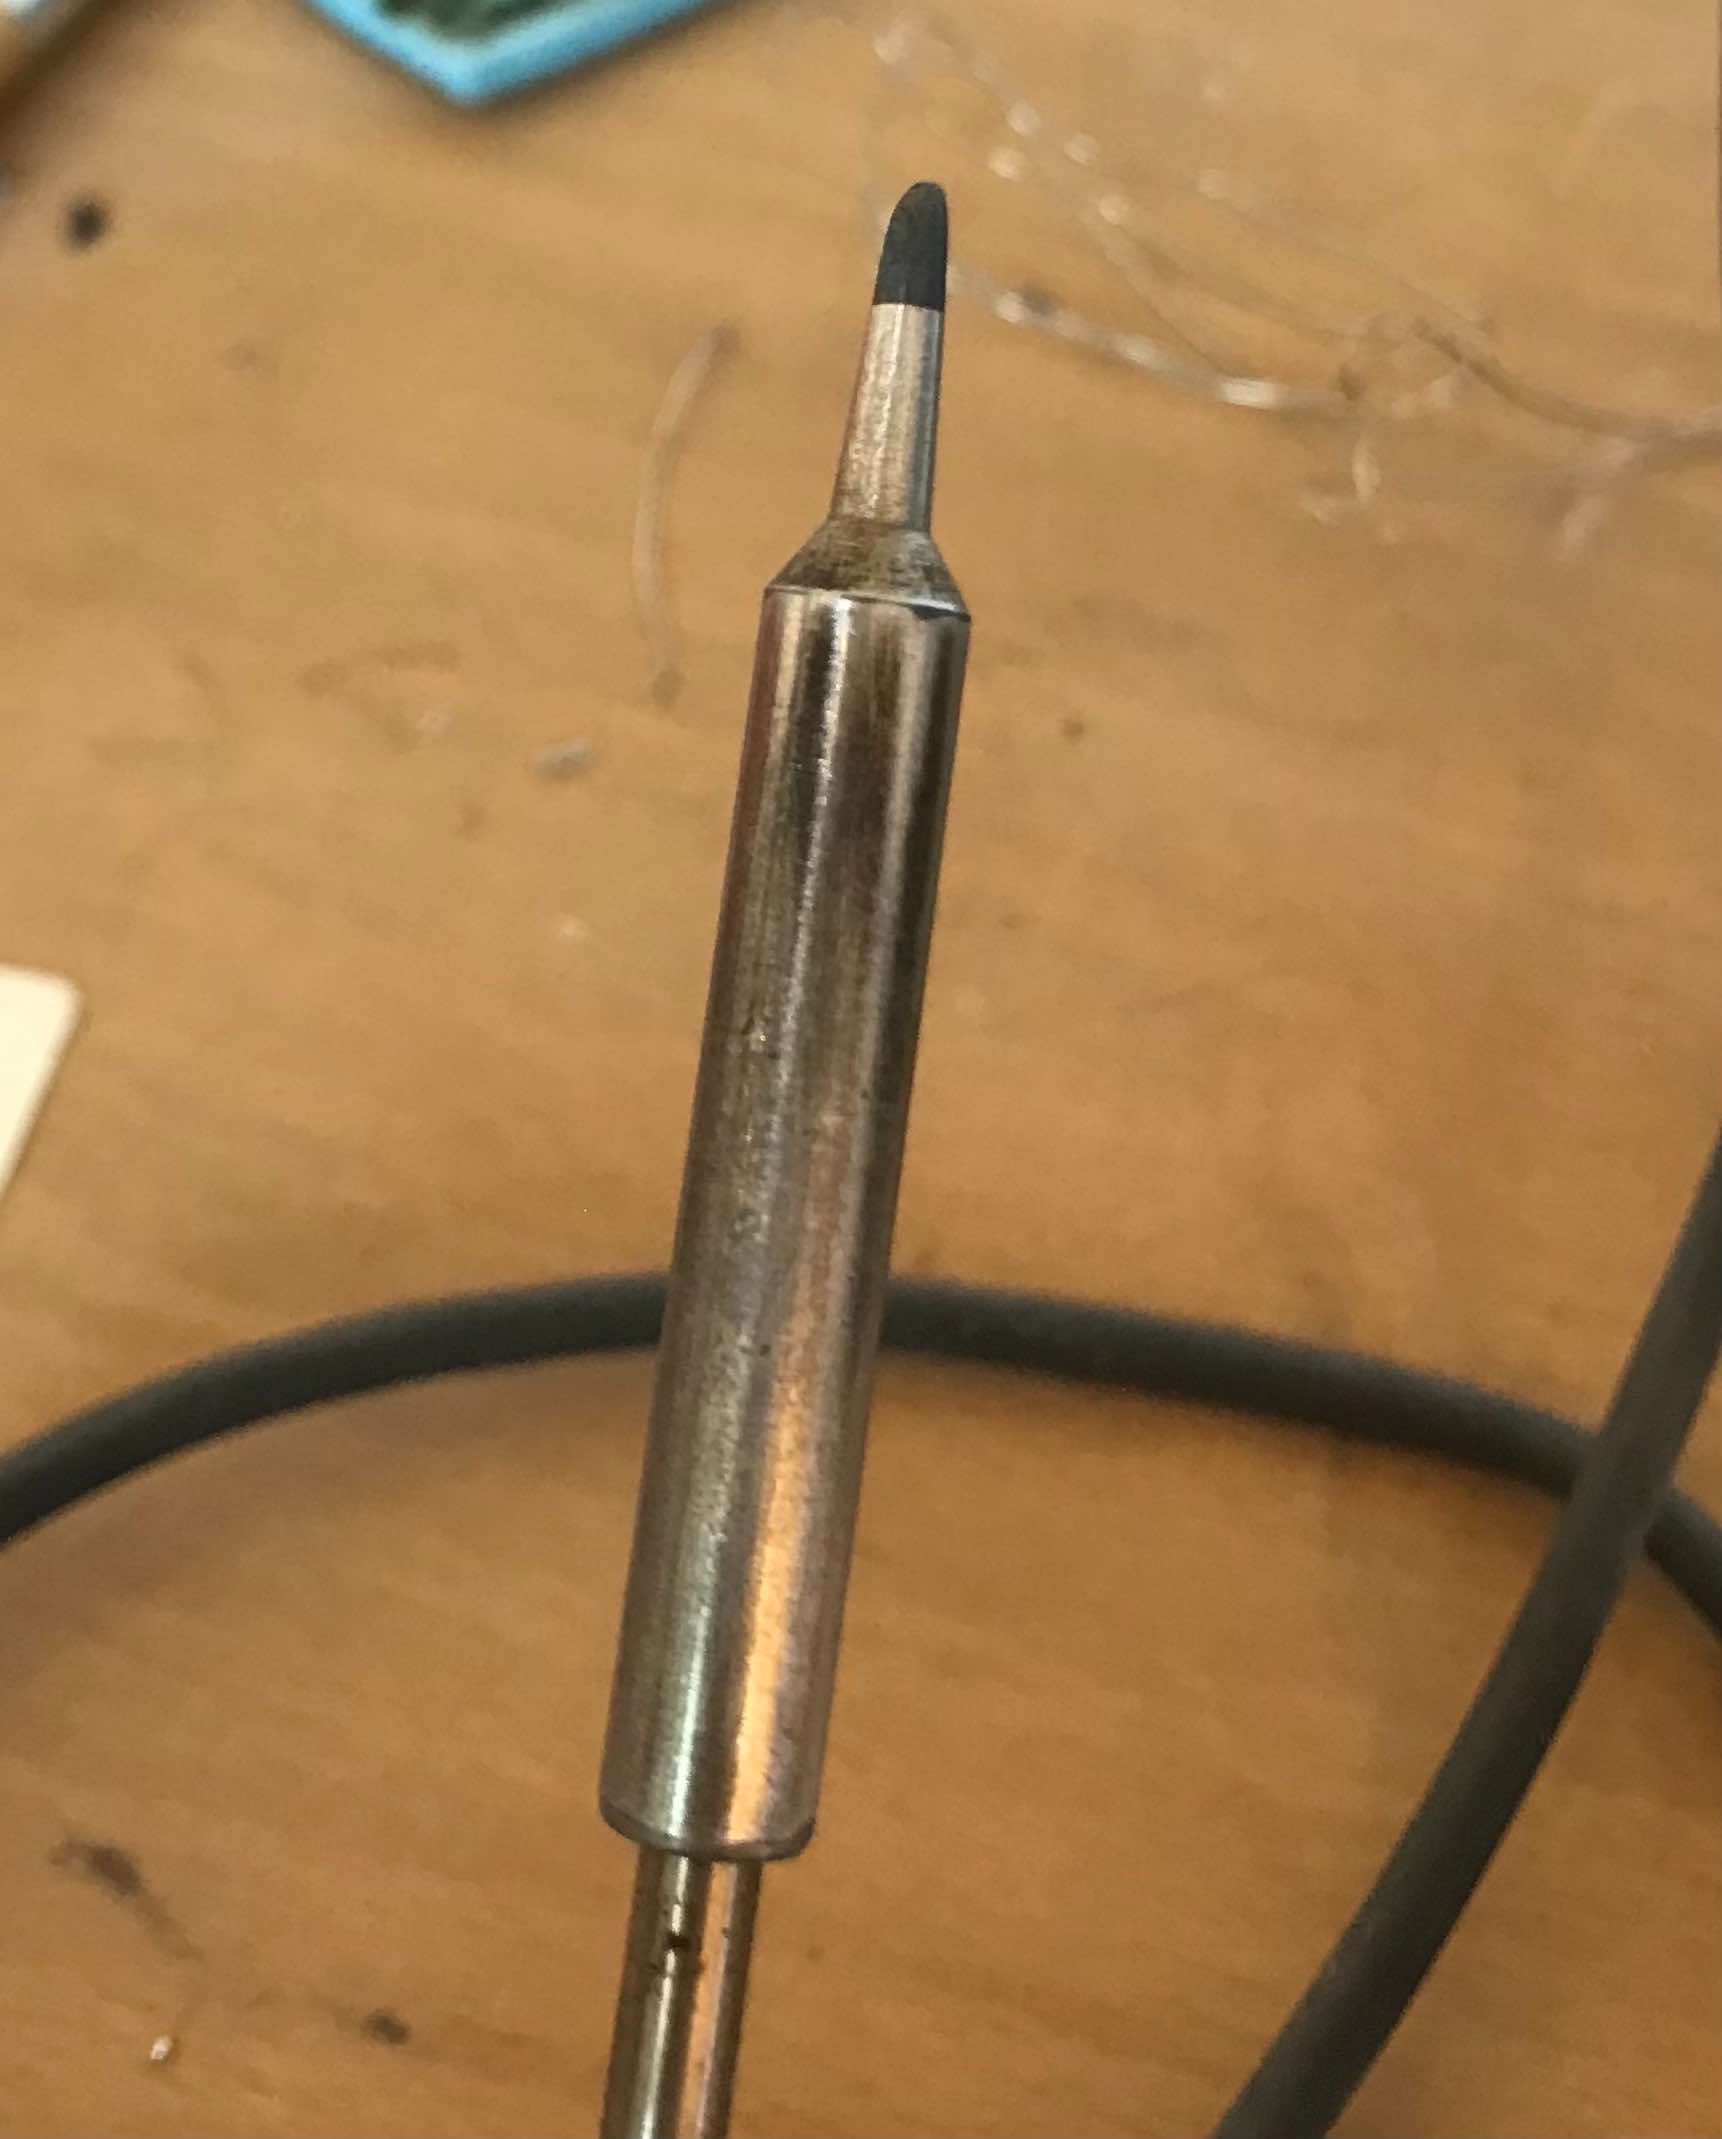
I had a lot of problems with the welder, because I couldn’t control the temperature, it reached temperatures so high that the tin slipped off, thus preventing me from doing EVERYTHING.
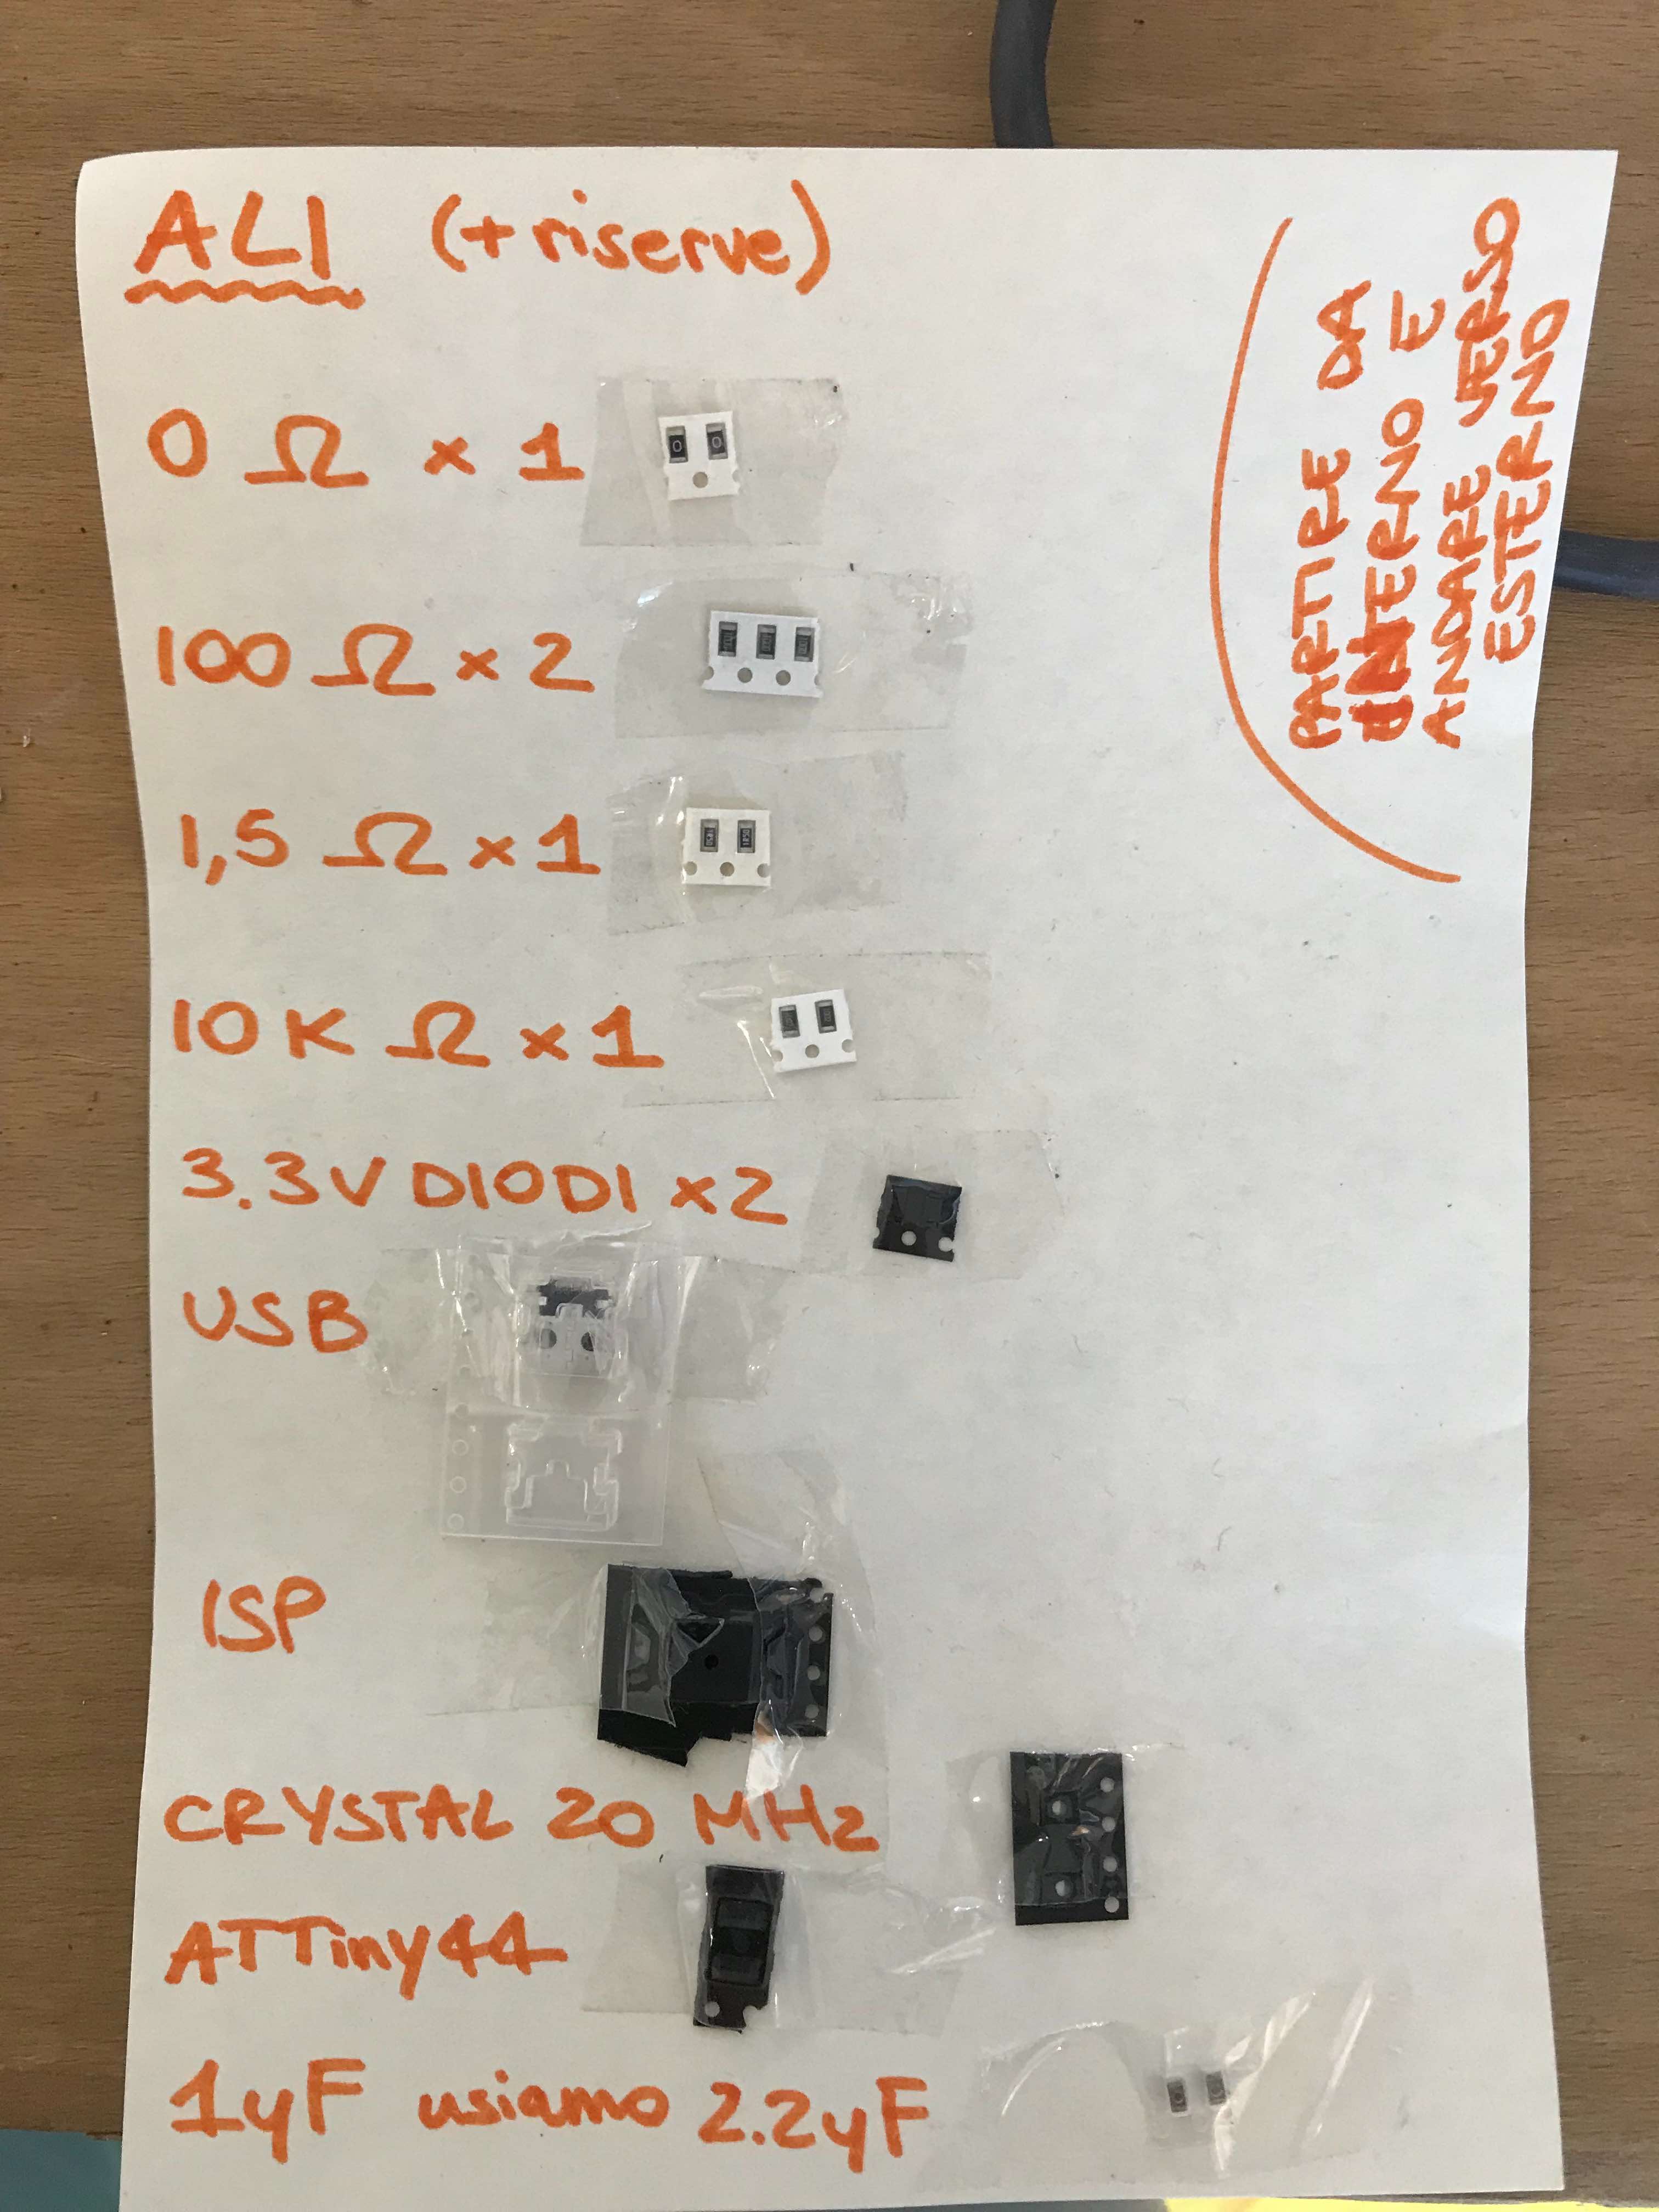
But let’s not lose heart, let’s retrieve our programmer’s bill of materials, and start all over again (with another kindly loaned welder).
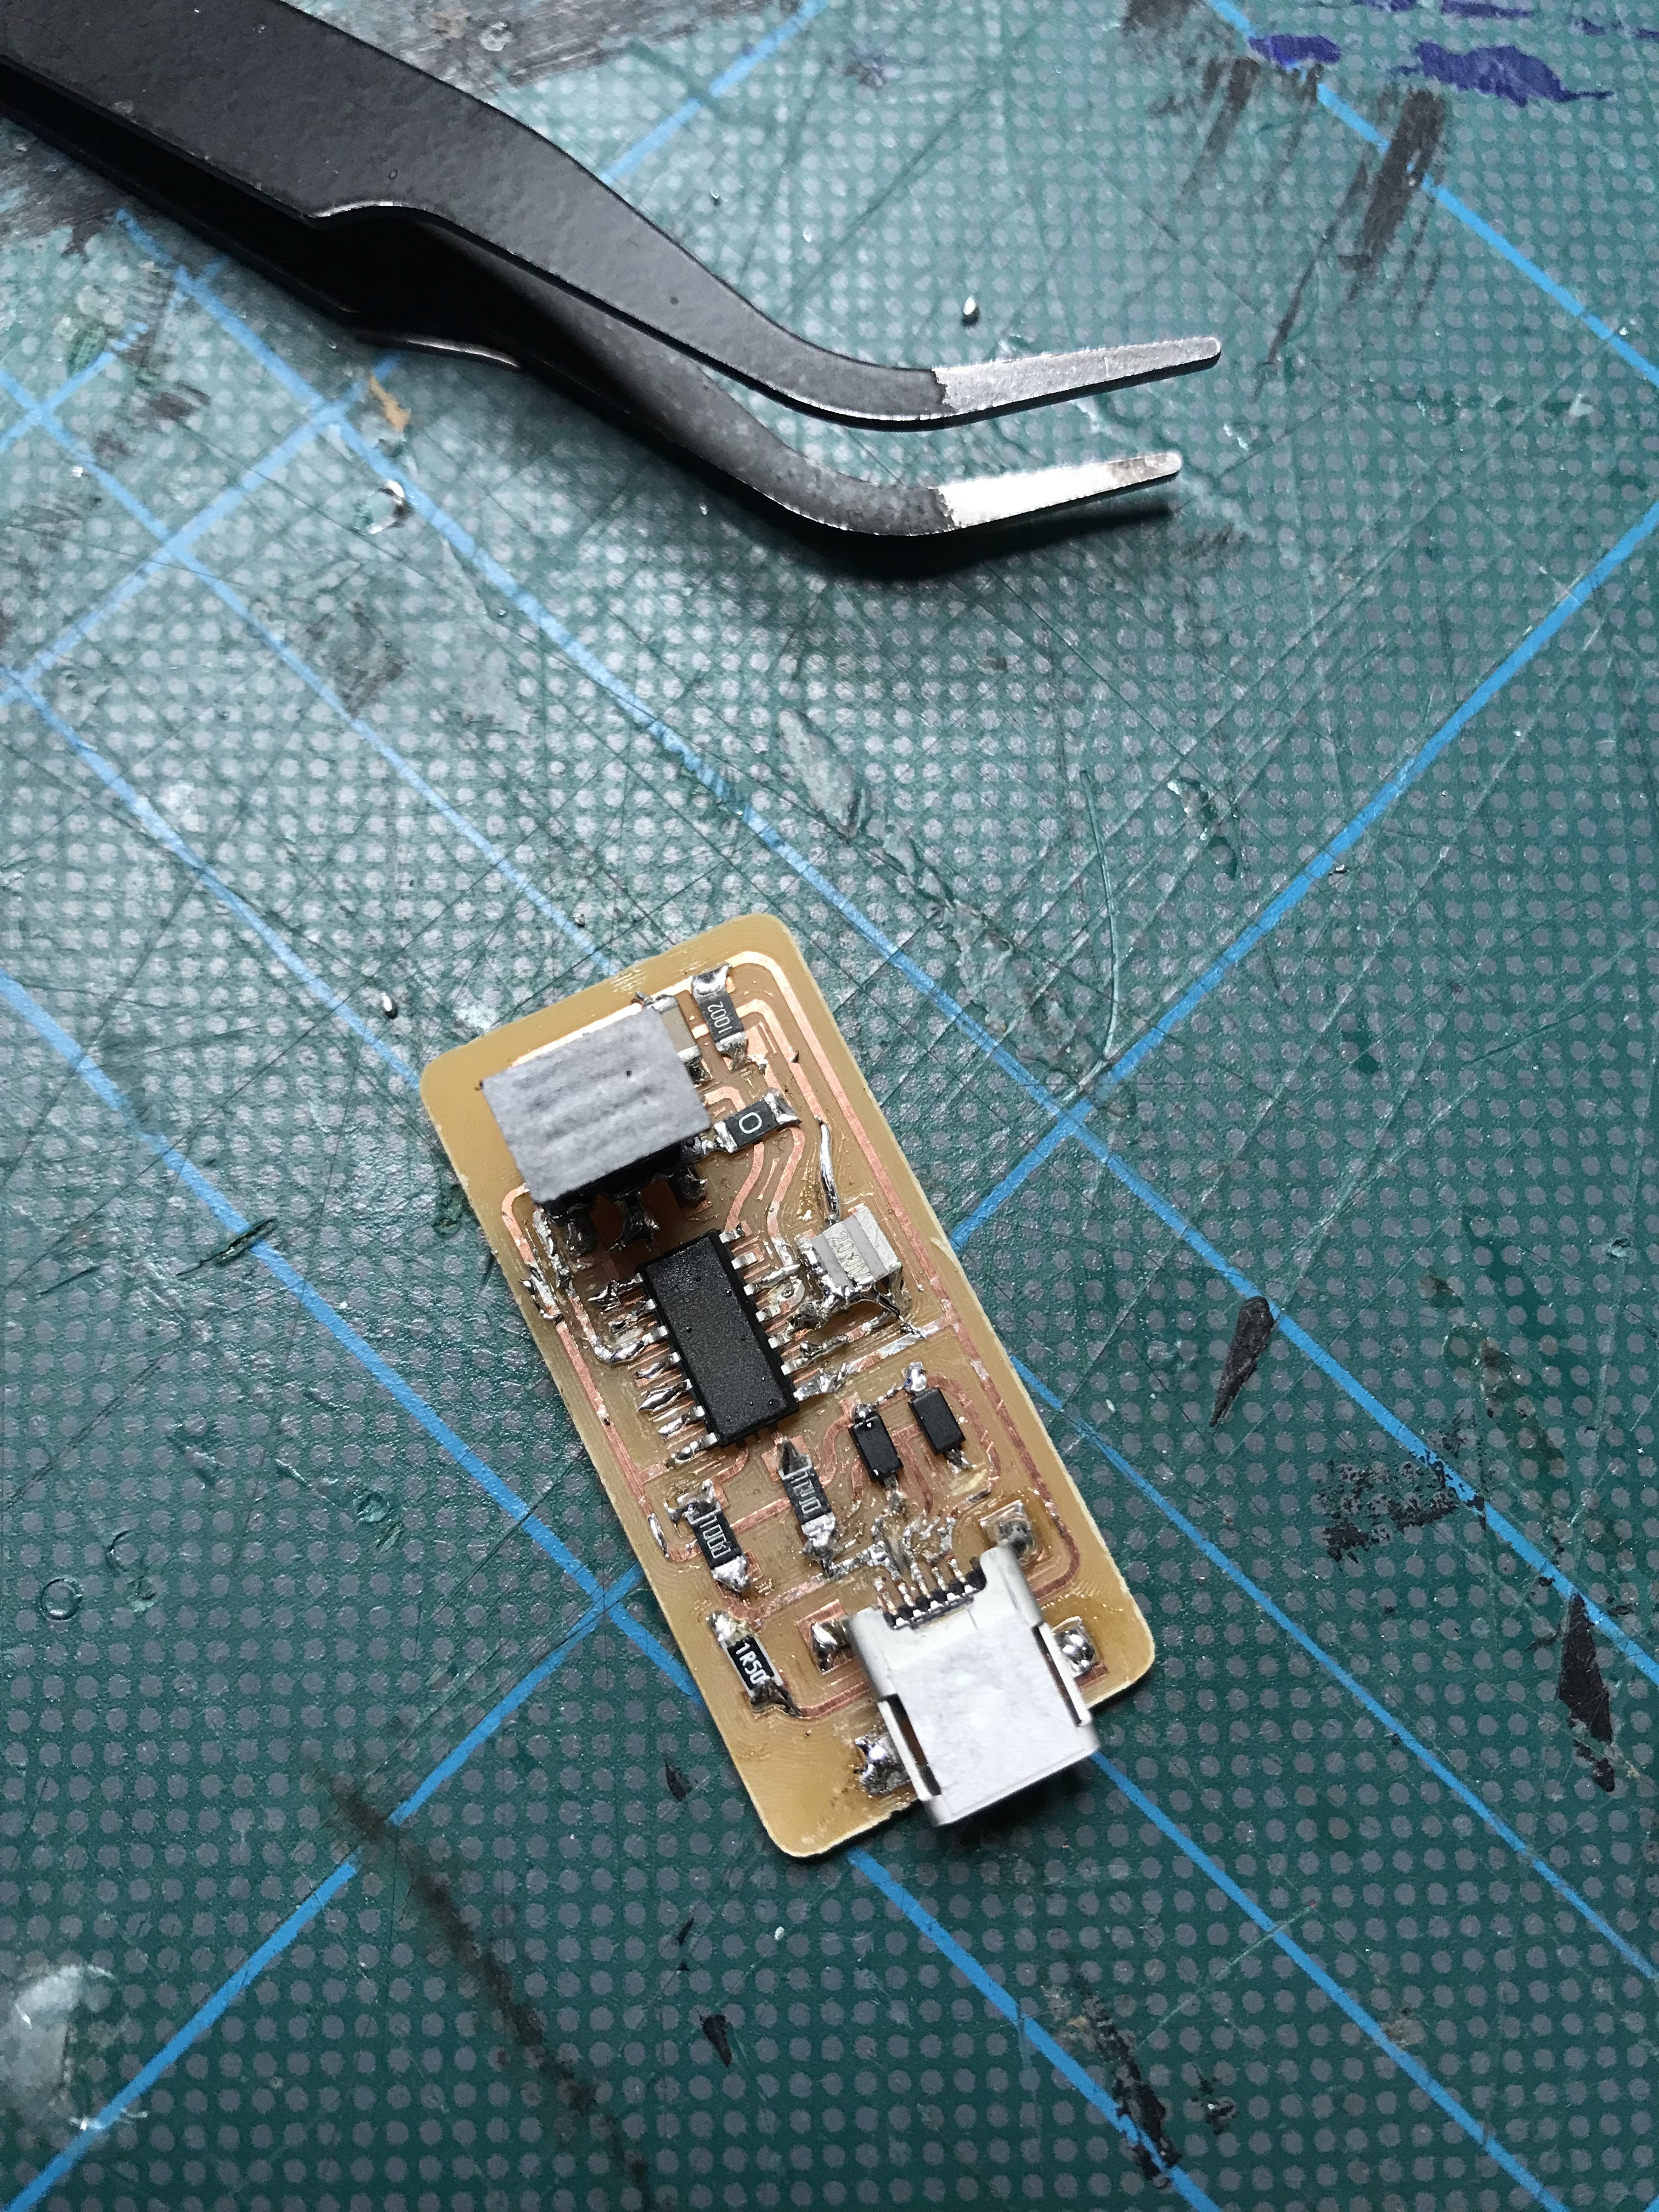
This is the final board! I’m going to make another one for sure, but being the first one it’s not that bad.
Now it’s time to program it! To program the FabISP, you first need to install the necessary software for your operating system and download the firmware. Then you edit the Makefile and seet the fuses/program the board. Verify that the board is working properly. Then you need to open up the jumpers to make it a programmer. I suggest this documentation to do that.
This is what you were all waiting for: