16. Wildcard week
This week’s assignment is the most creative one, because we have to design and produce something with a digital fabrication process!
We decided to build a skateboard from scratch, I said “we” because all the three of us decided to do the same thing (the perks of being friends with your classmates <3 ).
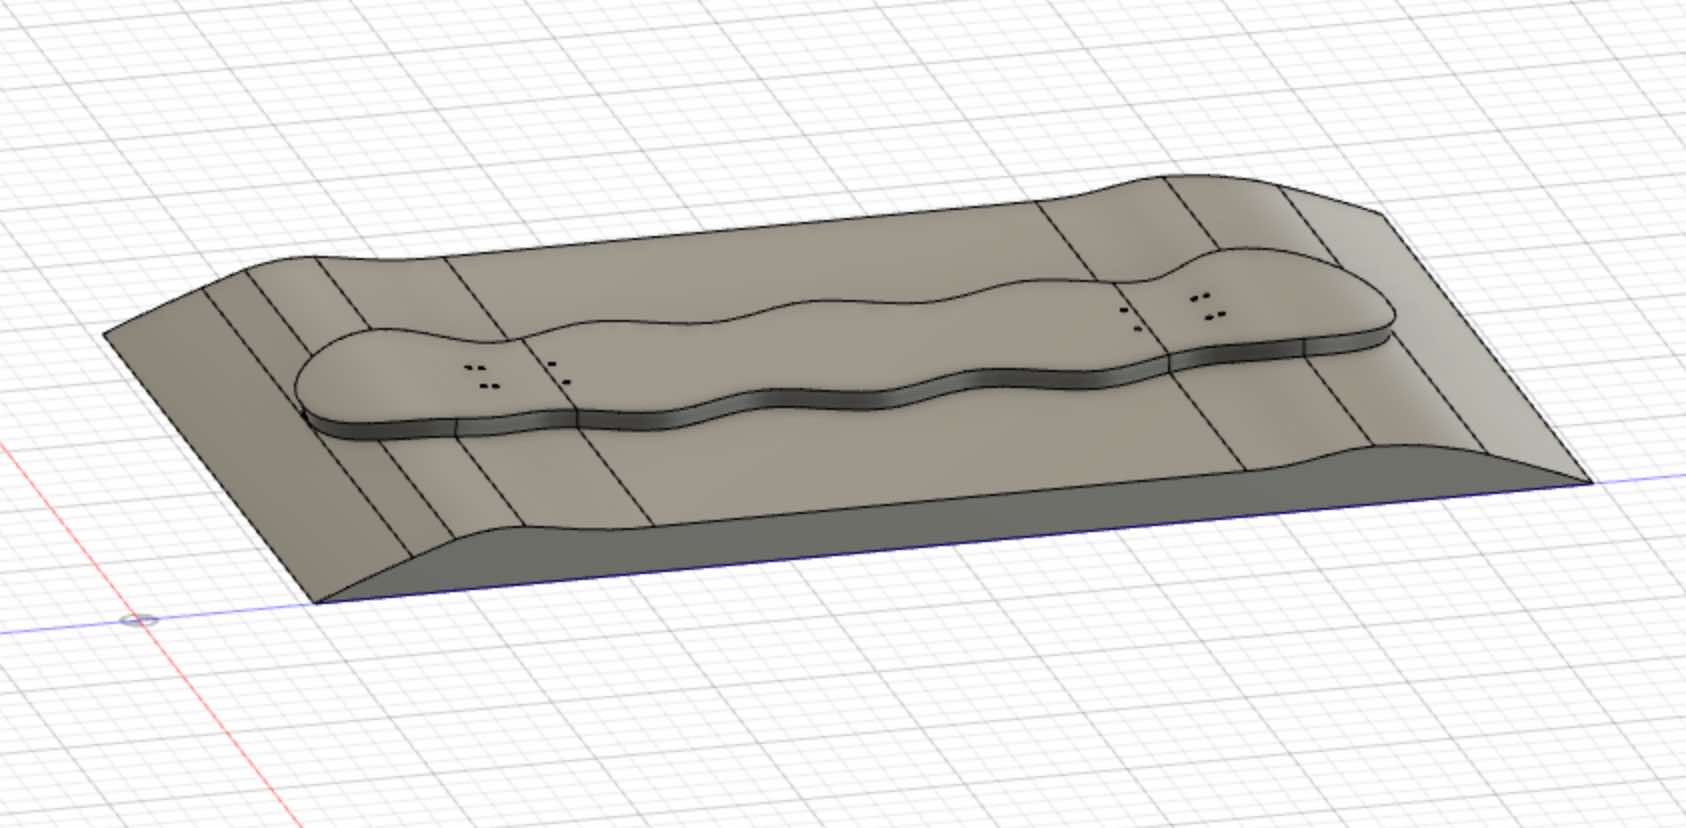
To do that I started from the 3d model on Fusion. It is necessary to design both the board and the mold, later we’ll see why.
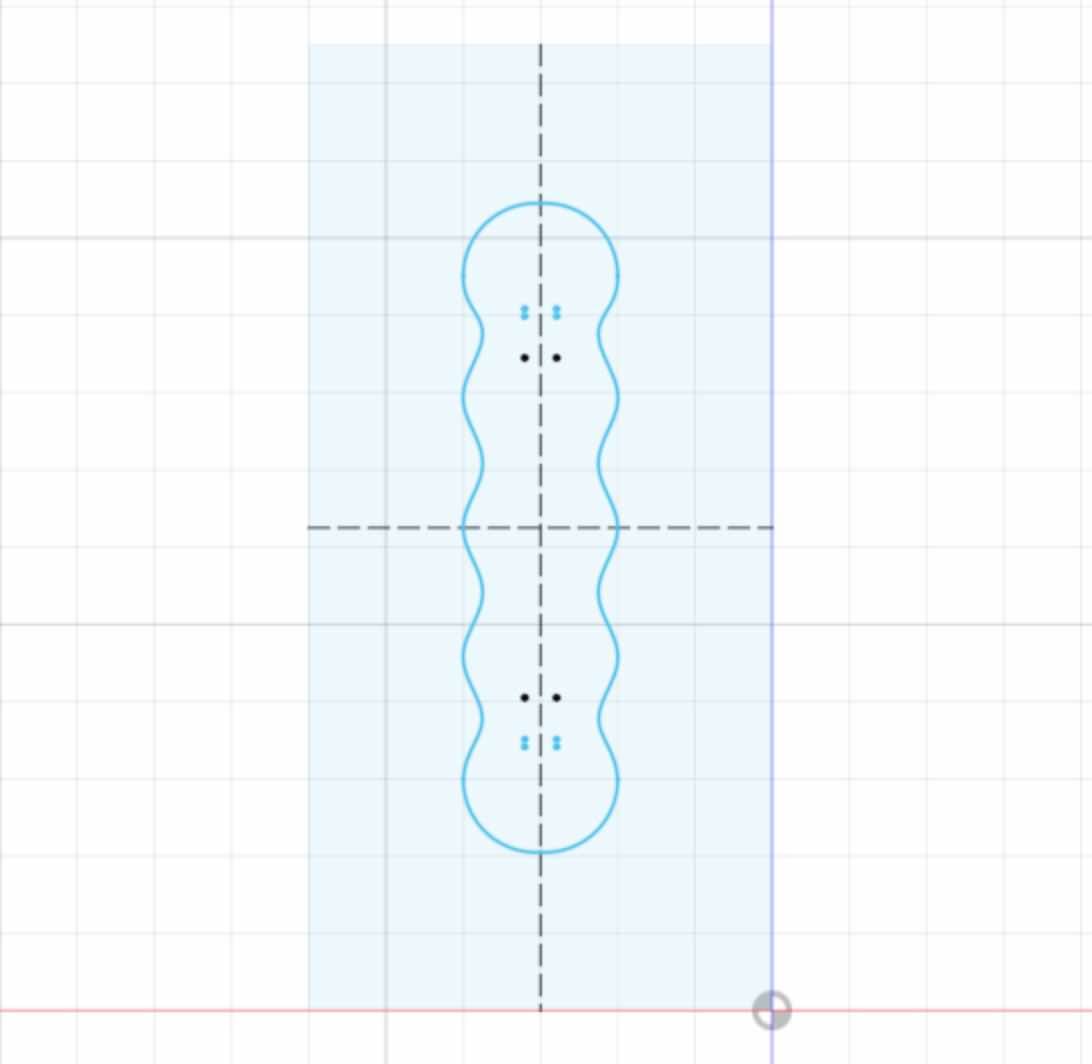
I started by drawing the sketch of the board, giving it a wavy shape.
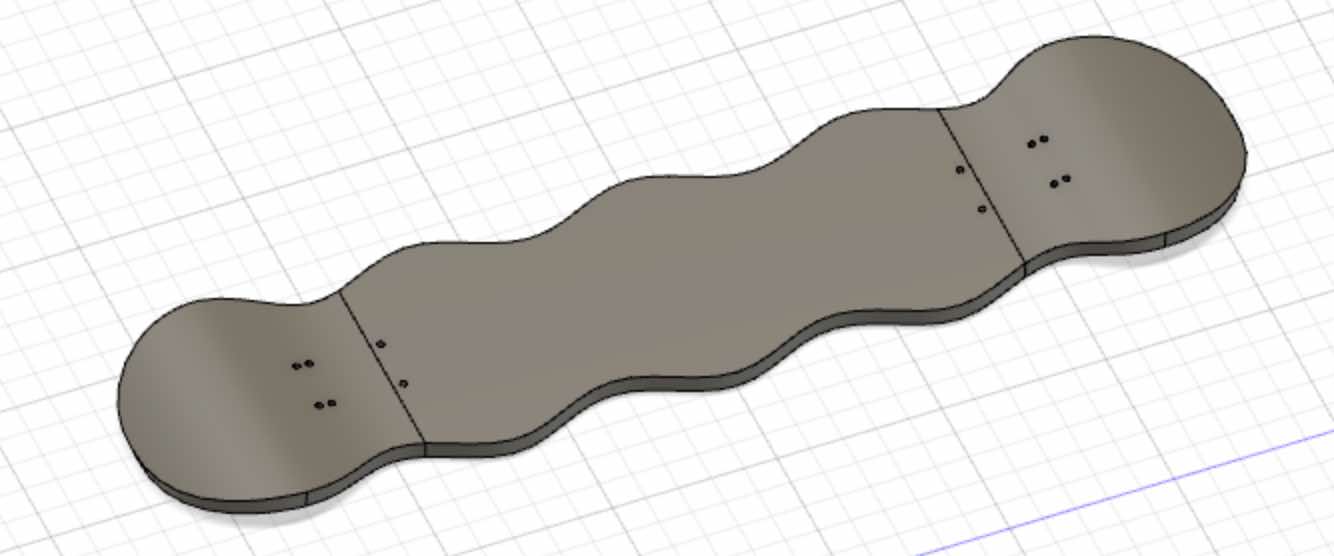
Then I drew the profile of the board, giving the ends an elongated upward shape.
To make the mold I started from a parallelepiped, which I then went to dig using my extruded board as a tool.
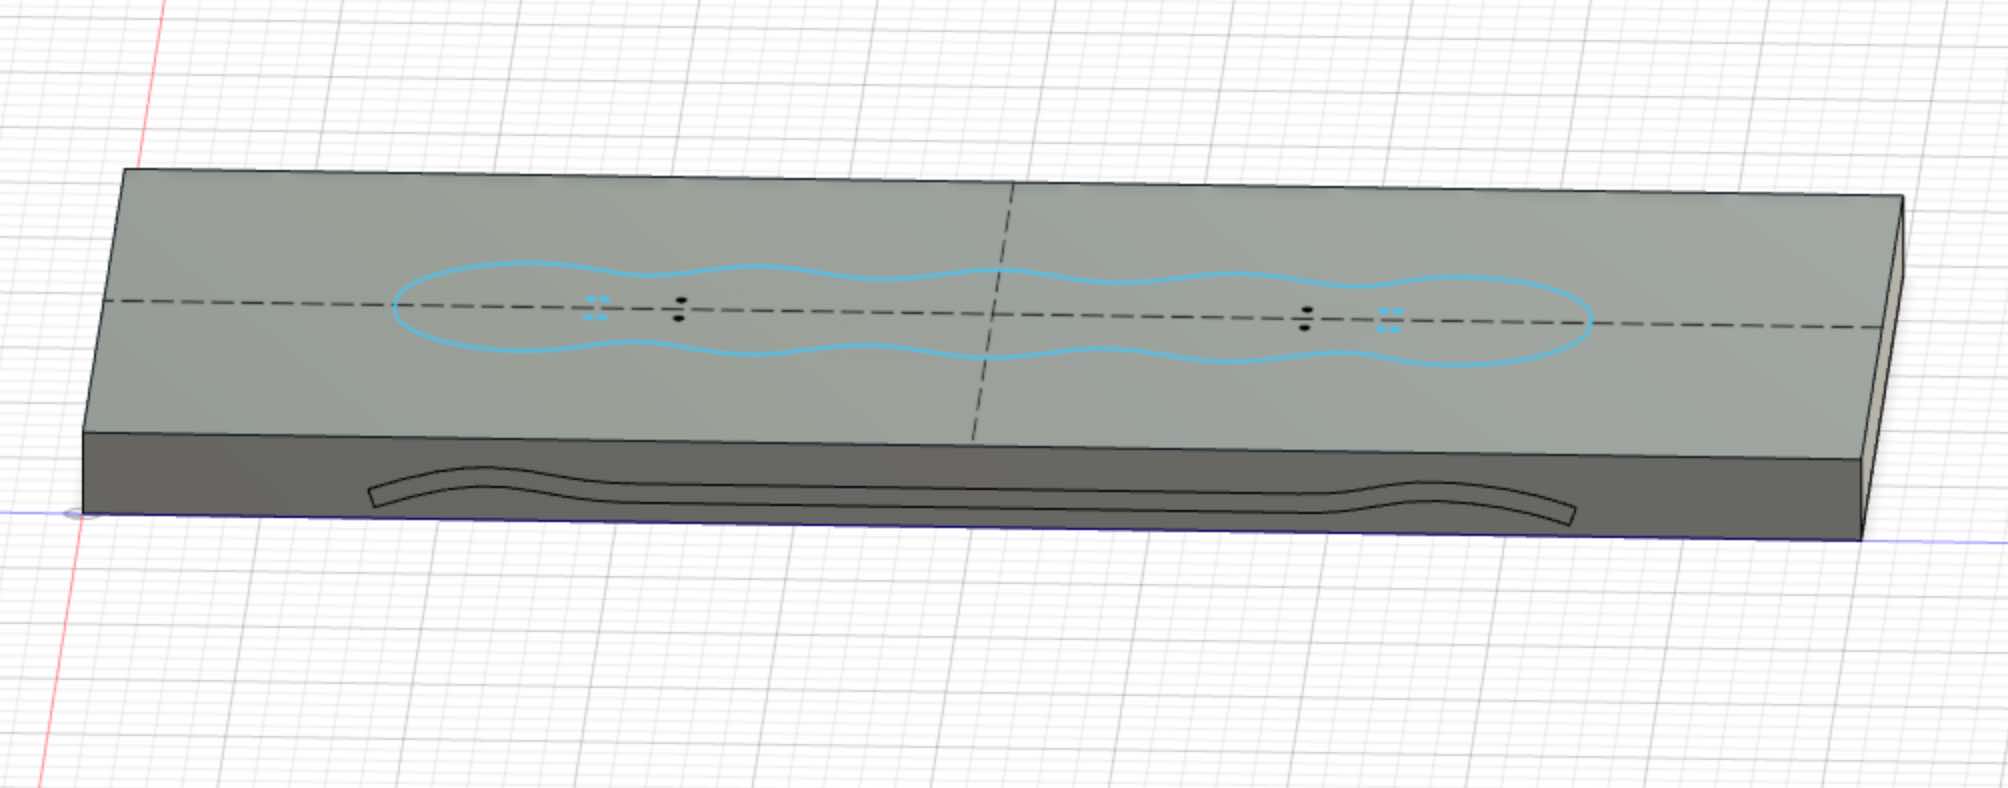
With the “hole” command I drilled both bodies, so that I could later mount the trucks and wheels. So we have two different bodies, board and mold, which will be milled at two different times.
For the mold I used a light spongy material, which we will mill using two types of bits, a large and flat one to dig the material and a long and narrow one to drill.

Once the mold has been pressed, we will cover it with transparent tape and prepare everything we need to glue the pieces of the board.
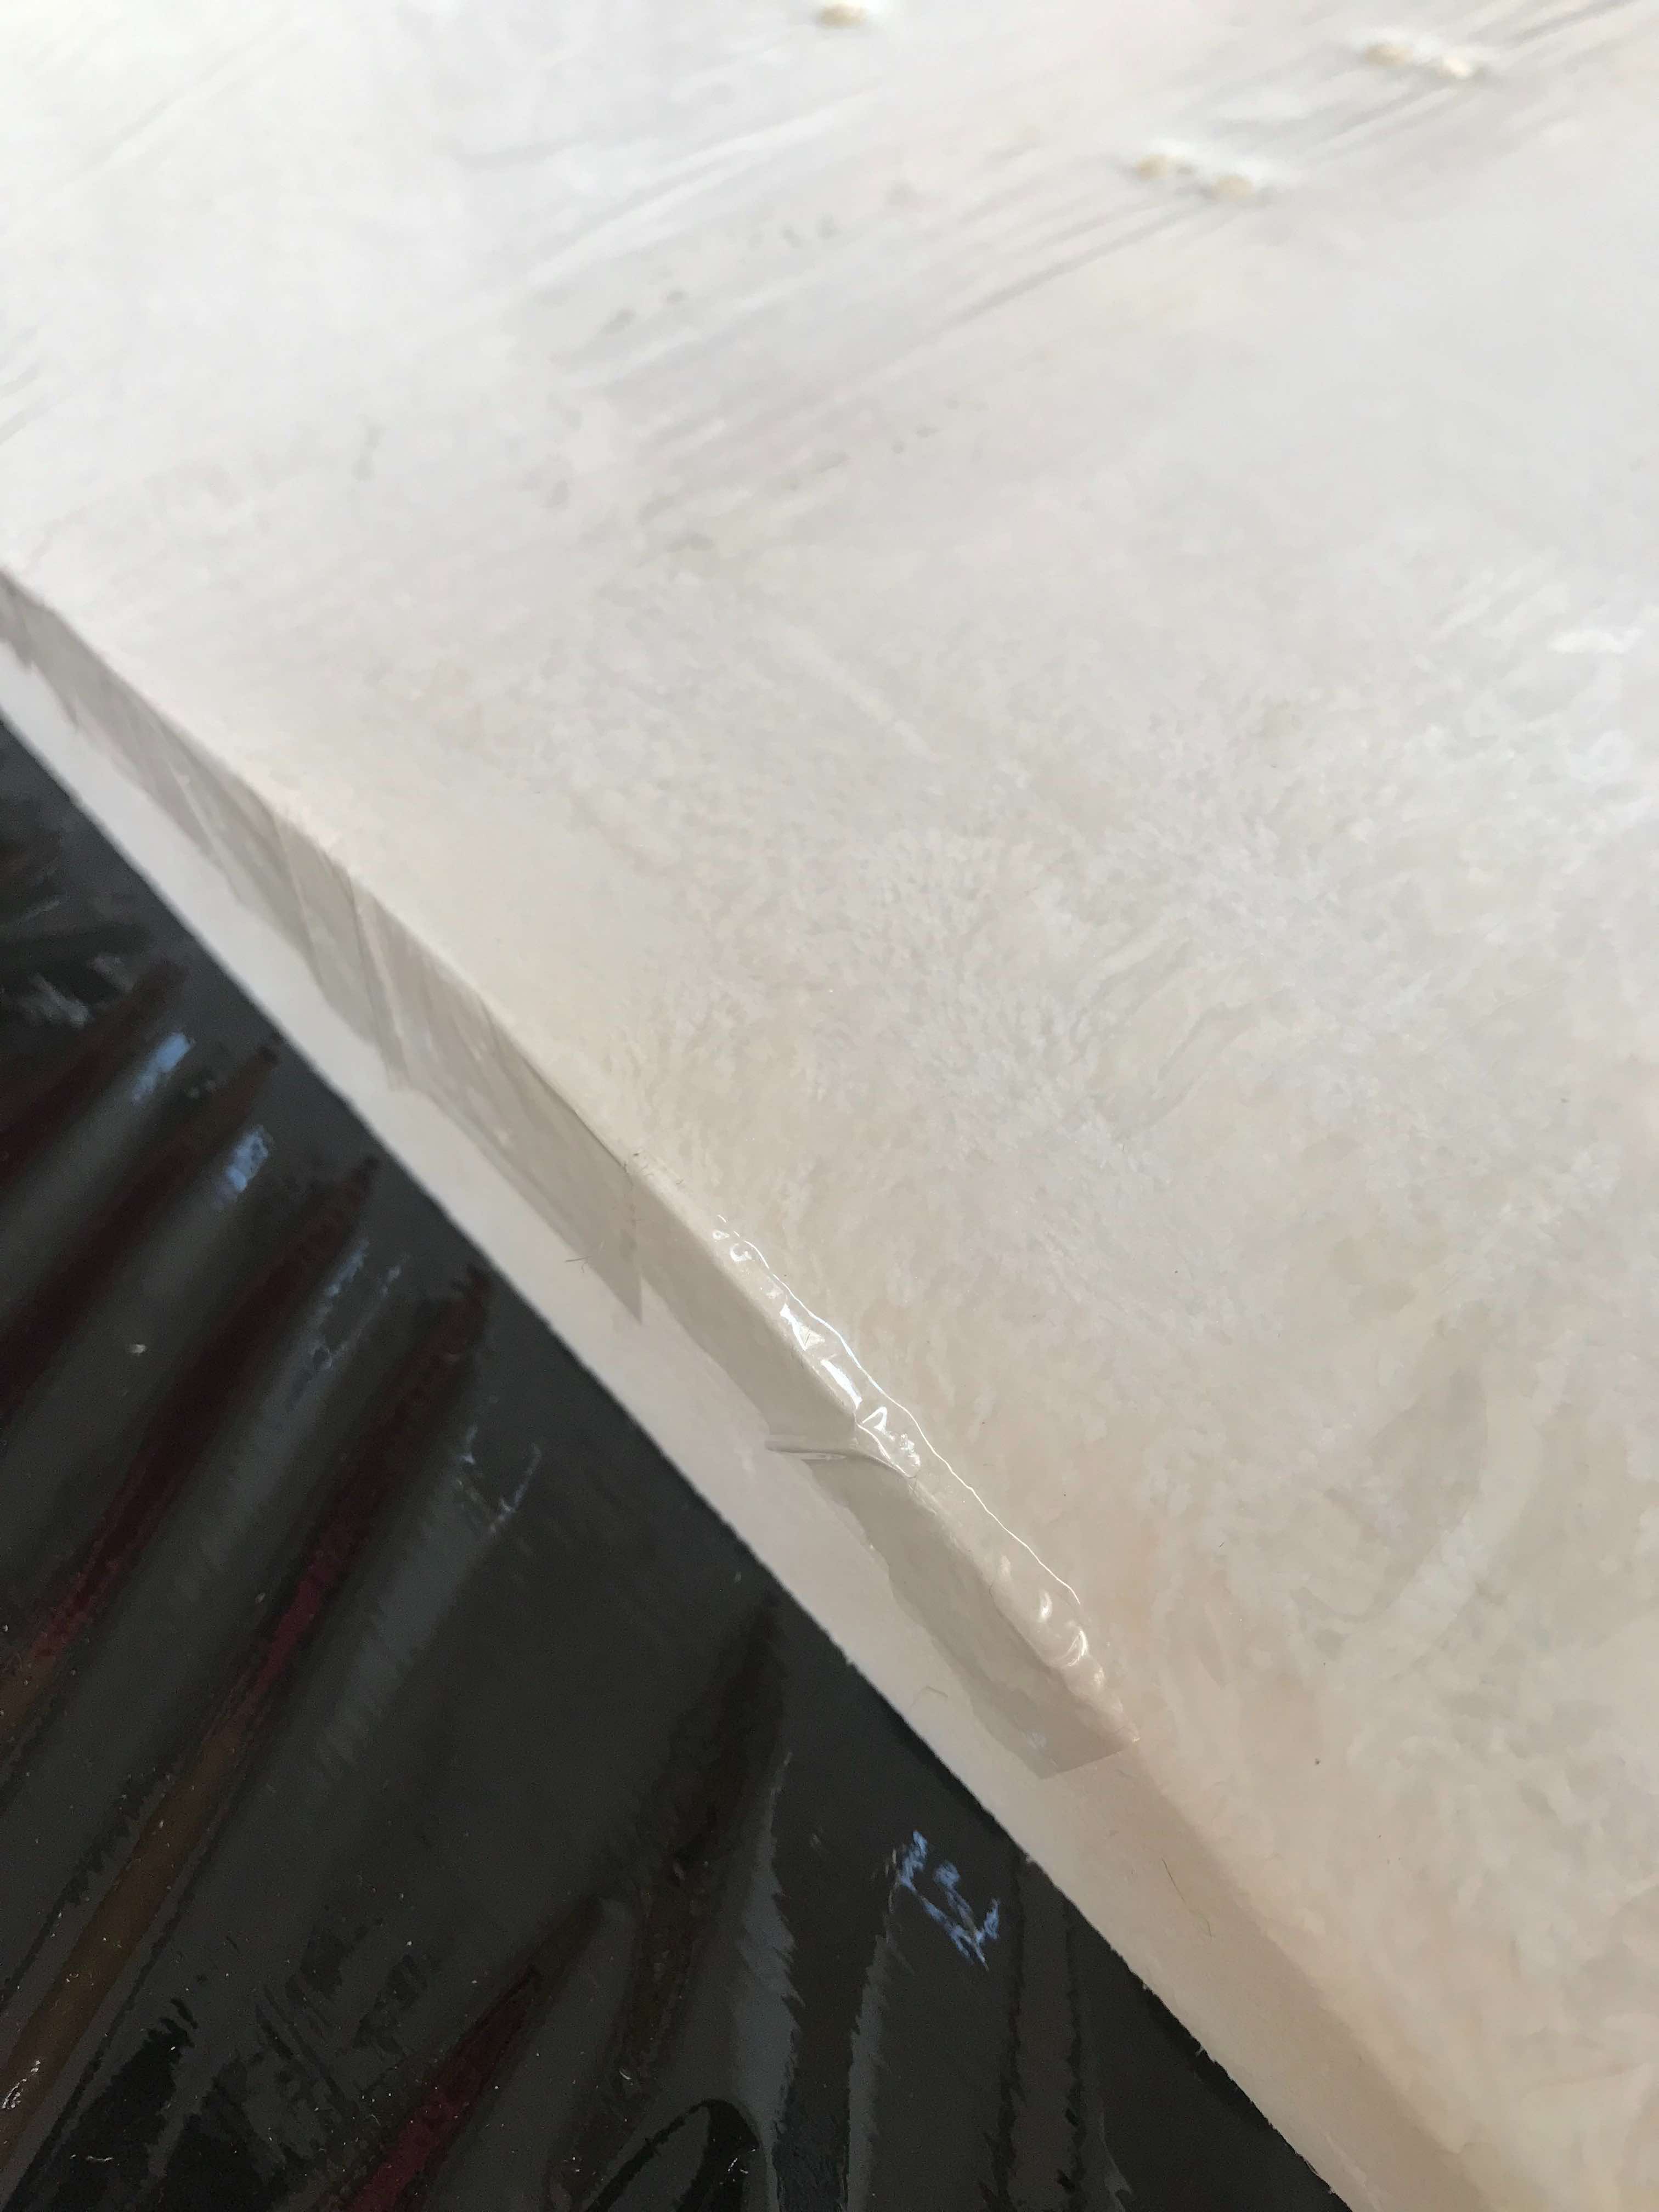
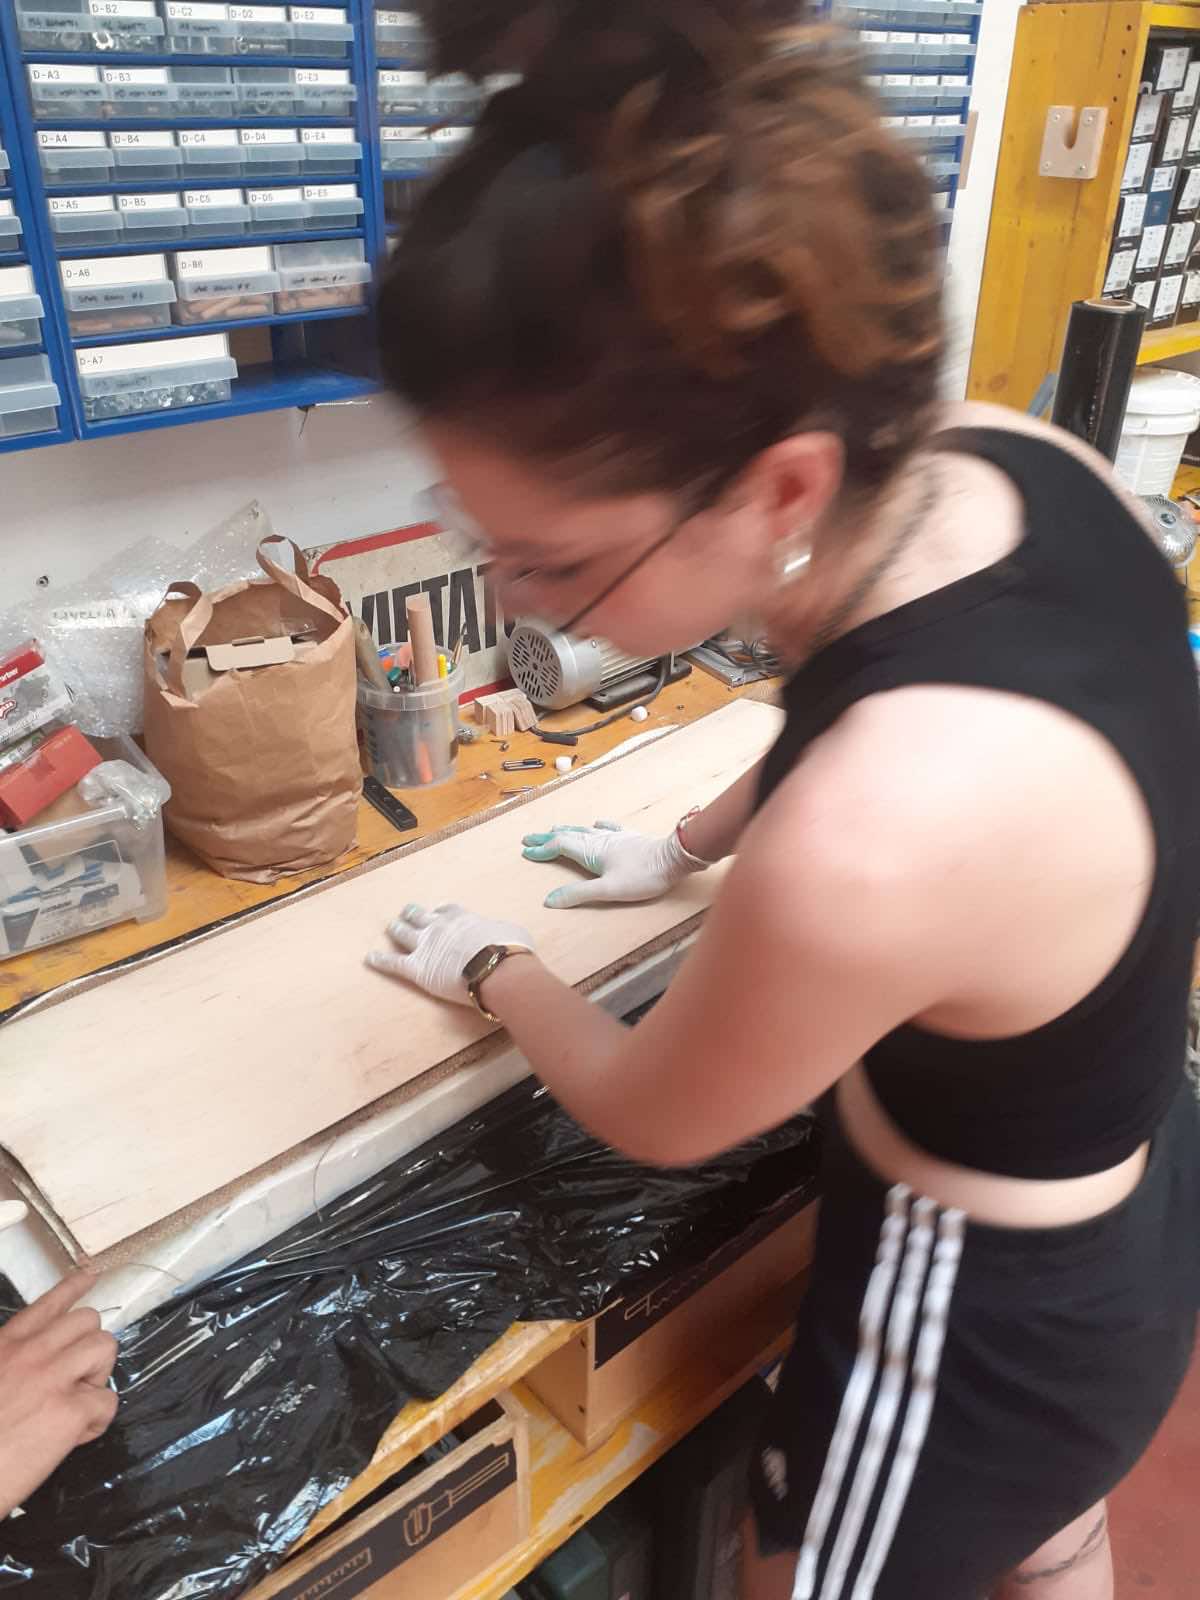
We will use sheets of Canadian maple wood interspersed with jute, which we will glue together using epoxy resin. First of all you need to prepare the work surface, covering it with a layer of plastic, putting on gloves and above all the mask (as the epoxy resin in large quantities tends to heat up quickly and emits fumes that are not exactly pleasant and beneficial).
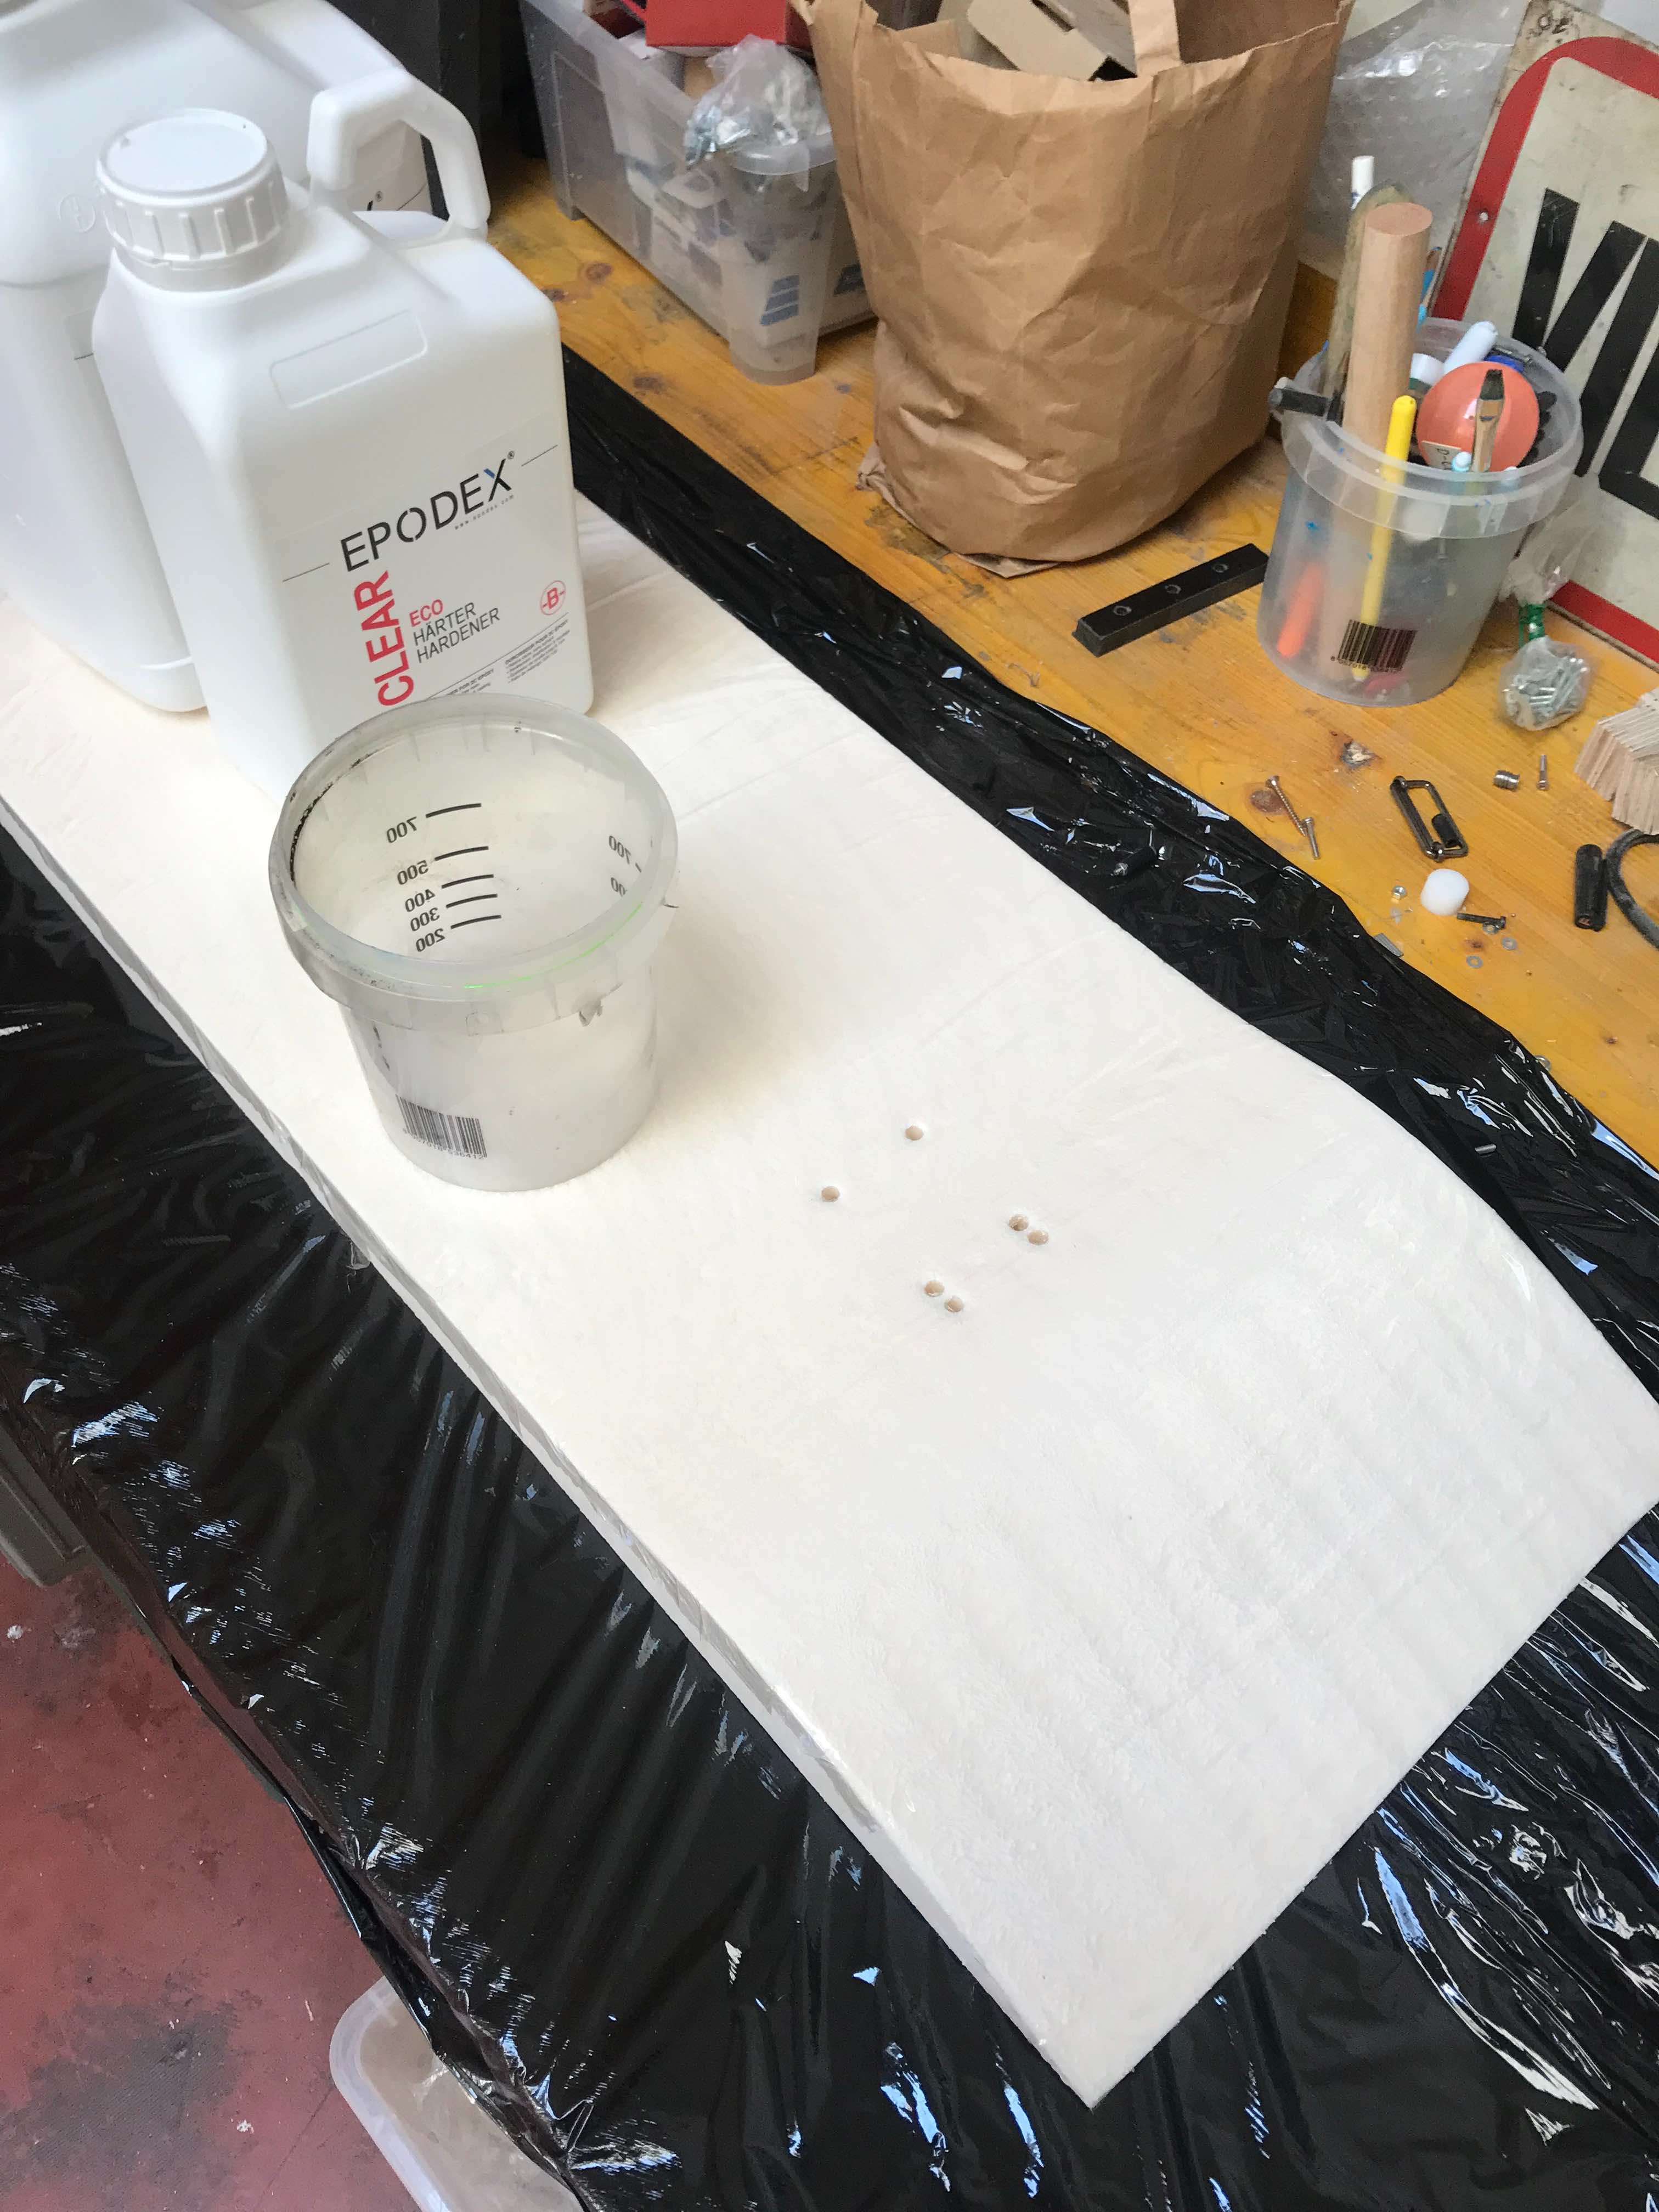
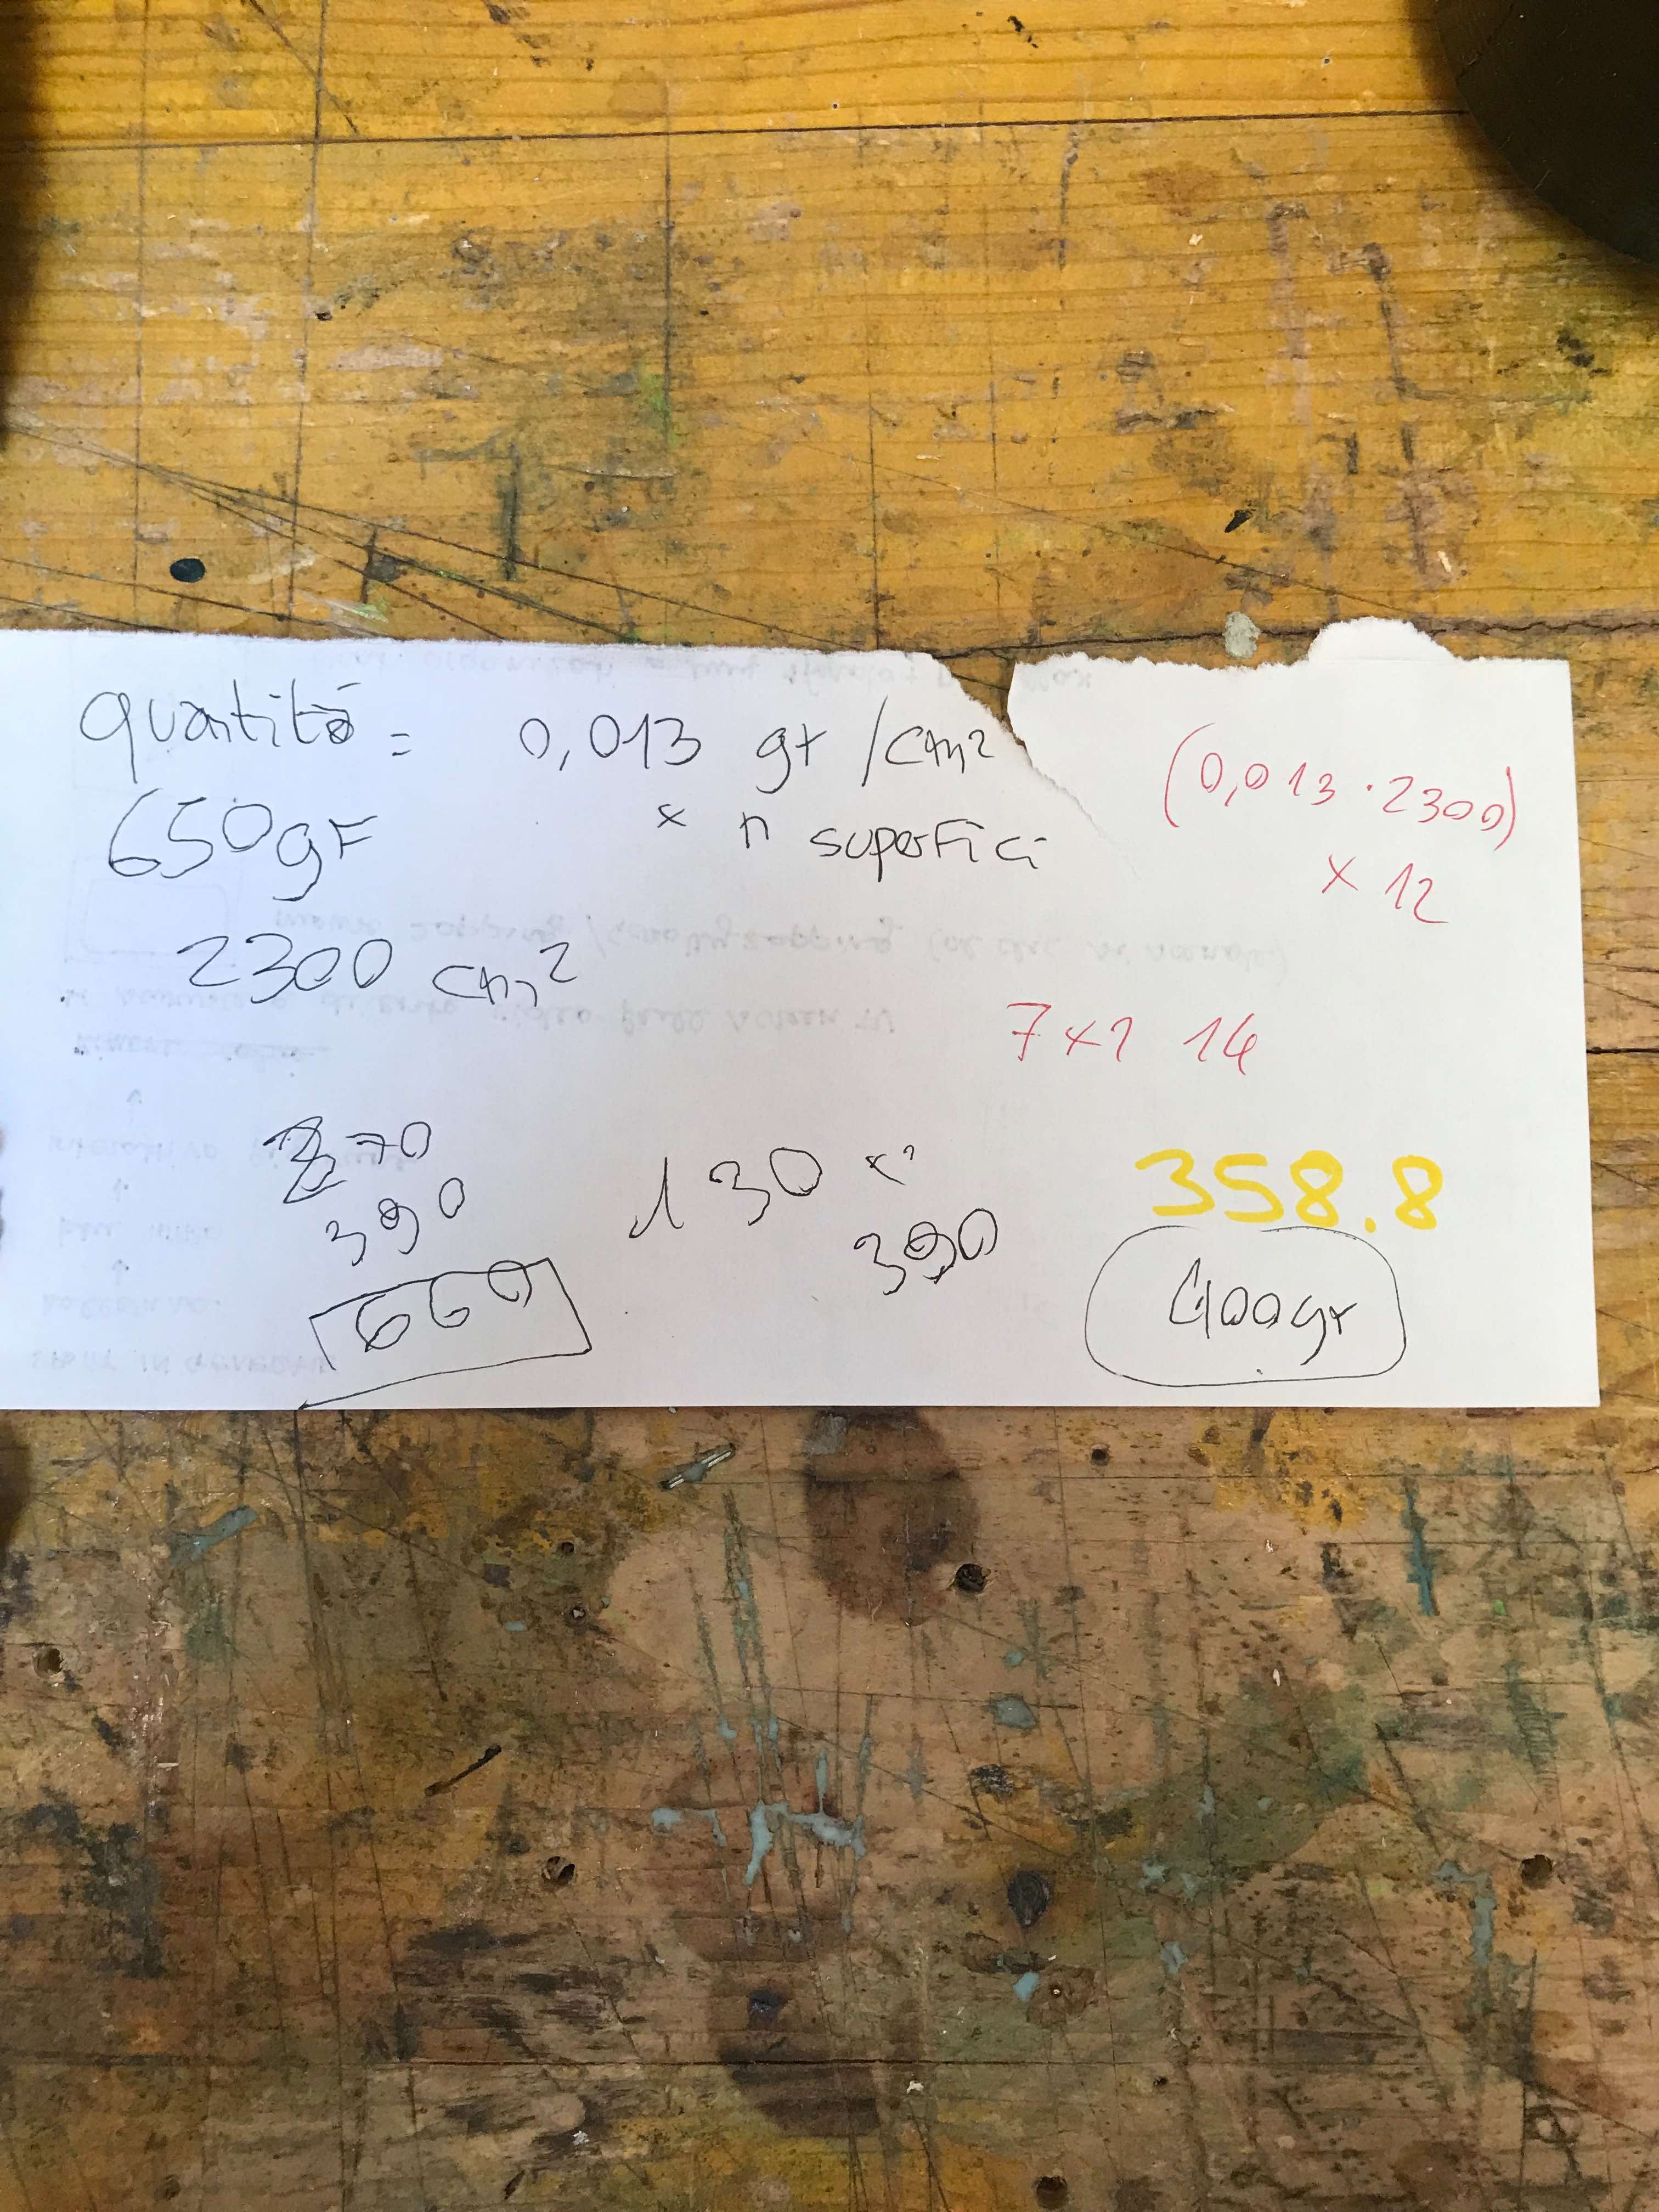
As for the quantities of resin, it is necessary to take into account the number of layers, the area in square cm of the single layer and the jute which will absorb at least twice as much as the wood. We therefore used about 660 g of resin, 440 of A and 220 of B. During the process I decided to add some blue pigment, in the hope that it will show up when the work is finished.
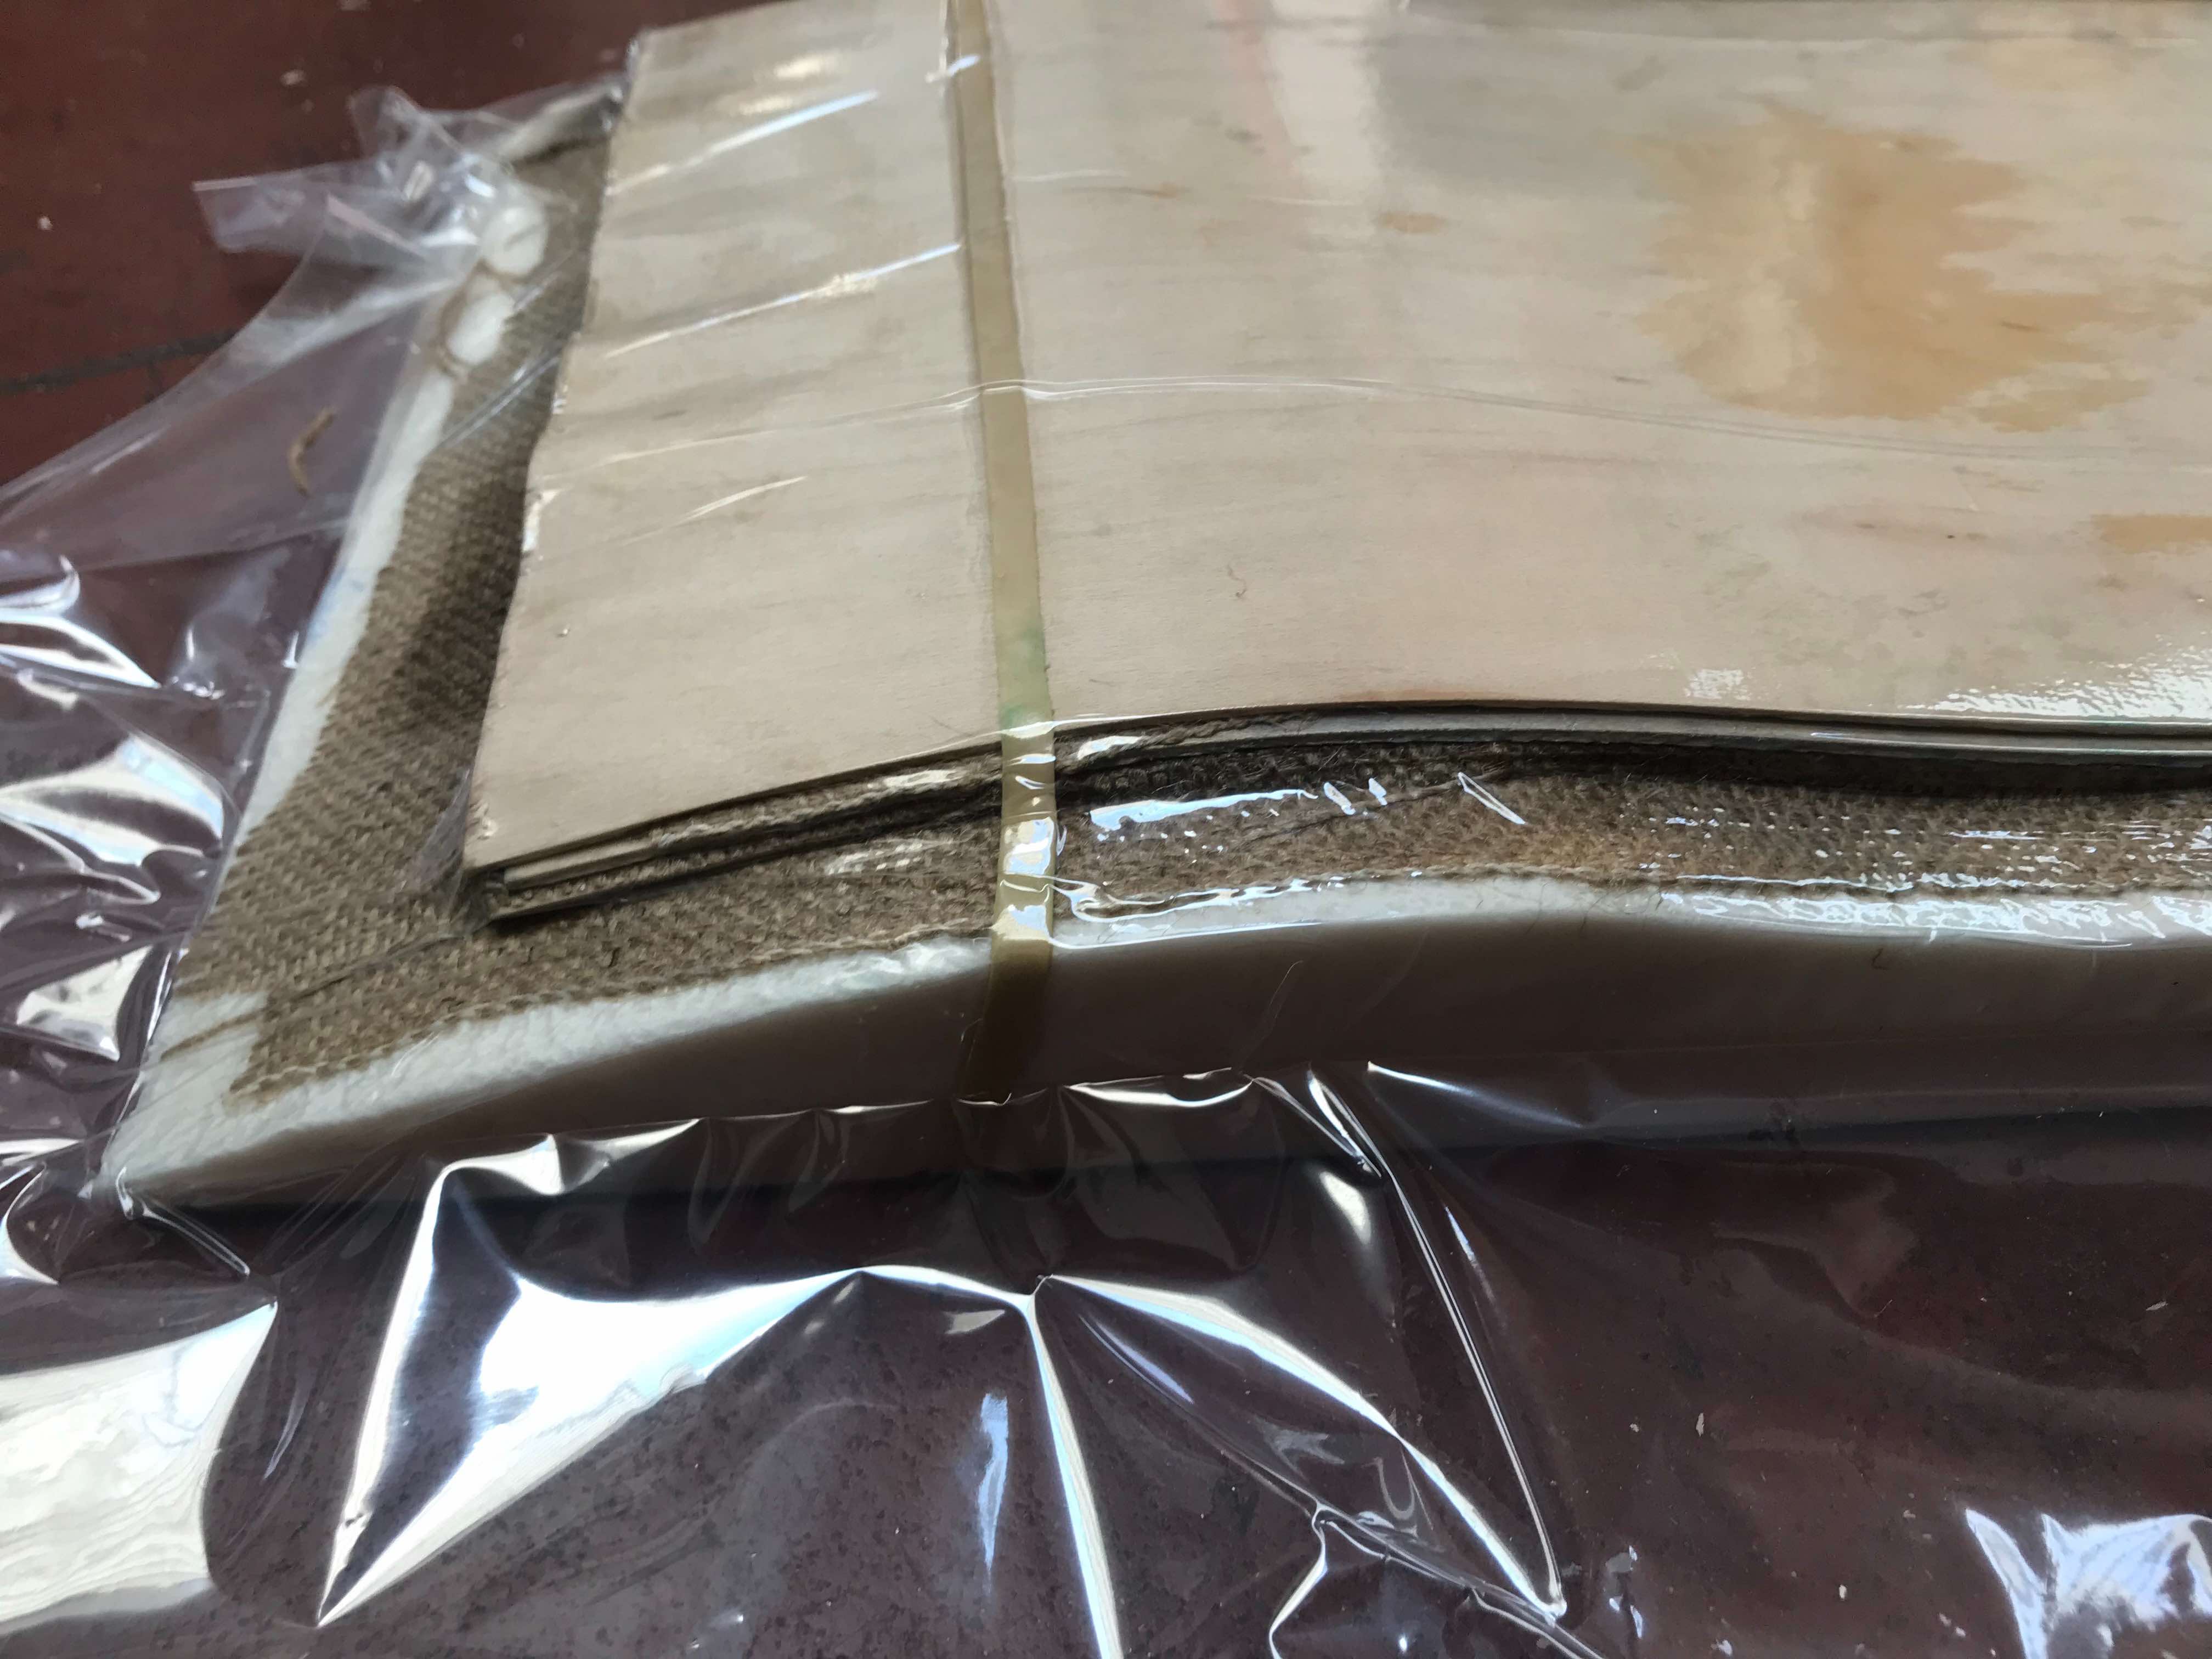
Now is time to make our layers adhere well to the mold using rubber bands, and putting everything in a vacuum bag where we will suck all the air inside.
After 24 hours of rest, I freed the board from the vacuum and started milling. Using a 4.6mm bit I will drill the holes for the truck and the outline of the board.
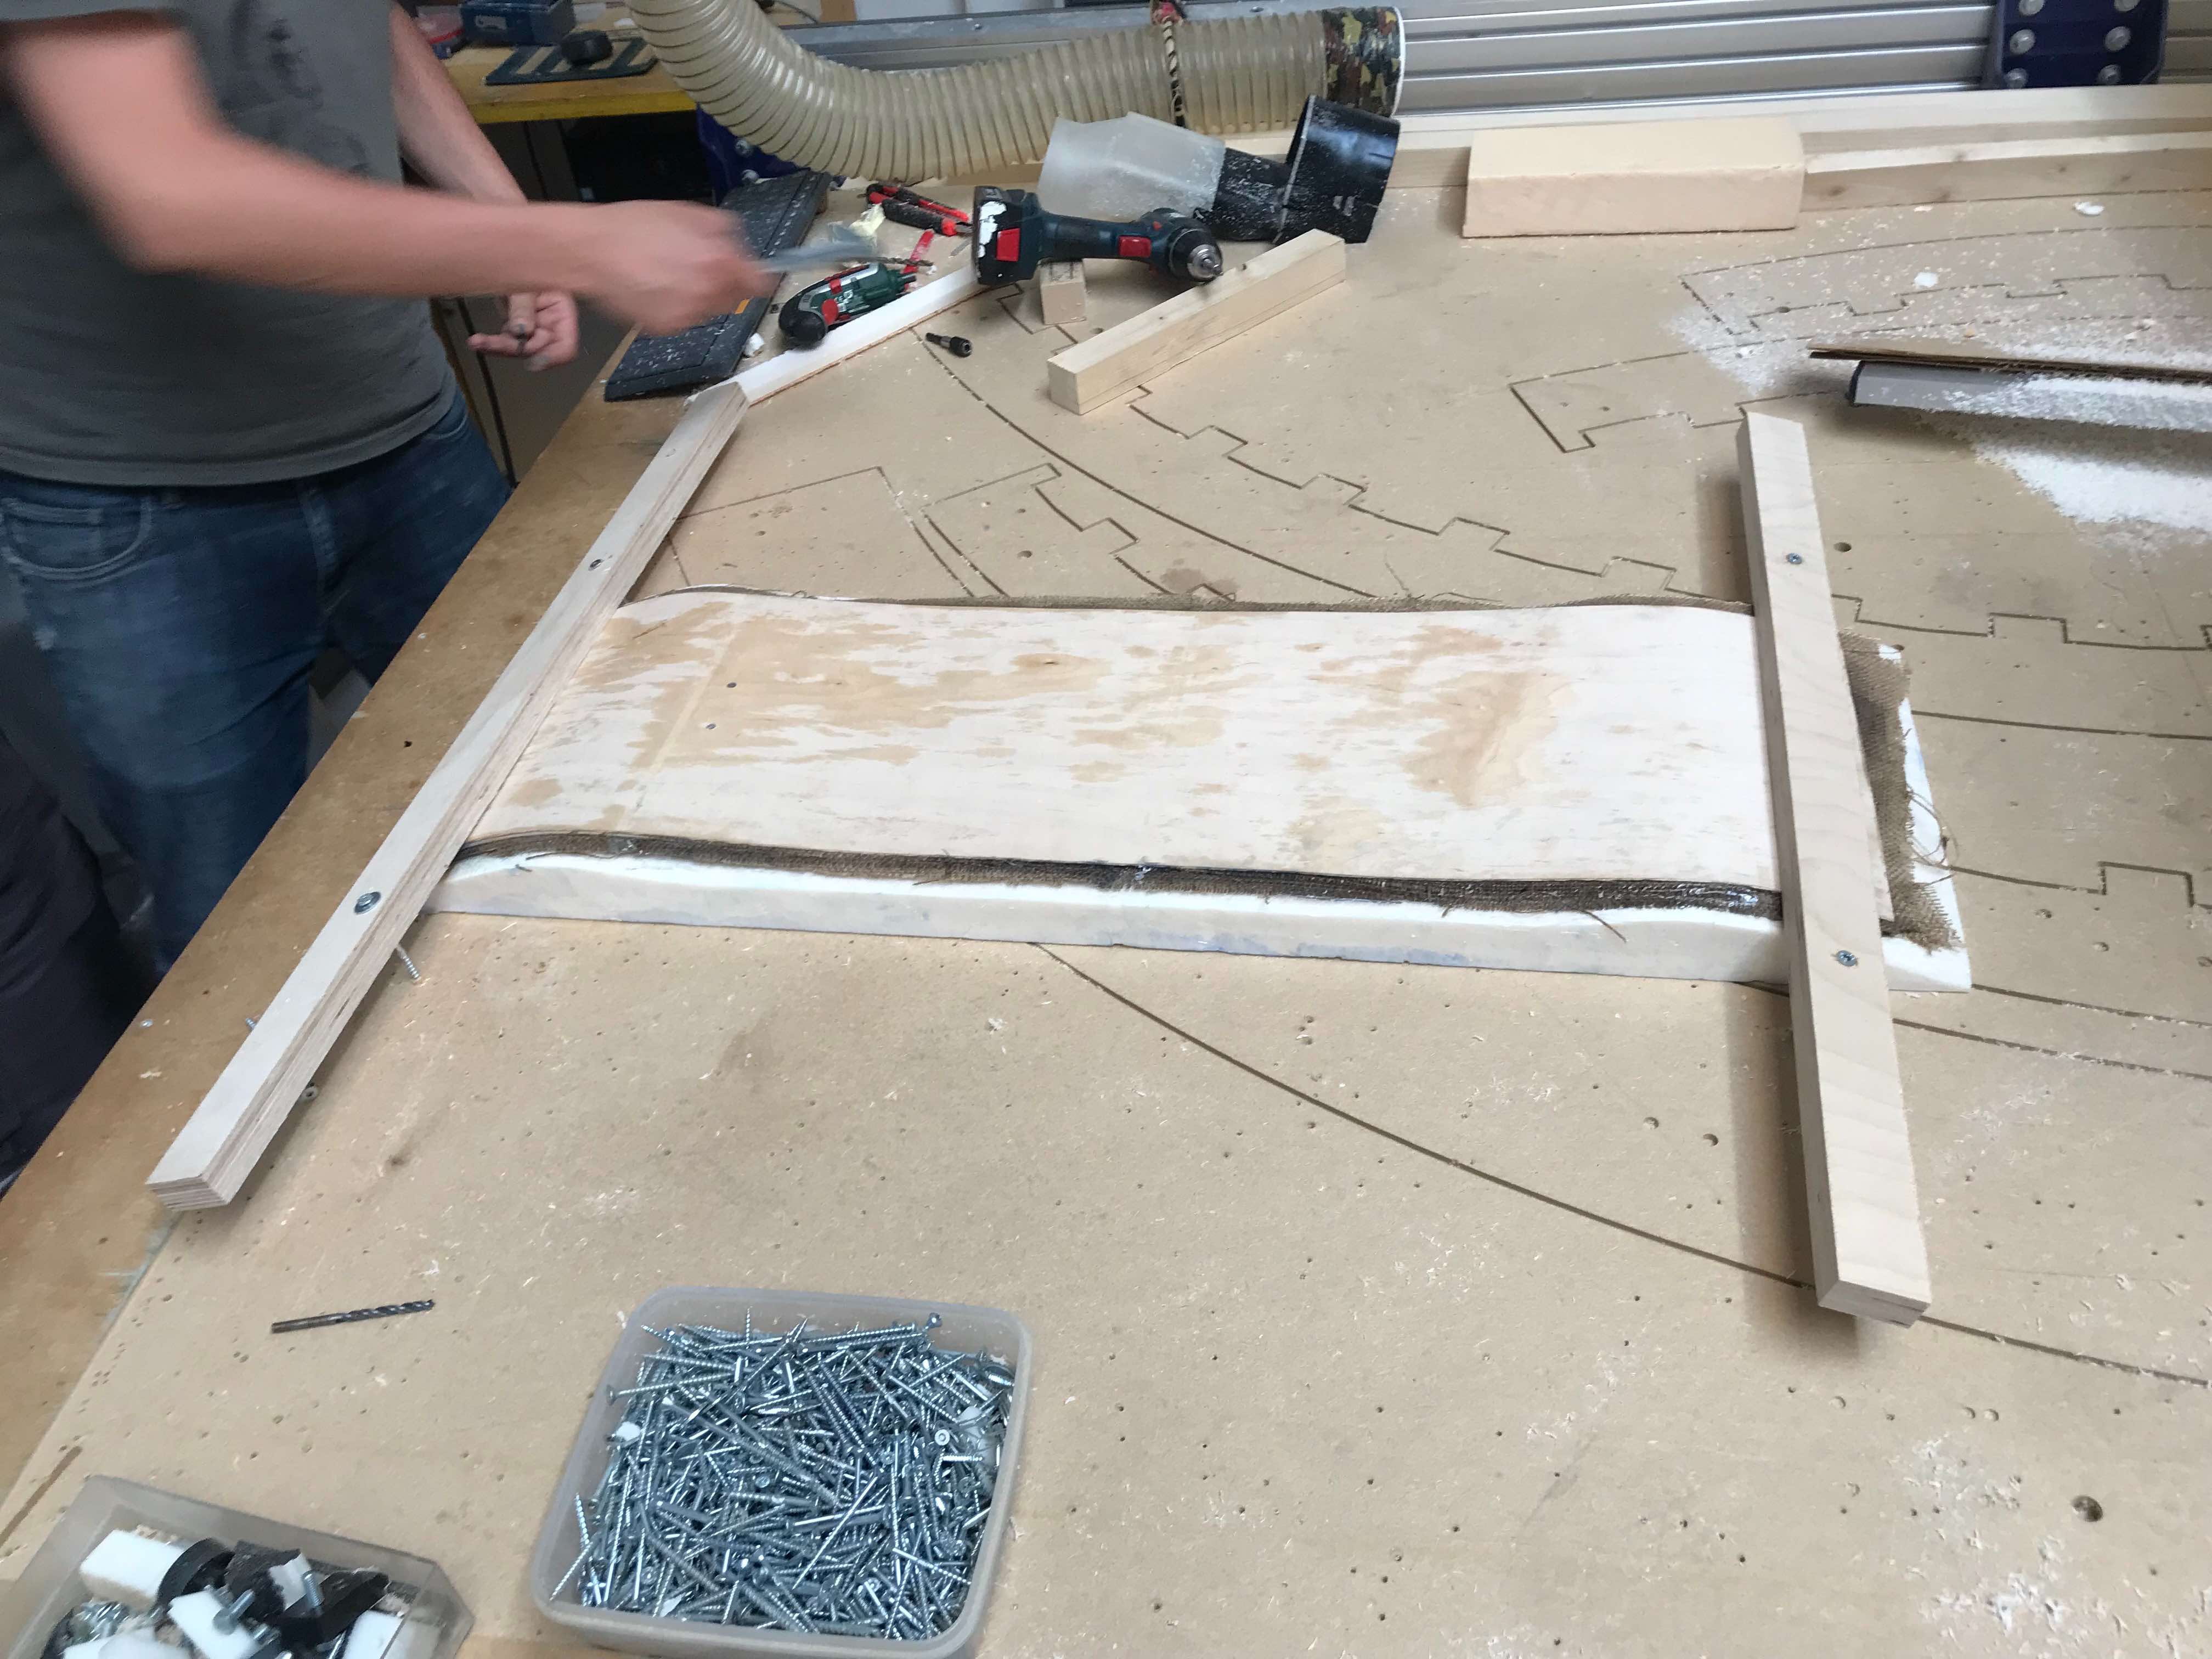
To make sure the board stays still, we used pieces of wood and screws at the ends of the mold. We will start with the holes, then remove the supports and put screws directly into the new holes to make the outline.
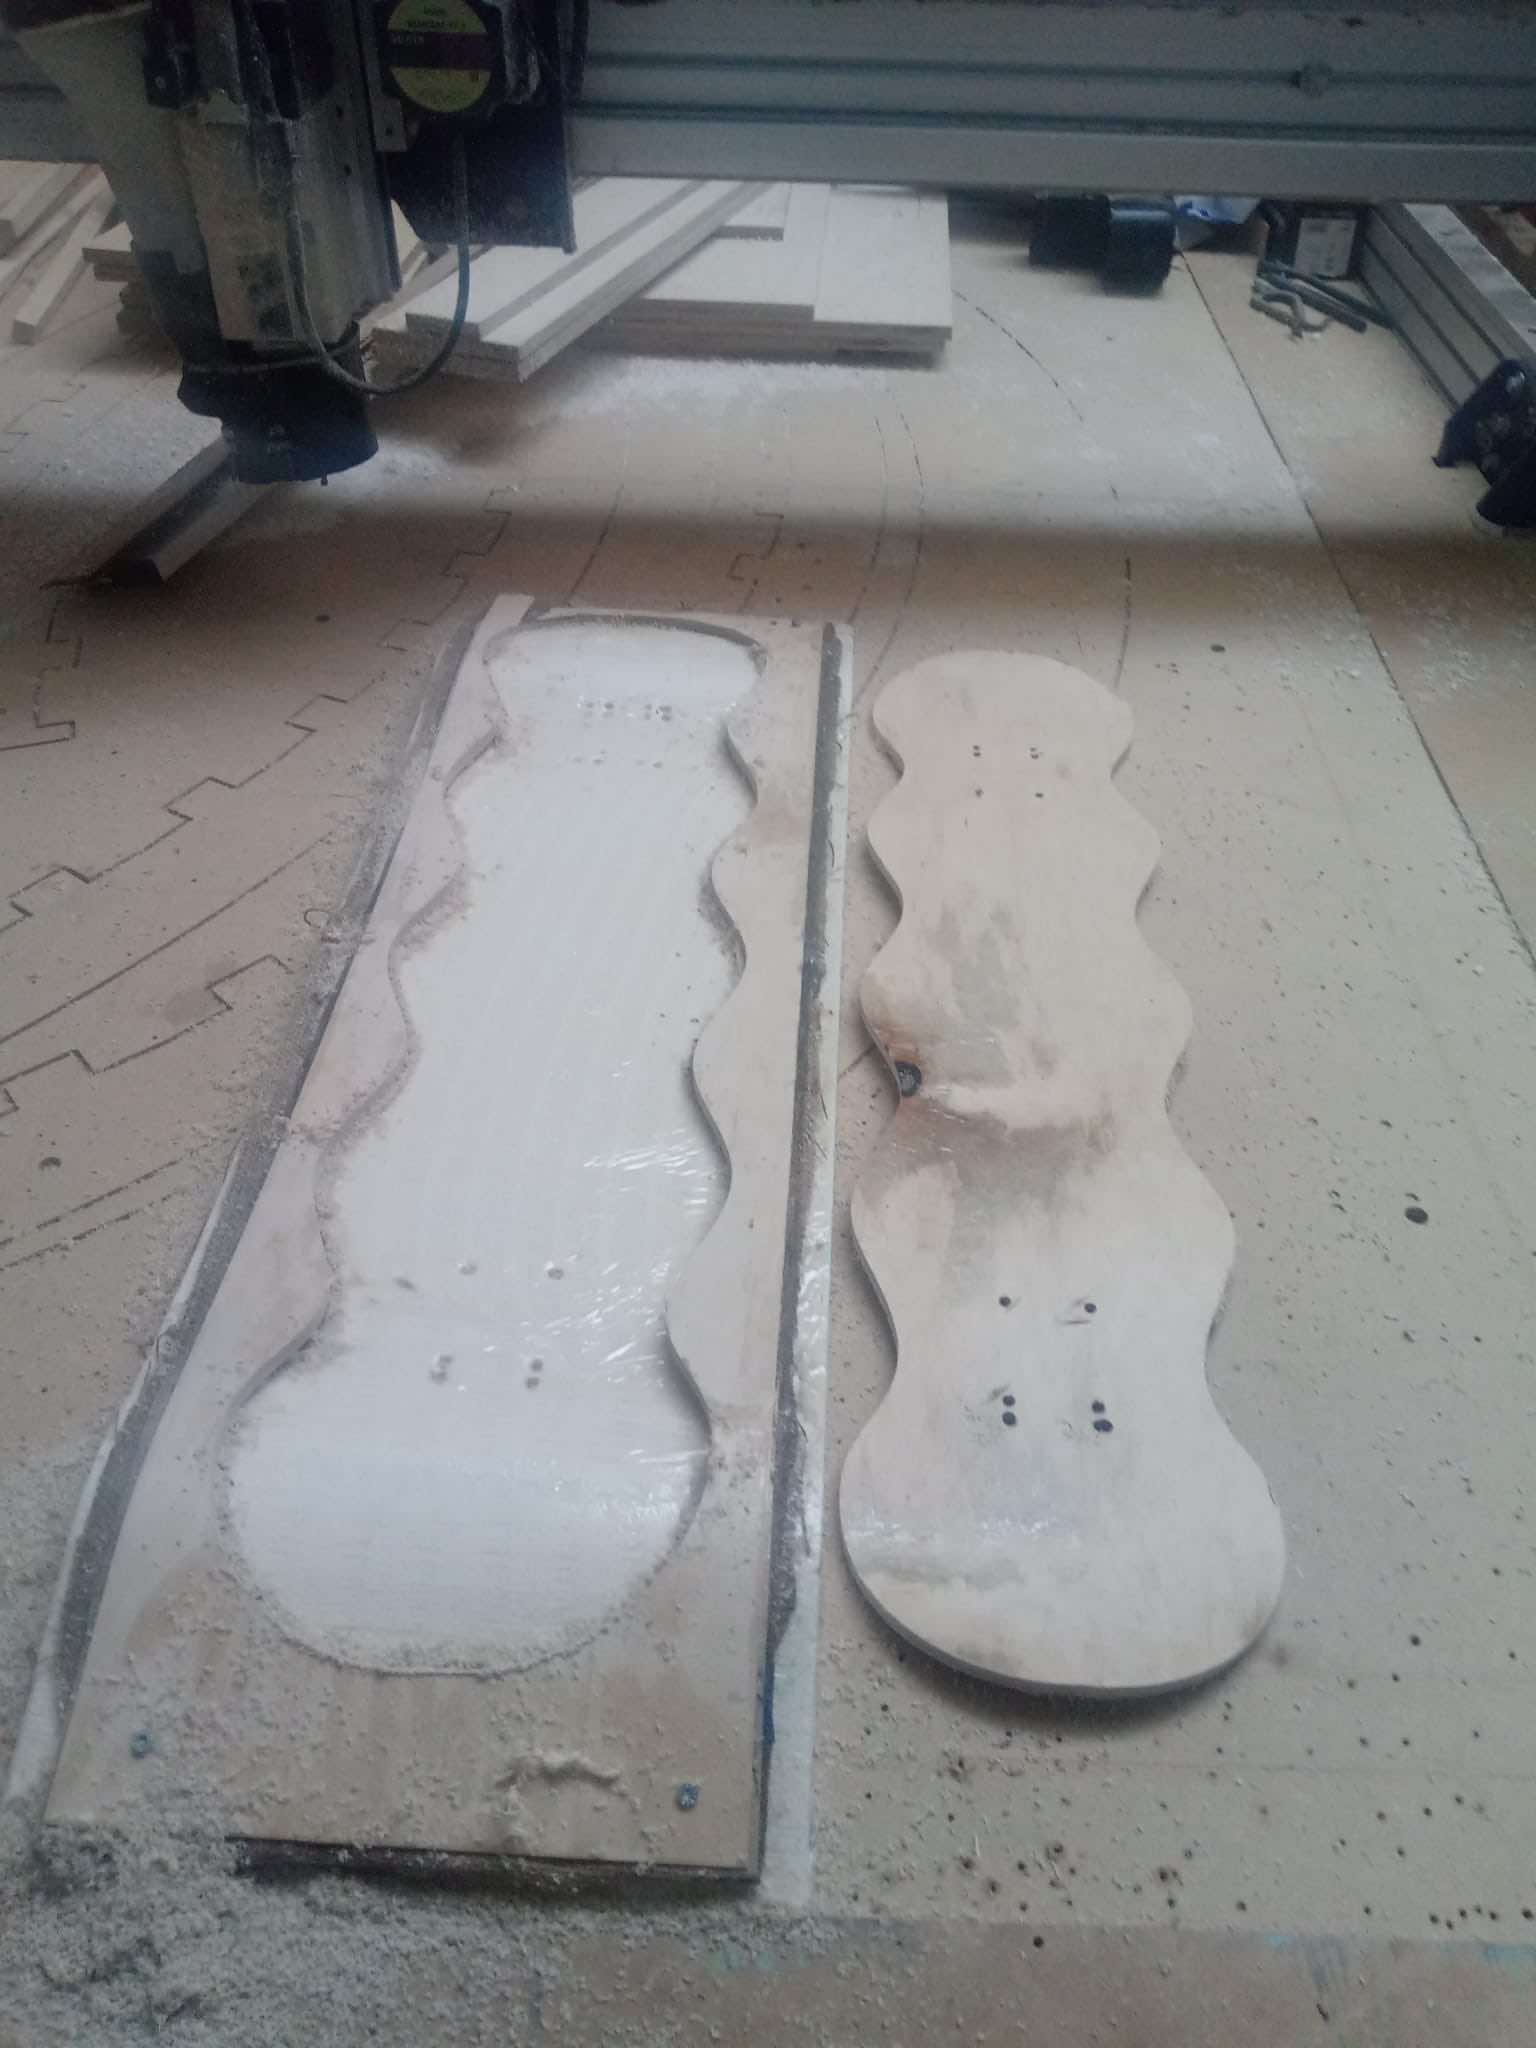
Now that we have the milled board we can plan it and we can start to draw the design on the bottom part, which we will do it using a laser cutter.
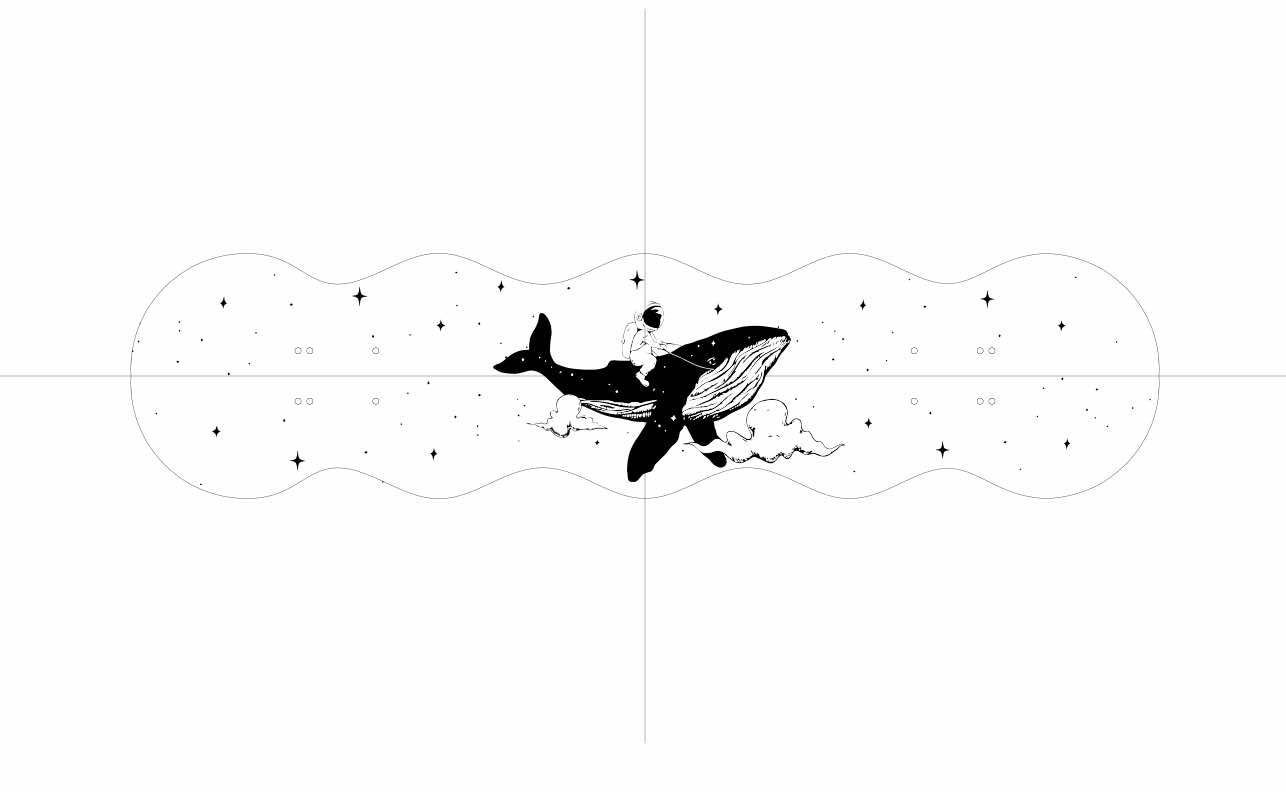
To do this we need to create a template, which we can create directly from our Fusion sketch and export it as .dxf. At this point we can open the file on any graphics program, in my case I chose to use illustrator. Once I chose the design, I aligned it in the template and now (finger crossed) let’s try to laser it.
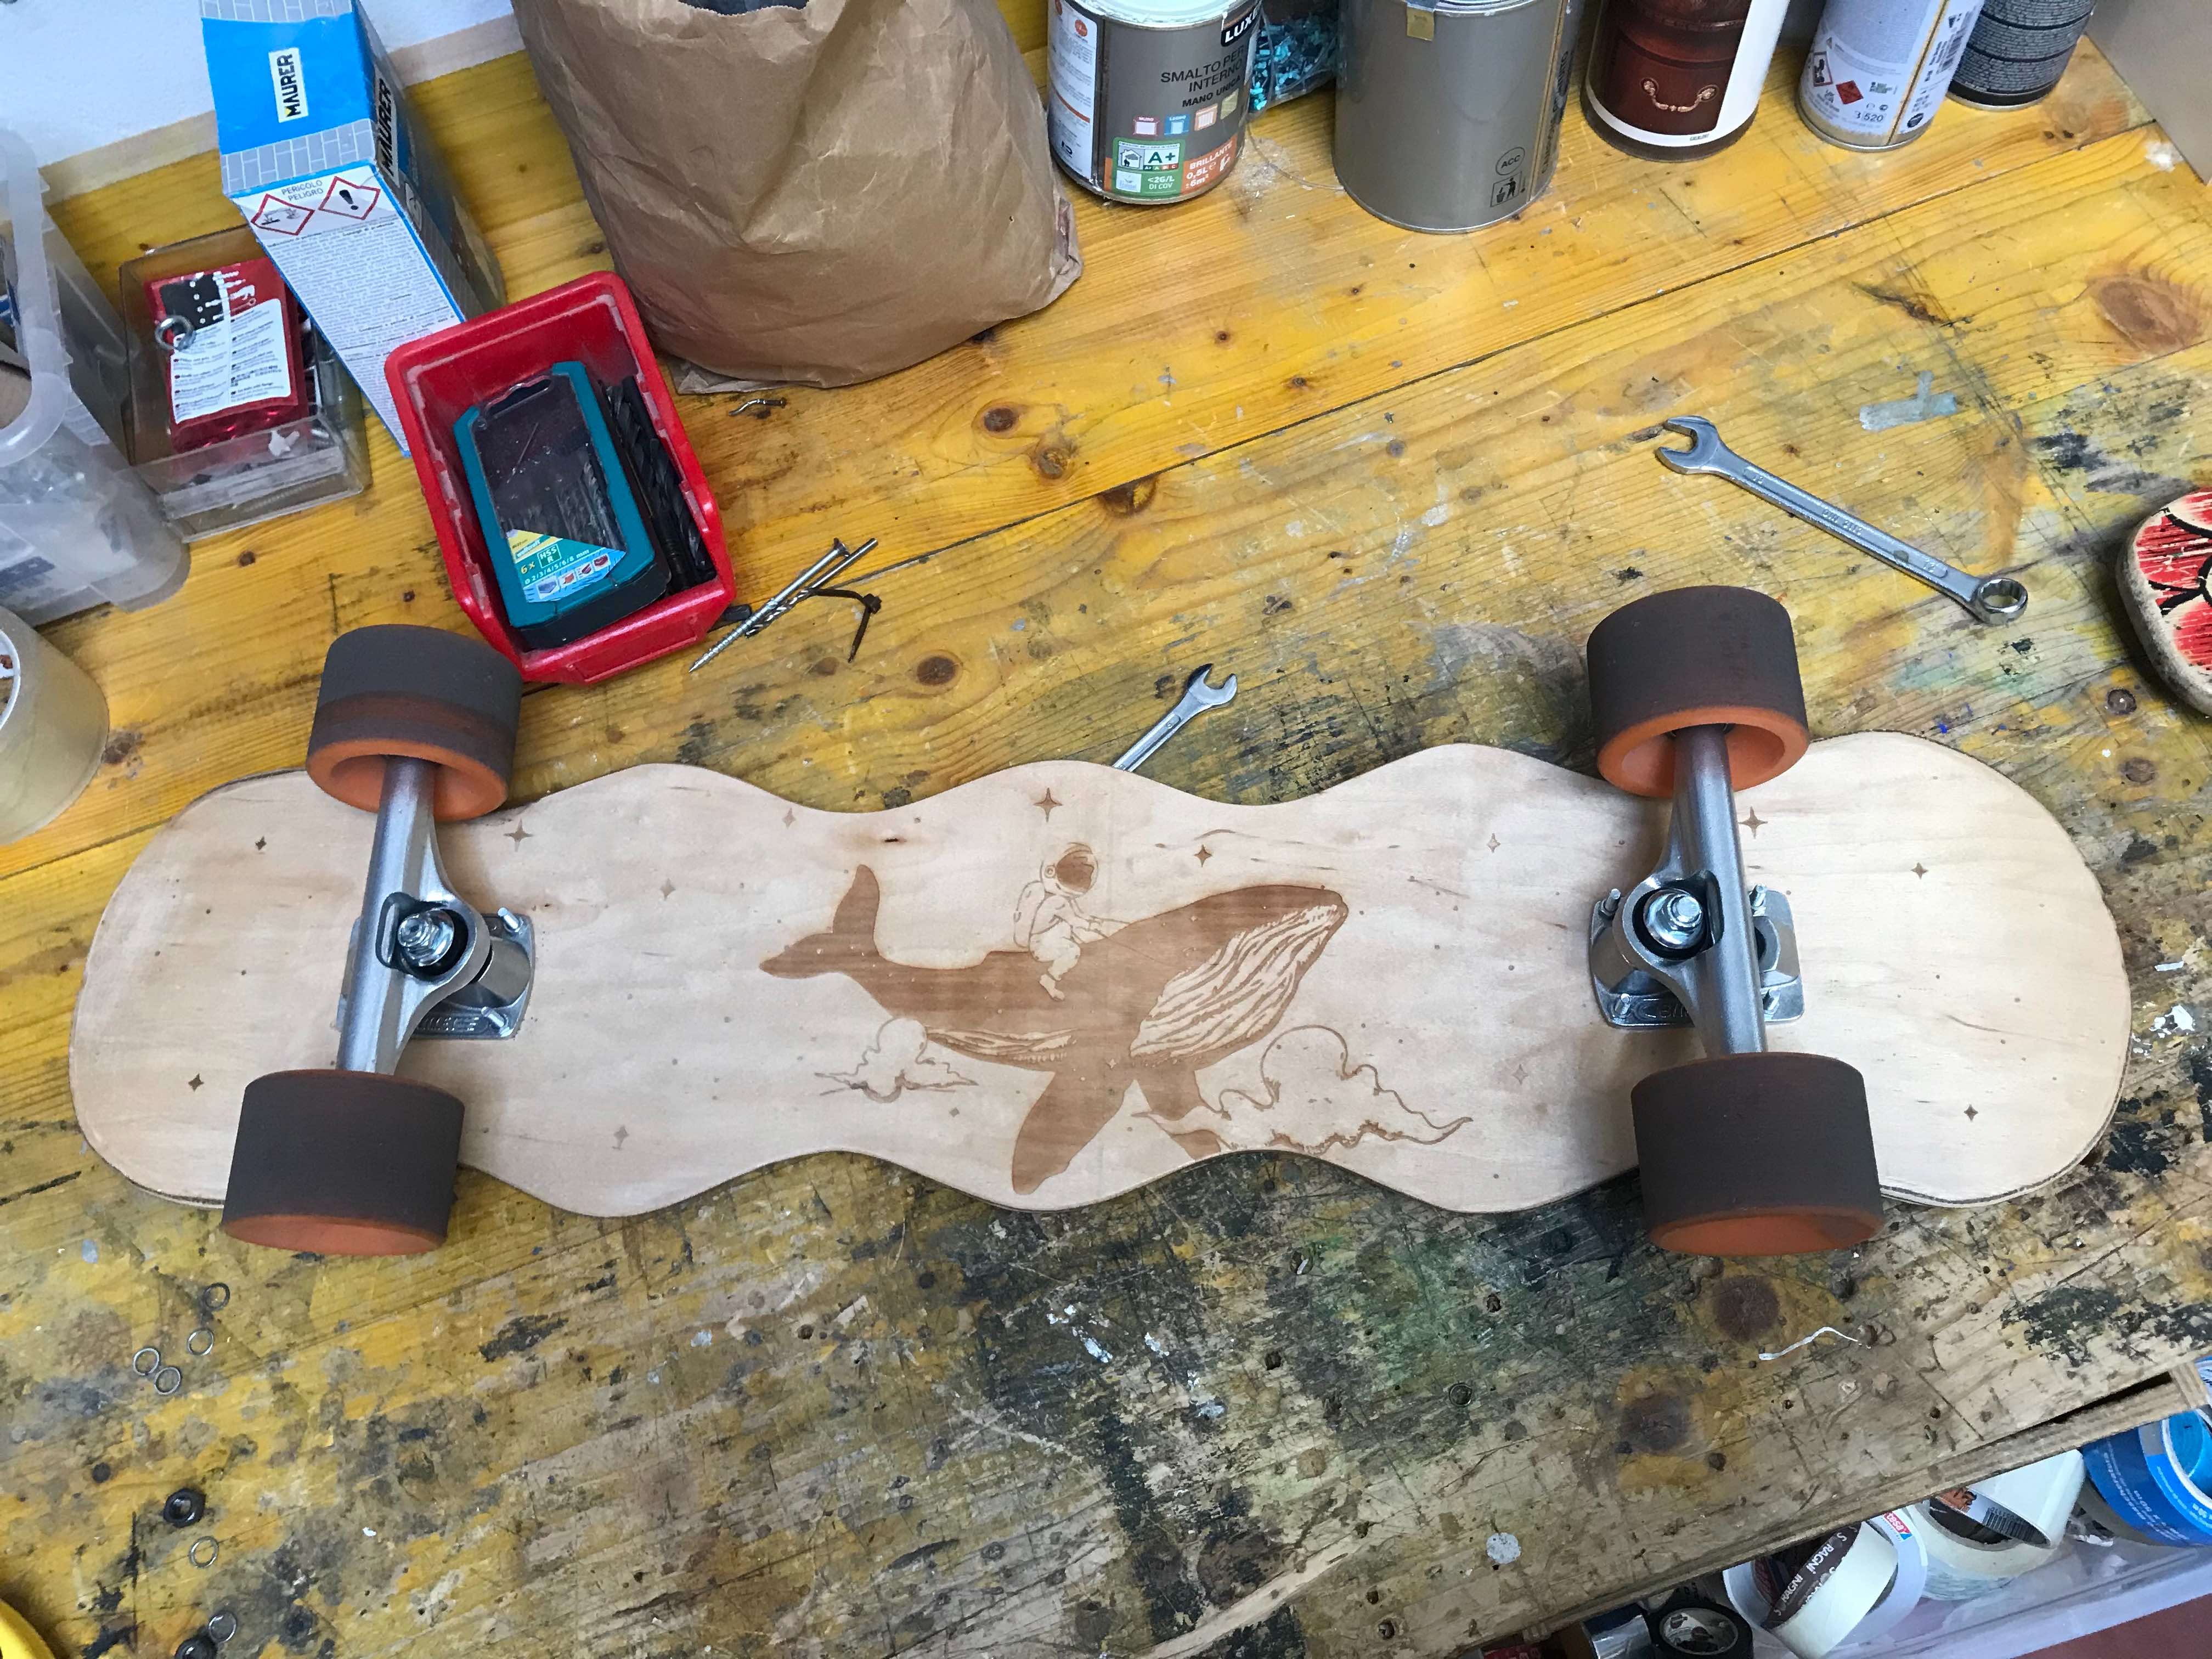
Now I just have to open the file on rhino and prepare it to be lasered. We have to align the board with the drawing on the program, to do this we manually move the laser from the far left side to the right, taking the x and y coordinates that the machine suggests and making them coincide with two points that we will draw on the file following the coordinates. We can do a test using the outline of the board, to understand if everything is correctly positioned (TIP: leaving the door of the machine open, the laser will move but it will not work, by doing so we can move our board in real time and align it with the laser path). Then we set speed to 80 and power to 100 to make the raster of the drawing and GO! This is the result:
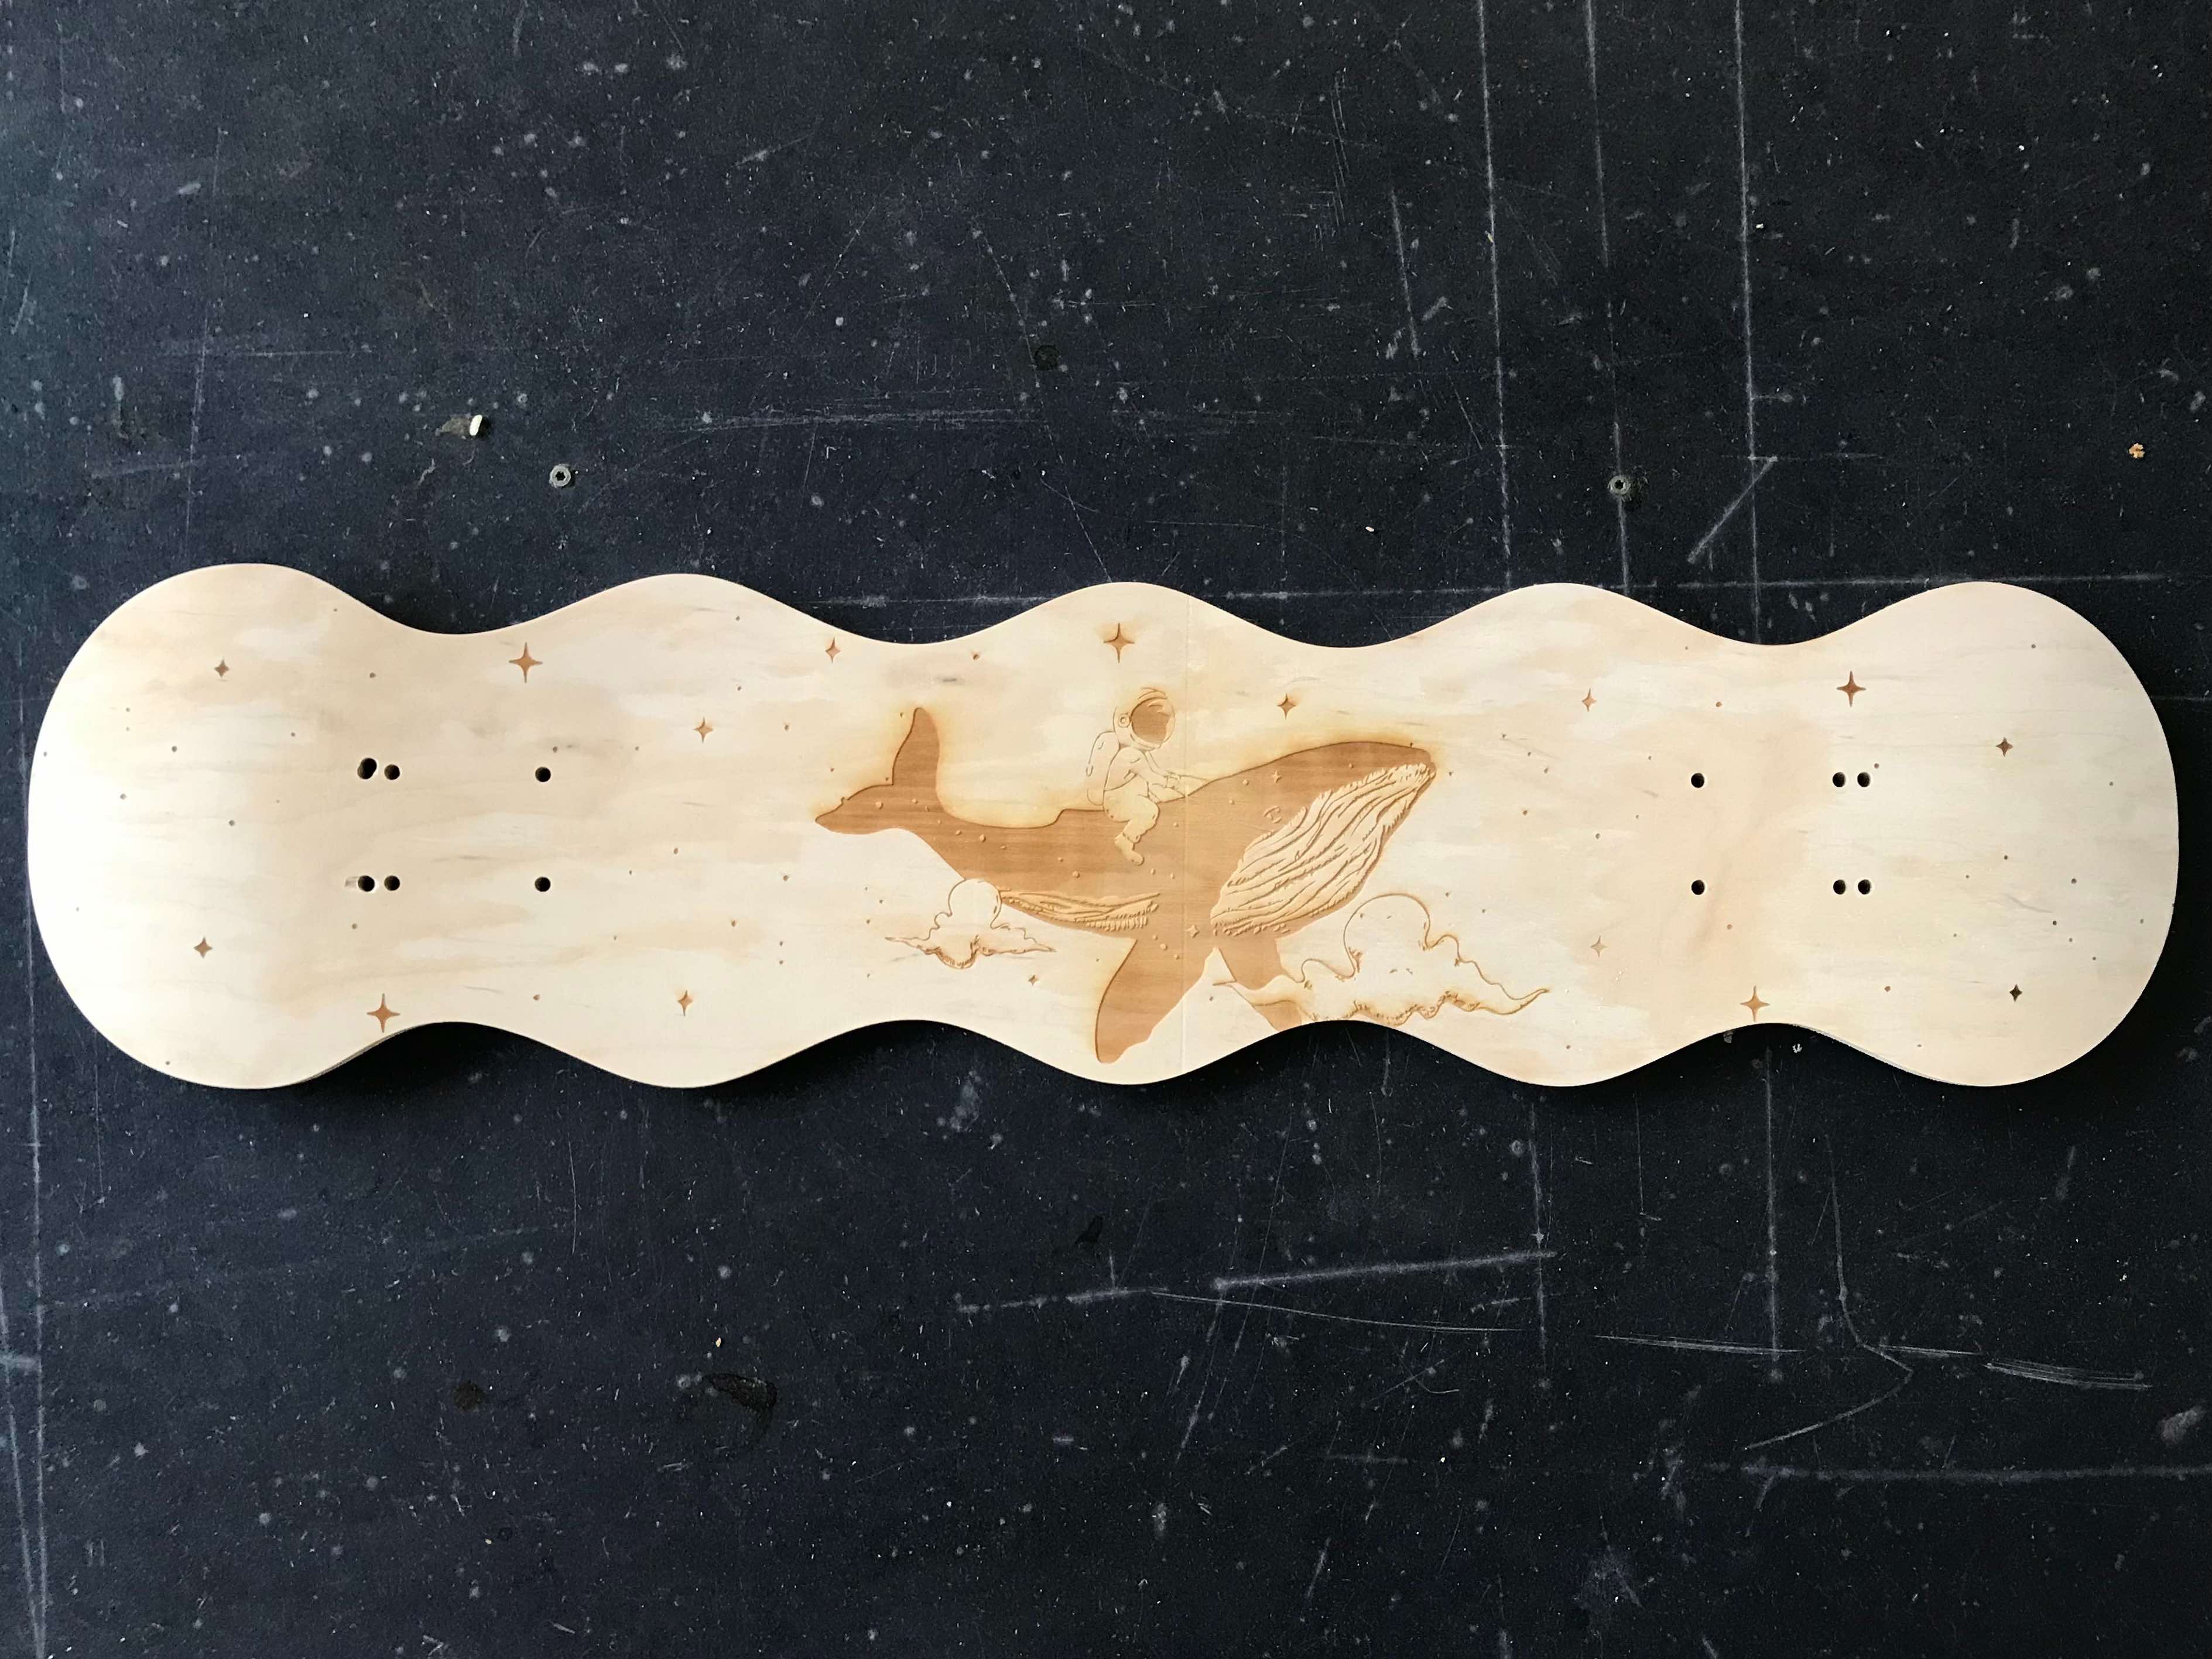
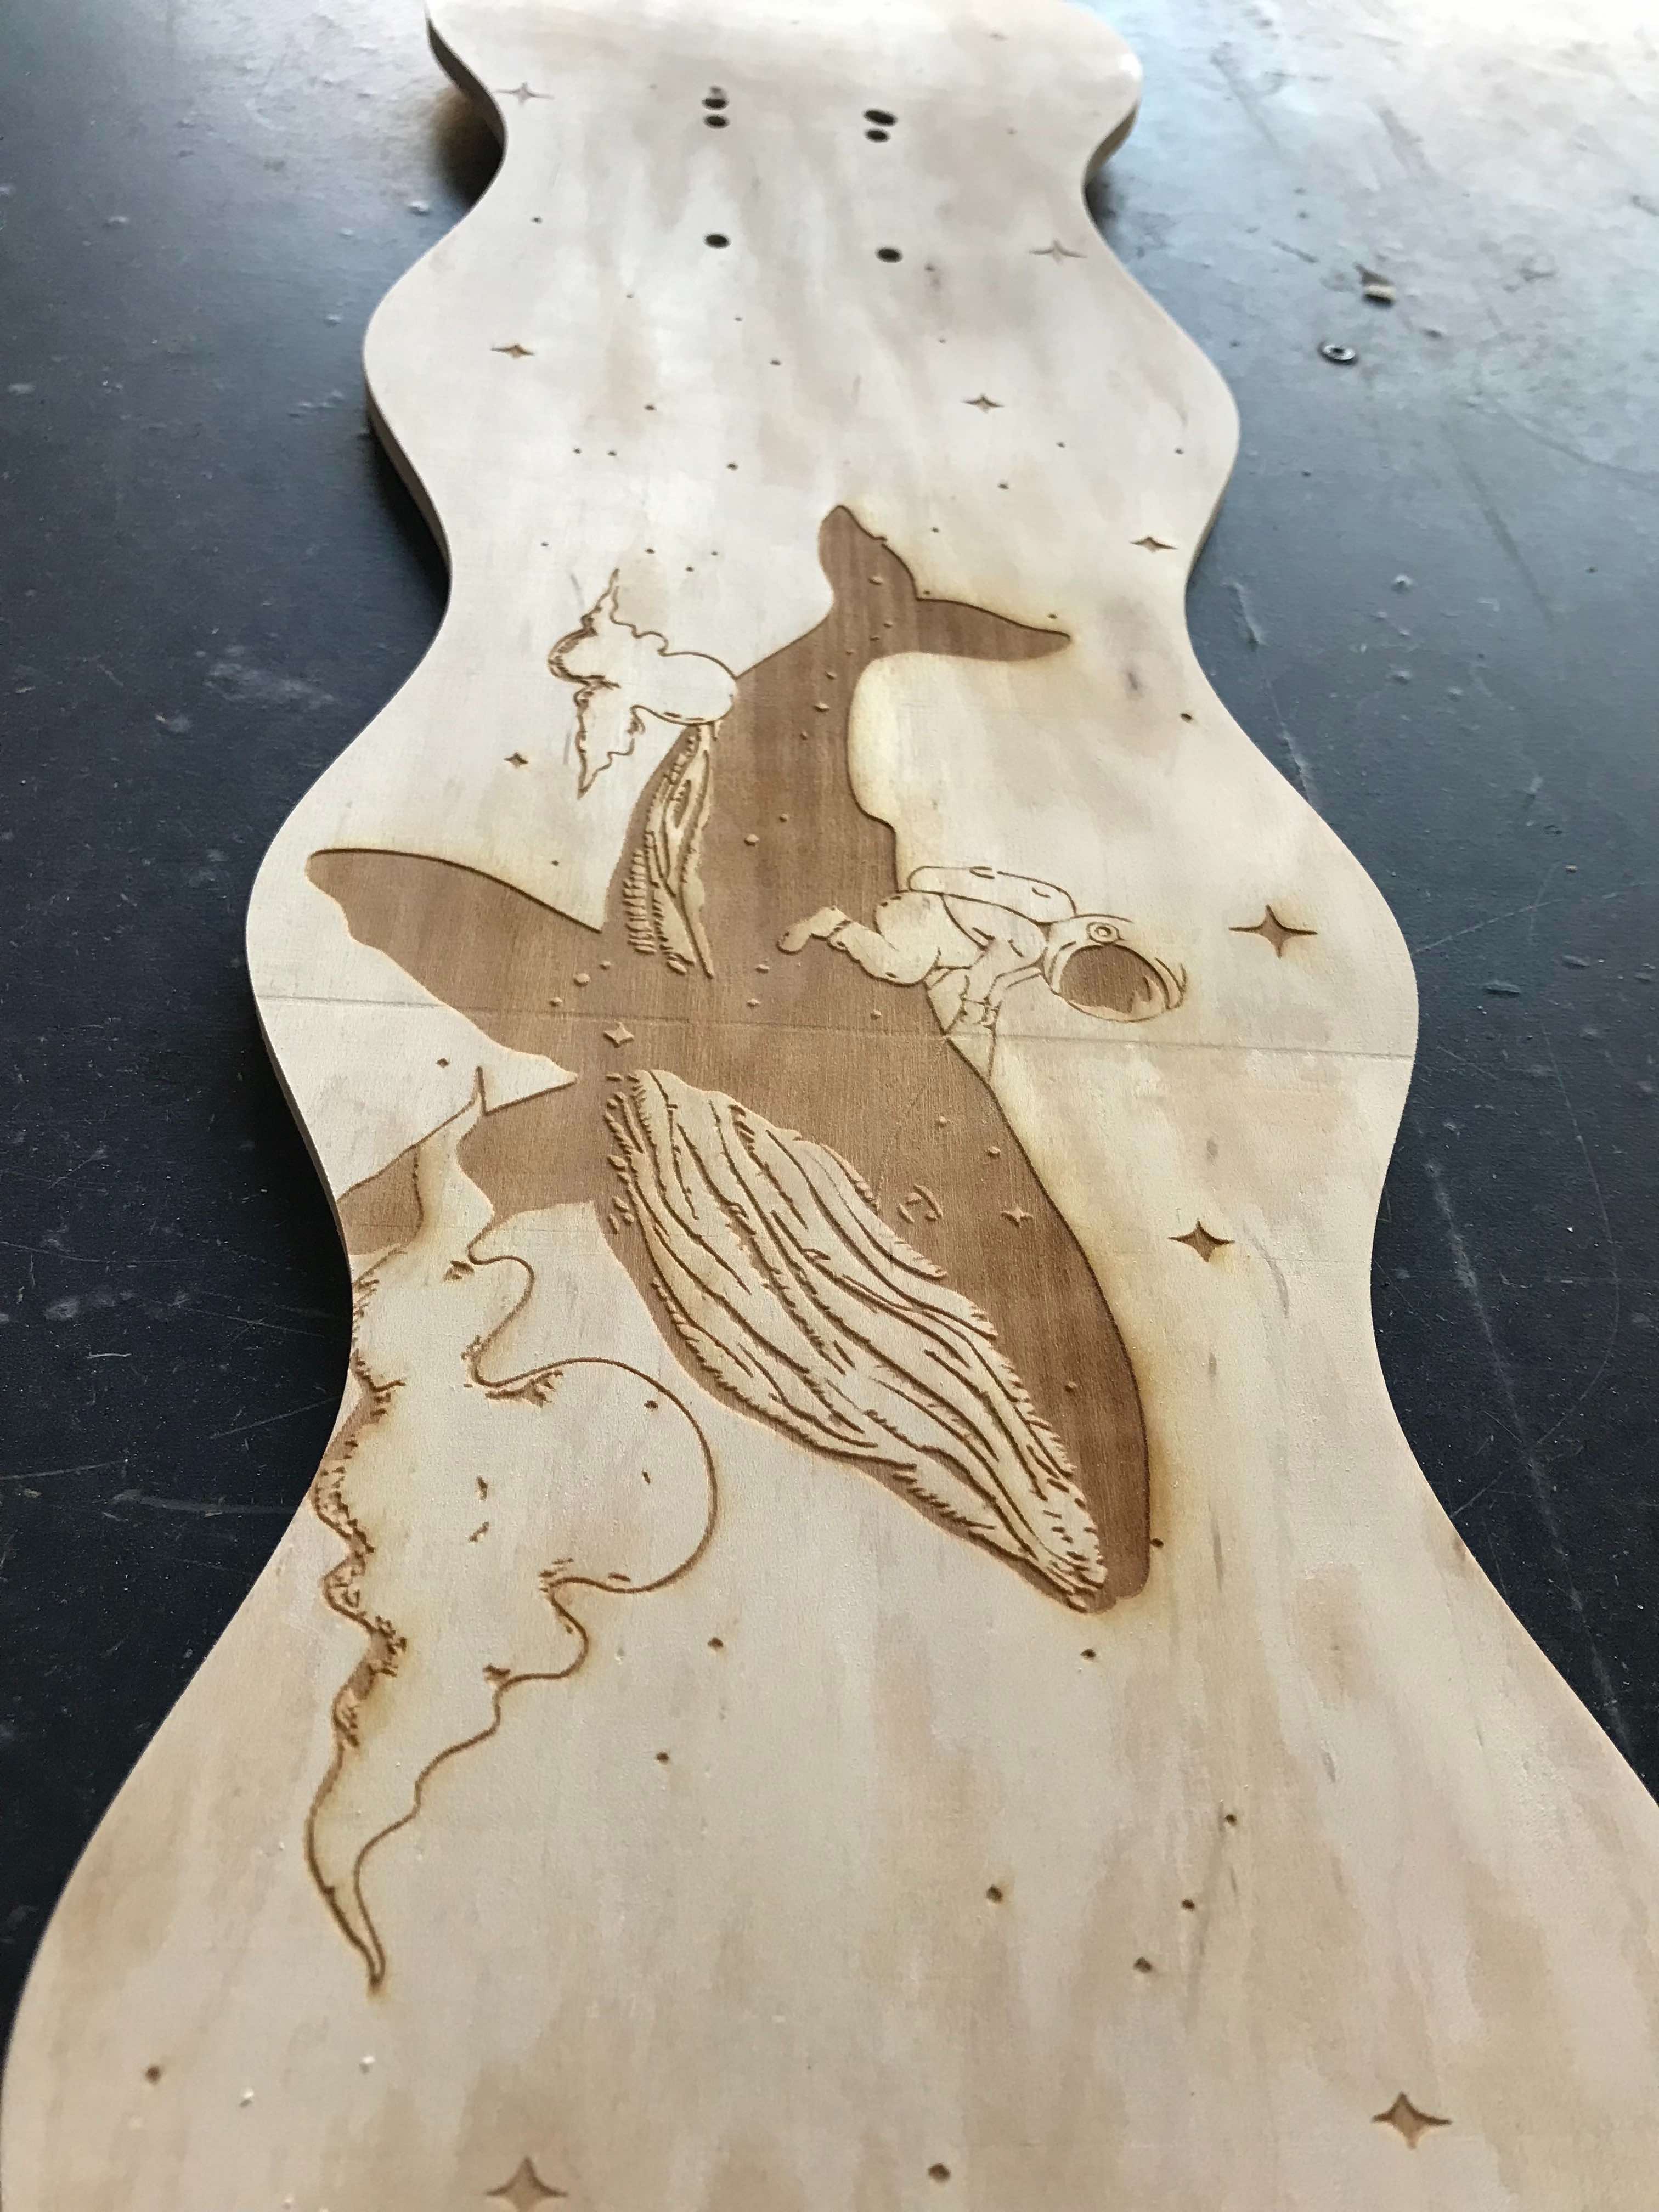
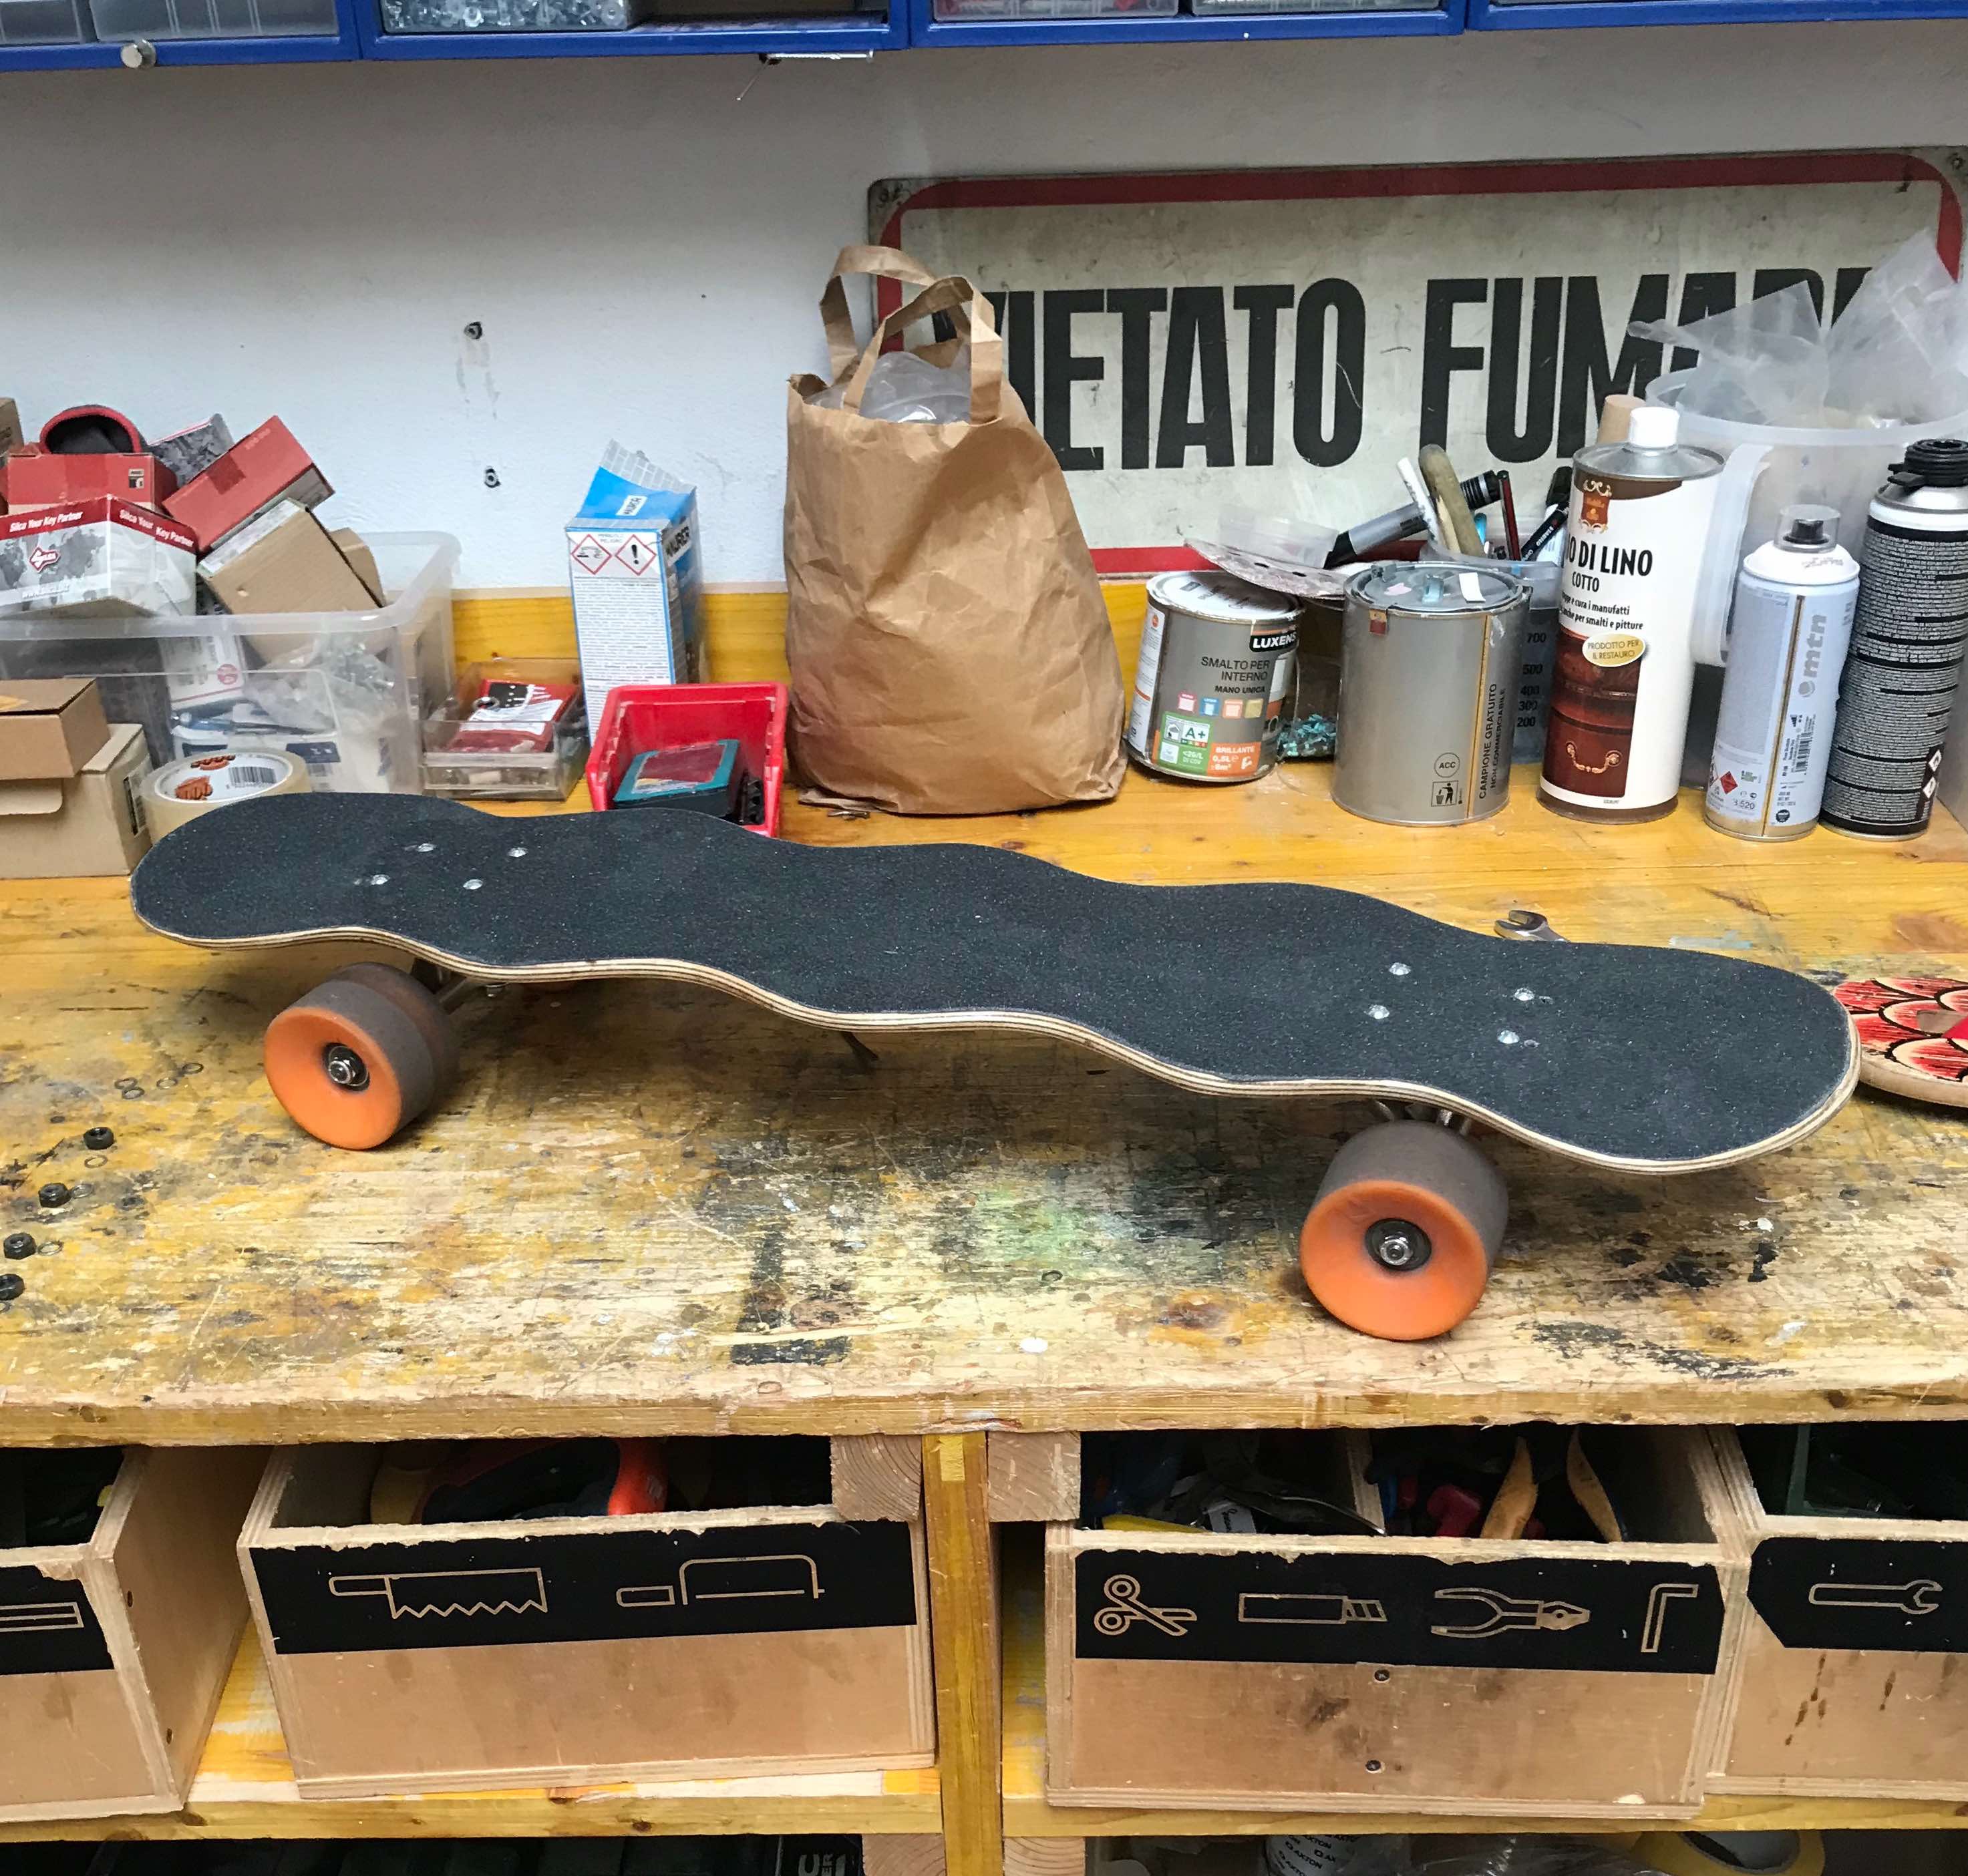
We just have to sand it and make the profile more rounded and we can move on to the painting part. In the end we can assemble trucks and wheels and we are ready to go.
Here’s your weekly meme: