As you can see from the images, we did some tests with the lasercutter.

Once we choose the material we are going to use, the first thing to do after placing it in the machine is to calculate the focus. This is done automatically by the machine, just by attaching a small tip to the side of the laser which, by pressing the “auto-focus" button, will lower/raise the surface according to the thickness of the chosen plate.
Another thing to keep in mind is the fan. Whenever we use a laser cutter, the fan must be on before, during and after cutting. Otherwise, there is a risk that the smoke escapes and is breathed in by those who are using the machine or by those around it.
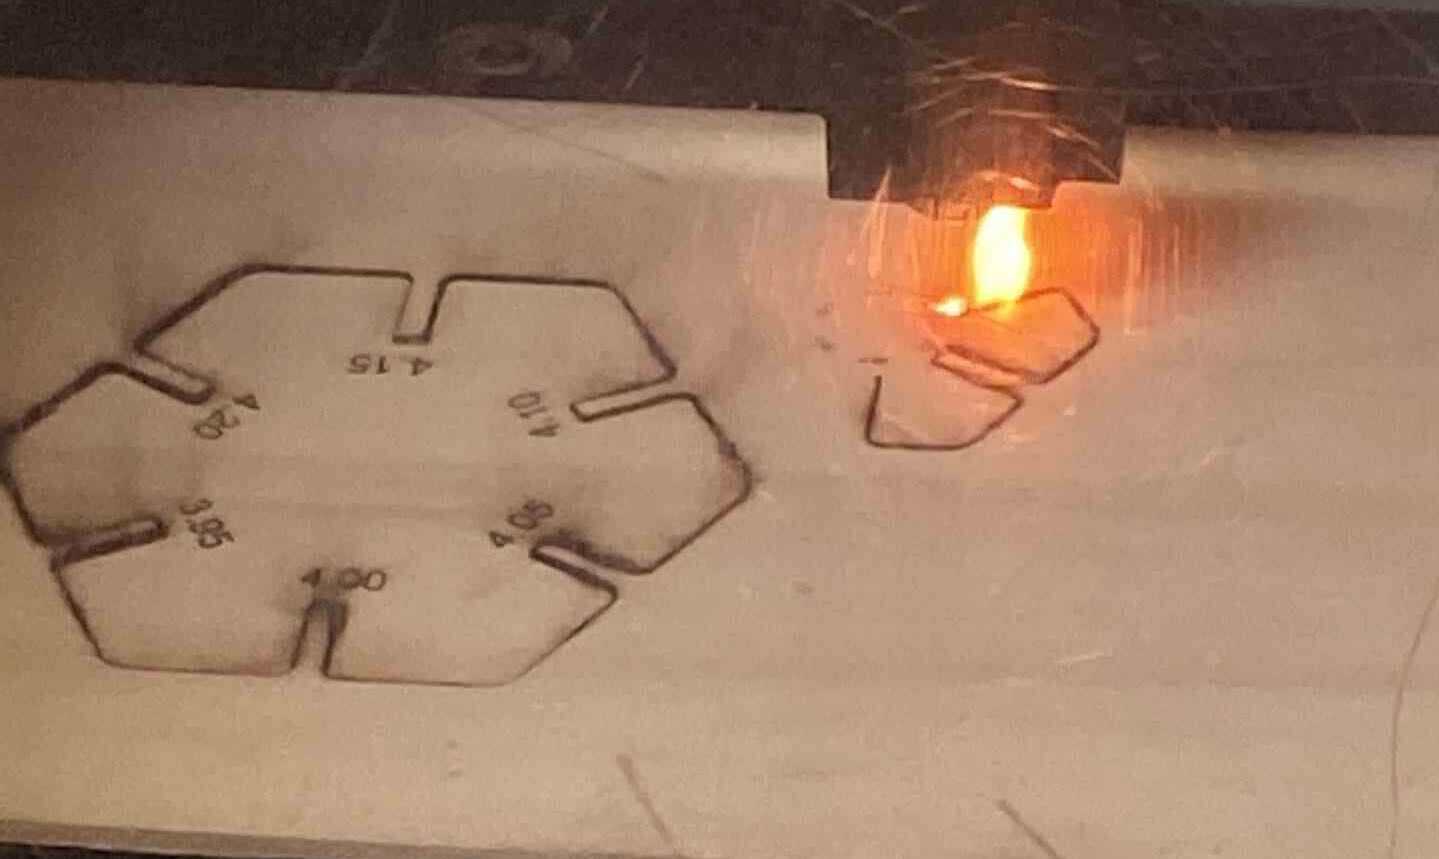
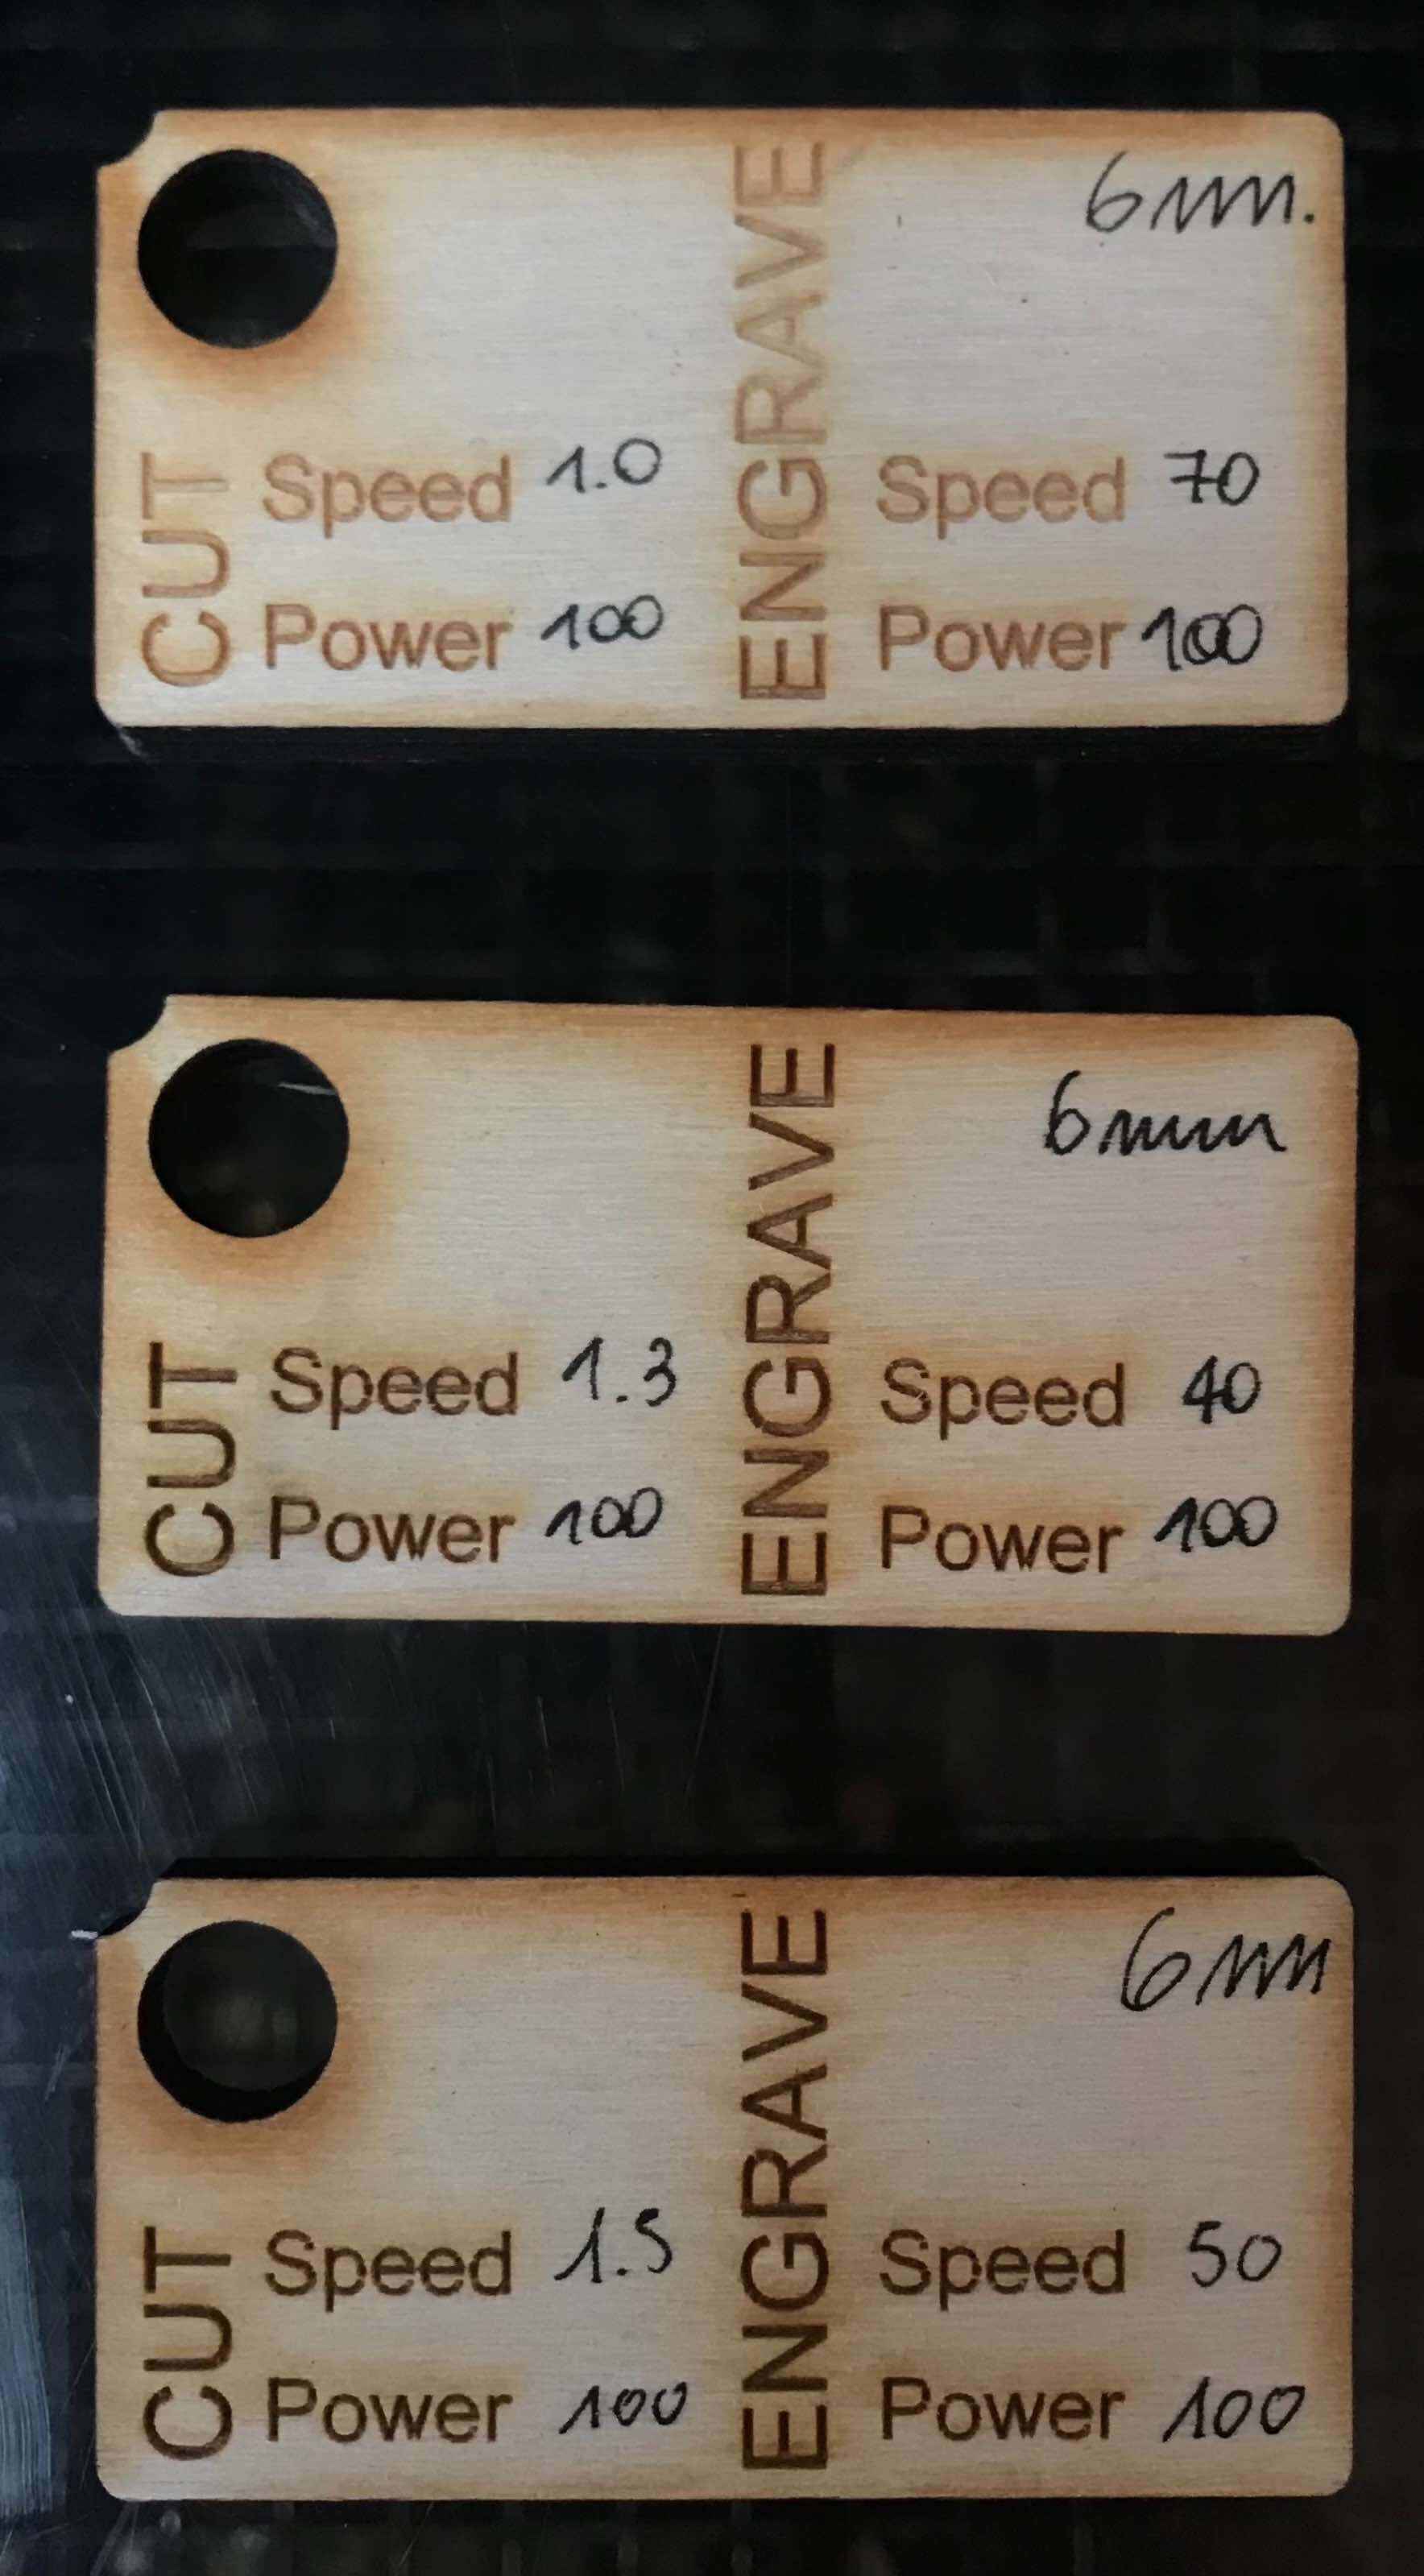
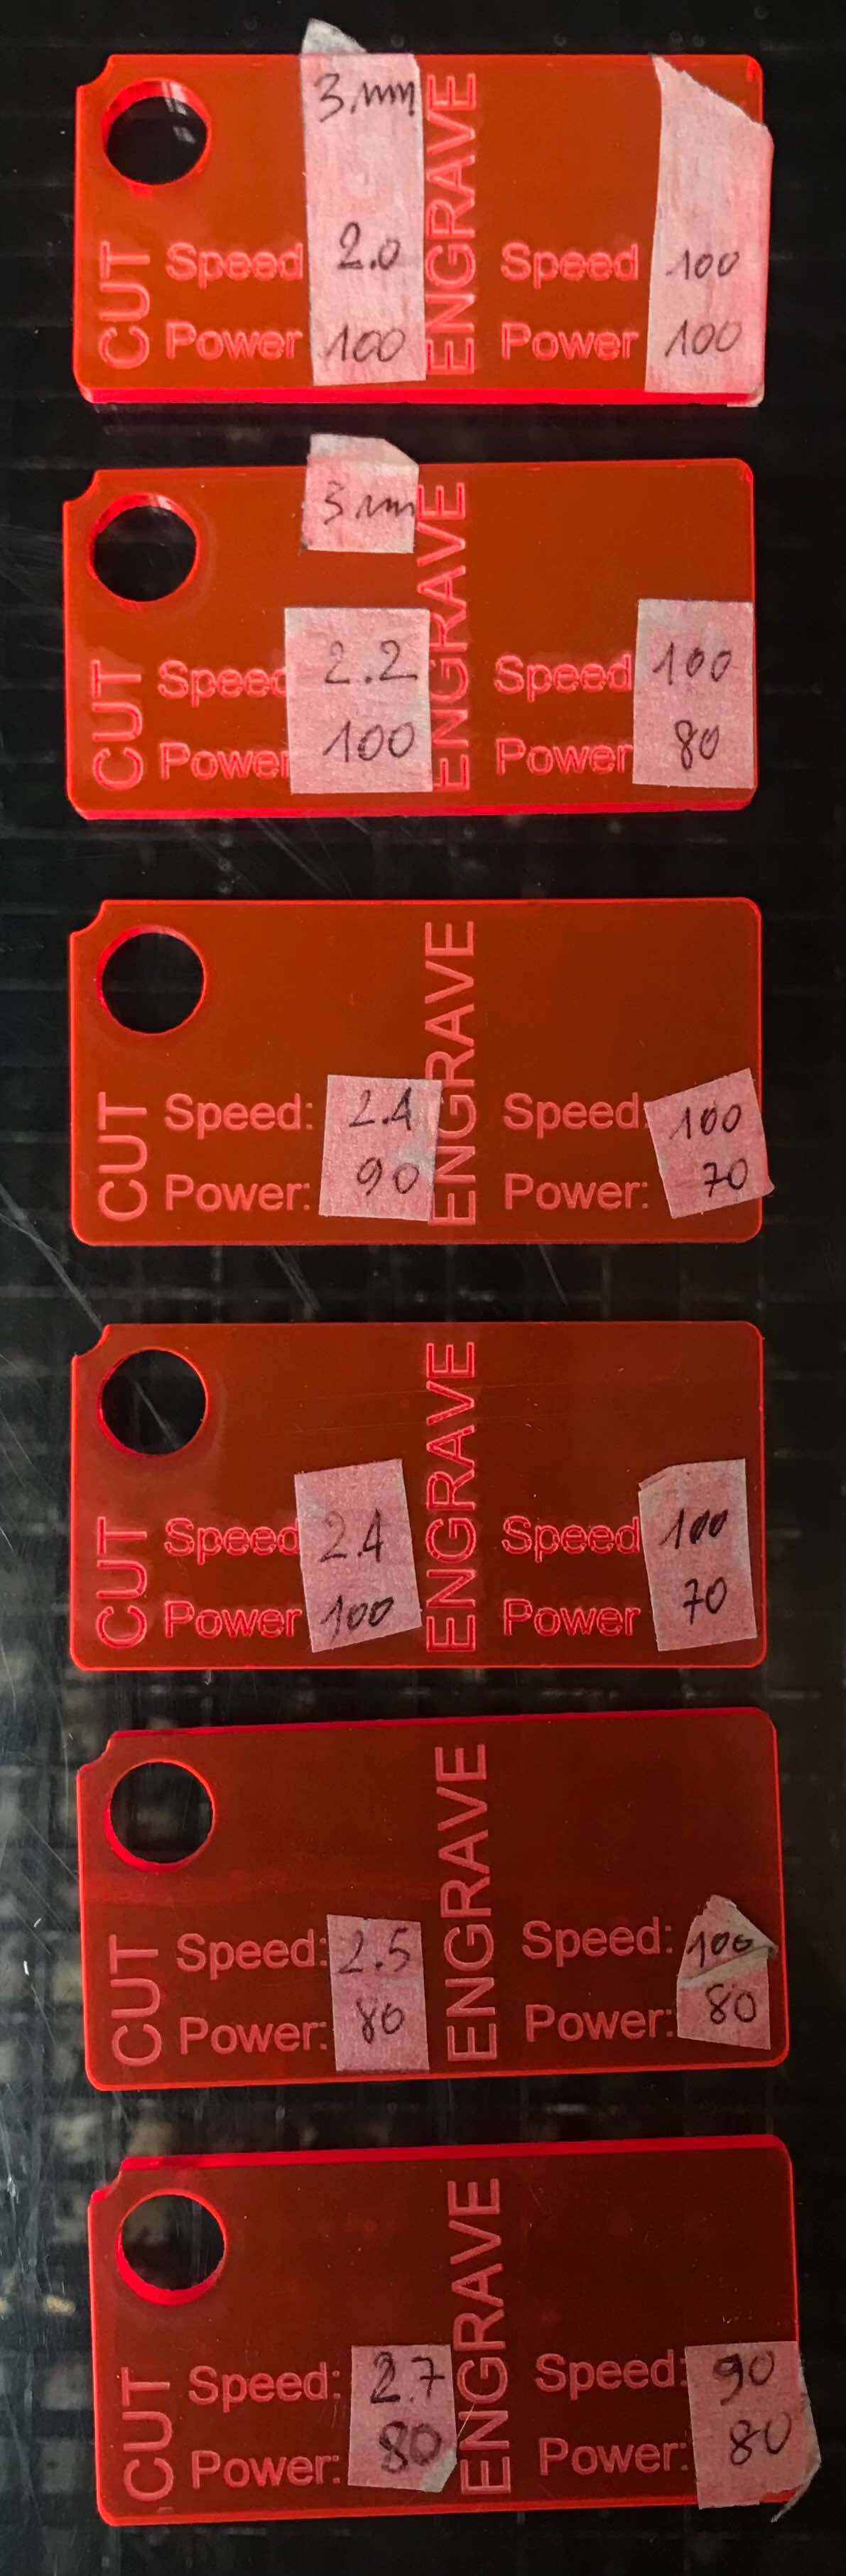
Now that we have said the basic rules we can proceed with our assignment. First we drew tags to calculate speed and power for both the cut and engrave. We did some tests on the wood (also using different thicknesses of the material) and then on the acrylic, until we arrived at the final result. We started by drawing on Rhino two hexagons with joints. We drew the joints with depth 15 and did a polar array. We selected 4mm wood and made each joint, starting from 3.95mm wide, with an increment of .05 for each.
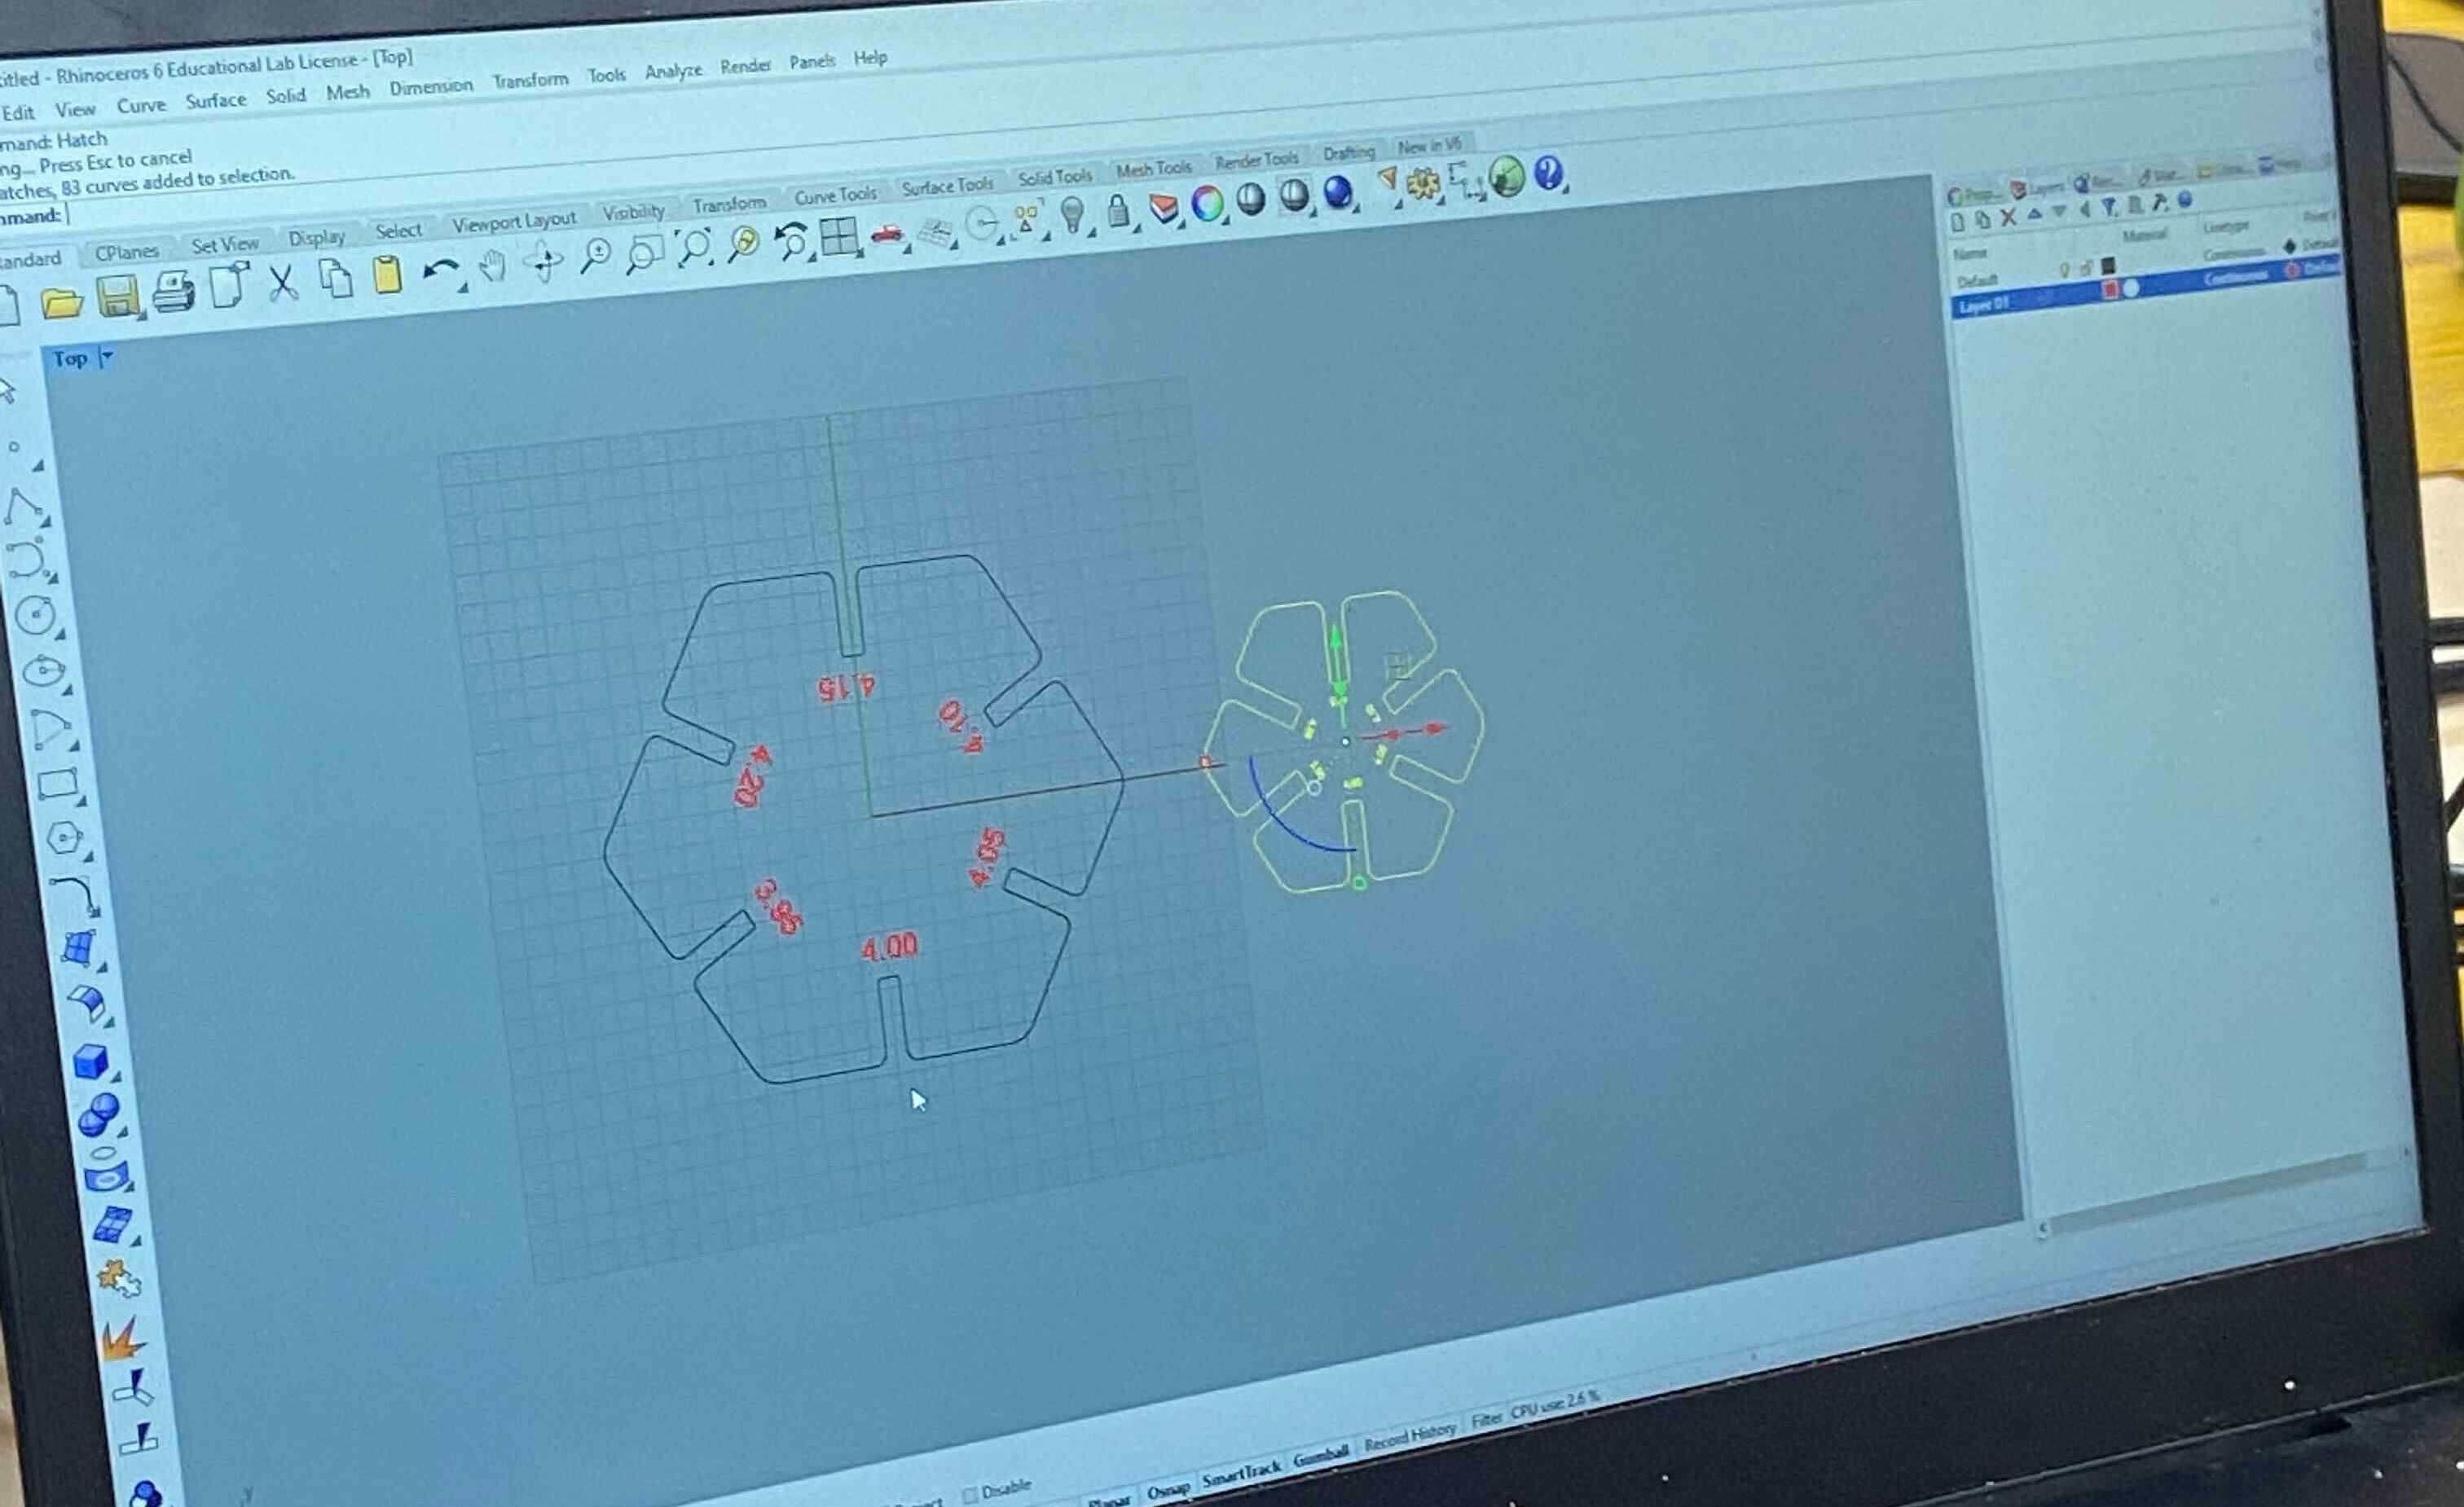
Subsequently we designed modules with joints of different sizes for tests on the kerf on wood, and we understood the importance of this value when we have to design objects with perfect joints. We set the power for the engraving level in Rhino at speed 0.9% and power 100%. We started with the fear and the fascination of setting something on fire, and well, we managed to: