Wildcard week
This week we will design something with a digital manufacturing process (incorporating computer-aided design and manufacturing) not covered in another mission, documenting the requirements your mission meets and including everything necessary to replicate it.
Digital embroidery
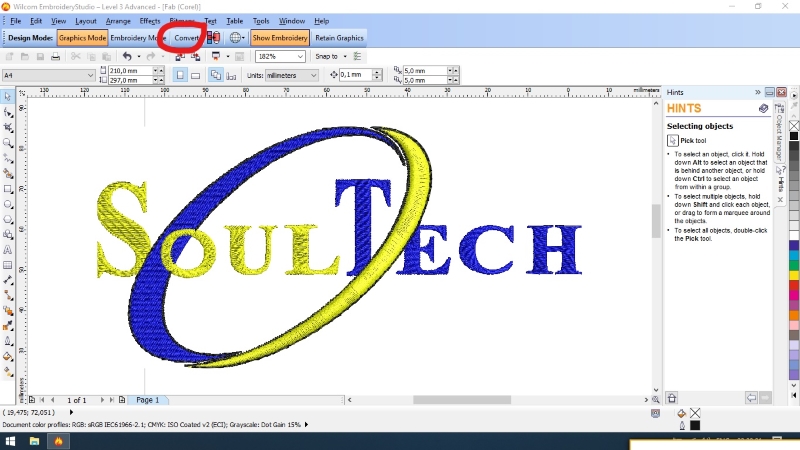
In this week we will focus on digital embroidery. To do this, I designed a logo on Corel DRAW and exported it to Wilcom EmbroideryStudio.
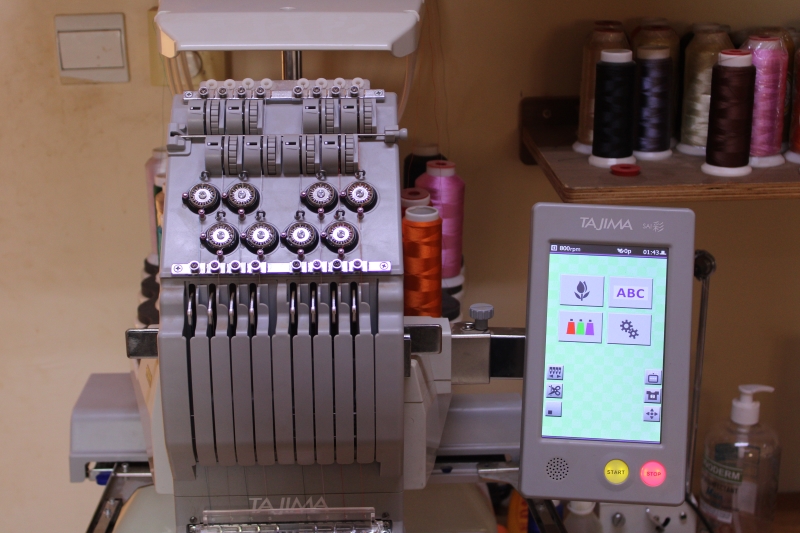
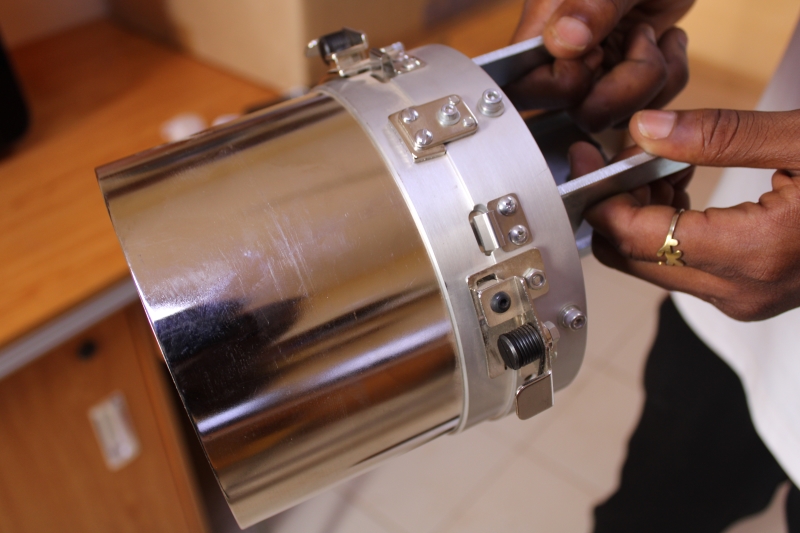
TAJIMA embroidery machine
TAJIMA SAI MDP-S0801C (200*300) S, is a machine to embroider 08 colors a head. It has 08 needles and a tubular frame with two sizes.
TAJIMA-SAI
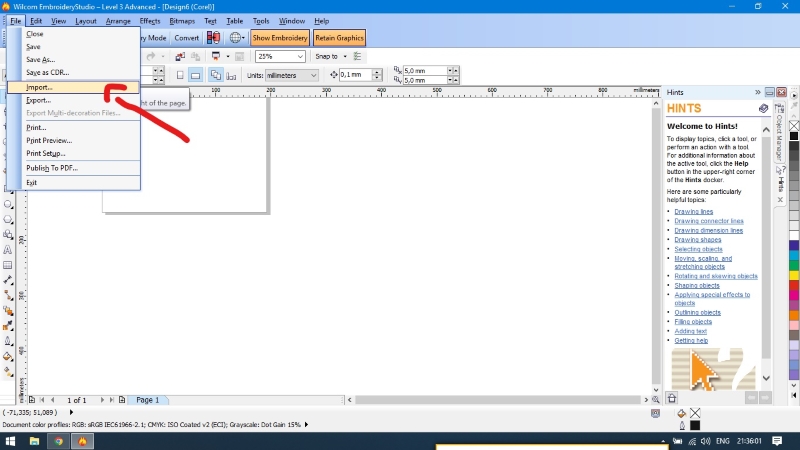
Machine software
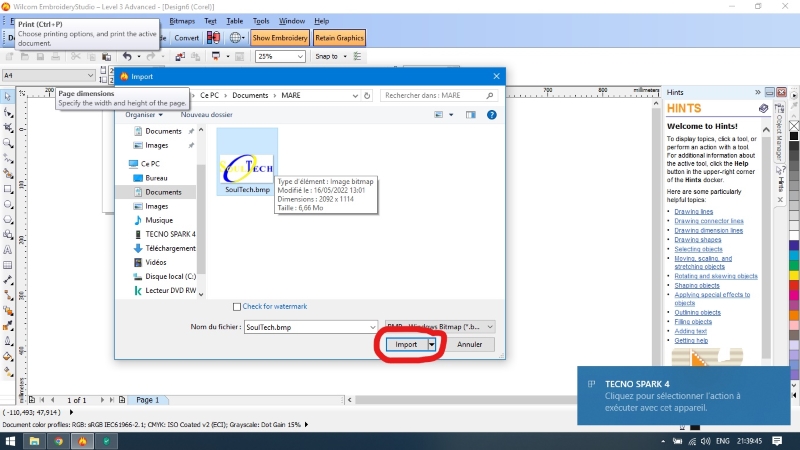
Once the design finished on CorelDRAW I only had to export it to the machine software. The images above represent the import of the file to EmbroideryStudio.
Select the file and click on import
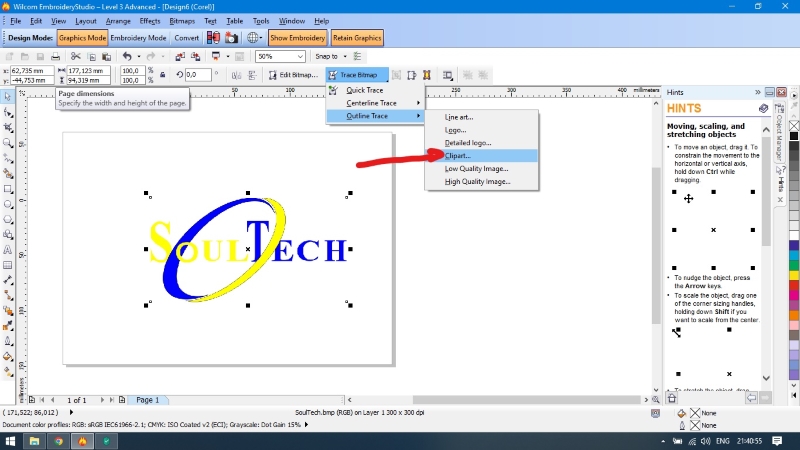
Click on Bitmap Traces and ensite on Clipart
Here we click on convert.
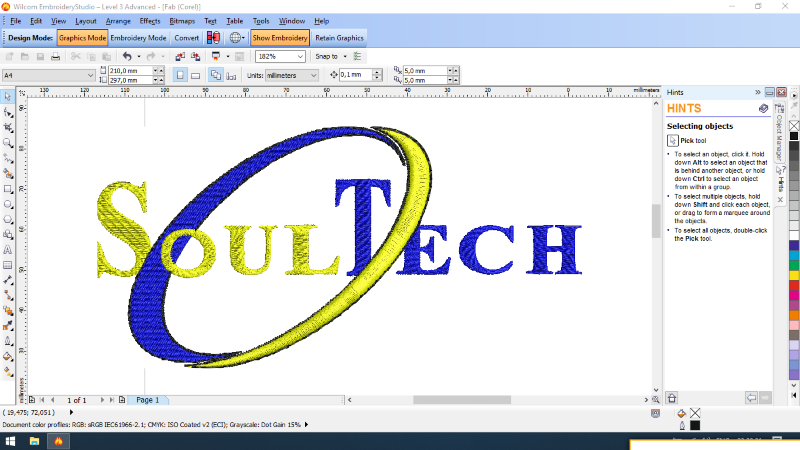
Once the click on convert we get this interface.
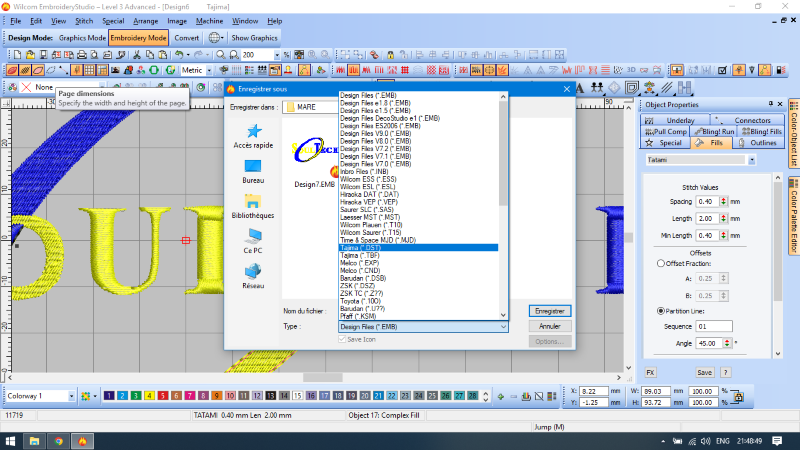
This image shows how to convert to Tajima format
Machine configuration
In order for the machine to understand the file, it must be exported with the extension "Tajima.DST". In this party I showed through a video how to configure the machine.
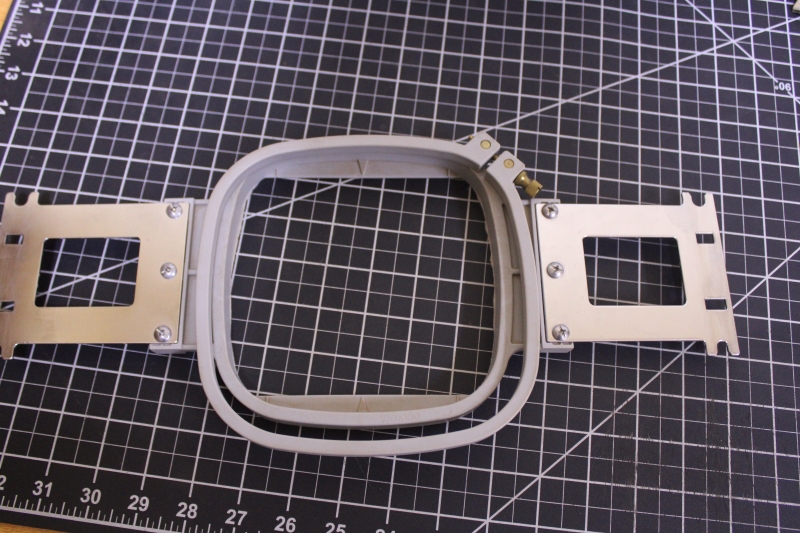
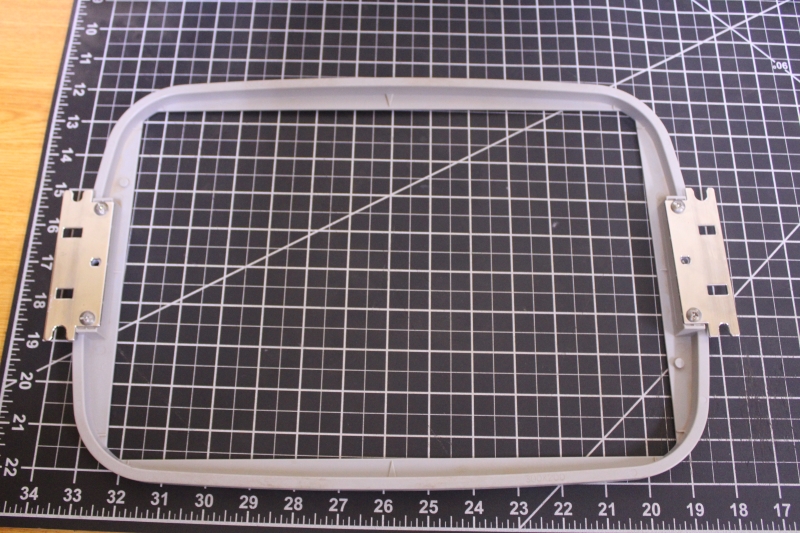
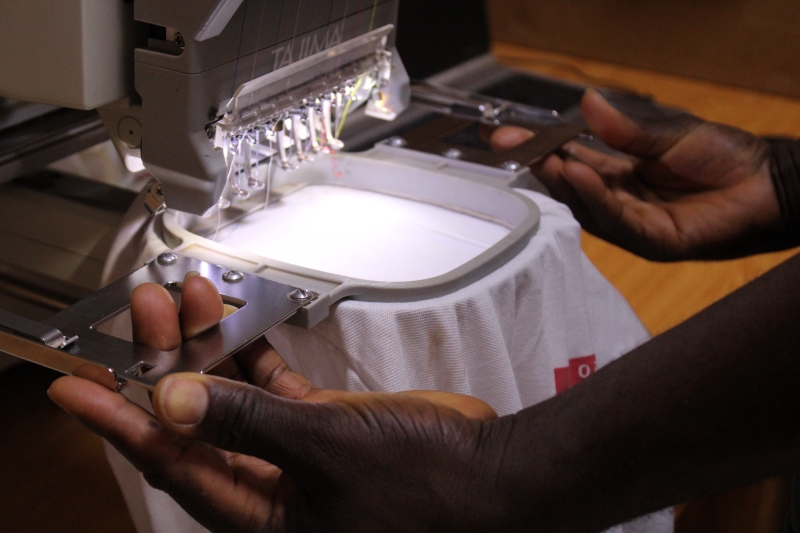
Embroidery frame
We have three types of frames such as a 100*100mm frame, a 200*300mm frame and a cap frame unit. So after the configuration we will carry out the assembly of the garment on the embroidery frame. In our case we used the 100*100mm frame.
Mounting the fabric on the embroidery frame
The assembly is carried out as follows:
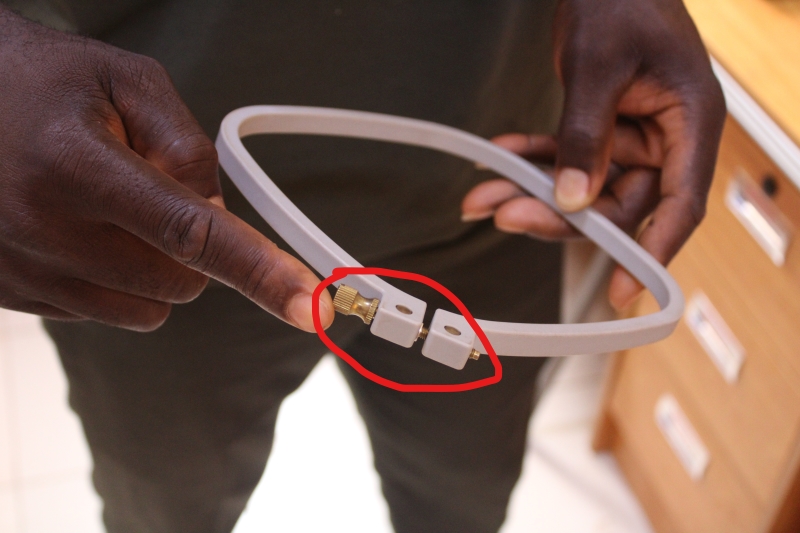
1. We will adjust the adjustment screw on the outer frame;
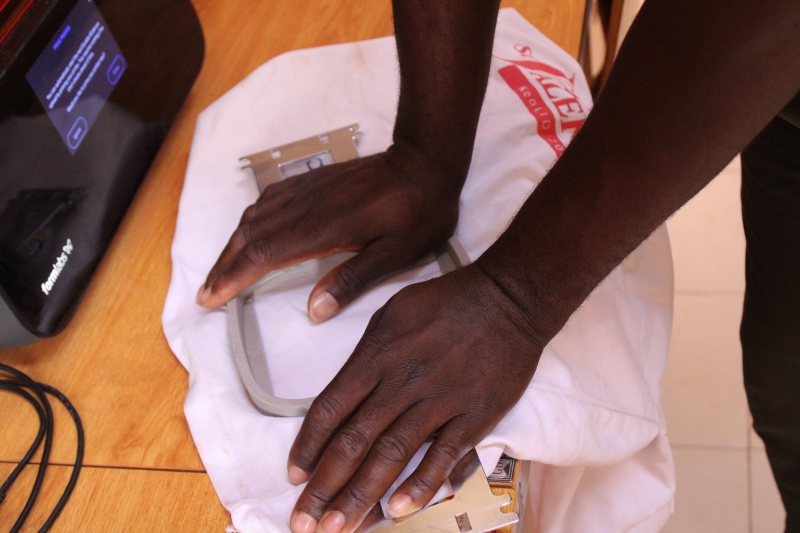
2. Position the fabric on top of the outer frame;
3. Position the inner frame and push it in;
4. Tighten the adjustment screw slightly on the outer frame, then smooth the fabric inside the frame to remove loose folds;
5. Tighten the adjustment screw on the outer frame.
The different photos show the assembly of the fabric on the frame of the embroidery.
It's a screw that allows you to adjust the outer frame according to what you want
This image represents the sinking of the inner frame
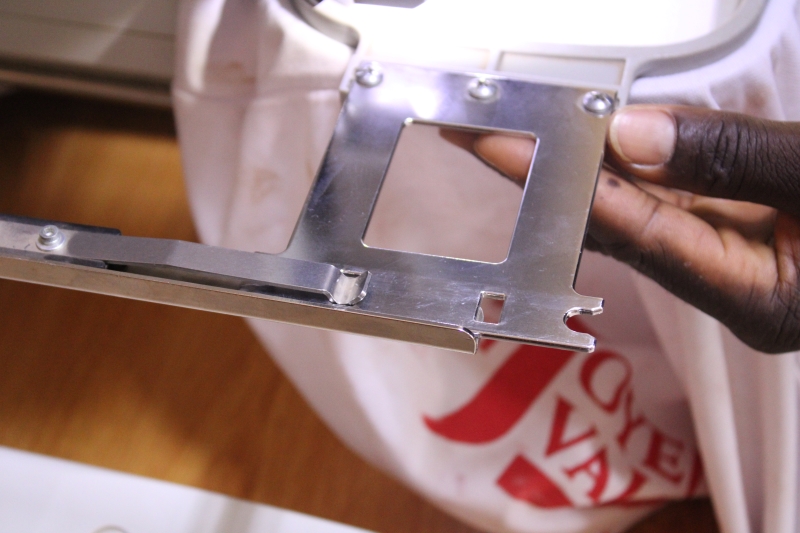
Fixing an embroidery frame
1. Take the embroidery frame and hold it so that the inner frame is visible and facing upwards;
2. Push the frame so that the arms on the right and left sides of the frame engage with the clips of the frame bracket;
3. Push the embroidery frame until the front edges of the frame bracket fasteners snap into the holes in the fixation arm.
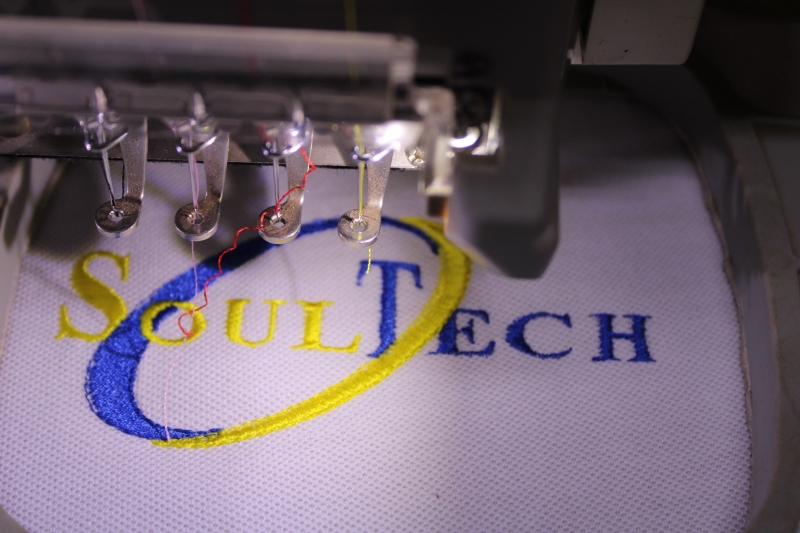
Now we will start the machine. For this we just clicked on the 'START' button.
This image shows that the sides are aligned.
Here the frame is engaged in the hole.
Getting started
The video above represents the start-up of the machine
Final embroidery