Project Managements
For our second assignment we were asked to build a personal website, which will be our wallet which will host documentation for assignments and which steps we went through to finish them. Since I have only a little bit of experience with Web development and always wanted to improve it, this assignment was enjoyable and useful. In the next part, I will discuss the tools I used to be able to make my website.
To create our personal Website we used several methods.
WEBDEV
To create my website, first I used WEBDEV which is provided by PC software, because I have used it before and really enjoyed it. I think it has a great interface for new users. Beside, it provides lots of plugins including Boostrap.
Certainly webdev has an excellent interface for new users but it is not only heavy but also the files are not organized. We were therefore forced to use another simpler and more structured method.
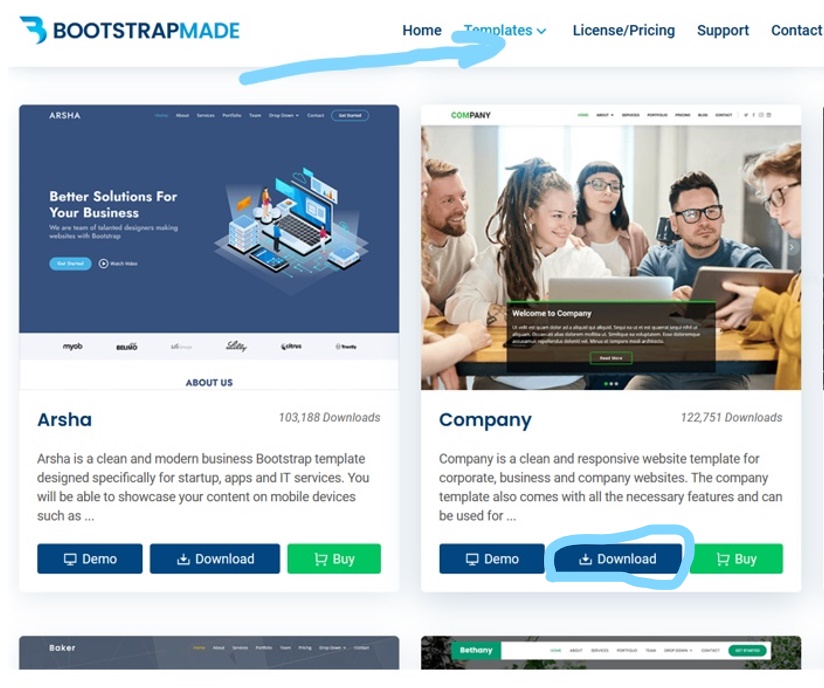
Bootrap Template
For the second part of our work we used Boostrap templates. To do this we went to the Boostrap site to download one of the templates and modify it to get what we want. This link will take you to the boostrap page where you can download the templates "https://bootstrapmade.com/website-templates".
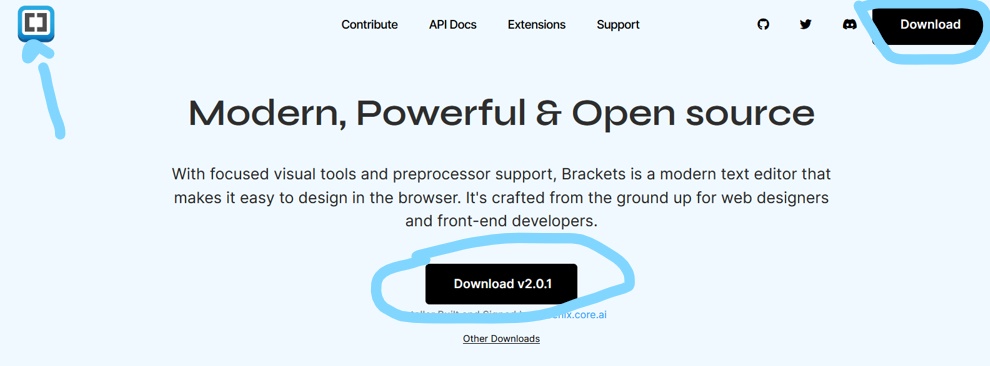
BRACKETS
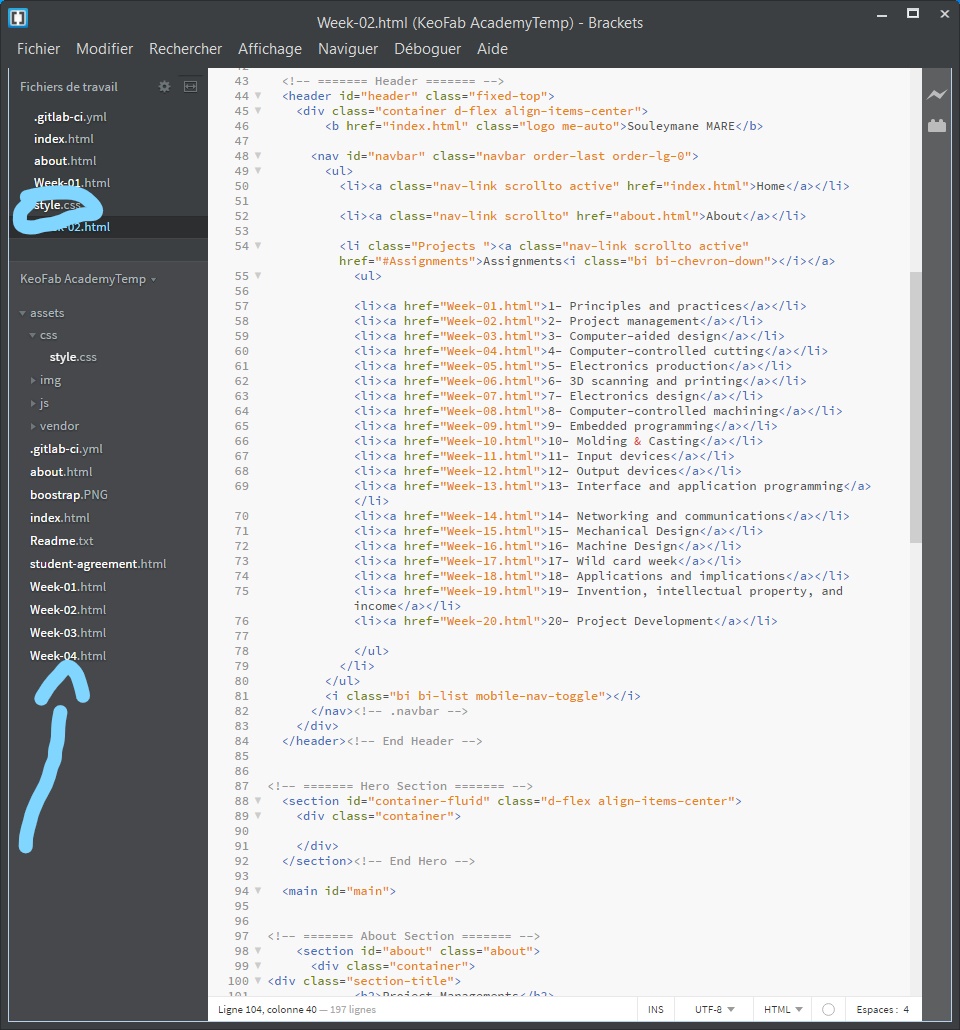
For the modification of the template we have downloaded the Brackets software. This link will take you to the brackets website "https://brackets.io/".
Brackets is a very powerful open source editor for web design. It includes languages such as HTML, CSS. It therefore makes it easy to modify and add pages to the templates. It is also possible to develop themes.
After finishing our website we will have to aplaod it in the FAB ACADEMY cloud. For version control we will use Git.
Version control
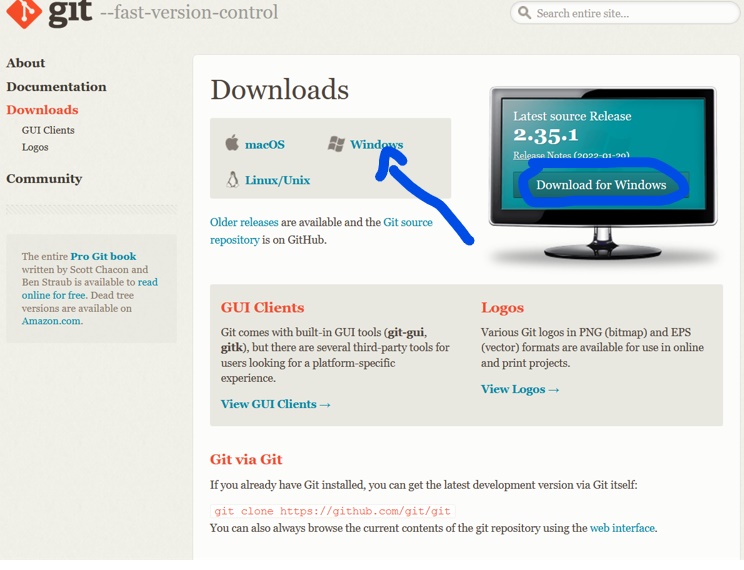
As a version control system I used Git. Git is the most commonly used version control system, it tracks the changes you make to files, so you have a record of what has been done, and you can revert to specific versions should you ever need to. Git also makes collaboration easier, allowing changes by multiple people to all be merged into one source. This link will allow you to download GitLab "http://git-scm.com/"
After installing Git, we went to the git website to create our GitLab account.
Next, we'll sign up for a new account and confirm it from the email sent to us by gitlab. And we will use this account to be able to access our Fab cloud
In order to be able to make changes in our site, we will first configure GitBush downloaded above.
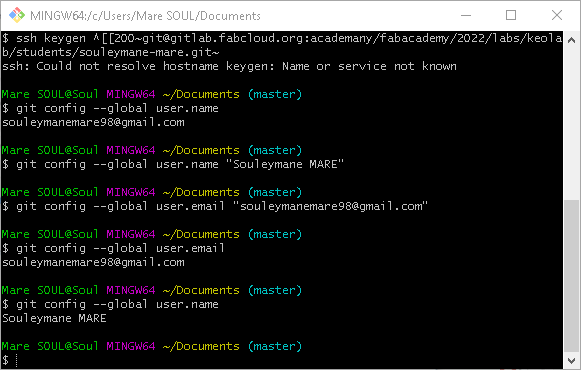
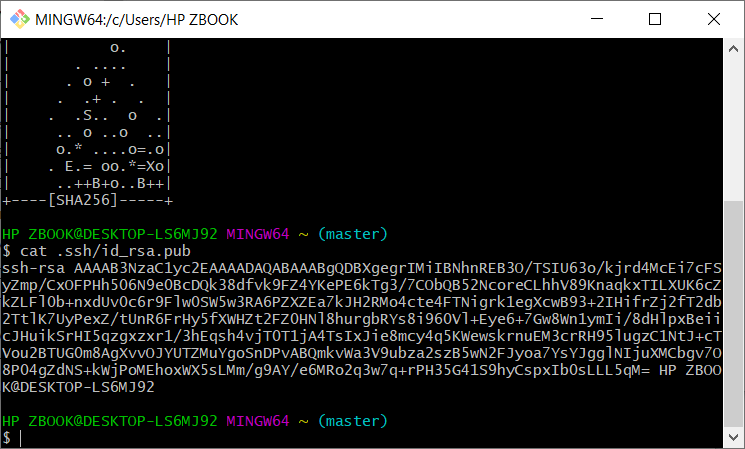
Before cloning the project we will create an ssh keygen. The ssh keygen will allow us to identify the modifications made to the two files, that is to say the local file and the cloud file in order to compare them and make the deposit. To create ssh keygen we will go on Git Bash.
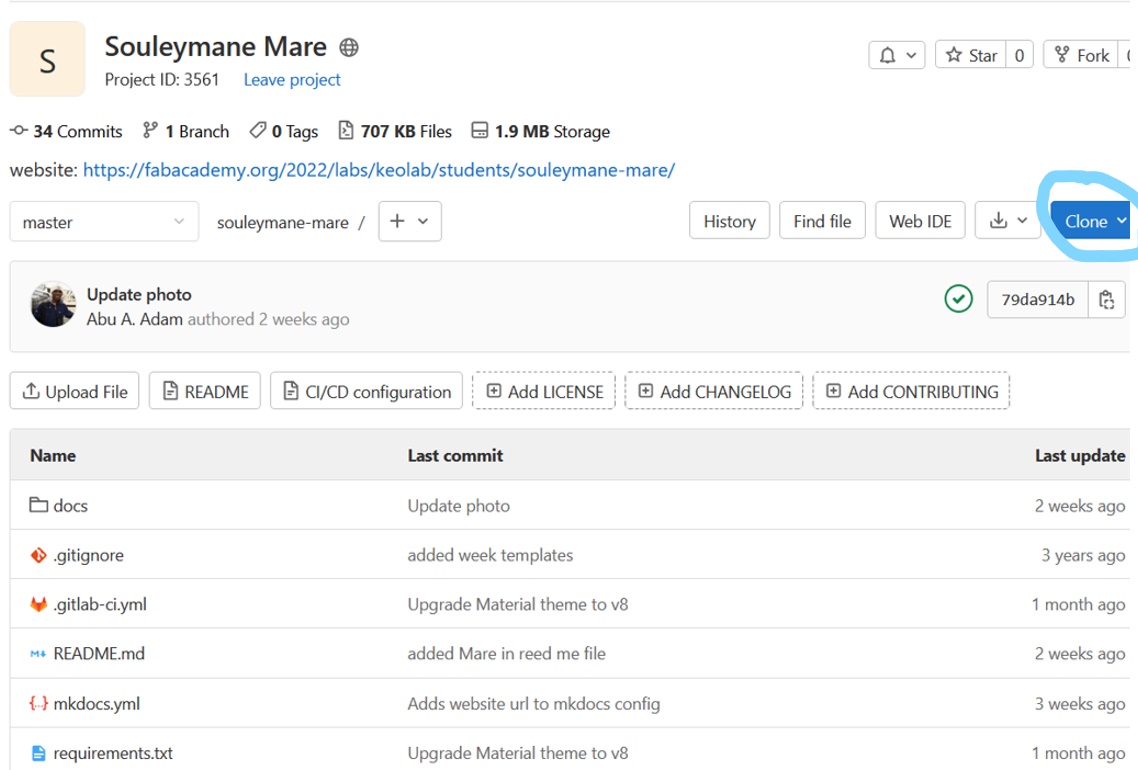
Once the ssh keygen complete, we will clone the project on our local PC in order to control and modify the website. For this we still need Git Bash.
Once the changes are done, we still need Git Bash to push to the fabcloud.
In our next we will try a computer-aided drawing.