8. Computer controlled machining
This week Hero shot!
This week Checklist
Group assignment
- [✓] Test runout, alignment, speeds, feeds, and toolpaths for our machine
- [✓] Document our work
Individual assignment
- [✓] Make (design + mill + assemble) something big
Group assignment
This week, our group will try to test runout, aligment, speeds, feeds, and toolpaths for our machine. Please click here to see more details of our group assignment.
Individual assignment
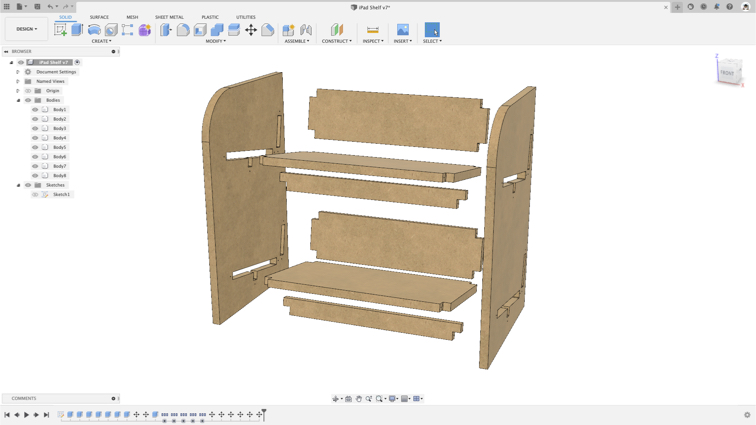
Design a iPad shelf
█ Step 1 - Draw a sketch with parameter in Fusion 360.
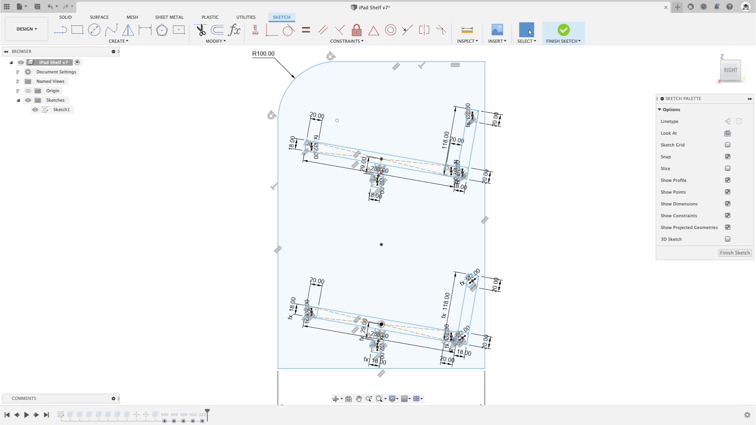
▼ Just 2 parameter - material thickness and diameter of bit.

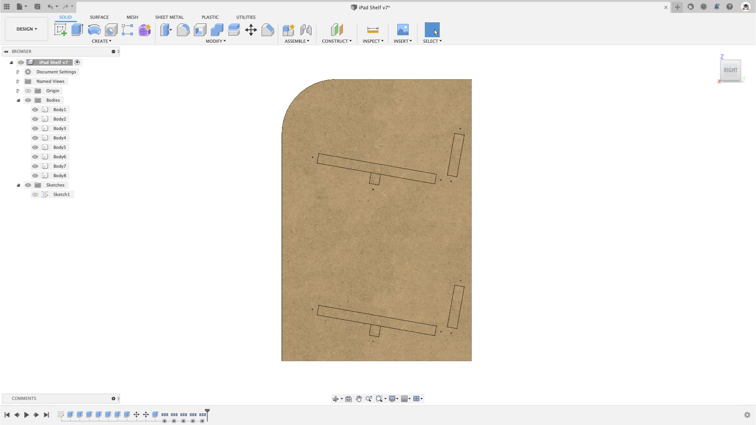
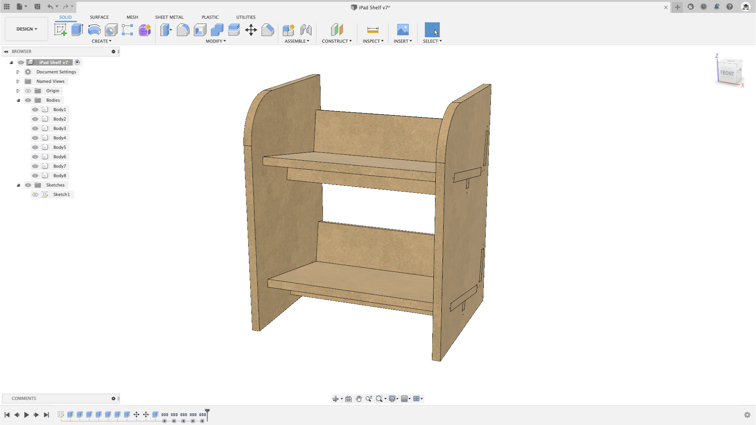
█ Step 2 - Built-up 3D model.
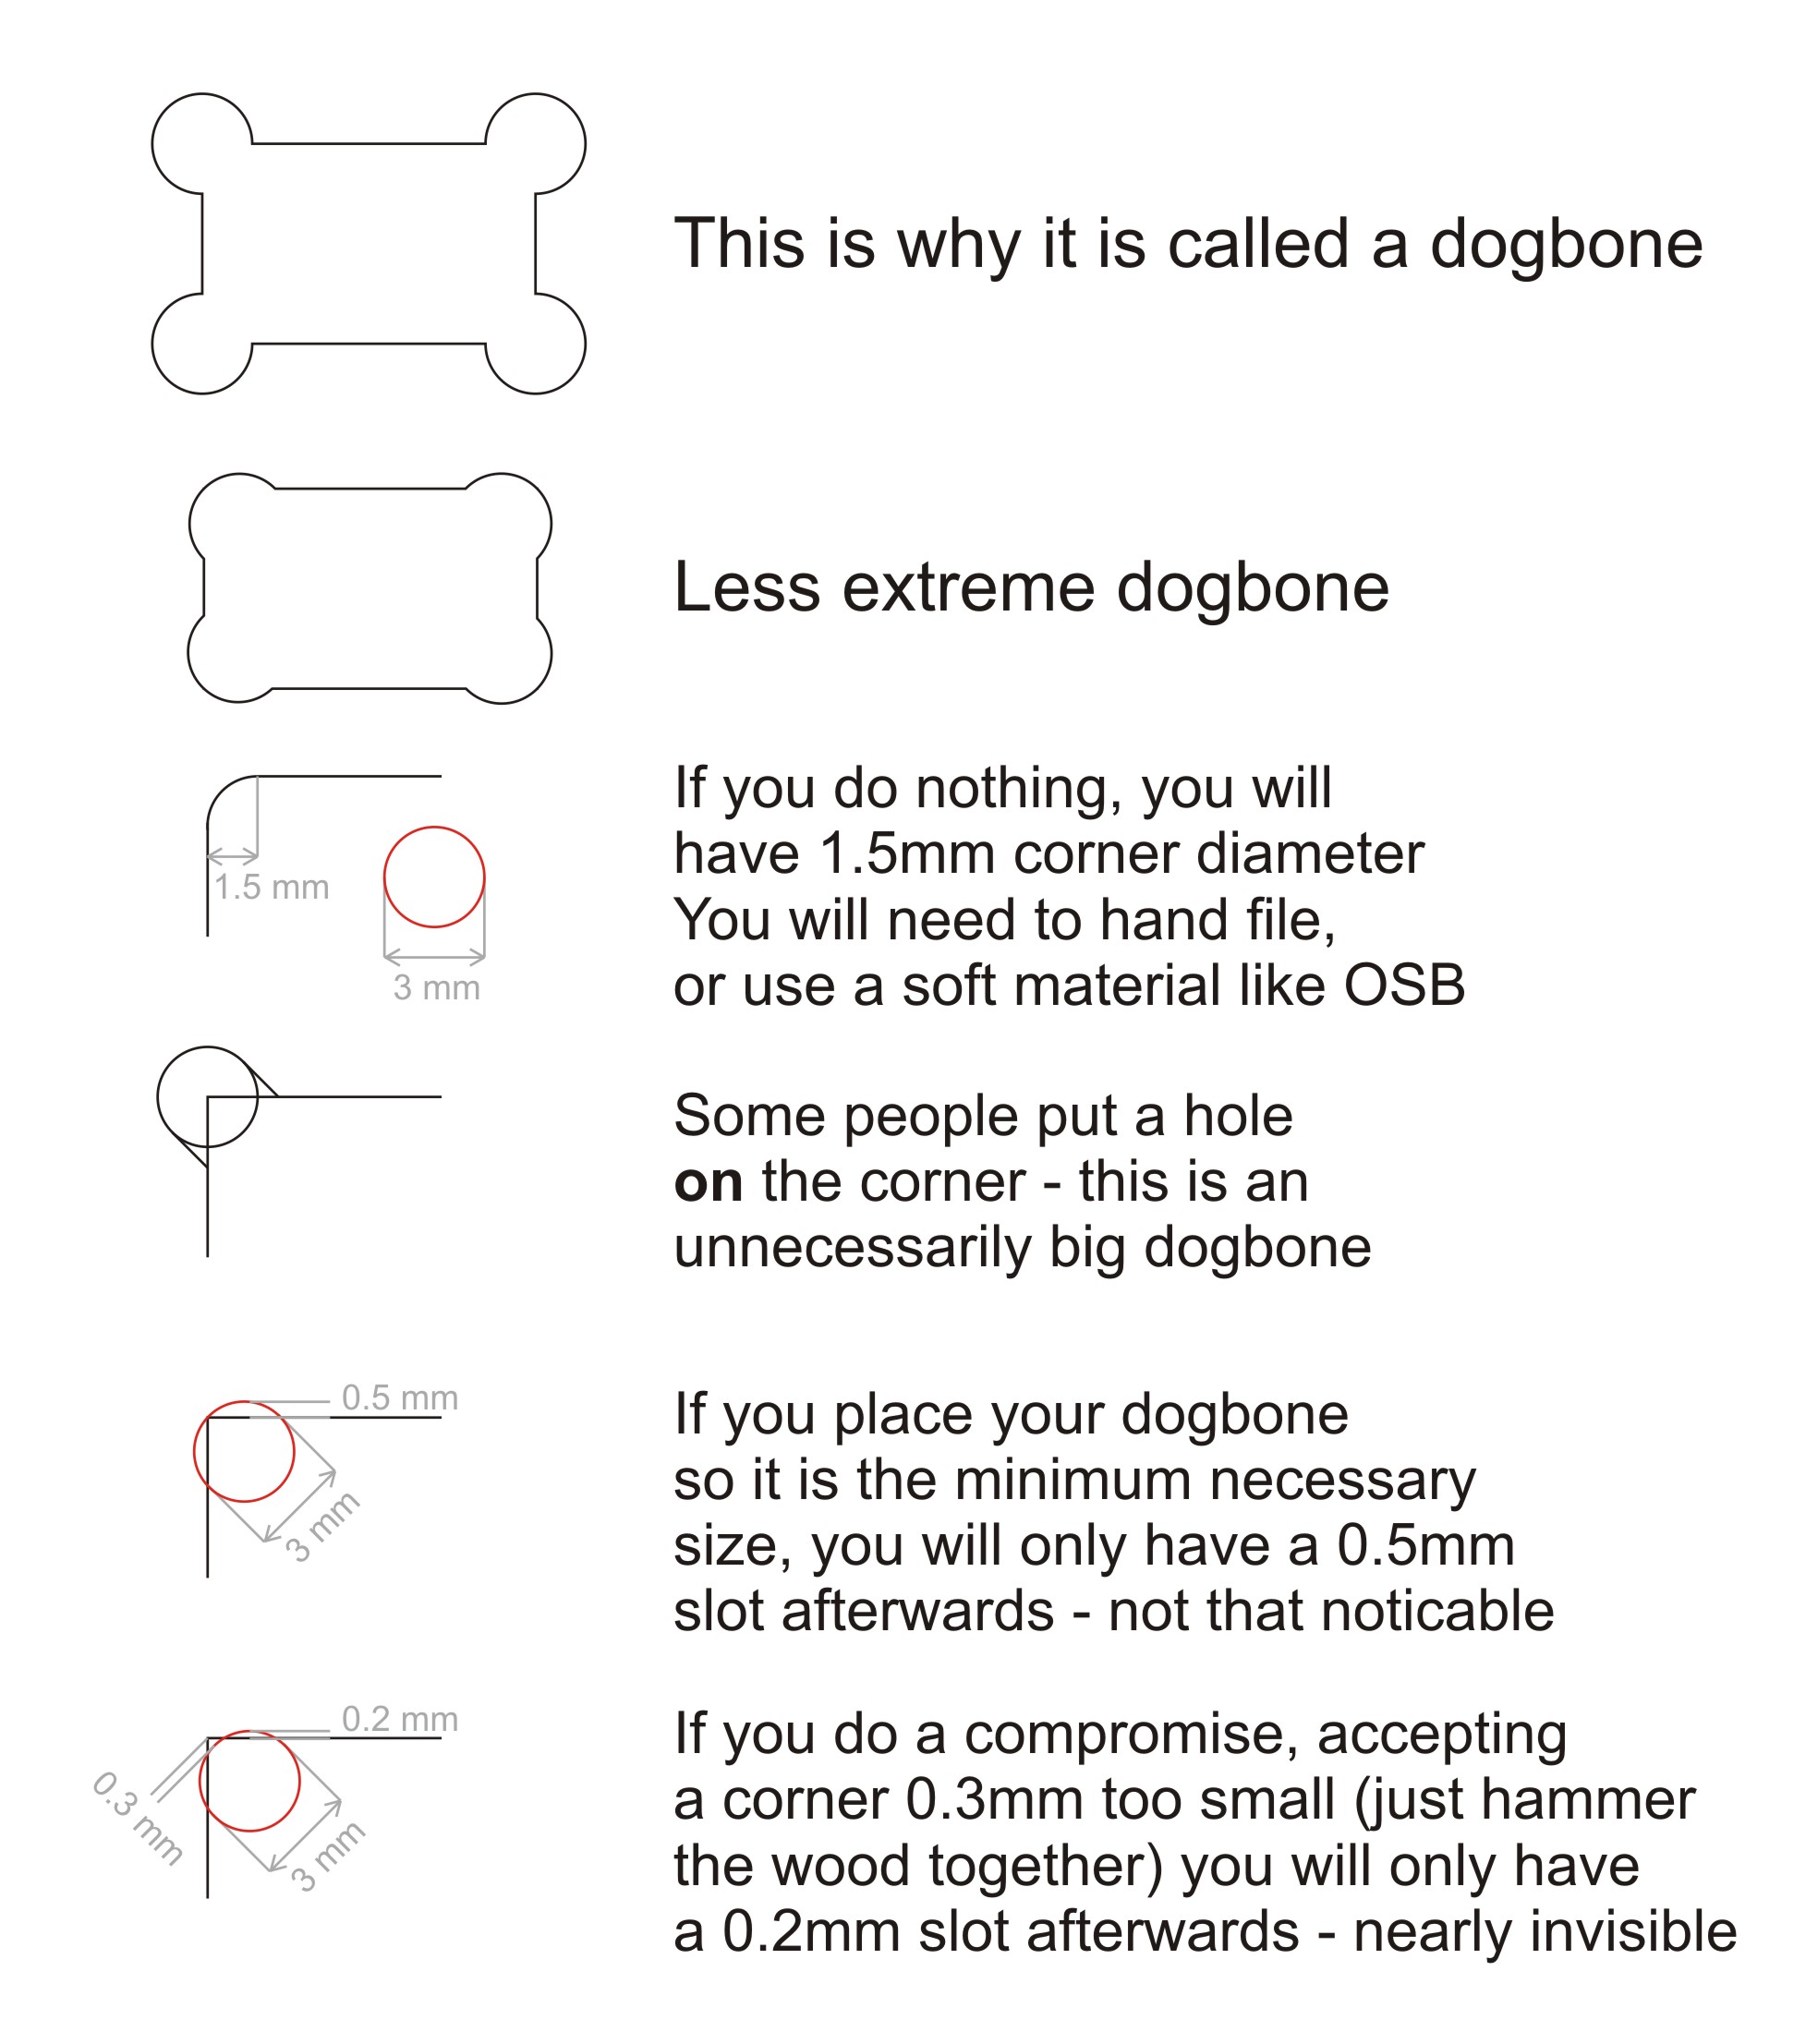
▼ Before next step, we need to know a concept called Dogbone https://blog.bricsys.com/everything-you-need-to-know-about-dogbone-fillets
▼ Image from: https://fablab.ruc.dk/more-elegant-cnc-dogbones
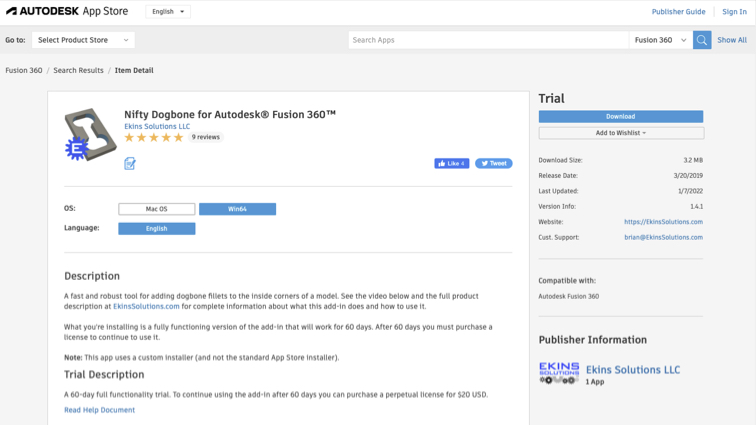
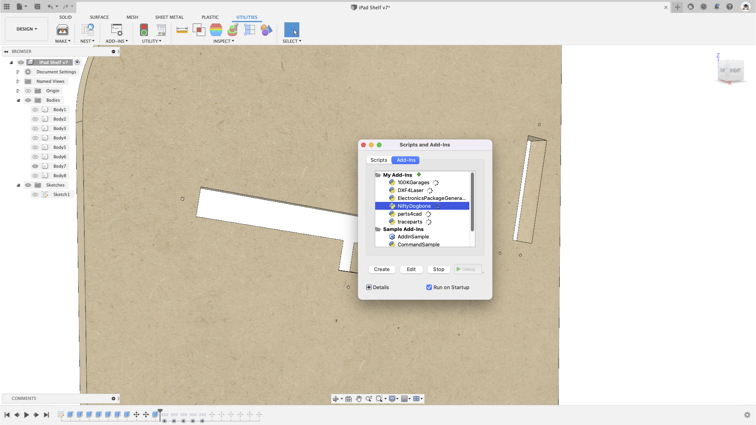
█ Step 3 - Use Nifty Dogbone Add-in to create dogbone.

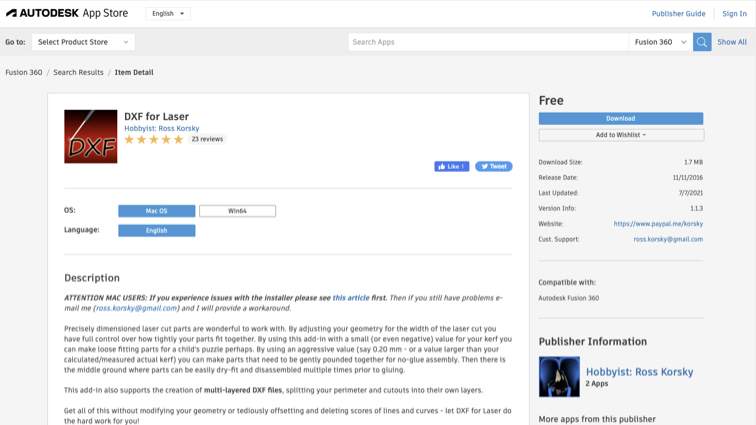
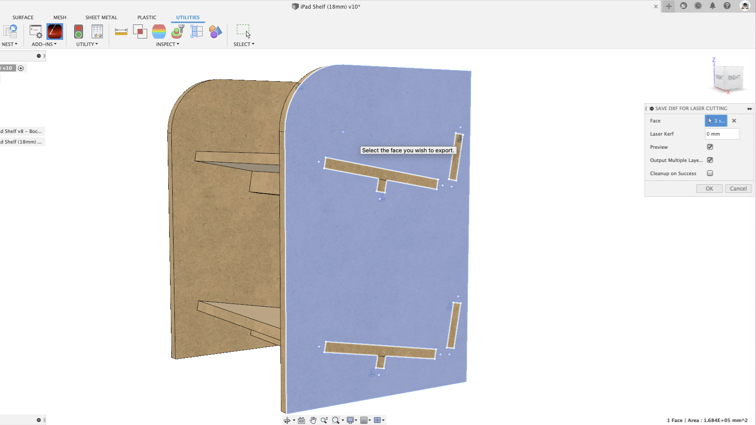
█ Step 4 - Use DXF for Laser Add-in to generate DXF file.
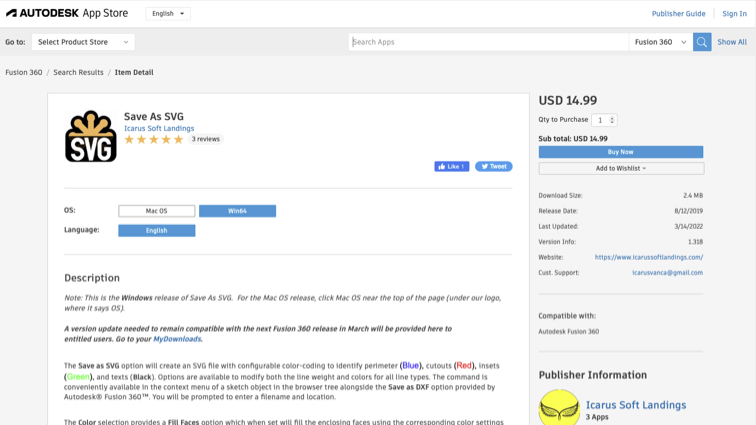
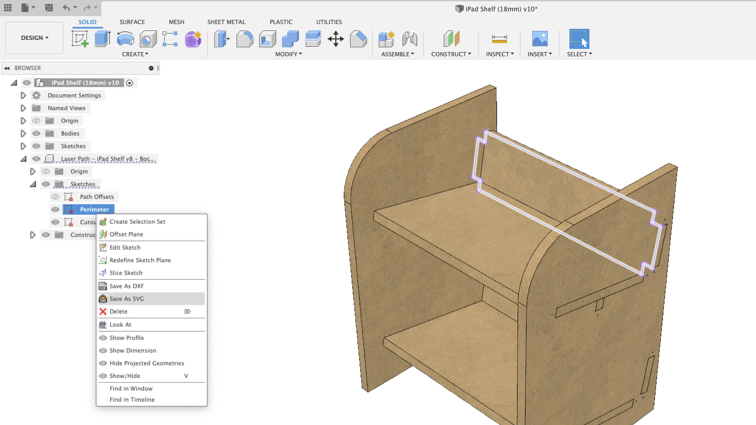
█ Step 5 - Use Save As SVG Add-in let Fusion 360 can export sketch in SVG format.
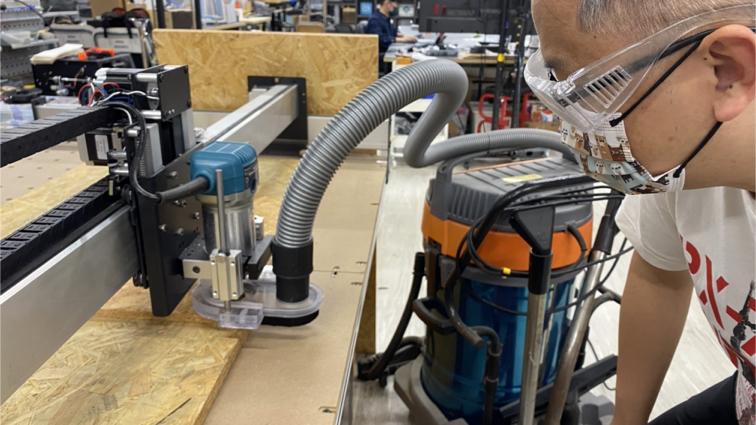
Let’s start working on the CNC machine
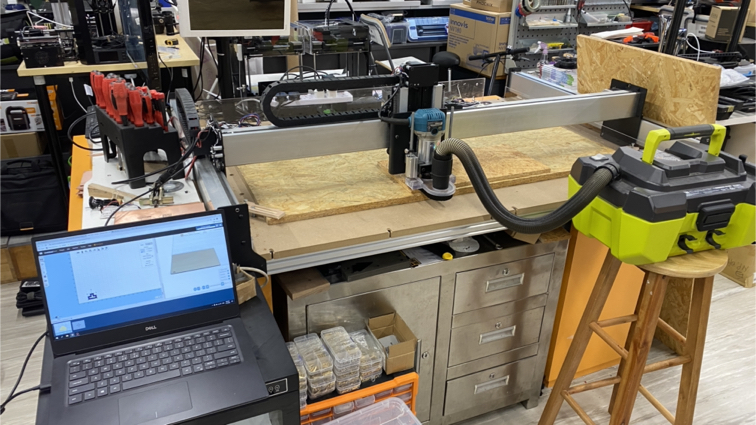
█ Step 1 - Clamp the protect mat tightly with clamps.
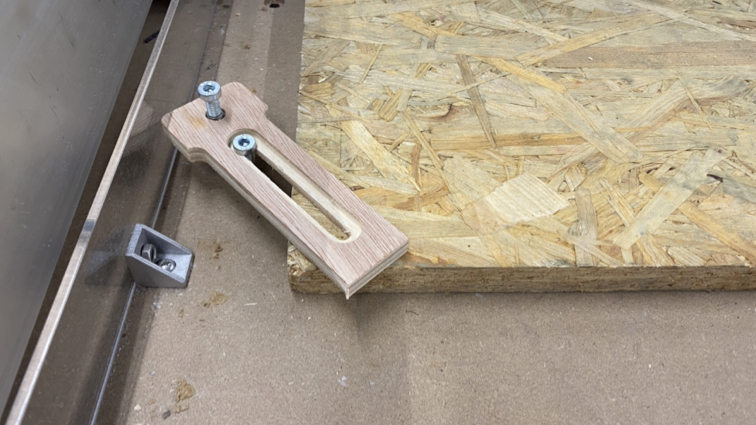
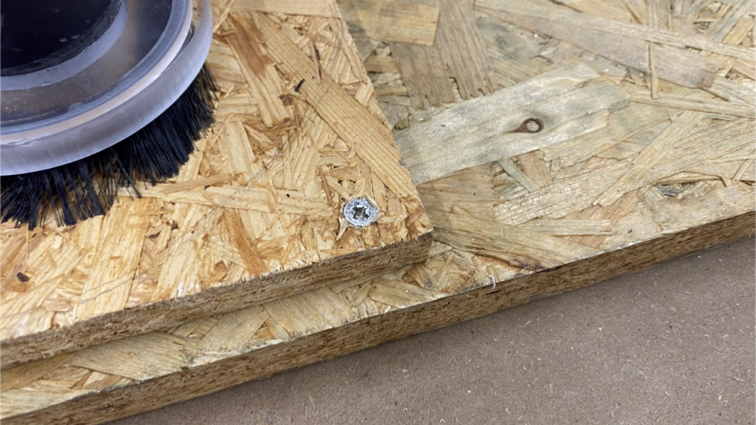
█ Step 2 - Fixed material with screws.
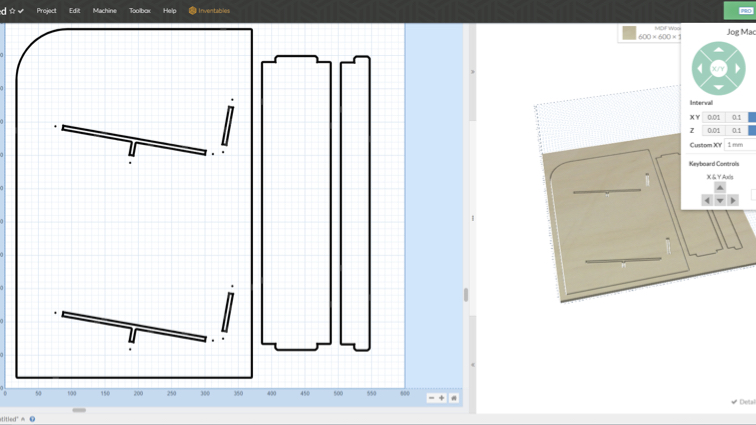
▼ Use Easel (Online CNC Control software) to control the machine.
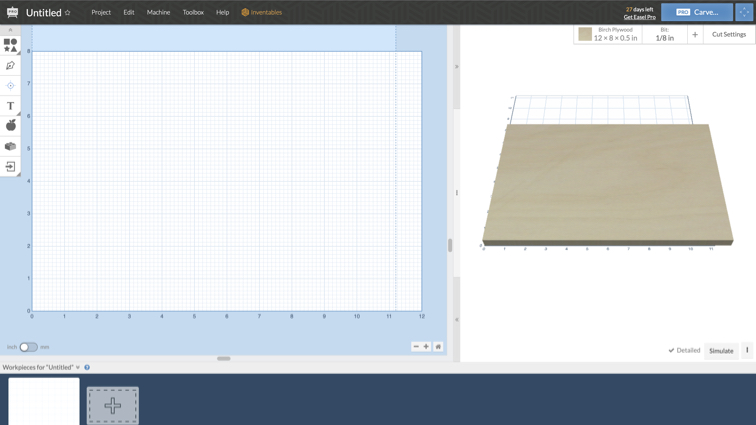
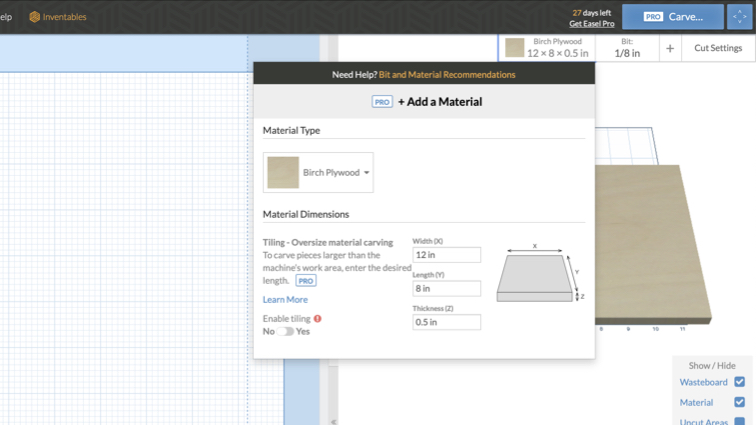
█ Step 3 - Select material type, size and thickness.
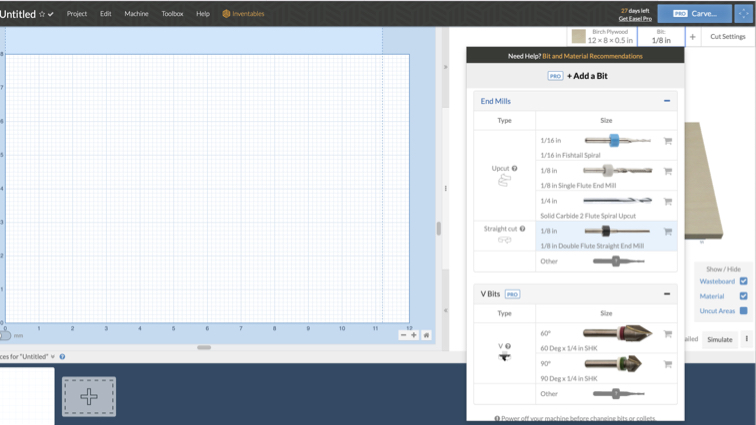
█ Step 4 - Select the Bit type and size.
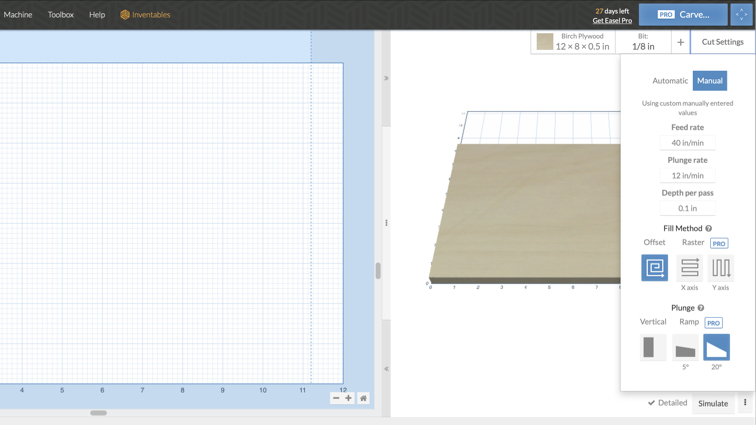
█ Step 5 - System will auto advise basic settings by your material and Bit, also you can select manually. We use default Feed rate, Plunge rate and Depth path first. And we will adjust the parameters according to the performance.
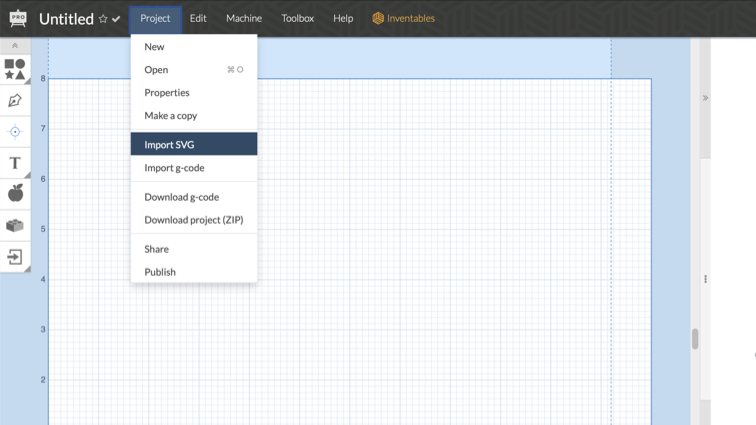
█ Step 6 - Import SVG or g-code file.
█ Step 7 - Adjust object location and see the preview.
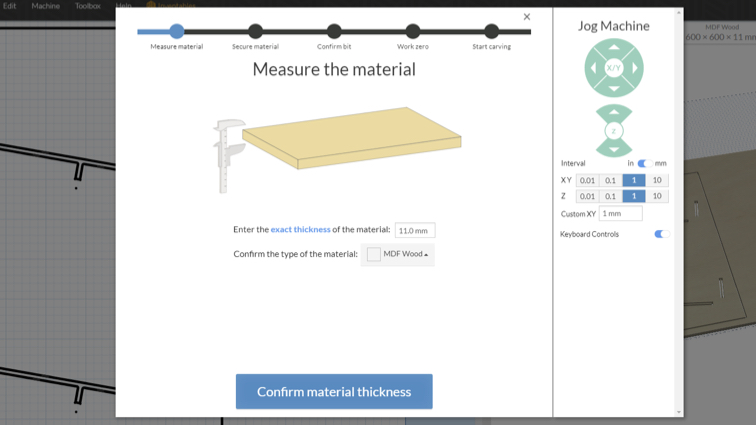
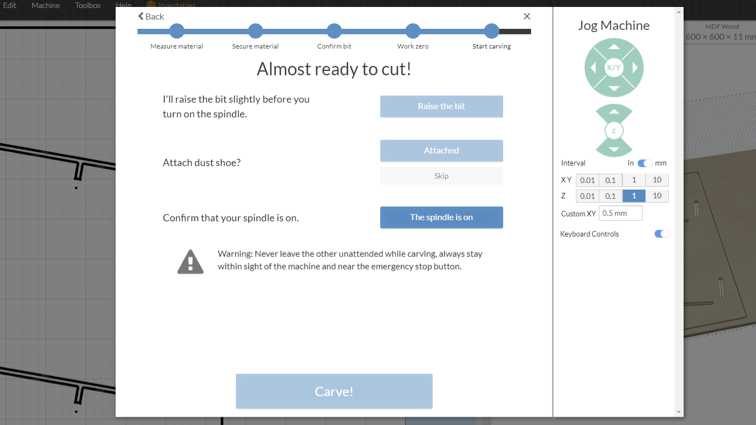
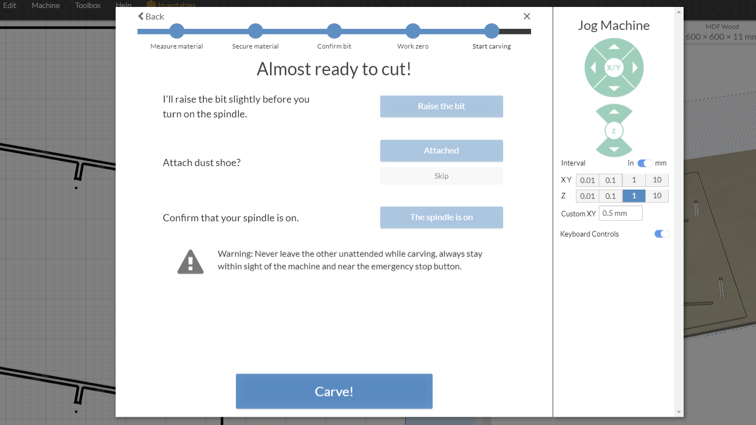
█ Step 8 - Easel will will instruct you to do a pre-cut inspection.
▼ Measure the material thickness and confirm the type of material.
▼ Confirm clamp doen the material.

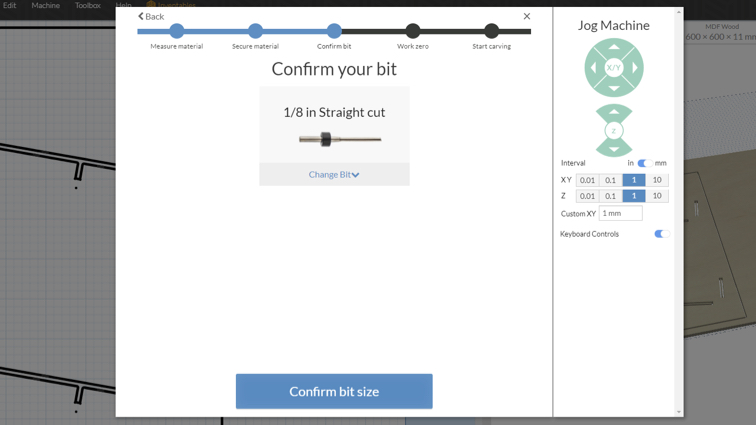
▼ Confirm Bit type and size.
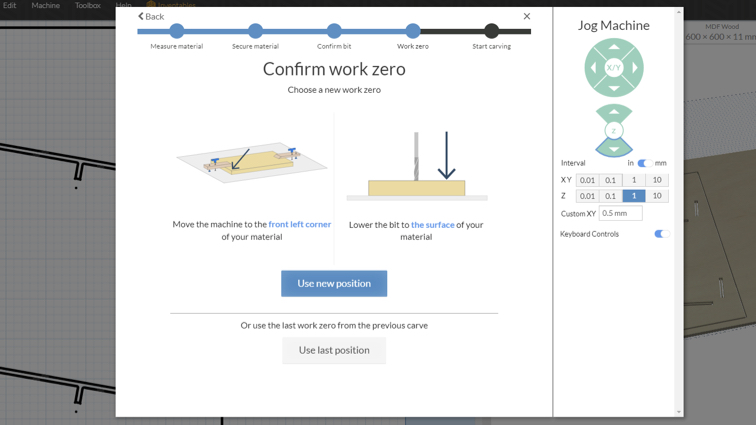
▼ Set zero position.
▼ Raise the bit.

▼ Check attached dust shoe.

▼ Turn on spindle!
█ Step 9 - Start carve!
Assemble
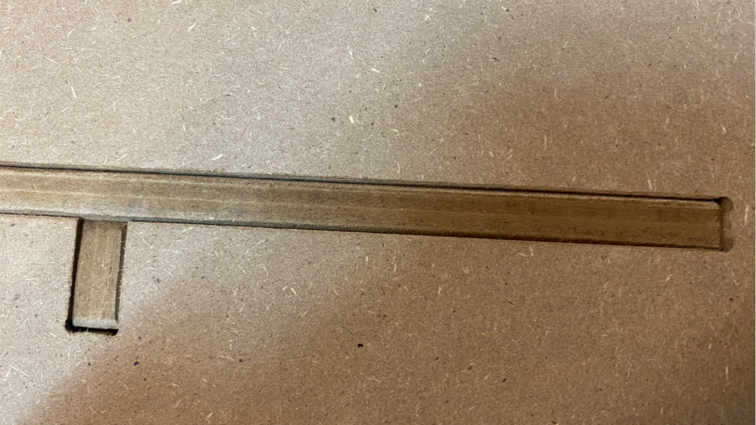
▼ Use a file to remove burrs and make chamfer for easy assembly.
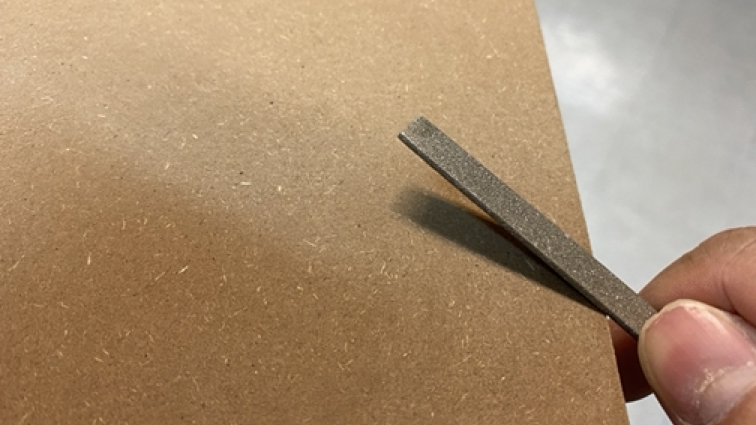
▼ Use a mat to protect from damage to the work.
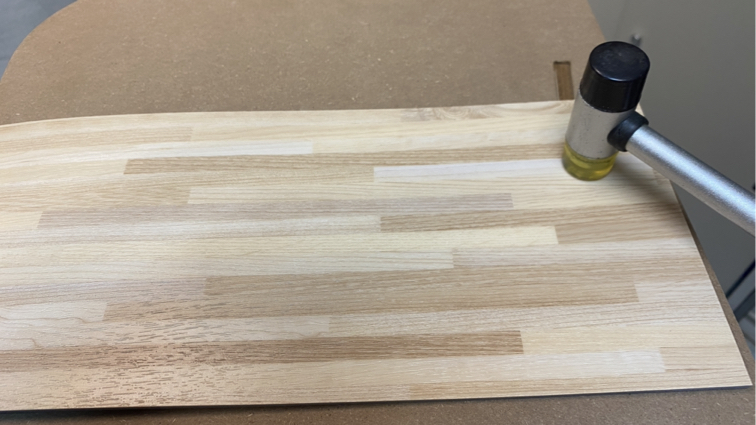
▼ Tight fit and structure make this iPad shelf no need for screws.
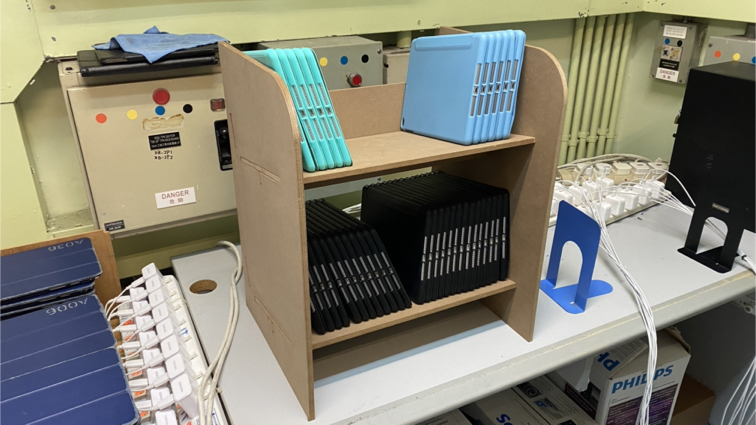
This is my iPad shelf!
Useful link and downloads
Easel CNC Software online
https://gitlab.fabcloud.org/pub/libraries/electronics/eagle