Computer Controlled Machining
This week, our group - Darren, Terry, and me (Jason) try to test runout, alignment, speeds, feeds, and toolpaths for our machine.
Group assignment
- [✓] Test runout, alignment, speeds, feeds, and toolpaths for our machine
- [✓] Document our work
- The Document by Jason Leung
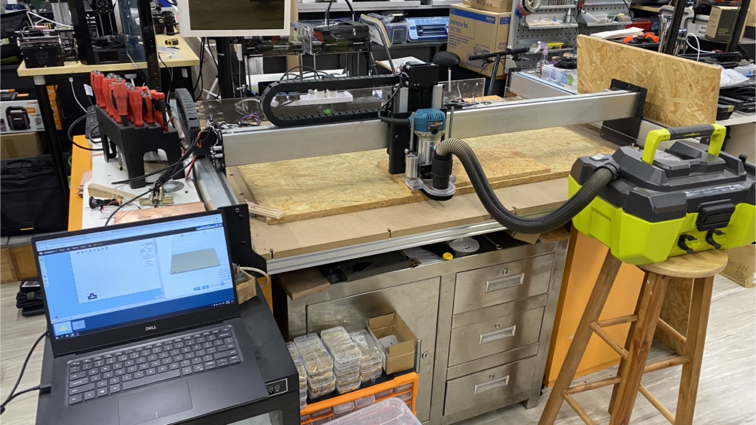
The machine we use for testing
This is our lab CNC Machine, It call TigerCNC, model not specified, the manufacturer’s official website claims can be customize the size of machine. Tiger CNC Offical website
Safety First
Some advice on using the CNC machine safely
✓
- Always ensure that you wear proper ear protection and a good pair of safety glasses when operating a CNC machine.
- Ensure that your safety glasses are firmly in place every time you are closely observing the cutting tools.
- If you have long hair, ensure that you keep it covered when you operate the CNC machine.
- Keep your hands away from any moving parts during machining processes.
- Stand clear of the machine whenever it is operational. You should also warn any other people near the risk of being too close to it.
- Whenever you are handling or passing tools, avoid touching the cutting edges.
- Ensure that you turn the machine off completely and clean it whenever you have finished using it.
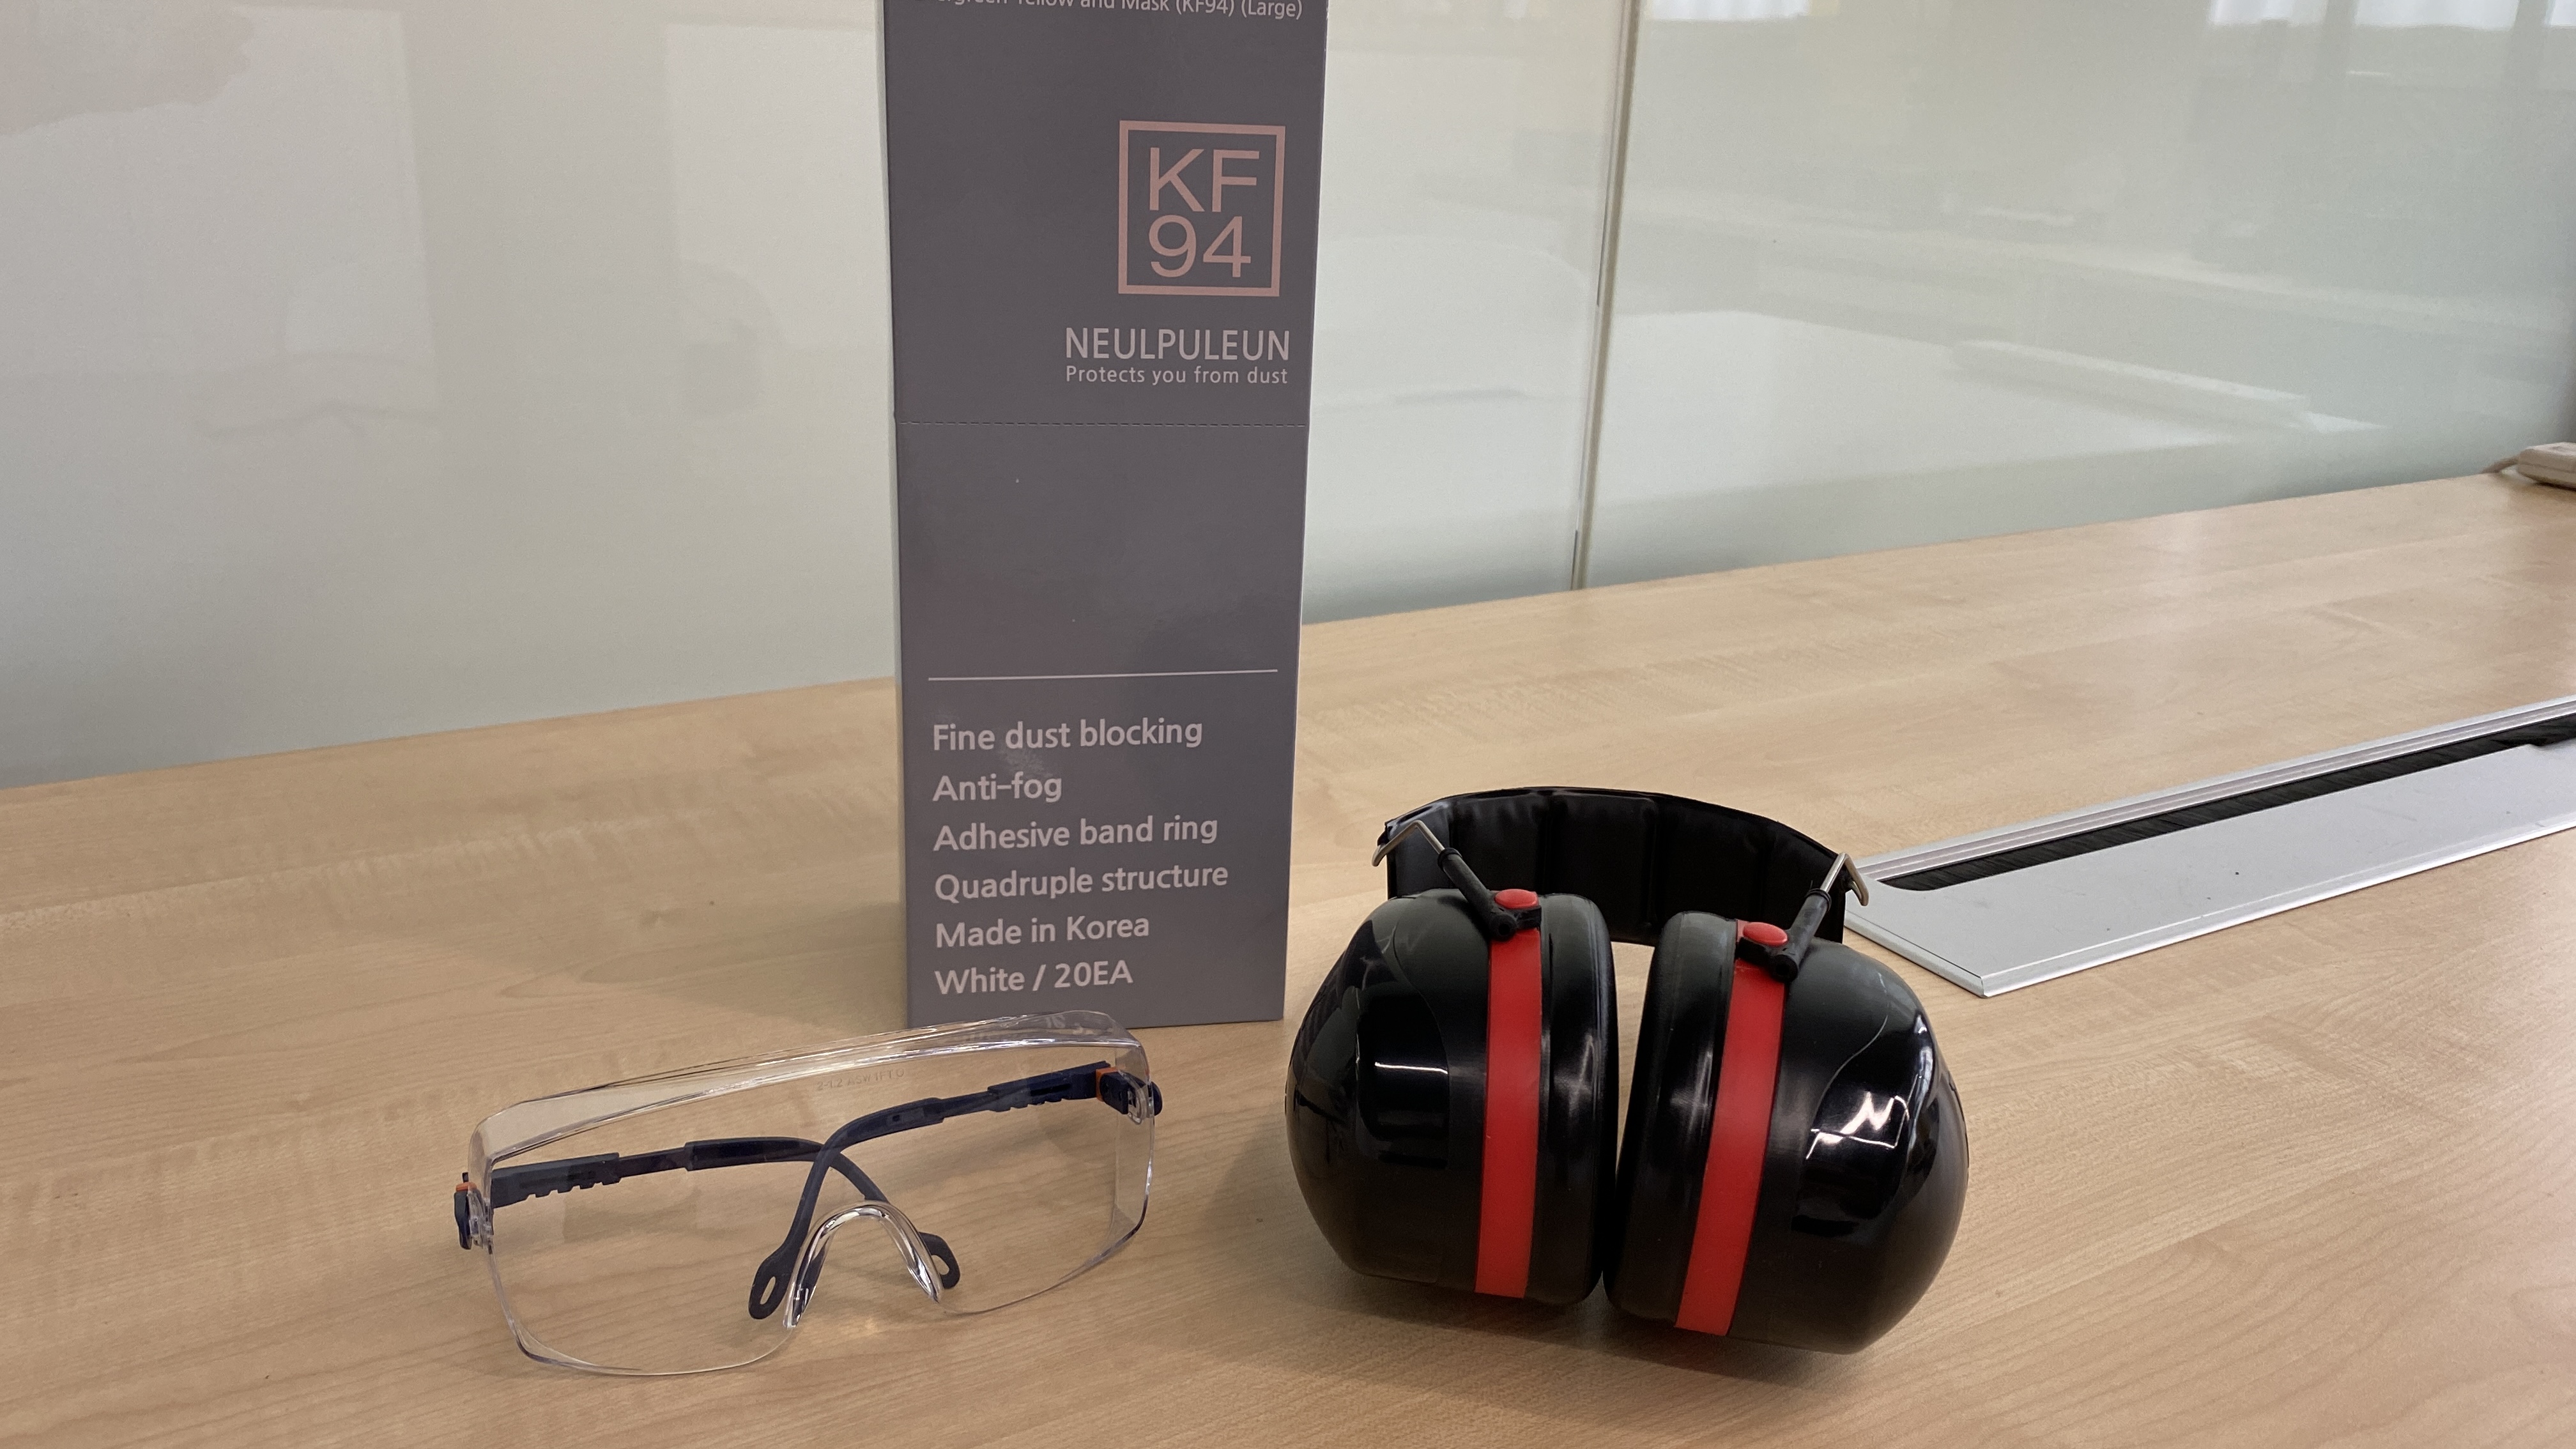
▼ Our lab protective gear.
Operation of the machine
█ Step 1 - Clamp the protect mat tightly with clamps.
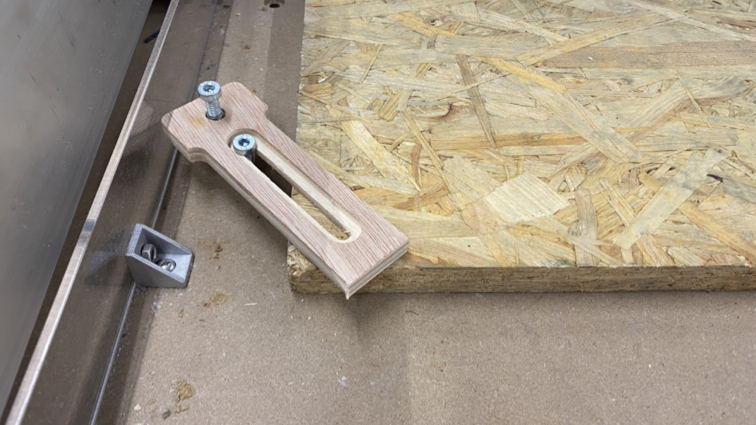
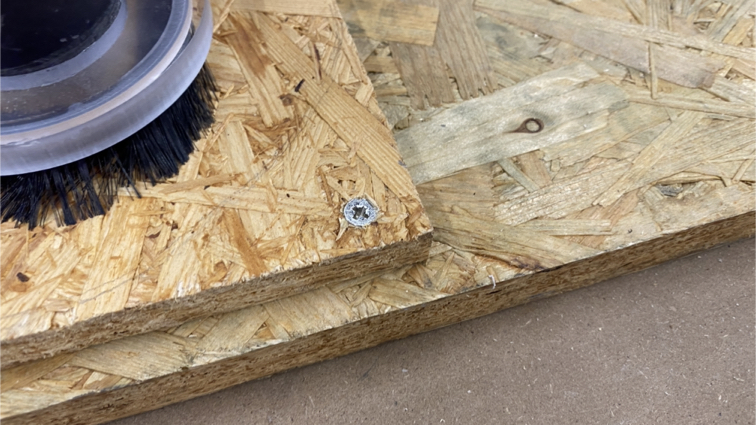
█ Step 2 - Fixed material with screws.
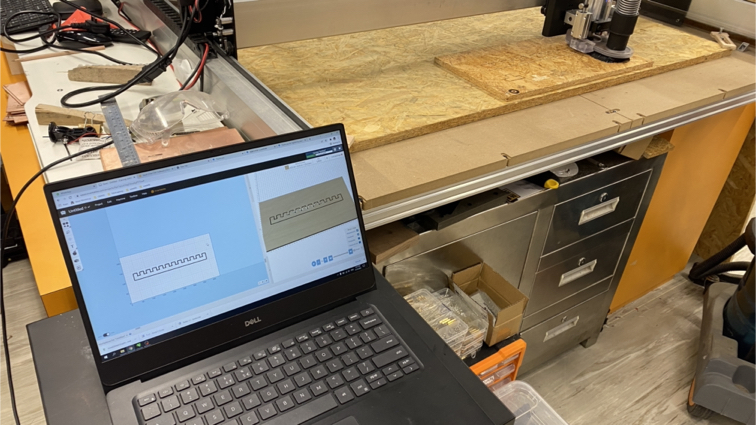
▼ Our lab using Easel (Online CNC Control software) to control the machine.
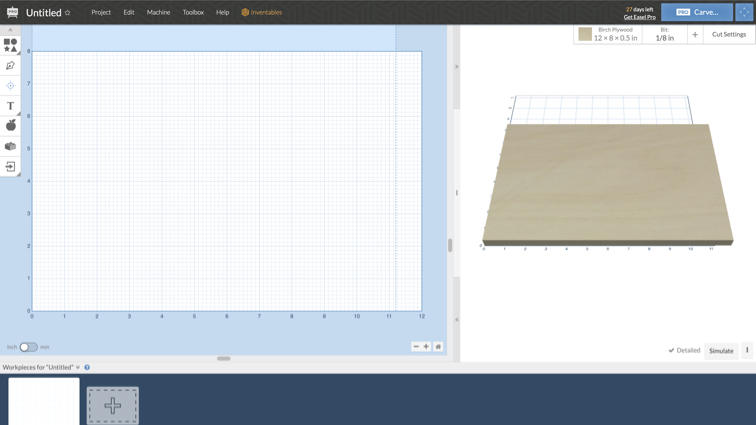
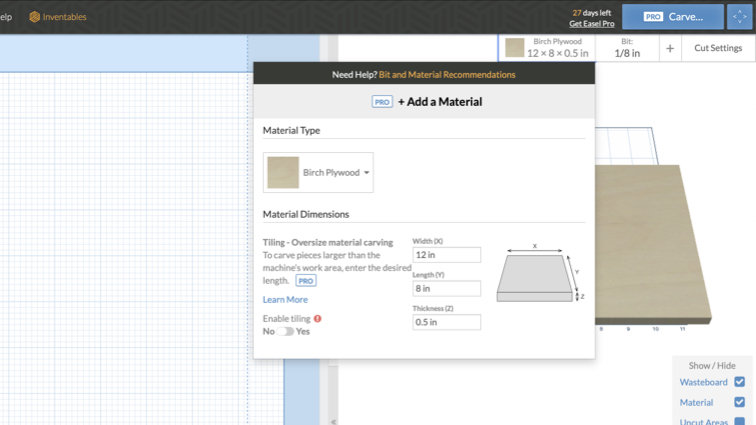
█ Step 3 - Select material type, size and thickness.
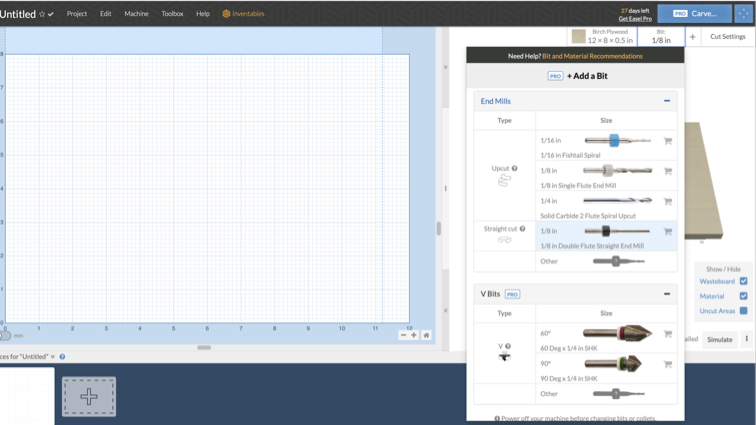
█ Step 4 - Select the Bit type and size.
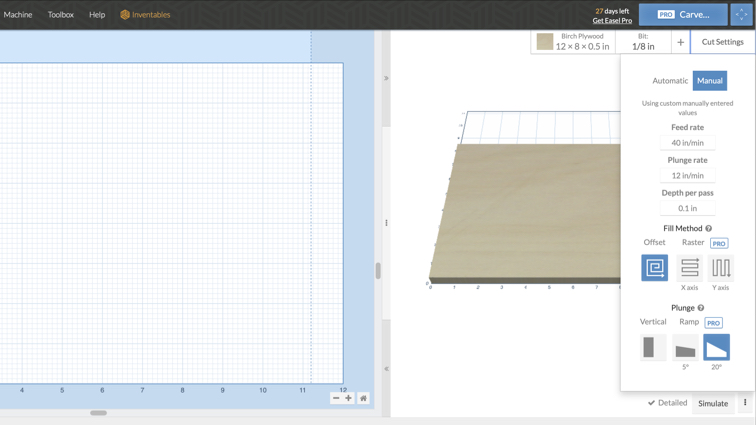
█ Step 5 - System will auto advise basic settings by your material and Bit, also you can select manually. We use default Feed rate, Plunge rate and Depth path first. And we will adjust the parameters according to the performance.
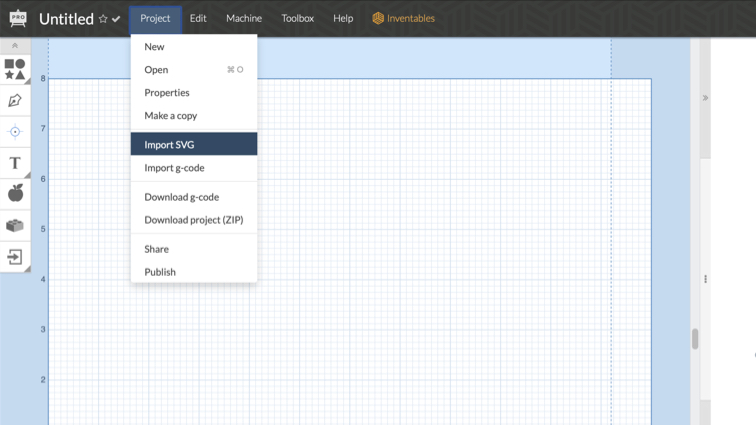
█ Step 6 - Import SVG or g-code file.
█ Step 7 - Adjust object location and see the preview.
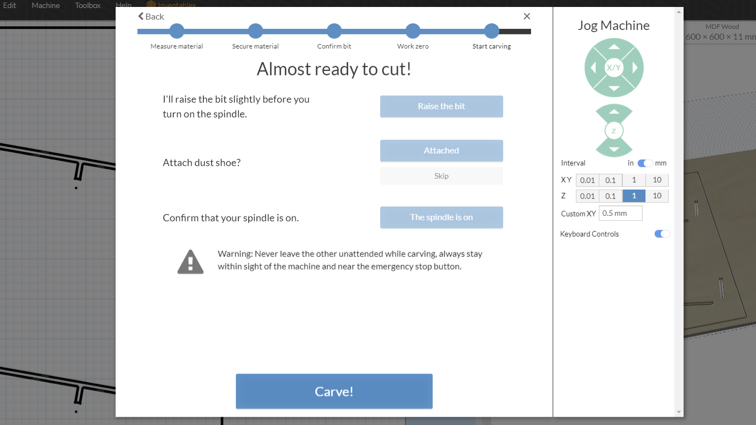
█ Step 8 - Easel will will instruct you to do a pre-cut inspection.
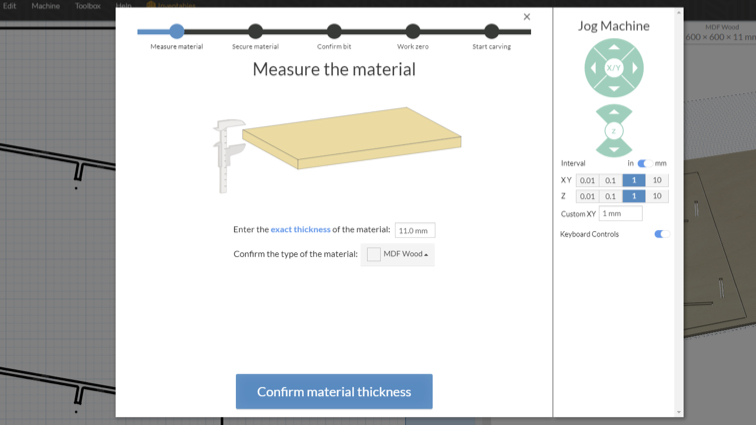
▼ Measure the material thickness and confirm the type of material.
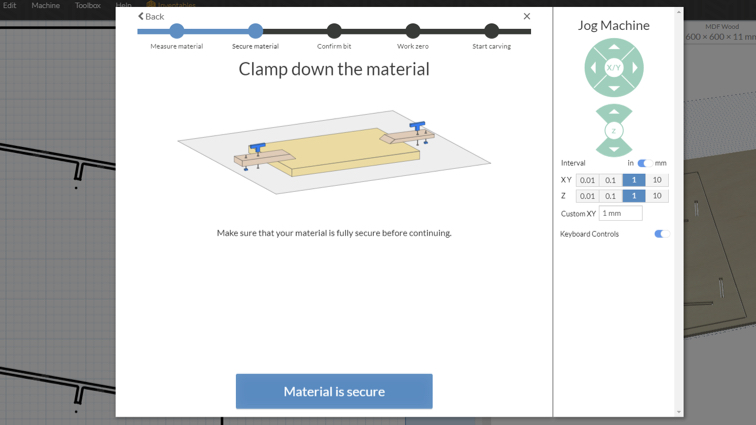
▼ Confirm clamp doen the material.
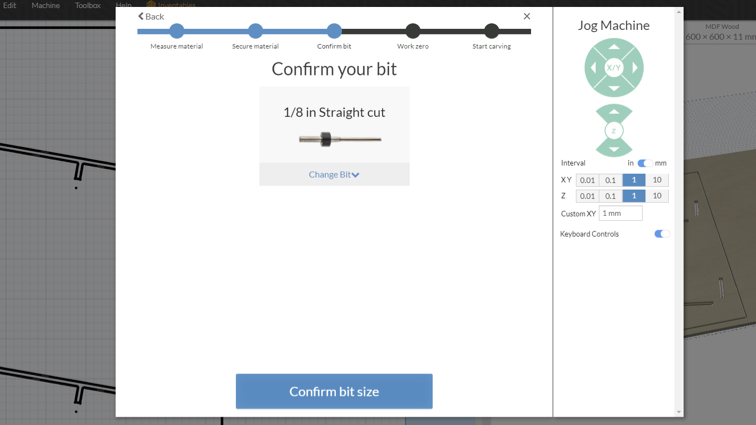
▼ Confirm Bit type and size.
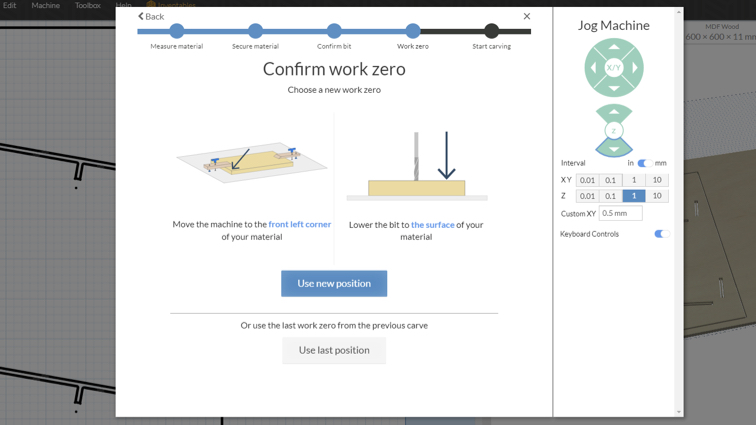
▼ Set zero position.
▼ Raise the bit.
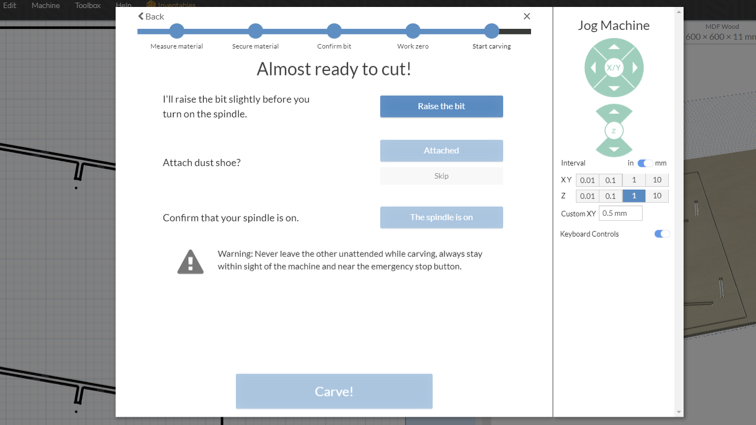
▼ Check attached dust shoe.
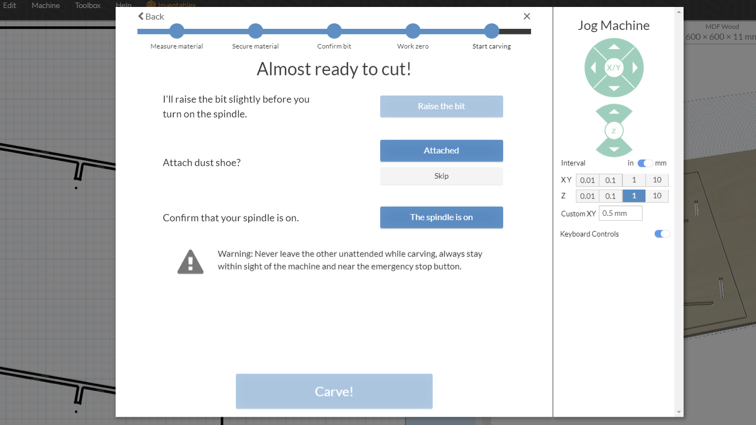
▼ Turn on spindle!

█ Step 9 - Start carve!
▼ Use glasses to protect your eye.

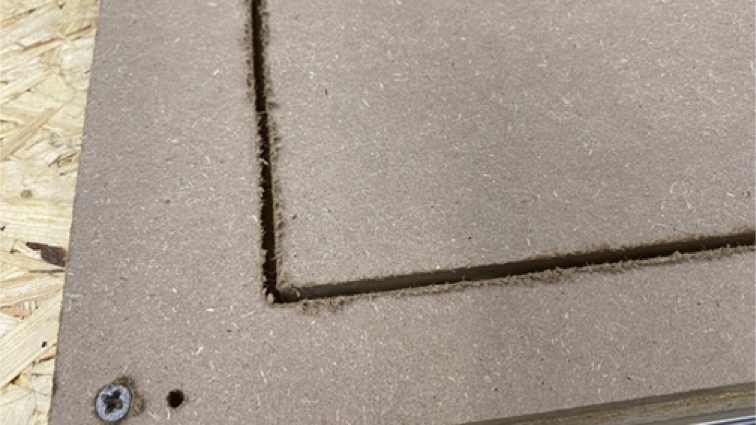
▼ Bad quality by too much feed rate, we need slow down that.
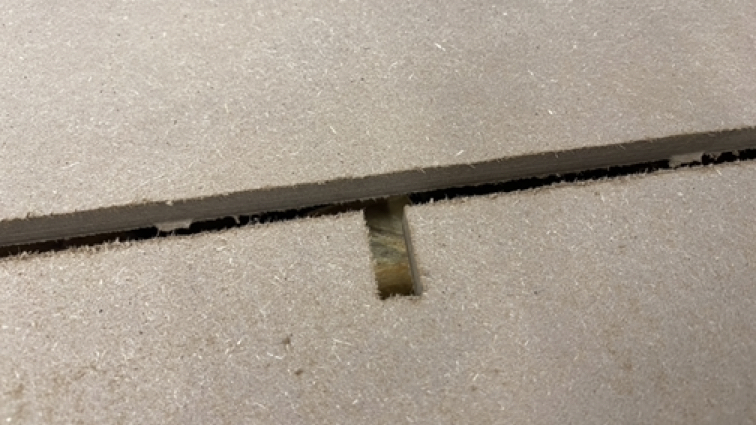
▼ After adjustment, the cutting effect is improved.
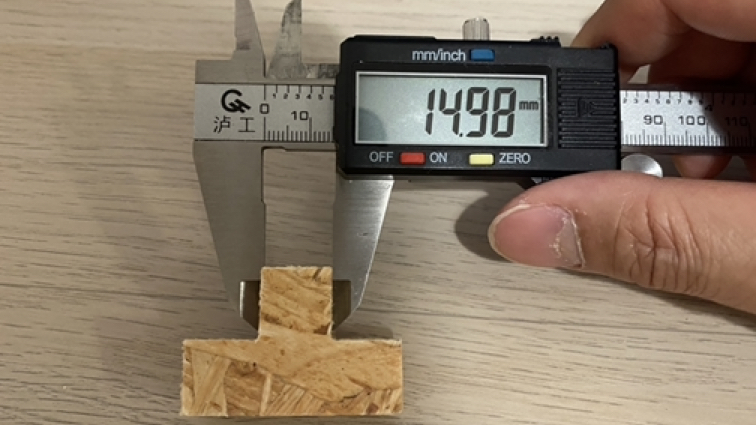
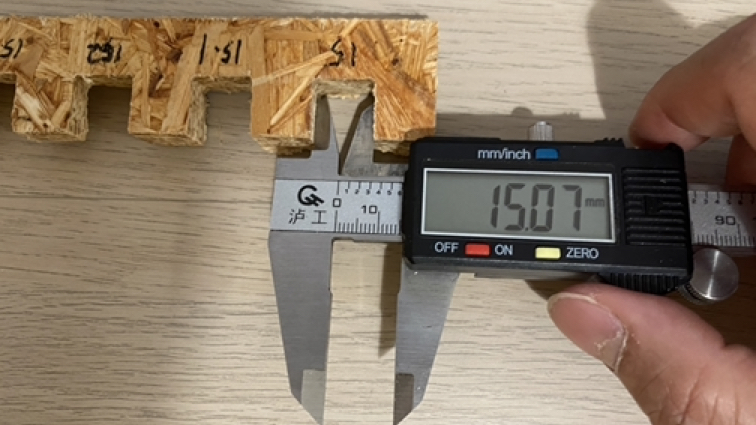
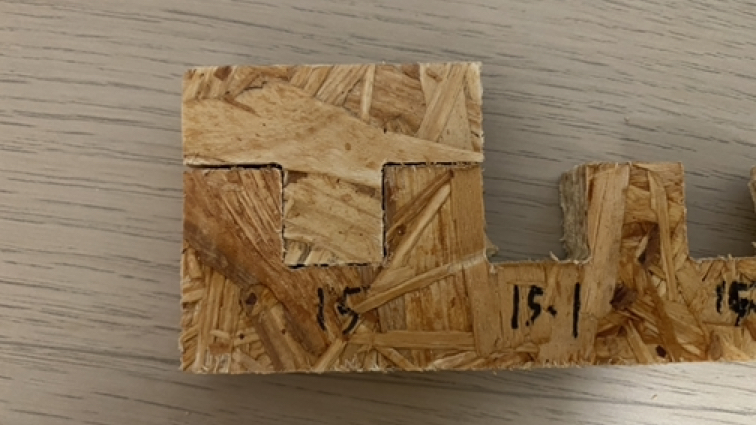
Toolpaths
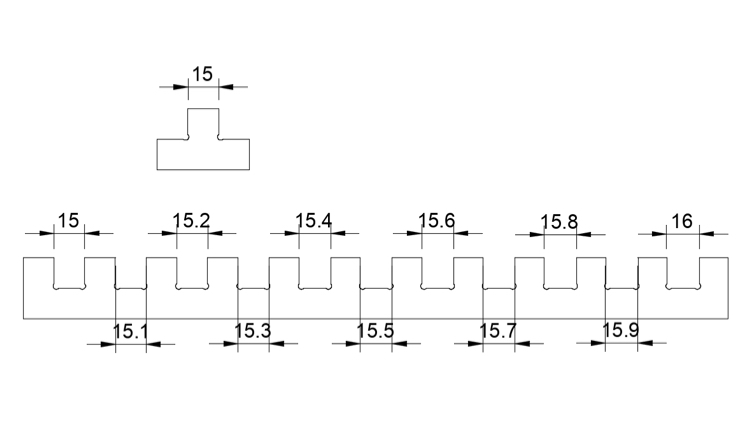
We draw testing file for testing CNC performance. Tool paths results: (Material: 18mm thick of OSB)
The error between the actual measured and the design is less then 0.07mm. We believe that the parameters of the machine is ok.
Useful link and downloads
Easel CNC Software online
https://www.inventables.com/technologies/easel
Fusion 360 OSB Jointing Tester
f3d file | T bone svg | Tester svg