Input Devices
This week, our group - Darren, Terry, and me (Jason) try to probe an input device’s analog and digital signals.
Group assignment
- [✓] Probe an input device(s)’s analog and digital signals
- [✓] Document our work
- The Document by Jason Leung
DIY sensor
We want to DIY tension sensor to probe analog signals. The signal will be reflected through the Serial montor and an serial plotter.
The video below was used as a reference when making the tension sensor
Homemade Sensor #6 - Tension Sensor
▼ Let a cotton thread be covered with graphite inside and outside.

▼ Make the cotton thread energized and generate an appropriate amount of resistance. If the resistance is too large, you need to fill in more graphite.

▼ Oh my…

▼ This is our DIY tension sensor

▼ This is really feasible, but there is a major disadvantage, that is… when the cotton thread is pulled more than 20 times, the rebound ability is getting worse and worse…

Probe analog and digital signals
Hardware
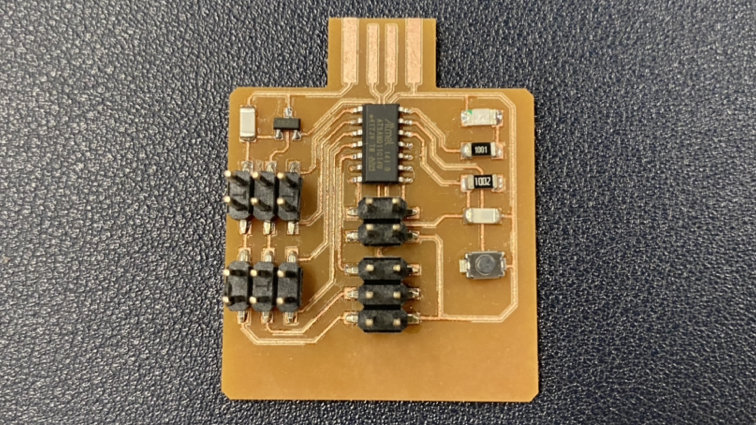
This time we change to use push button, potentiometer, light sensor, and use Jason’s SAMD11 board to probe sensor signals.
▼ Because the pin of the board is designed to provide 5v voltage, it is not suitable for reading the signal of SAMD11, so we lead out a 3.3V power supply at VDD for the sensor to use.
Coding
We write a simple code to probe signals and output to serial monitor or plotter.
▼ For digital signal
▼ For analog signal
Probe input sensor
▼ This is push button, it only have on or off two status, This kind of sensor is suitable for using digitalRead to read the signal.

▼ Next, we use potentiometer. When we turn the potentiometer will output a value between 0 and 1023 to input pin.

▼ Finally, we use light sensor. It will generate a signal from 0 to 1023 according to changes in ambient light and darkness.

We make a short movie to show the process of testing the sensor.
Downloads
Arduino program for probe input signals
For digital signals
For analog signals