10. Molding and casting
This week Hero shot!
This week Checklist
Group assignment
- [✓] Review the safety data sheets for each of your molding and casting materials
- [✓] Make and compare test casts with each of them
Individual assignment
- [✓] Design a 3D mould around the stock and tooling that you’ll be using, mill it (rough cut + (at least) three-axis finish cut), and use it to cast parts.
Group assignment
This week, our group review the safety data sheets for each of molding and casting materials. And make and compare test casts with each of them. Please click here to see more details of our group assignment.
Individual assignment
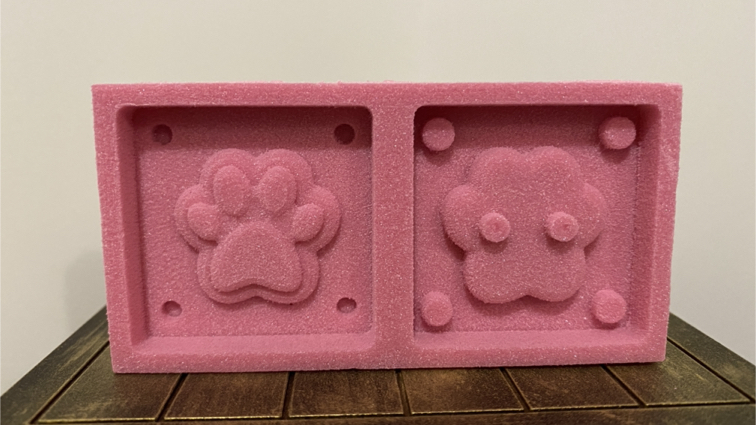
In this week, I would like to design a candy mould look like cat’s paws.
The process is roughly as follows:
- Use Fusion 360 to design and 3D modeling
- In Fusion 360 manufacture setup milling bit parameter, create toolpath and simulation, and generate nc file
- Import nc file to GrblControl and control my milling machine to mill positive mold by foam material
- Learn how to formulate silicone used for molding, and prepare Safety gear
- Learn and prepare material for casting
Design and create toolpath
█ Step 1 - Deisng a mold, remember top side and bottom side mold must be mirror.

▼ Use joint to help fix position of two mold.

▼ This is rendered image for the mold.

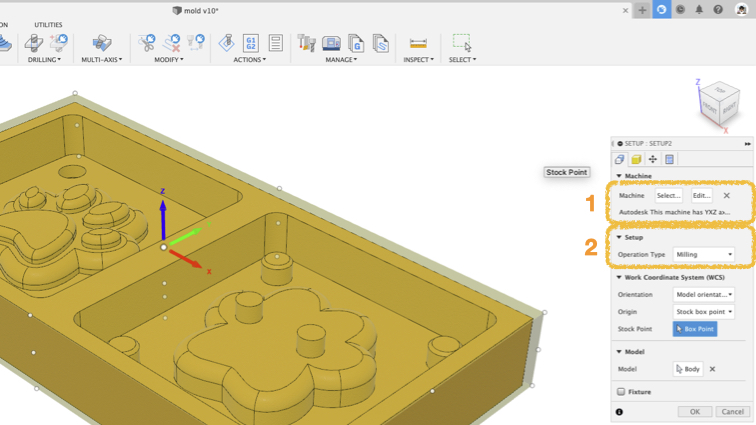
█ Step 2 - Change to manufacture mode in Fusion 360, then click New Setup in milling tag.

█ Step 3 - Select milling machine and select operation type.
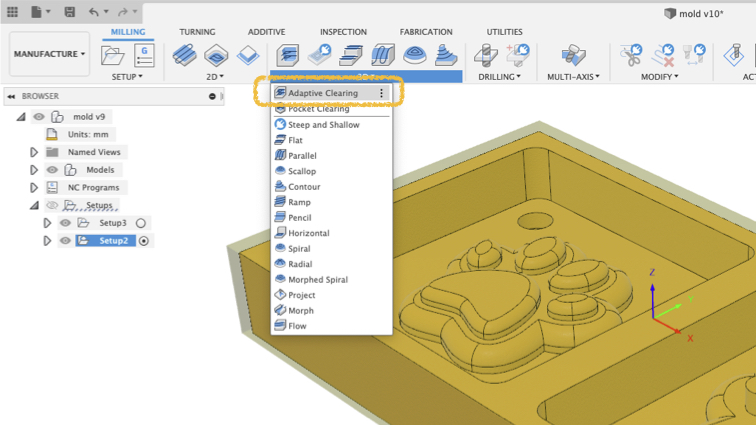
█ Step 4 - Click Adaptive Clearning.
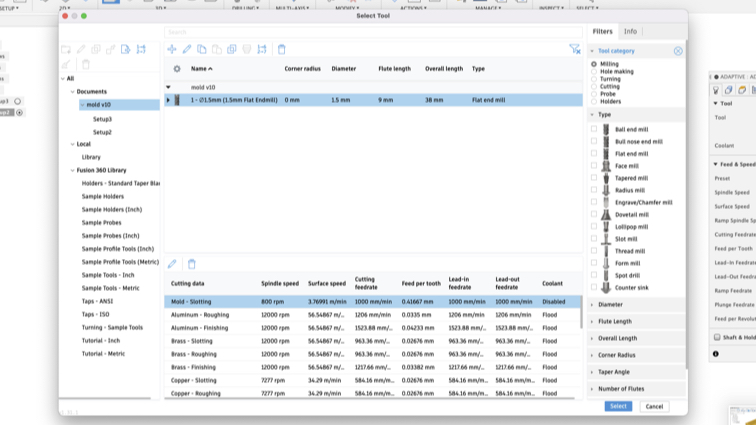
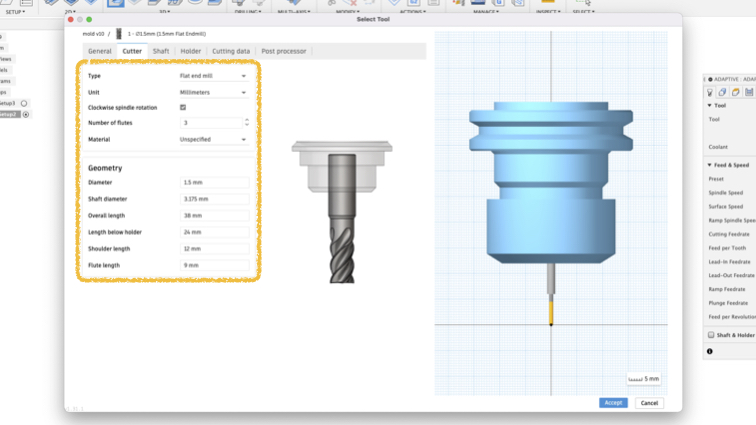
█ Step 5 - Select milling tool.

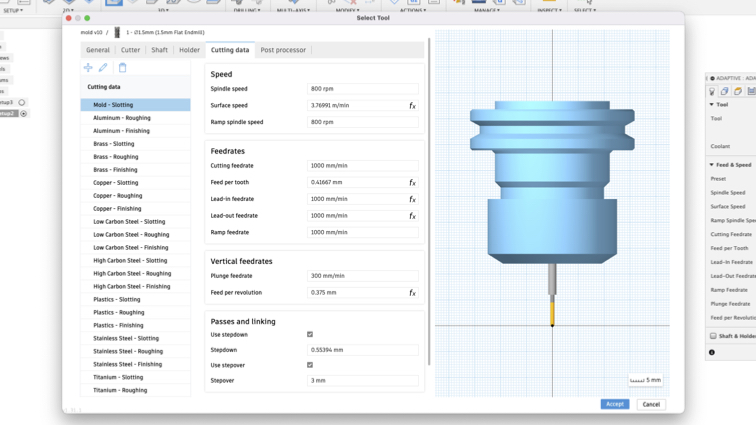
█ Step 6 - Select or custom milling bit parameter.
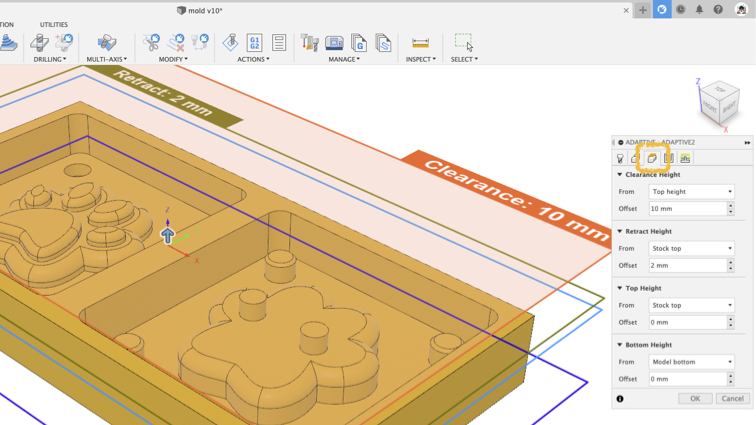
█ Step 7 - Set height of milling.
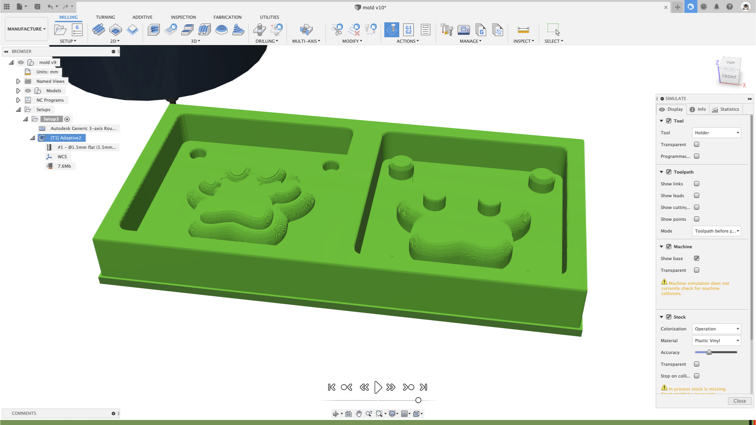
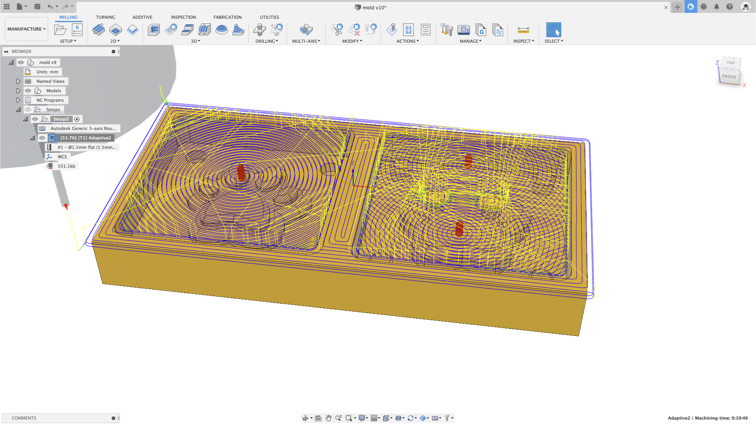
█ Step 8 - Run a simulation first to see in advance whether the tool will successfully perform its task.


▼ This is the final output in simulation.
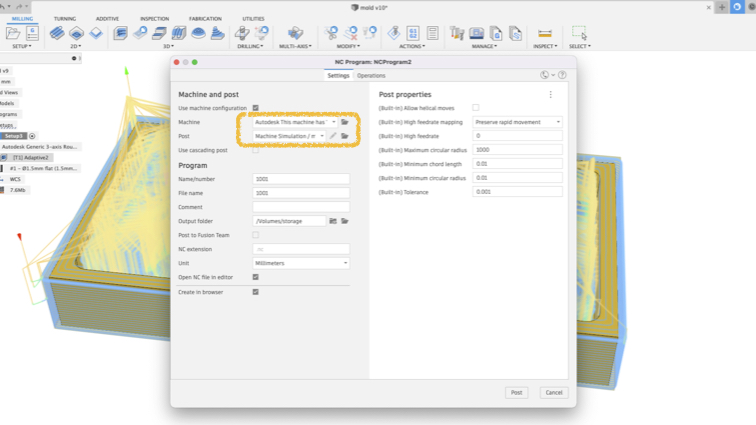
█ Step 9 - After simulation, is time to prepare toolpath, click Post Process first.

█ Step 10 - Select milling machine and post.
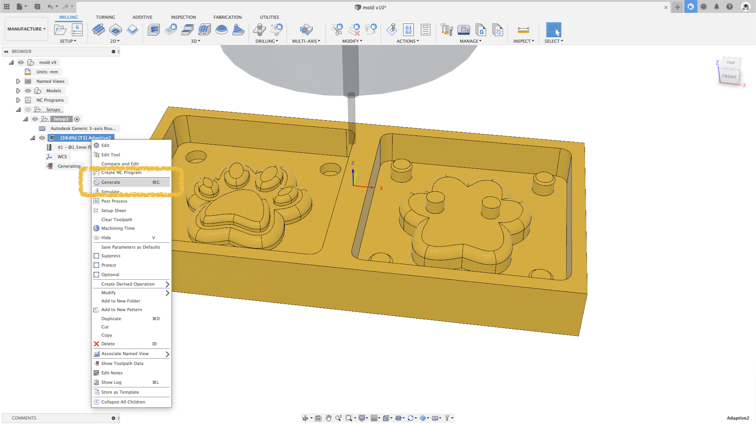
█ Step 11 - Right toolpath and select Genrate.
█ Step 12 - nc file will genrate to output folder (in step 10 image).
Milling
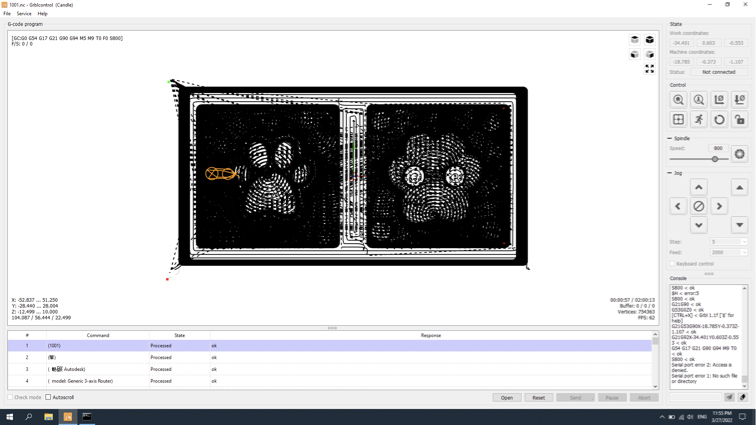
▼ Grbl Control is a motion control software for CNC milling. I used Grbl Control to connect and control my milling machine.
Very simple to use:
- Select correct com port to connect milling machine
- Movement X Y Z Axis go to home position
- Import nc file
- Send nc file to machine
▼ I’m milling in my kitchen at home and even with an extractor fan there is still a lot of dusts. I would box the machine and use a dust reducer.
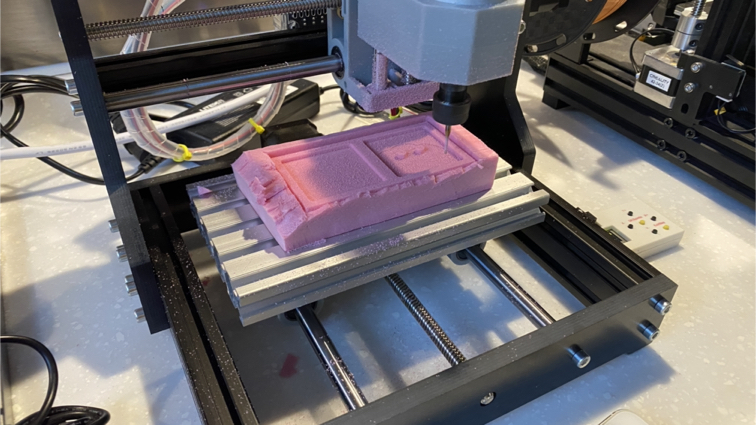
▼ This is the finished product of the positive mold.
Molding
█ Step 1 - Safety first, prepare Safety gear.
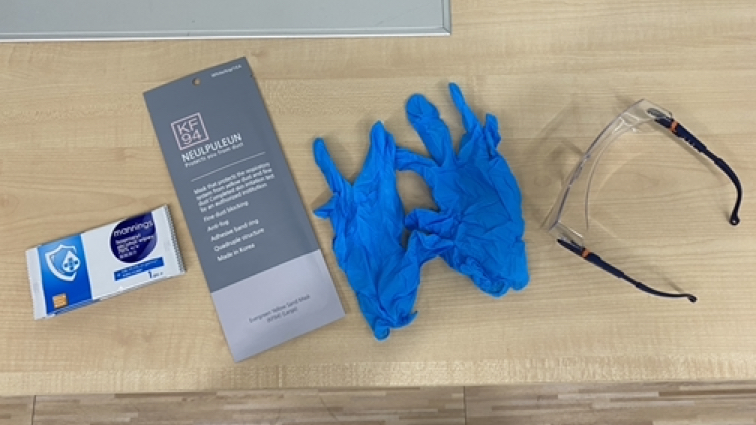
█ Step 2 - Formulate silicone used for molding. Before using silicone please see the safety datasheet
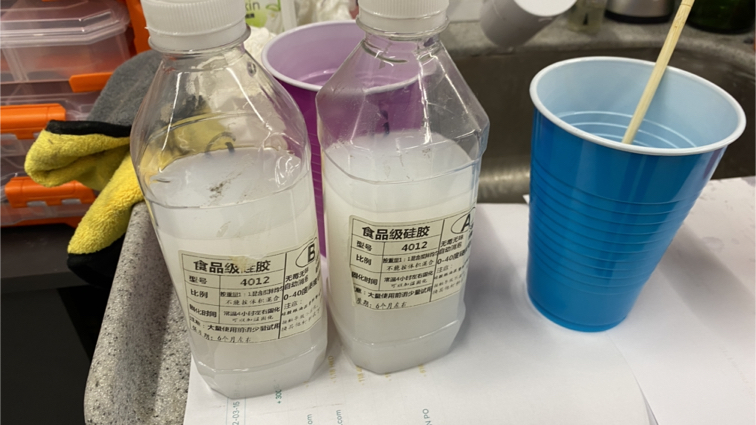
█ Step 3 - Mix slowly, don’t make too much bubble.

█ Step 4 - Pour out the silicone slowly.
▼ Not too much silicone, just fill the positive mold.
▼ Solidified after one night.

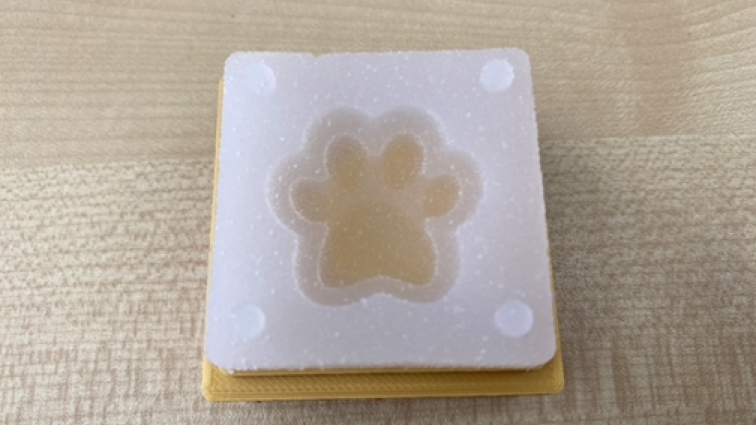
▼ This is the finished product of the bottom side silicone mold.
▼ This is the top side mold.

Casting
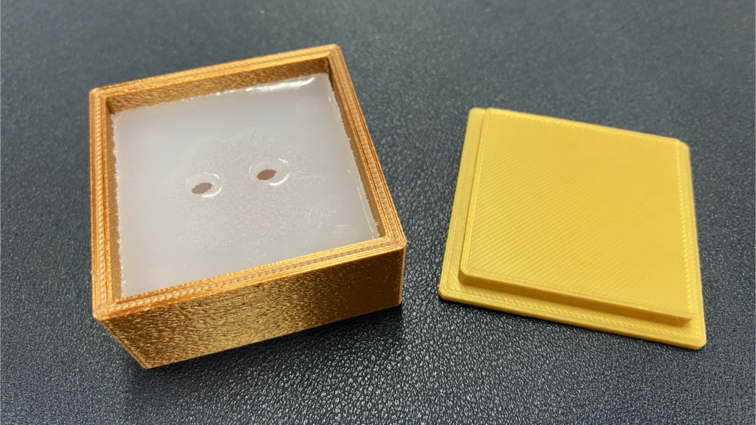
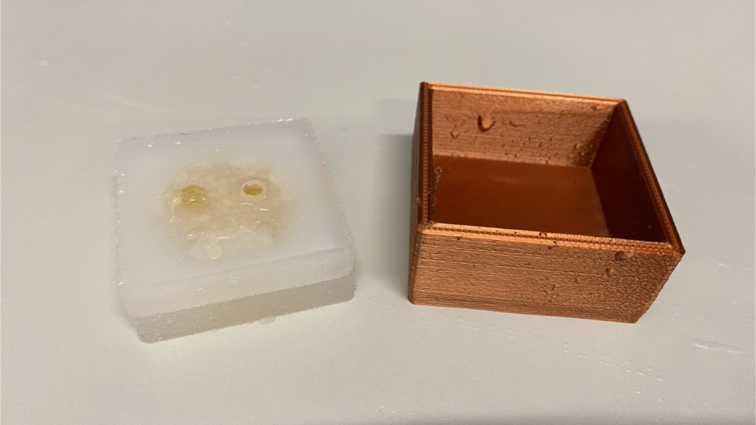
▼ I met a problem about the silicone mold is too soft, it inability to maintain stable shape, so I make a case to hold the mold help it maintain stable shape when casting.
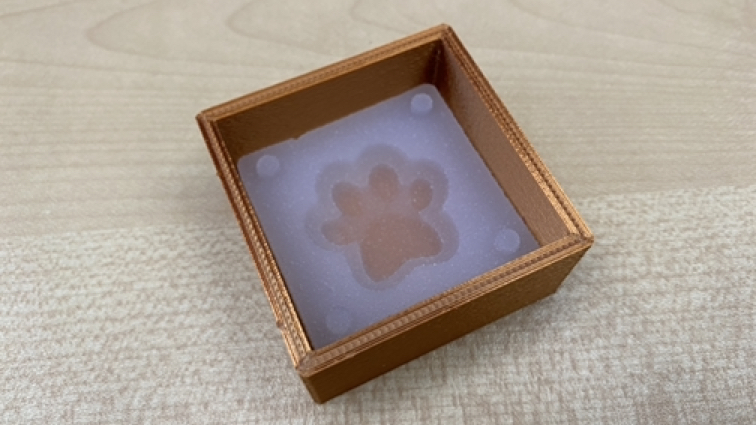
▼ one hole for input material and one hole for bubble comeoue.
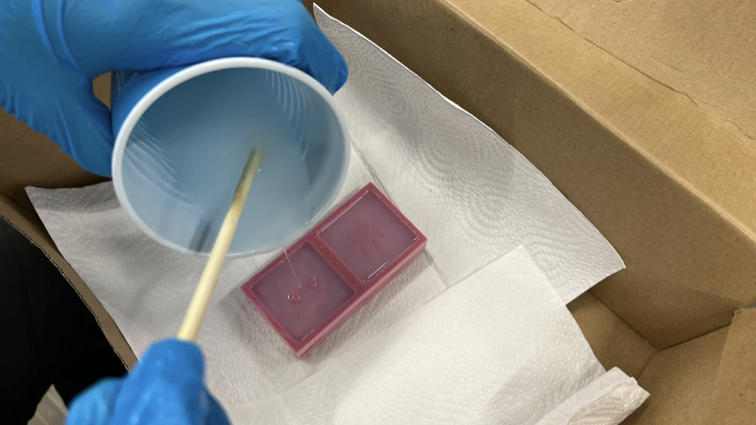
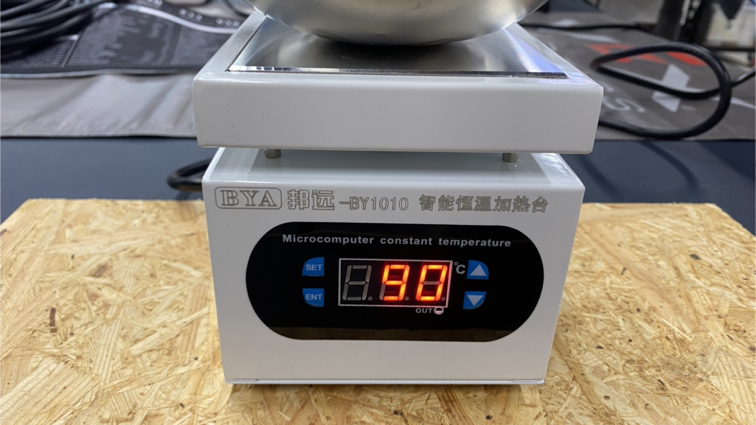
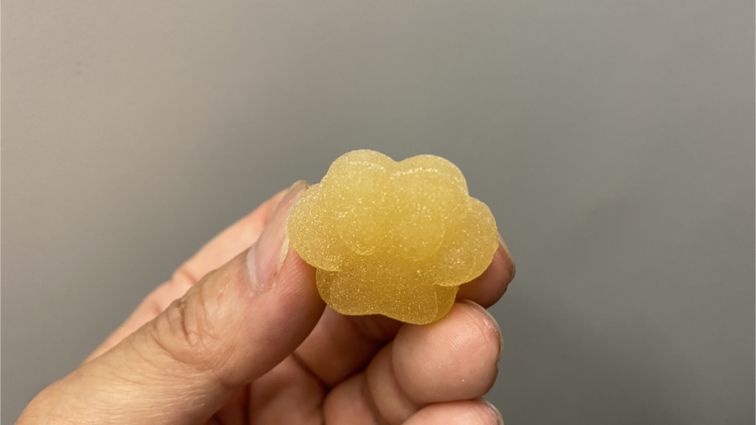
█ The material used this time is composimold, which looks like candy but cannot be eaten. First, heat it to make it liquefy。
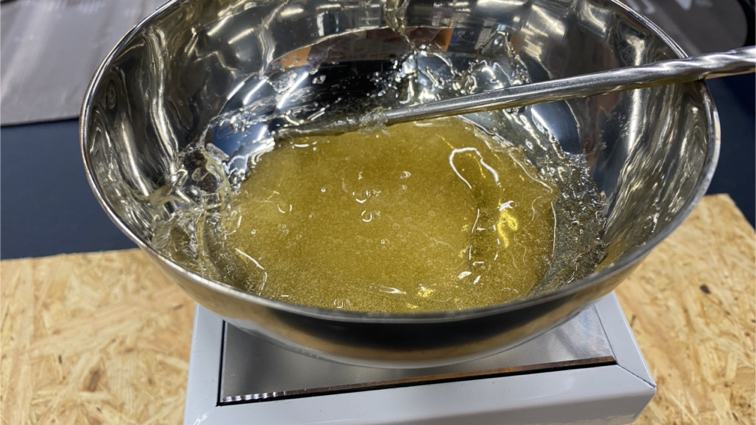
▼ When material liquefy, Carefully pour into the mold as soon as possible before cool down.
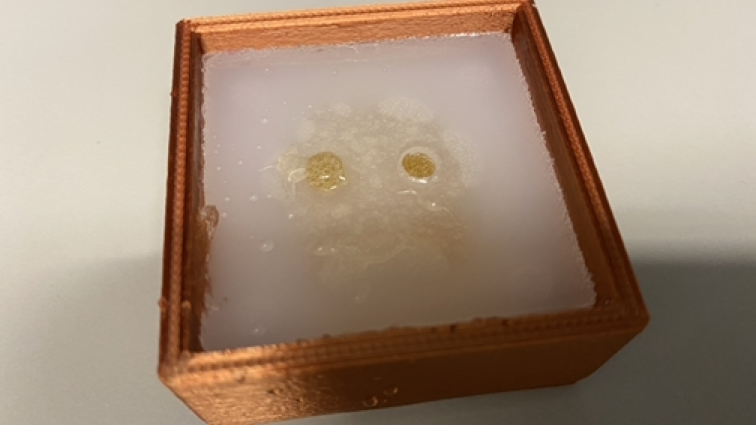
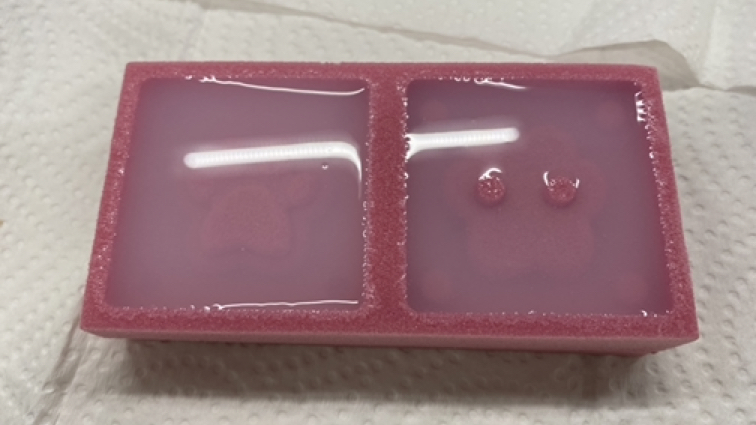
▼ The finished product really look like candy.
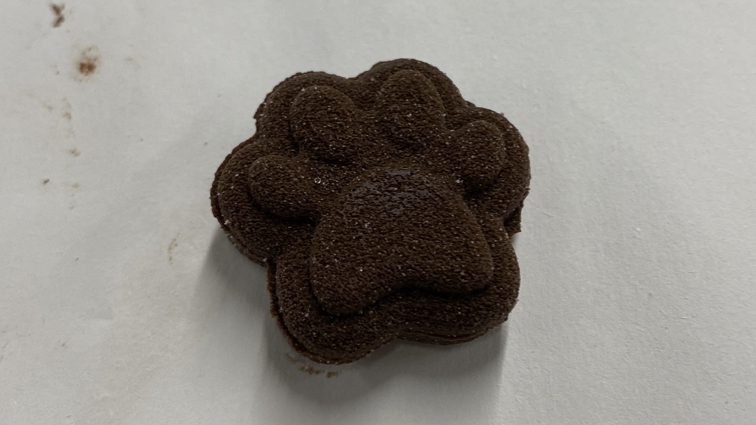
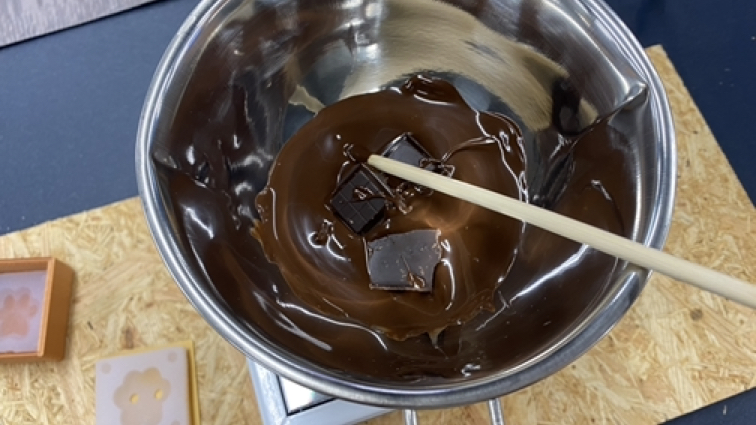
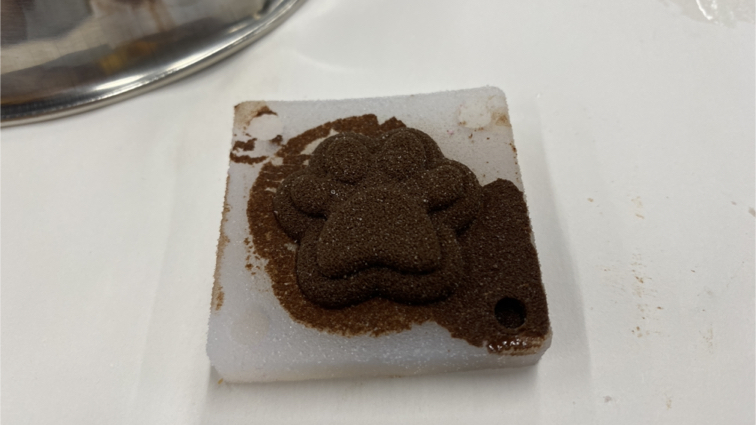
█ This time using chocolate!
▼ The finished product really look like candy.
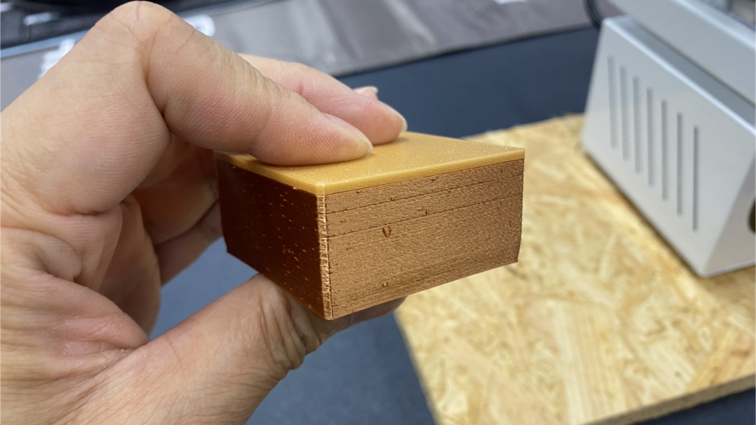
▼ Put the mold in the refrigerator

▼ It solidifies in about an hour, the mold is made of silicon, it is easy to take out the chocolate.
▼ Yeah! Successfully made a chocolate!
Useful link
Autodesk Fusion 360 CAM Tutorial
Downloads
Mold f3d file
Mold case f3d file
Toolpath nc file