2. Project management
This week I worked on explore website development tools, identify and utilise version control protocols.
This week checklist
- [✓] Made a website and described how to did it
- [✓] Created a section about me on that website
- [✓] Added a page with sketch and description of my final project idea
- [✓] Documented steps for creating my Git repository and adding files to it
- [✓] Pushed to the class GitLab
- [✓] Signed and uploaded Student Agreement
Building a project website
This is my first time building a website used in Markdown. I used WordPress or HTML code to create a website before. You may visit my website here.
I like the flat design, simple outlook, and clear coding. So, using Markdown to build a website is makes me feel very comfortable.
There is some useful link
What is Markdown
Markdown is a lightweight markup language for adding formatting to a plain text document. Most importantly, it allows you to easily turn the formatted text into an HTML web page (or other types of documents). You don’t need any special tools to write Markdown, just a plain text editor is good enough.
Markdown is very very simple to learn and use. Let me show you a few examples. To bold some text, all you need to do is enclose the text in double asterisks (**)
**bold** something
To format the text as a heading, you write the Markdown syntax like this
# Heading 1 (Largest)
## Heading 2
### Heading 3
#### Heading 4
##### Heading 5
###### Heading 6 (Smallest)
You can easily embed hyperlinks in a document by wrapping link text in square brackets
Click [here](https://jasonworkshop.com) for details
How do I setting up my GitLab development environment and Pushed to the class GitLab
█ Before start, you can click here to learn more about GitLab.
I am a macOS user. So the following demonstrations will be based on the macOS environment.
I try many GitHub client applications before, I think GitHub Desktop is the most simple, easy setup, easy to use, I highly recommend everyone to use it.
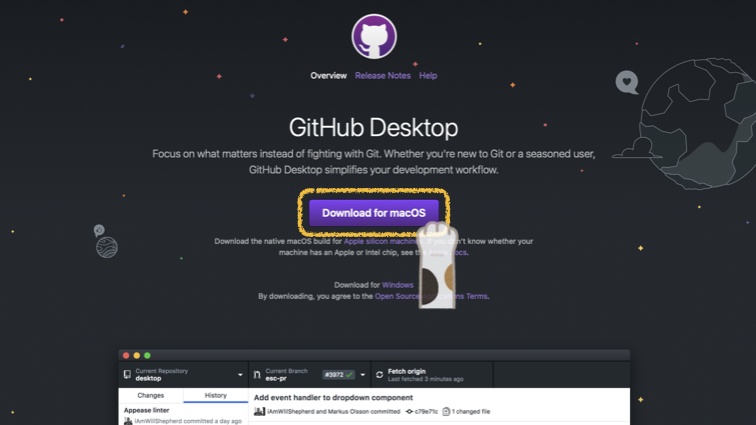
█ Step 1
Download and install GitHub Desktop from here.
█ Step 2
Click Skip this step when first time using GitHub Desktop.

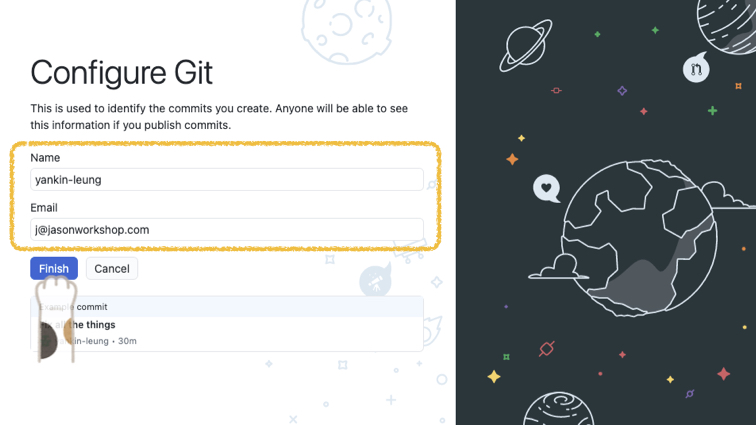
█ Step 3
Enter your name and email address.
█ Step 4
Click Clone a Repository from the internet…

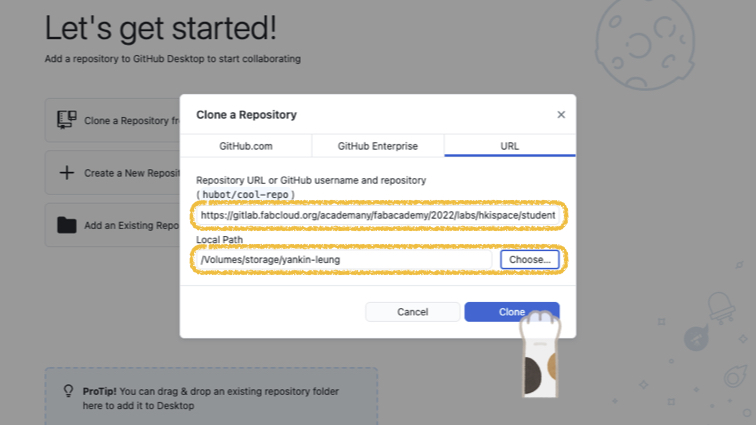
█ Step 5
Enter Repository URL and choose Local Path.
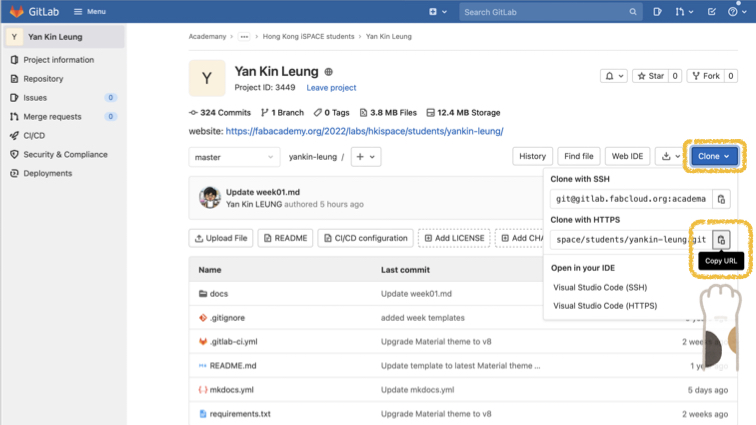
▼ How to get your Repository URL ?
Go to GitLab Project Overview and click Clone.
Then click the copy icon from Clone with HTTPS.
█ Step 6
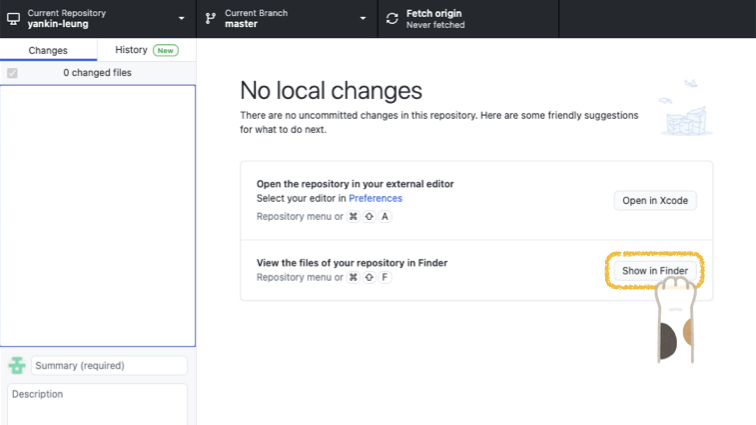
Click Show in Finder go to a local path.
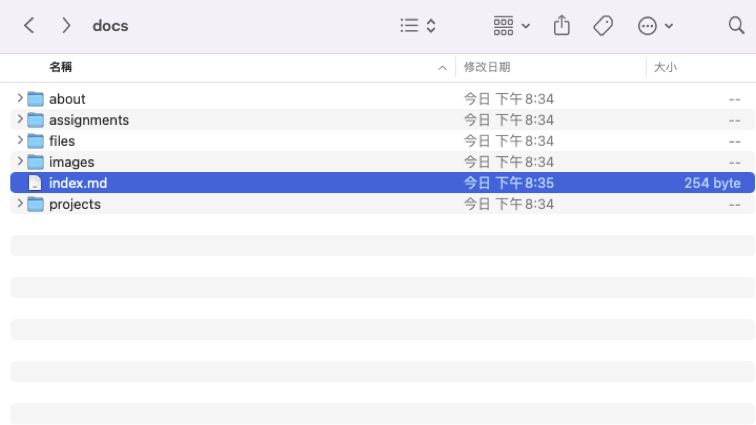
▼ You can edit a file with your favorite editor.

█ Step 7
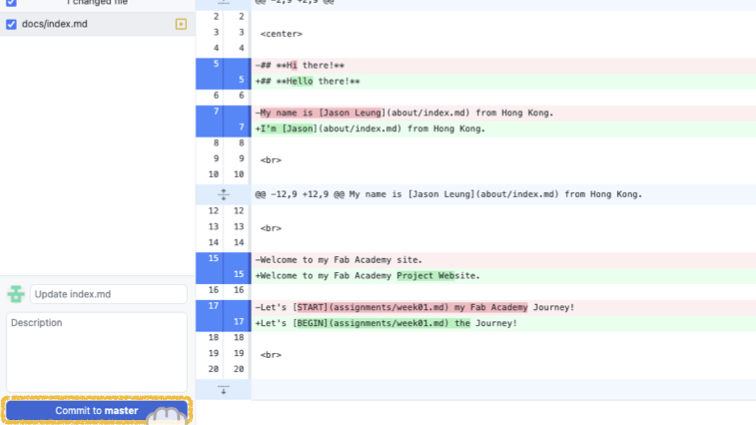
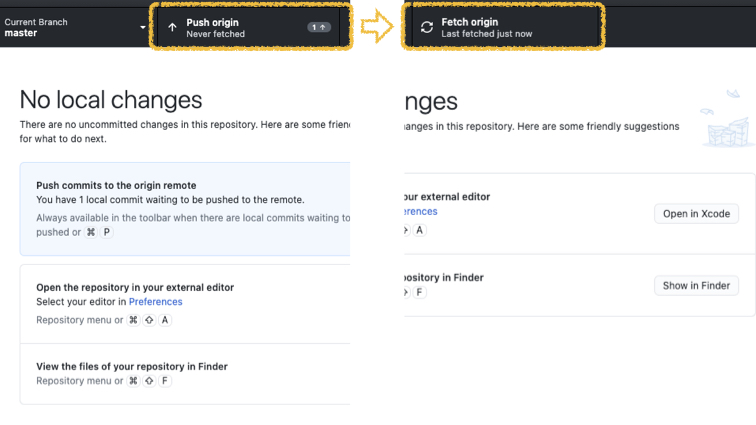
Every change will show in GitHub Desktop, when you want to commit to the Repository URL, please click Commit to master.
█ Step 8
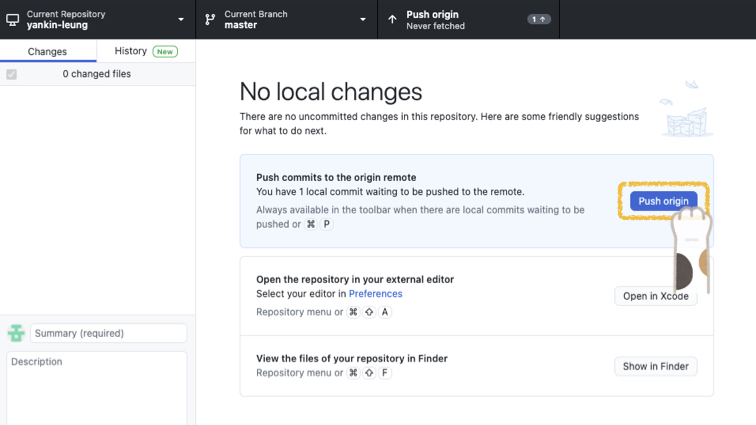
Click Push origin.
█ Step 9
You need enter Repository Username and Password at first commit.

▼ You can see the change after push origin.
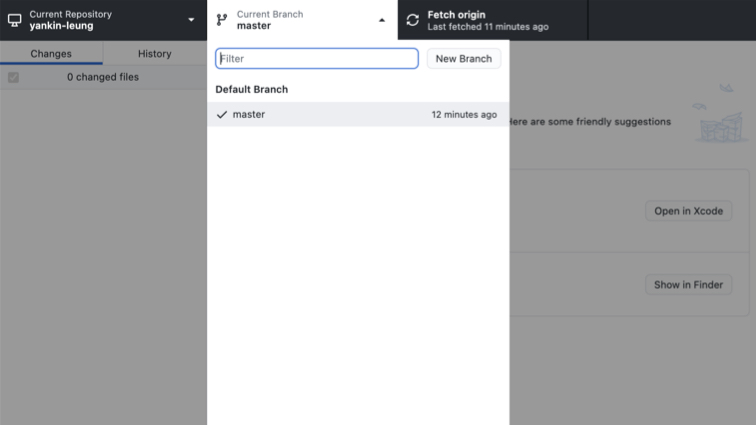
▼ GitHub Desktop provide Version Control and Revert Changes function.

▼ Also, you can manage the Branch at GitHub Desktop.
█ Yeah! You did a great job! You know how to use the Repository now!
Markdown Editor
Finally, I would like to introduce my favorite markdown editor - Markdown Editor.

▼ Simple interface, you can preview your makedown in real-time.

Useful links
There are useful links for this week