7. Computer controlled machining
Group Assignment
In this week’s group assignment, we learnt the operation process and tested the basic parameters of the CNC machine in the lab. Such as feedrate, tolerence, etc. This helps me a lot in designing my assignment of this week.
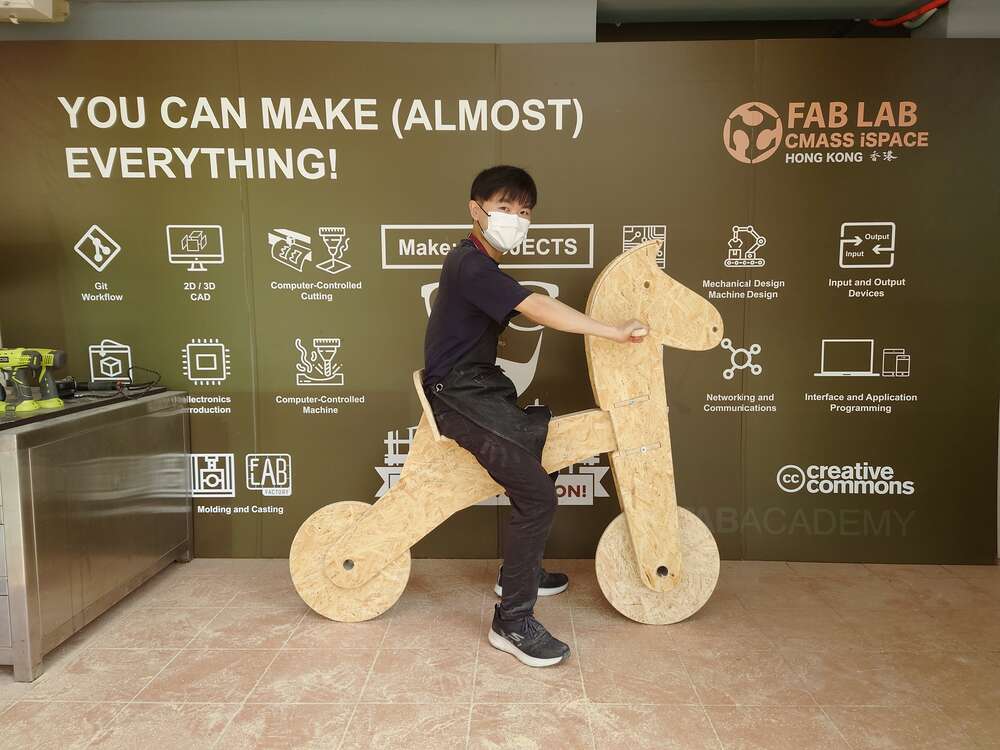
Hero Shot
Concept
The idea comes from my past experience. While I walk on street and saw a little boy playing a wooden balance bike. He looks like enjoy on it. I wanted to have a try but the bike was too small for an adult. So I wanted to desing a adult-sized balance bike for fun in this week.
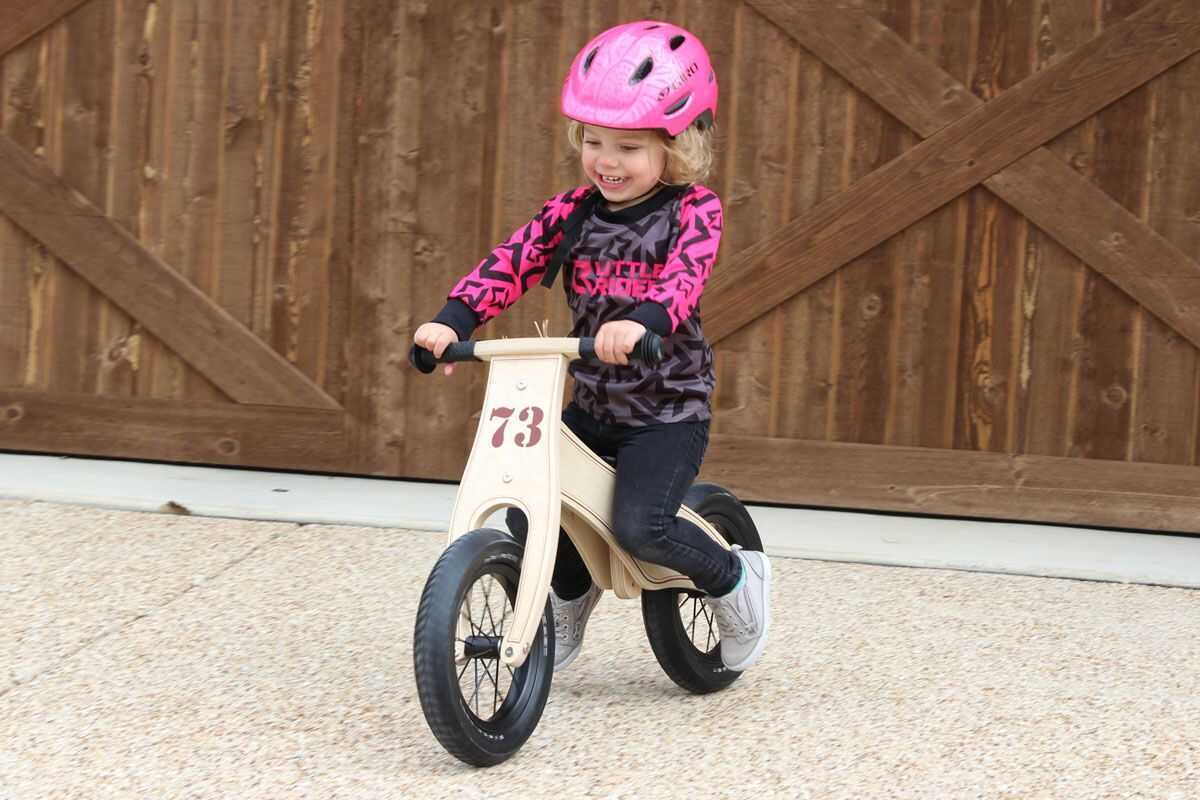 Image Source
Design
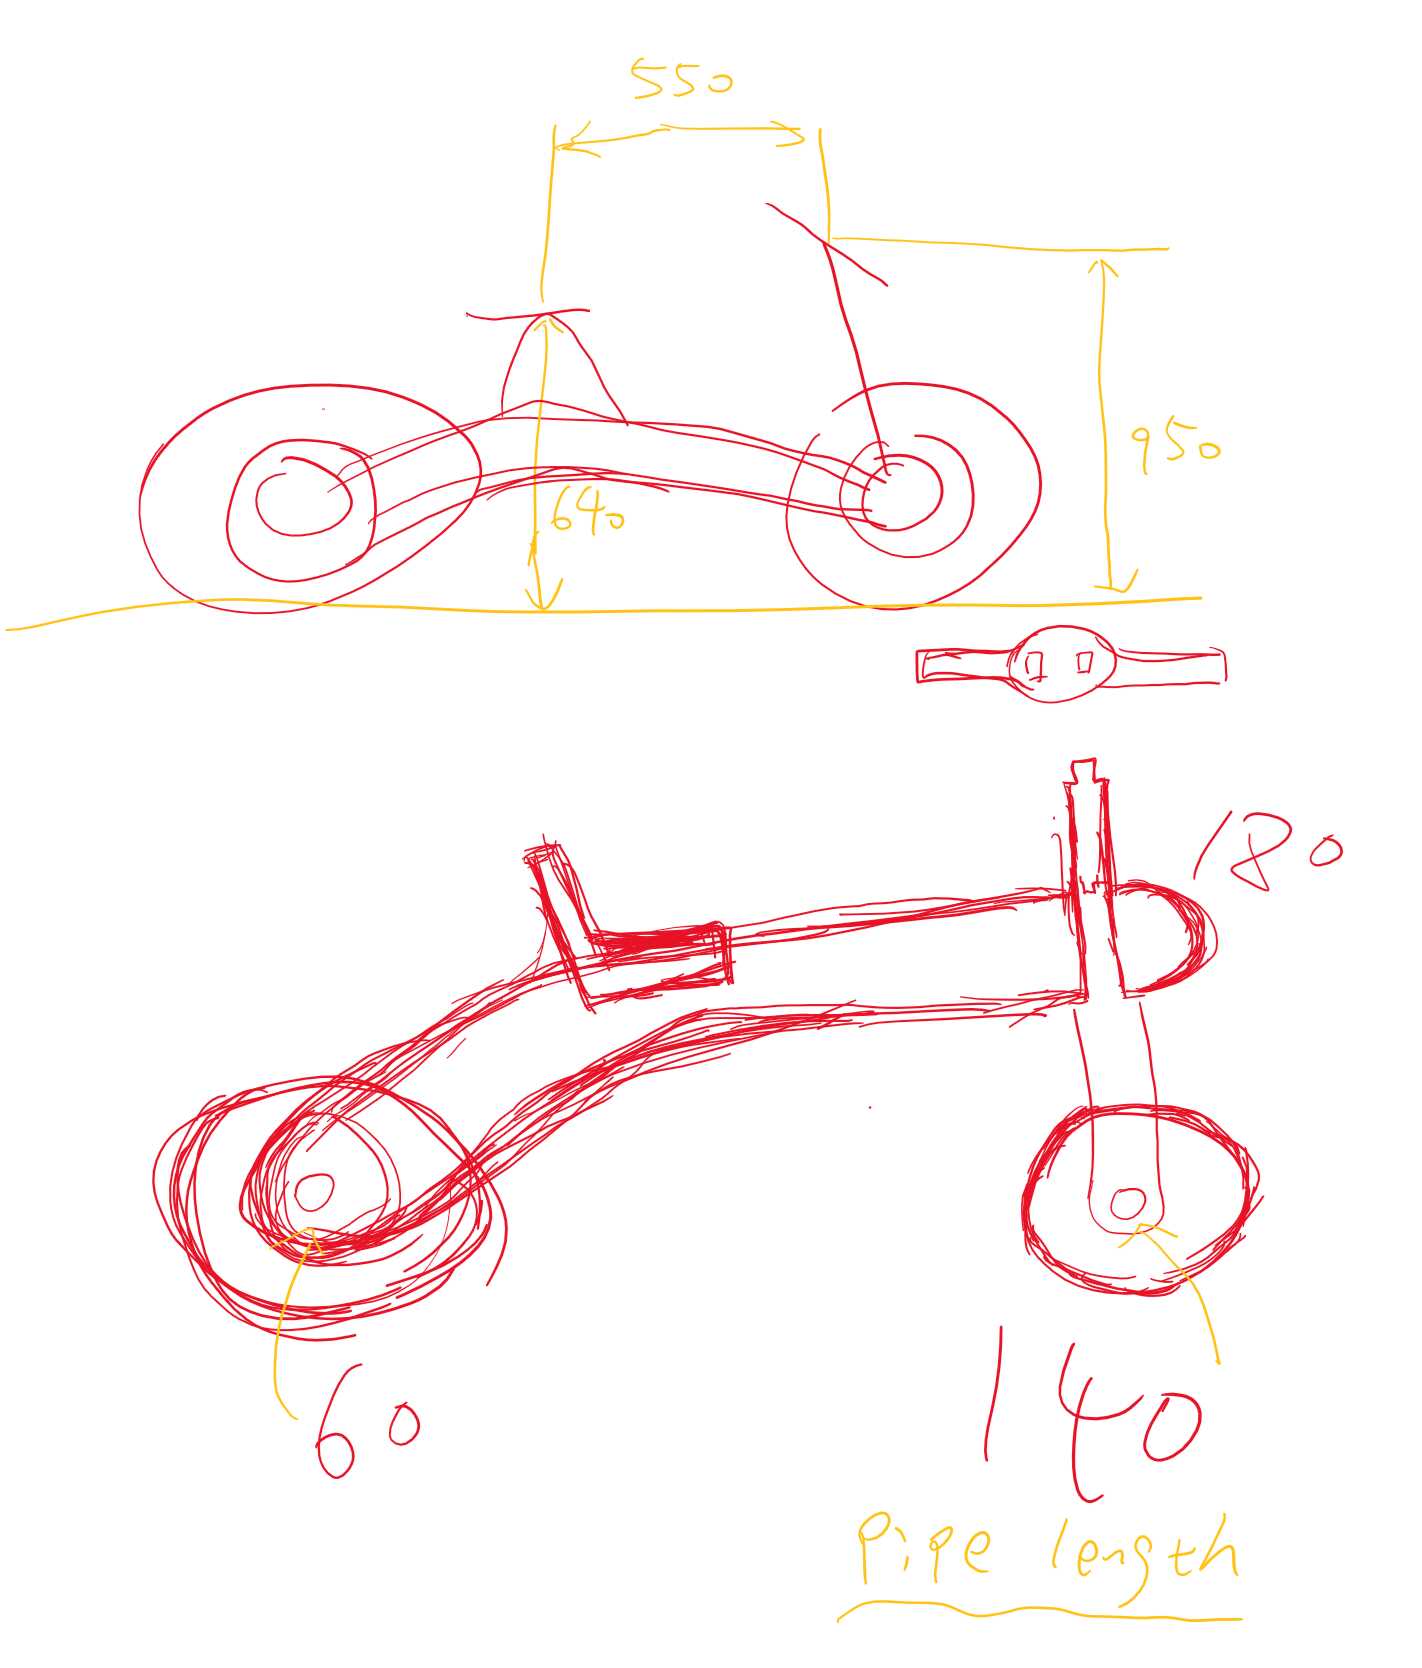
Draft
I start with drawing a draft, with some key dimensions such as the height of the seat and handle. The distance from the handle to the seat. I got these dimensions from a real bike.
CAD
I design the parts in Fusion 360.
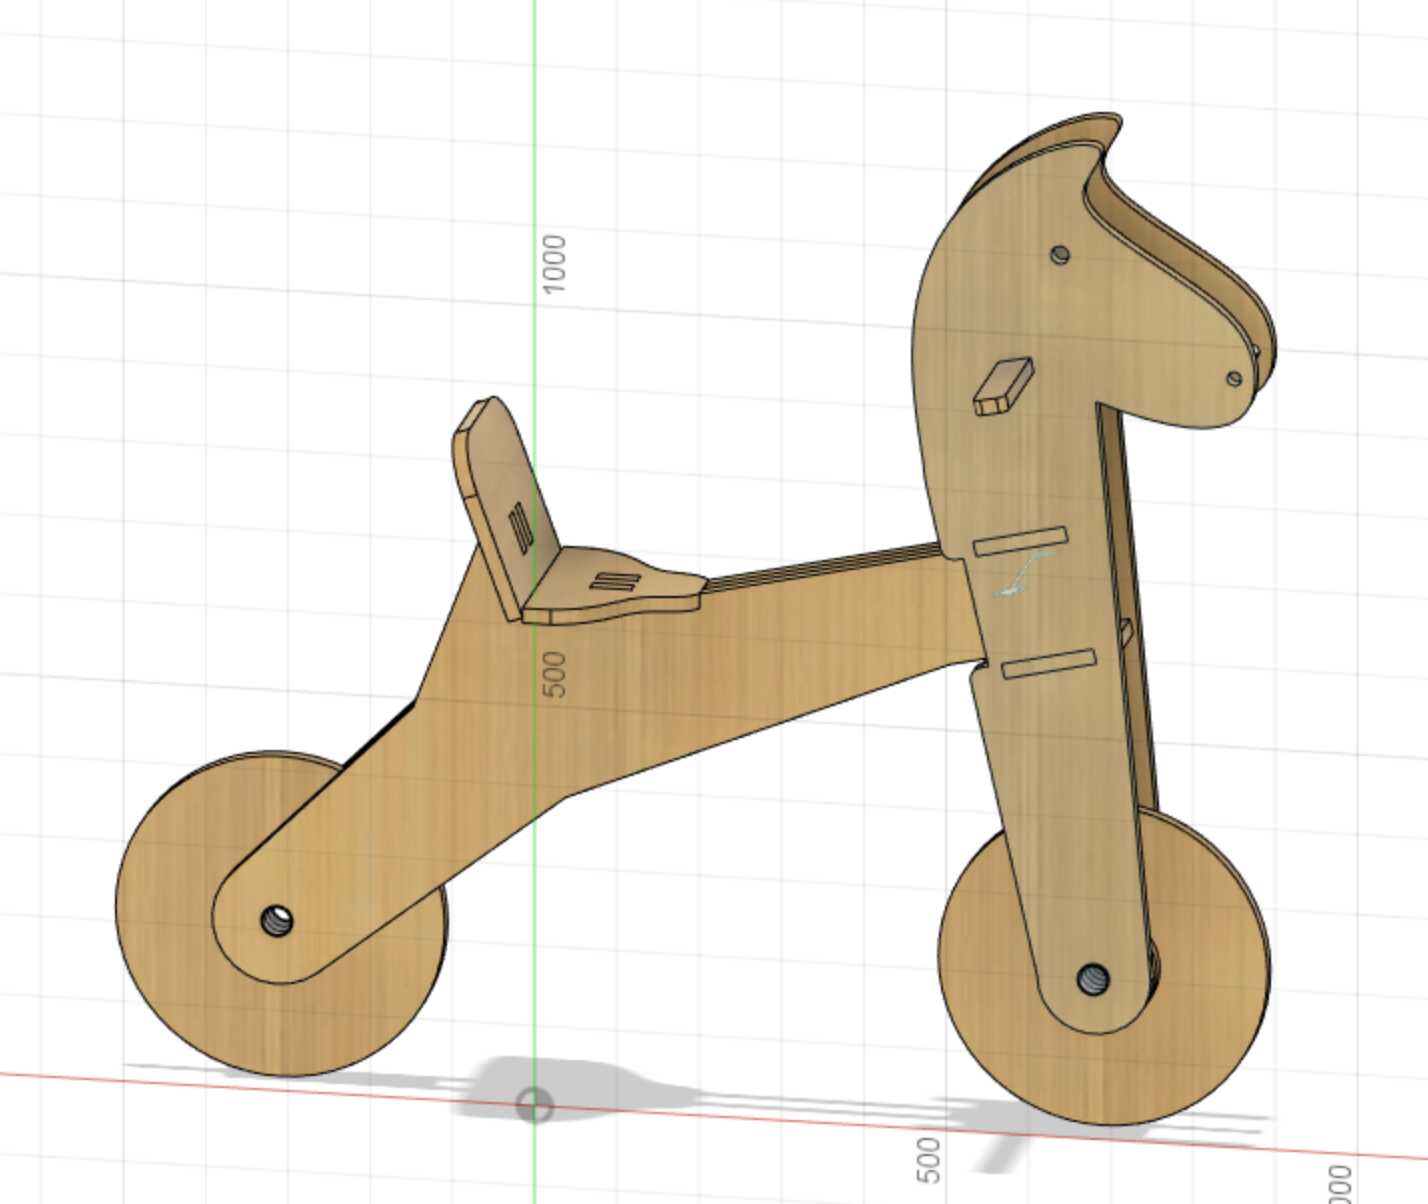
Parameteric design was used in case of any change of board thickness and bit diameter, etc.

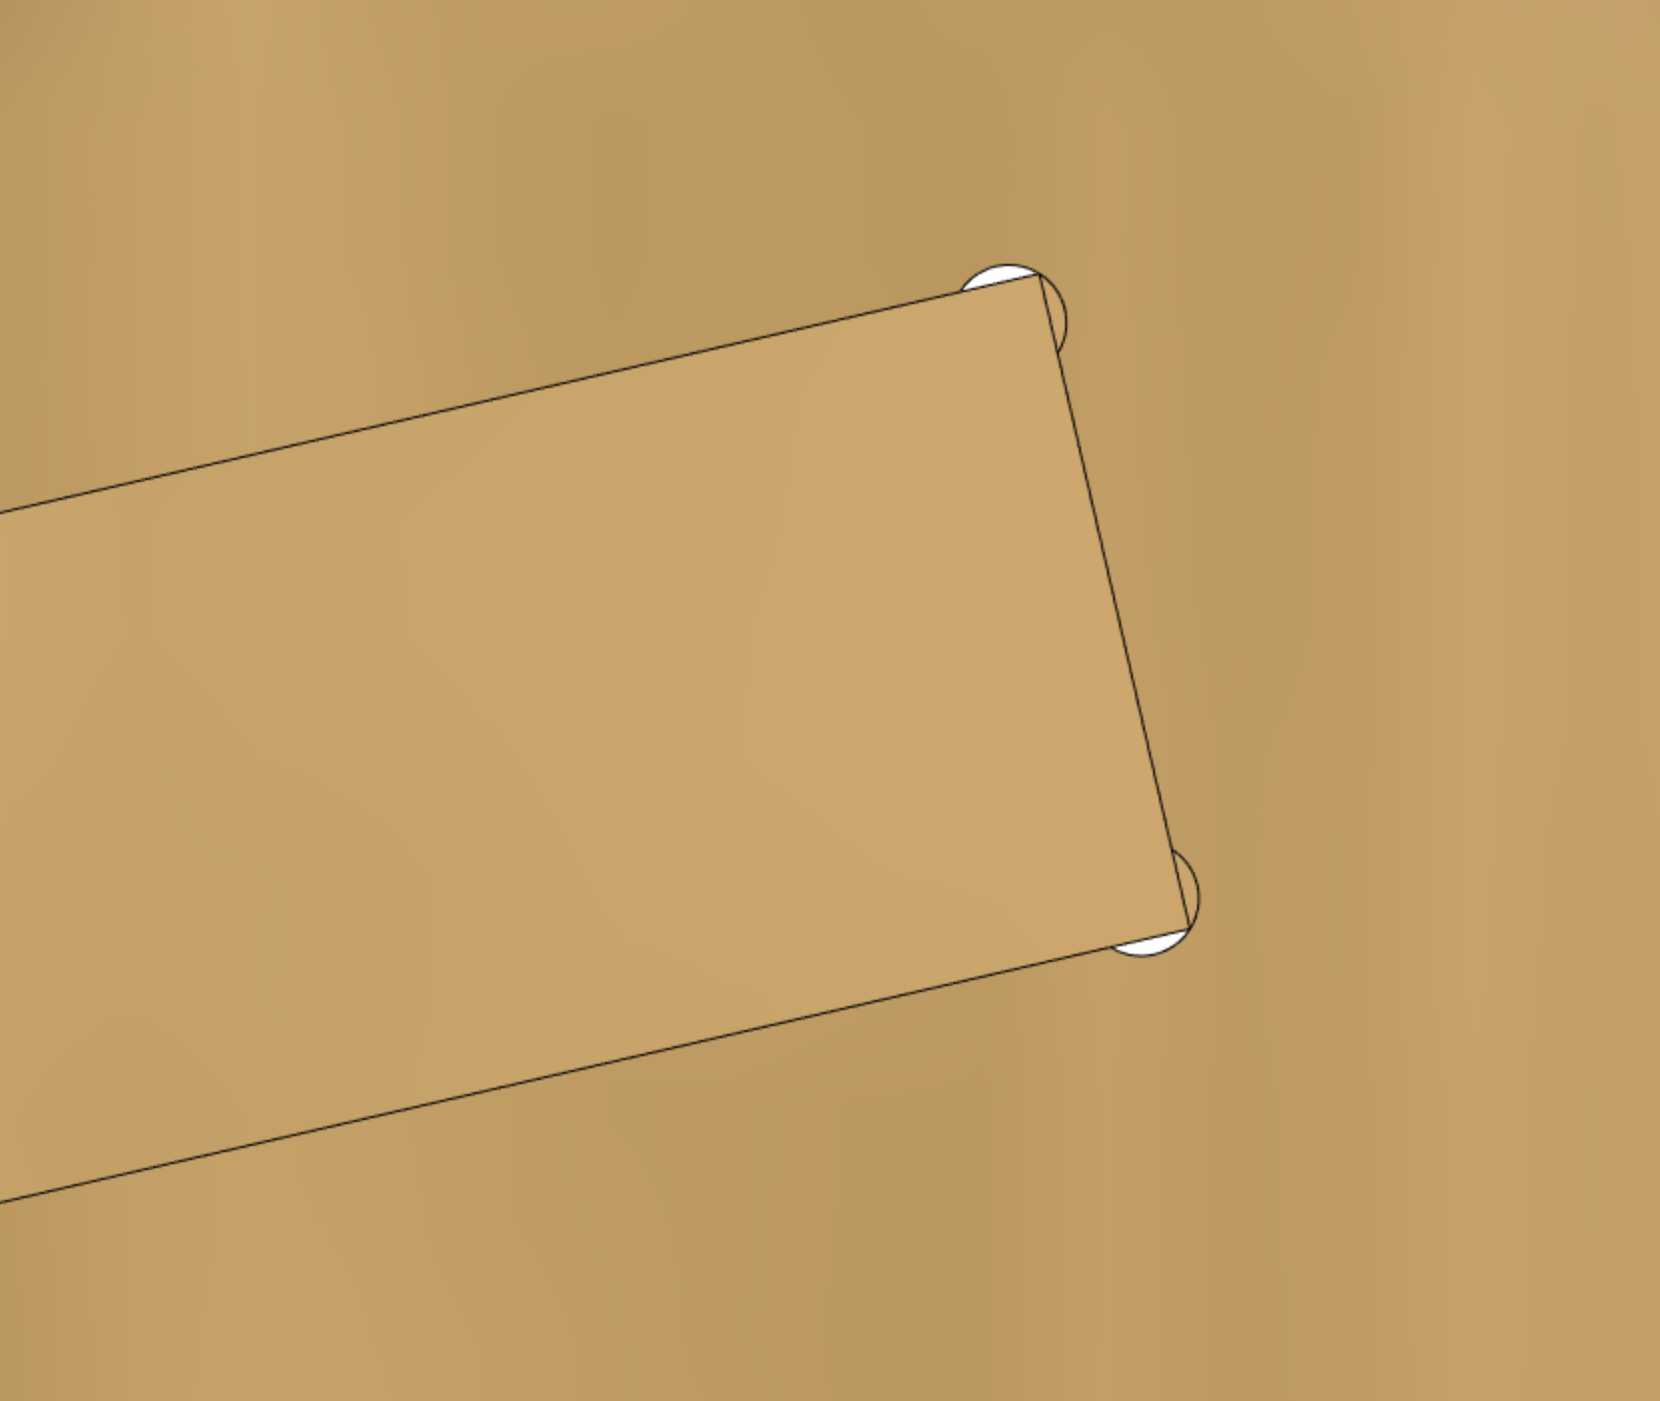
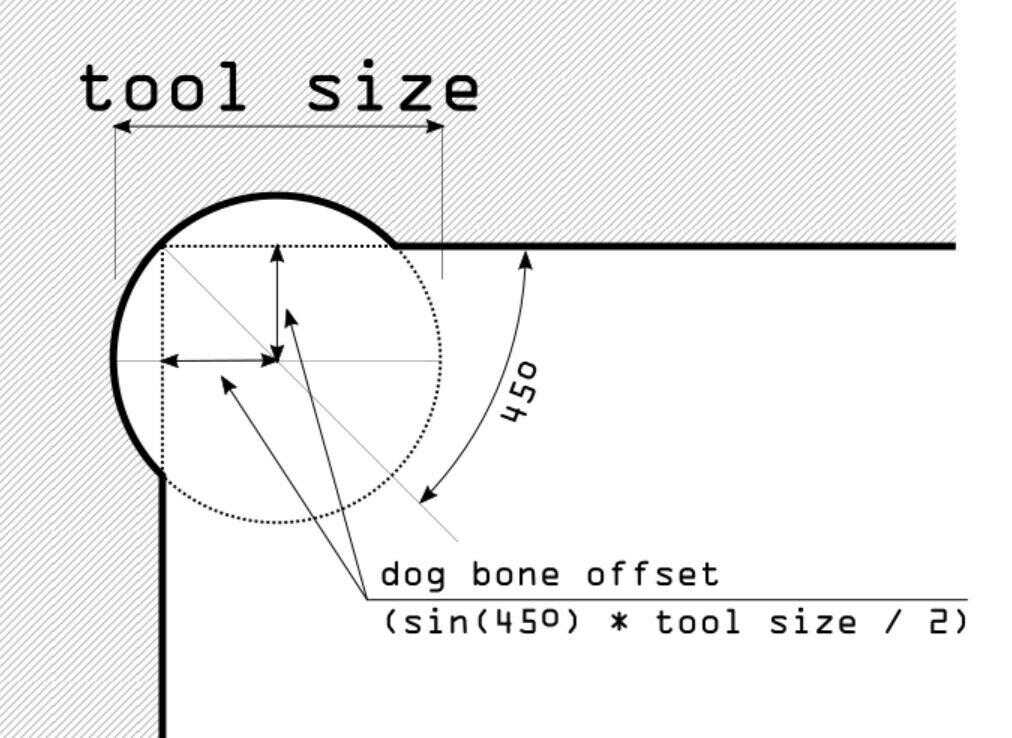
All joints are drawn with dog bone.
 Download this file
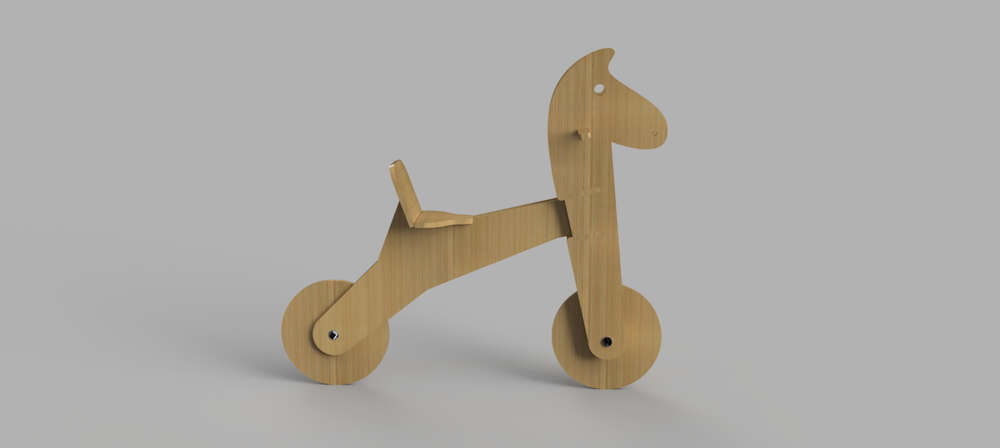
Rendered photo of the desing.
CAM
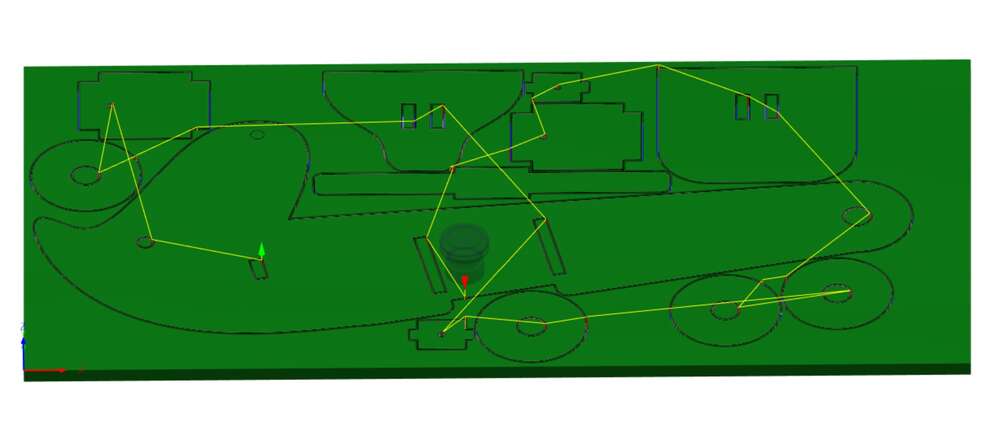
G-Code Generation
Normally we will export the profile of each part to Easel and generate G-codes on it. But this time I generated the g-codes in Fusion 360, it allows me have more conctrol of the milling process such as the milling order.
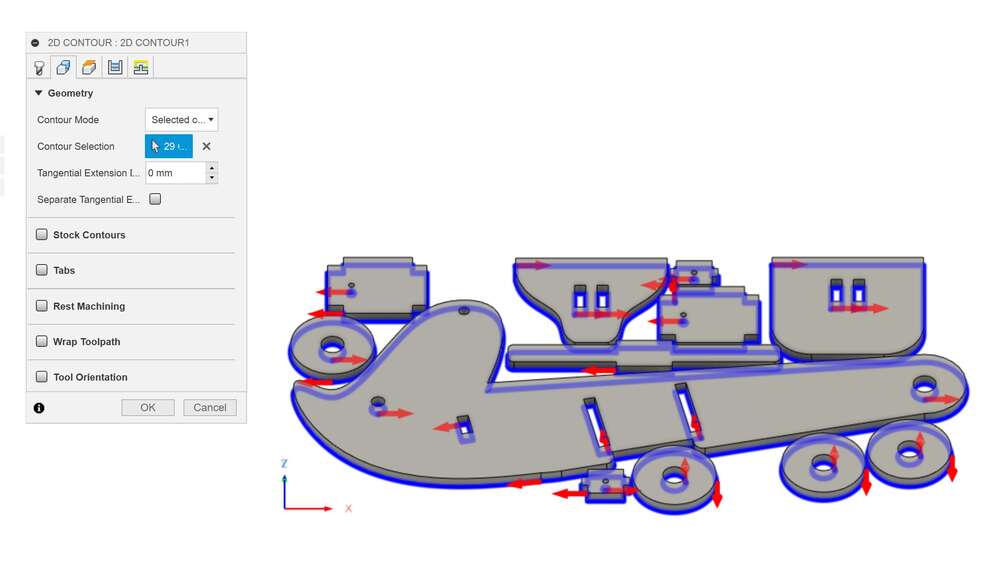
With the CAM simulation of Fusion 360, most of the potential problems could be found.
Milling
| Spec | Details |
|---|---|
| Machine | Tiger CNC |
| Work Area | 1200x800mm |
| Stock Material | Oriented Strand Board |
| Stock Size | 1200x600x18.5mm |
| Bit Size | 3.175mm (1/8 in) |
| Feed Rate | 1220mm/min |
| Stepdown | 4mm |
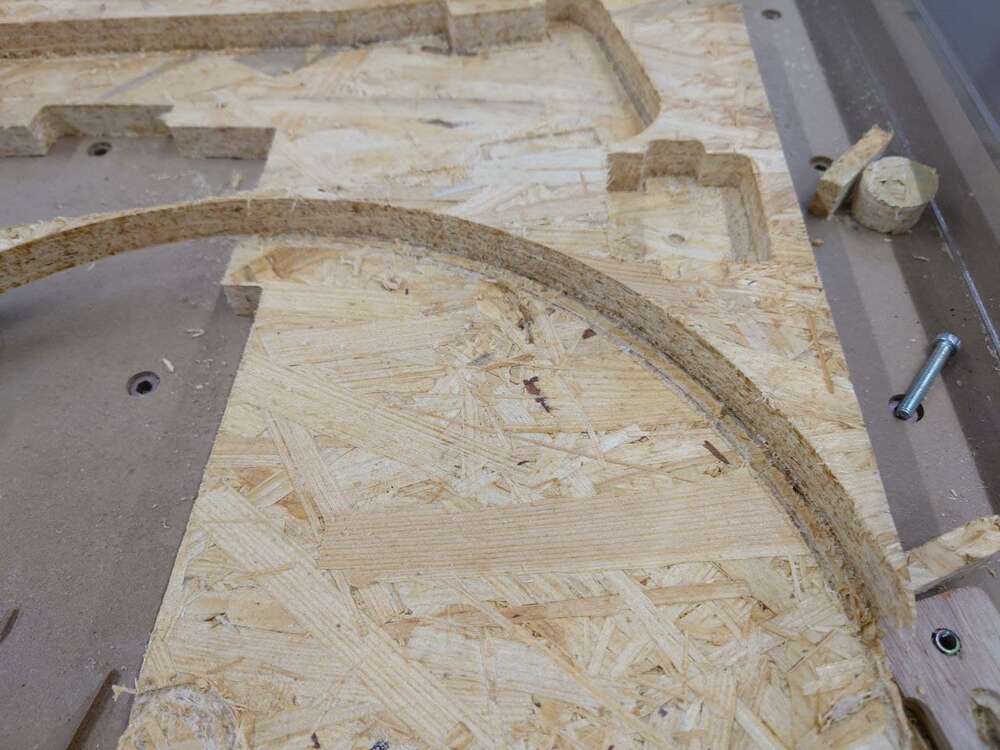
To support the weight of an adult, I choosed 18.5mm thick OSB.
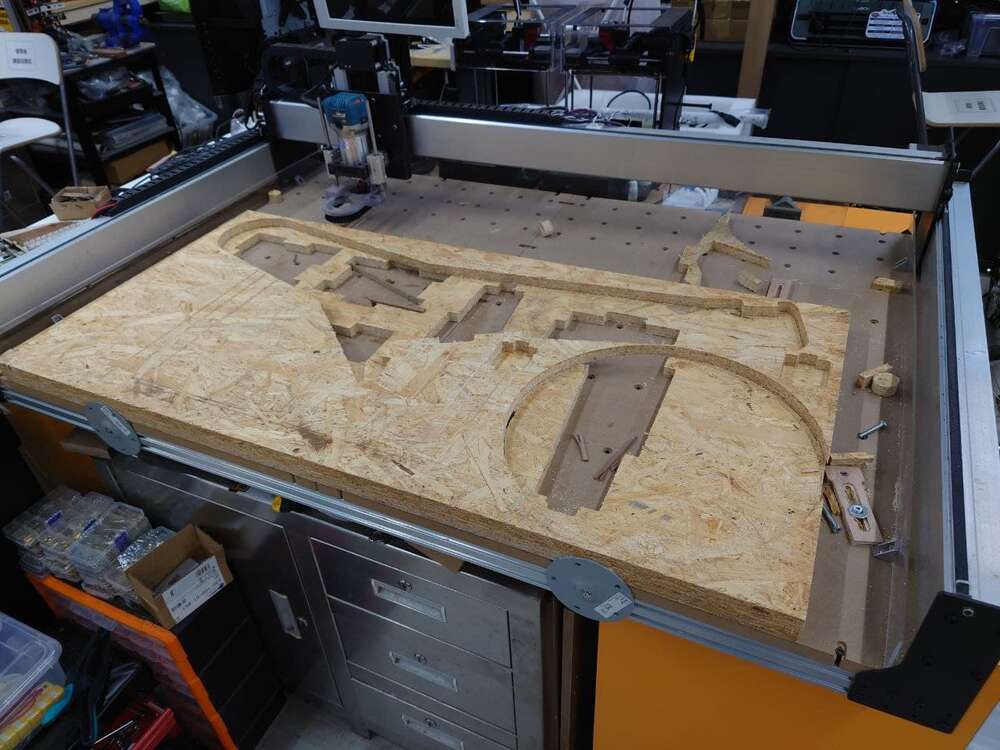
To protect the base of the CNC, I added another OSB in between the stock and the bottom. I mill extra 2mm below the bottom of the stock to make sure the parts are completely cut out.
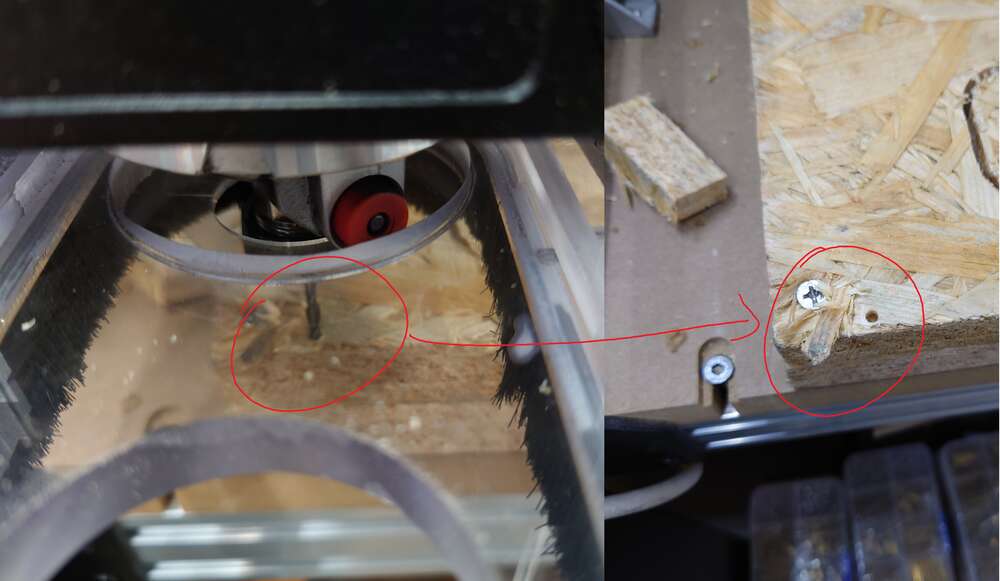
Little trick: I drill a hole manually at the selected origin. When accident happens in the middle of the process, I have to turn off or reset the machine(It happens many times!). Or even the USB cable was accidently unplugged from the computer, the controller will reset when I replug the cable to it. I have to reset the origin every time when I tried to restart the process. The predrilled hole helped me a lot in finding the origin.
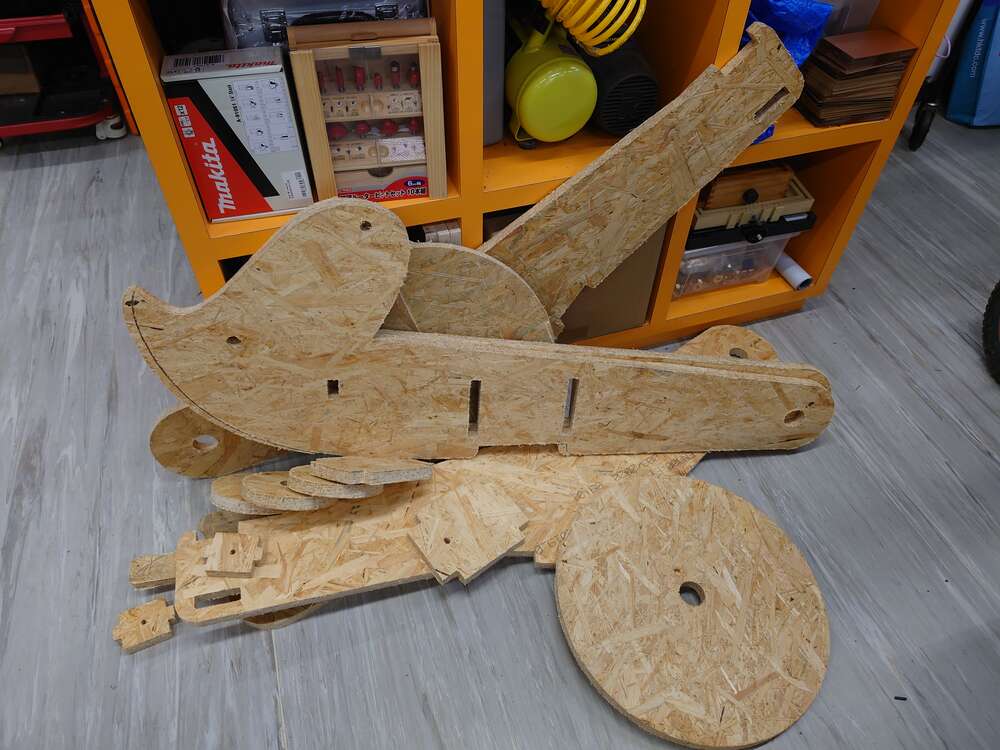
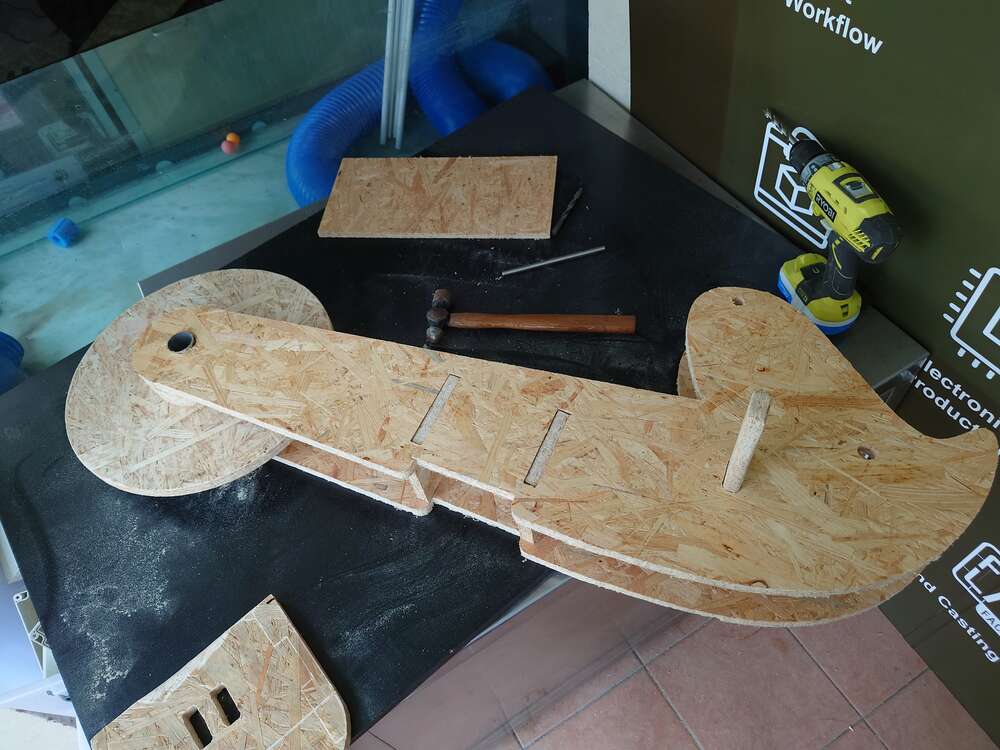
All parts are milled and ready for assemble.
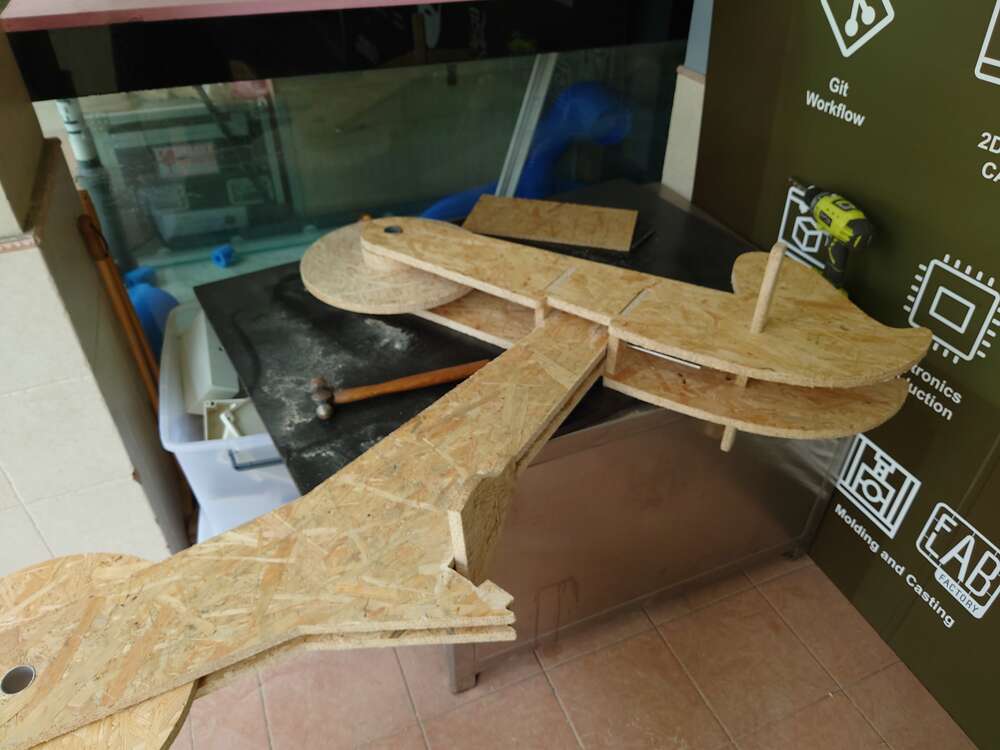
Assemble
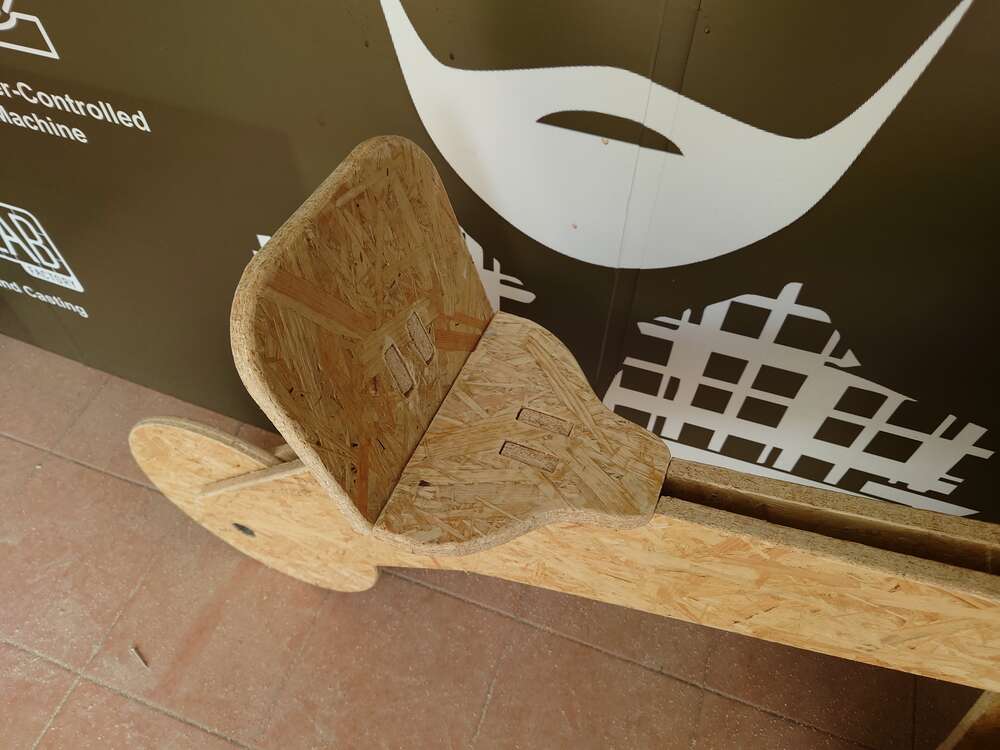
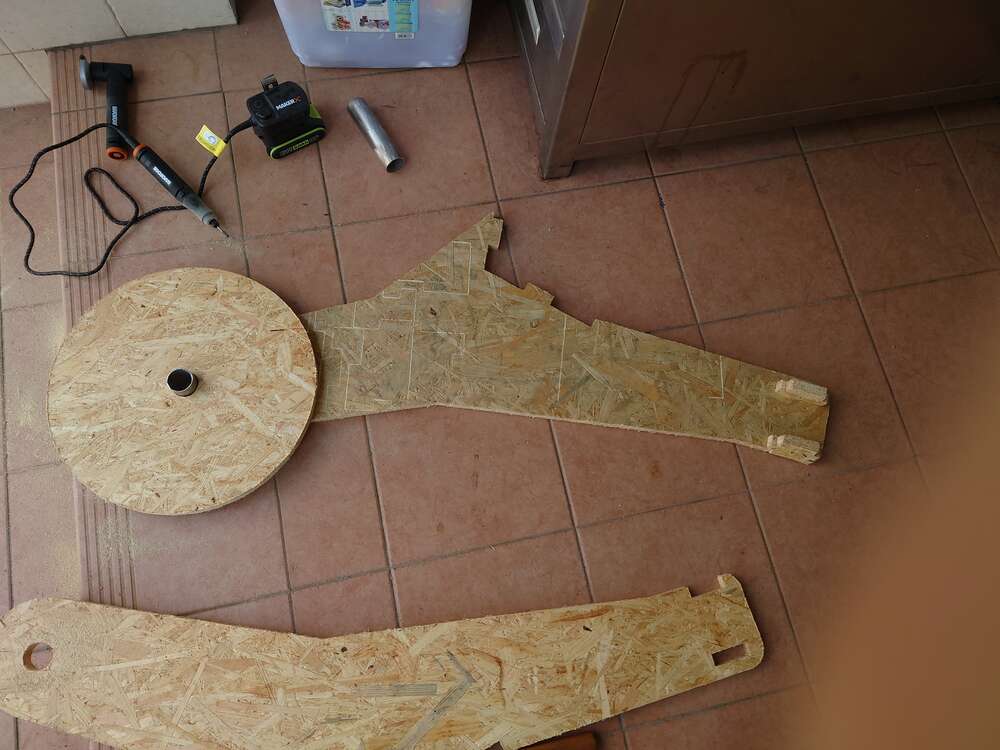
The rear part
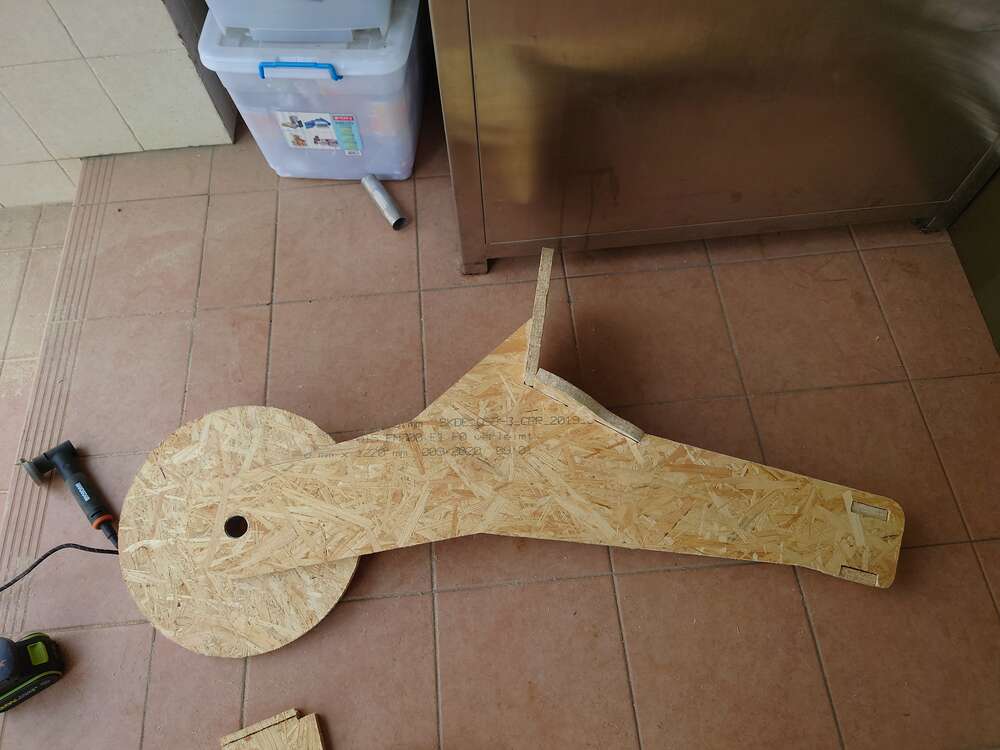
The front part
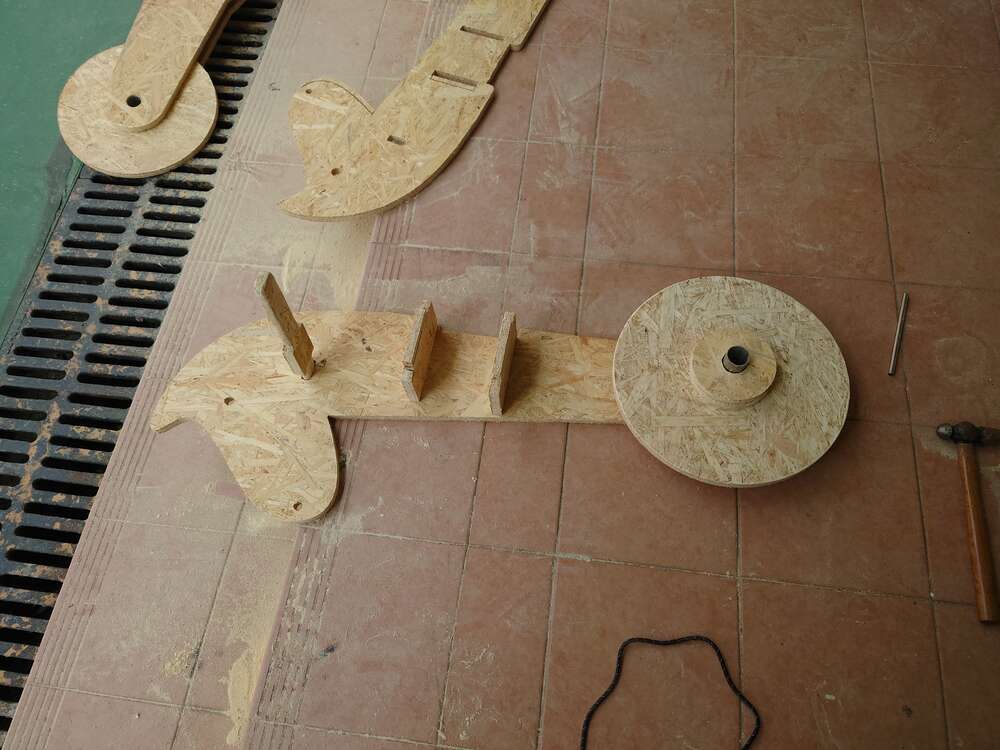
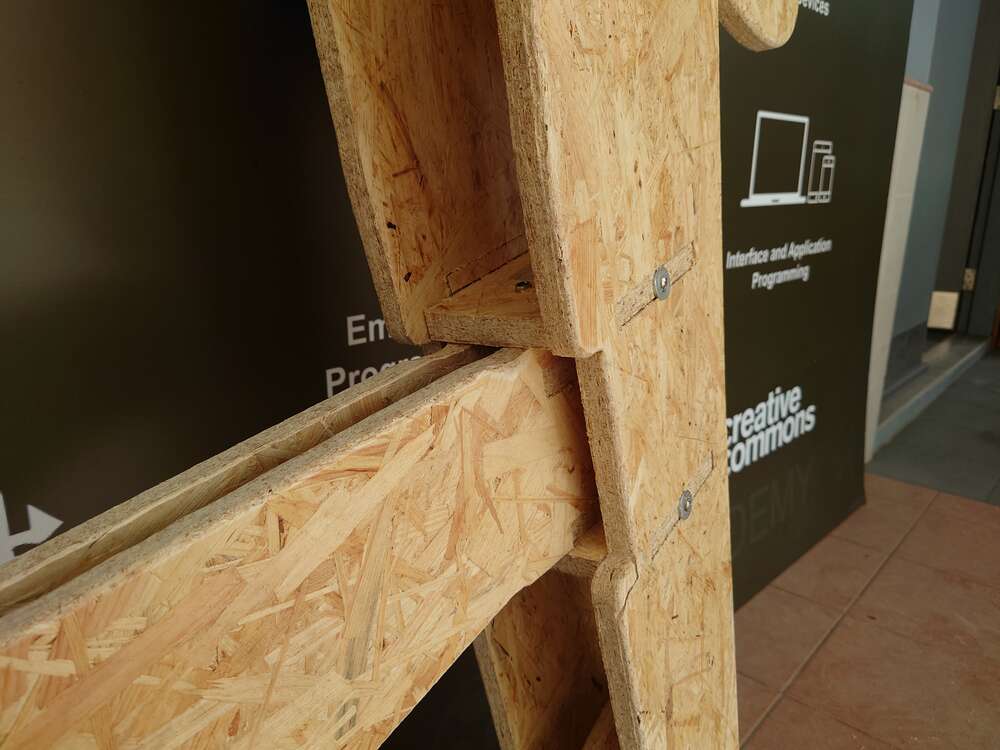
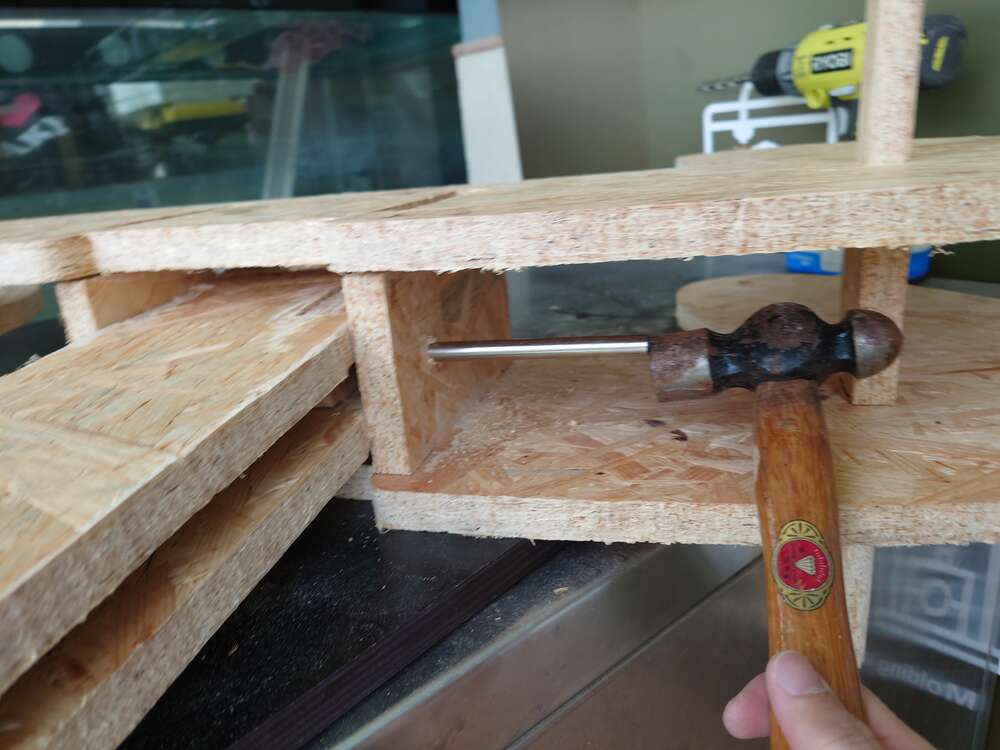
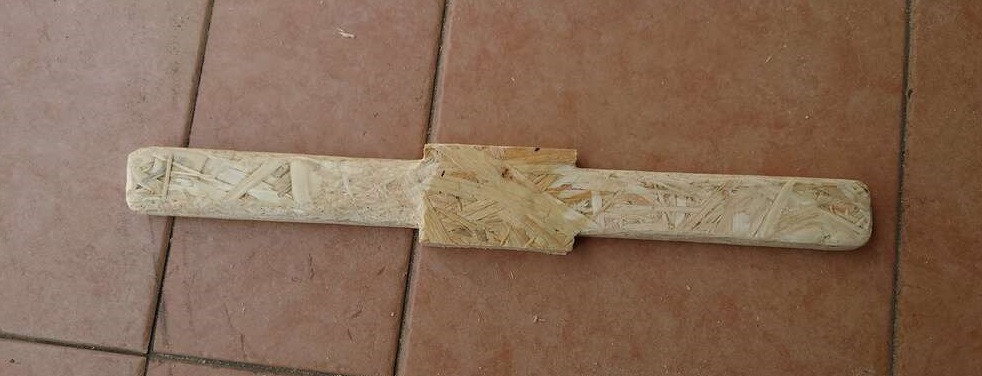
Joing two parts together
A 9.5mm outer diameter steel pipe was used to join the front and rear parts together.
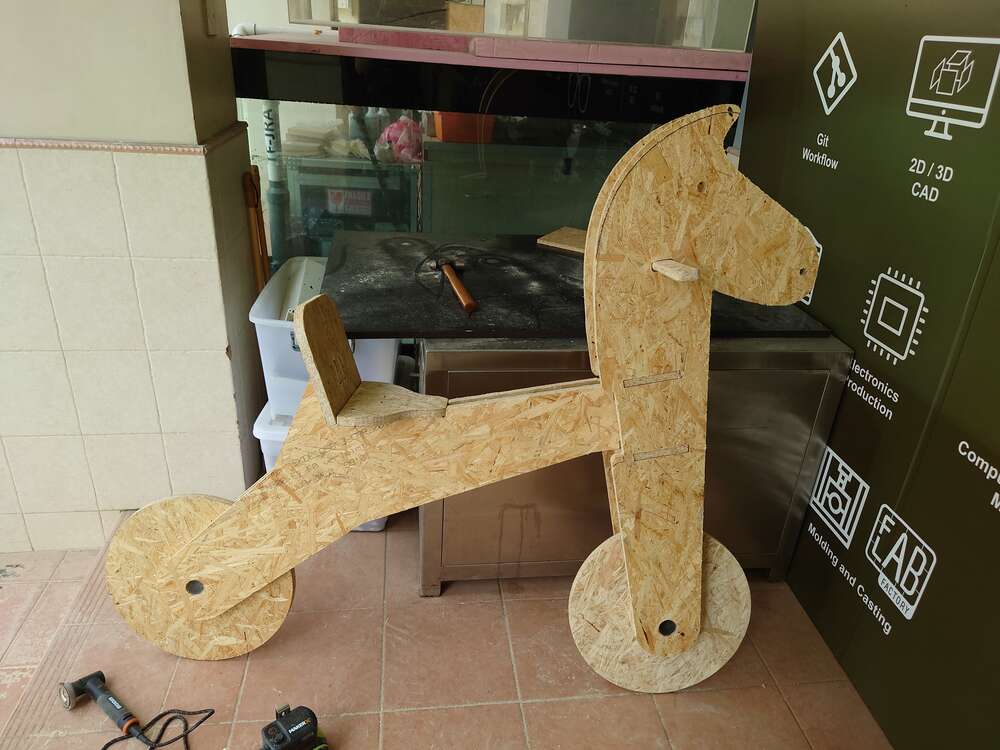
Finished
Post Processing
I did some post process to the part to make the assemble easier:
Sanding the edge of joints to make it easier to insert into the parts.
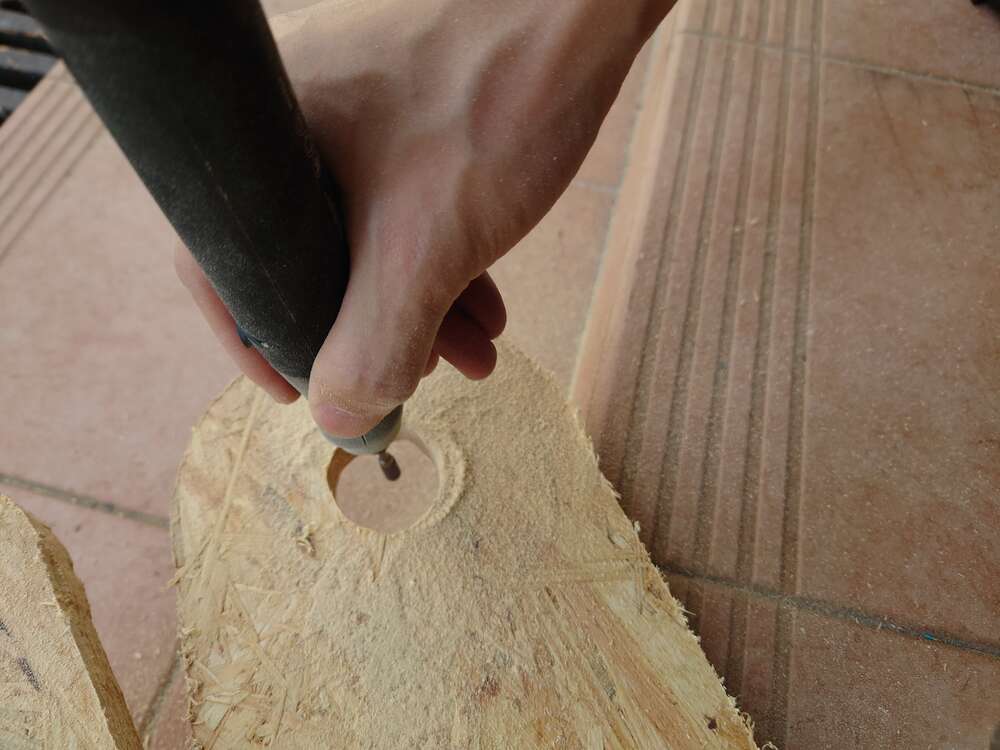
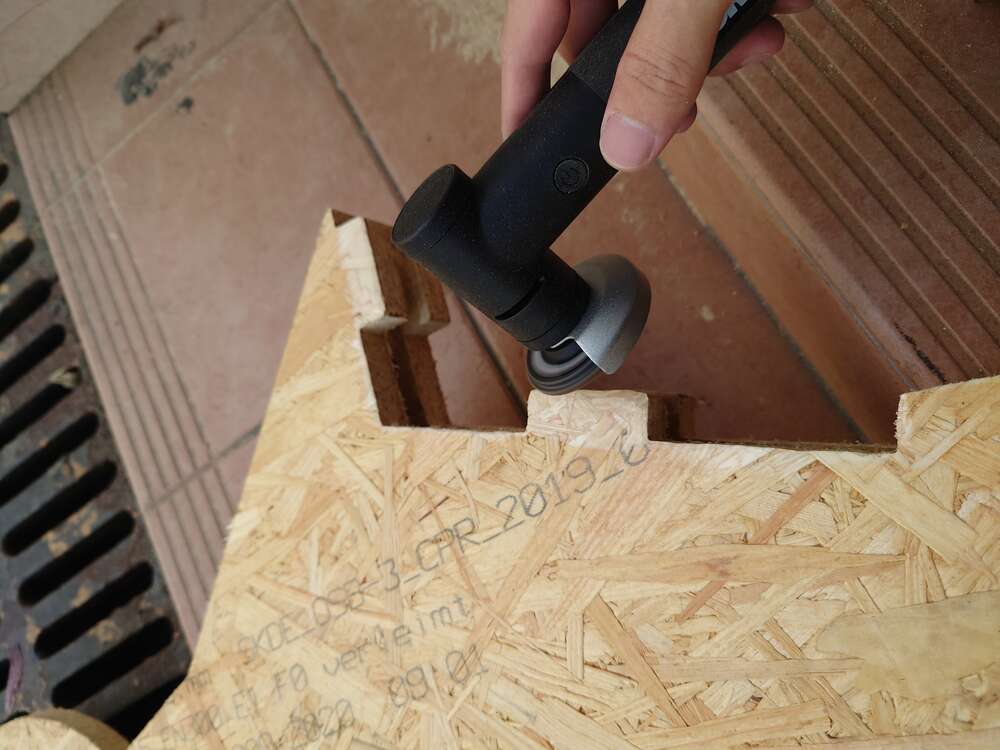 Grinding the holes if it’s too tight.
 Sanding the handle to make it smooth and comfortable when the user grabs it.
 Milling all edges with a rounding mill to make sure no sharp edges.

Details
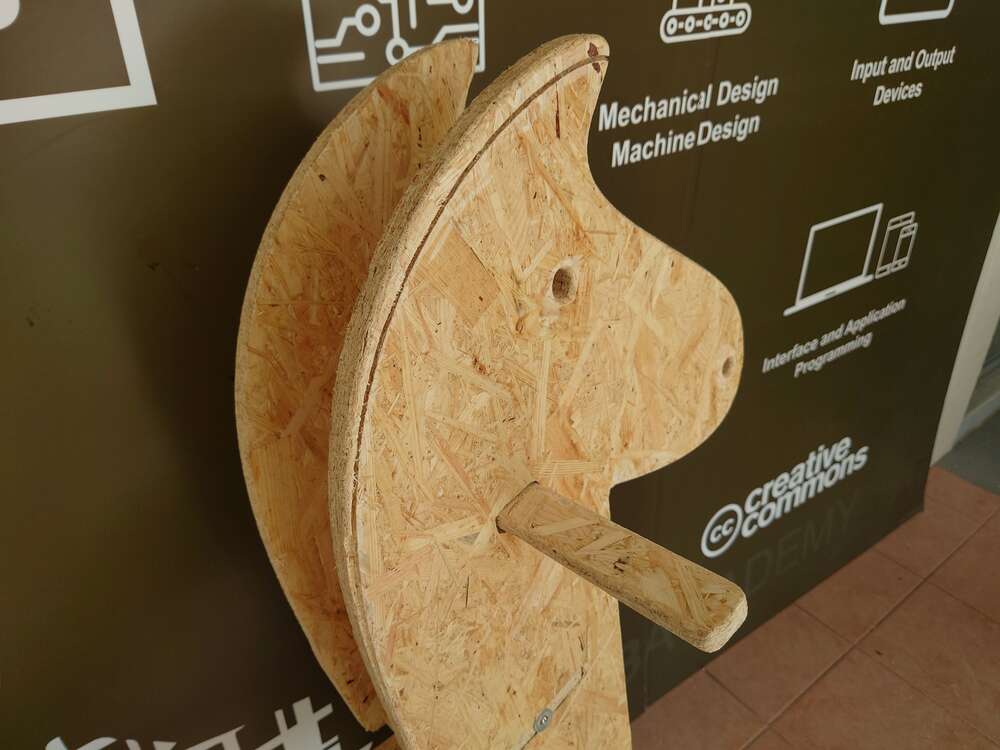
The wheels are fixed to the bike with two 38mm outer diameter stainless steel pipes.
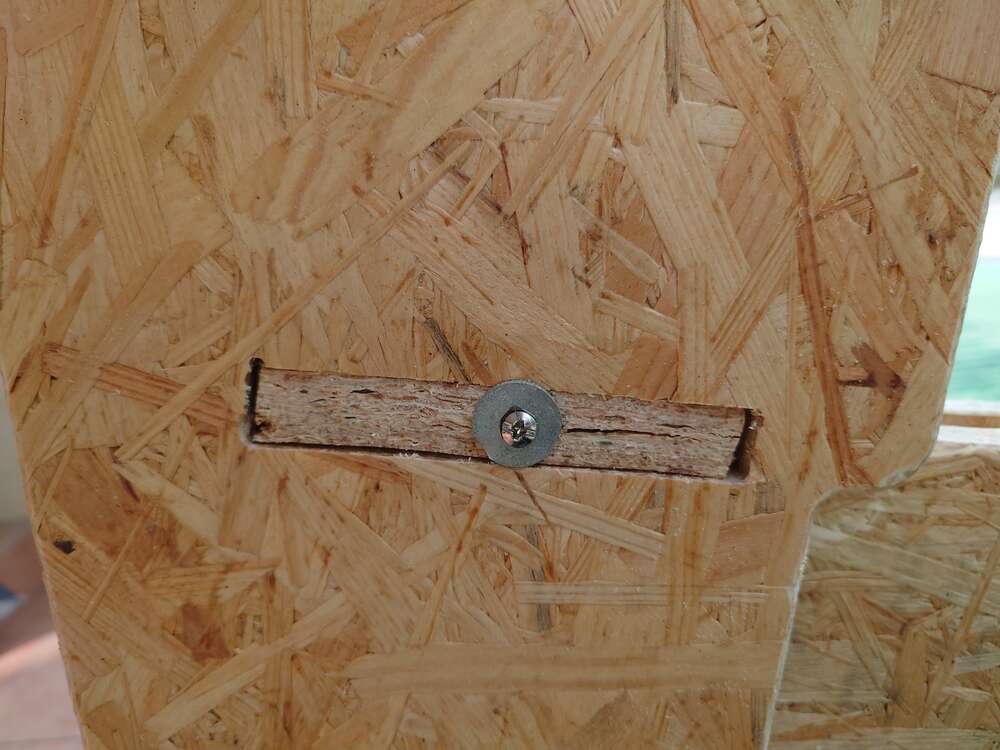
 A screw with a wing was used to every joint to ensure parts will not separate apart.