Final Project
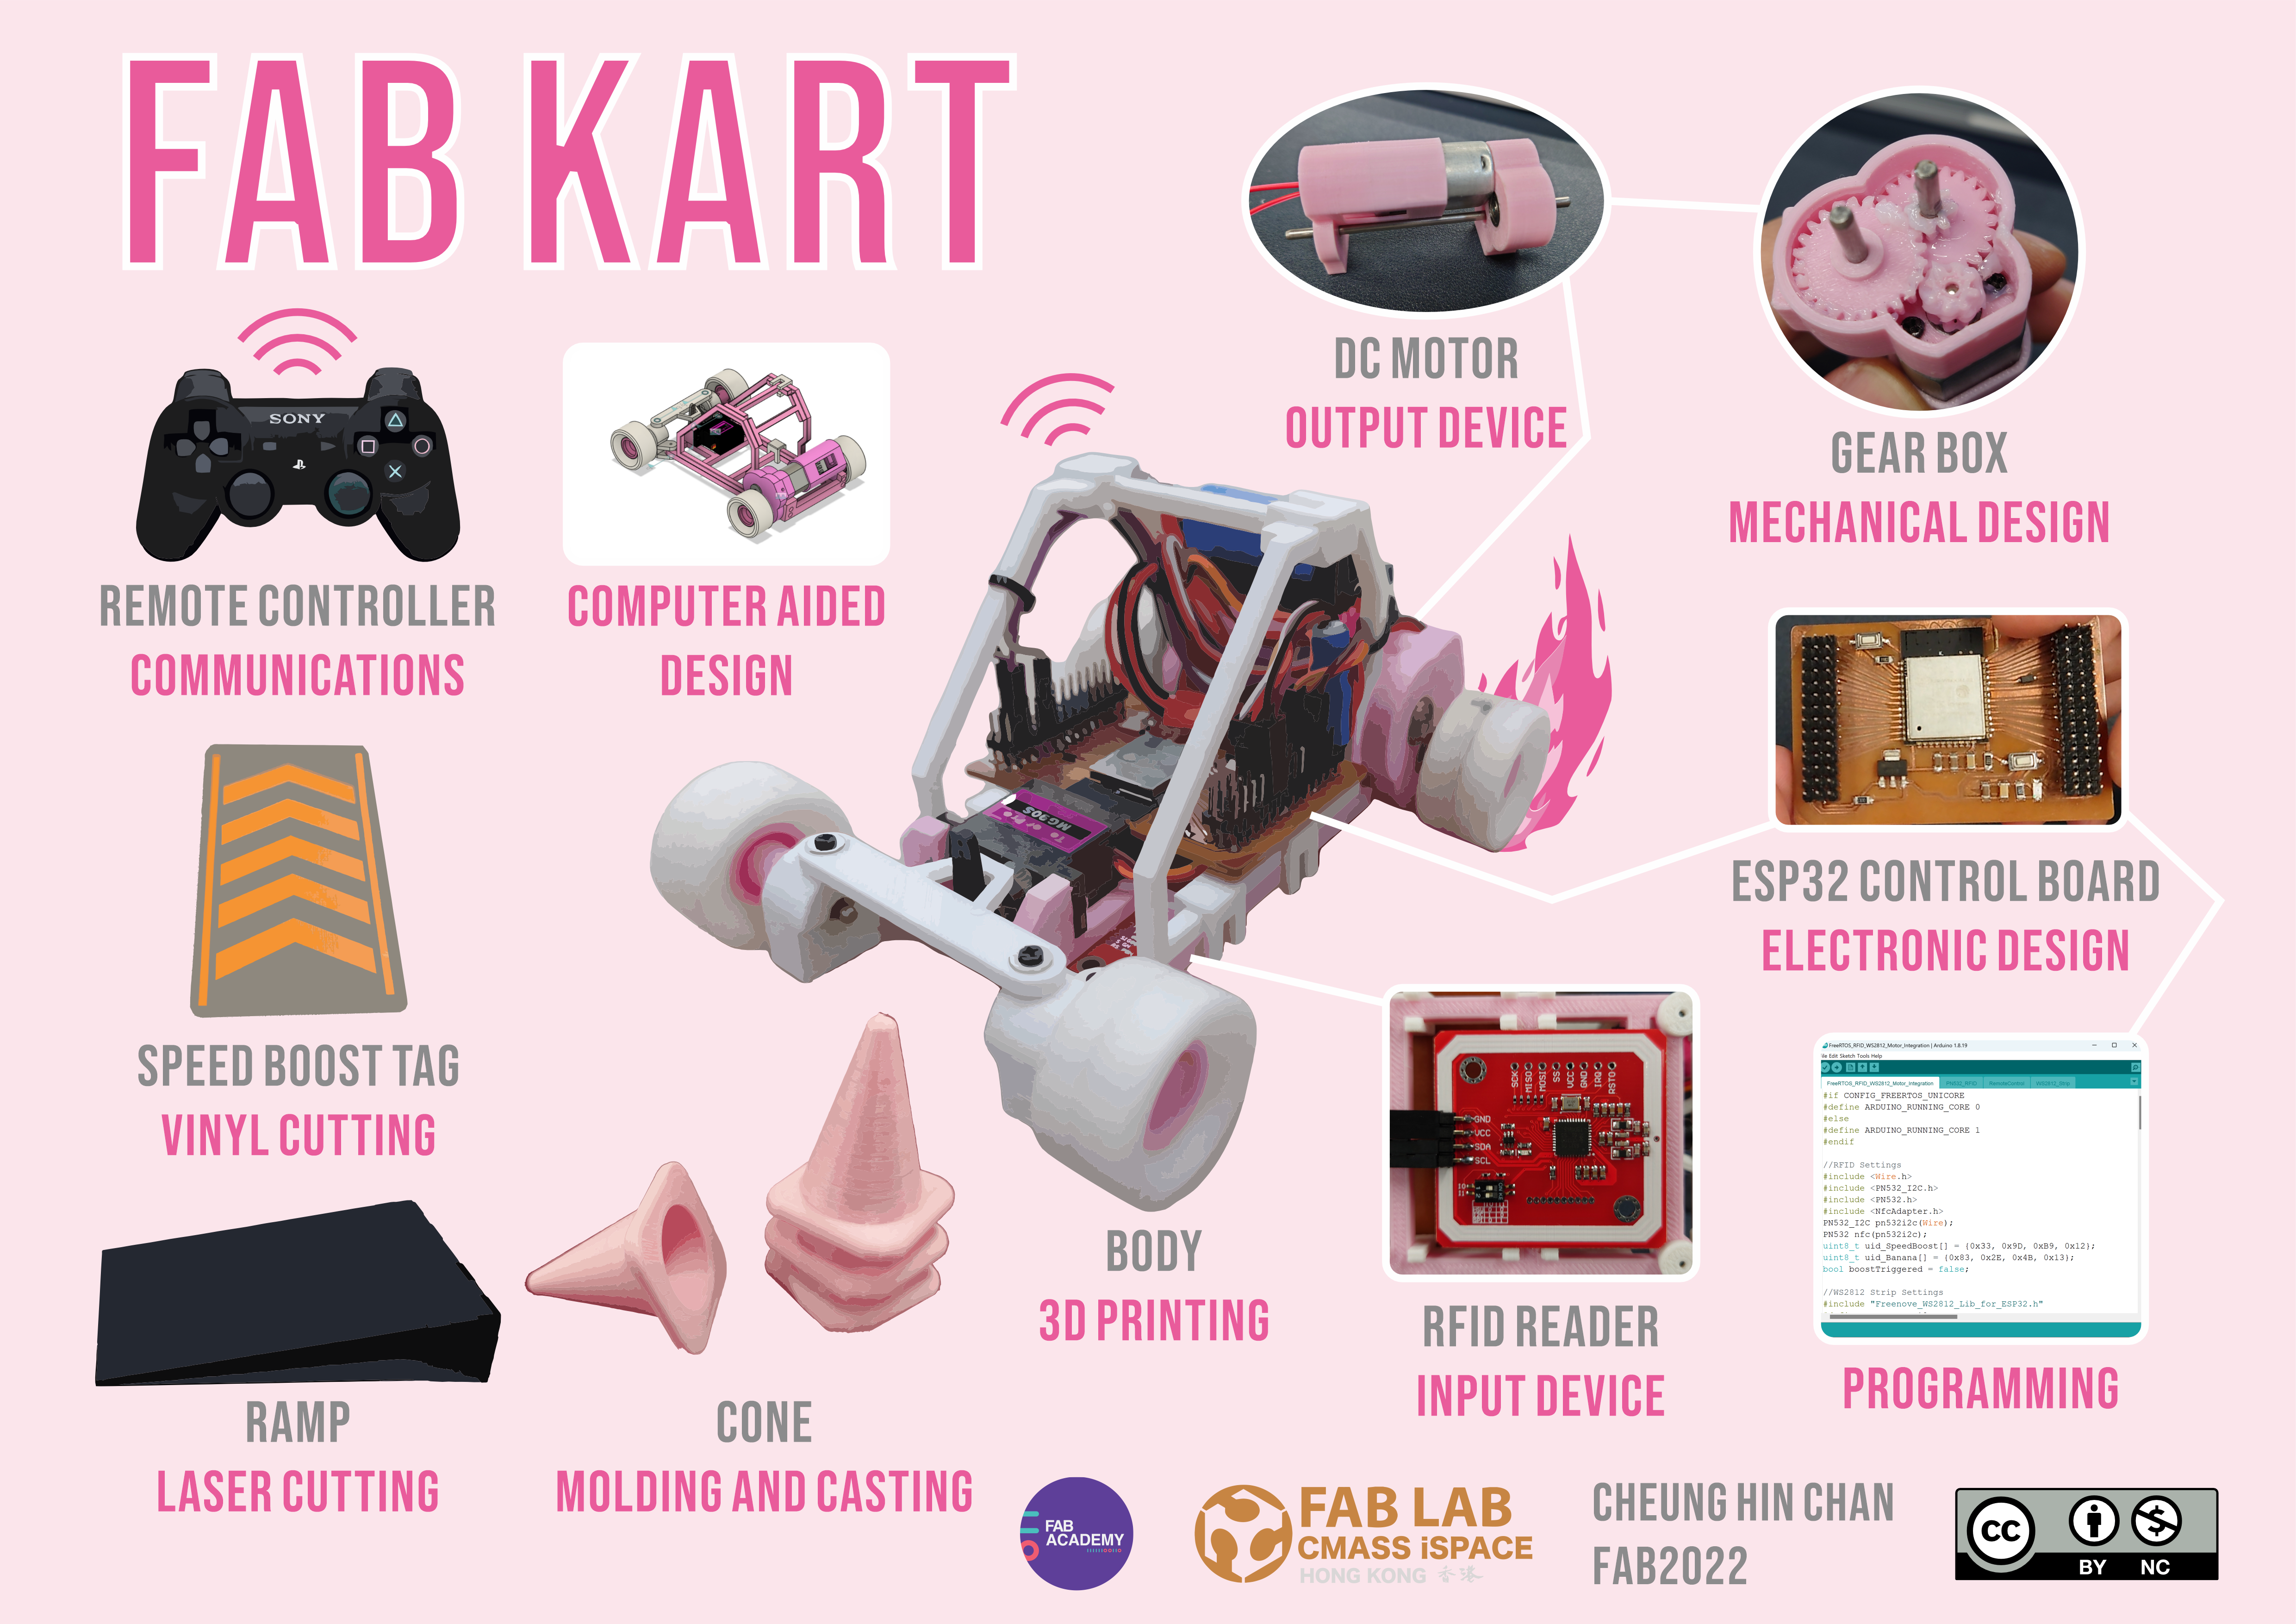
Design details of different parts
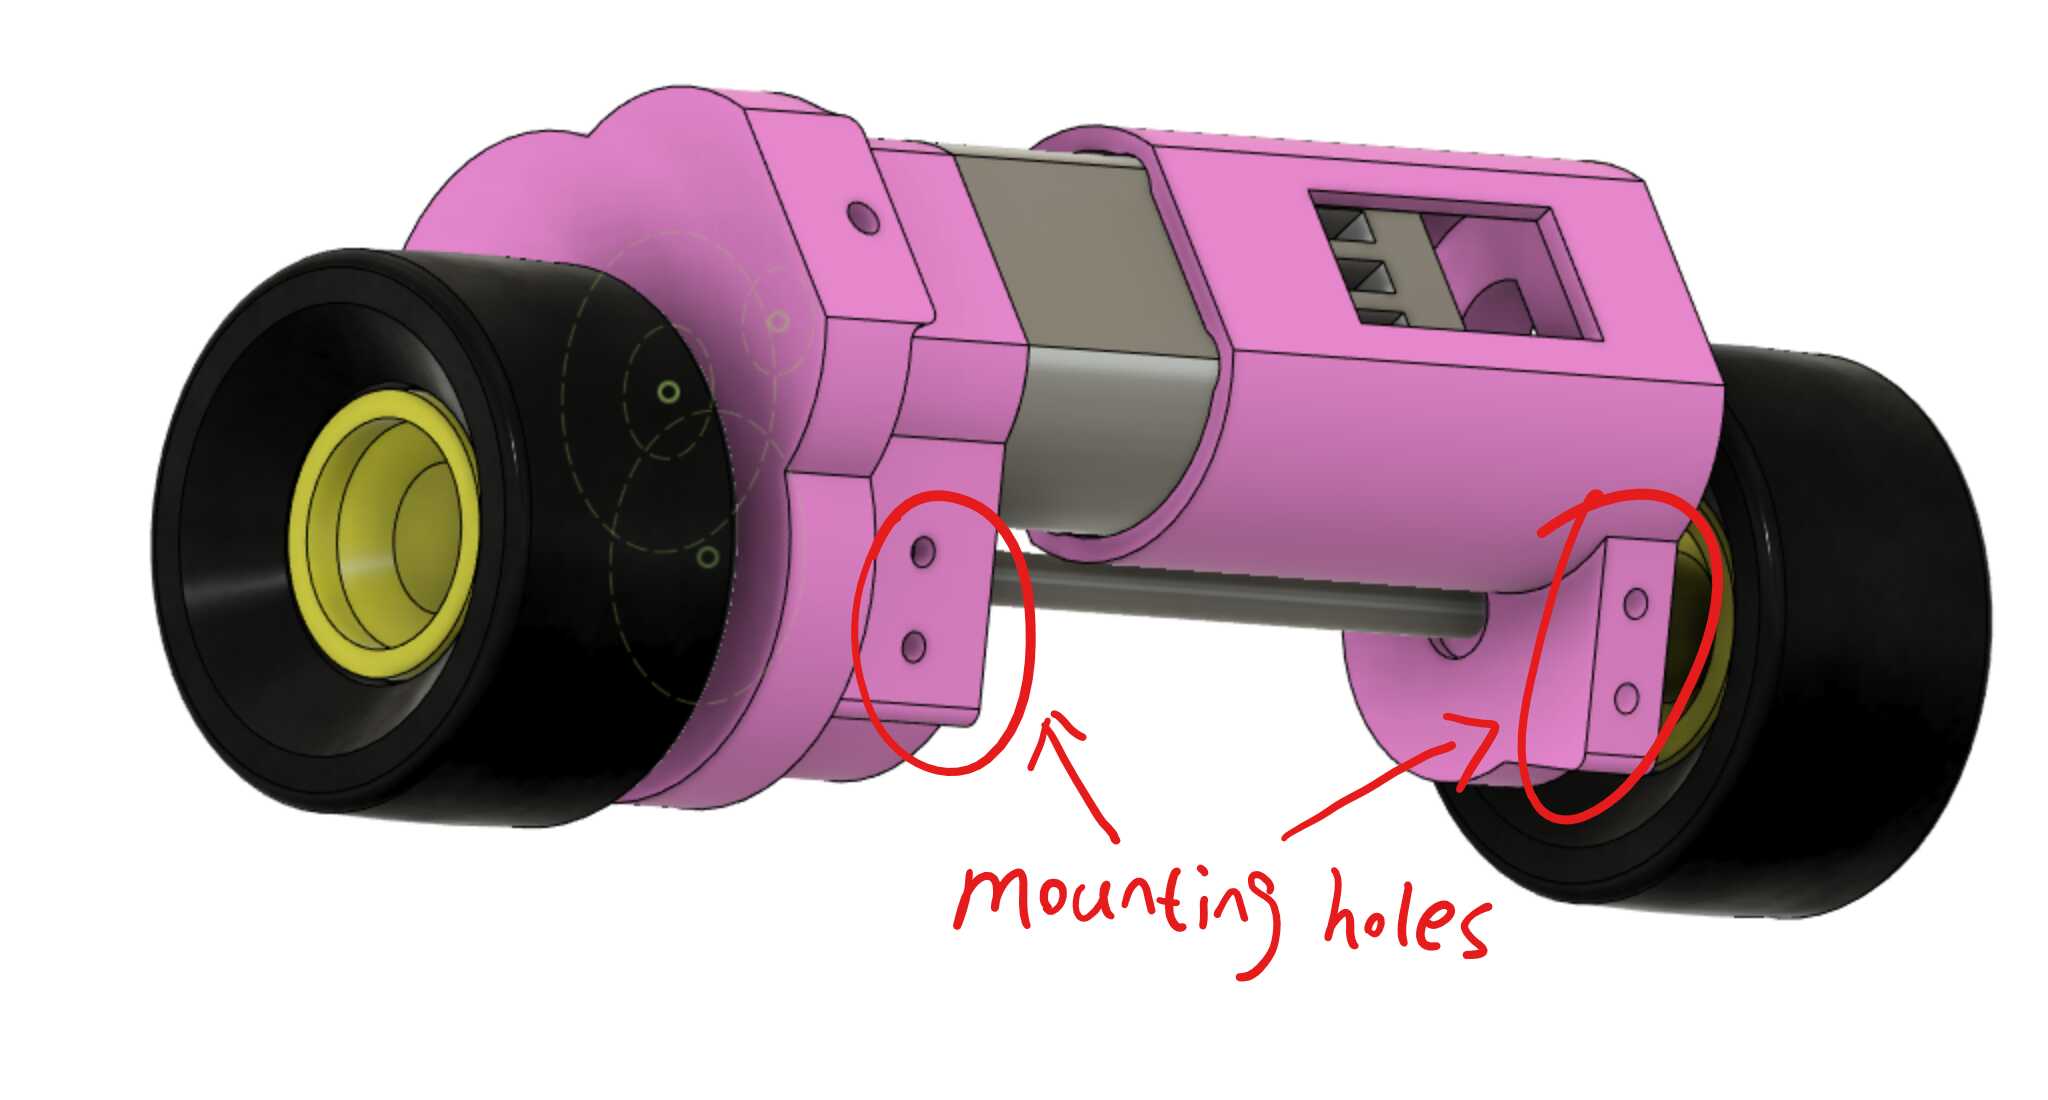
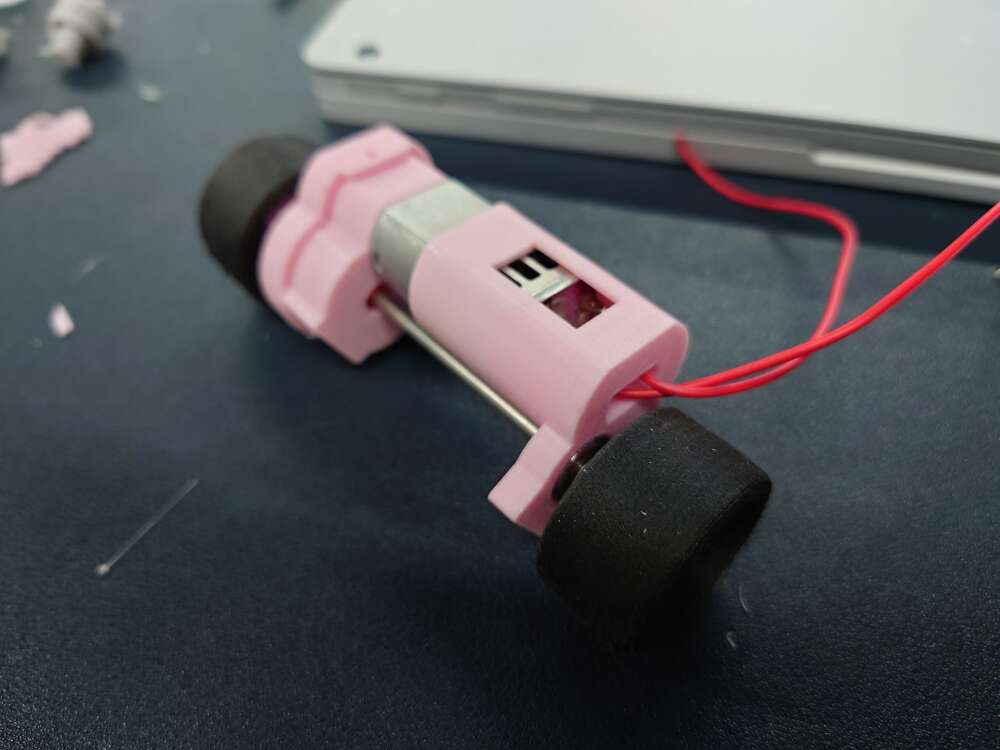
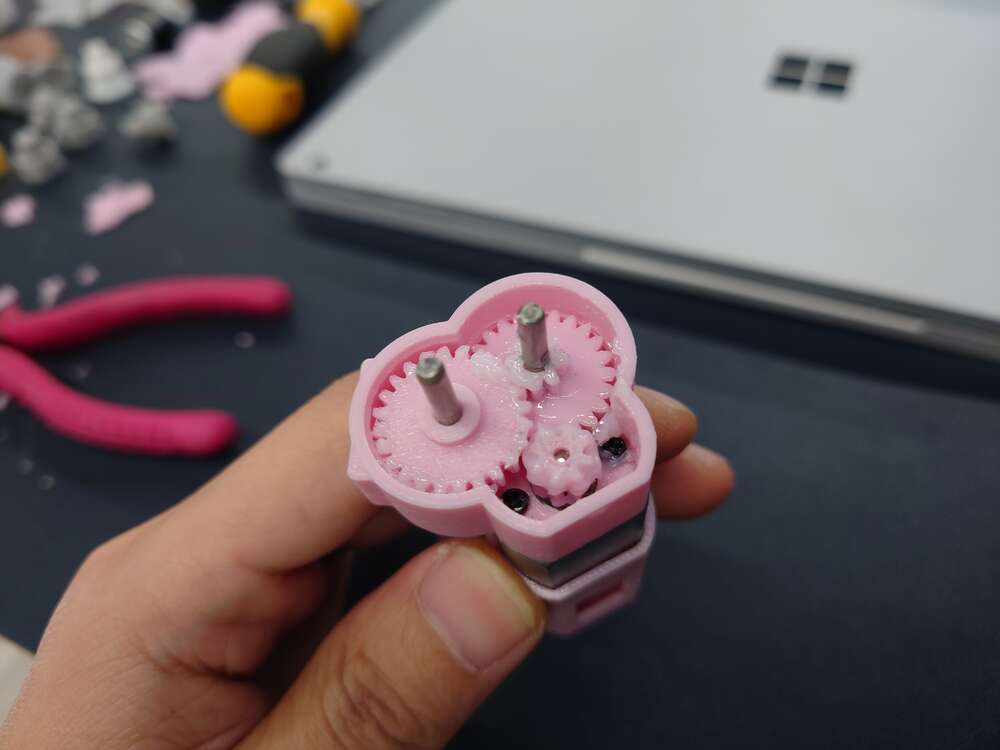
Gear Box
I start designing this kart from its gear box. The kart uses modular design to allow flexibility in design change. There are four mounting holes at the back side of it. Which are designed to fix on the kart body with 2mm screws.
The gears inside the gear box are generated with FM Gear plugin for Fusion 360. Their module is 0.70.
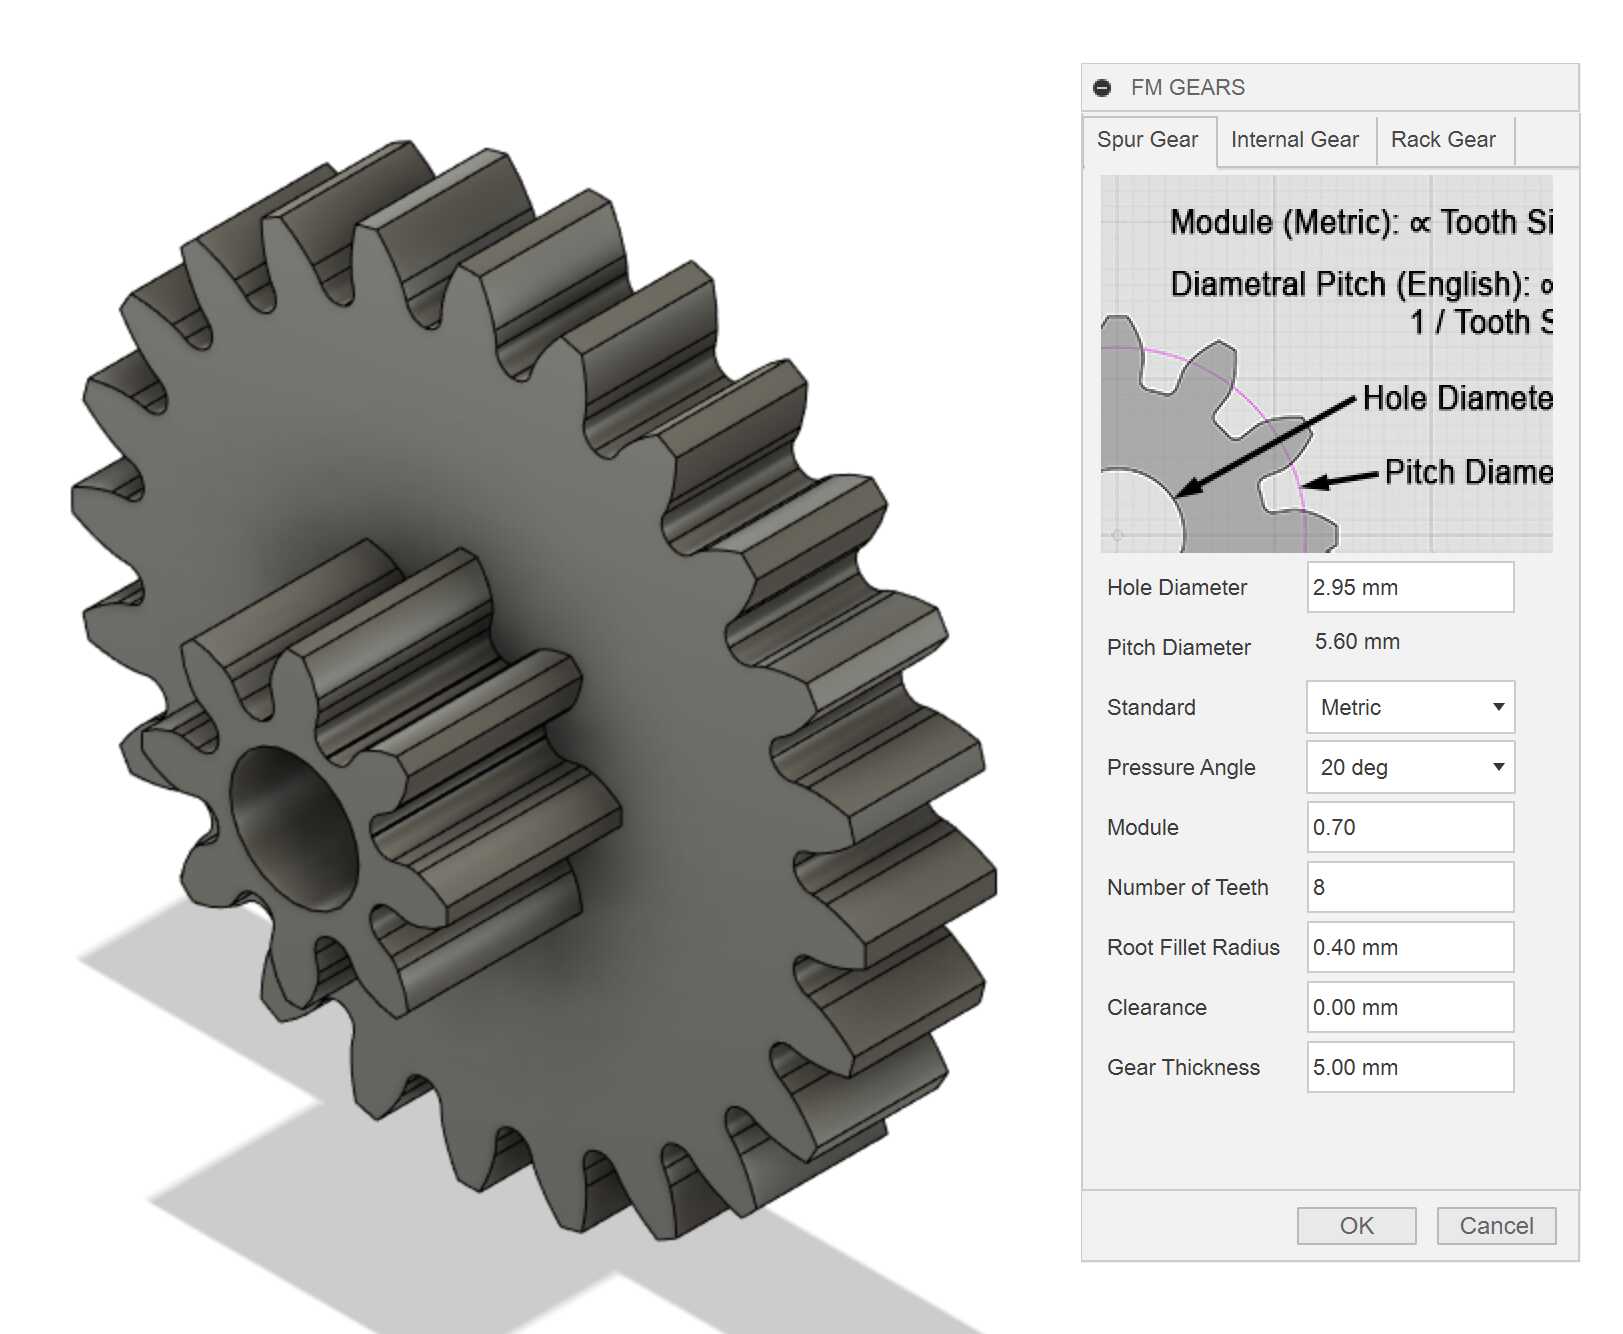
There are totally three gears inside the gear box:
- 8T single gear connected to the motor shaft
- 24:10T double layer gear
- 22T single gear connected to the output shaft
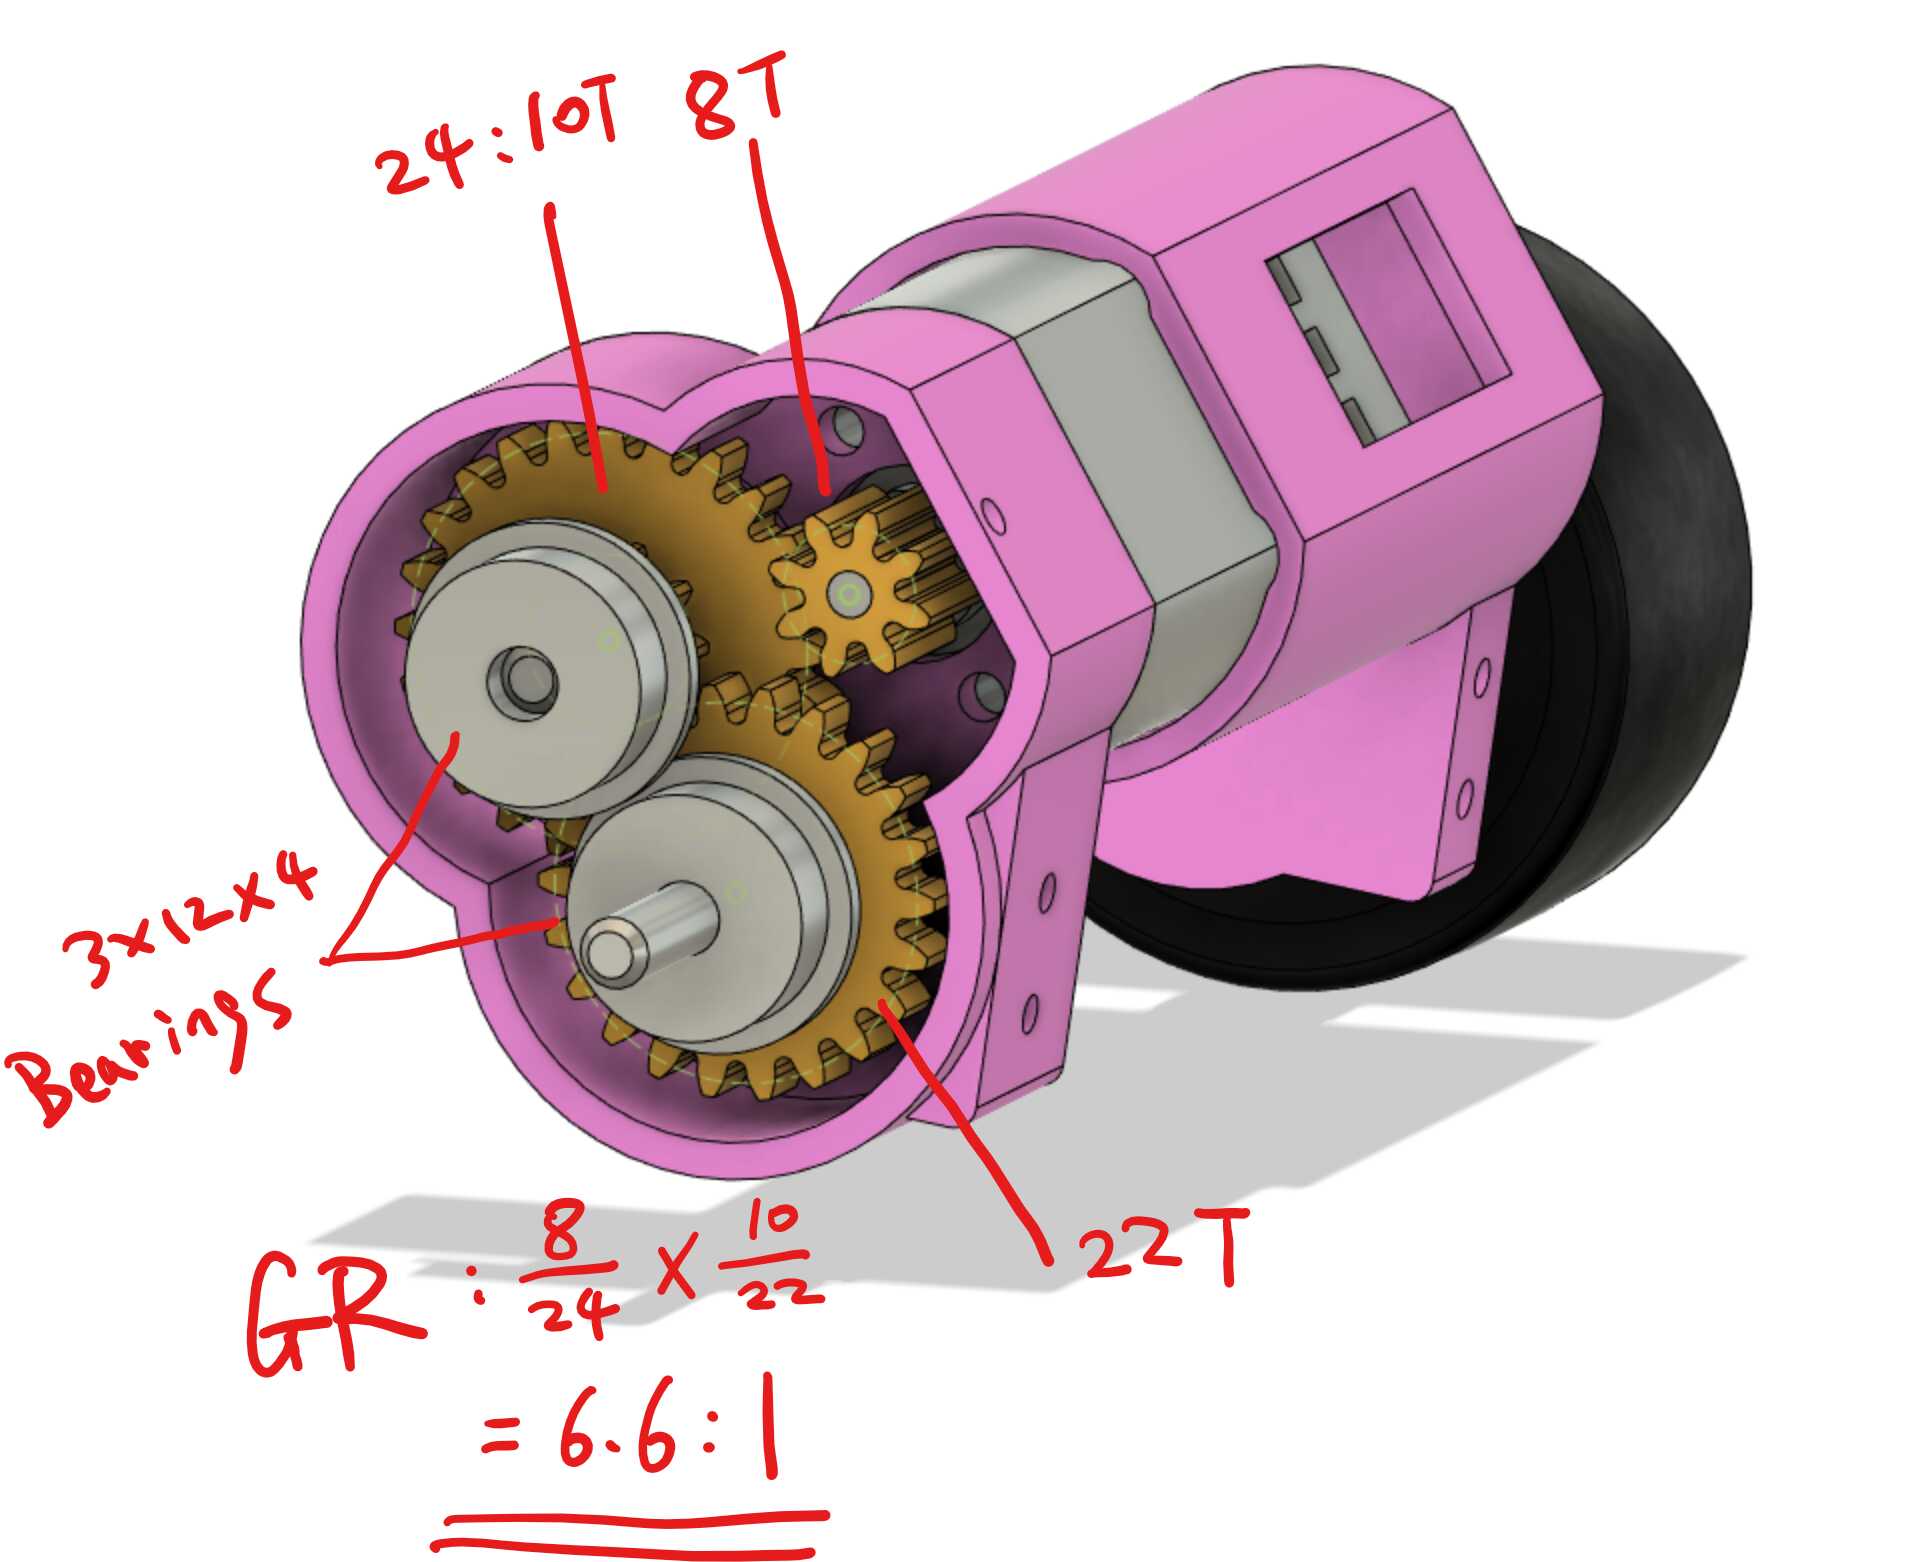
The motor spins 37000rpm at 6.0V, the gear ratio for the motor shaft to the output shaft is 6.6:1. So the calculated final rotation speed is ~5600RPM.
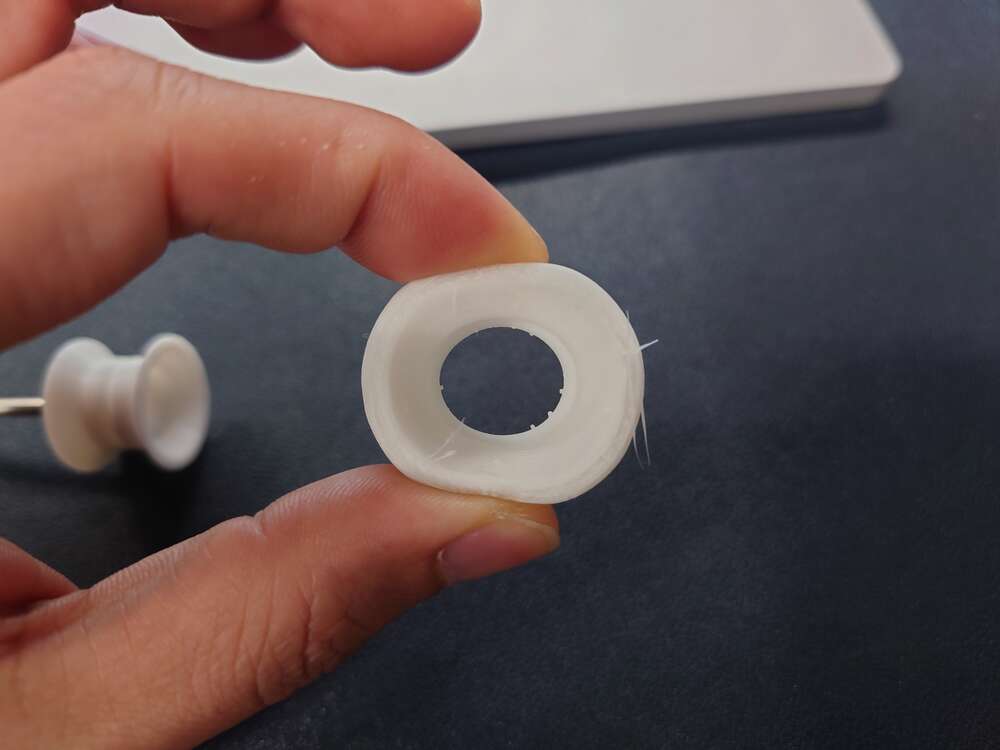
Wheel Design
The wheel contains a ring and a tire. I made an mistake in the design V1: the two sides of the ring are diverged, makes the tire impossible to fit into the desired position.
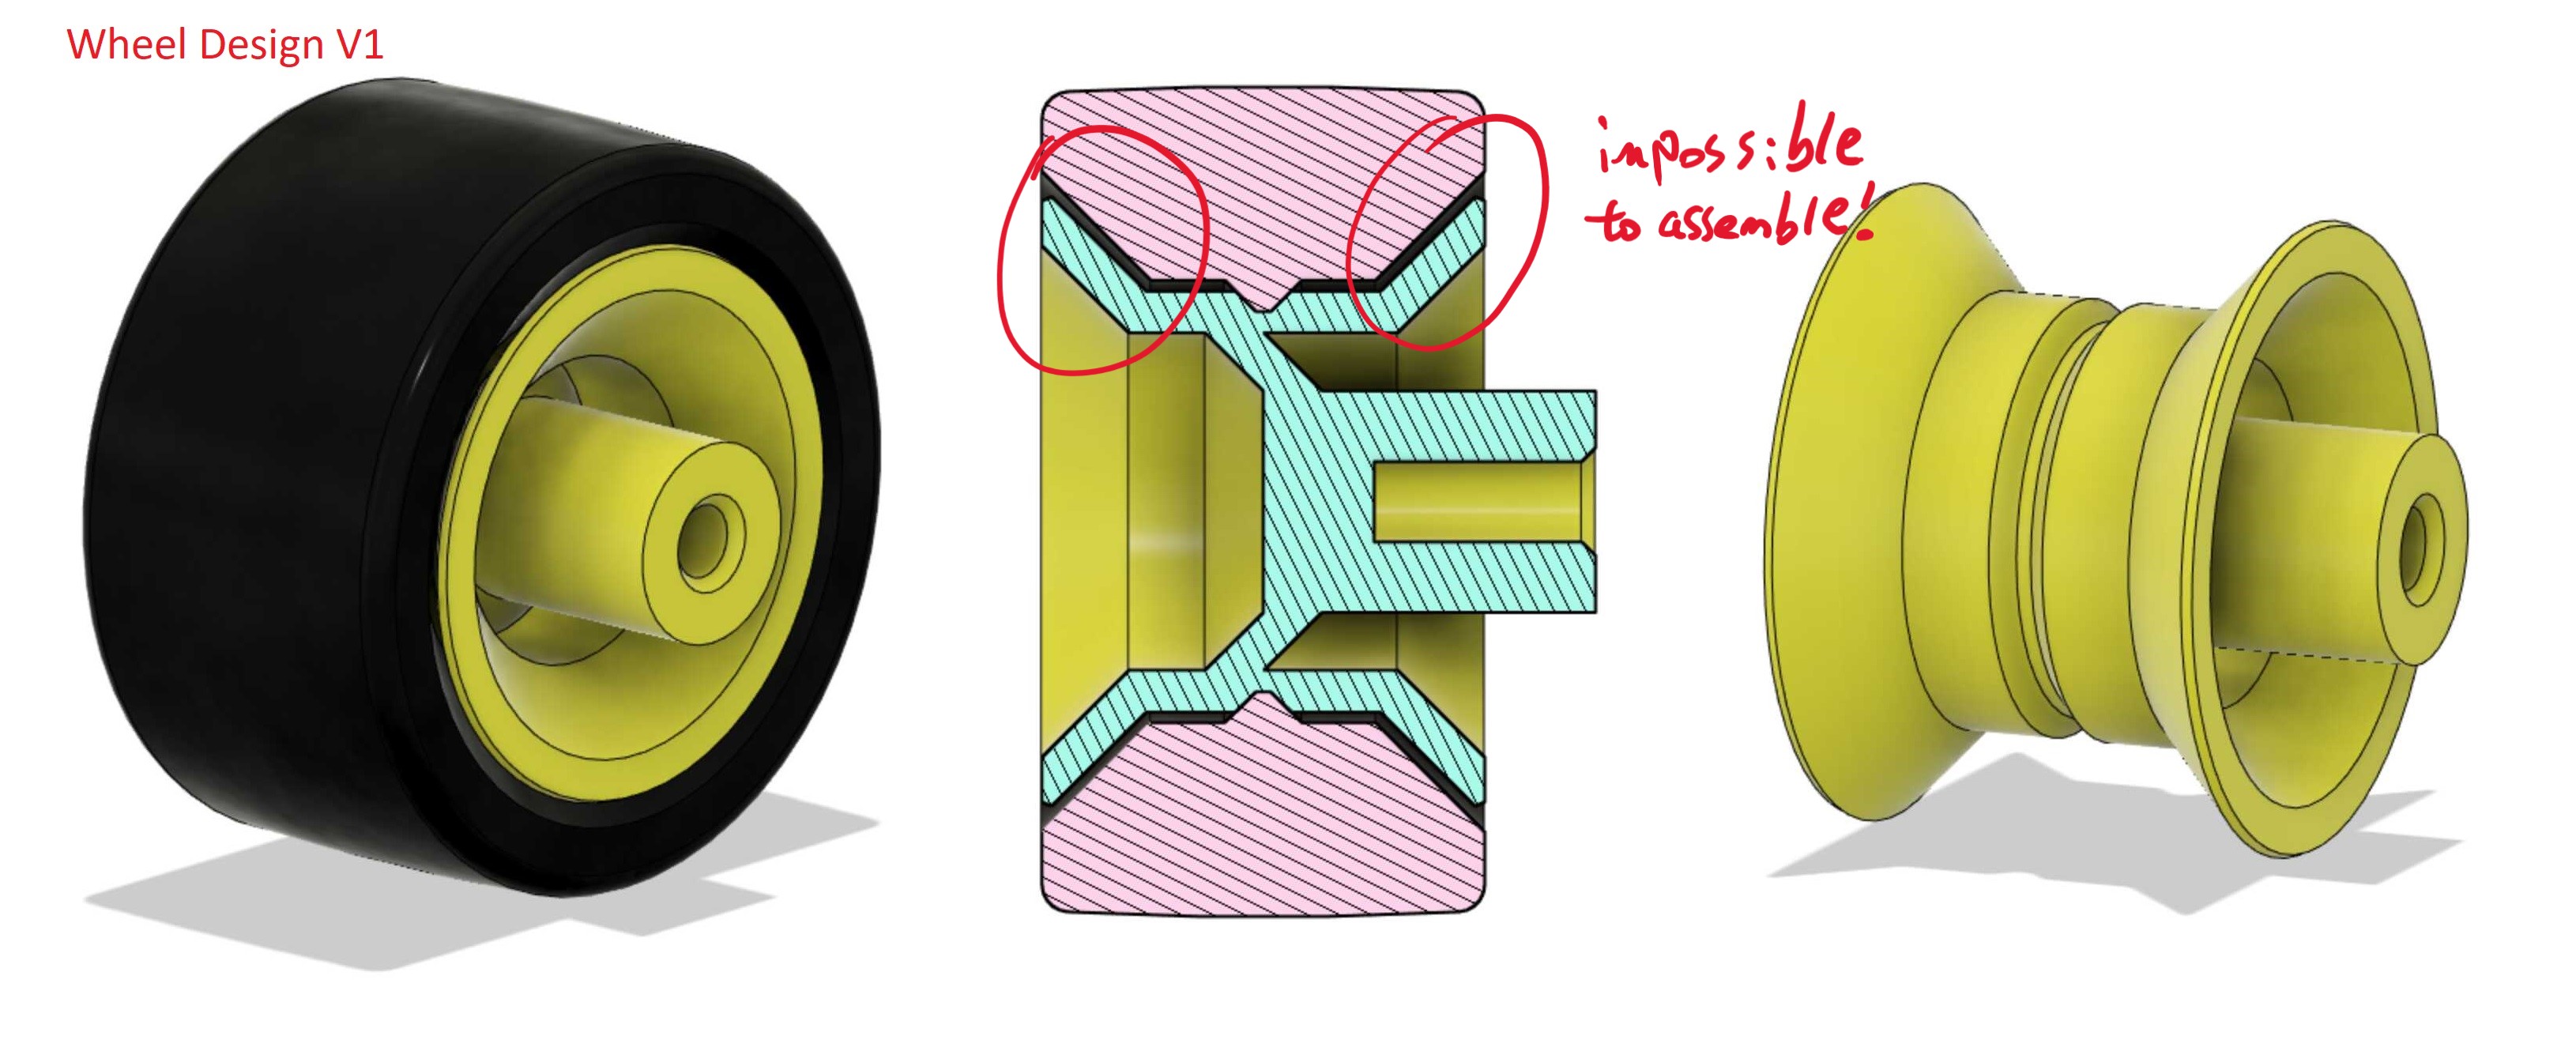
I fix the problem in V1 by removing the diverging ends.
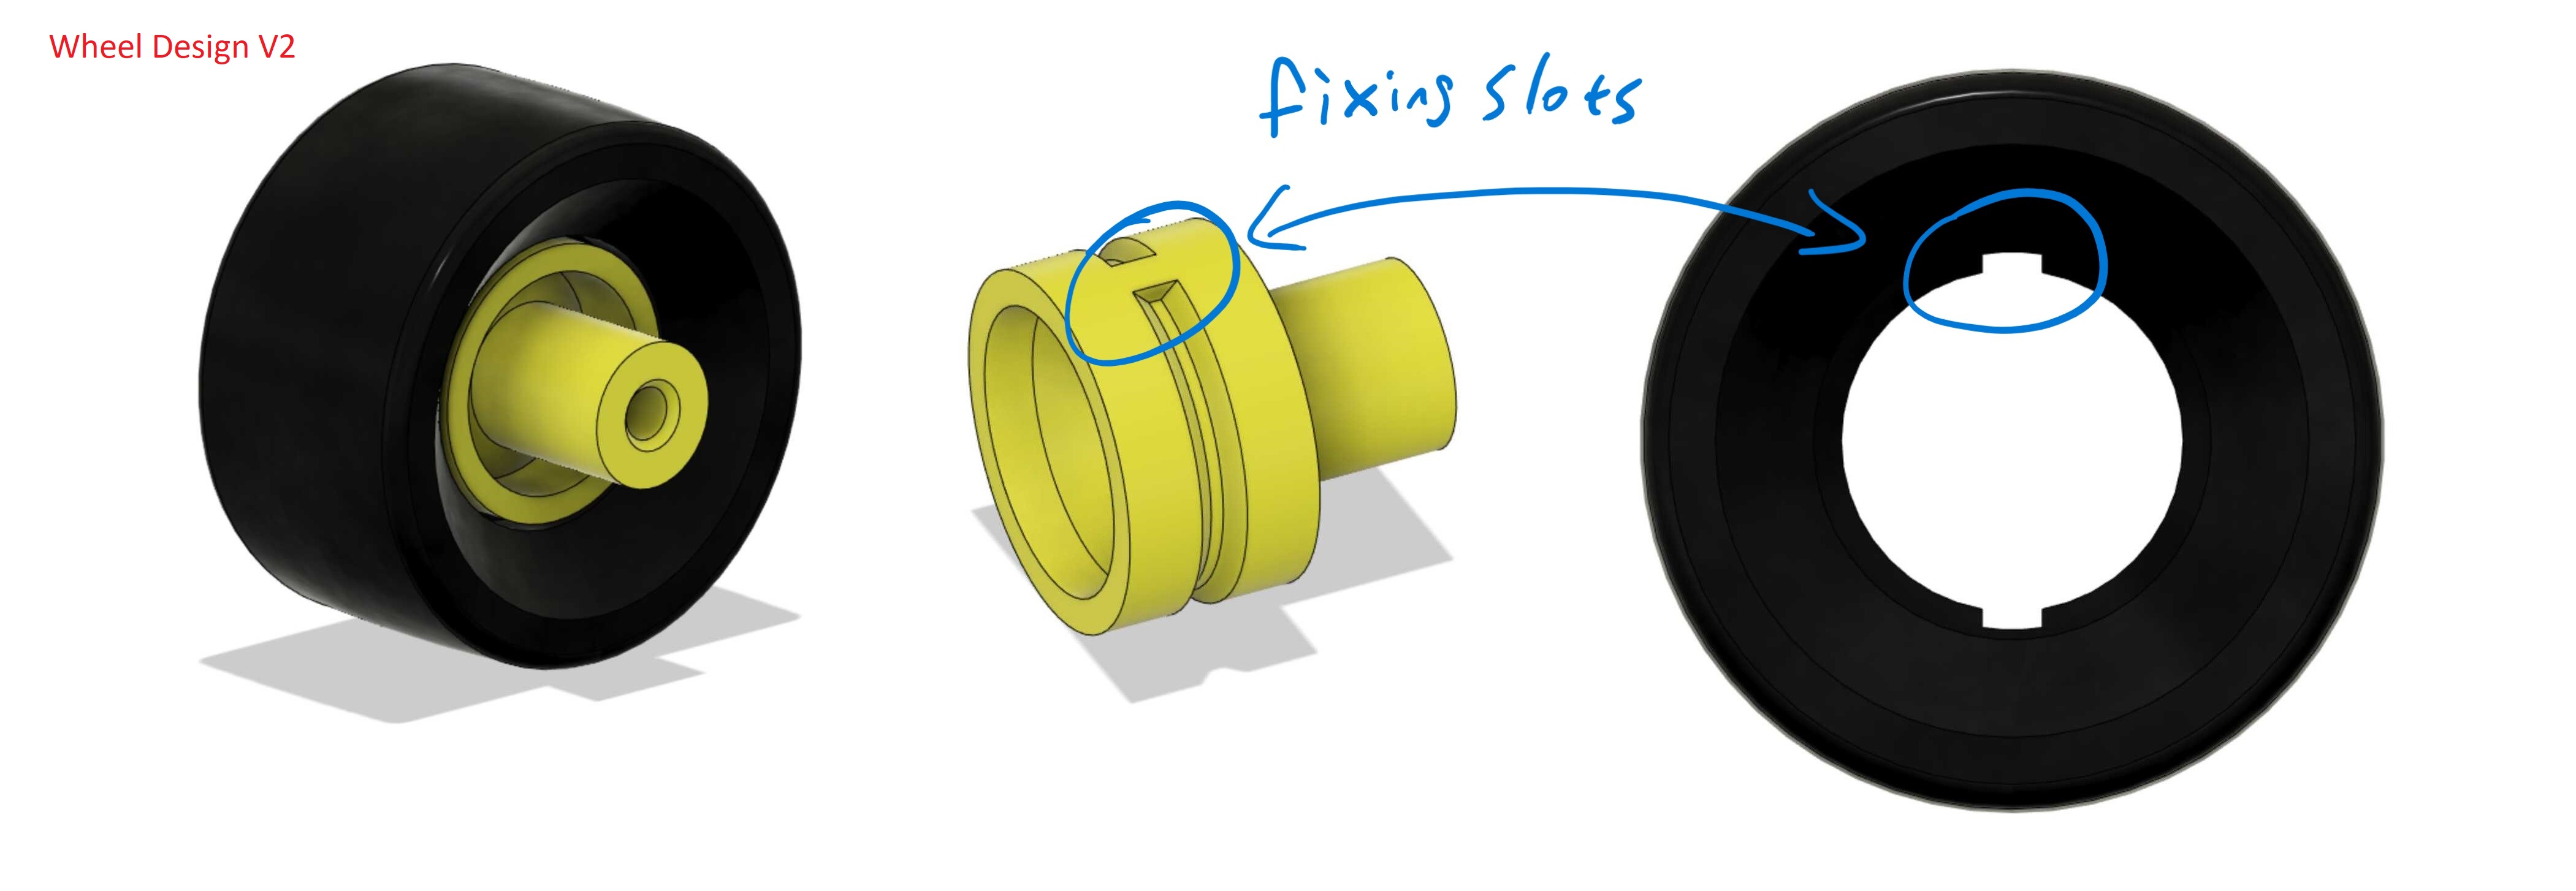
The tires are printed with eSUN TPU 95A Flexible Filament. It sofeness and flexibility are perfect for making these tires.
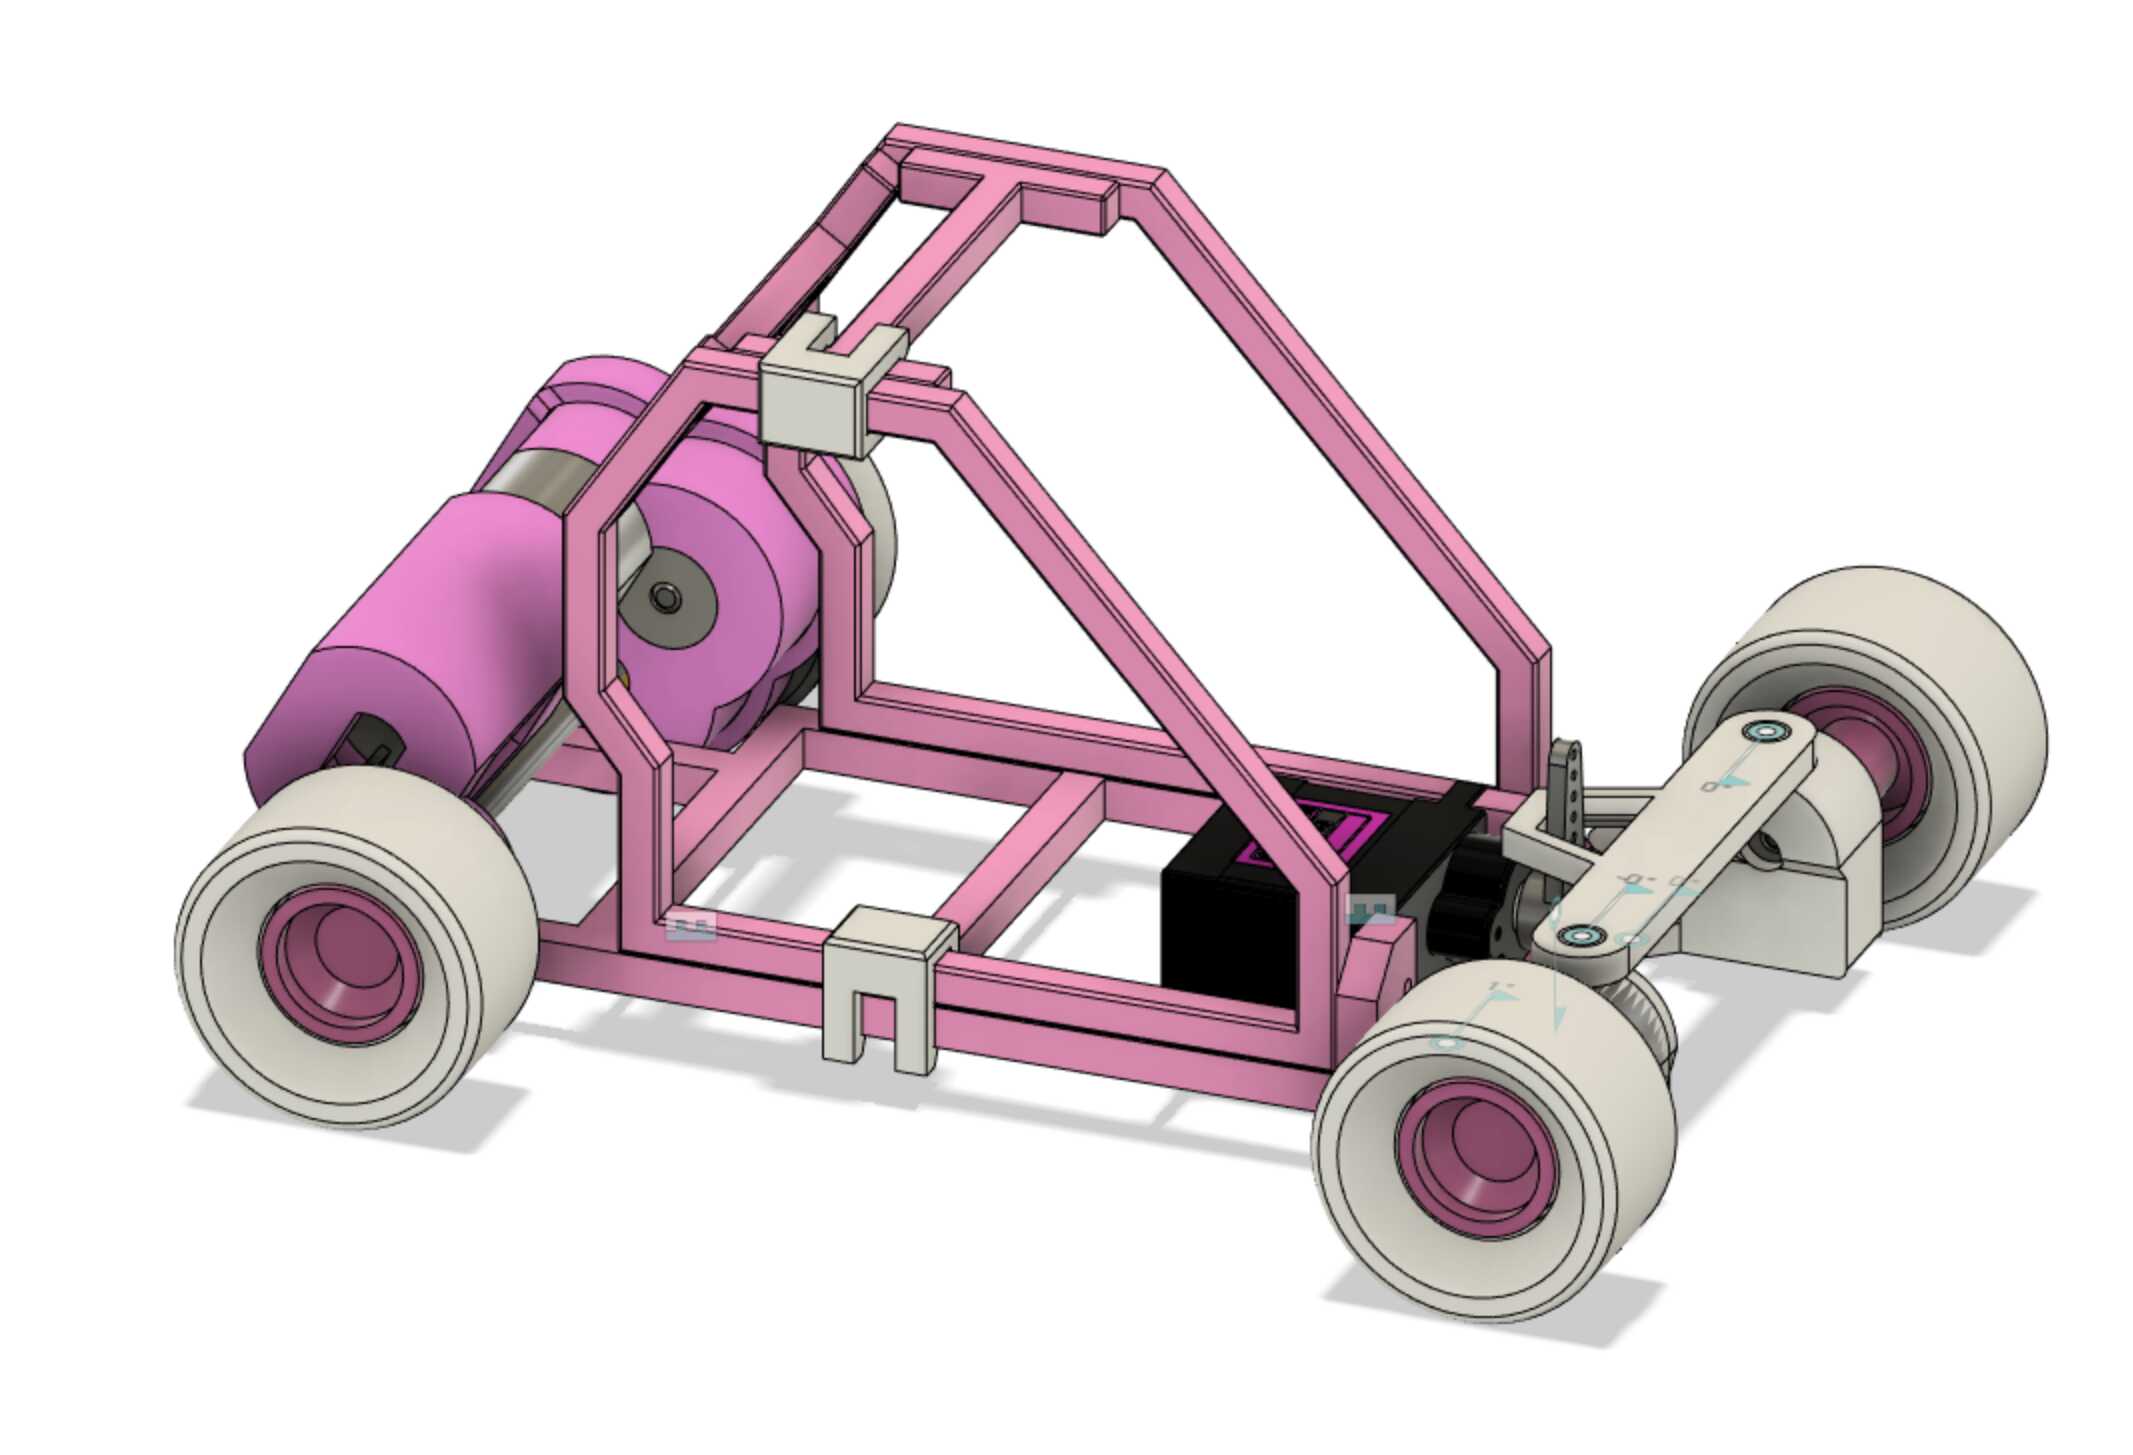
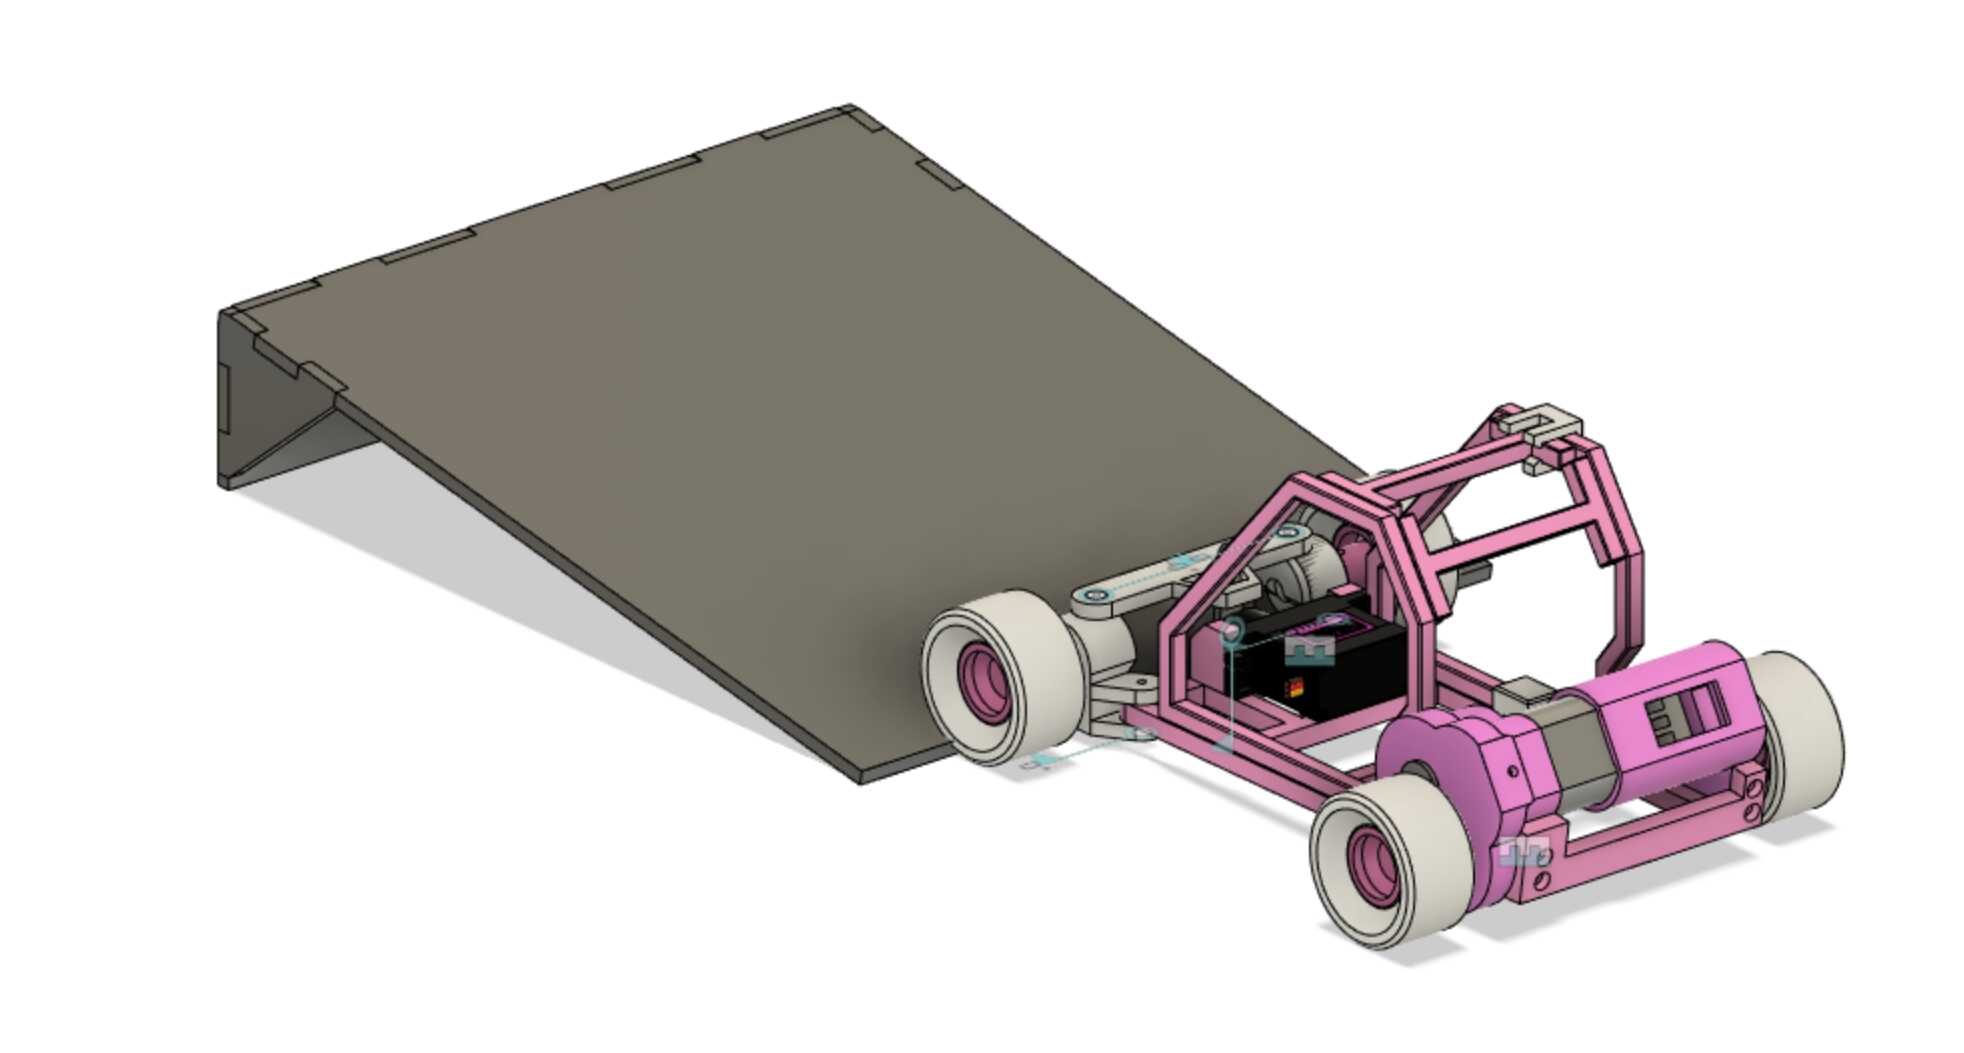
Kart Body Design
The Kart body was mainly assembly by modular chassis, they are jointed by some clips. Modular design lets me very easy to adjust the design without reprint the whole body.
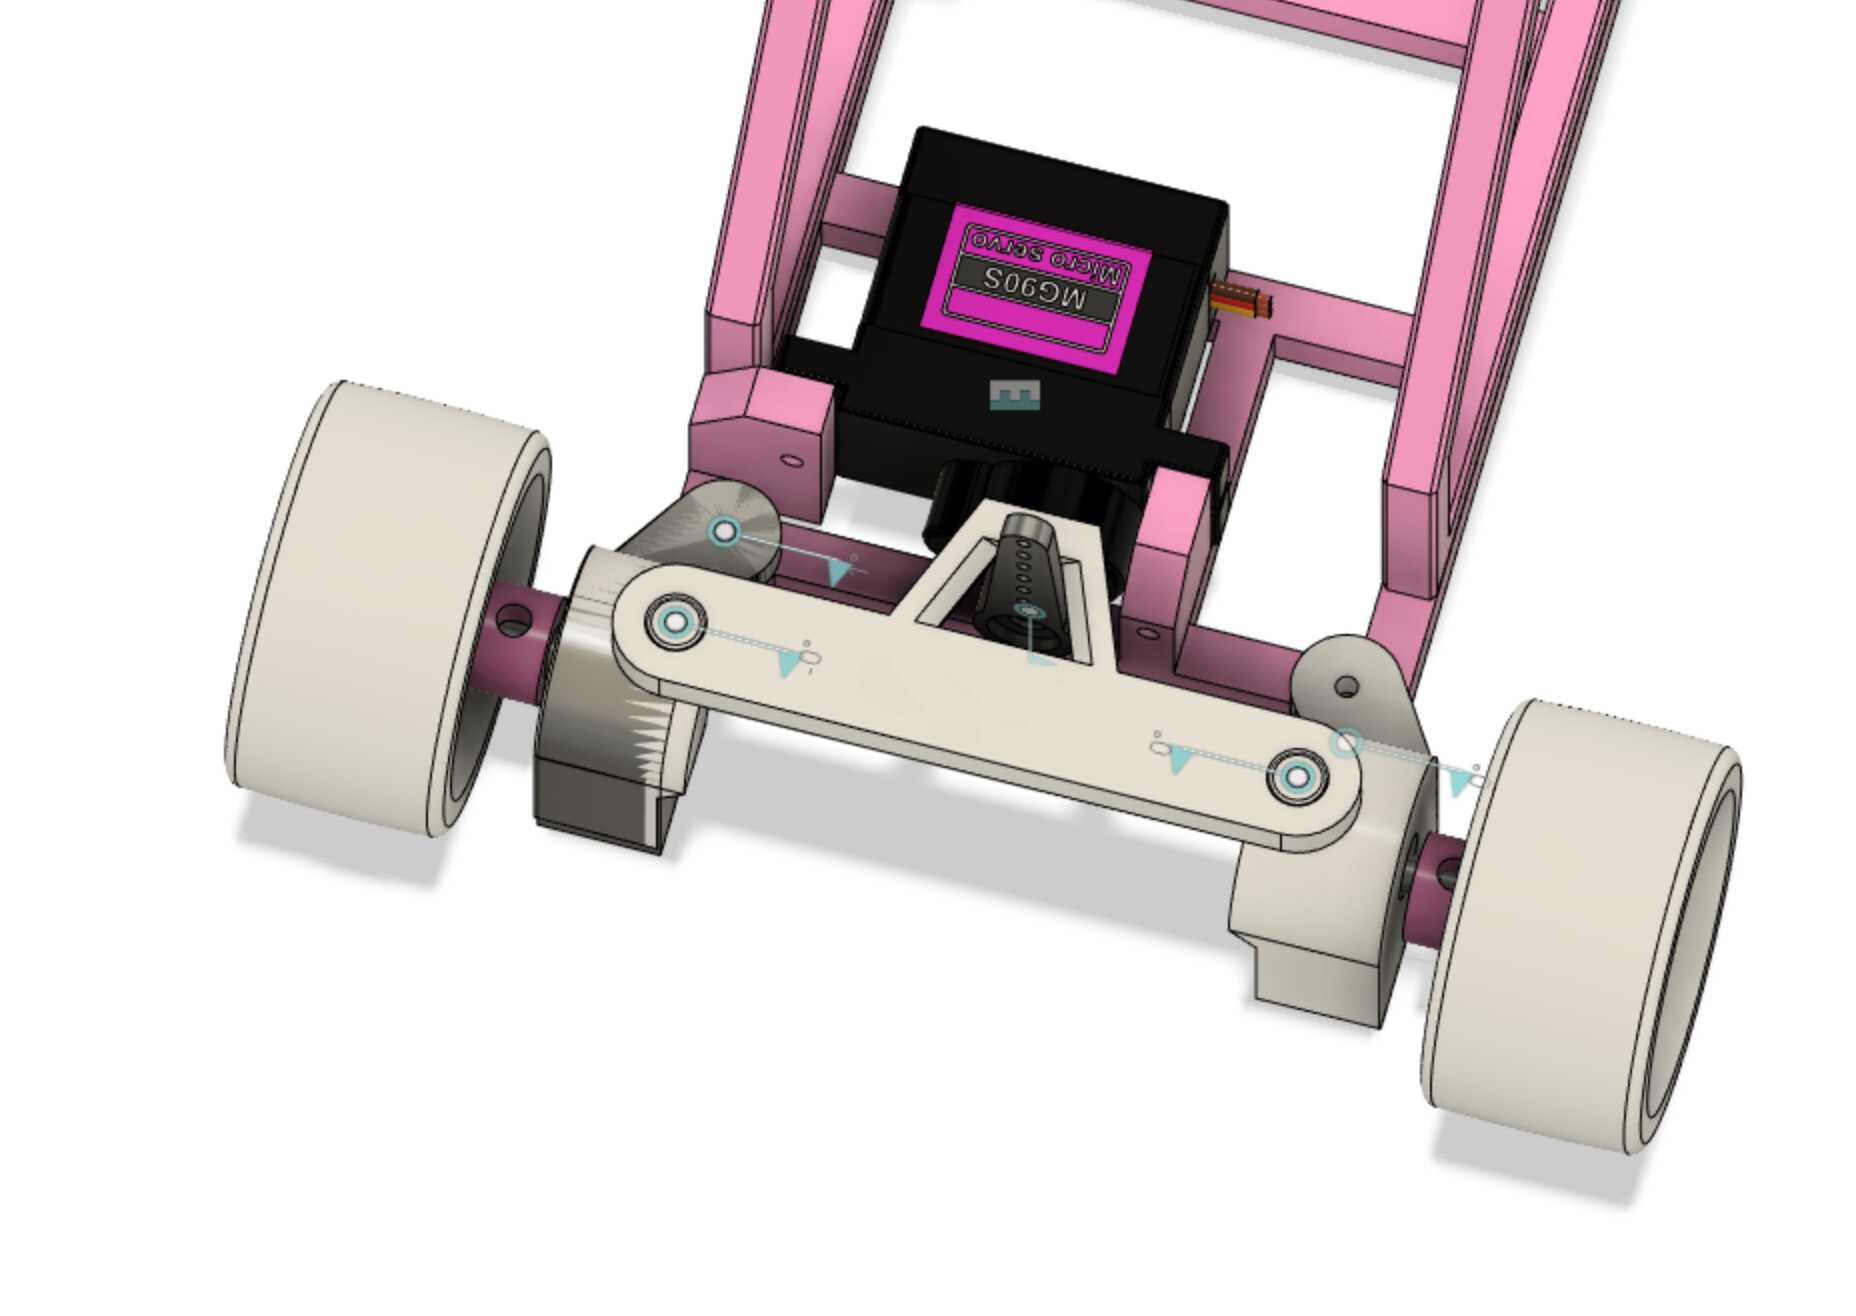
The Steering Design
The steering was drive by a MG90S mini servo. When the servo arm waves left or right, it will makes the two front wheels steering.
Tag Design
I have designed two RFID tags for triggering functions with RFID reader under the kart.
Speed boost: increase the kart speed for 1 second when the triggered.
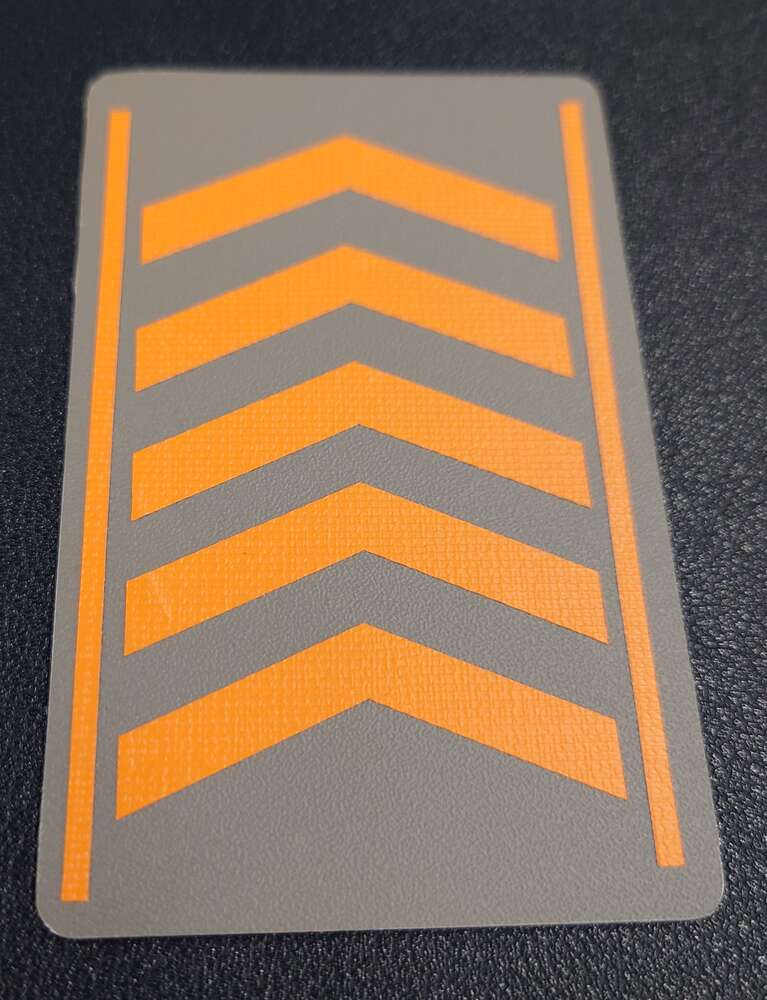
Banana peel: the steering will lost control for 1 second.
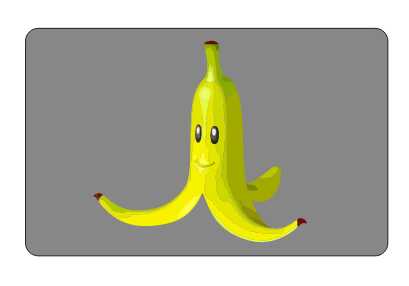
The patterns on the speed boost tags are made with Brother CM900 Vinyl Cutter.
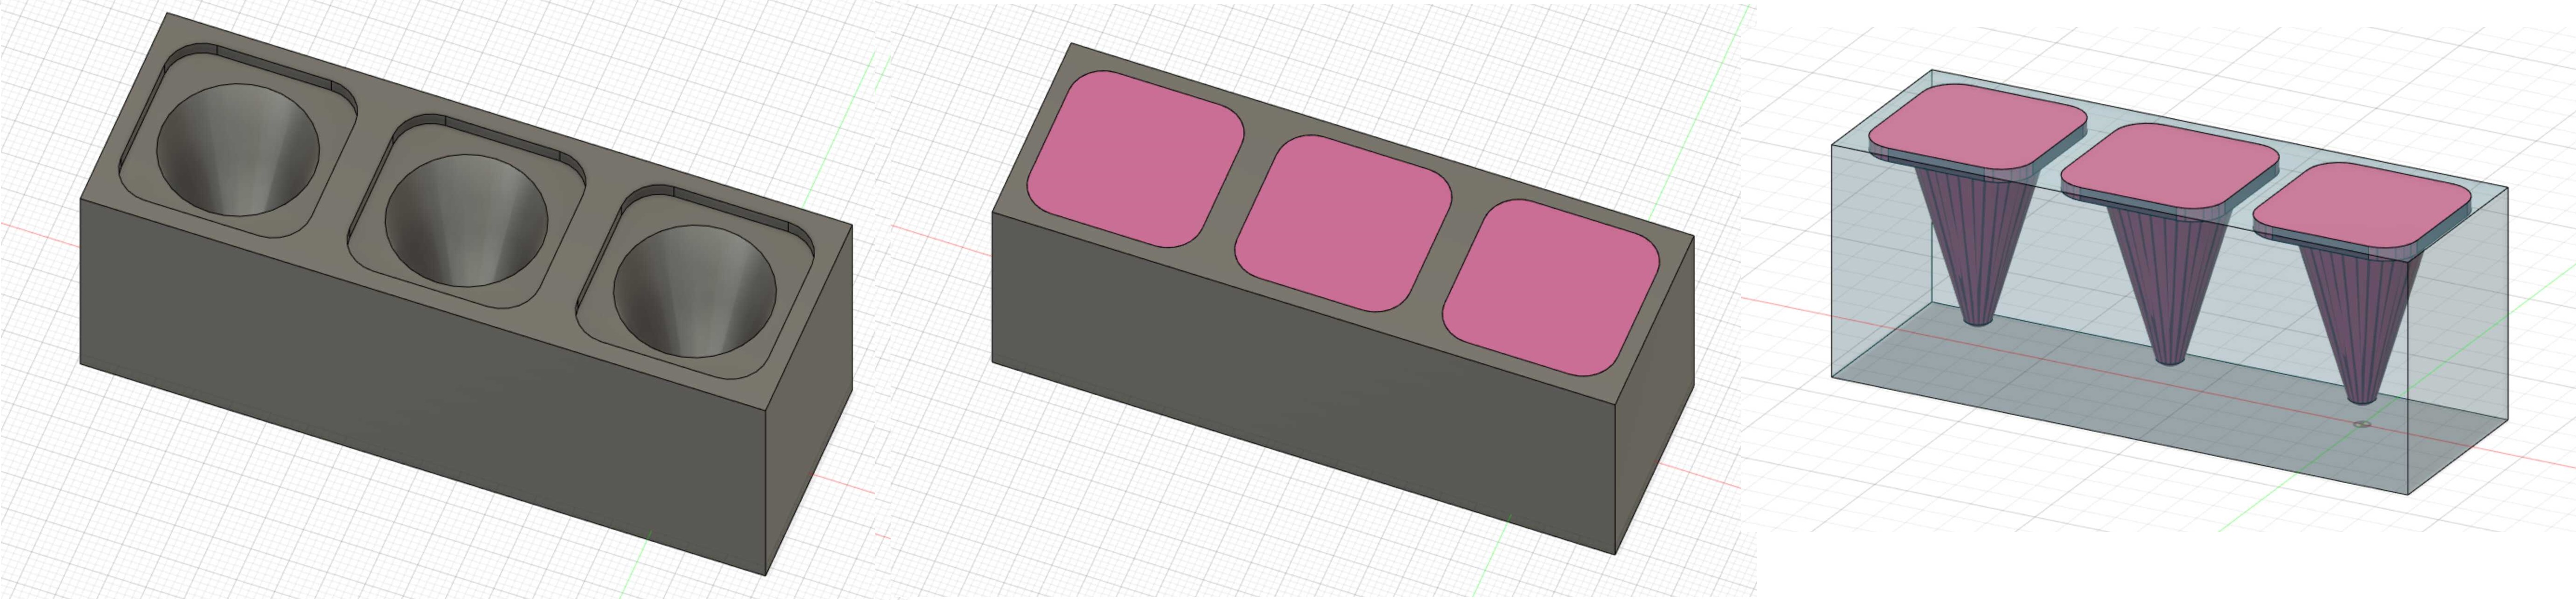
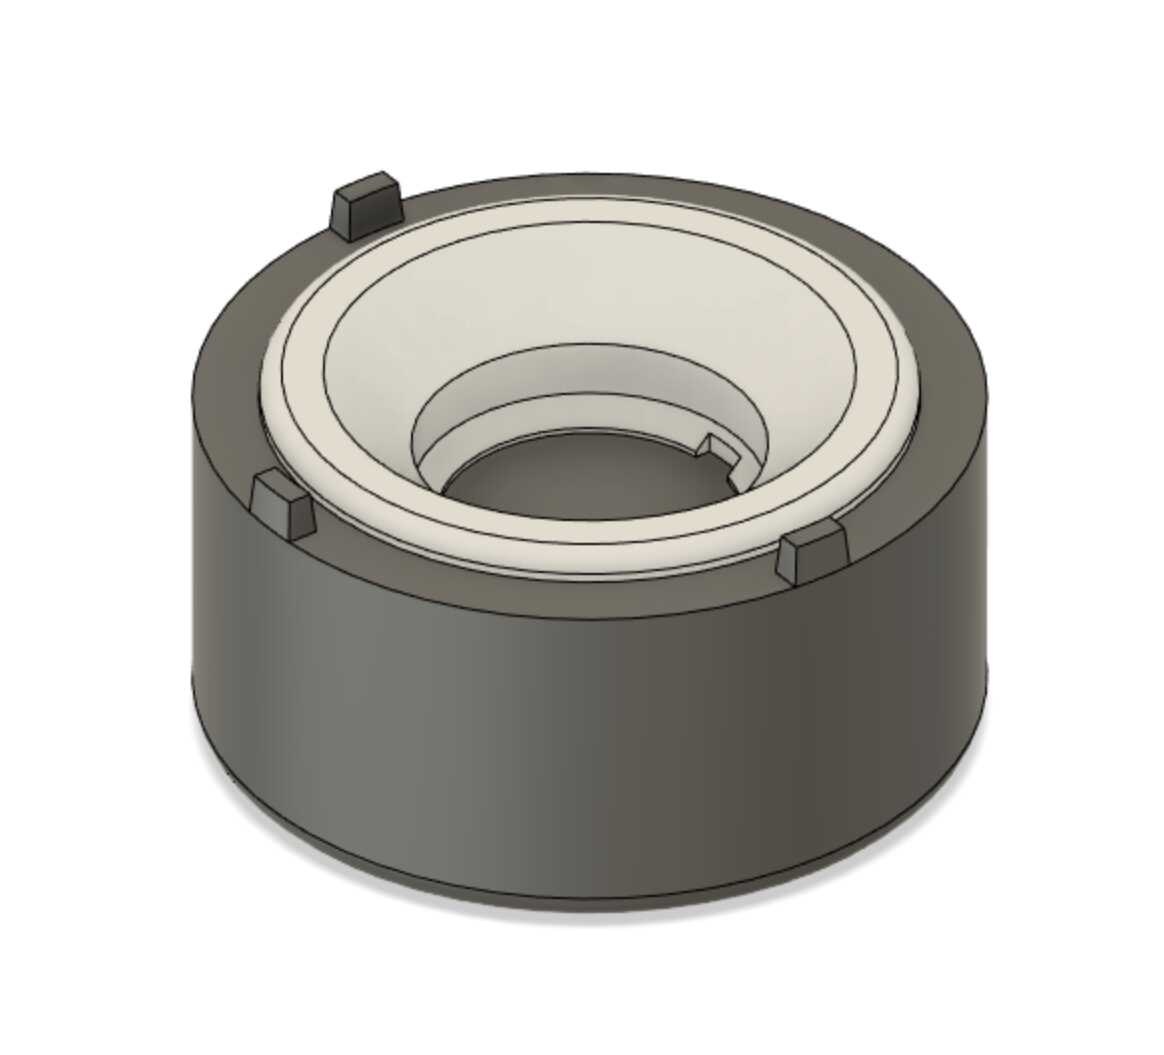
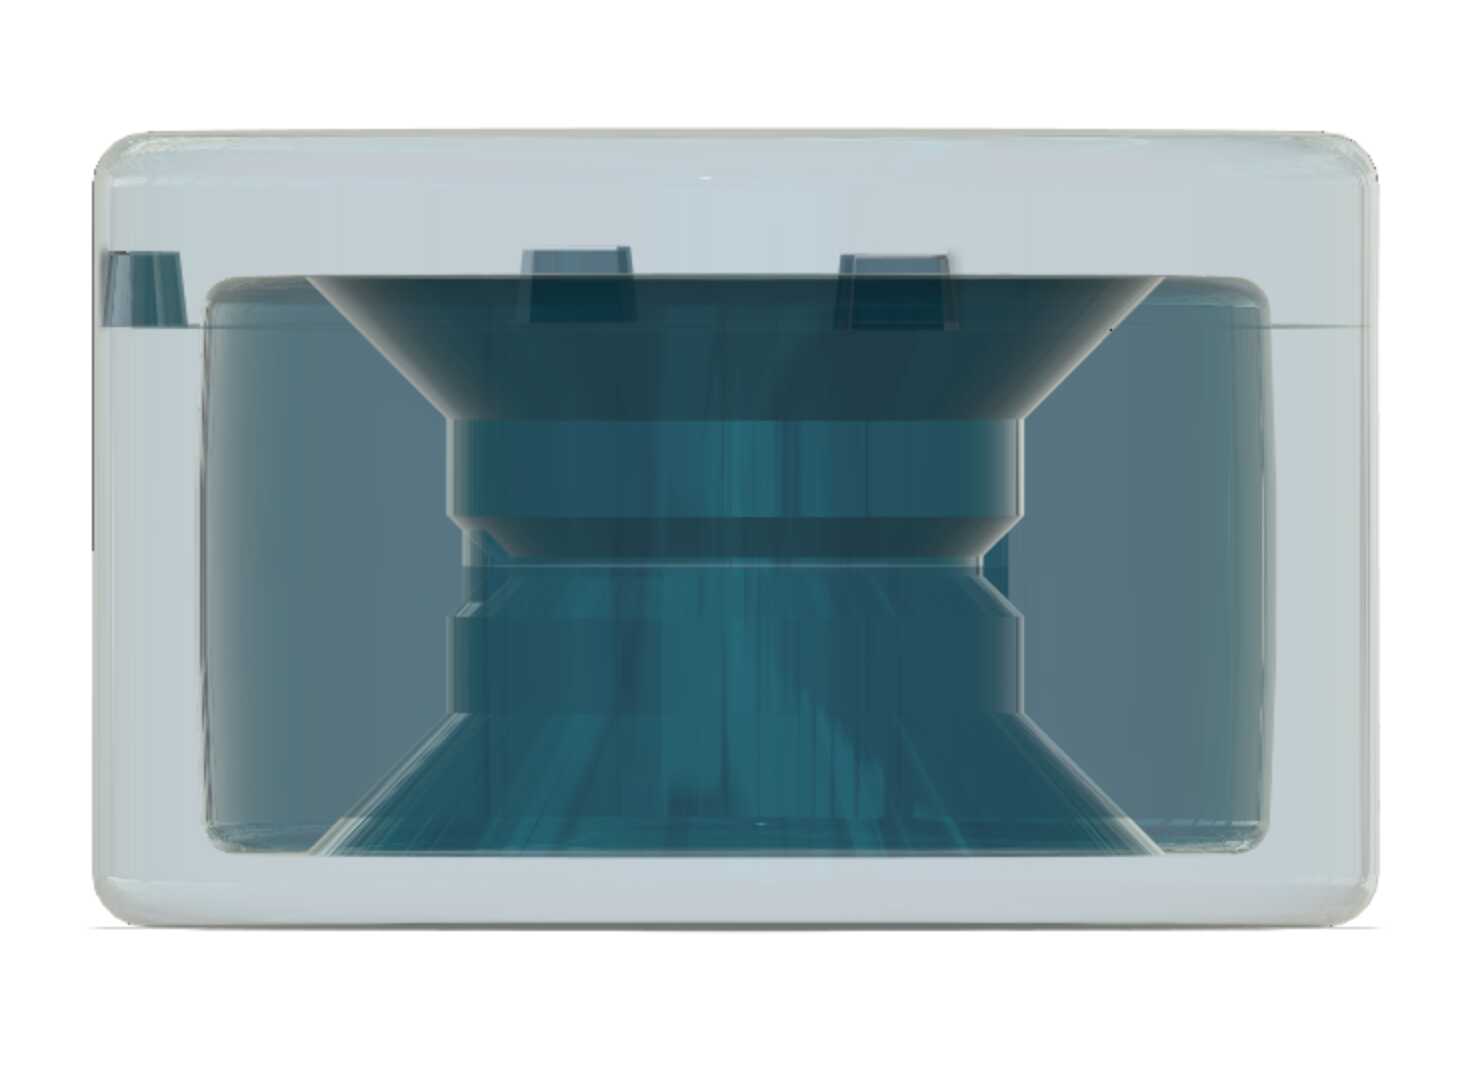
Cone
I designed this cone to bring more fun to the user.
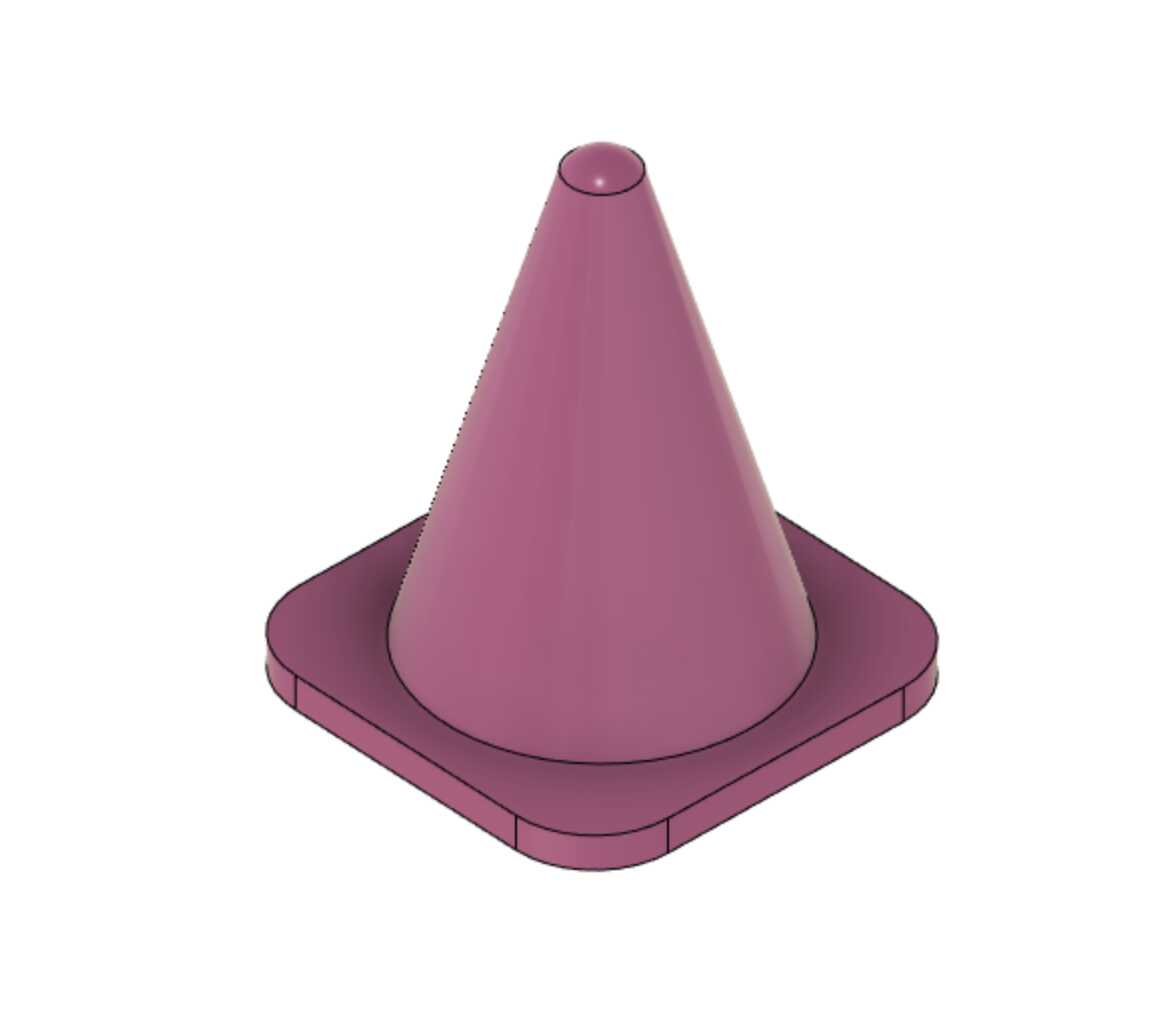
Instead of 3D printing, I tried to make a mold for modding.
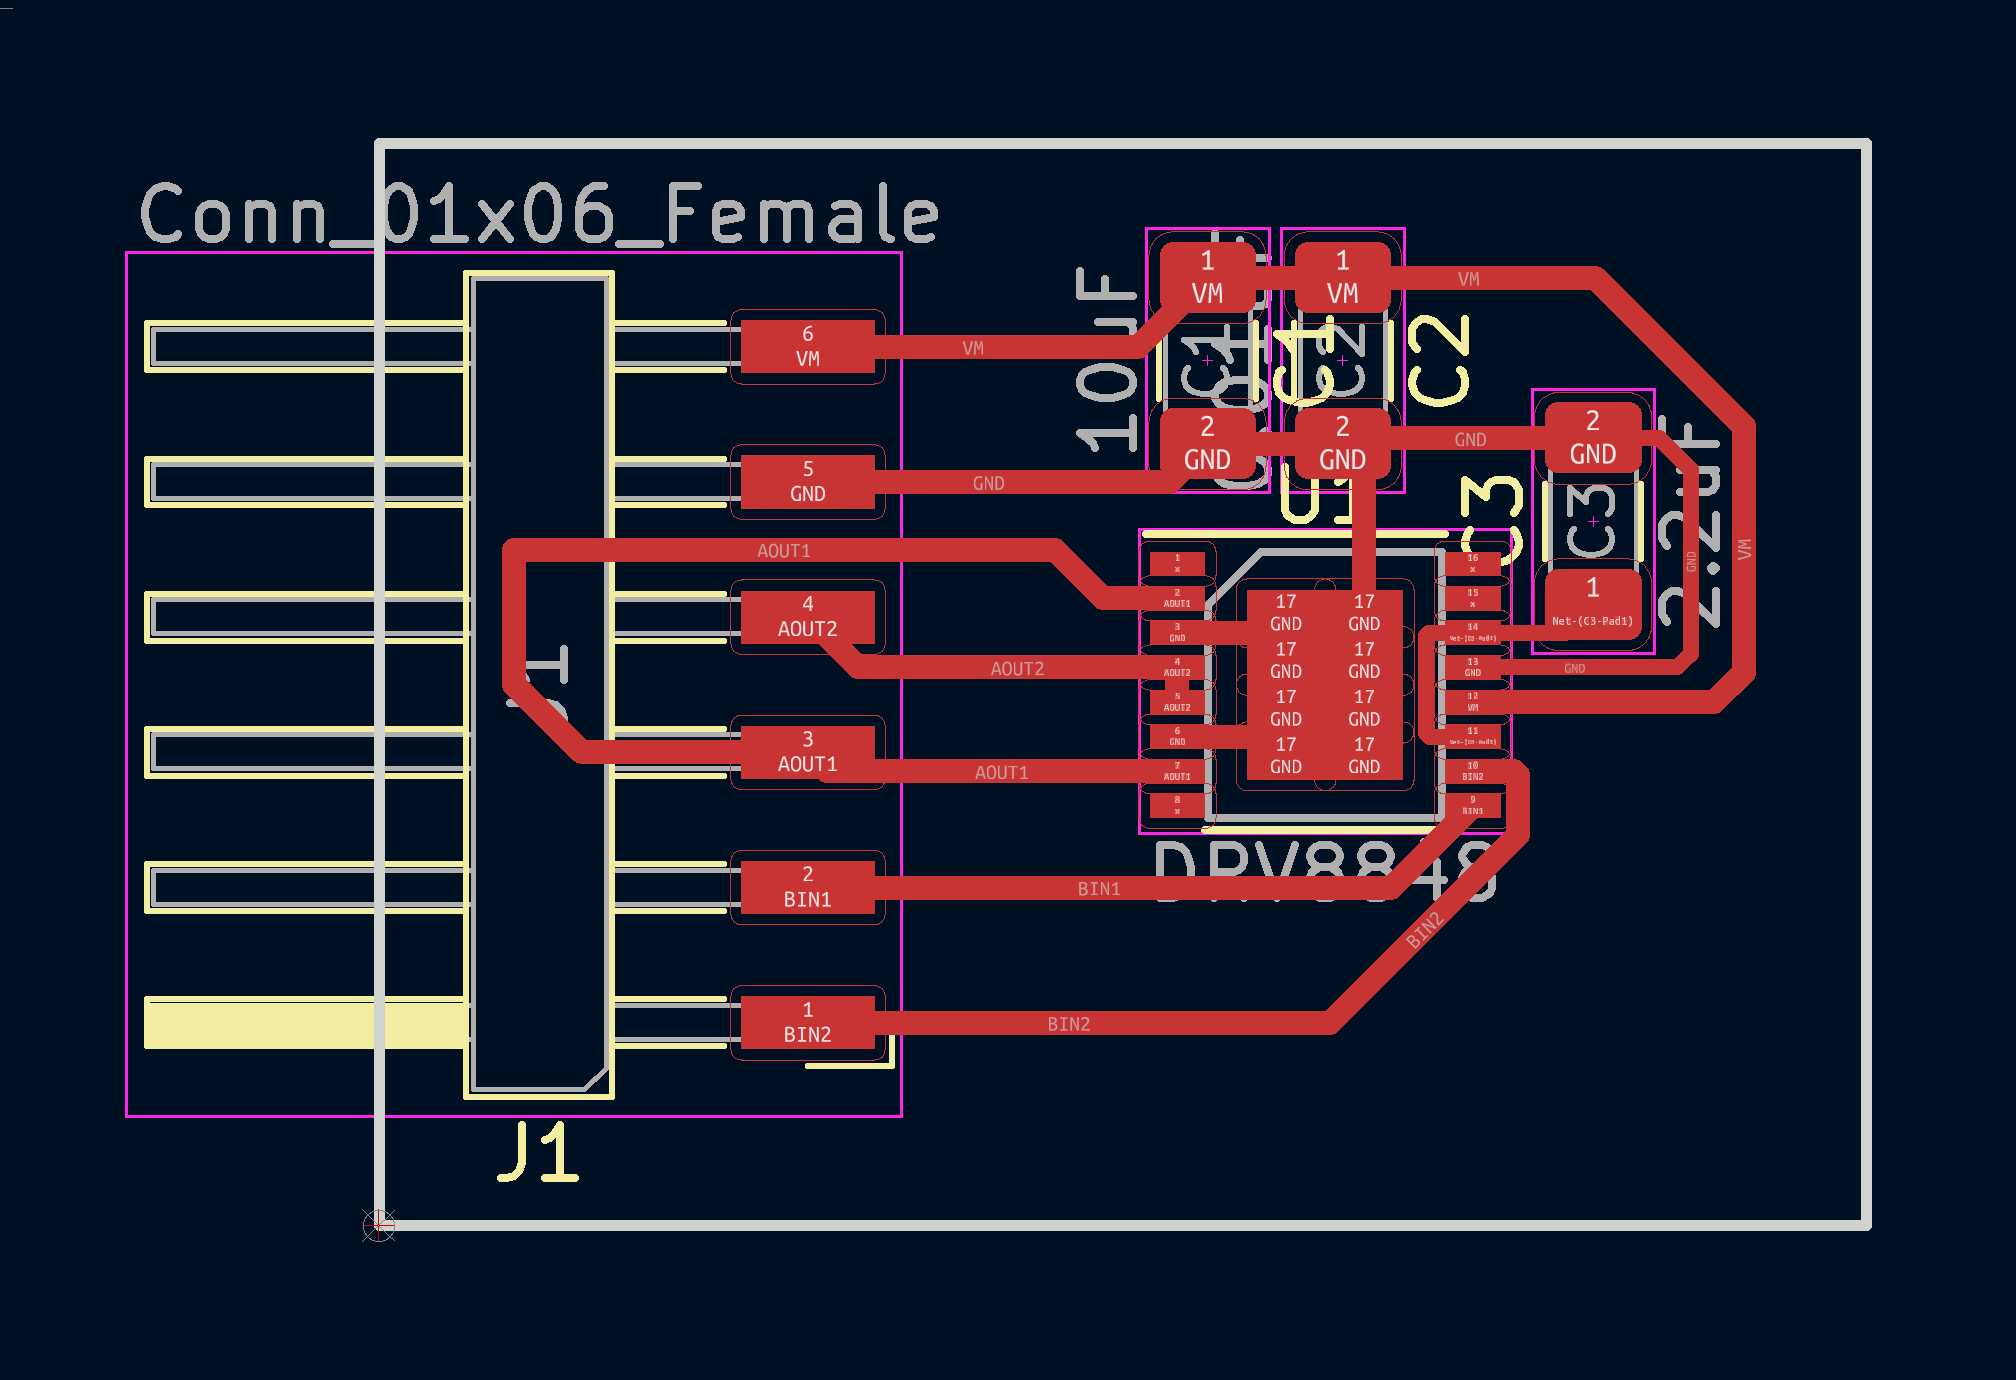
Kart Controller

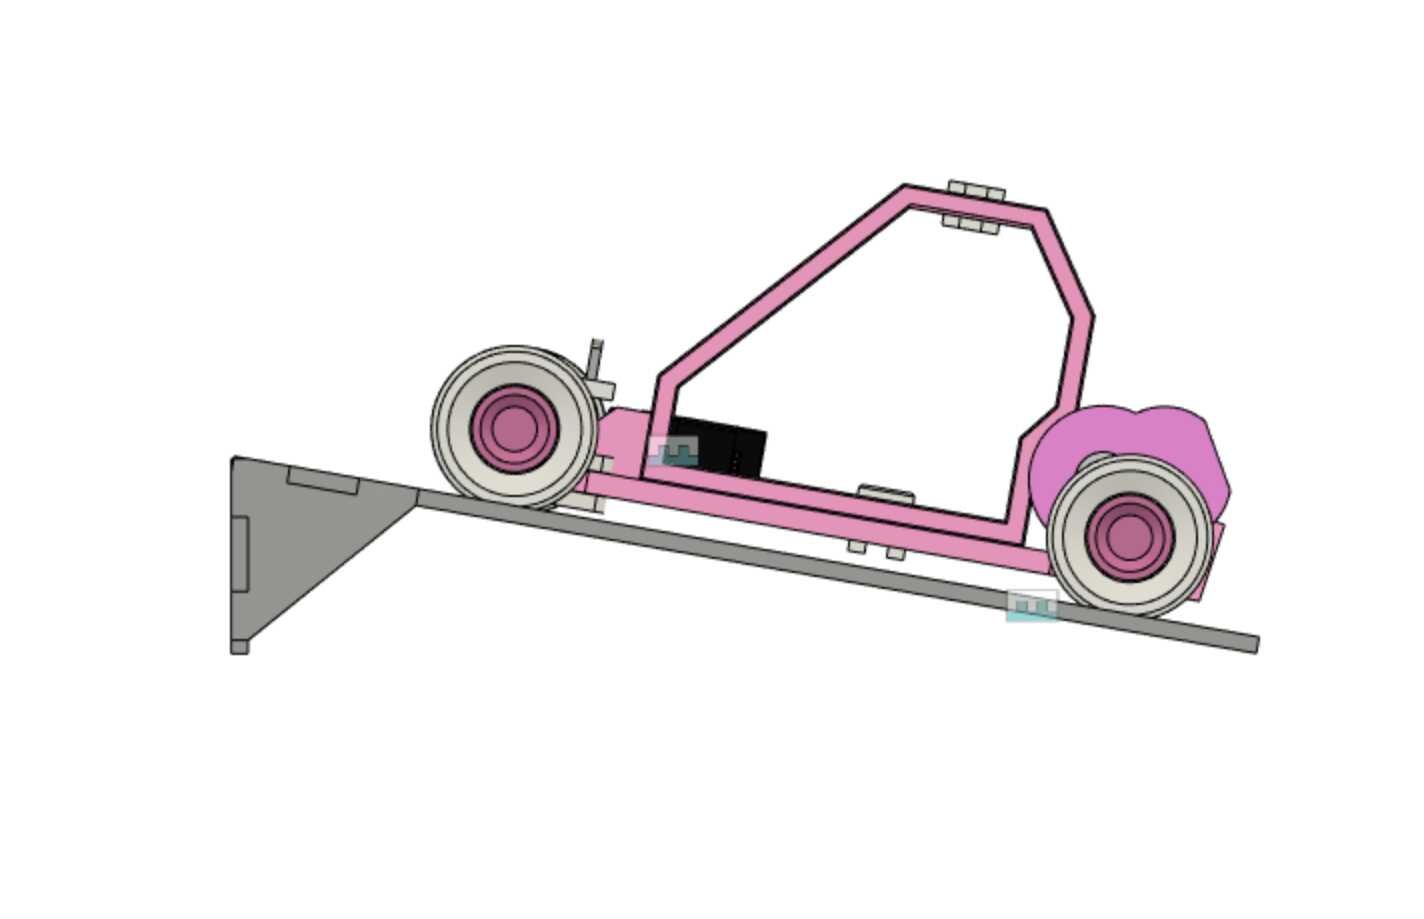
Ramp
A laser cutted 15 degree ramp was designed to allow the kart flying from it.
I applied minimal design concept in the ramp, which only use two triangular pieces at the end with two rectanglular plates.
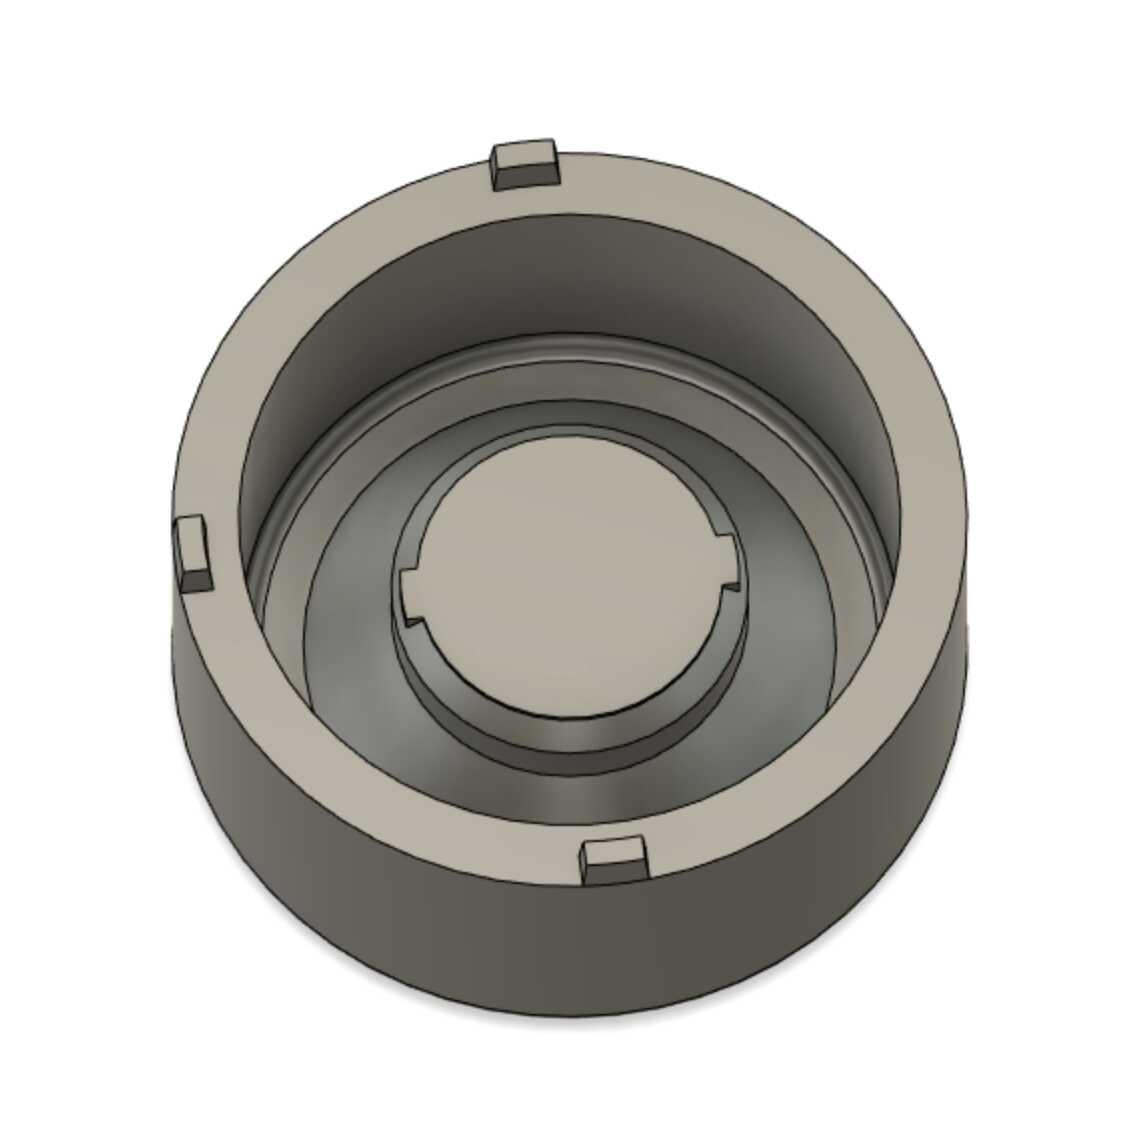
Mould Design
I also designed a mould to make the tires with molding method. But I didn’t use this method at the end because I found the 3D printed tires made by TPU are perfectly suitable for making the tires.
Links to presentation slide and video
BOM
| Item | Quantity | Source | Costs (USD) |
|---|---|---|---|
| PLA Filament | 1kg | Taobao | $8 |
| CP2102 micro USB to serial | 1 | Taobao | $2 |
| MG90d | 1 | Taobao | $2 |
| Dupont FF cable 20cm | 8 | Taobao | $1 |
| M2 x 8mm screws | 10 | Tabobao | $1 |
| 180 DC Motor | 1 | Tabobao | $1 |
| 3*80mm Stainless Steel Rod | 1 | Tabobao | $1 |
| 16340 Li-ion Batteries | 2 | Taobao | $3 |
| F623ZZ(3104) Bearings | 4 | FabLab iSpace | $1.5 |
| ESP32 WROOM-32 | 1 | FabLab iSpace | $2 |
| IC 3.3V | 1 | FabLab iSpace | $0.1 |
| 0Ω resistor | 1 | FabLab iSpace | $0.1 |
| 220Ω resistor | 1 | FabLab iSpace | $0.1 |
| 10kΩ resistor | 1 | FabLab iSpace | $0.1 |
| 10uF capacitor | 2 | FabLab iSpace | $0.2 |
| Greed LED 1206 | 1 | FabLab iSpace | $0.1 |
| Switch 1206 | 1 | FabLab iSpace | $0.1 |
| 6mm push switch | 1 | FabLab iSpace | $0.1 |
| 1x40 Header | 4 | FabLab iSpace | $0.1 |
Files Download
3D-Files.zip Kart-Program.zip ESP32_Breakout_Board_GERBER.zip
Licence

Acknowledgements
Special thanks for those provided help and advices in my FA:
Hong Kong iSPACE Fablab German CHEUNG Queenie YEUNG
Fab Lab Kamakura Yuichi TAMIYA
Fab Lab Kamakura Rico
Bold Lab Seoul Miriam
My classmate Yan Kin LEUNG (Jason) Ho Kuen AU (Terry)
References
PN532 Library NDEF Library ESP32-CAM AI-Thinker Pinout Guide: GPIOs Usage Explained ESP32Servo Library