9. Molding and casting
In this week’s group assignment, we reviewed the SDS of molding and casting materials in our lab. We also made some test casts with them. I had a lot of joy during the process.
For my assignment, I made a wax mould with a CNC machine, then used it to cast a silicone mould, and finally, I made a chocolate lollipop.
Making the Wax Mold (Positive)
Design
Software used: Fusion 360
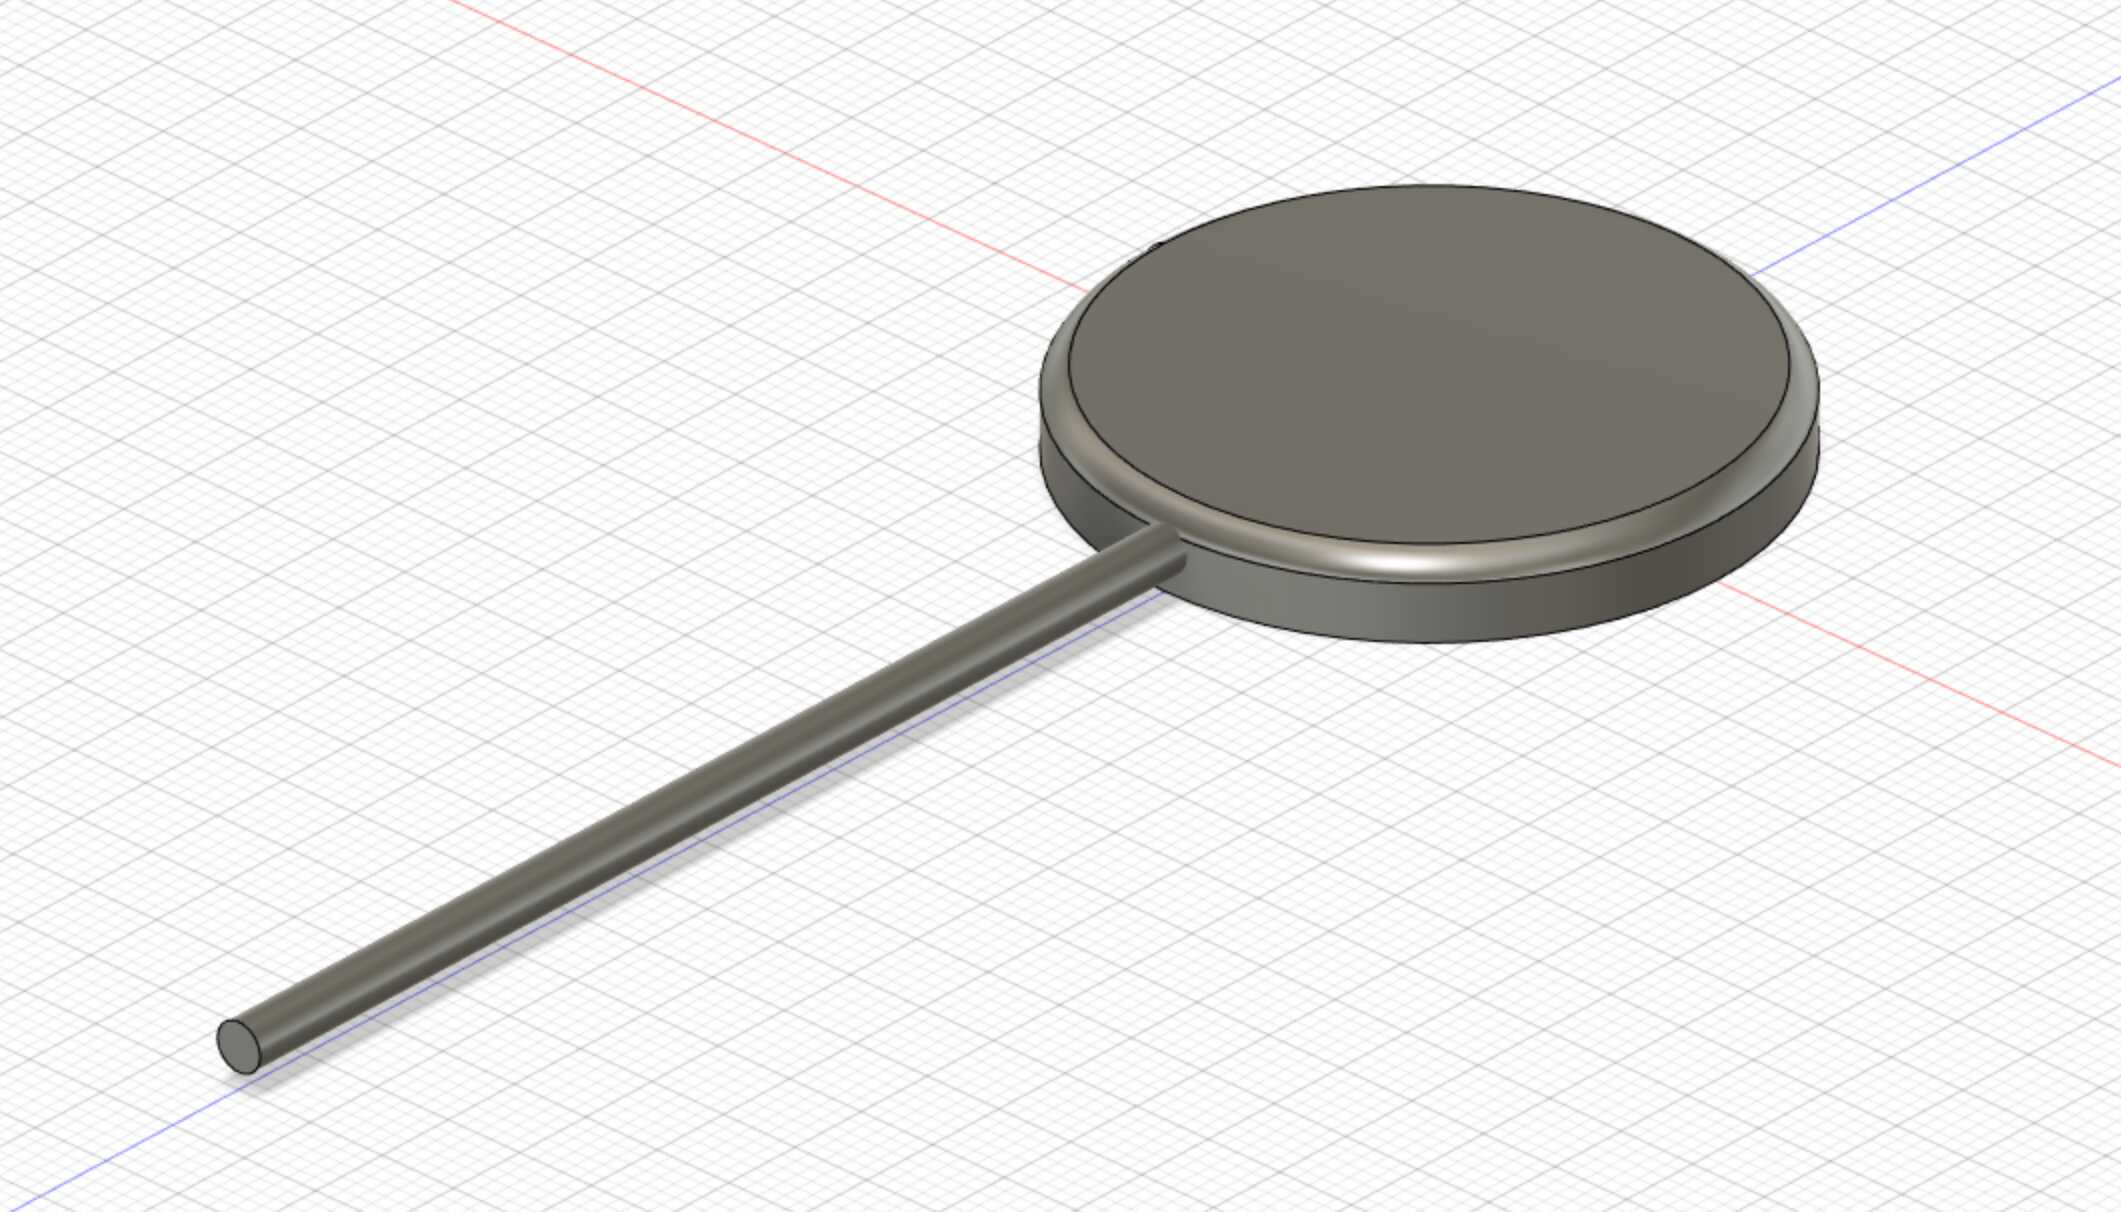 I firstly draw a lollipop in Fusion 360, the diameter of the round shape is 70mm.
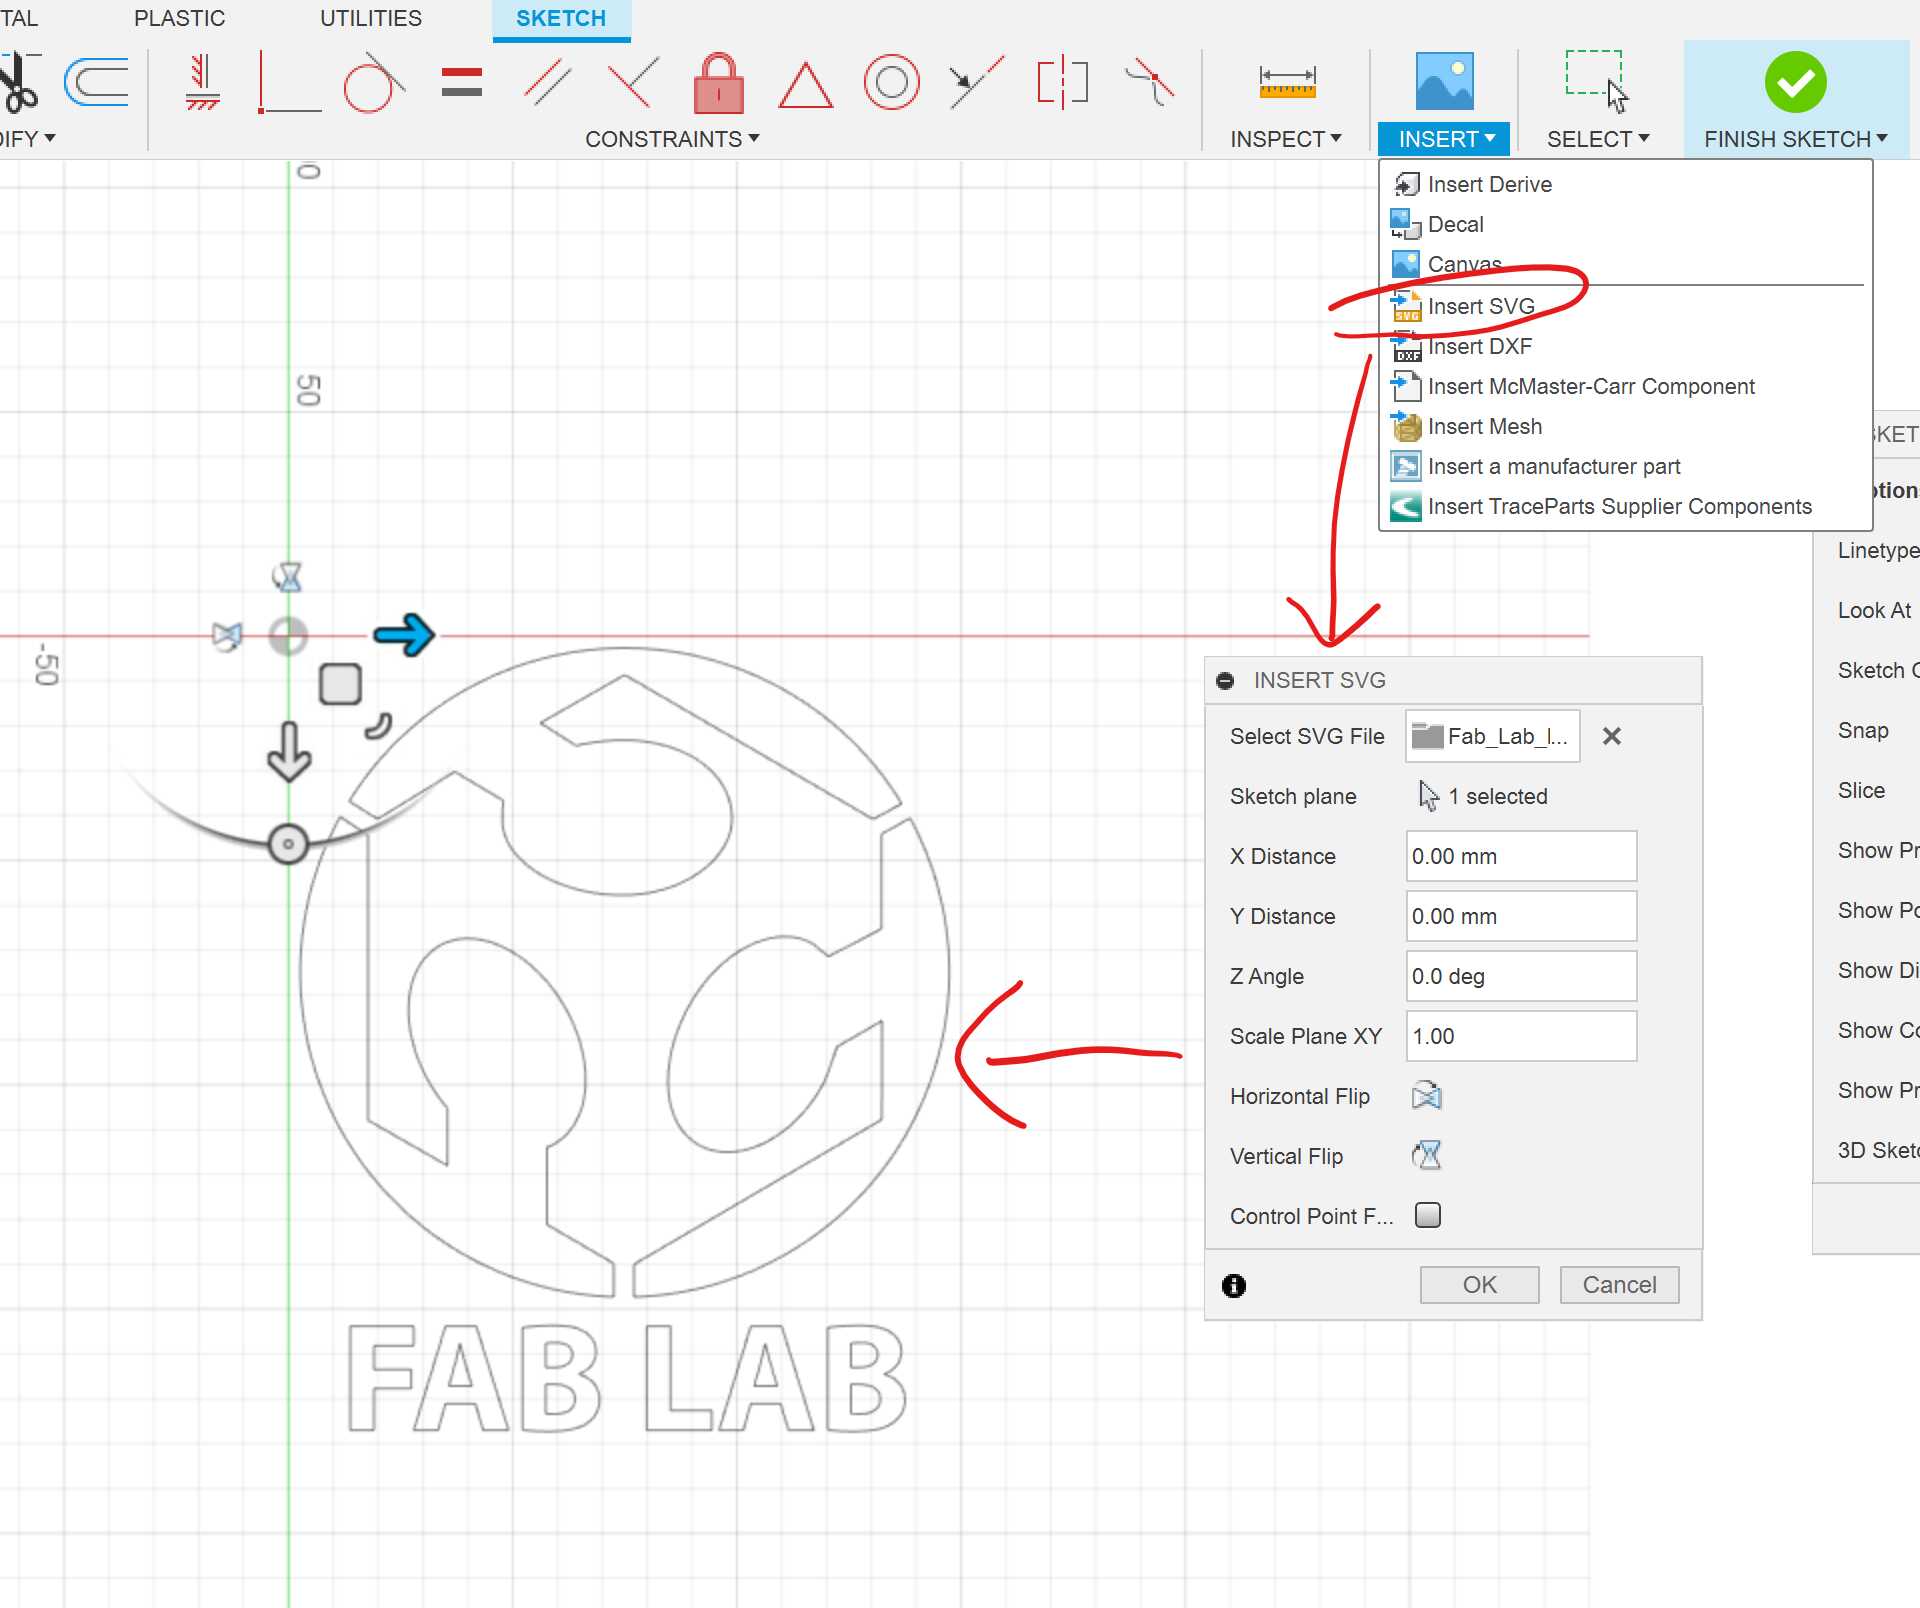 I then imported the SVG Fab Lab logo into the sketch.
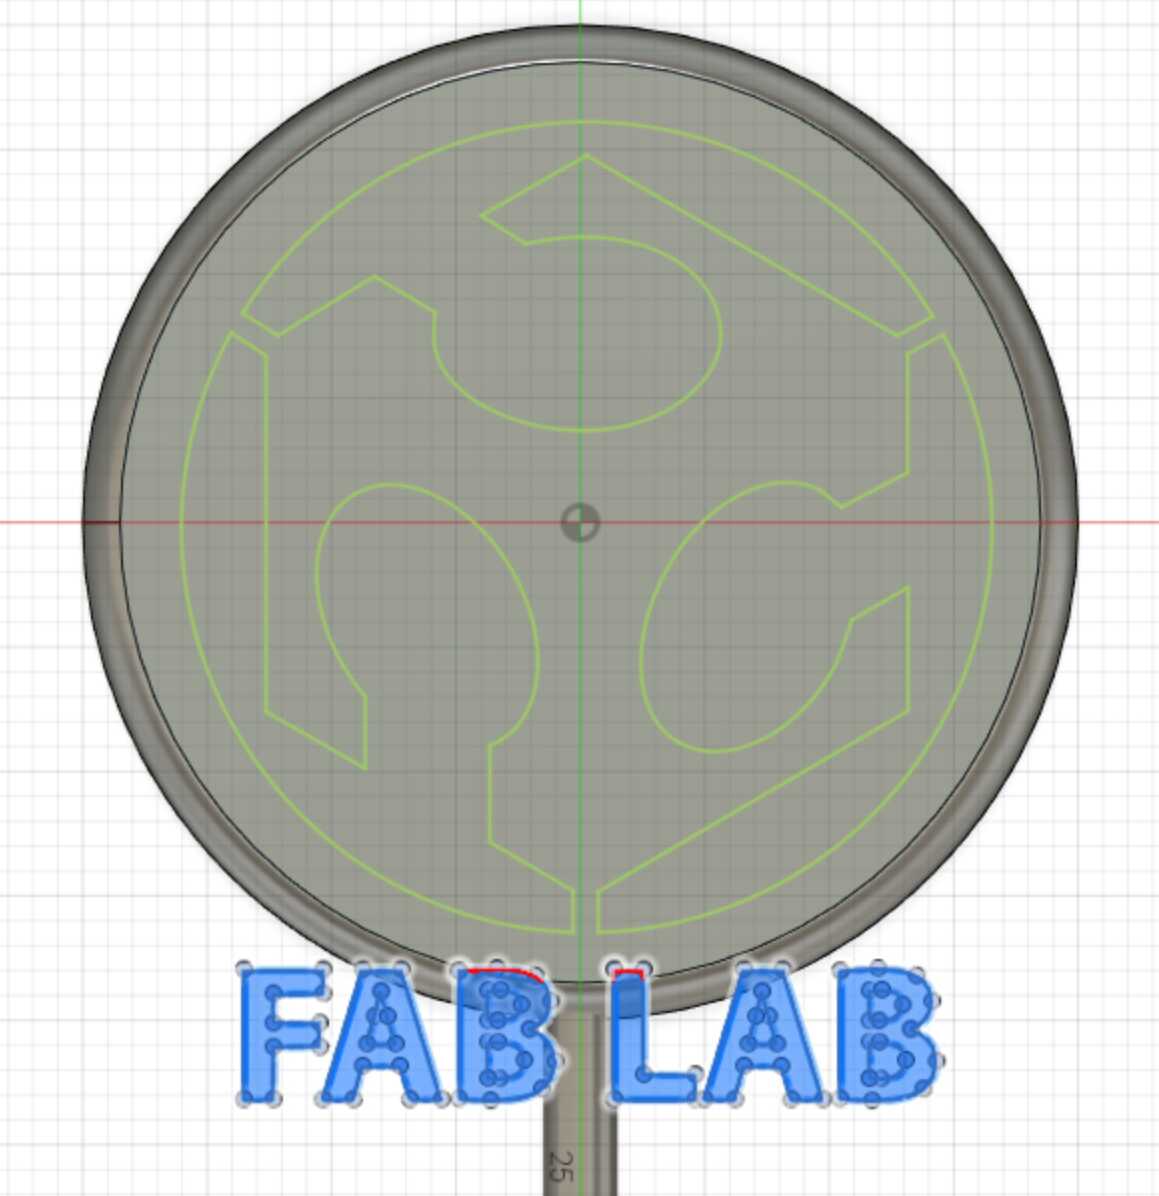 Removed the “FABLAB” text then extrude on top of the lollipop.
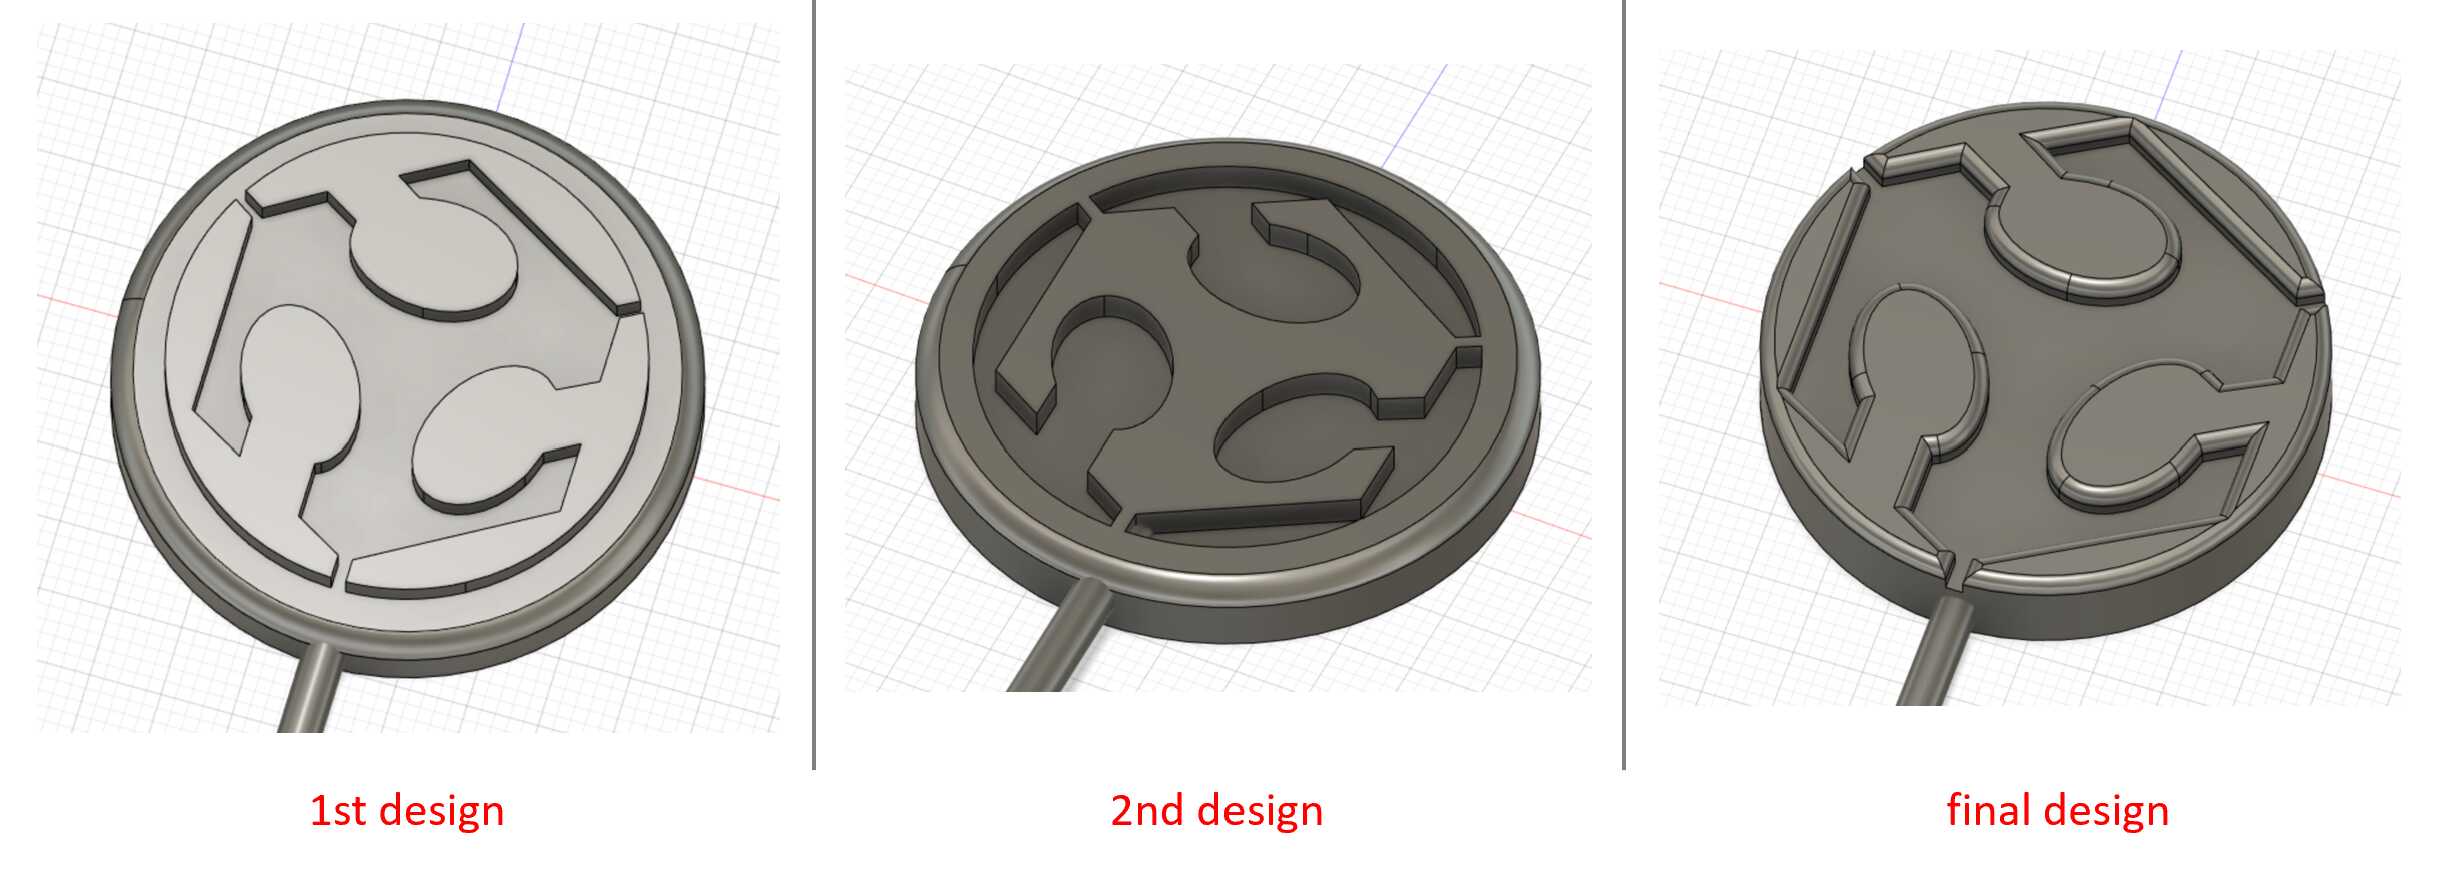 I made three major designs:
1st design: The gaps between three “people” was too thin. It’s hard to mill them using a 1/8 inch mill. And The edges are too sharp, it’s not easy to remove from the mold.
I made three major designs:
1st design: The gaps between three “people” was too thin. It’s hard to mill them using a 1/8 inch mill. And The edges are too sharp, it’s not easy to remove from the mold.
2nd design: Making “people” negative is ugly. So I discarded this design.
3rd design: The gaps between “people” are enlarged. Round edges are made to ensure the product can be easily remove from the mold.
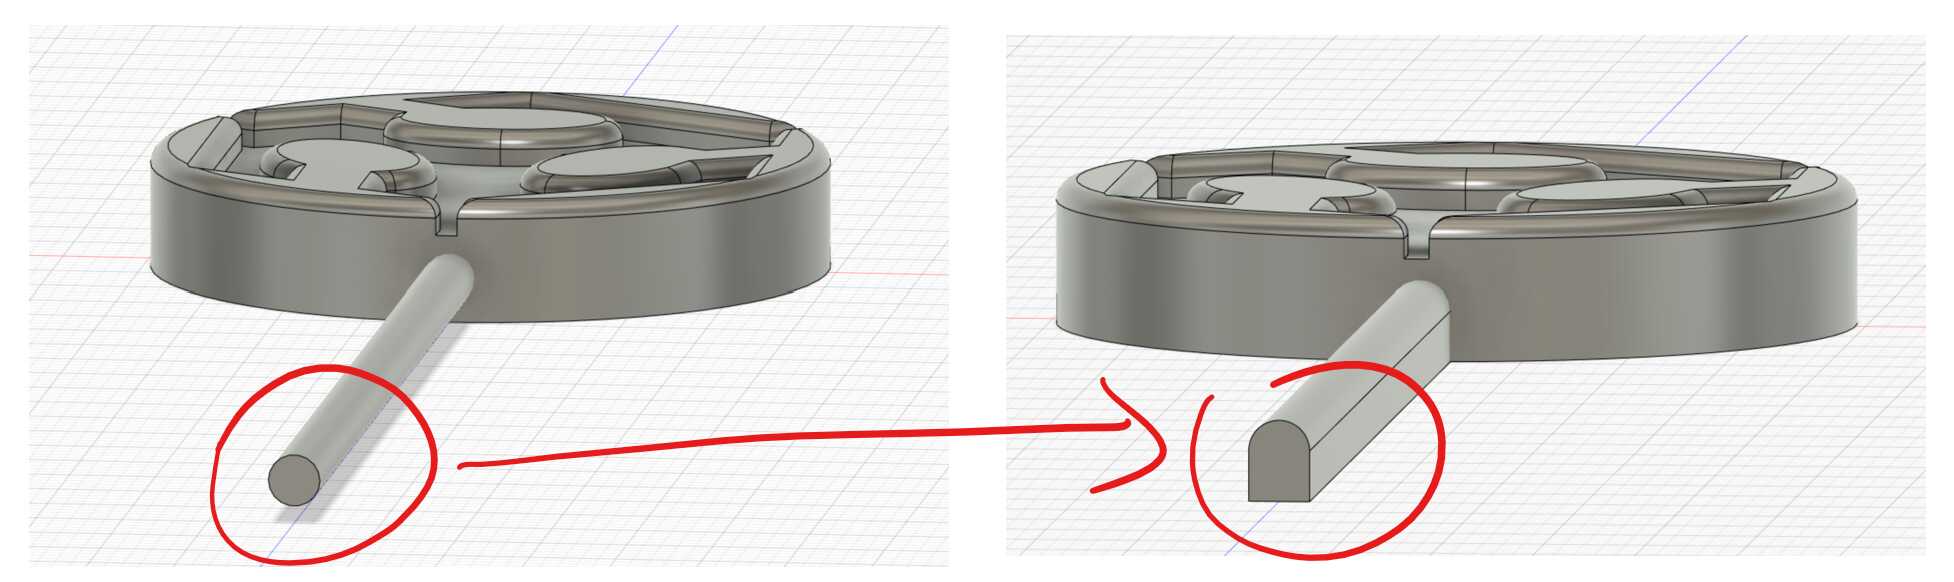 The stick was project from the circle endpoints to the bottom. This can make me easier to put the bamboo stick into the mold.
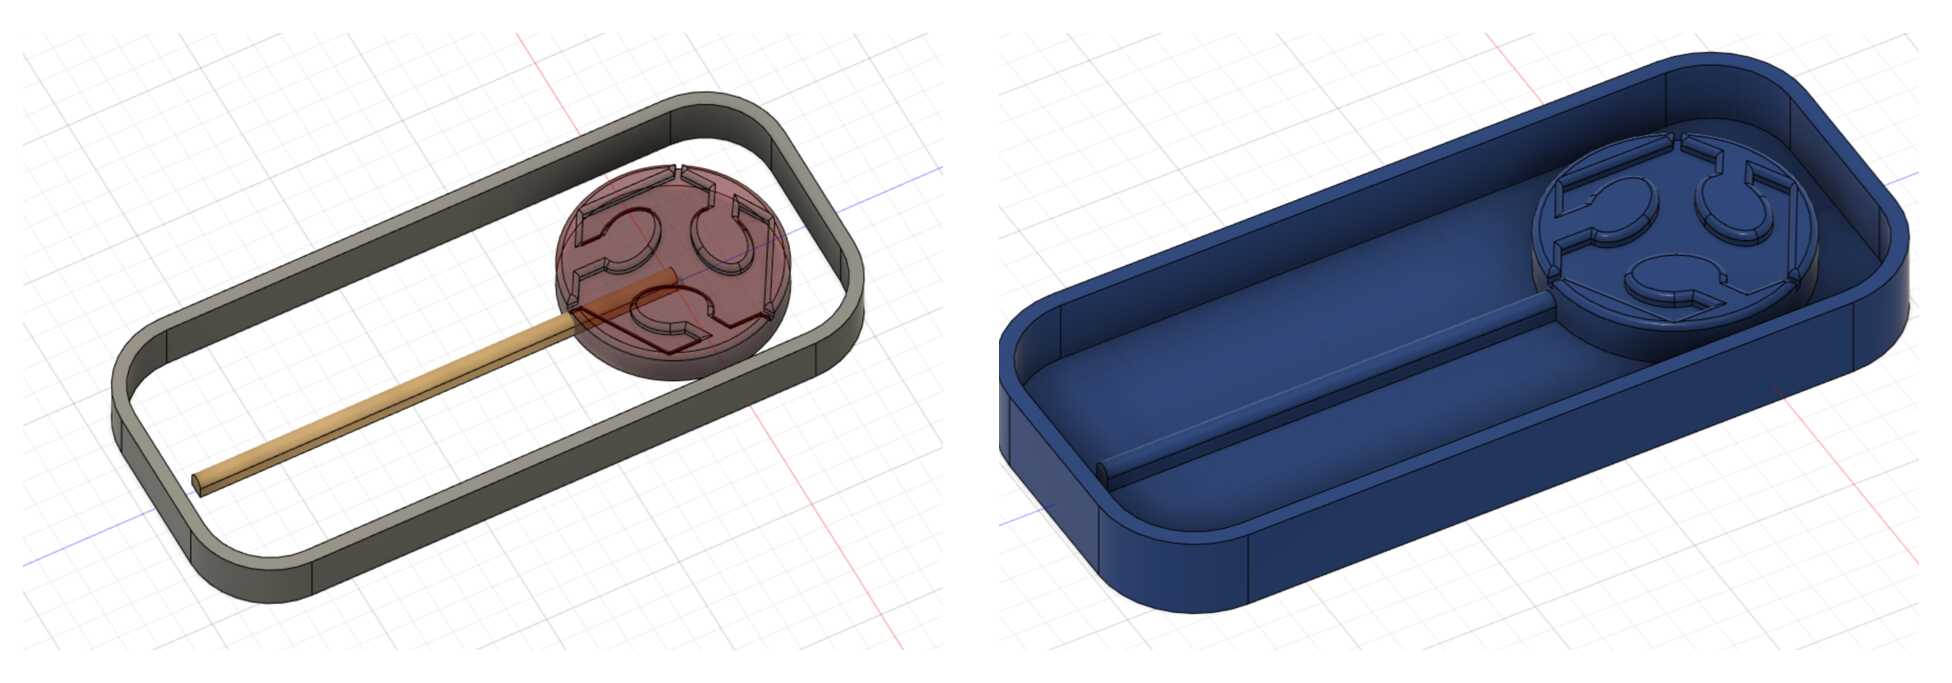 A rectangular box was added to the lollipop, to contain the silicone when making the negative mold.
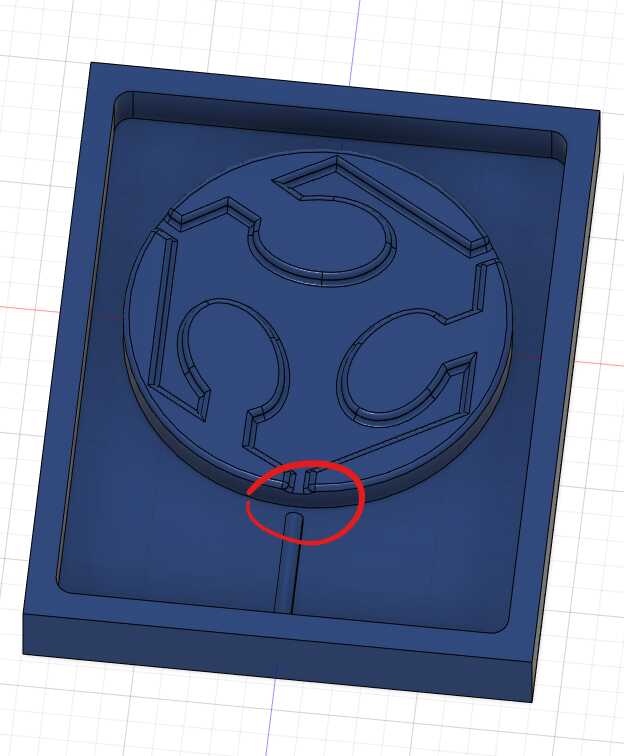 Little detail: I cut the connection between the lollipop “disk” and the slot for the stick. This can prevent the silicone flowing from the “disk” to the slot and making everything messy.
NC Code Generation
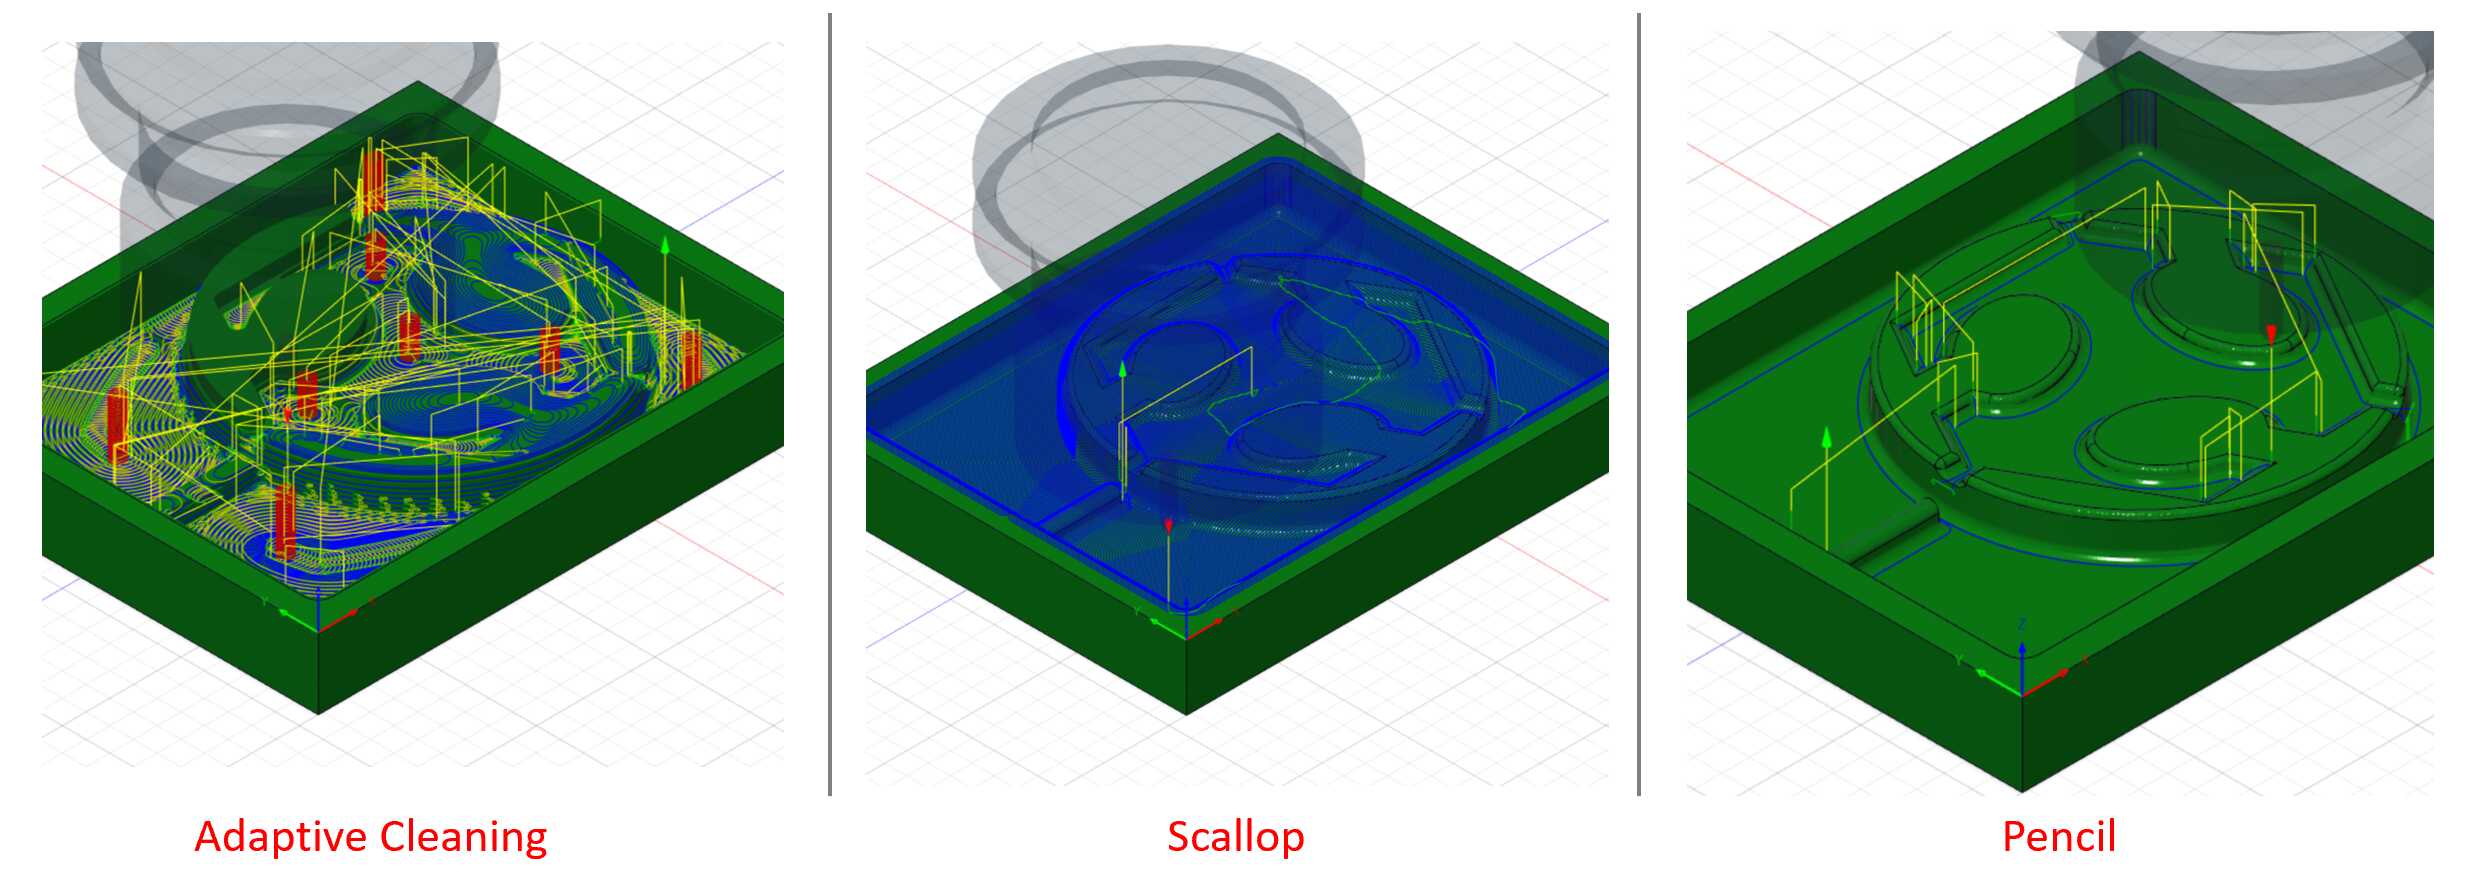 I then switched to “Manufacture” workspace in Fusion360 to generate NC codes. Three process was generated:
1. Adaptive cleaning: to clean most of the wax out of the stock.
2. Scallop: Finalling the surface by milling the surface back and forth with small steps.
3. Pen: Move along the curves to make them perfectly smooth.
I then switched to “Manufacture” workspace in Fusion360 to generate NC codes. Three process was generated:
1. Adaptive cleaning: to clean most of the wax out of the stock.
2. Scallop: Finalling the surface by milling the surface back and forth with small steps.
3. Pen: Move along the curves to make them perfectly smooth.
Bit Selection
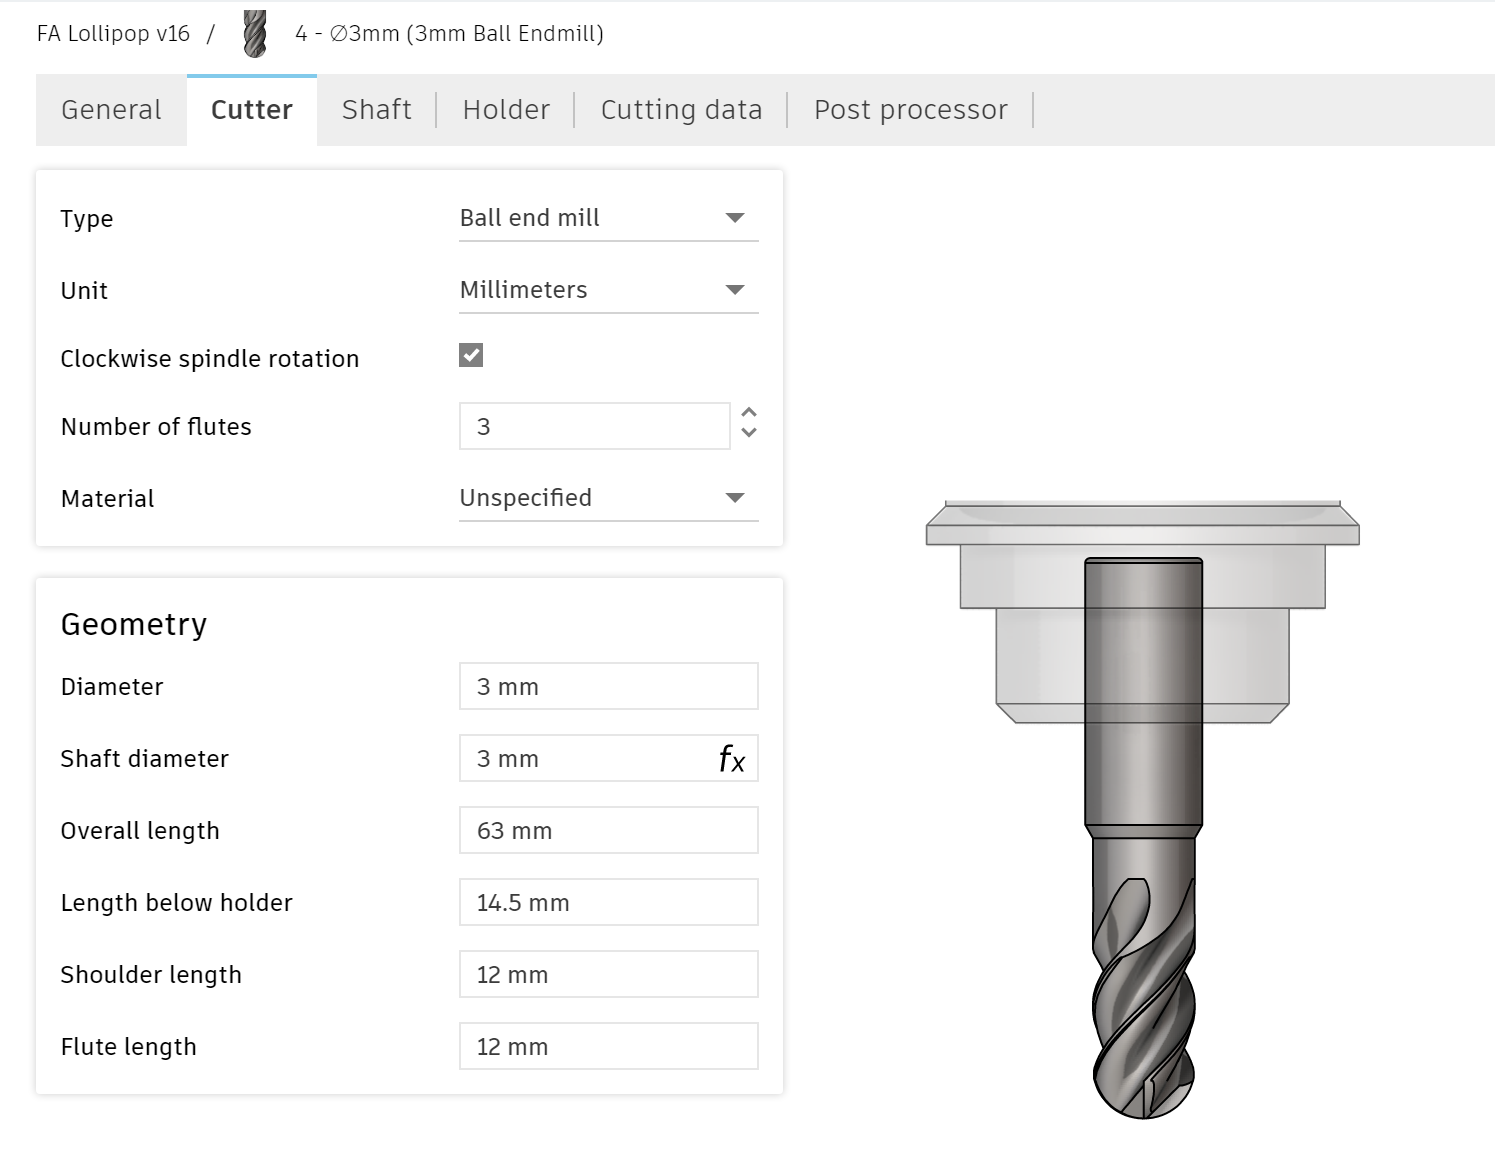 A single 3mm ball end bit was selected to do the three jobs above. The reason behind is because ball end bits can make very smooth surface. The other reason is I didn’t prefer changing bits between process. Because the CNC machine in our lab needs to change bits manually and recalibrate every time. That affects the precision.
Milling
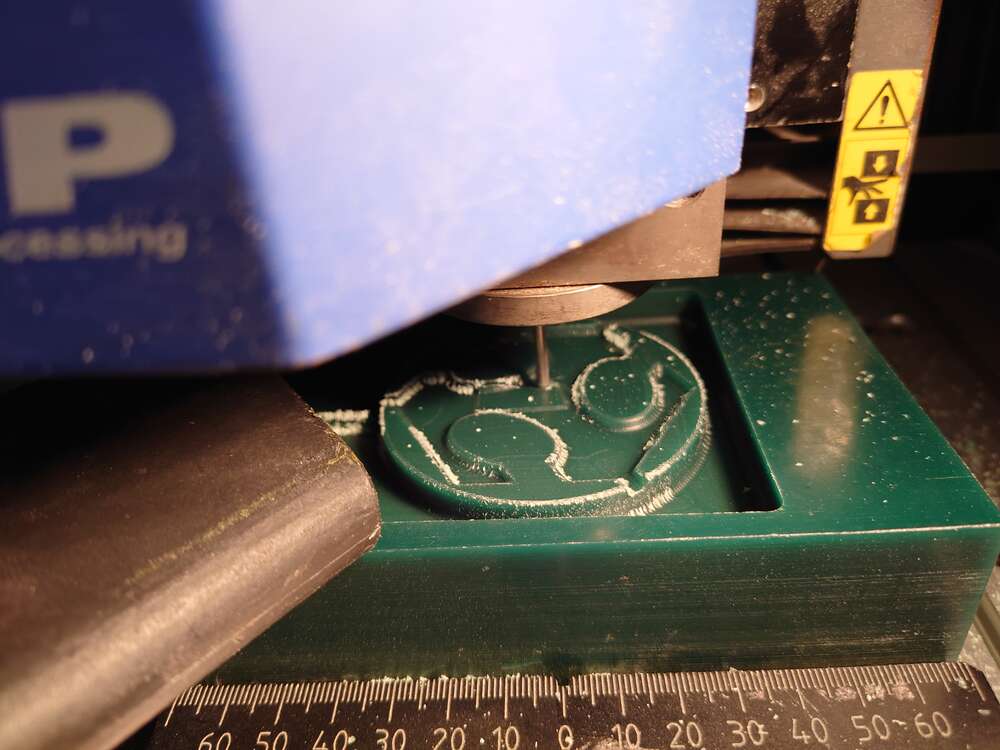 Vacumn was used to remove chips generated during the process. If chips are left inside the path, they may jamp into the bit and affect the precision.

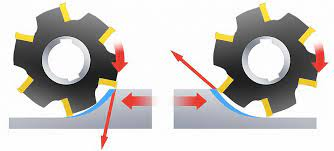
Some edges are routh because I set the direction to “both way”, the “climb” direction works good becaus chips will be left behind the path. However, “conventional” will push the bits infront of the path, making rough finishing. I should choose “one way” or “other way”(either one that was climbing).
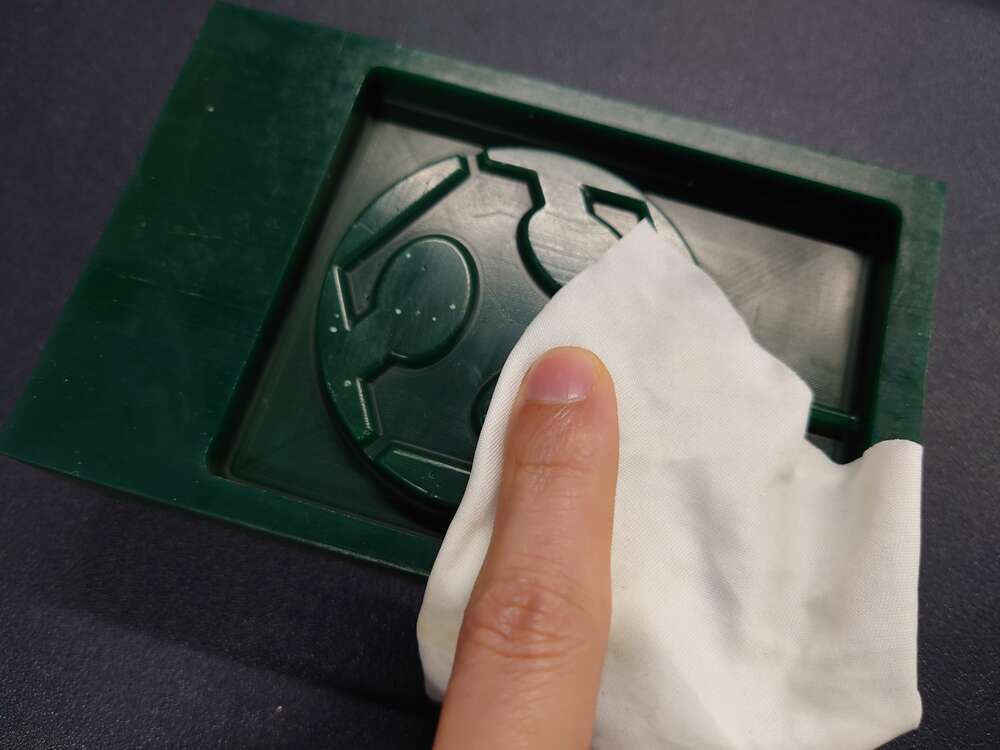 To fix the routh edge, I used a piece of fabric to wipe along the edges. This helps a lot to making them smooth.

Making the Silicone Mold (Negative)
 Then I mix the silicone 1:1 in weight, pour into the wax mold.
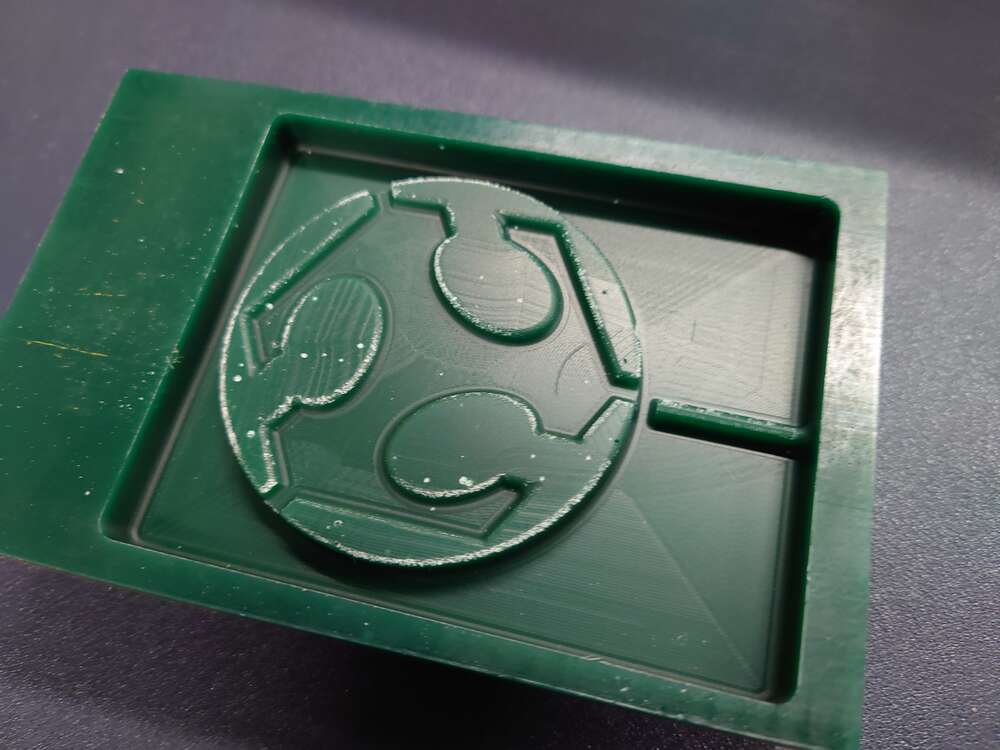
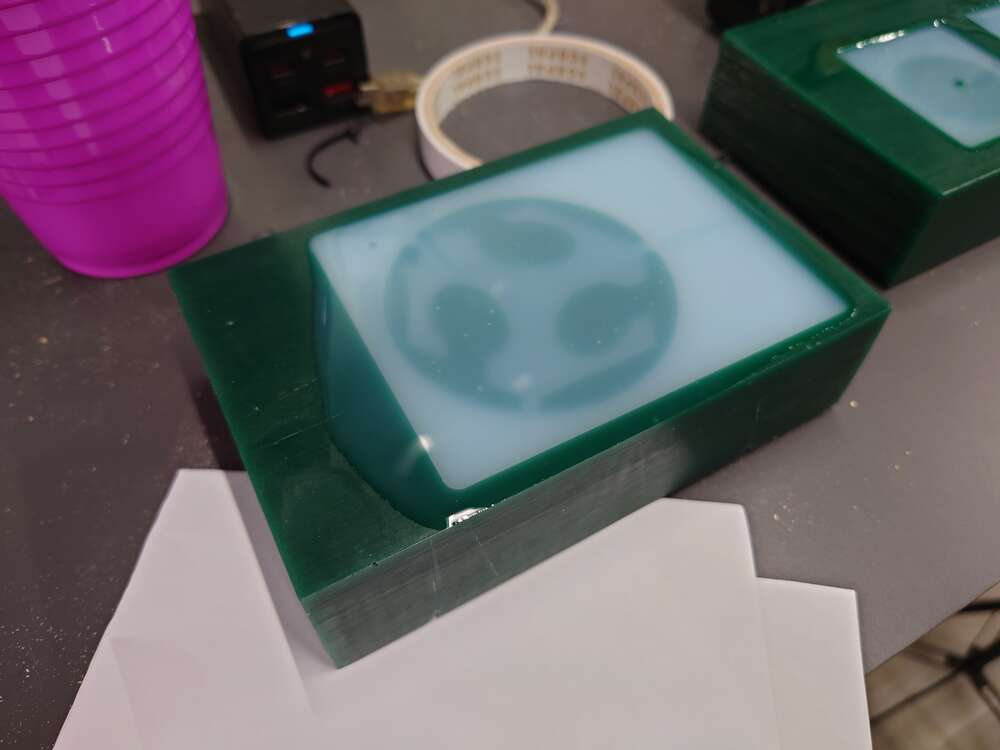 Left the mold for 24 hours according to the datasheet. I took it from the wax mold.
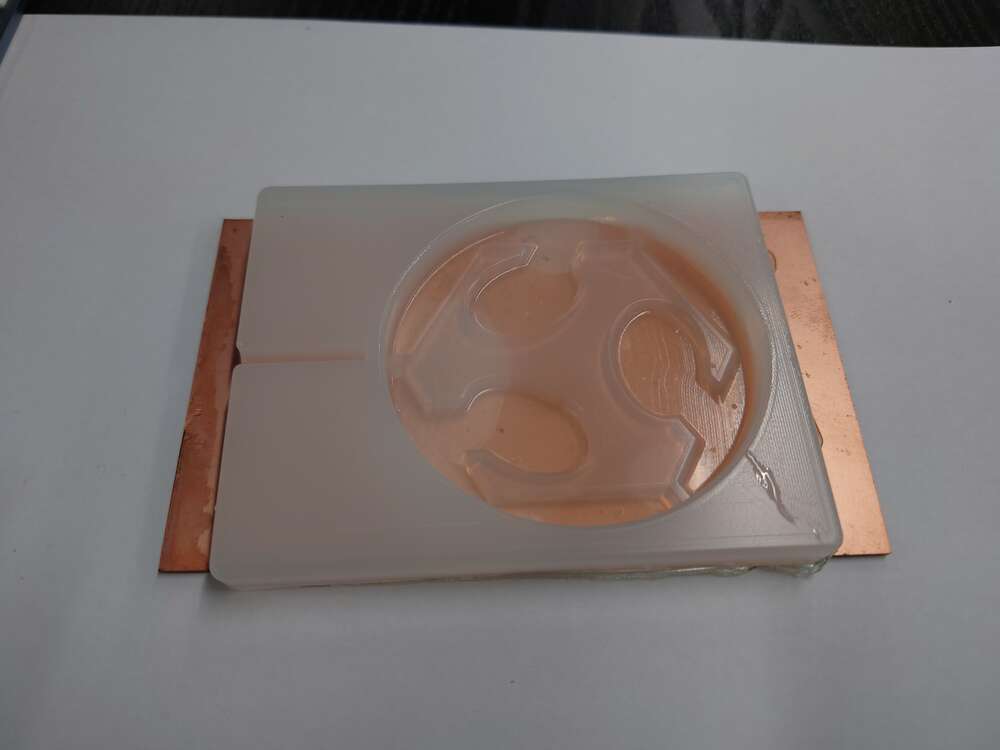 The silicone I used was soft like jelly, So I used a PCB to support it.
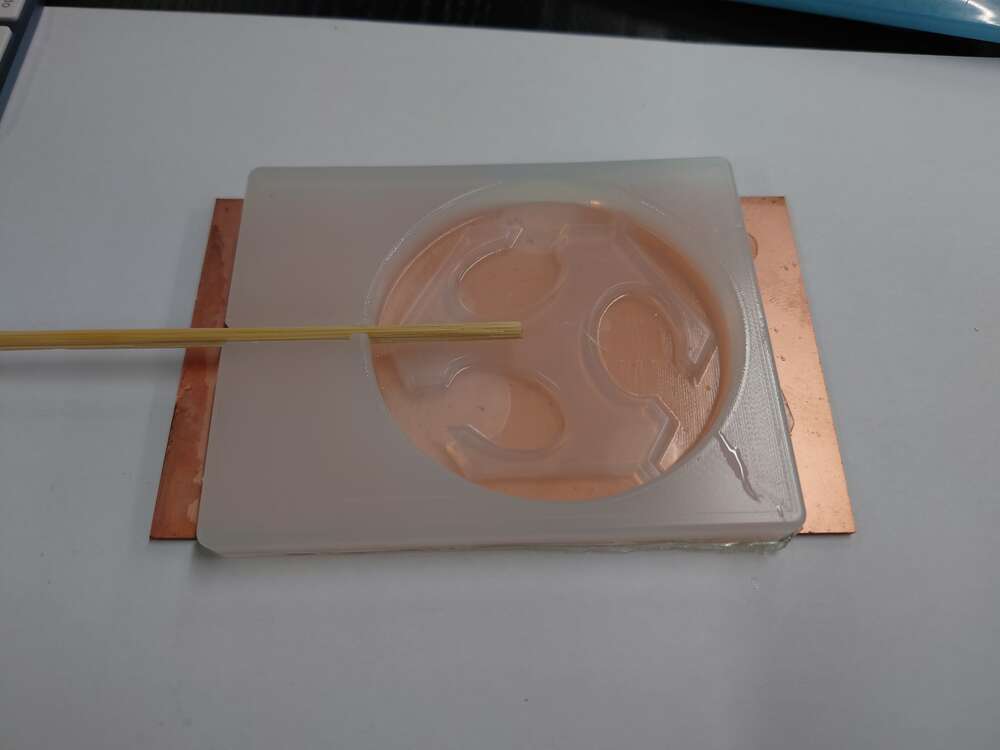 Then I put a bamboo stick in to the slot. The wall between the round body and slot was cut with a scissor. This allows the stick “sink” into the wall.
Making the Chocolate Lollipop
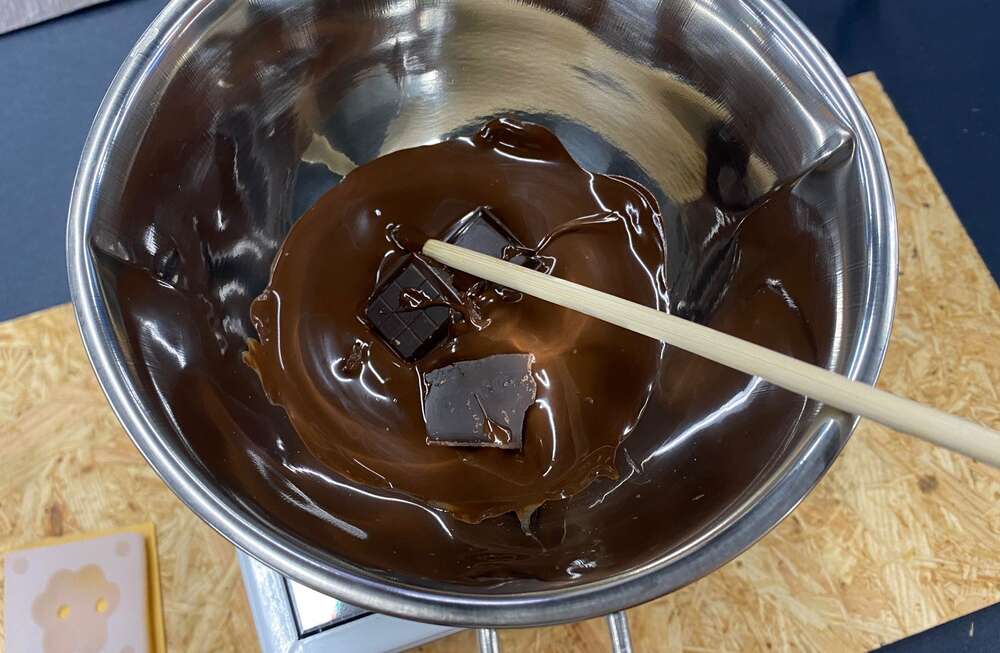 I heat up the chocoloate blocks to around 80 degrees C, the chocolates are provided by Jason.
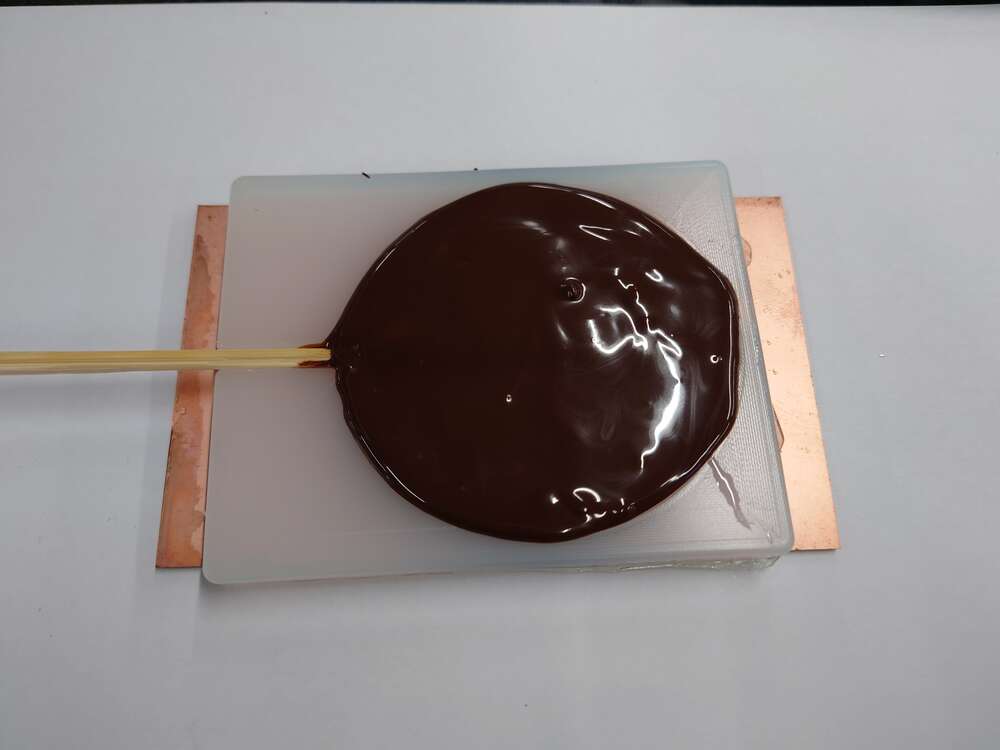 Pour into the mold and left it for 30 minutes. Put it into the freezer reduces it set time.
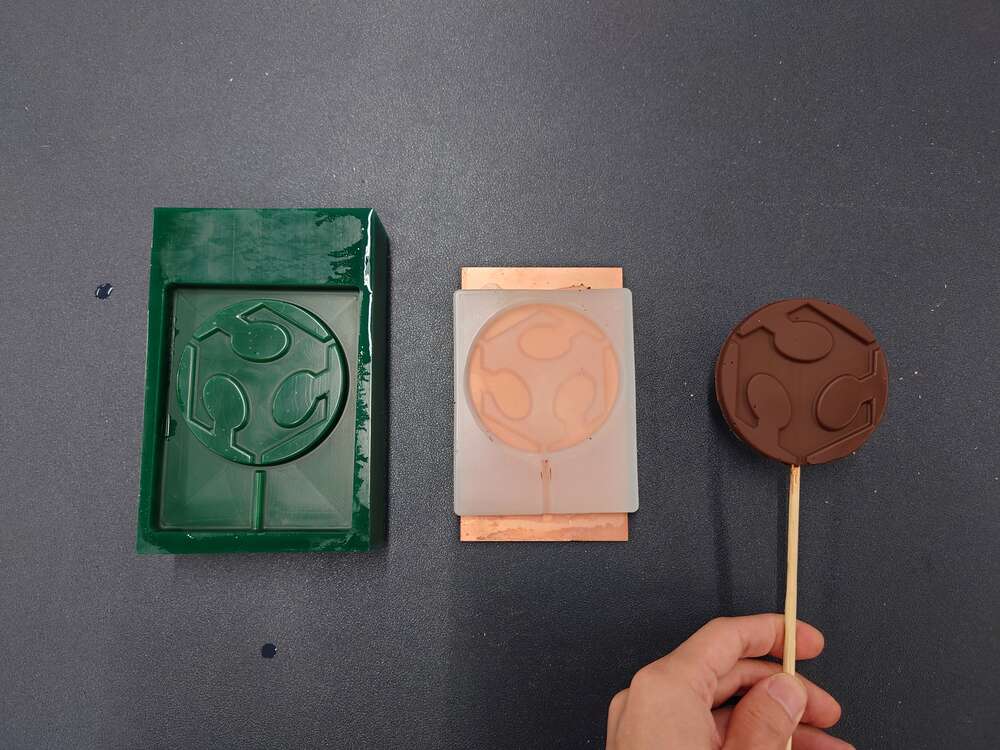
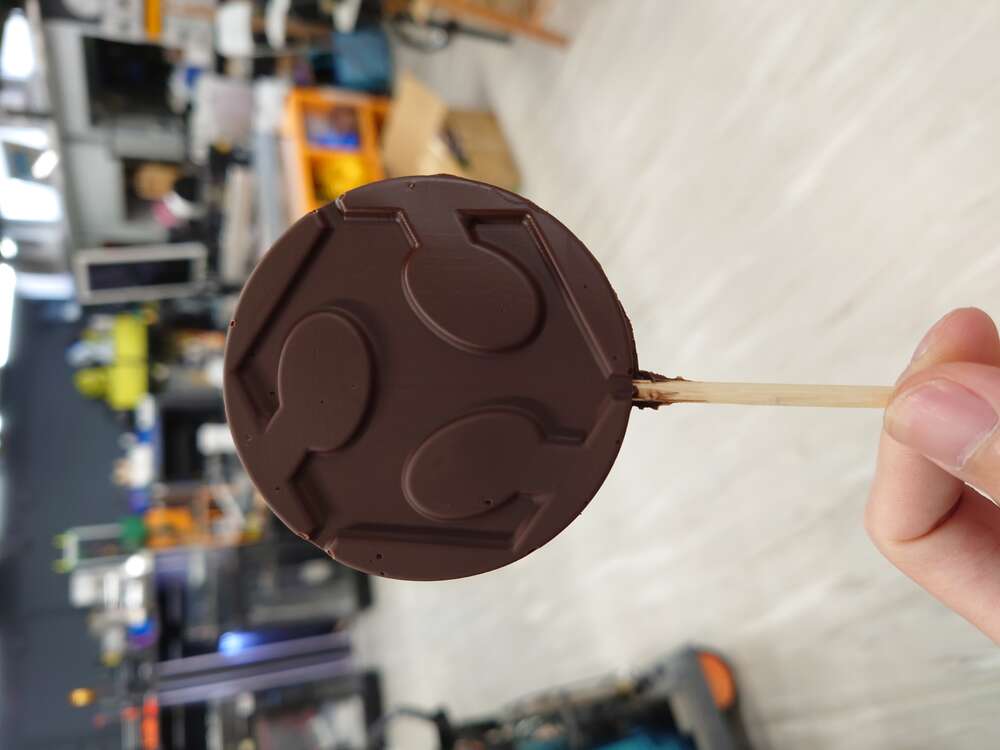 The outcome. Fab Lollipop made with chocolate. Seems tasty, but I didn’t eat it because I did not use food making standards during the process.