12. Molding and Casting
This is the assessment for this module:
Group assignment
- Review the safety data sheets for each of your molding and casting materials
- Make and compare test casts with each of them.
Individual assignment
- Design a 3D mold around the stock and tooling that you’ll be using, mill it (rough cut + (at least) three-axis finish cut), and use it to cast parts.
Individual assignment
For this week I want to try this method for creating my balls for the marble track I am doing as the final project. I need to obtain empty spheres so that I can place an RFID tag into each of them, so I am going to mold two empty semi spheres and then I am going to need some glue.
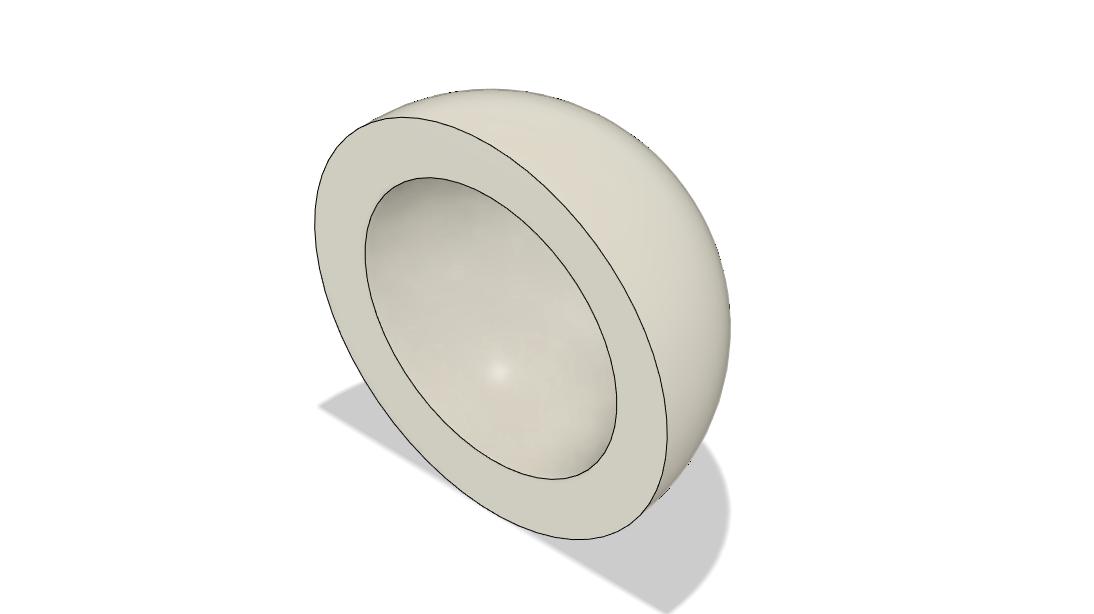
This is what the casted object should look like:
Design the mold
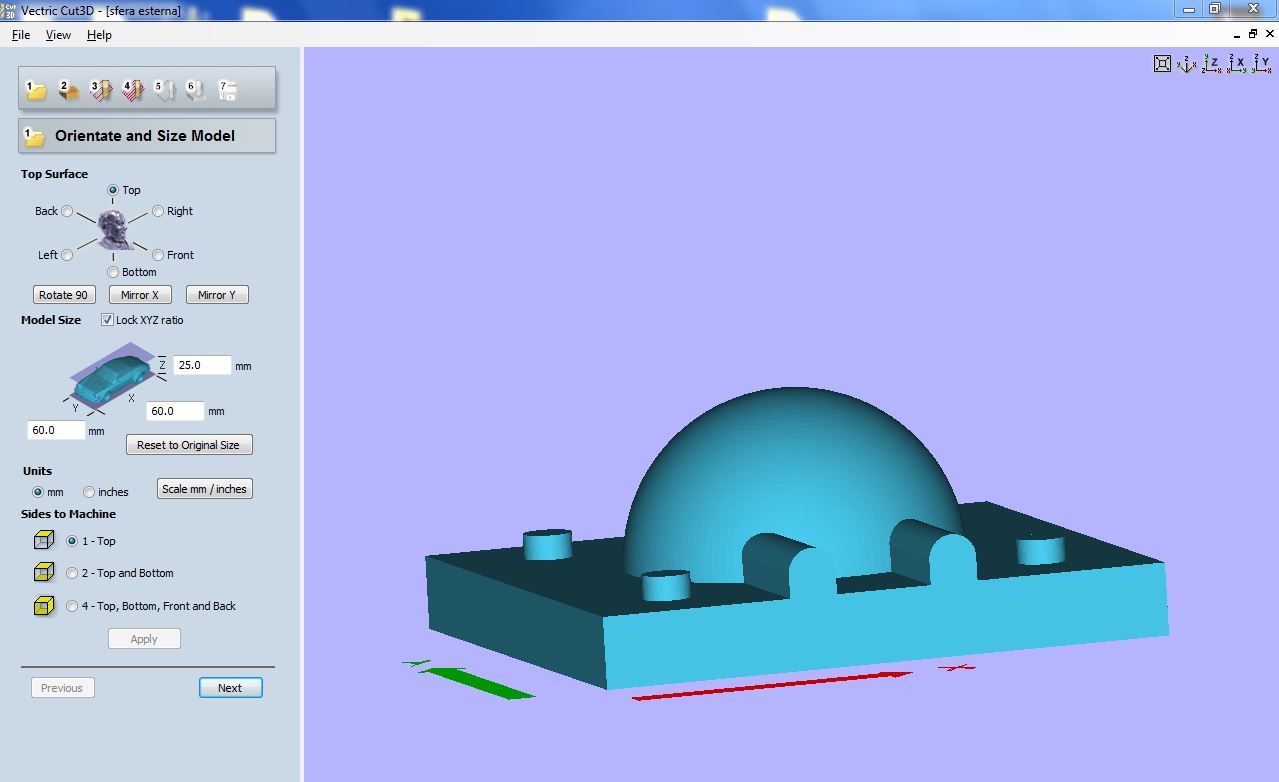
This are the molds I made on Fusion360. There are two components: a bigger sphere, which is going to be the external one, and a small sphere that creates the empty room below the external surface.
Here are the two models I made and loaded on Sketchfab:
You can download the stl files here:
Milling the wax mold
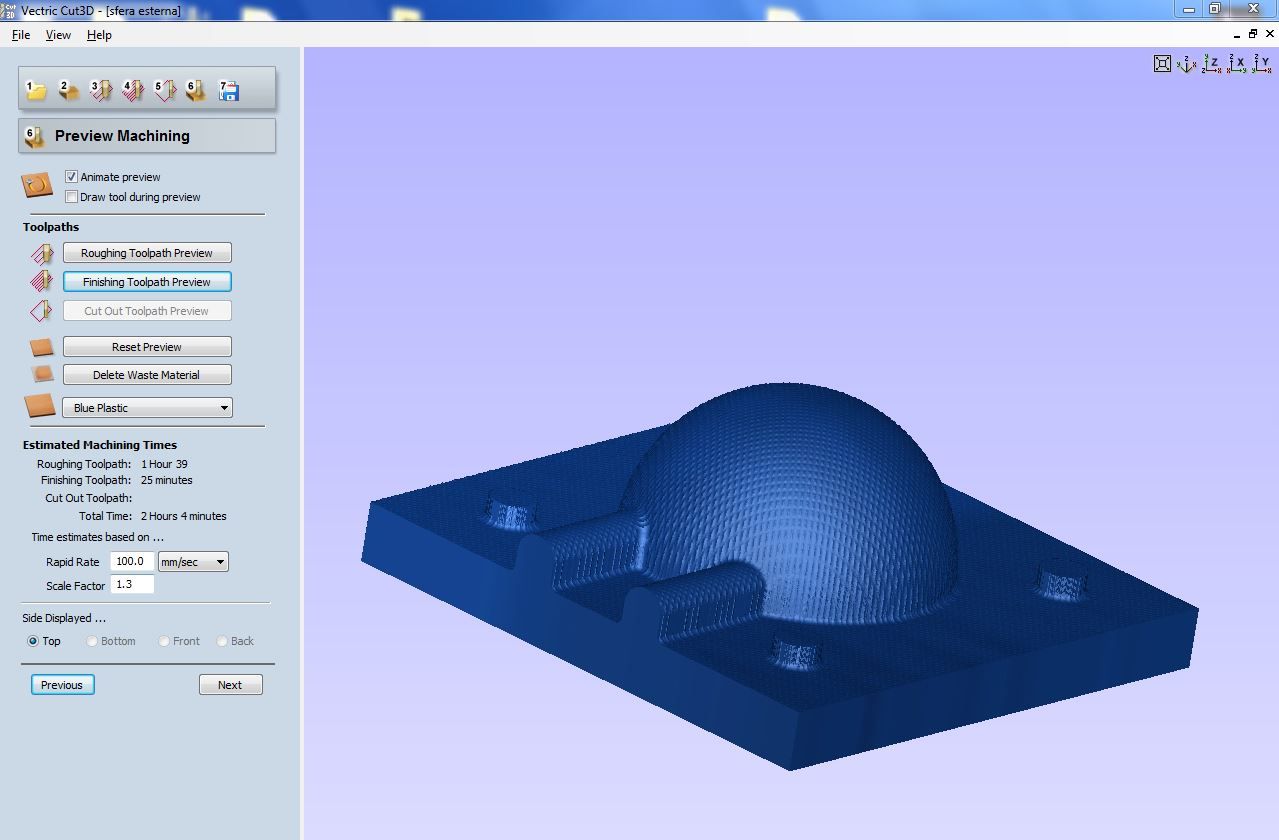
This part of the module has been one of the loudest, at night I can still hear the Roland SRM-20 milling the wax tablet for hours and hours.
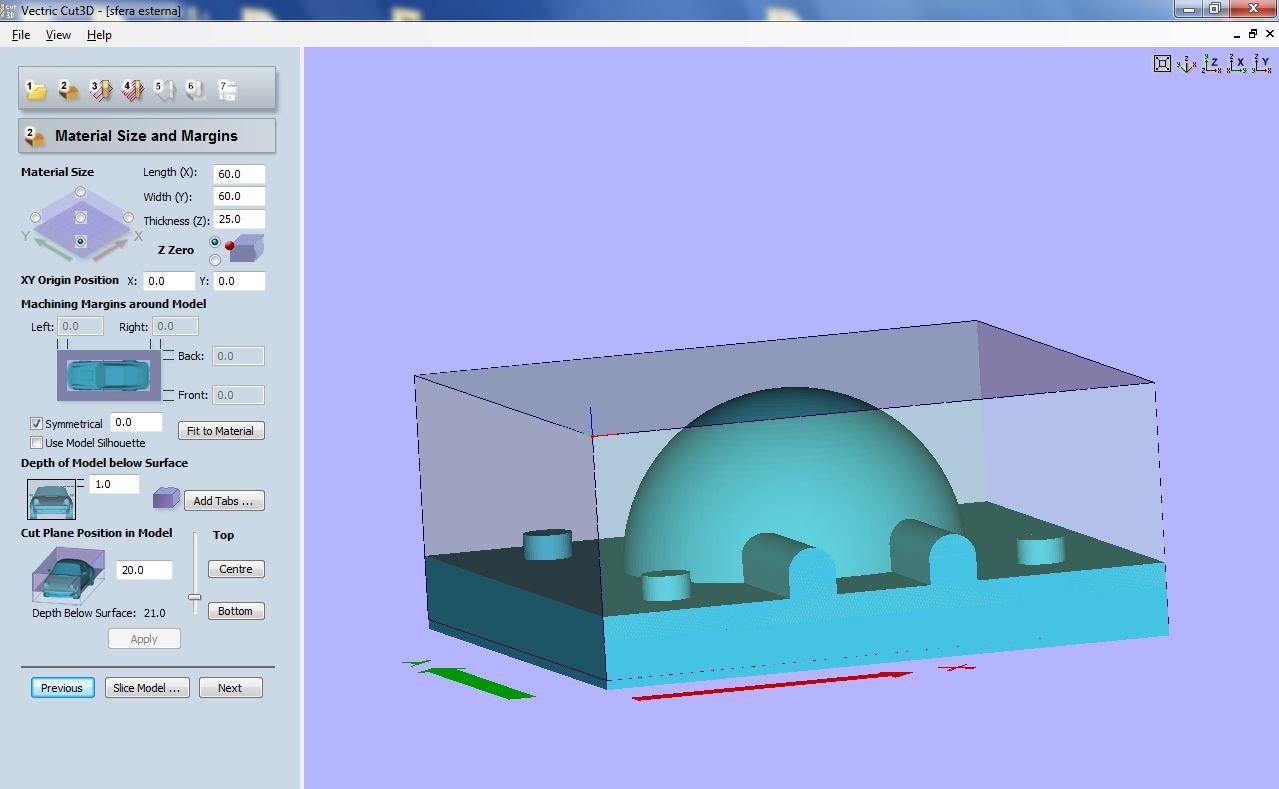
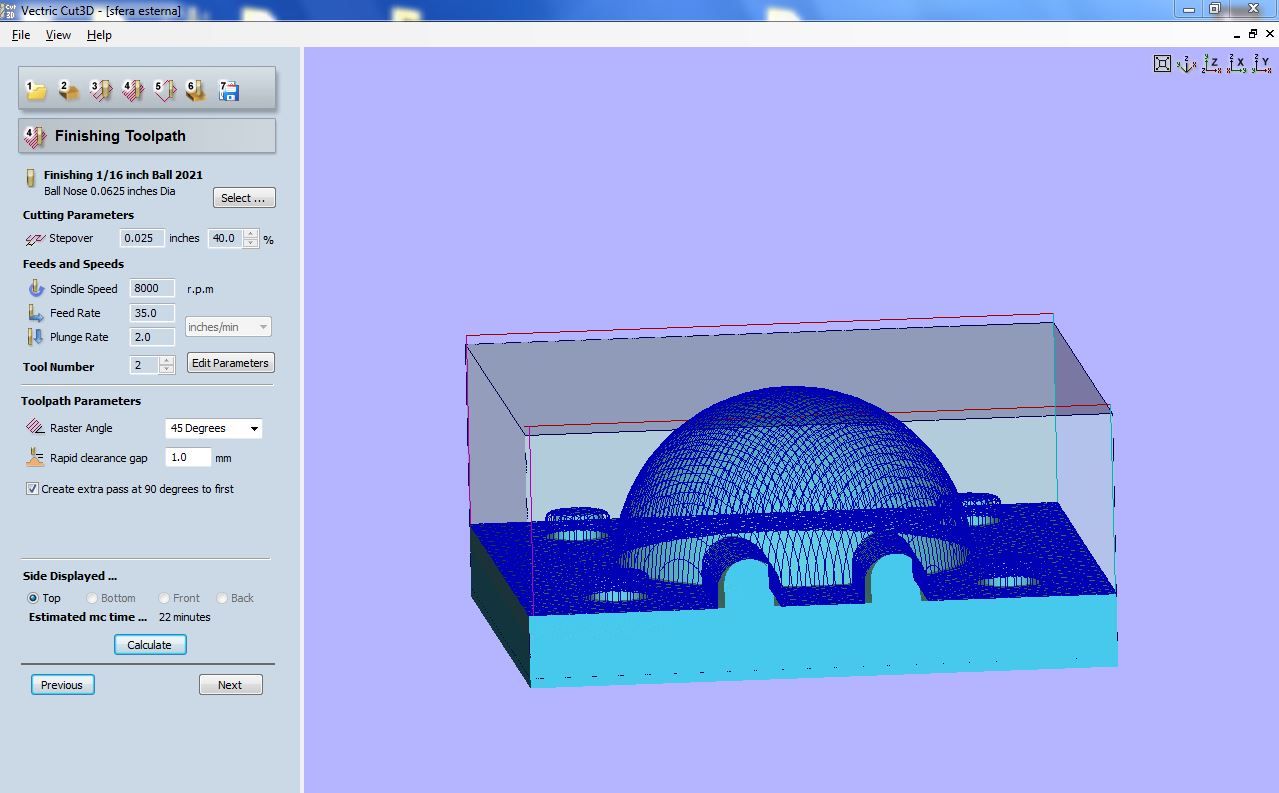
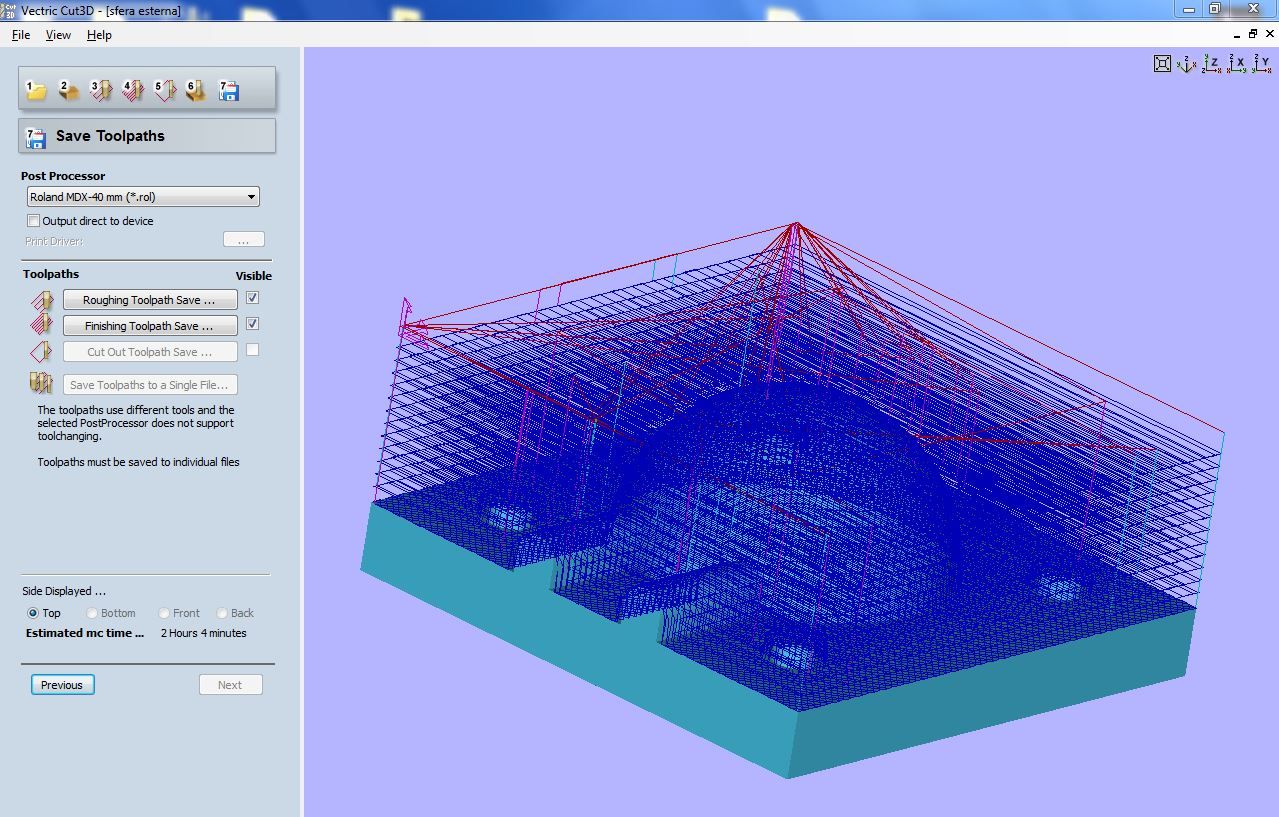
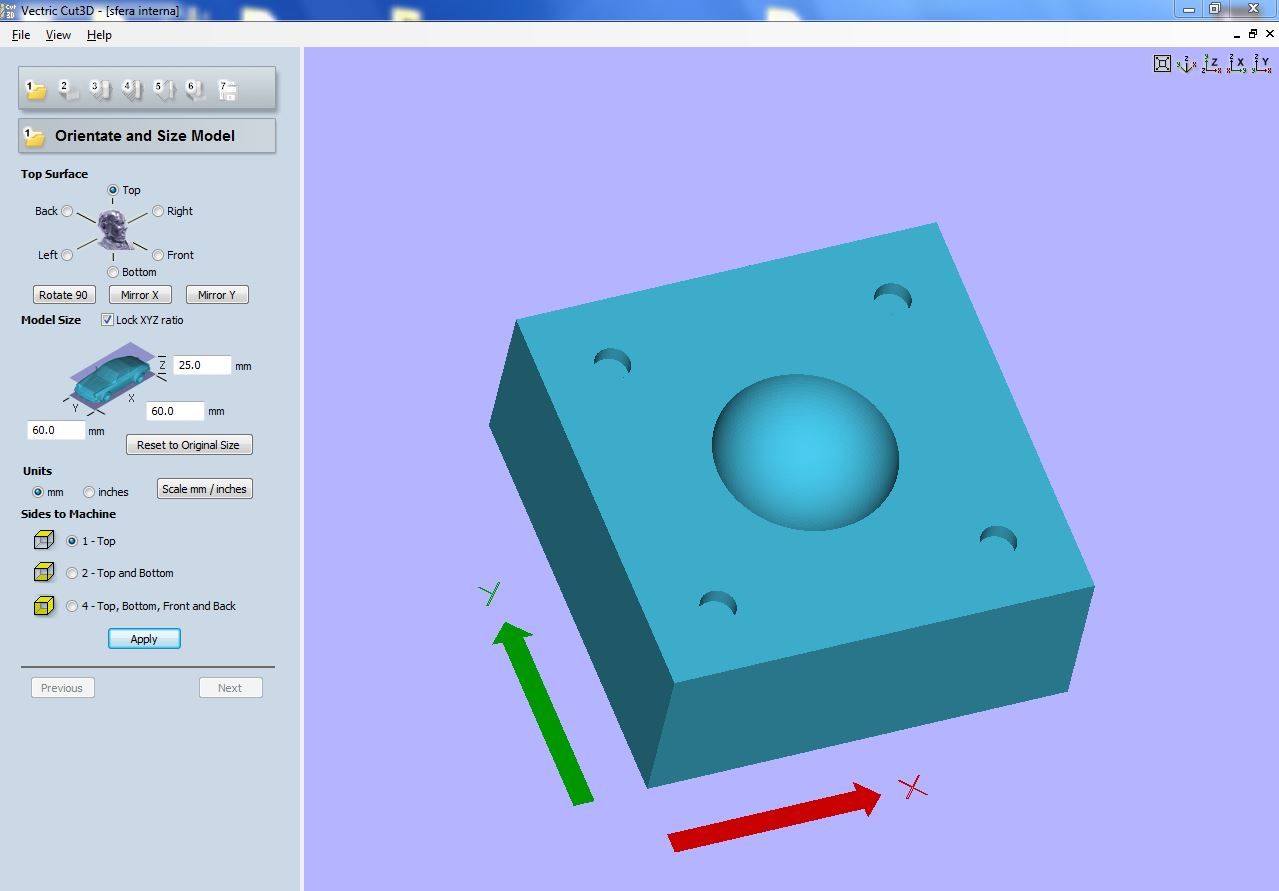
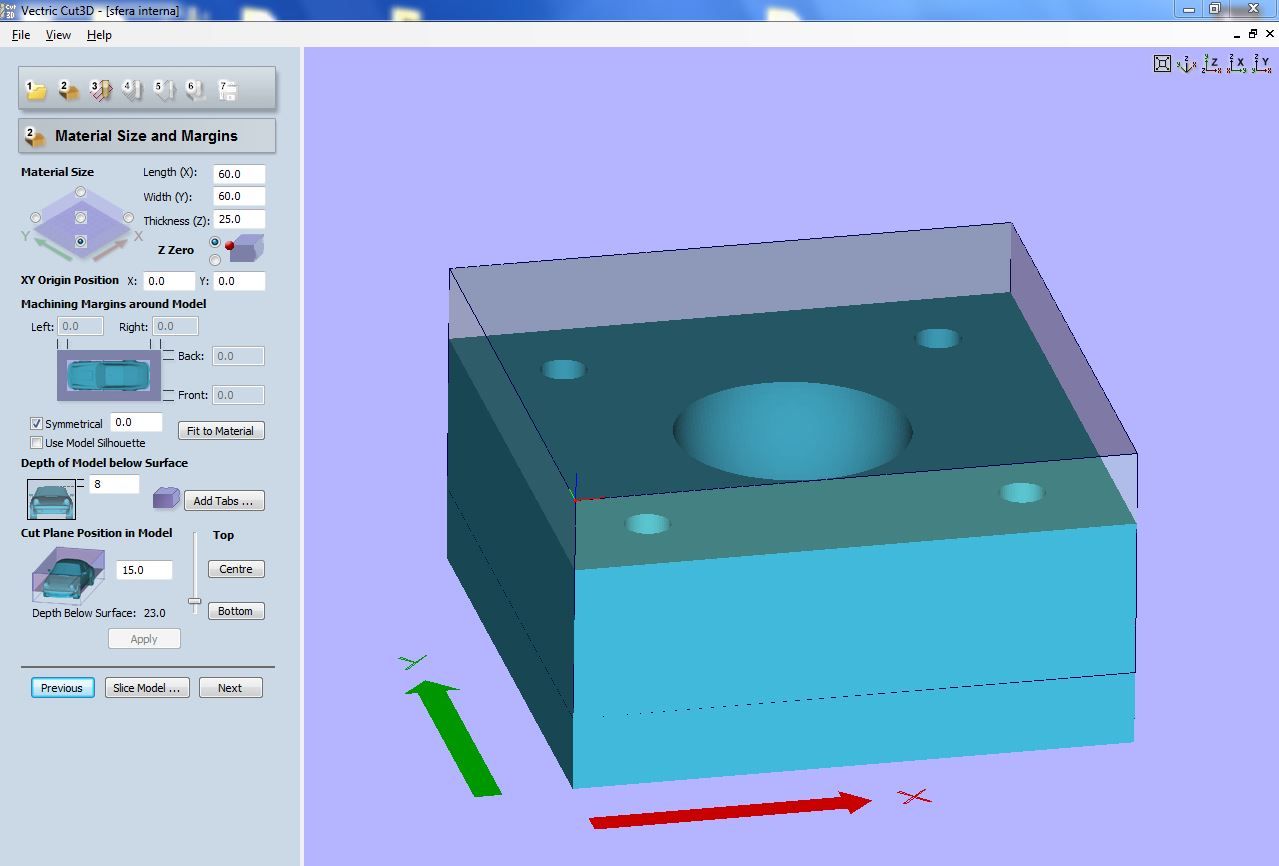
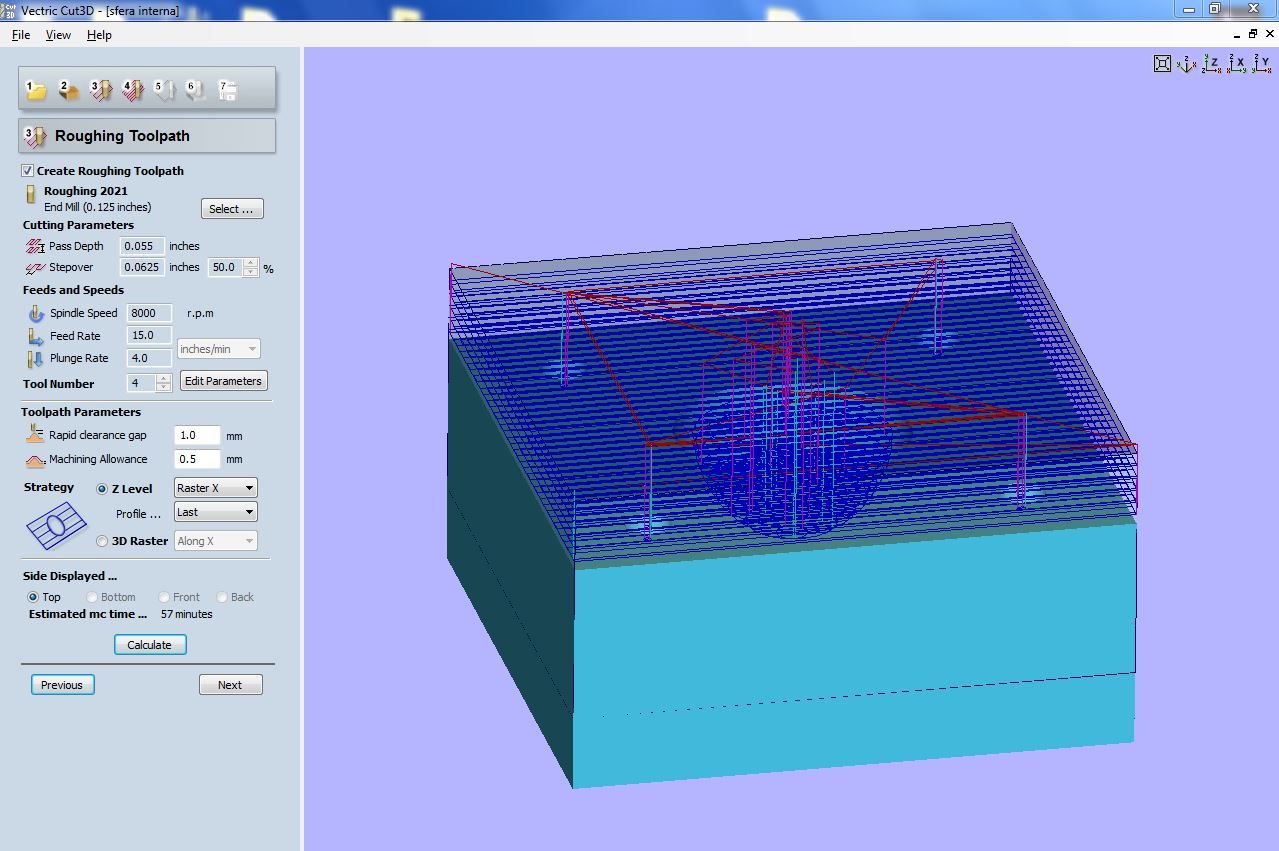
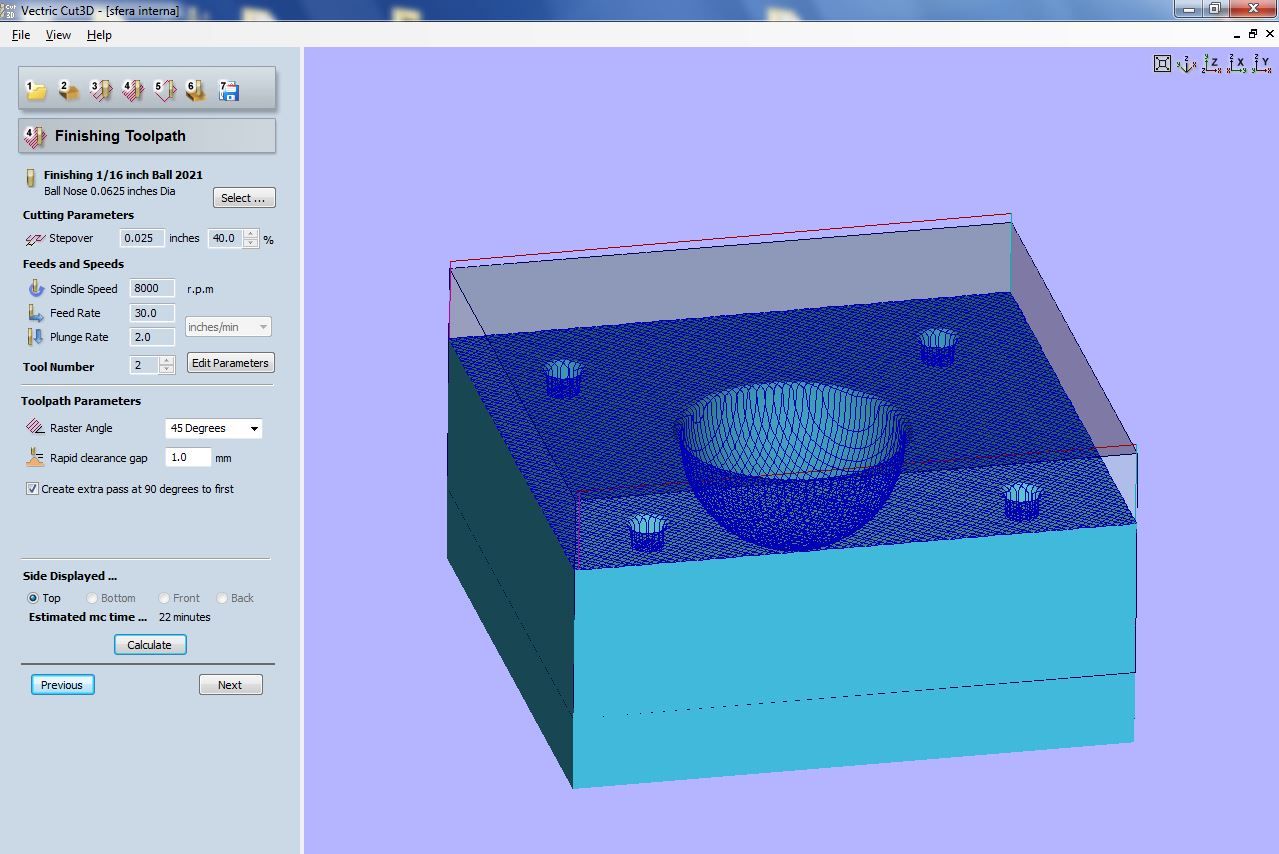
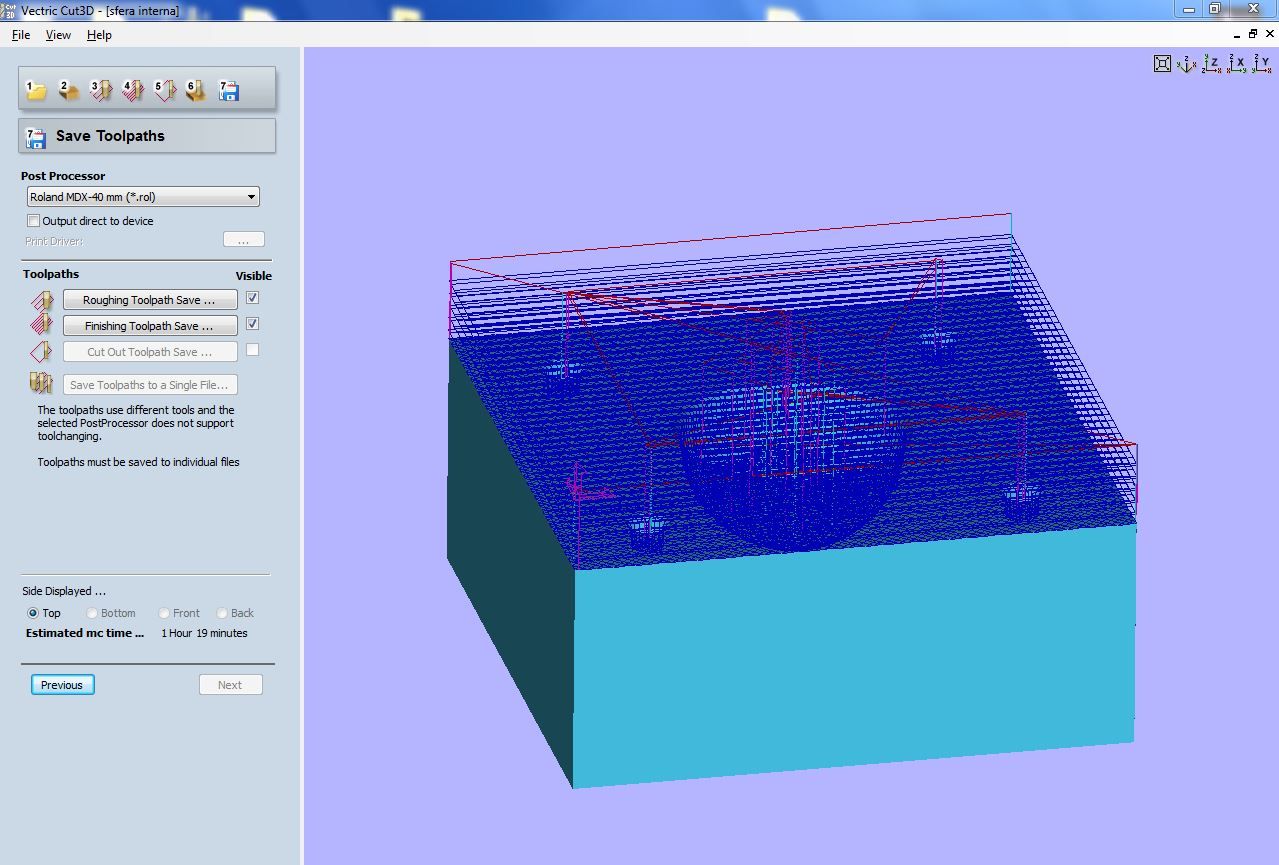
I used CUT 3D to obtain the files for the milling machine. Since I made two different stl files, I had to mill separately the molds.
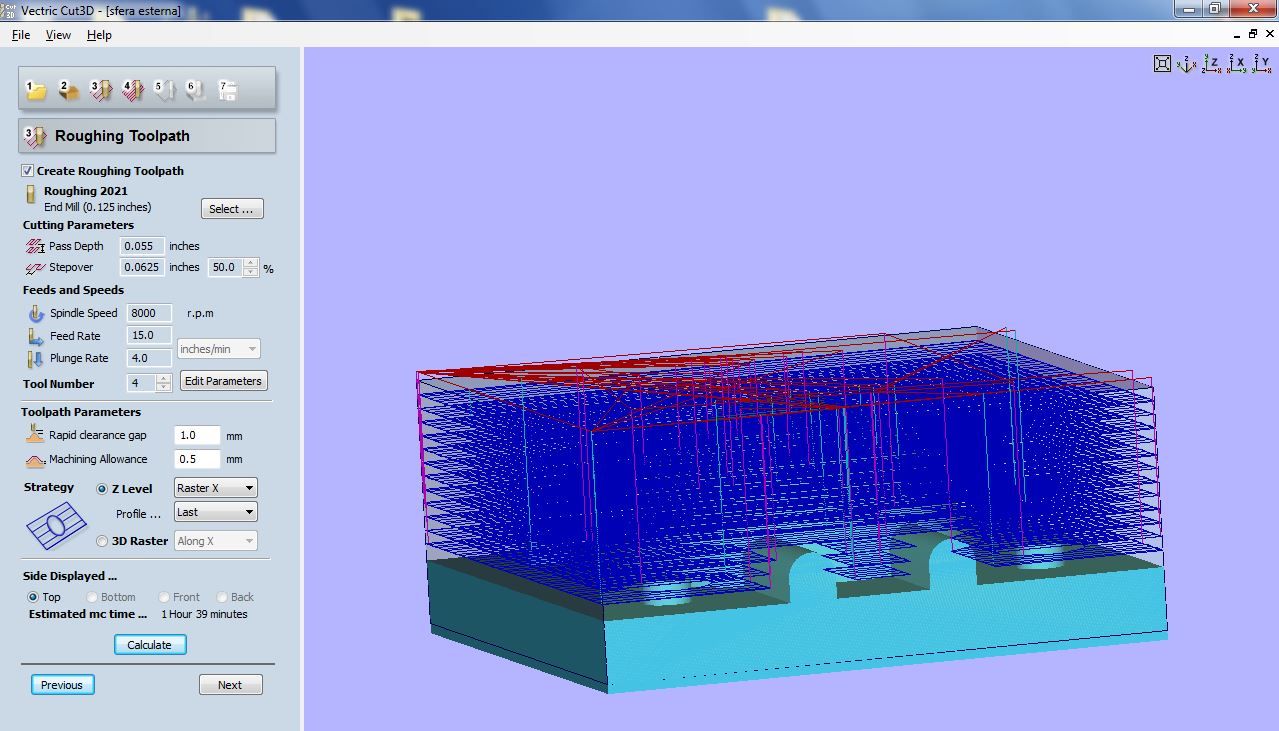
These are the mill settings:
1/8 Flat Nose
- Feed rate: 15 in/min
- Stepover: 50%
- Plunge rate: 4 in/min
- Spindle speed: 8000 rpm
- Max pass depth: 0.055 inches
- Tools n: 4
1/16 Ball Nose
- Feed rate: 35 in/min
- Stepover: 40%
- Plunge rate: 2 in/min
- Spindle speed: 8000 rpm
- Tools n: 2
Here are the complete settings for the external sphere on CUT 3D:
Here are the complete settings for the internal sphere on CUT 3D:
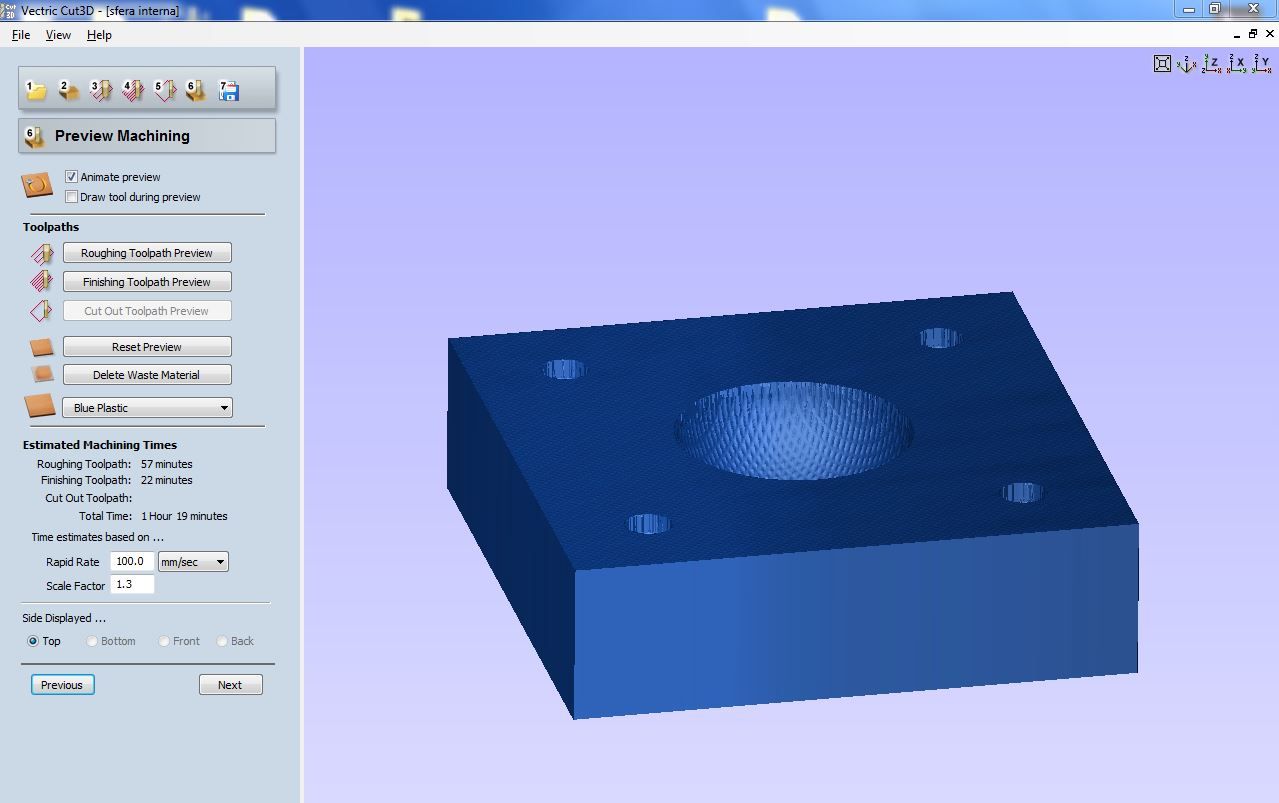
The whole process took 4 hours, this is the final result:
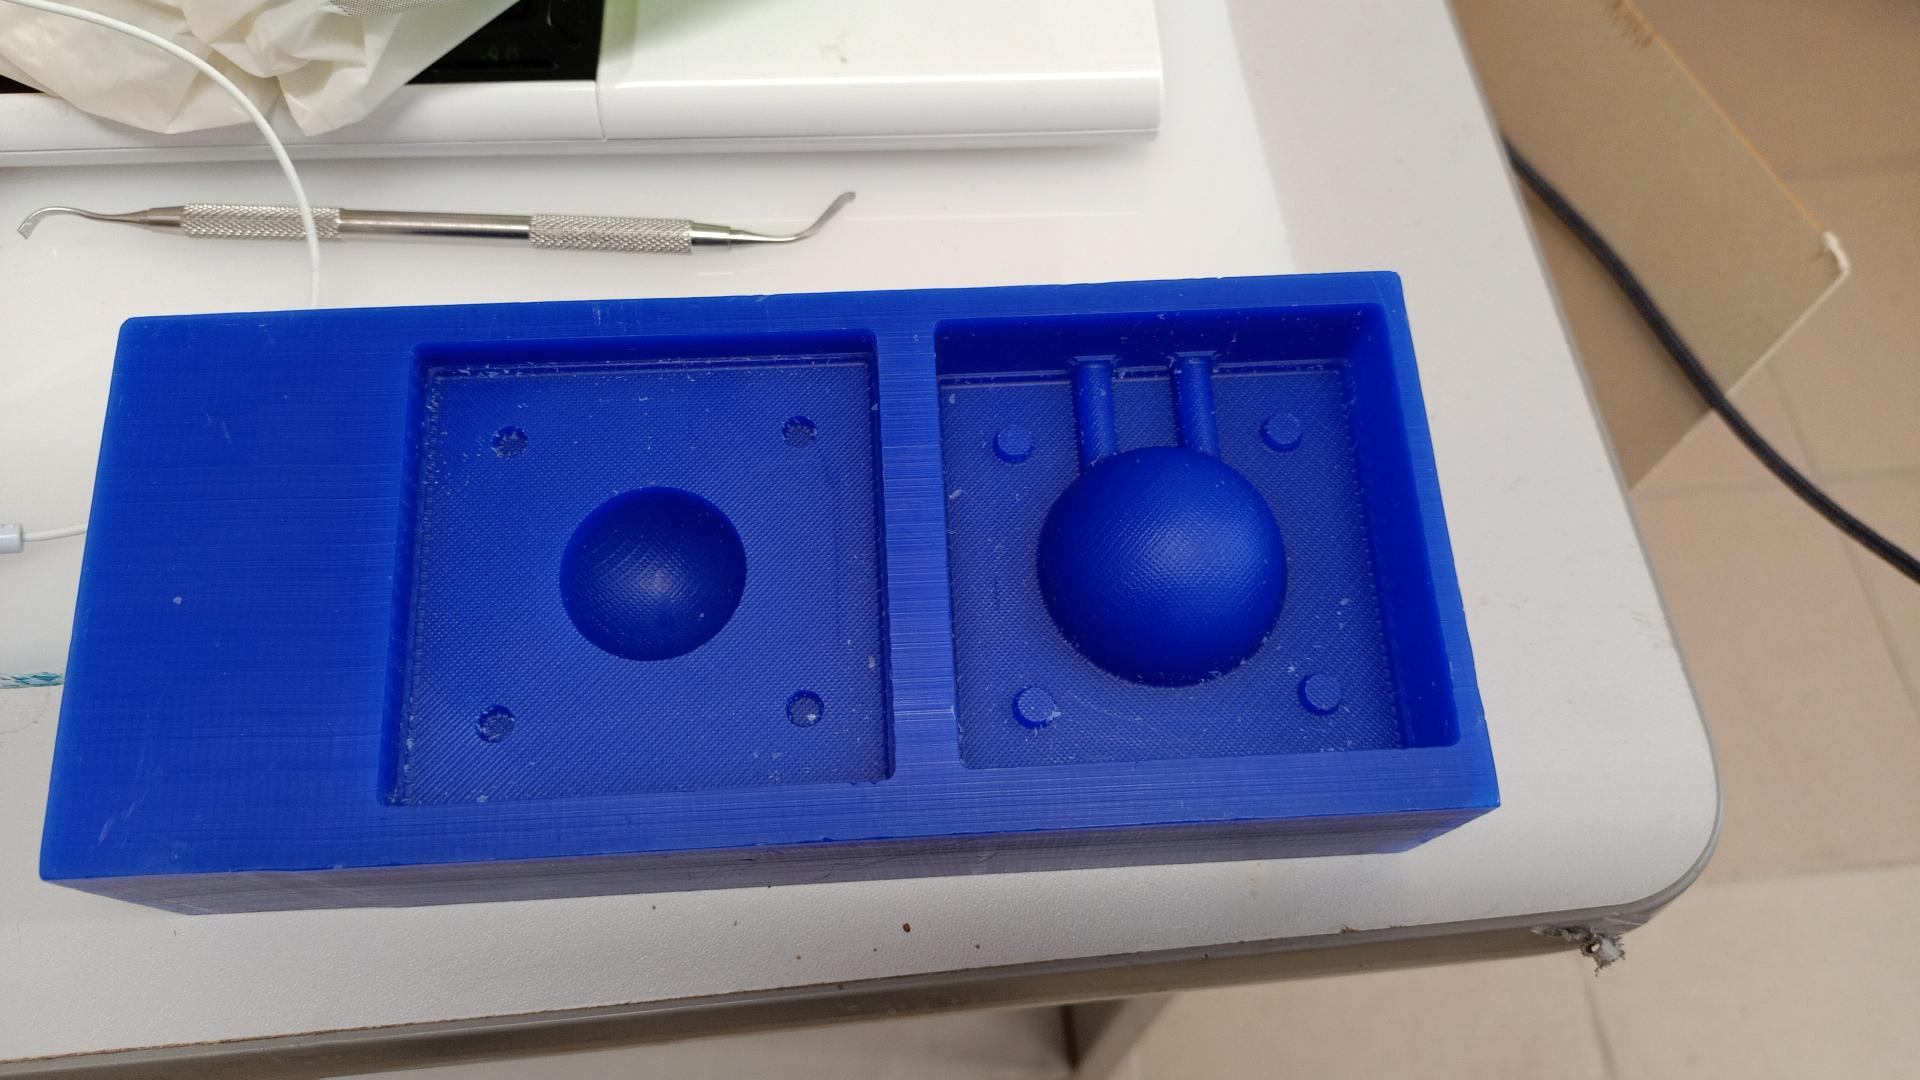
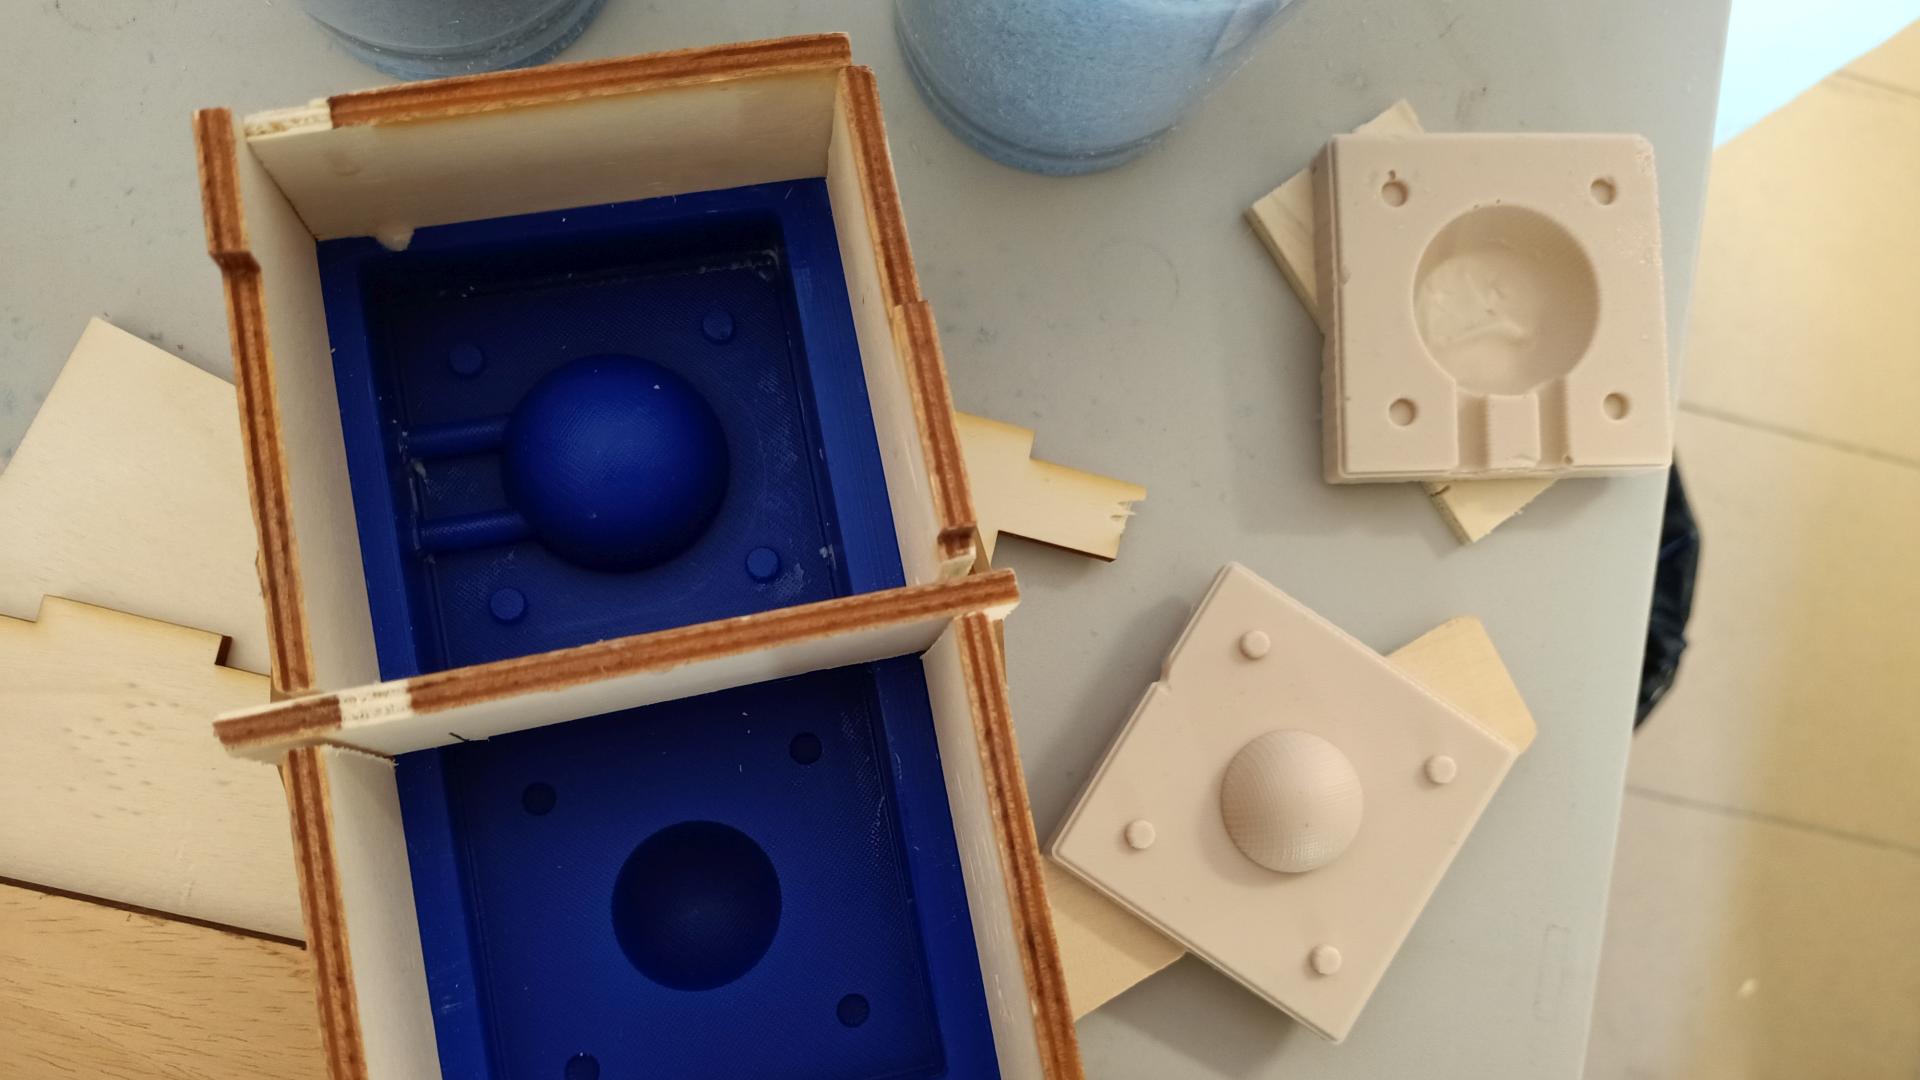
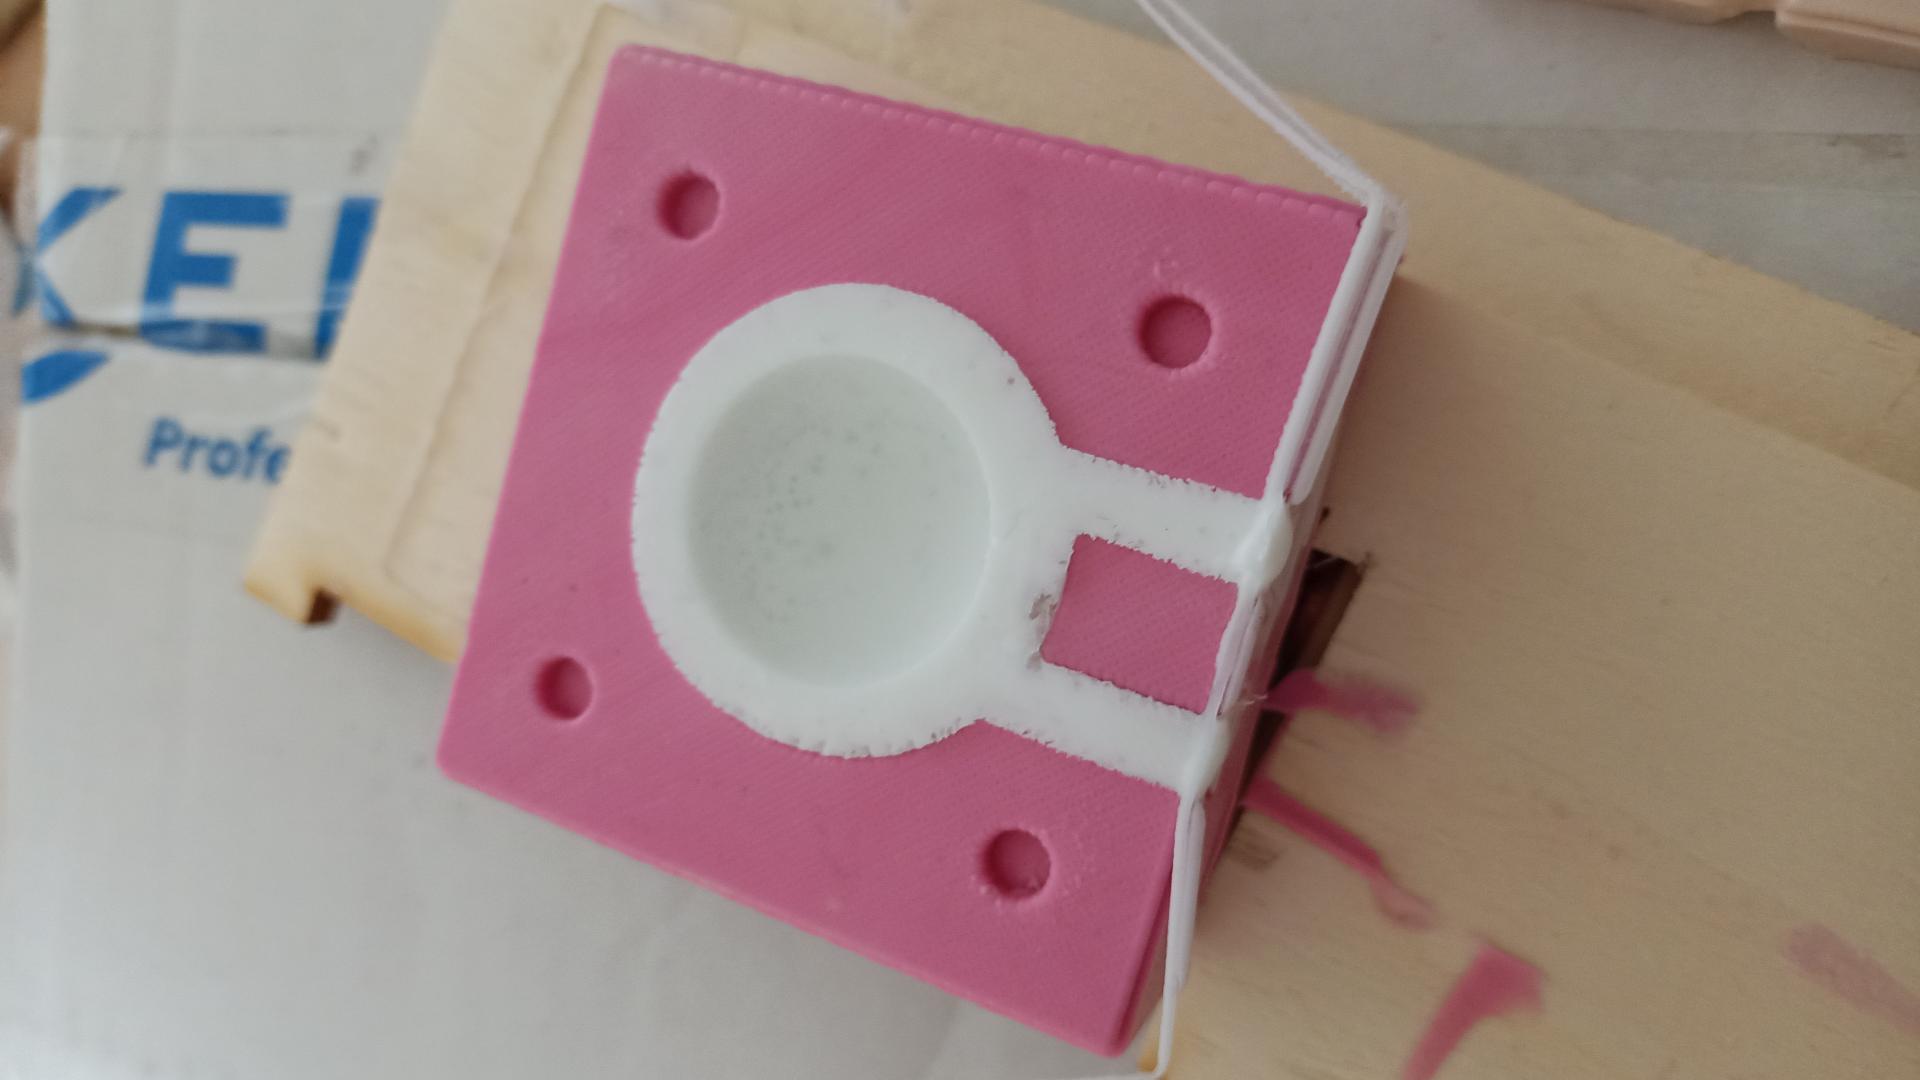
I should have raised the top surface on the external sphere mold, but I didn’t. So I had to cut some wood and make an external frame for the silicone pouring process.
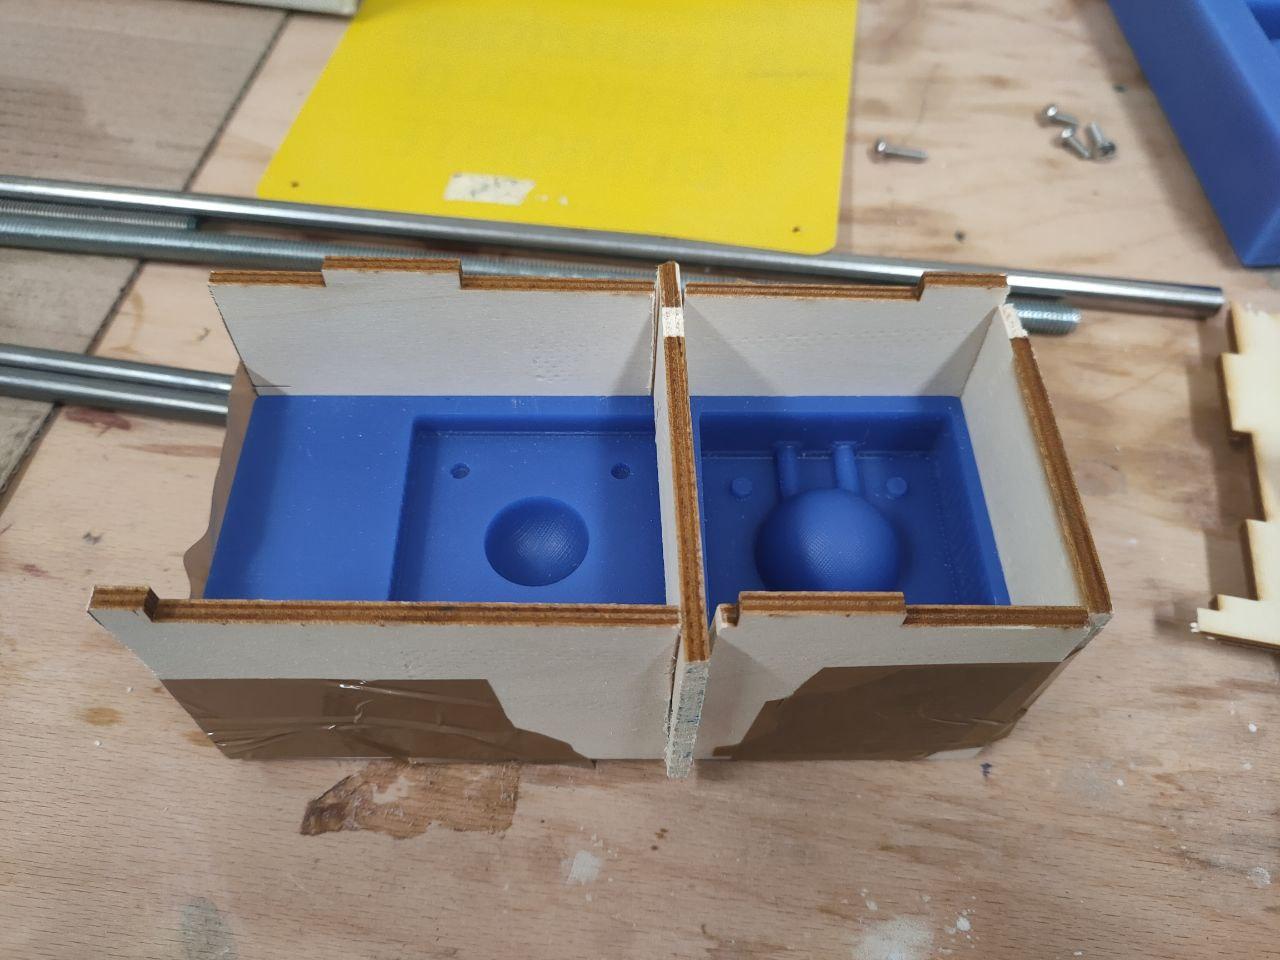
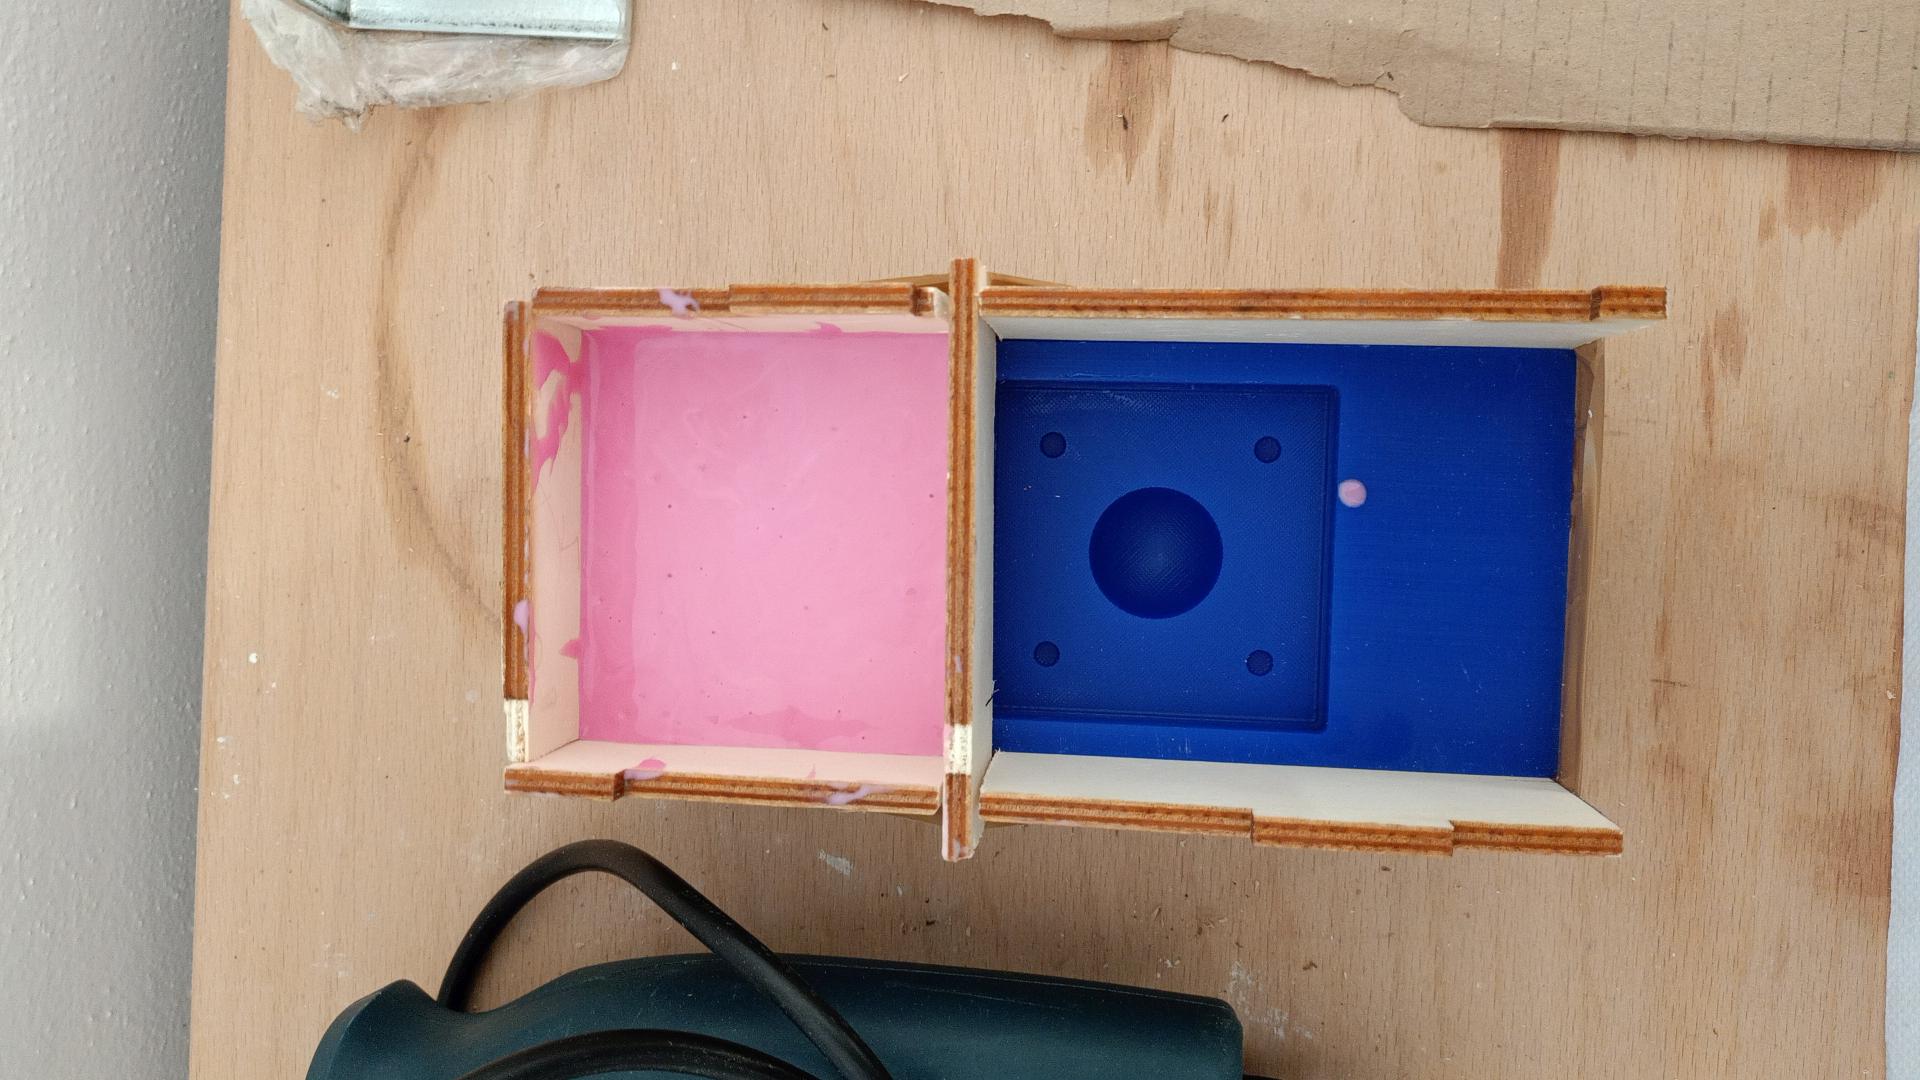
Pouring Silicone inside the mold
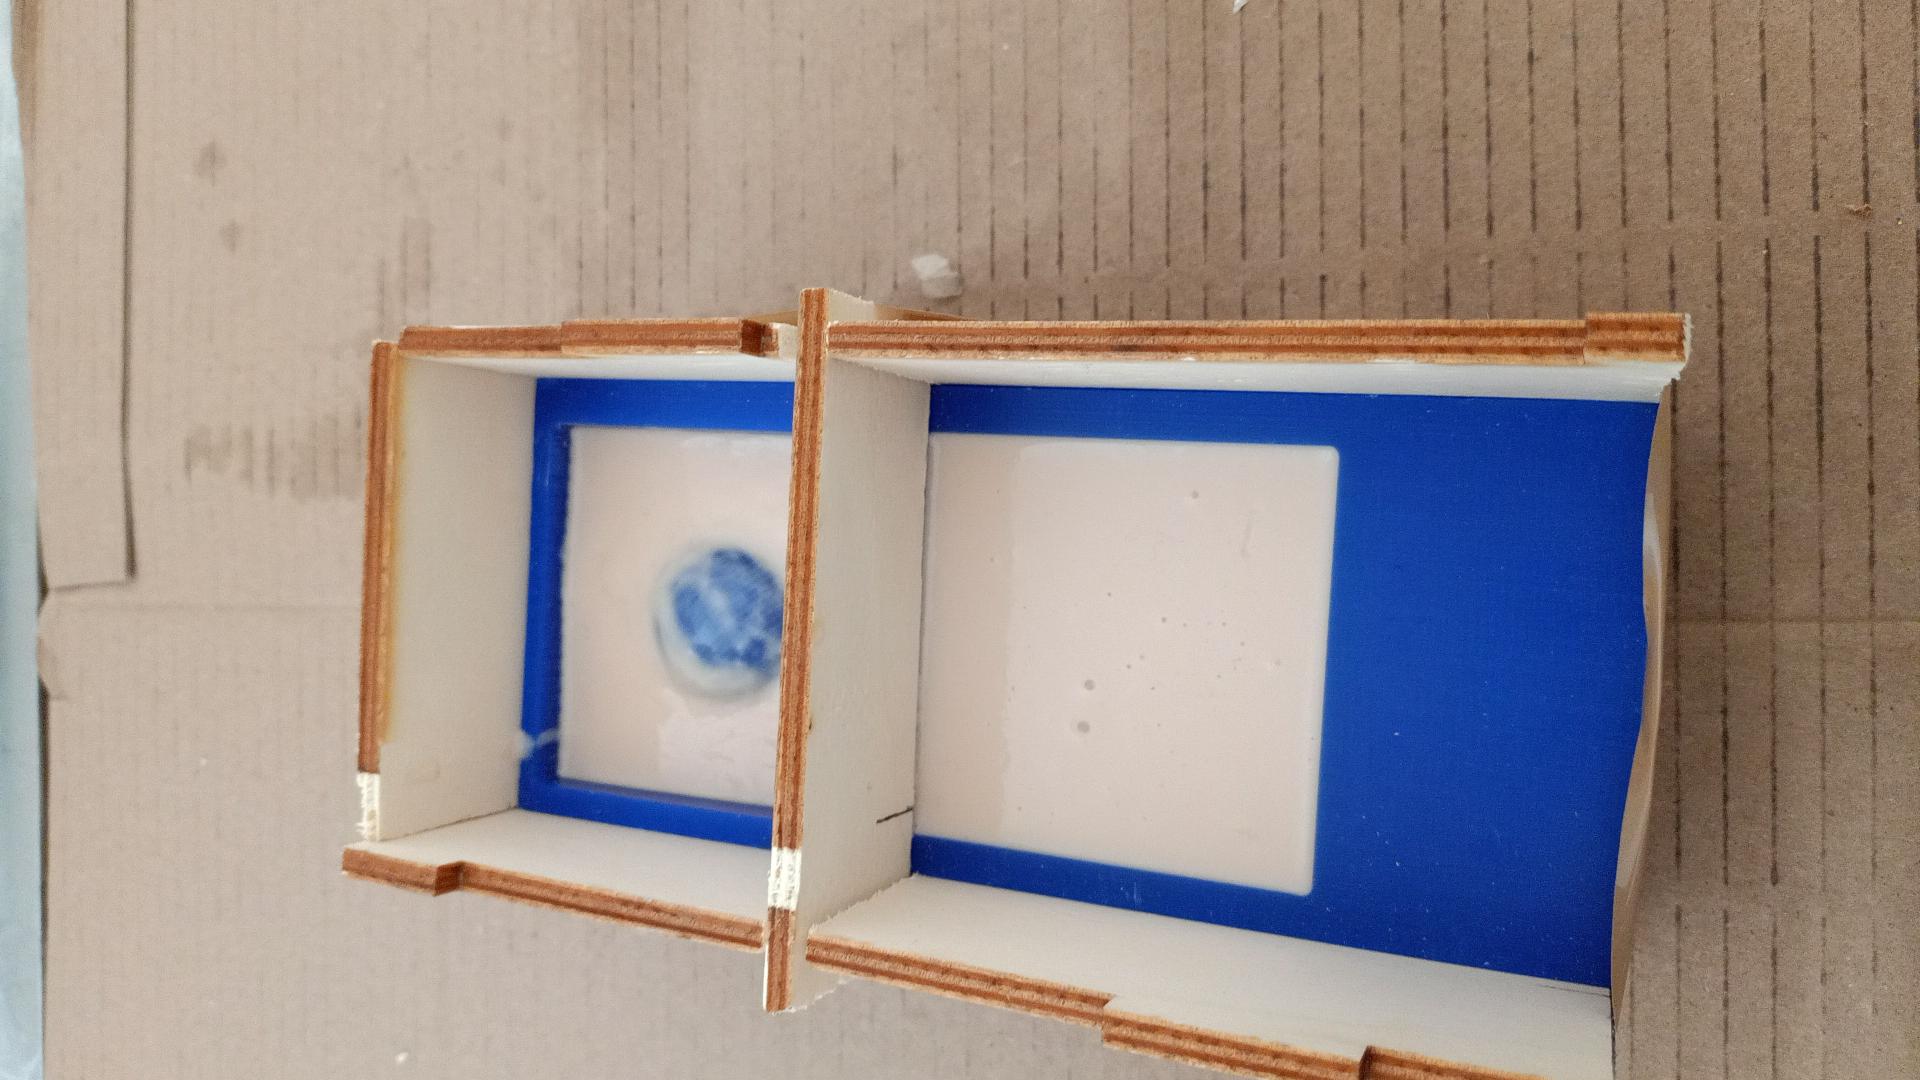
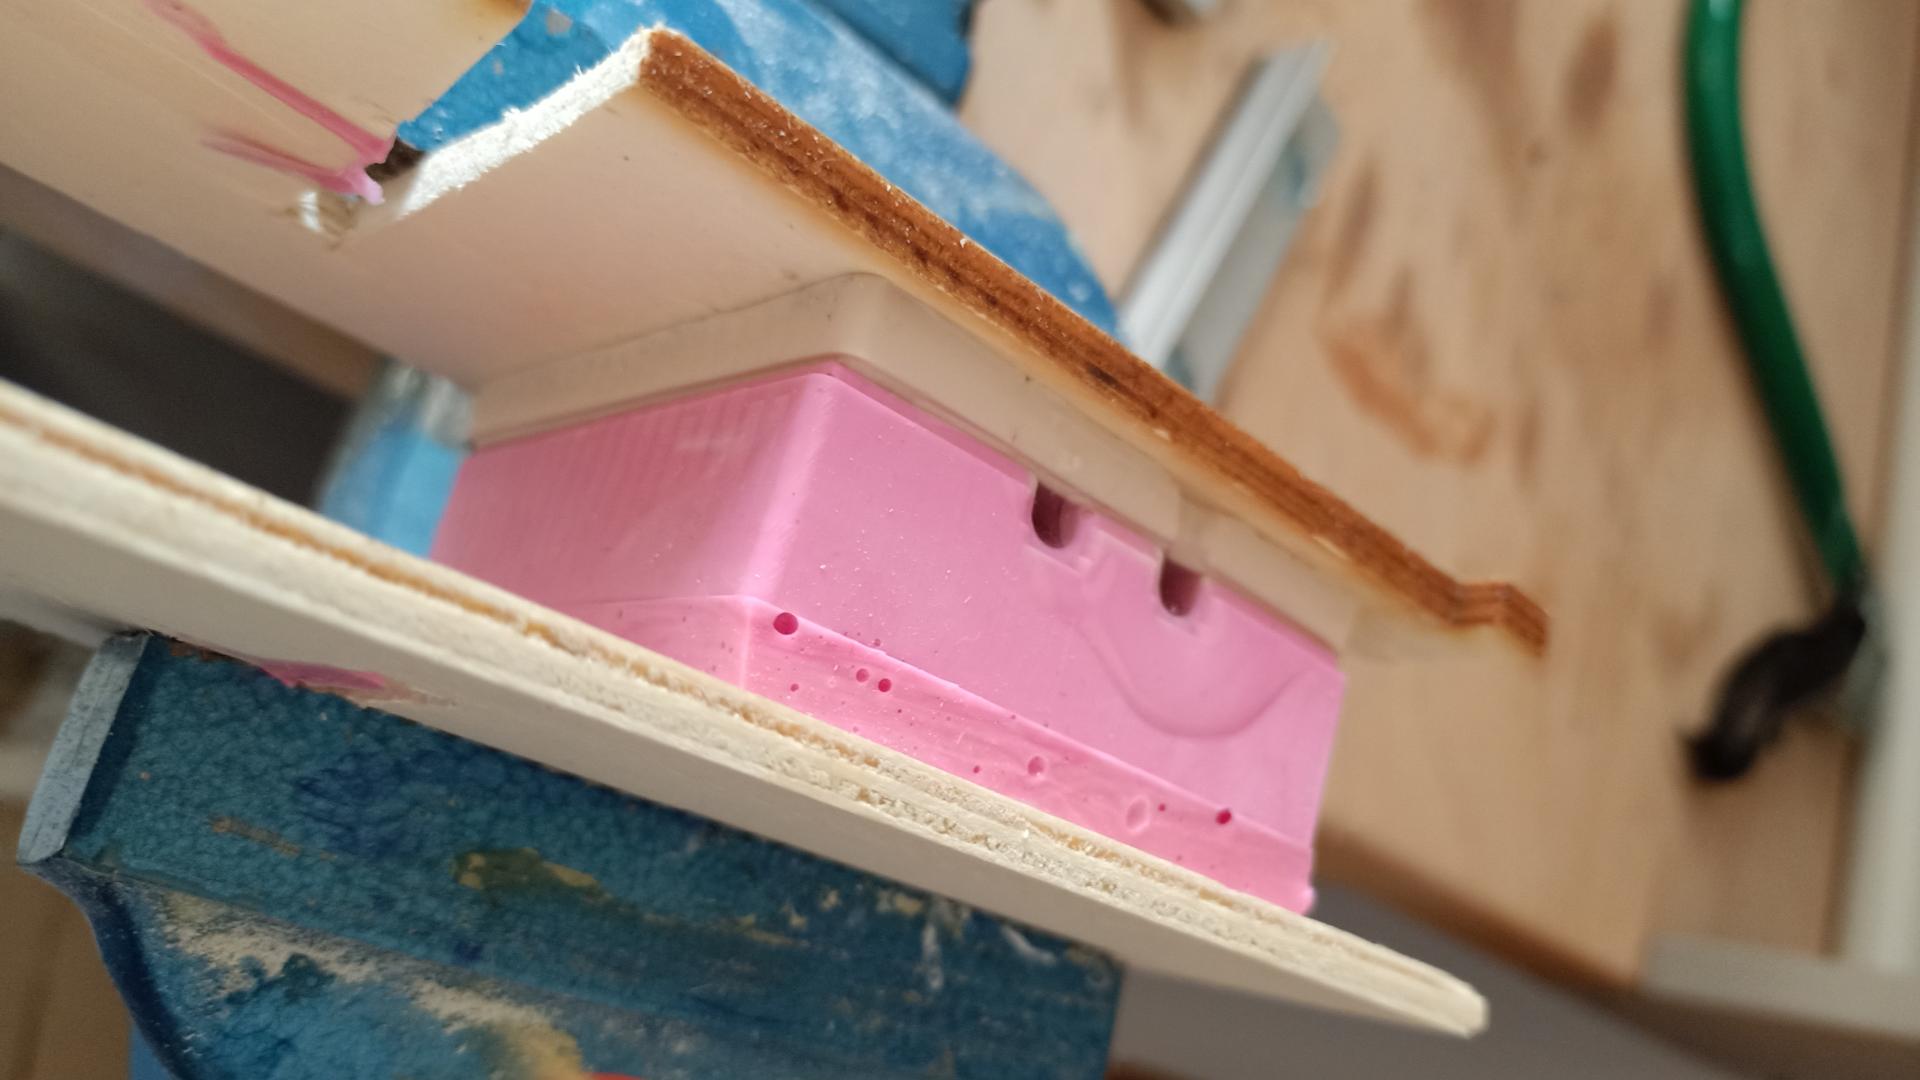
I had to do this process twice, since for the first attempt I did not use enough material. As you can see below the silicone was not enough and 24 hours later it still had some drying issues. This is what came out from the first attempt:
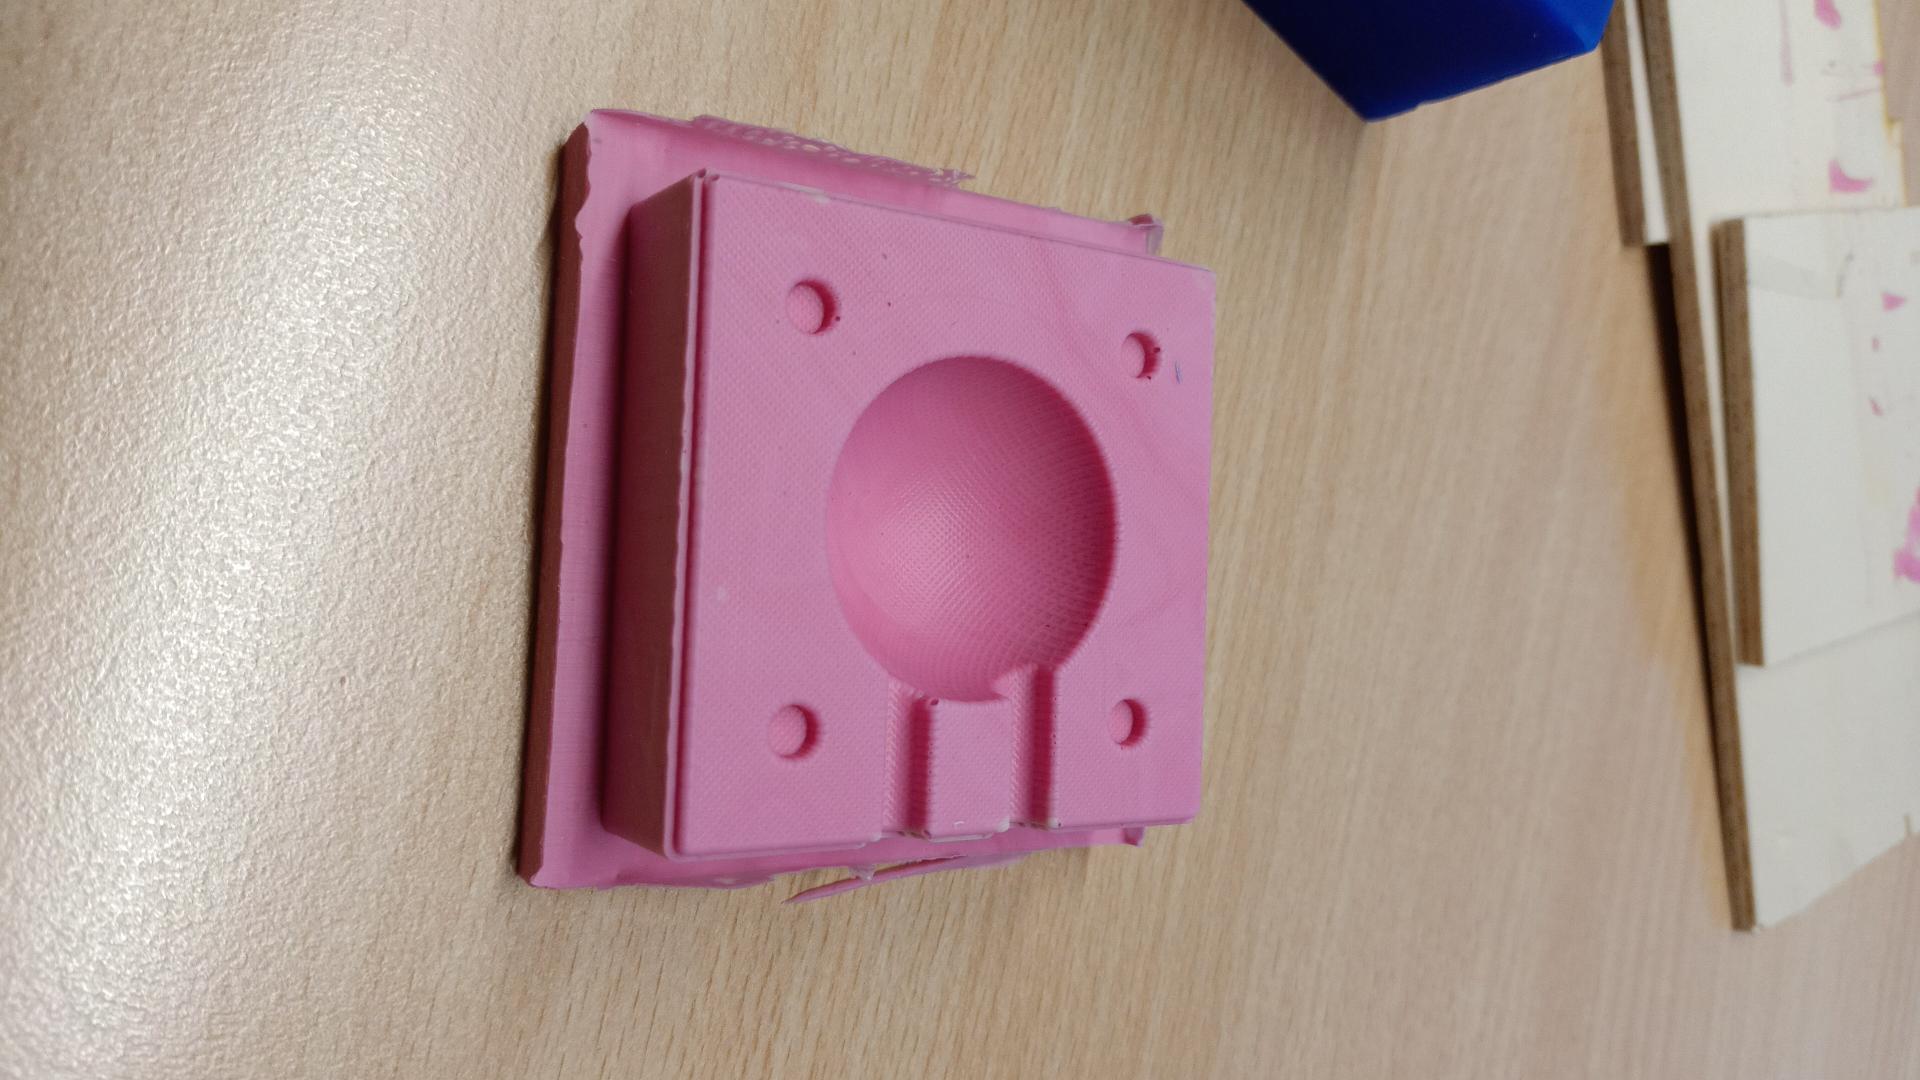
The next day I did another pouring, but this time I focused only on the external sphere mold. You can see below the mold with silicone and the final result:
Casting the object
Once the silicone molds were ready, I poured some Smooth-cast 310 inside them. Here it is possible to download the safety datasheet about this material.
The material needed equal parts of component A and B (by volume), so I used two glasses in order to obtain the same amount for both components, Then I poured one component into the other’s glass and I started stirring the mixture with a wooden stick. Compared to silicone, this plastic is way more liquid. So the stirring process has been done without worrying too much about air bubbles. This plastic required 4 hours to dry correctly. Not that much if compared to silicone’s 20 hours.
I made this process twice, the first time I did it spraying a film that was meant to facilitate the detaching process. I found out later that I did not need any of that with this high-level material. The first cast came out well, but not perfect. There were no bubbles but the out surface came out of the cast and remained sticky for many hours.
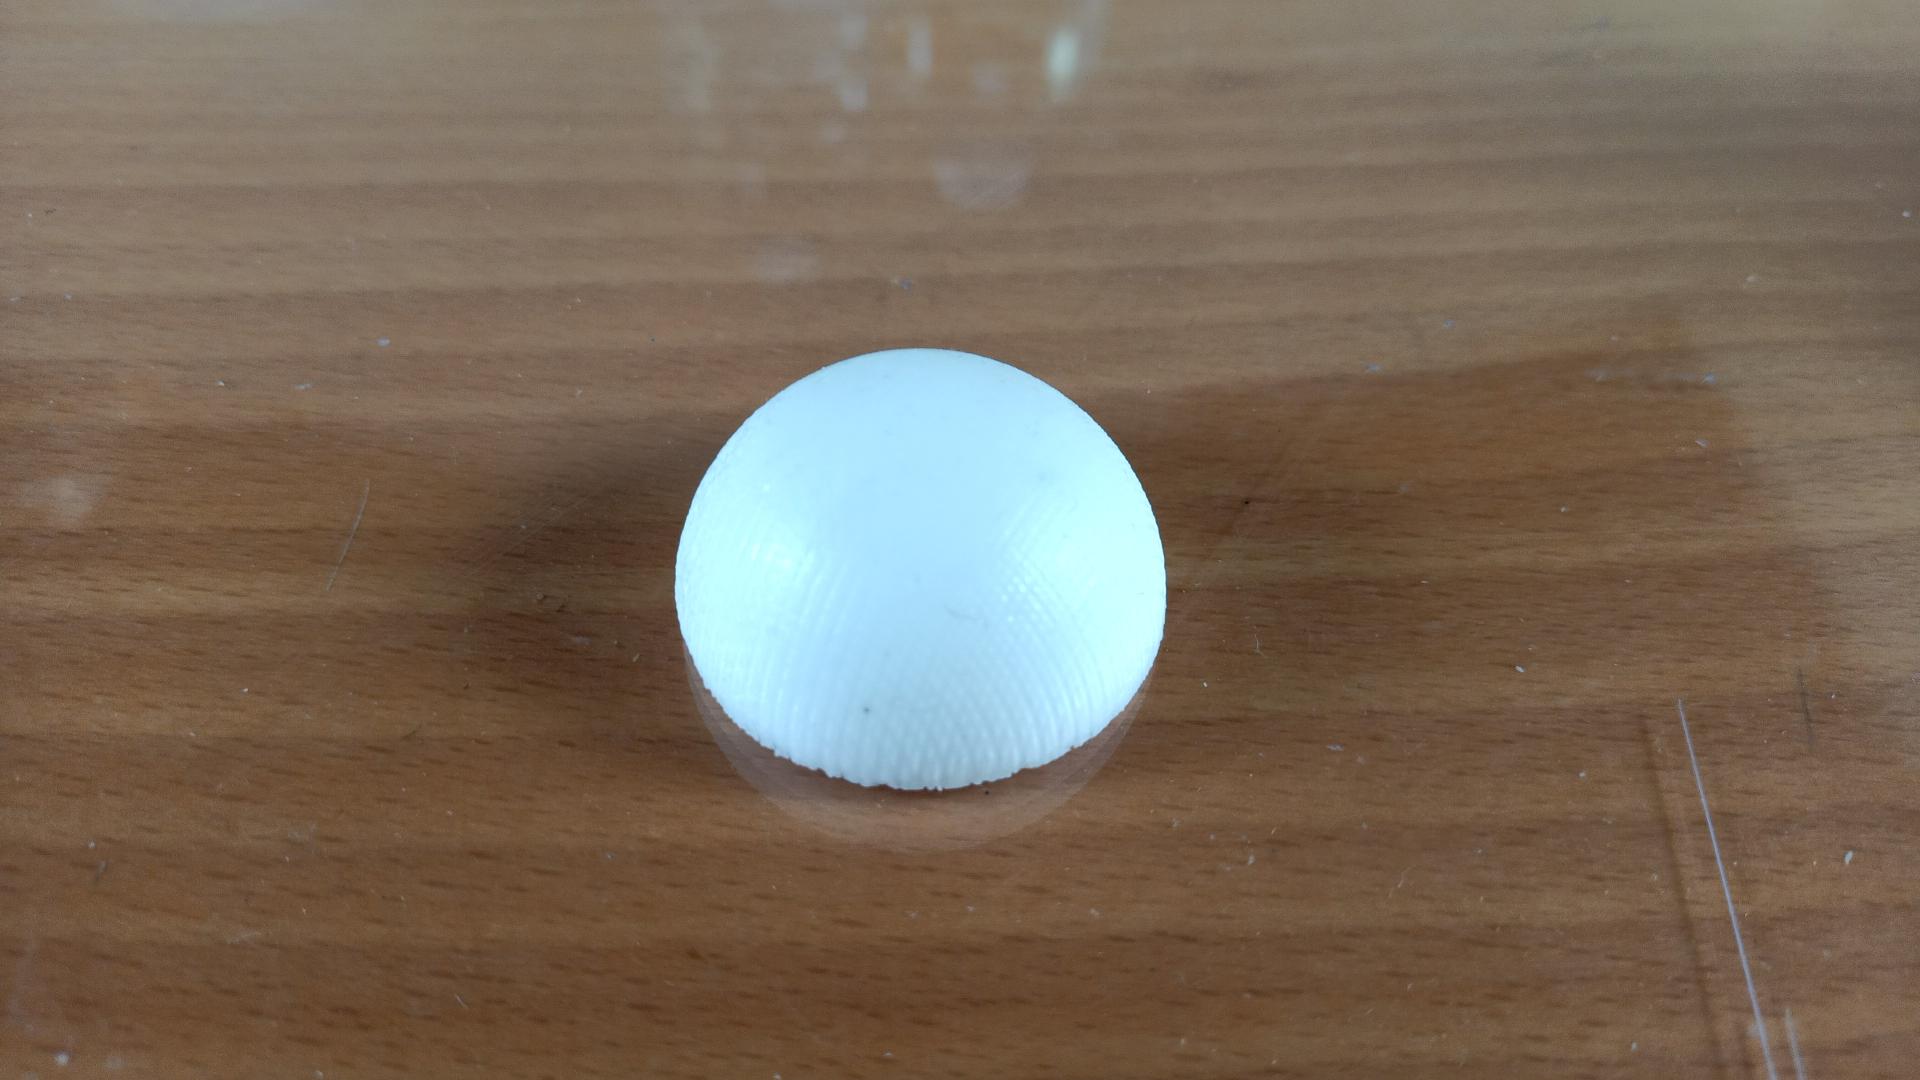
It was in that moment that I decided to recast again but with any material between the plastic and the silicone. The second half of the sphere came out perfectly.
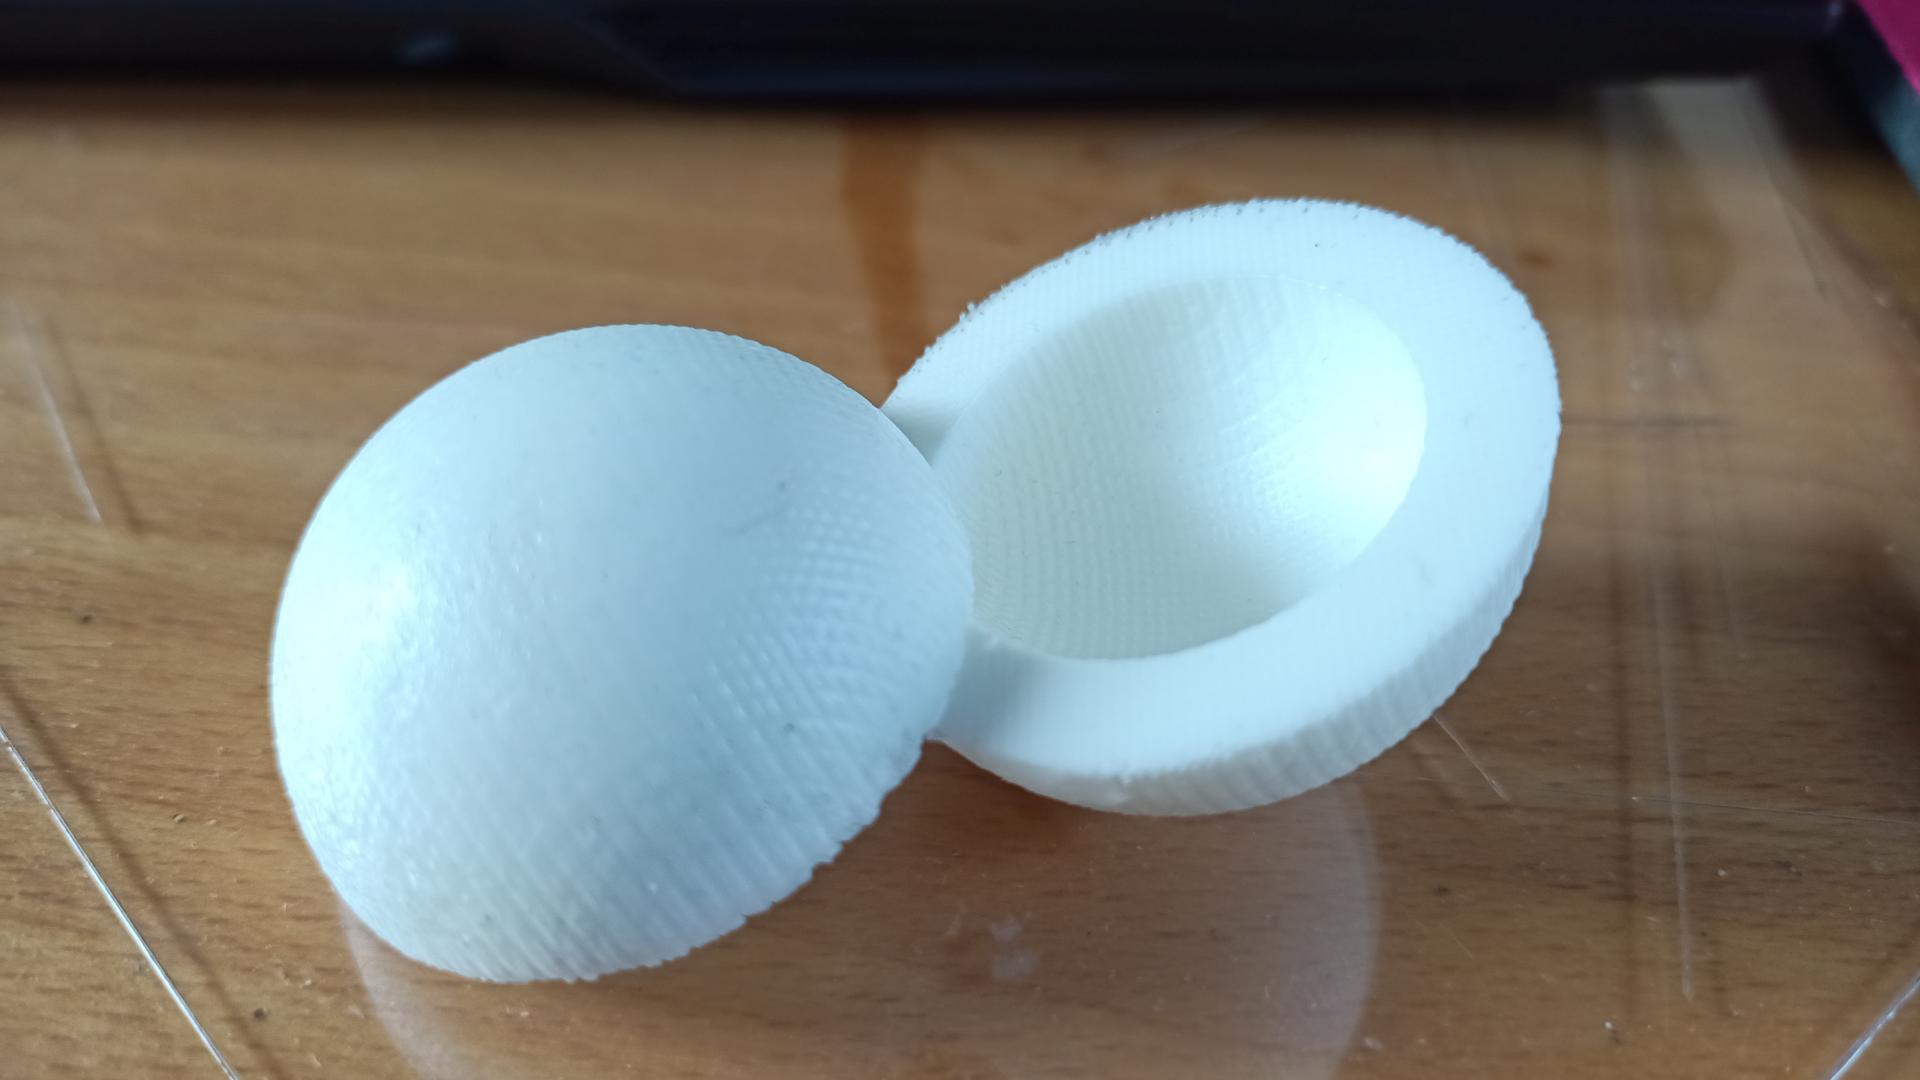
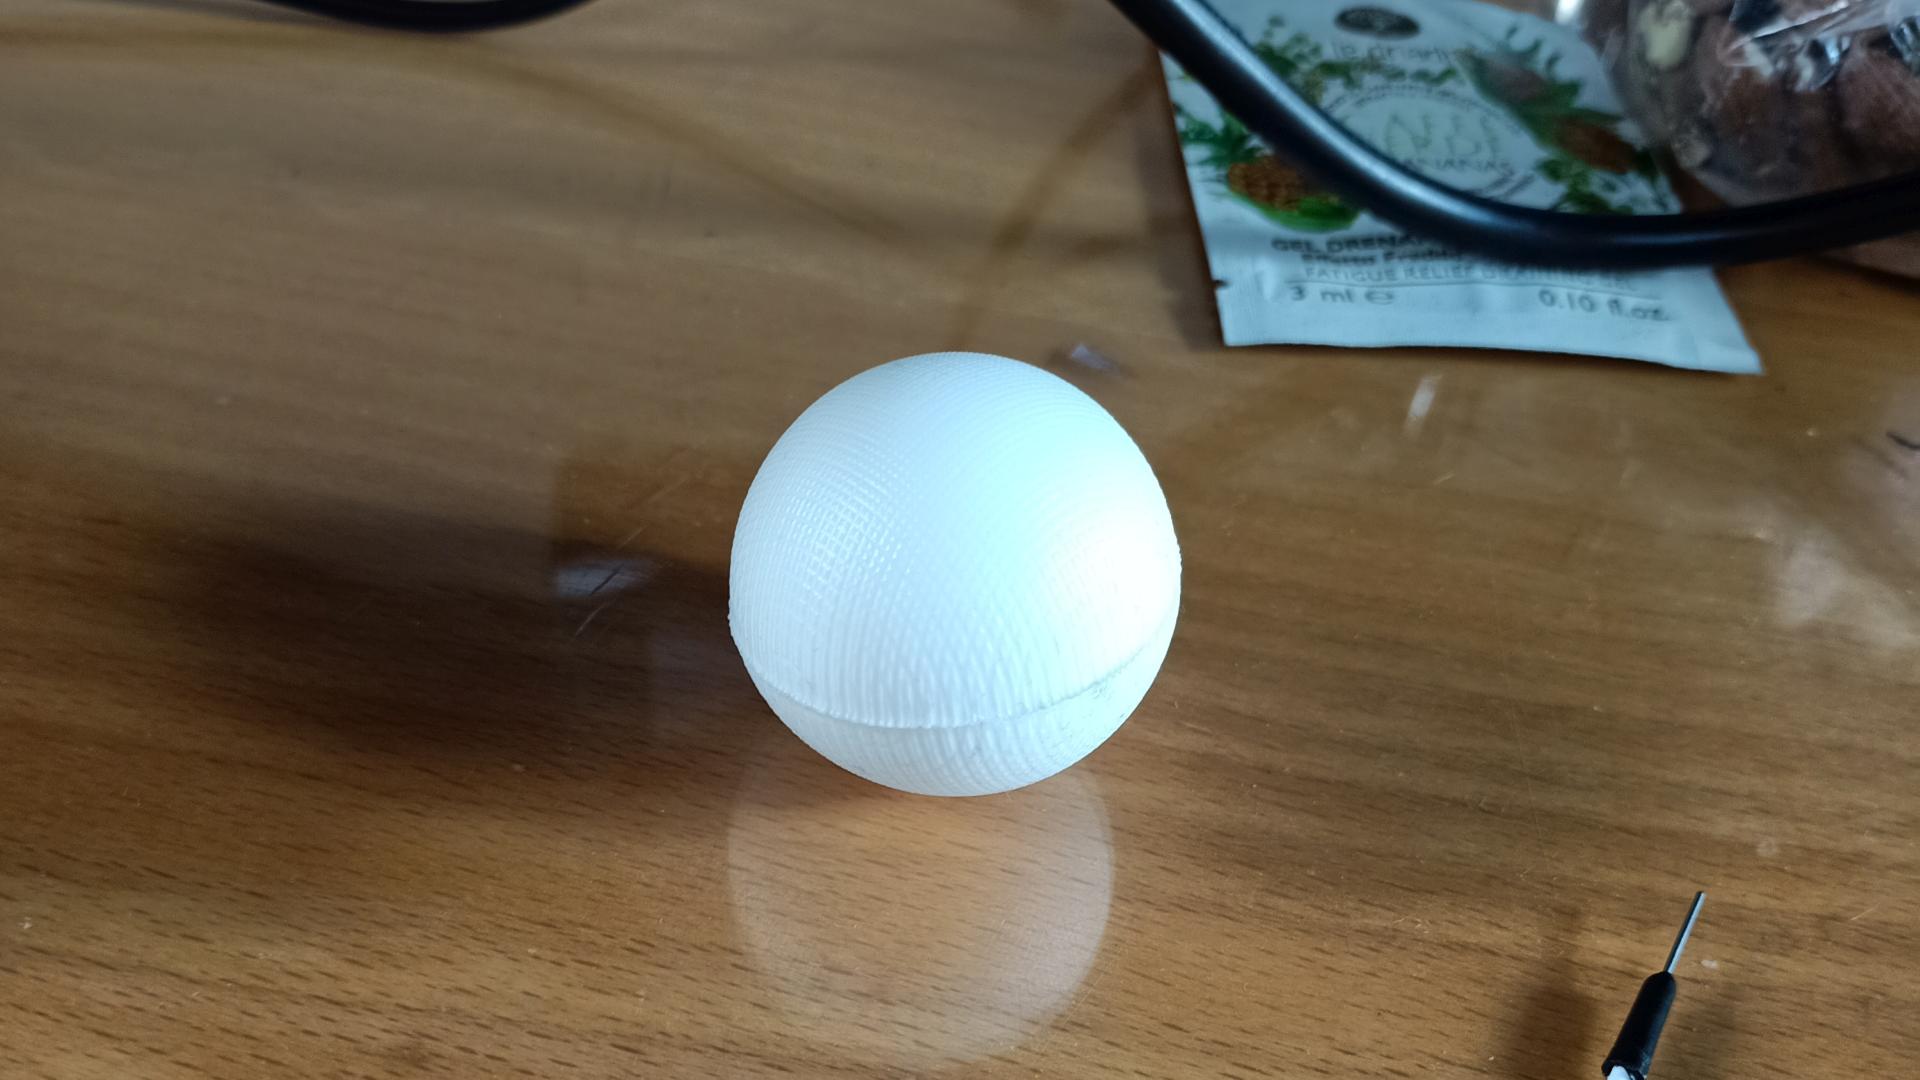
The last thing I did has been applying some glue on both surfaces, and a couple minutes later the sphere was rolling on the table.
Group assignment
Comparing other materials:
- Hydrostone has way less pot life than plastic, since it dries in less than 30 minutes. It has a 32:100 components (water-plaster) weight ratio that makes it tough to get it right initially.
- Epoxy resin has more pot life, so it can be stirred precisely. It is going to need all that time and more attention, since the air bubbles usually remain easily underneath the surface if not stirred properly. The curing time is the longest: 24 hours. The components require a 40:100 ratio, so the plastic remains easier to be mixed by beginners.