8. Computer Controlled Machining
This is the assessment for this module:
Group assignment
- Test runout, alignment, speeds, feeds, and toolpaths for your machine.
- Document your work (in a group or individually).
Individual assignment
- Make (design+mill+assemble) something big.
Group assignment
Feed rate and direction
The CNC Feed rate is the velocity at which the cutter is fed, that is, advanced against the workpiece. It is the speed the drill moves horizontally.
We decided to try 3 different feed rate setting for our drill: 90 - 110 - 130
There are two possible cut directions: climb - conventional
We first drilled the board with one direction, then with the other one.
These are the results:

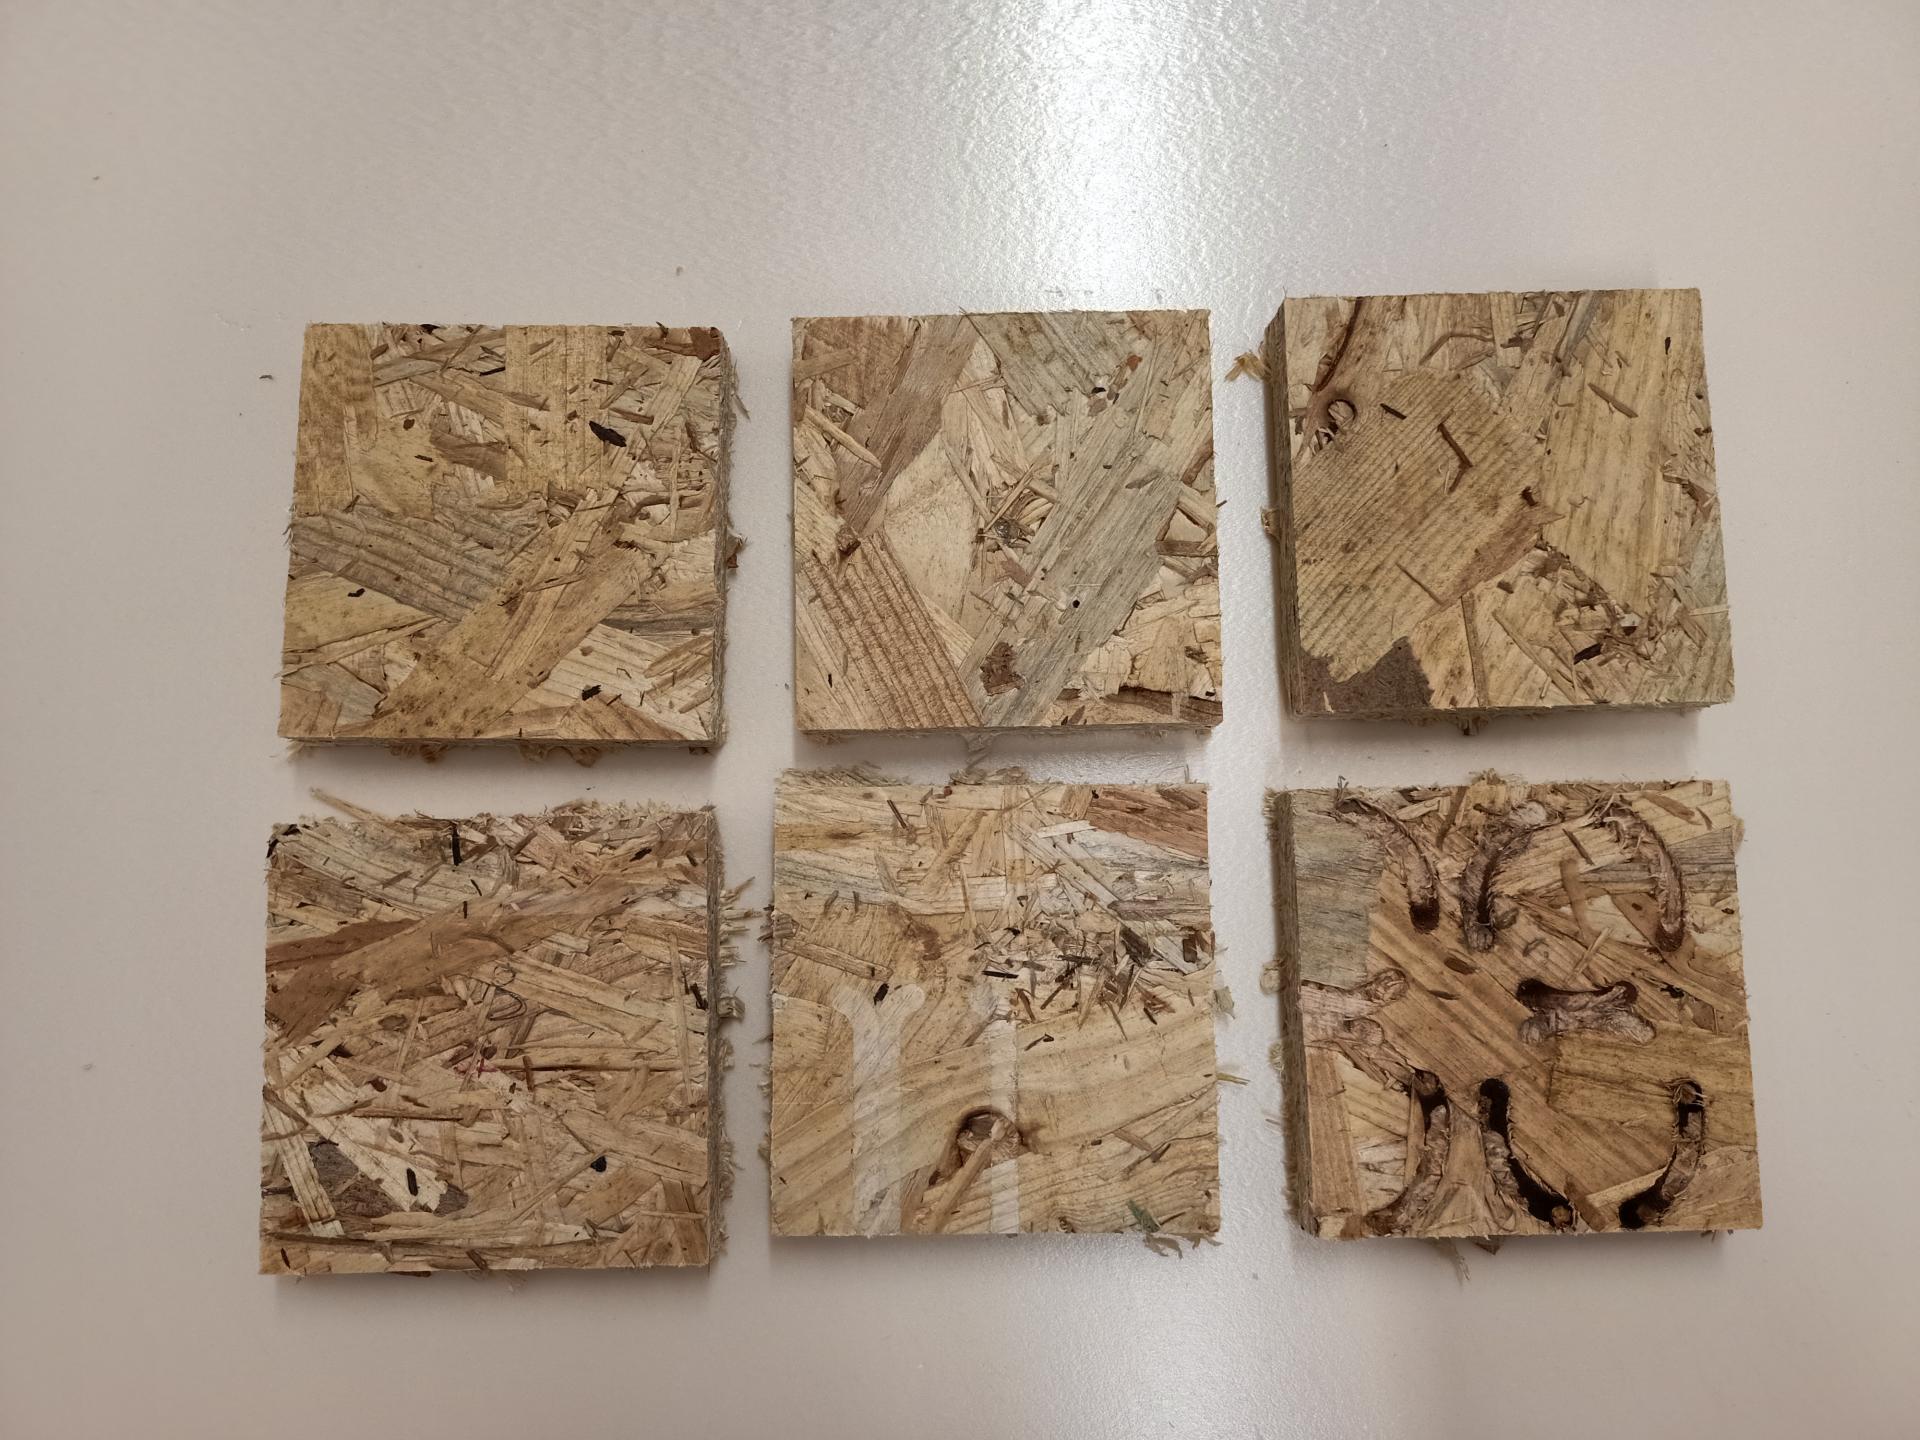
The optimal feed rate setting is around 100, about the direction we did not notice such difference with this material. OSB wood vertical surfaces don’t behave differently if the cut comes from one direction or the other one. The situation is different with foam: the climb direction is the one to use, since it does not ruin vertical surfaces that much.
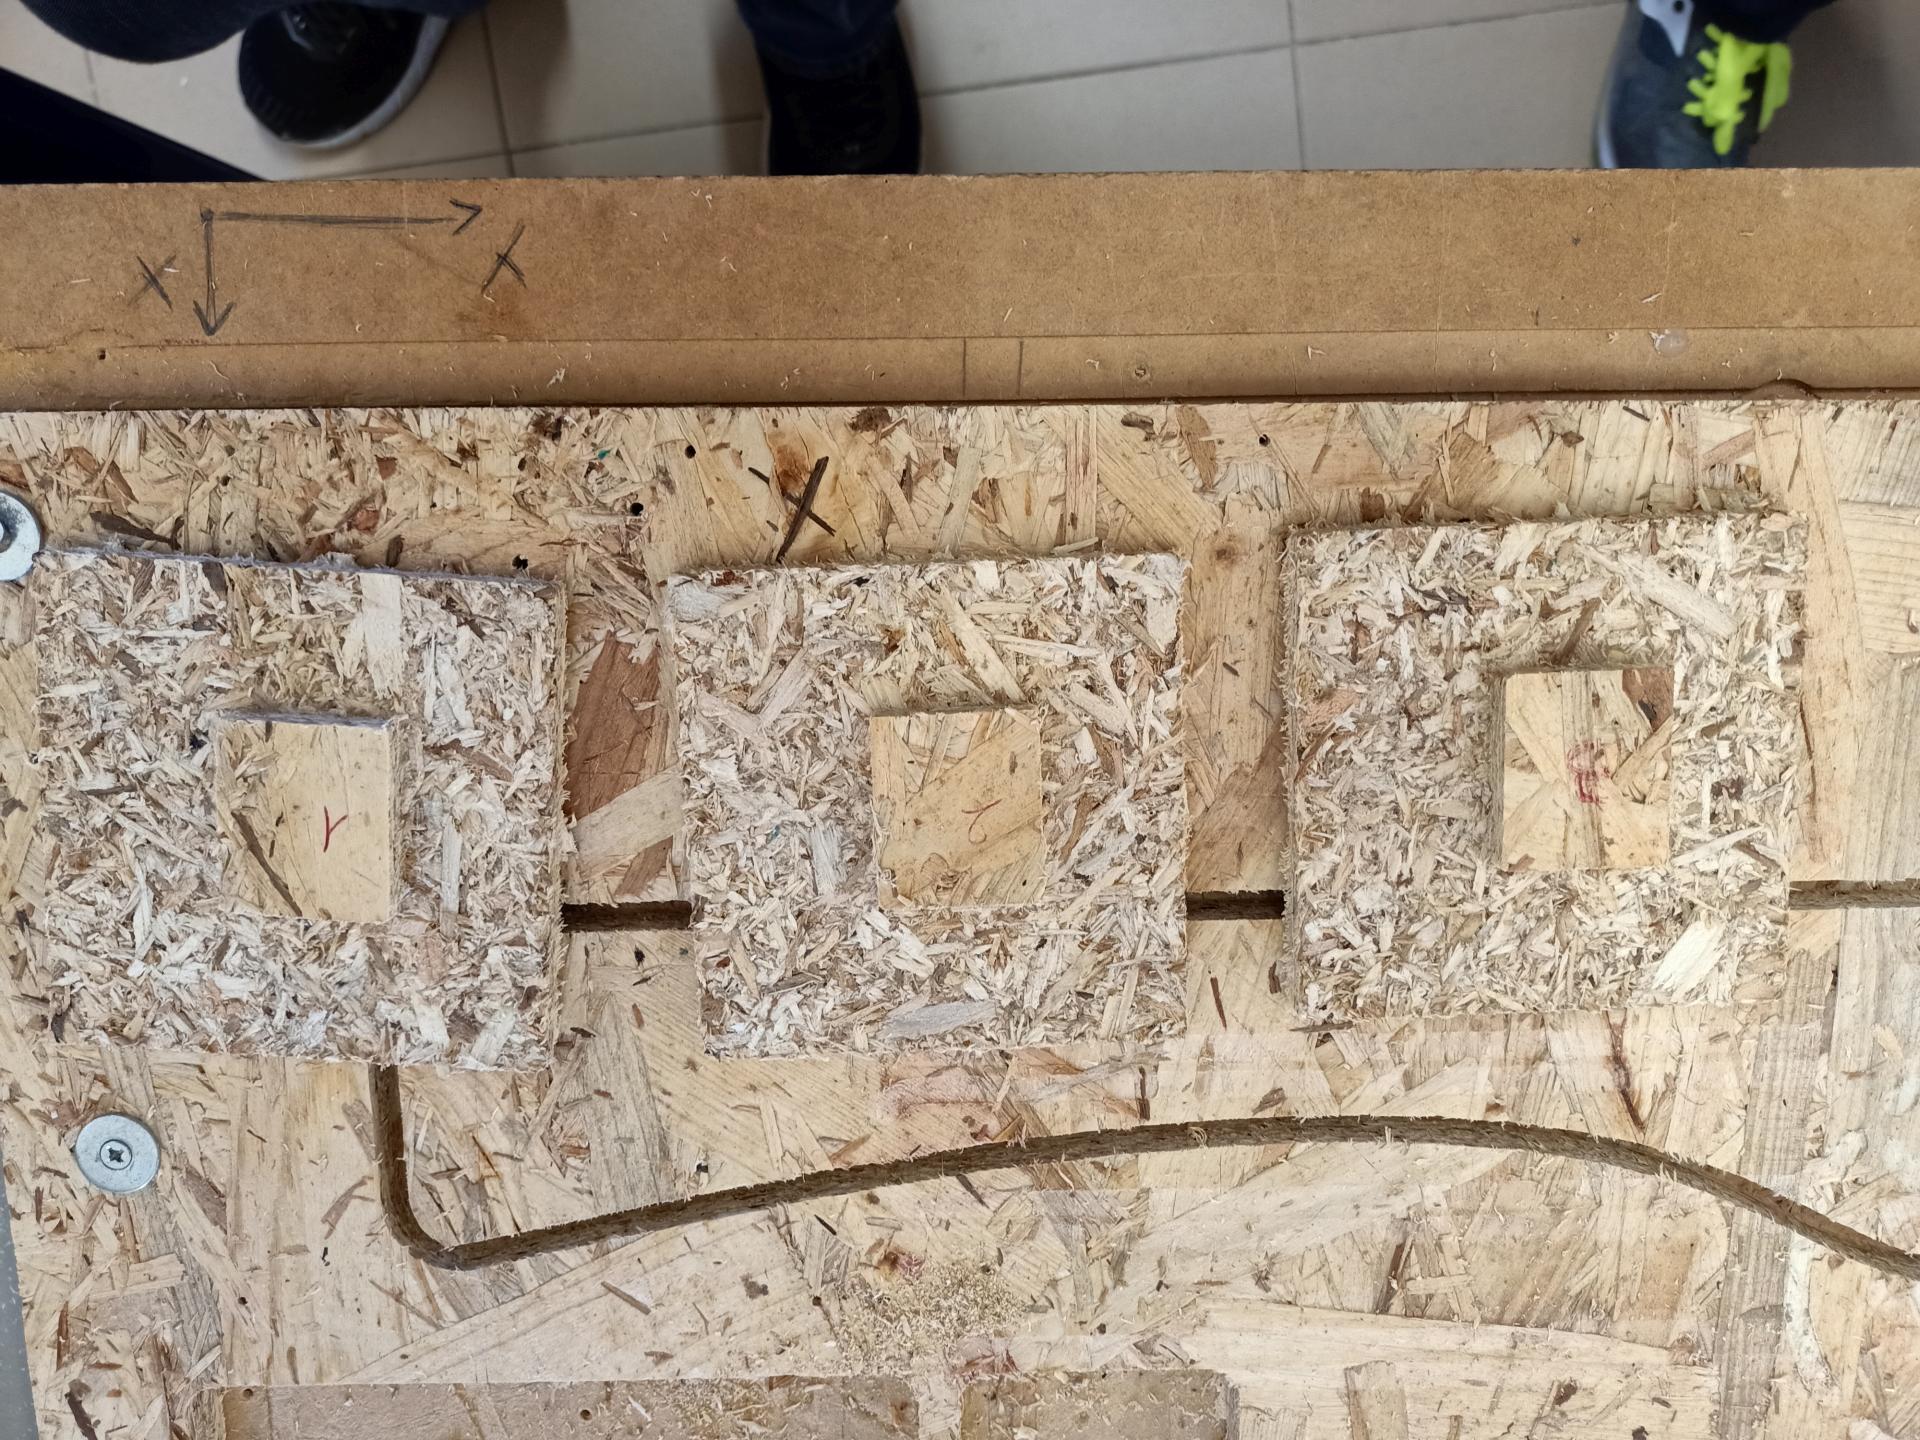
Stepover
Stepover is defined as the the space between passes of a tool during an operation. A very smooth finish on a surface will sacrifice machine time. In other words, it’ll take forever! You can change it to half the tools diameter, and it will take less time!
We tried the difference between a 20%, a 50% and a 90% stepover. It is clear that a higher stepover does not look as smooth as a low percentage stepover. Here’s how it looks on foam:
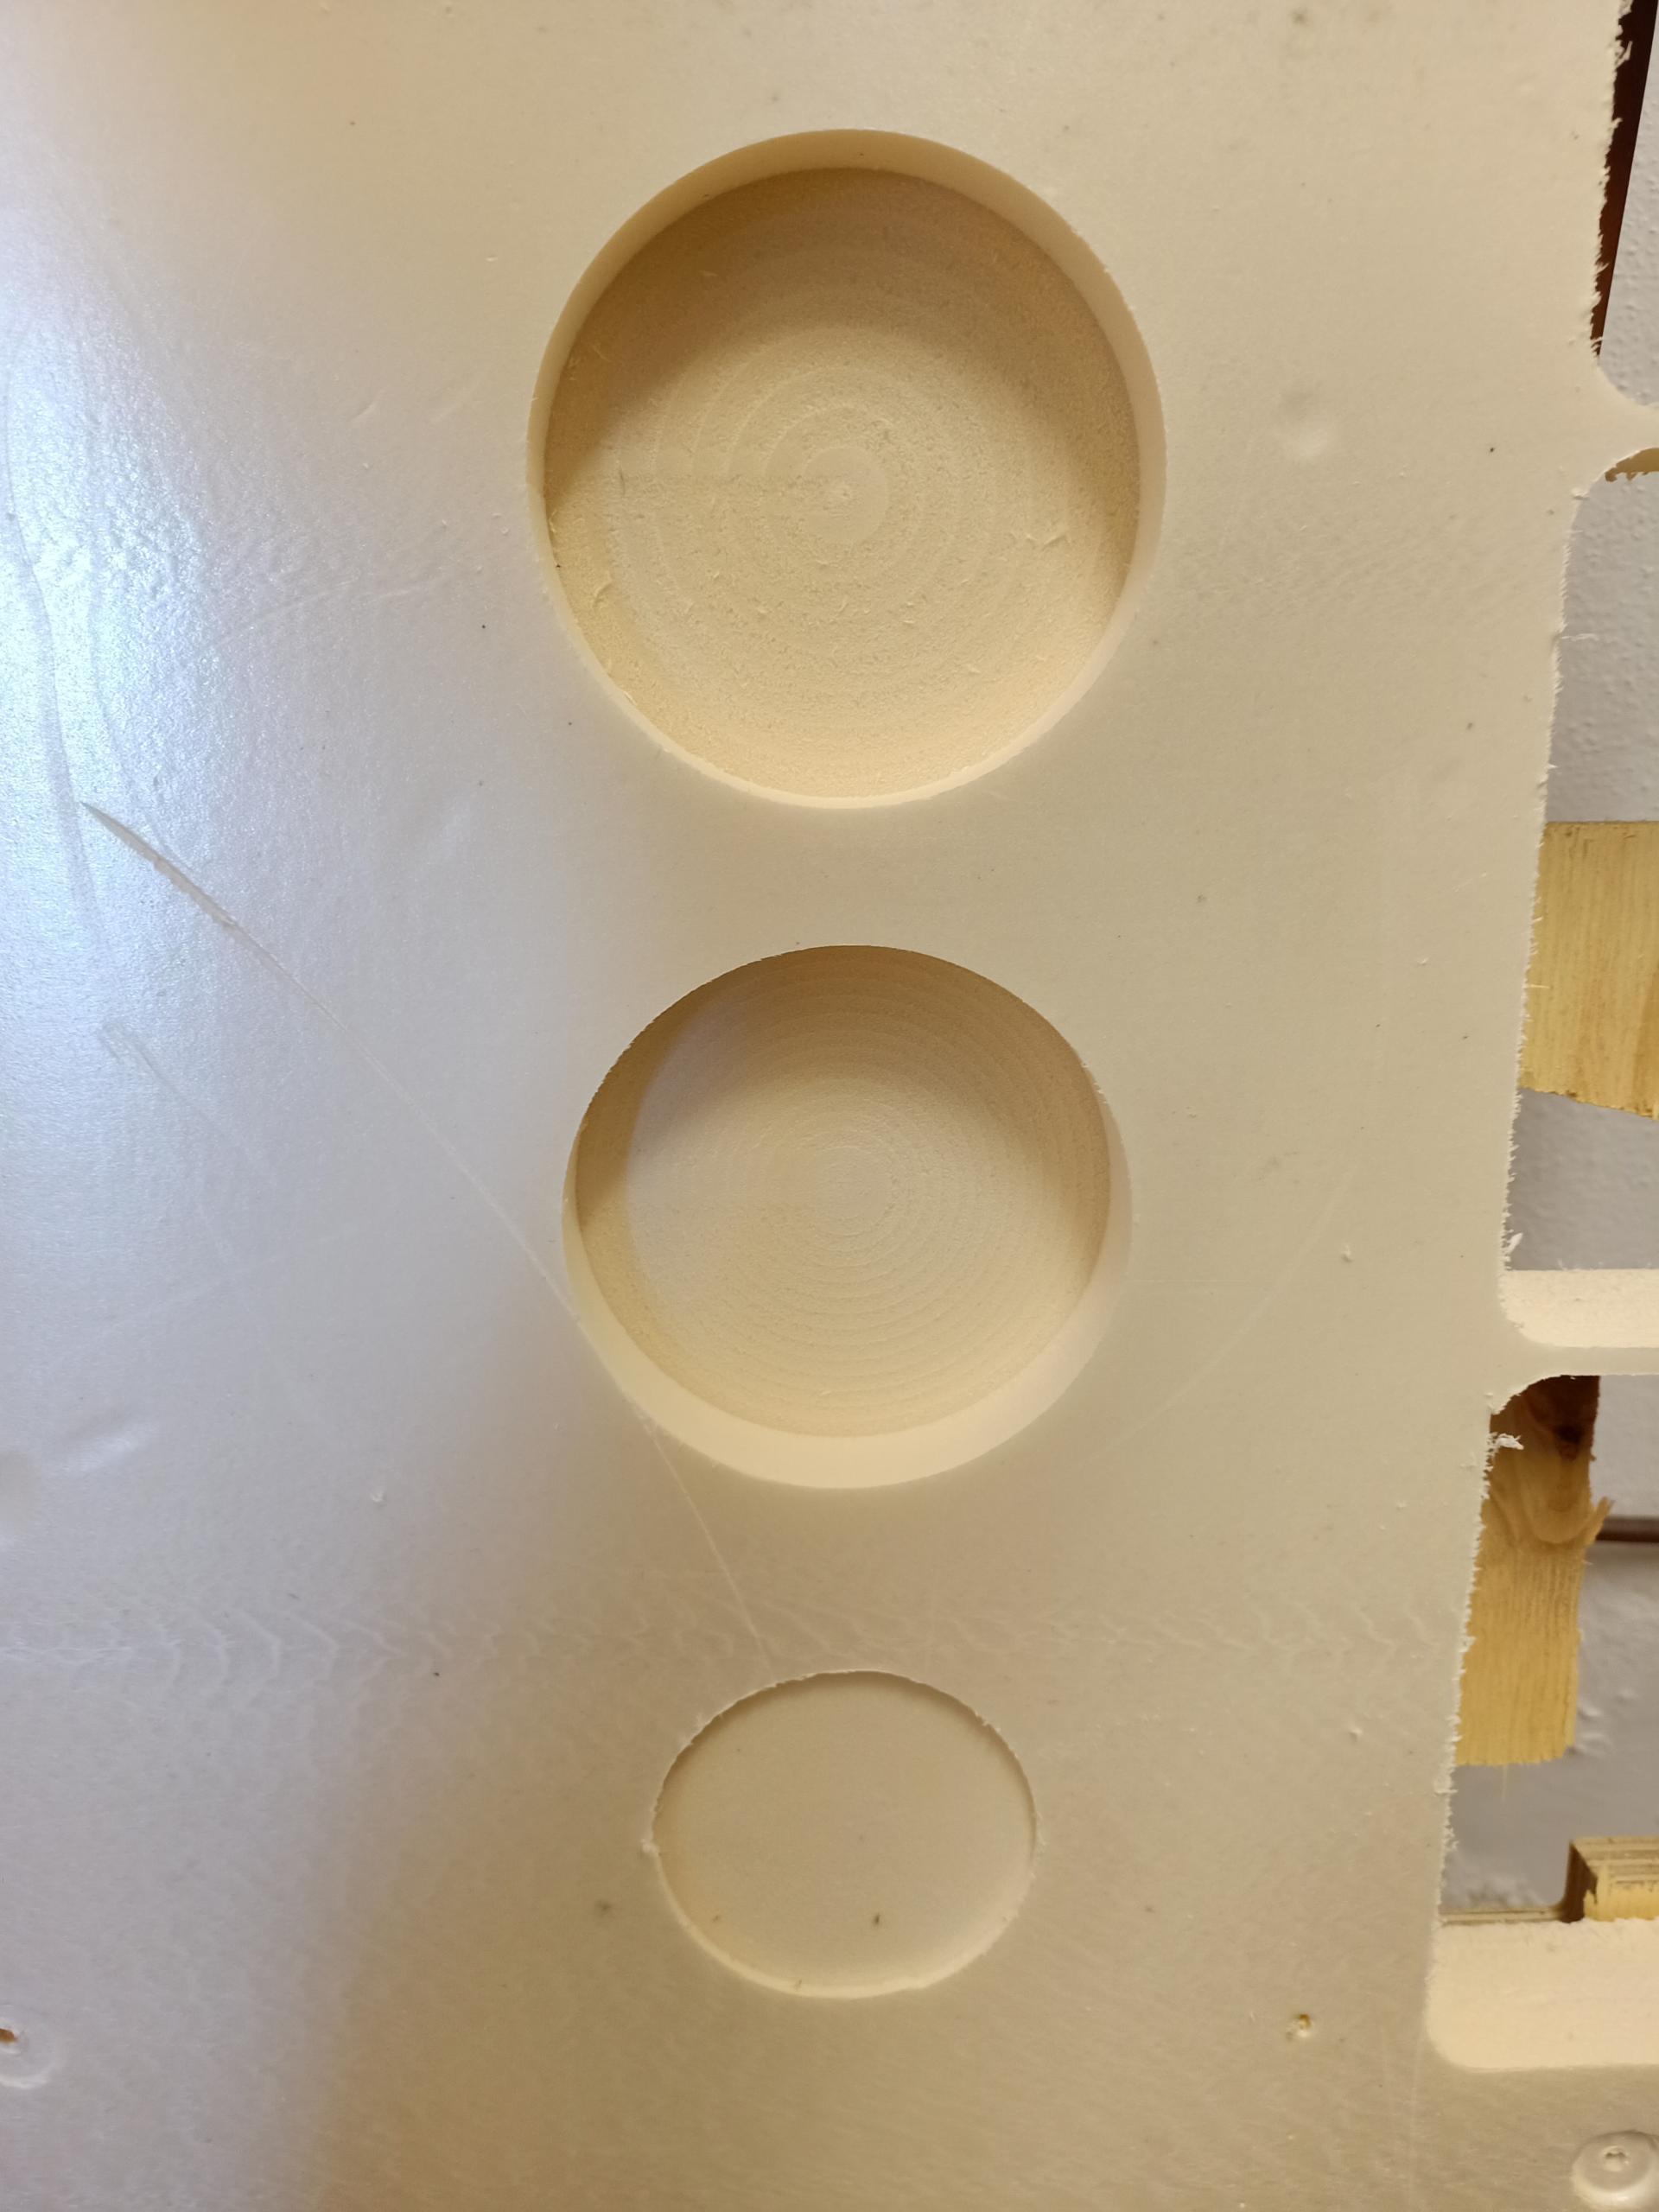
Pockets
A pocket is a type of toolpath that creates different depths inside an area. It is possible to obtain a shape surrounded by lower surfaces. This is how we did it, still trying different feed rate for this toolpath:
Individual assignment
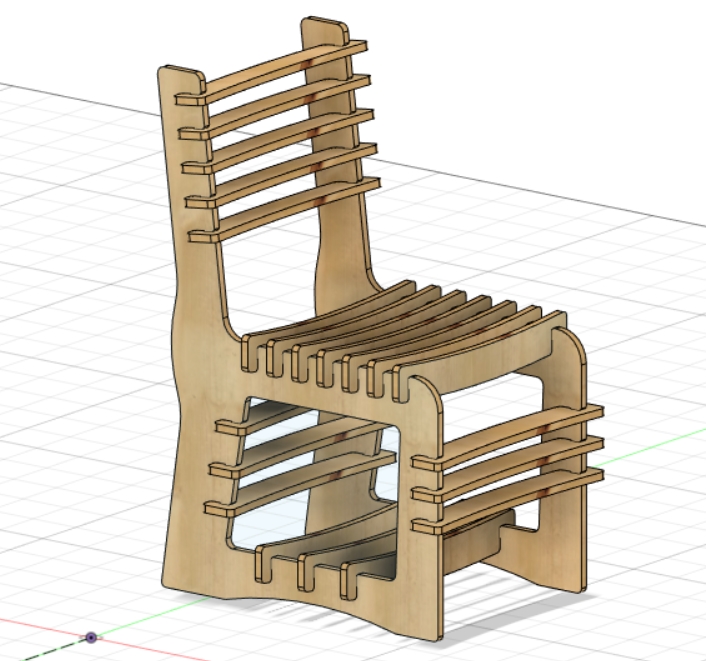
Fusion360
For this assignment I wanted to create a chair, a big sturdy one. So I moved on with the design on Fusion 360 and made this tall and wide chair. Here’s how the chair looks like:
-
Here you can download the Fusion360 file.
-
Here and here you can download the dxf files I used with the cutting software.
VCarve PRO
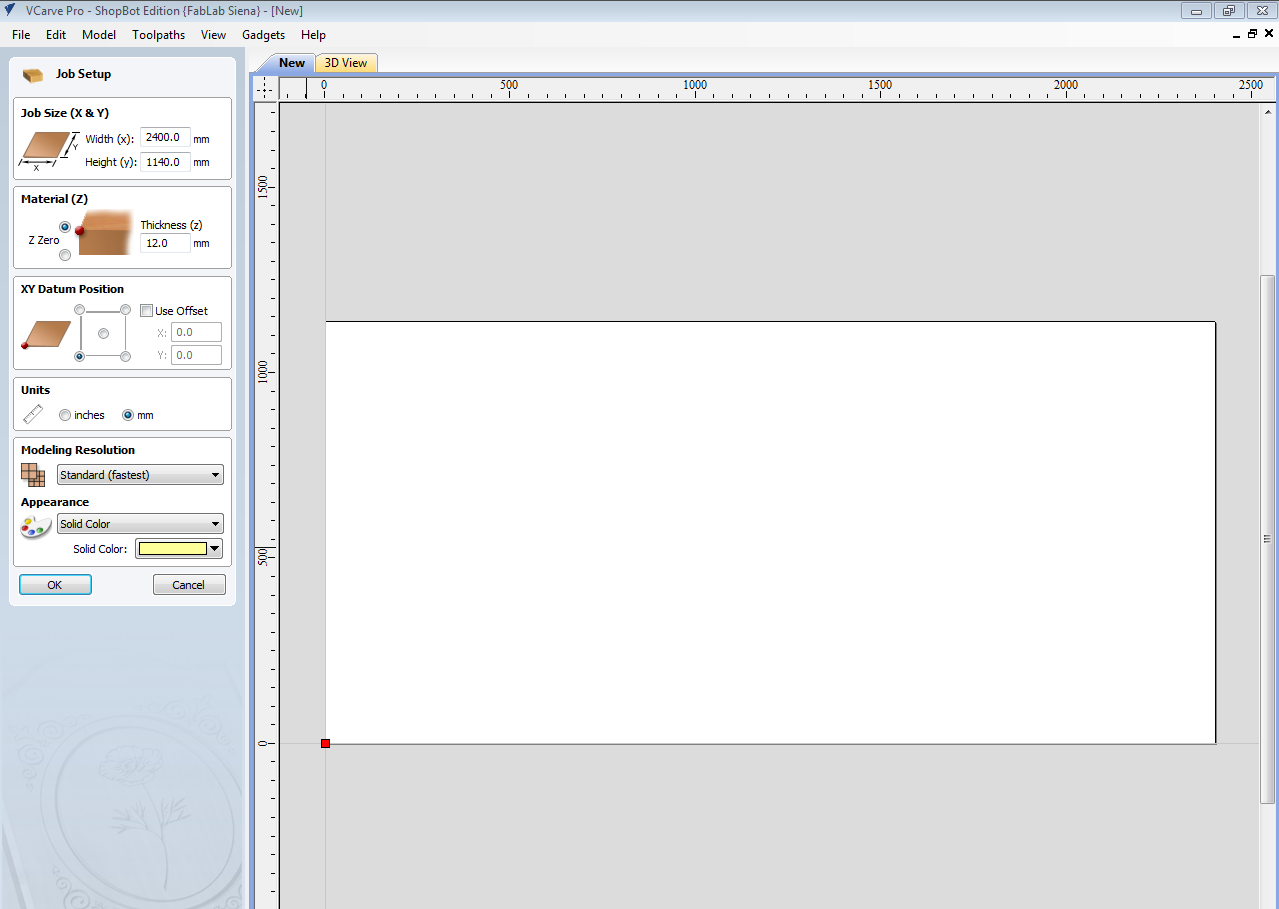
I set the initial settings for the job size and material thickness.
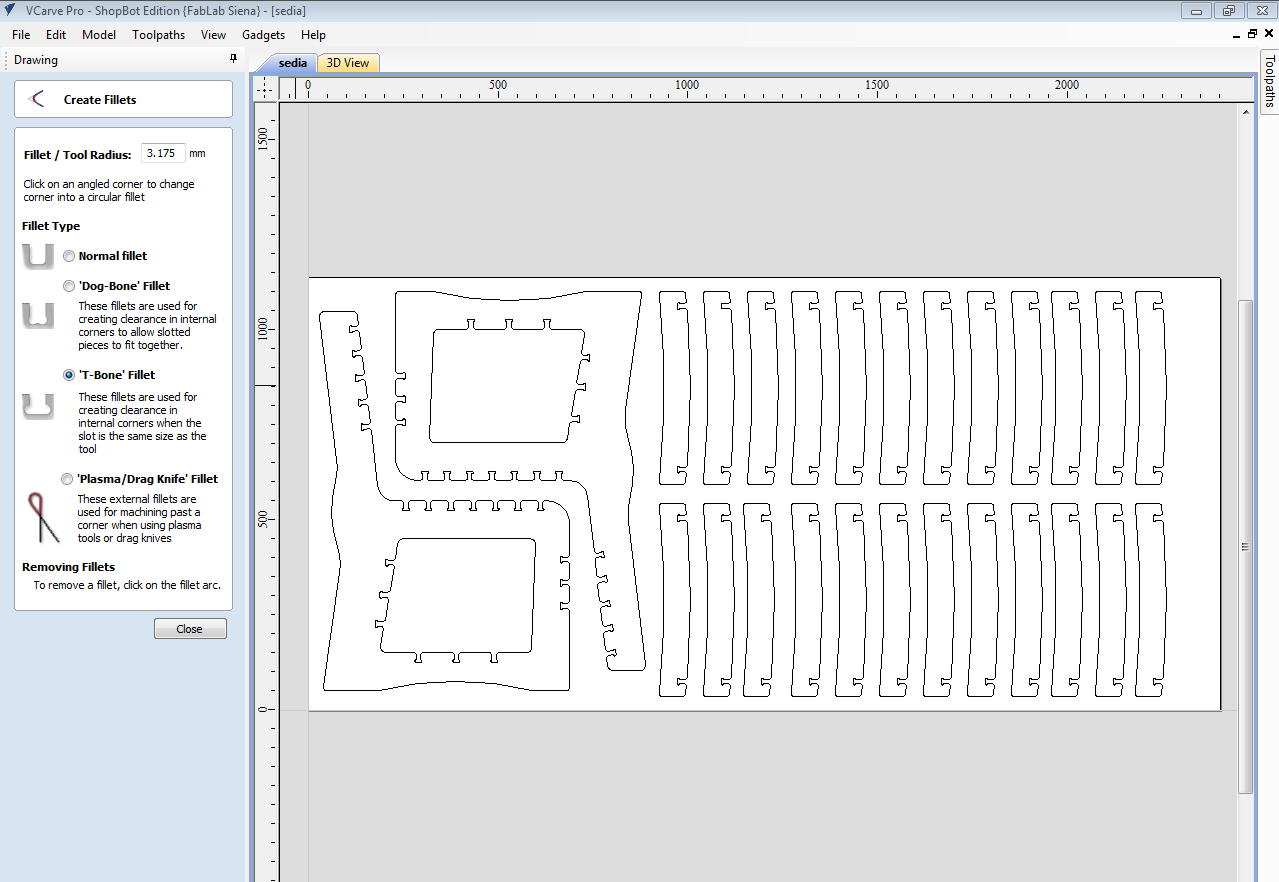
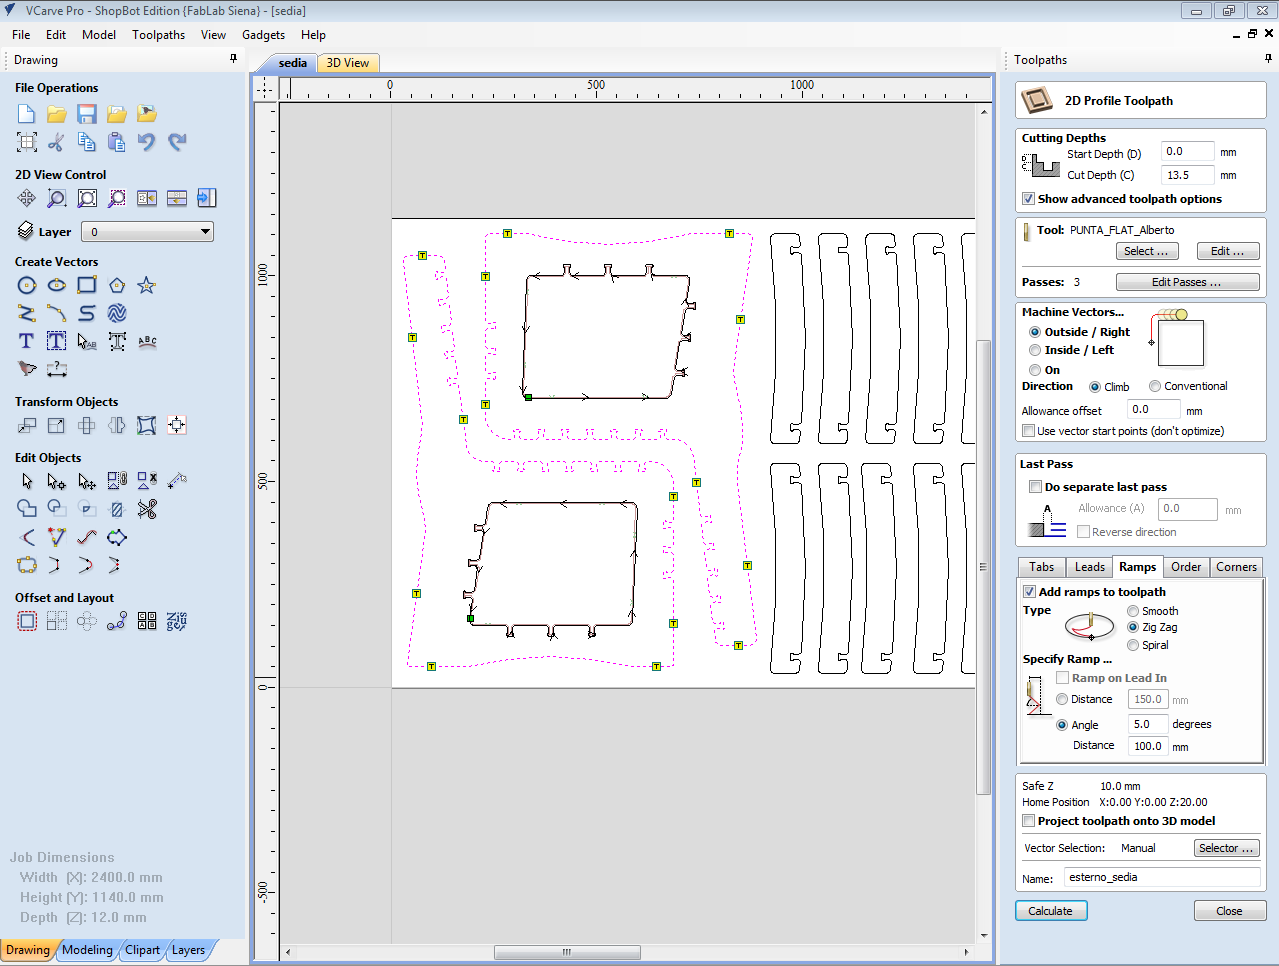
Then I uploaded the dxf files and I set all the t-bones I needed.
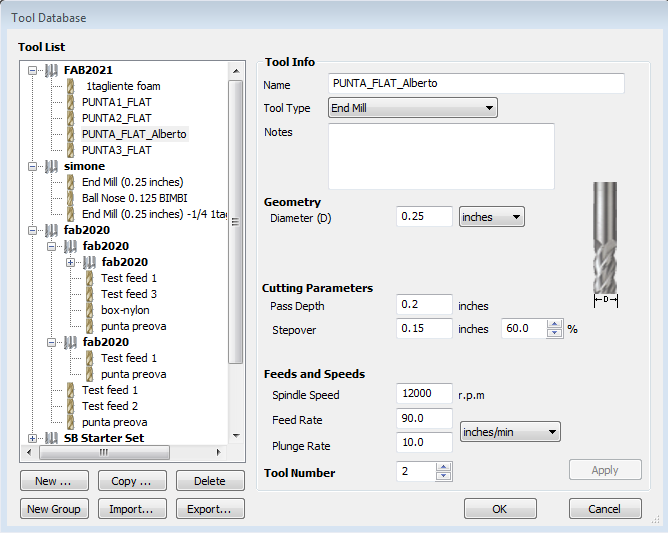
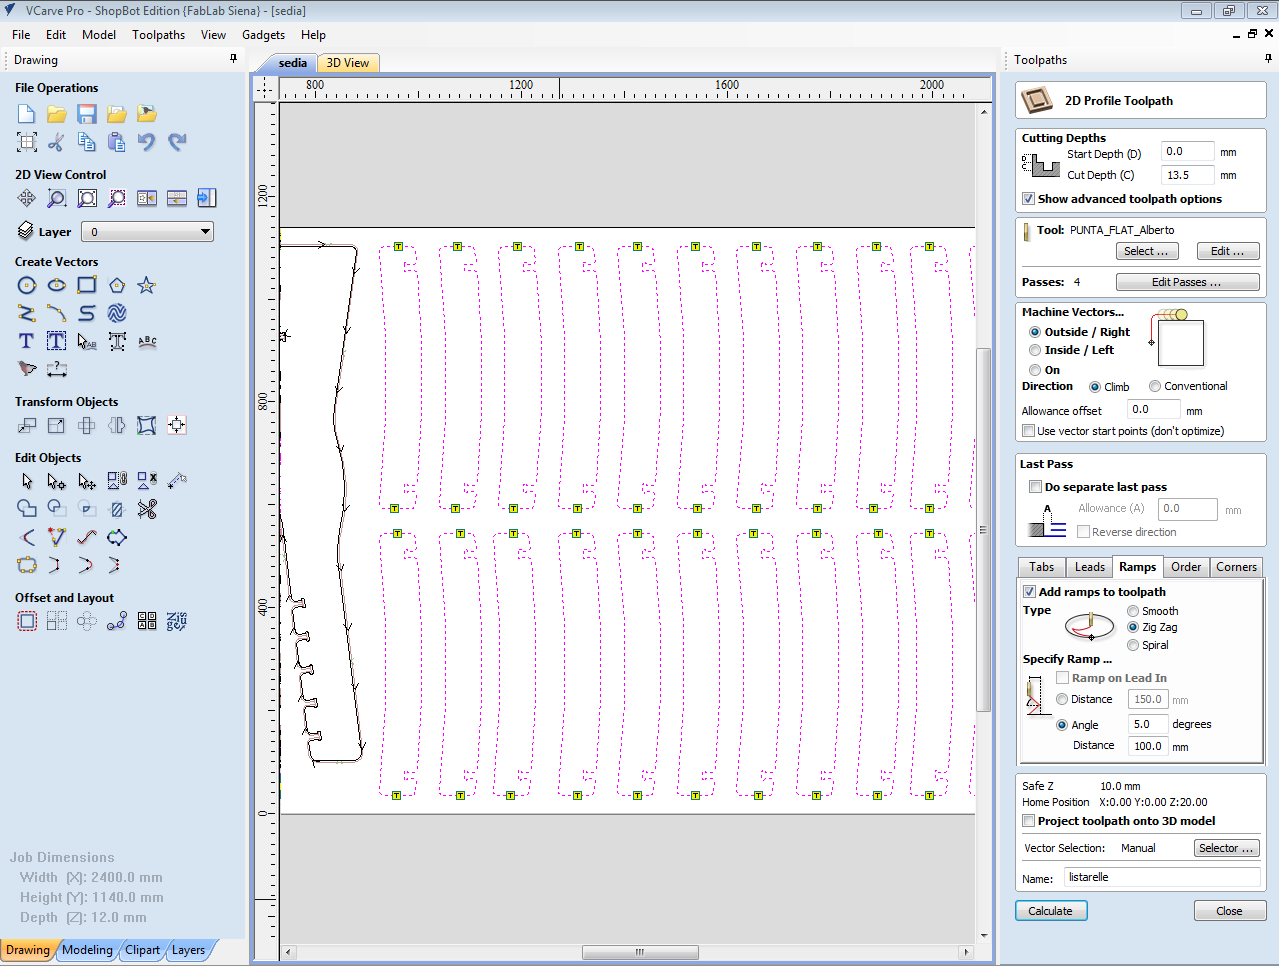
These are the tool settings I created:
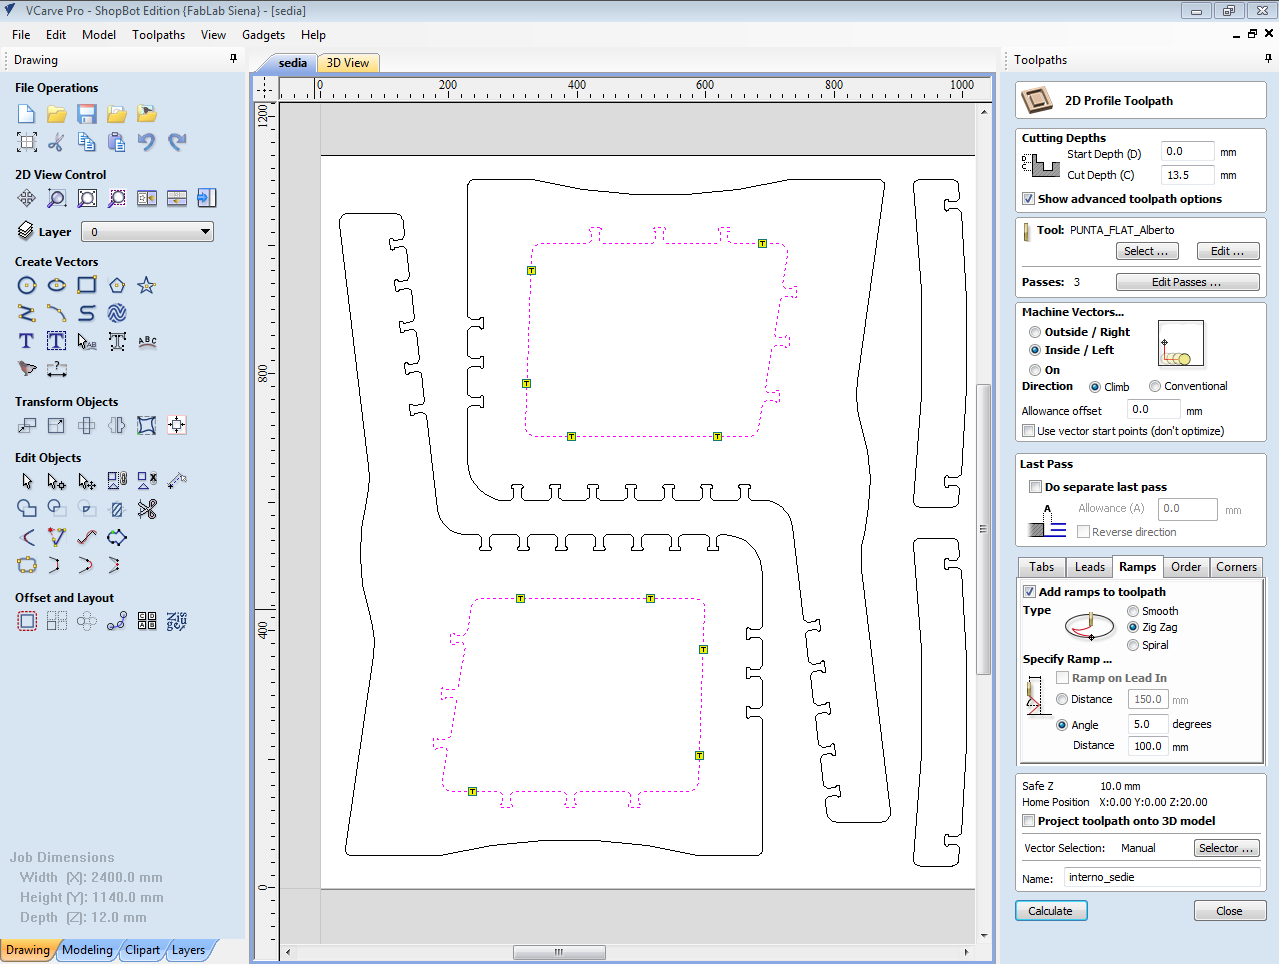
Then I manually placed the tabs where I needed them and I set the ramps (smooth type).
Once everything is set, the total machining time says that the work is going to take less than 90 minutes.
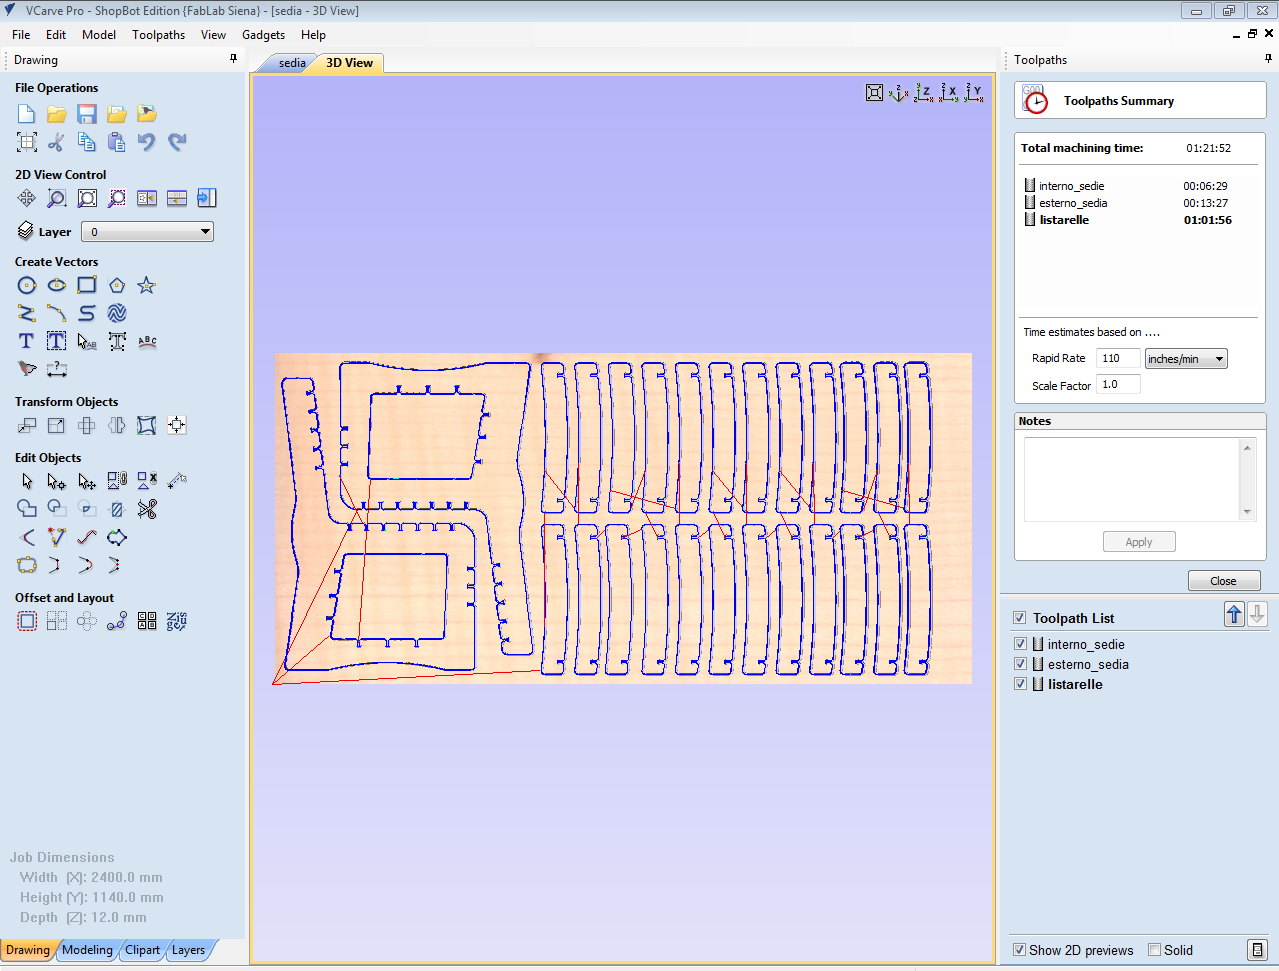
These are the toolpath files:
- 24 wooden strips (download).
- 2 inside cuts on the profiles (download).
- 2 outer profiles (download)
Shopbot
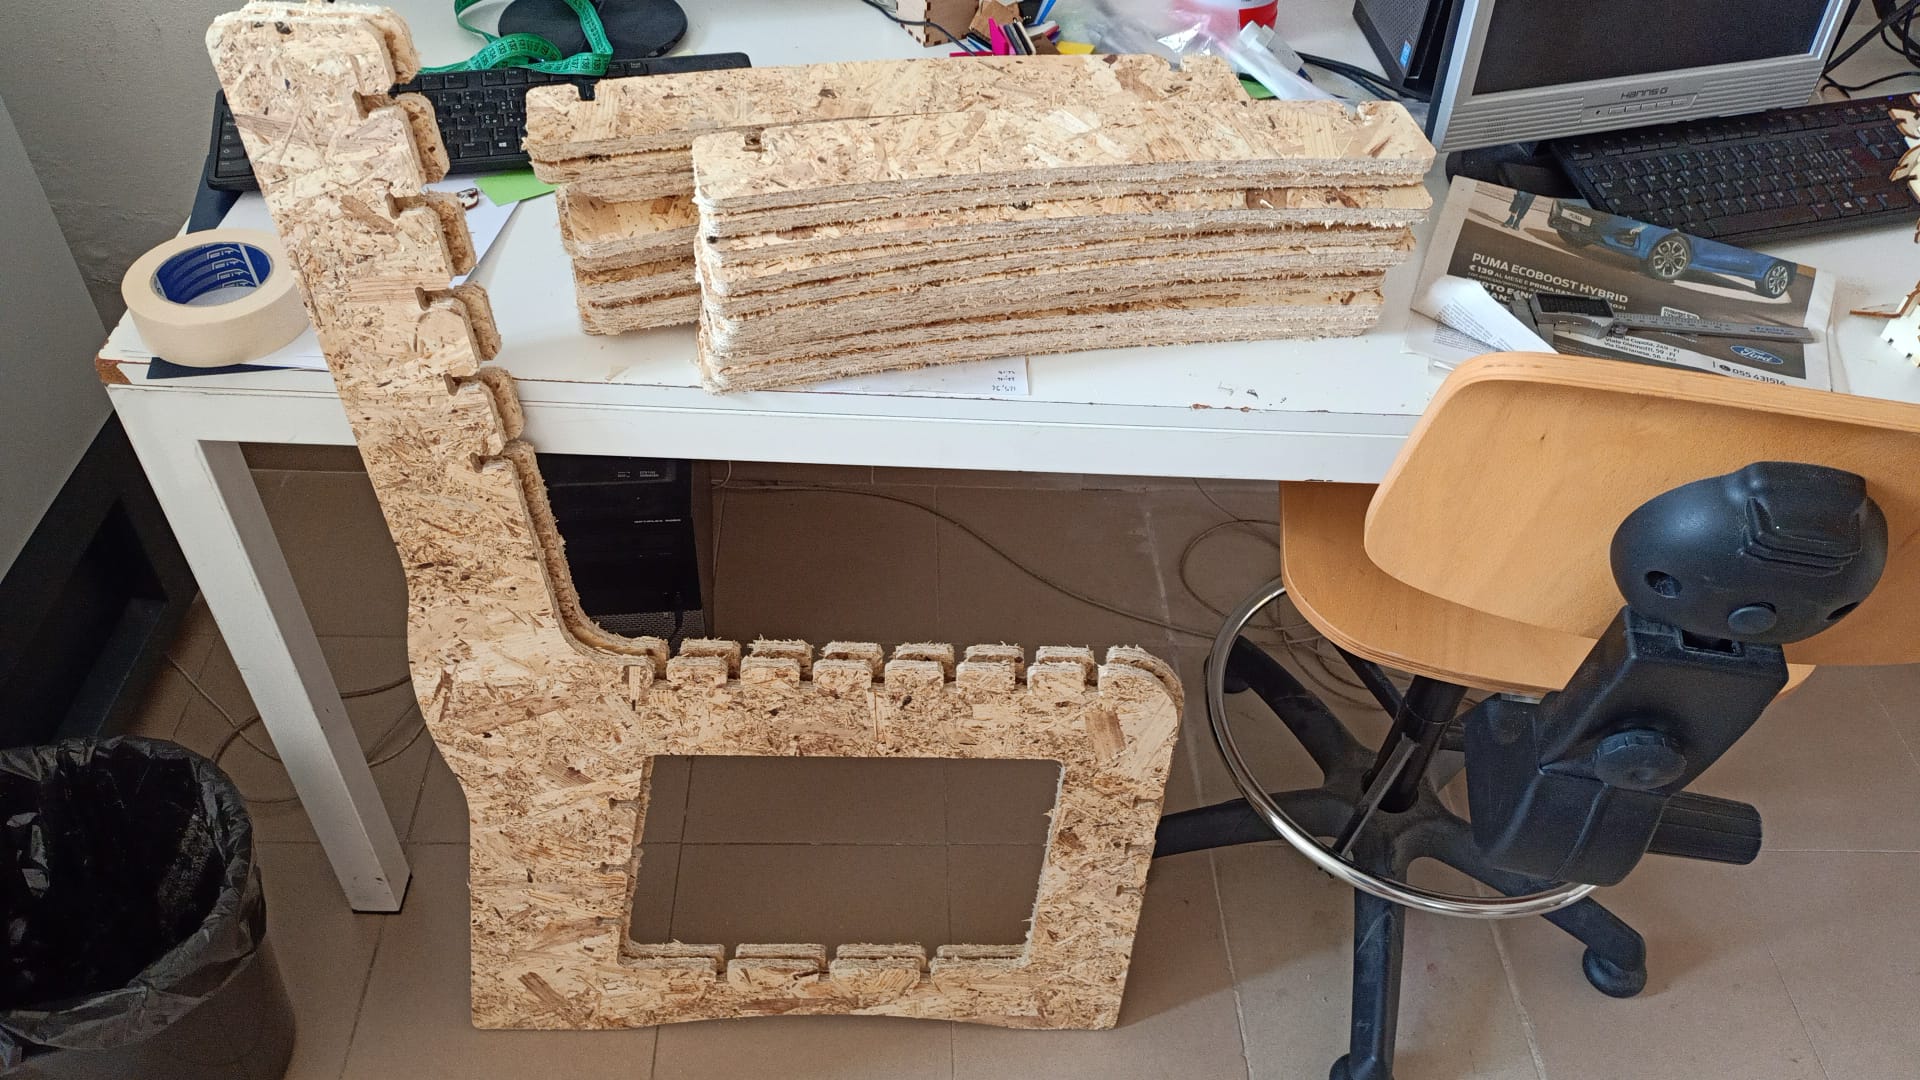
I started cutting the wood, everything ran smoothly, I only had to set the Z axis at the very beginning of the wood panel, because the central section of the panel flexed a bit.
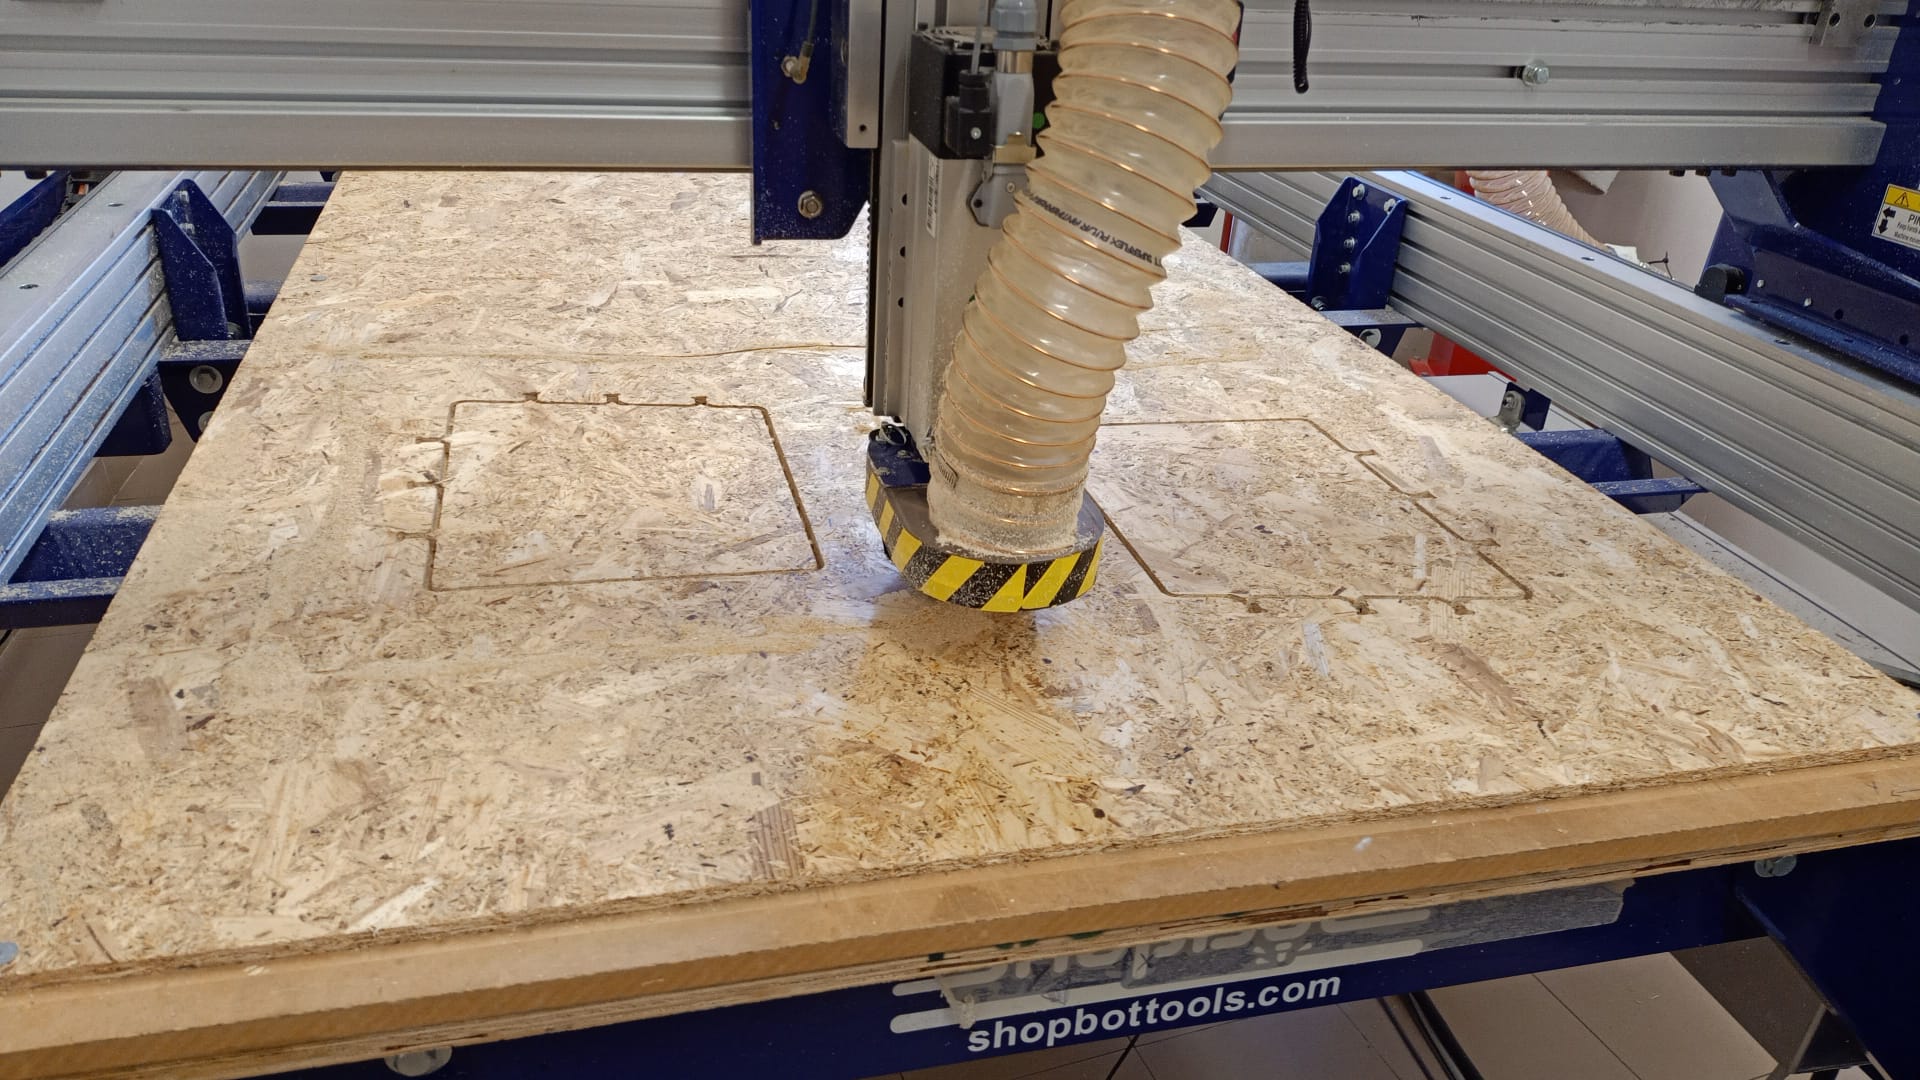
All the pieces came out easily, now they just need to be more clean and smooth, I’ll use some sandpaper and a file.
This is how the chair came out once all the pieces have been assembled:
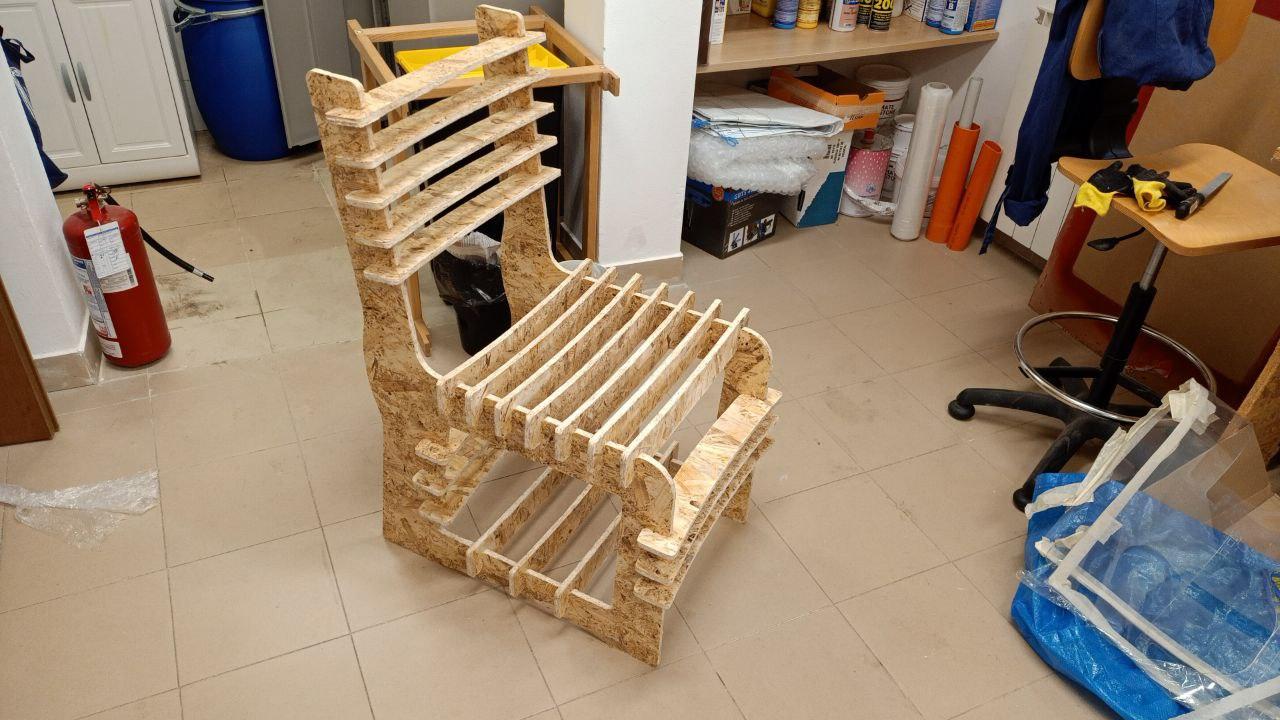
I’m pretty happy with how it turned out.