1. Principles and Practices / Project Management
This week I worked on defining my final project idea, trying to get used to the documentation process.
Moreover I had to create a my personal website in order to upload all my work and I had to learn how to use git.
This are the assesments for this modules:
Project management
- Build a personal site describing you and your final project.
- Upload it to the class archive.
- Work through a git tutorial.
Principles and practices
- Plan and sketch a potential final project
Git tutorial
As far as I’ve understood, Git is the tool that allows my laptop to share folders and files with a remote online server.
The real game changer for git is that it allows its users to keep track of all the changes made through time to a specific file, or any file into a specific folder.
Every input is given through the PC terminal. The machine receives an order, it starts tracking the specified folder (known as repository from now on) and every file into it.
While going on with the work, the changes will be recorded.
It is user’s duty to tell the machine to save the current version as the last one made.
The version control logic allows the user to have access to former version,
so that once a error is made, it is possible to go back to the older version of the file and behave differently in order to avoid the same error. Once the new version, without any (known) issue, is ready to be saved, git updates the local history of changes and the work goes on.
Once the local work is done, it is possible to update the local repository, in order to synchronize the work process.
In order to do so, since my pc runs windows, I had to download git for windows. Once the setup process is over, I can finally communicate with my laptop through git.
![]()
Our instructor gave us a satisfactory introduction about git, but I kept exploring the topic online Our instructor explained us the following basic commands:
pwd
tells me my current position, the folder I’m into.
ls
shows the list of all the content that are inside the folder I’m in.
cd [folder name]
moves to another folder, literally changes the directory
mkdir [folder name]
creates a new folder inside the current folder
cd ../
moves to the upper level of the folder
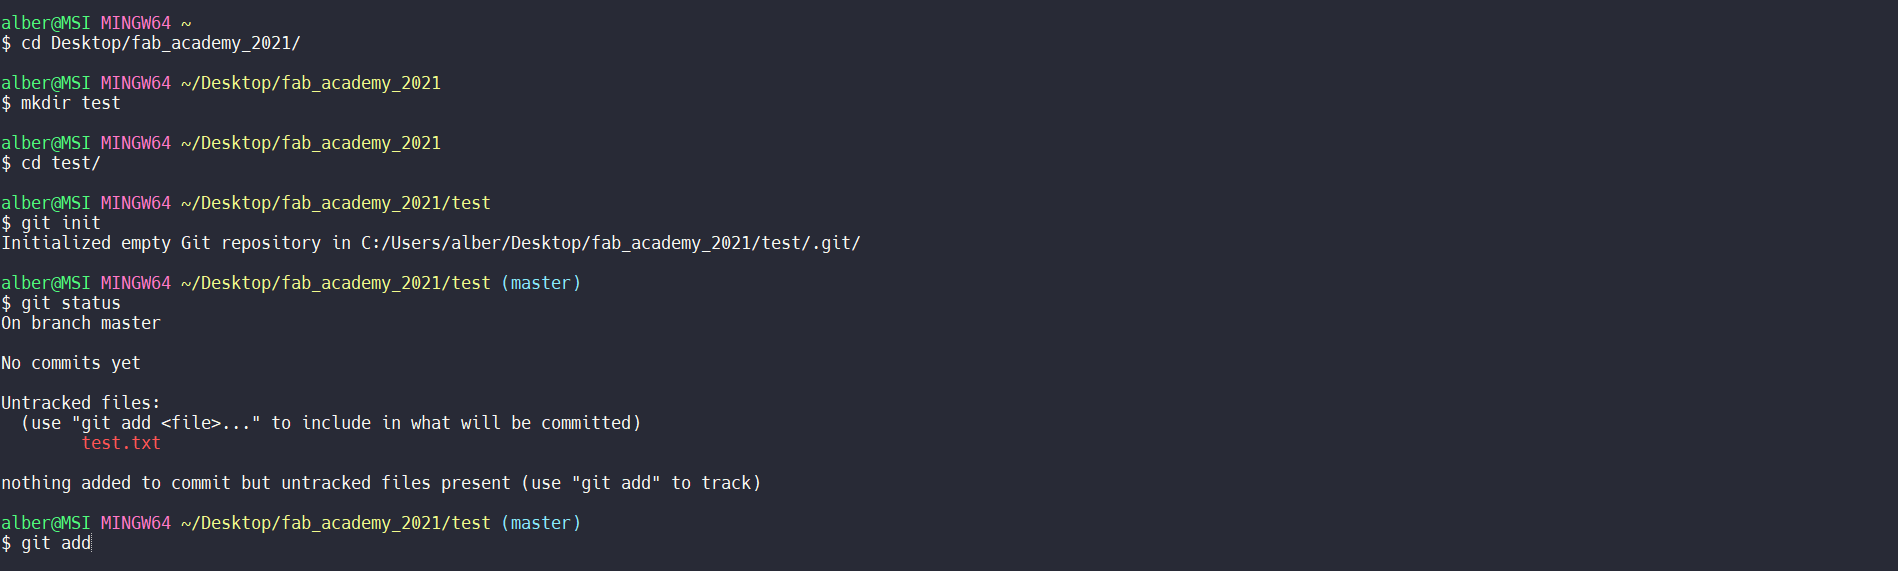
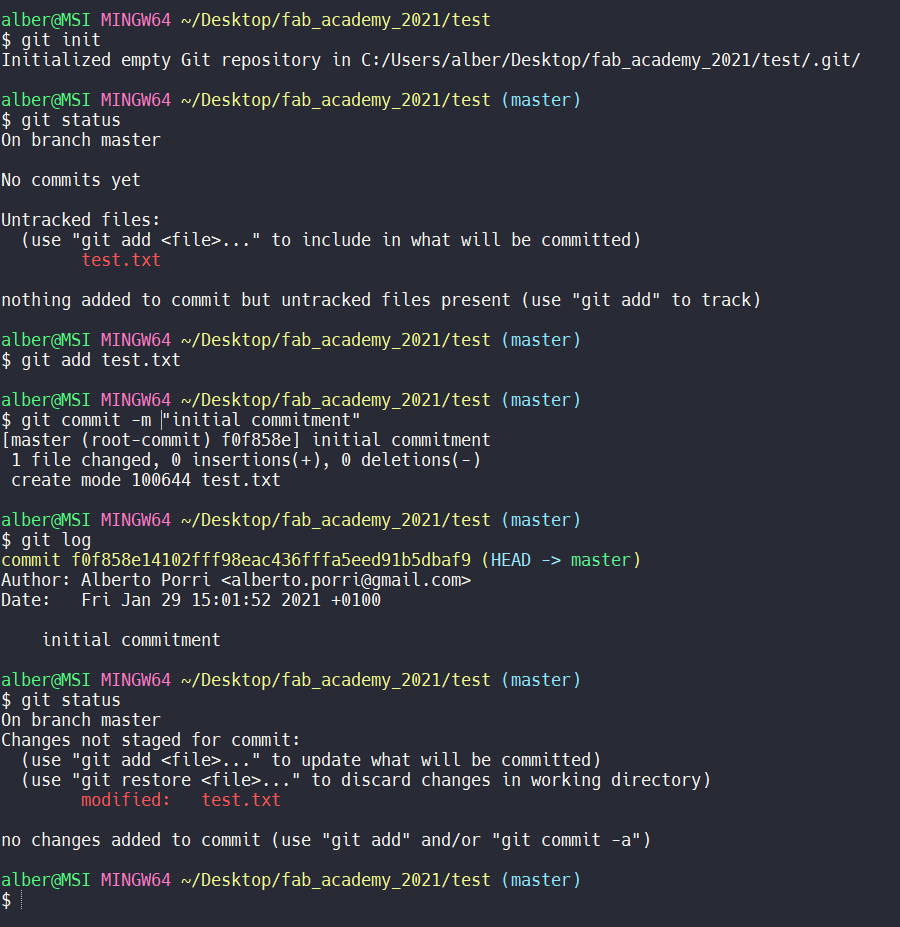
git init
creates a repository inside the current folder. If I want to delete the repository for any reason,I only have to delete the .git file and it’s done.
Before moving on with the tutorial,I took a look on what was going on into my folder.
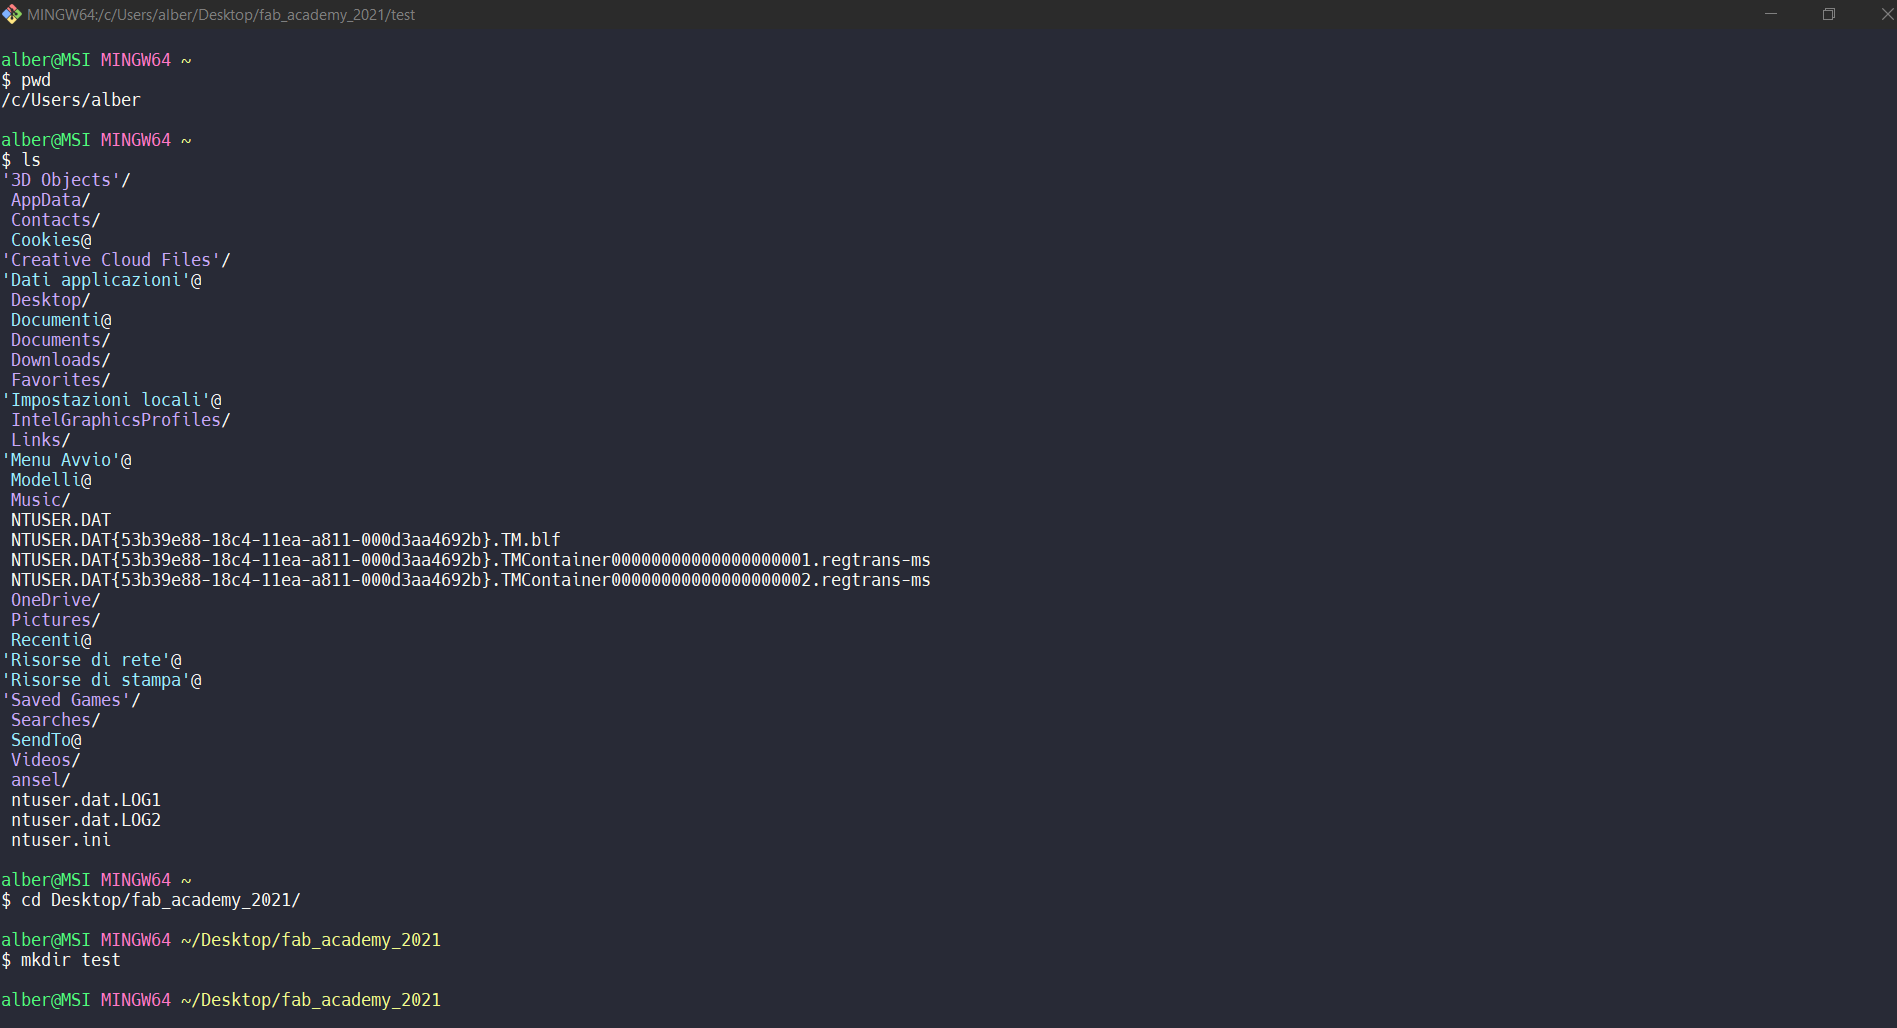
There is a folder, its name is “test” and it is a repository, since there is a hidden .git folder inside it.
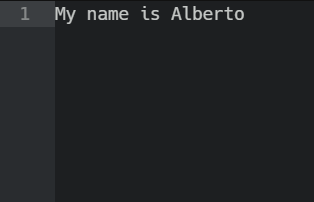
After that, I created a .txt file with some words inside.
git rm [file name]
removes the chosen file
Moving back to the terminal, I kept using the command I’ve (kinda) learned.
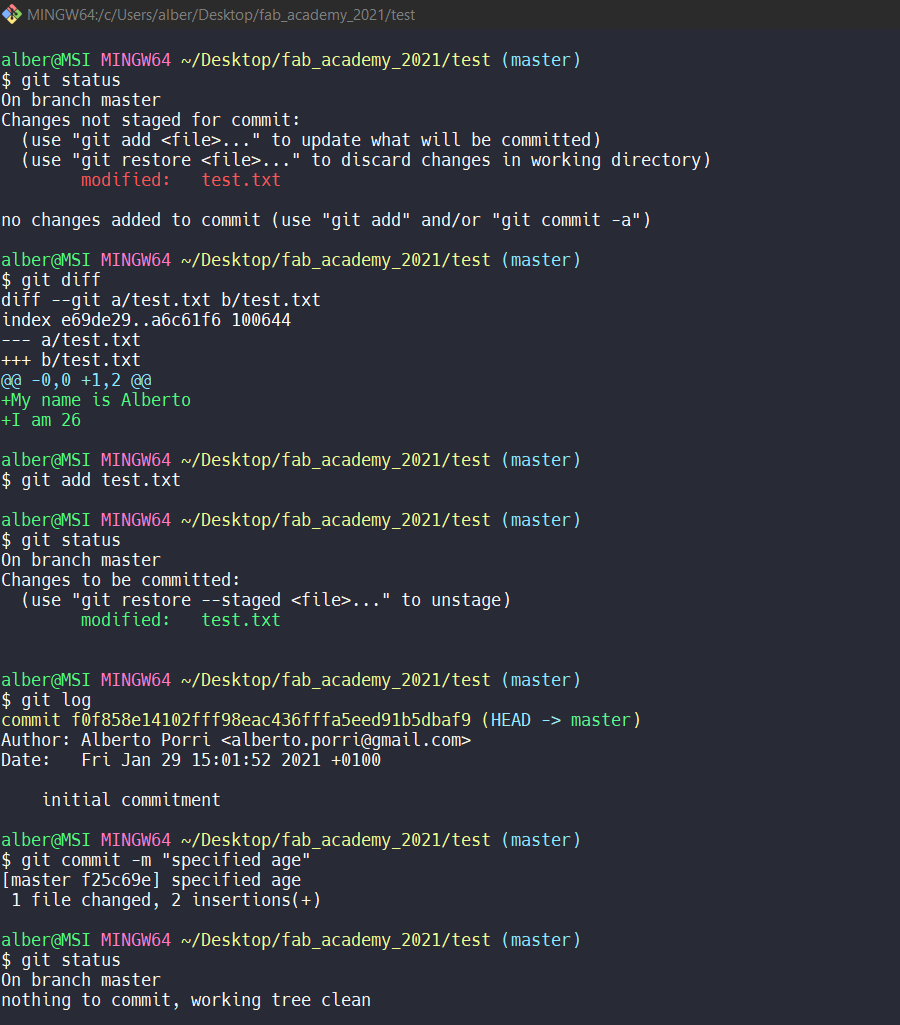
git status
tells me how git is doing and if there are things to be done/committed.
git add [file name]
puts the file in the list of files to be tracked, aka staging area. If everything works properly, the terminal won’t reply at all.
git commit -m "[message]"
record the file that was into the staging area. Once a file is committed,it is recorded in the history.
Even when there will be more recent commitments, the previous ones will be available.
git log
shows the list of all the commitments made inside this repository.
git reset --hard [unique commitment code given by git log]
Brings the file to the previous chosen commitment, deleting all the more recent ones.
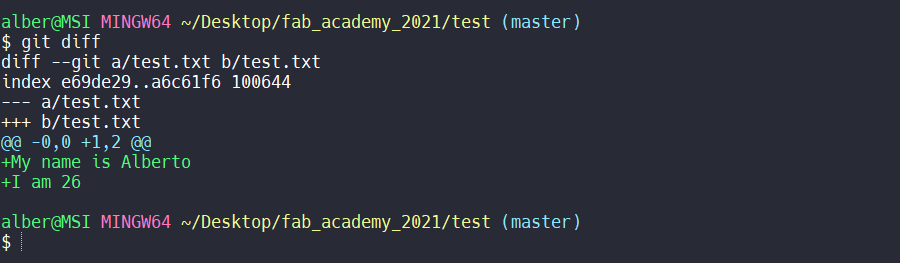
If then the committed file’s content changes, the system will see it. But, unless asking it properly, it won’t tell us nothing. The command git status will do the work just fine.
The terminal highlighted a change in the tracked file. Now it is possible to save changes running git add or to discord changes using git restore.
git diff
Shows what changed in the file from the last time it was succesfully committed.
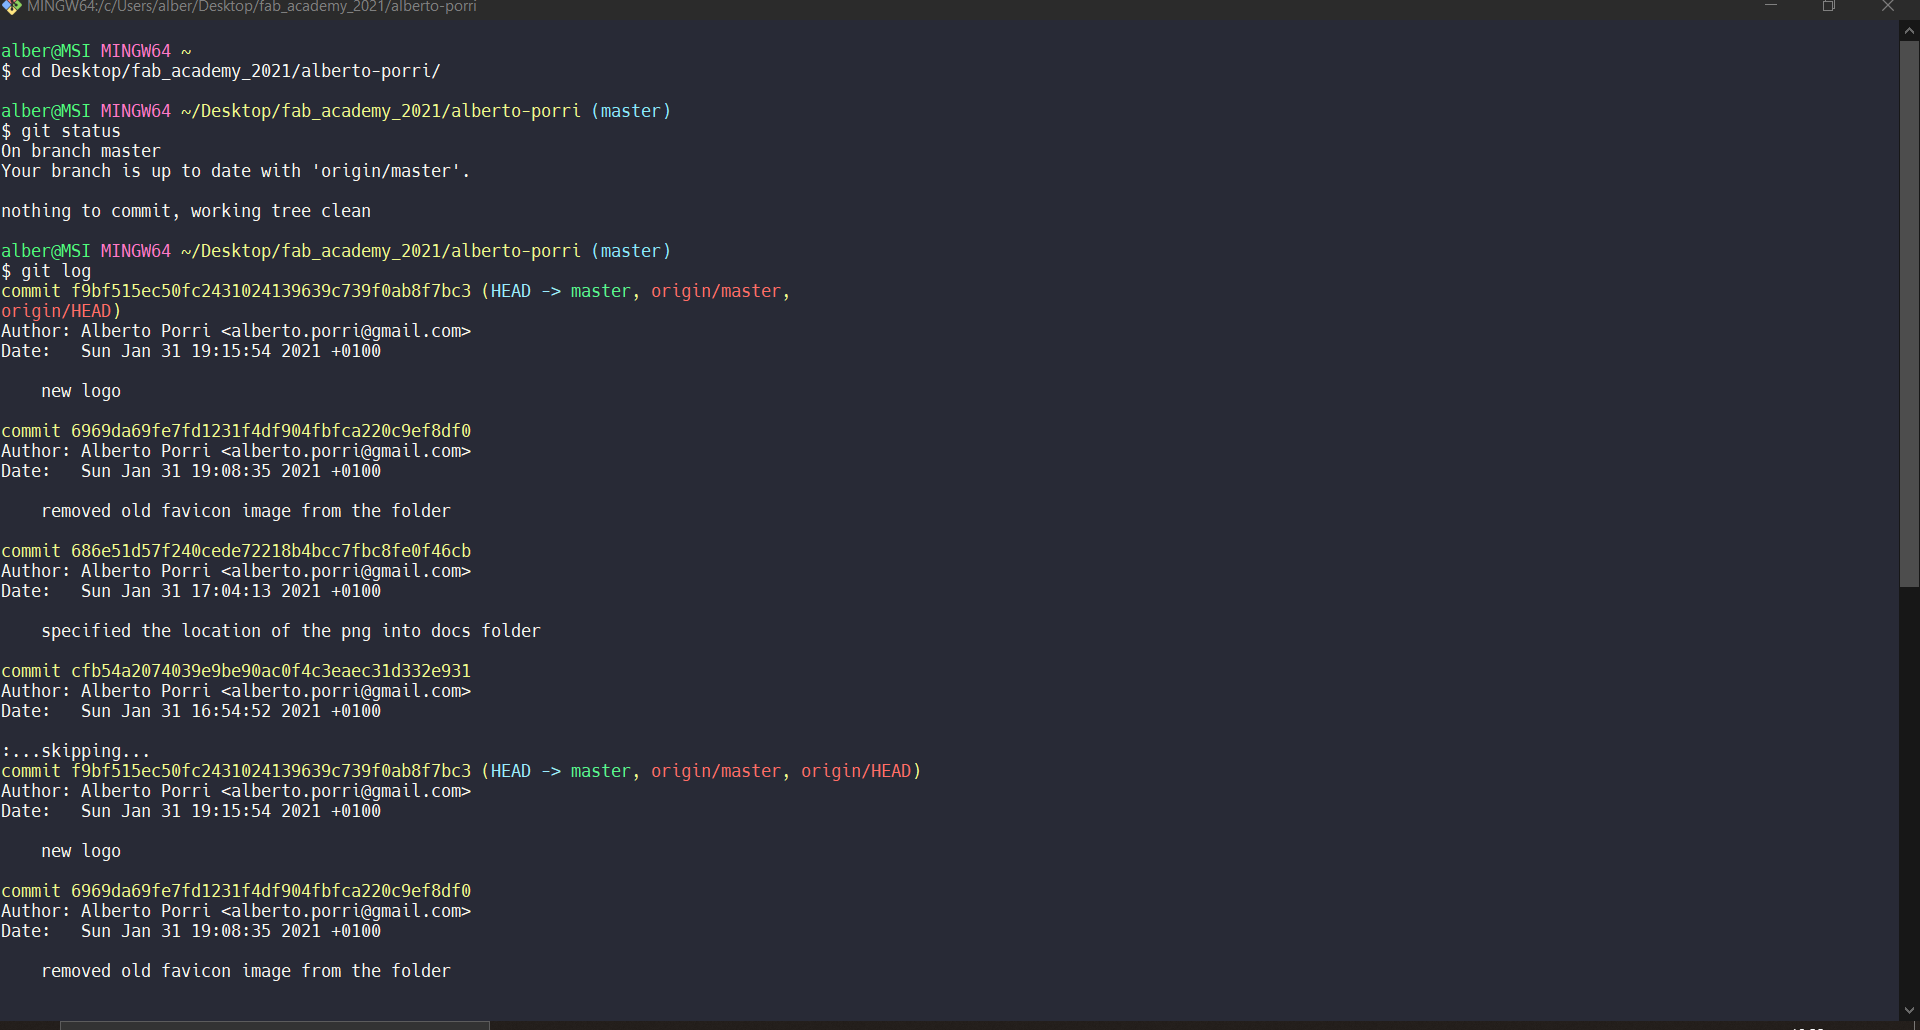
Then I committed the file once again and locally everything seemed fine. I was ready to load the repository online. It was in that moment that the instructor told us that there was already an online repository. So none of this work was meant to be pushed. Its only aim was to teach me how to behave properly on a local repository. I’m gonna miss you, test folder…
git push
sends the files to the remote repository,
which will be synchronized in a few seconds.
git pull
takes the files from the remote repository.
In order to connect my laptop to the online repository, I needed to create a SSH key. I followed the tutorial on gitlab to get one.
This was not an easy part, it took me a while to understand which part of the text was the ssh key,
in order to copy it and paste it in the SSH key settings into gitlab.
Once the key was submitted, I could load the online repository into my laptop. Instead of using git pull, the first time I had to use
git clone [ssh code given by gitlab]
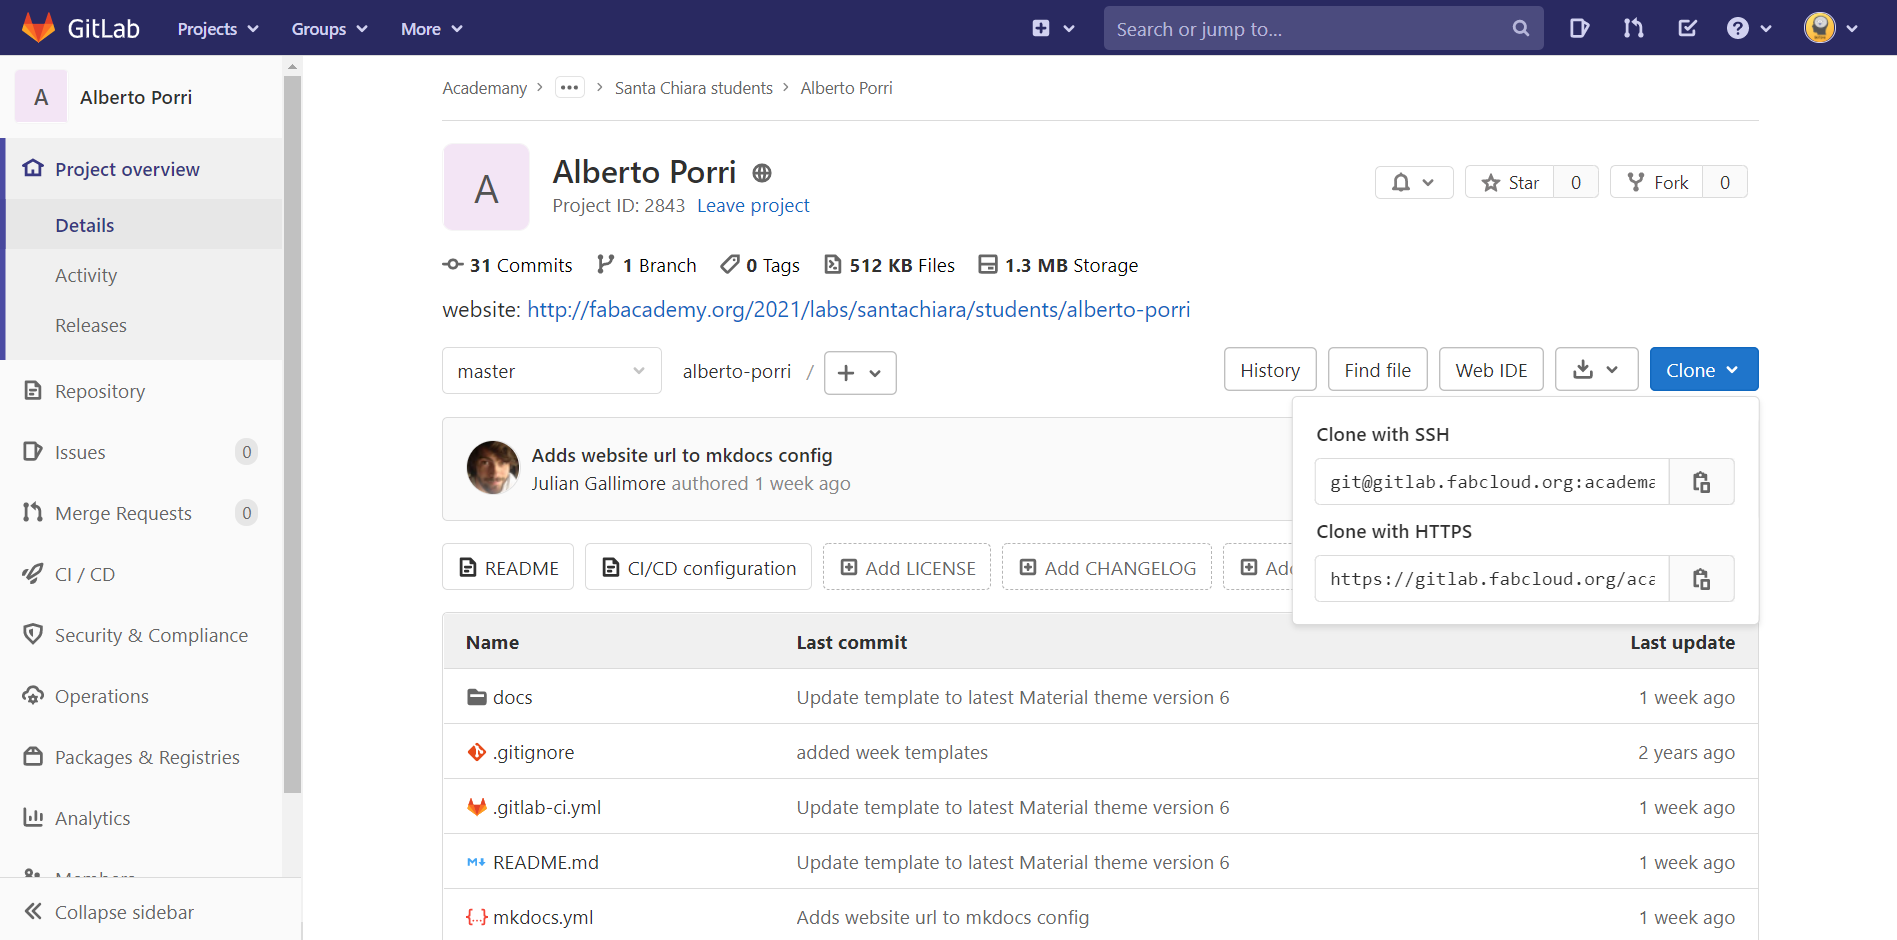
The last thing I am doing in this tutorial is pushing this txt file to the online repository just to check if everything is clear.
UPDATE: the first push was succesful!
This is where my tutorial ends.
Useful links
Website
Even if MKDocs is already installed in my Gitlab folder, at first I wanted to give html a try.
In the last few months I have worked with Wordpress paired with Drag and Drop builders like Divi or Elementor, since I’ve never studied html.
I do understand some of the tags and the overall syntax, but at the same time I’ve never done it properly before.
I’ve been hearing that Bootstrap is a powerful tool for developers, so I started from there and took a look on a couple youtube tutorials (this one
and this one) and written guides as well on how to integrate a plain html to it
(w3schools and getbootstrap.com).
I kept struggling for a while, then I decided to take advantage of the already installed MKDocs structure into my folder and to stick with it.
It is the content that matters and deadlines must be respected.
I will keep customizing my website during the following weeks, but right now the most important thing is to have a working and responsive website.
So, as a second attempt, I started looking for Markdown guides in order to learn the logic, its syntax and how to customize it. markdown guide to basic syntax daring fireball cheet-sheet mastering markdown
I started modifying the pre-made files into my folder, so that I could customize my website with MKDocs.
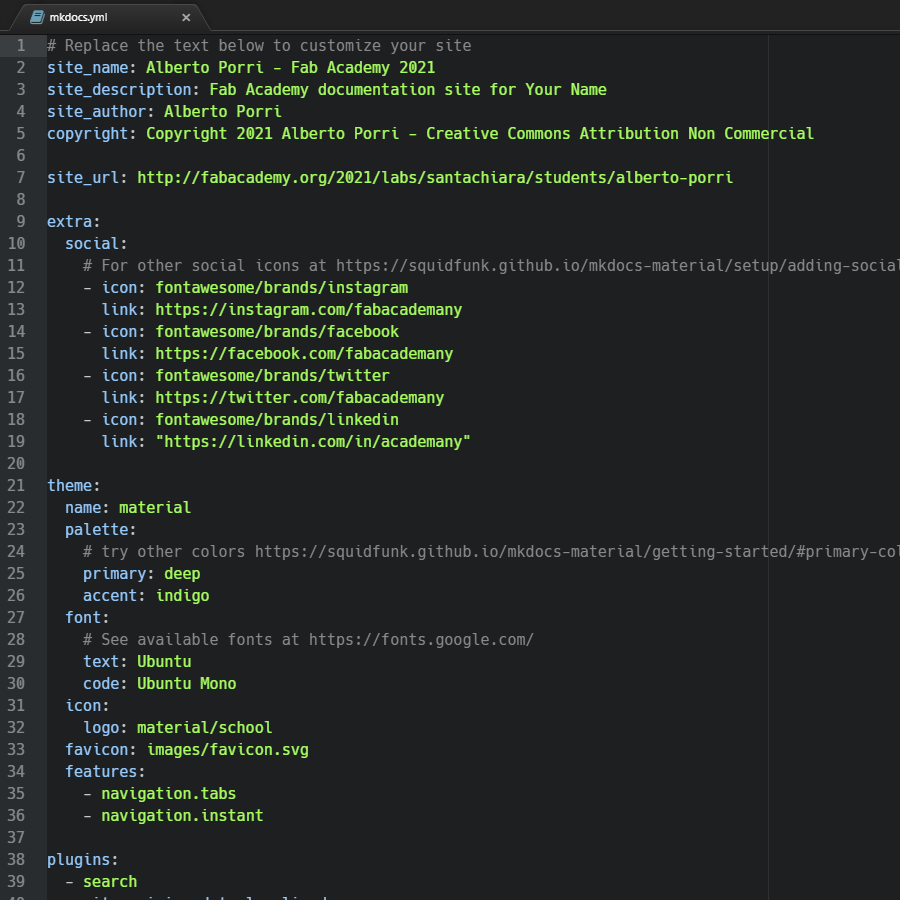
Starting with mkdocs.yml, I put my basic details, then I moved to the social links.
After that, I started looking for new colours and a different font for my website.
Once I changed the colours and the font, I tried to replace the favicon. I used an .svg file made by Nikita Golubev.
Before saving, I took a look on the page navigation settings but for the moment I did not change or add anything.
I saved the file and pushed it to the remote repository.
Not all the change I made could be seen at first. The old Icon on the header was still there.
I came back to the file mkdocs.yml and replaced the .svg file with a .png file.
Then I saved and pushed to see if it worked.
The old icon is still there. I tried to be more specific on its location into the mkdock.yml file. Then I saved and pushed back again into the repository.
Even after the more detailed specification…the icon is still there. The next attempt has been the removal of the previous favicon image. Once I did that, I saved and pushed the file.
Now the favicon has been changed, the last step that I did about the initial customization is changing the logo. I modified the mkdocs.yml file once again, then I saved and pushed.
Even if the push was successful from the terminal, gitlab says that there has been a pipeline failure. I don’t know what has generated the error. I need to ask my instructors what do I have to do next.
The next morning I restored the old logo. This time the push has been successful. Instructors’ opinion was that the error came from a wrong file extension.
I tried to replace the former logo with a .svg file instead of a .png. I tried to push, still pipeline error. So I once and for all came back to the previous logo (material/school).
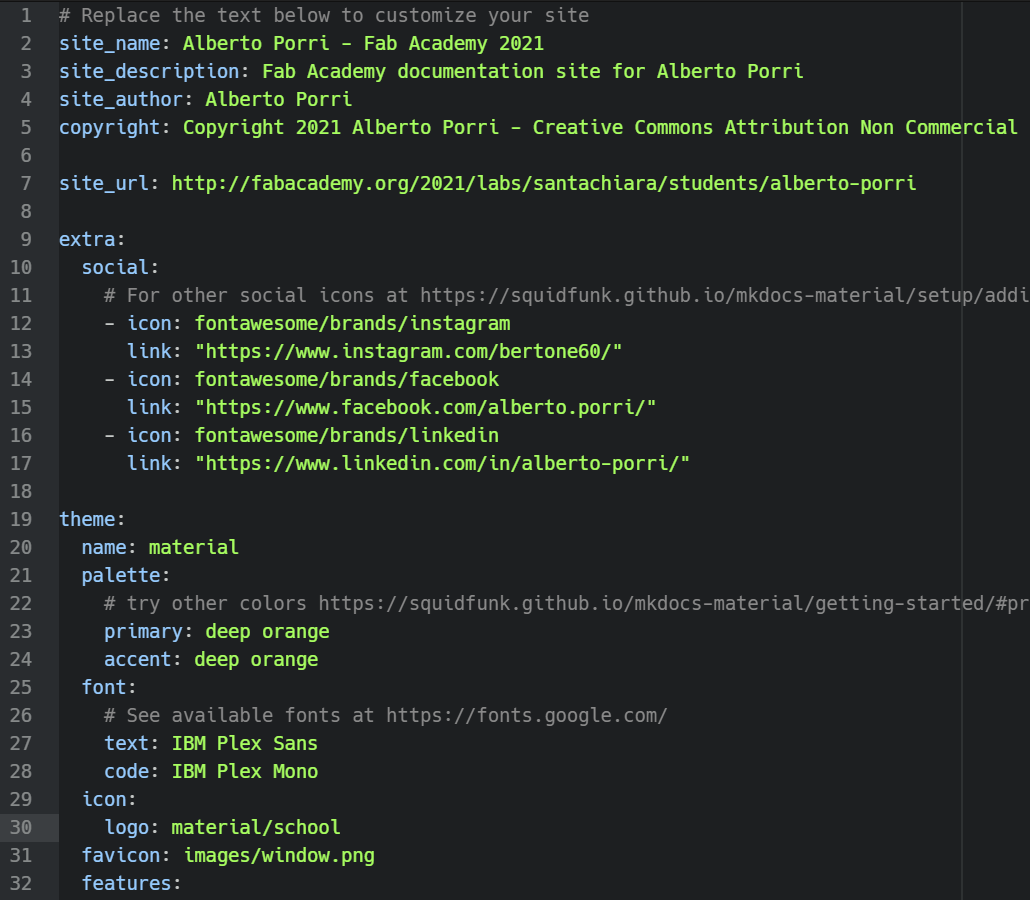
After changing fonts, favicon and color, I started replacing the text in all the pages.
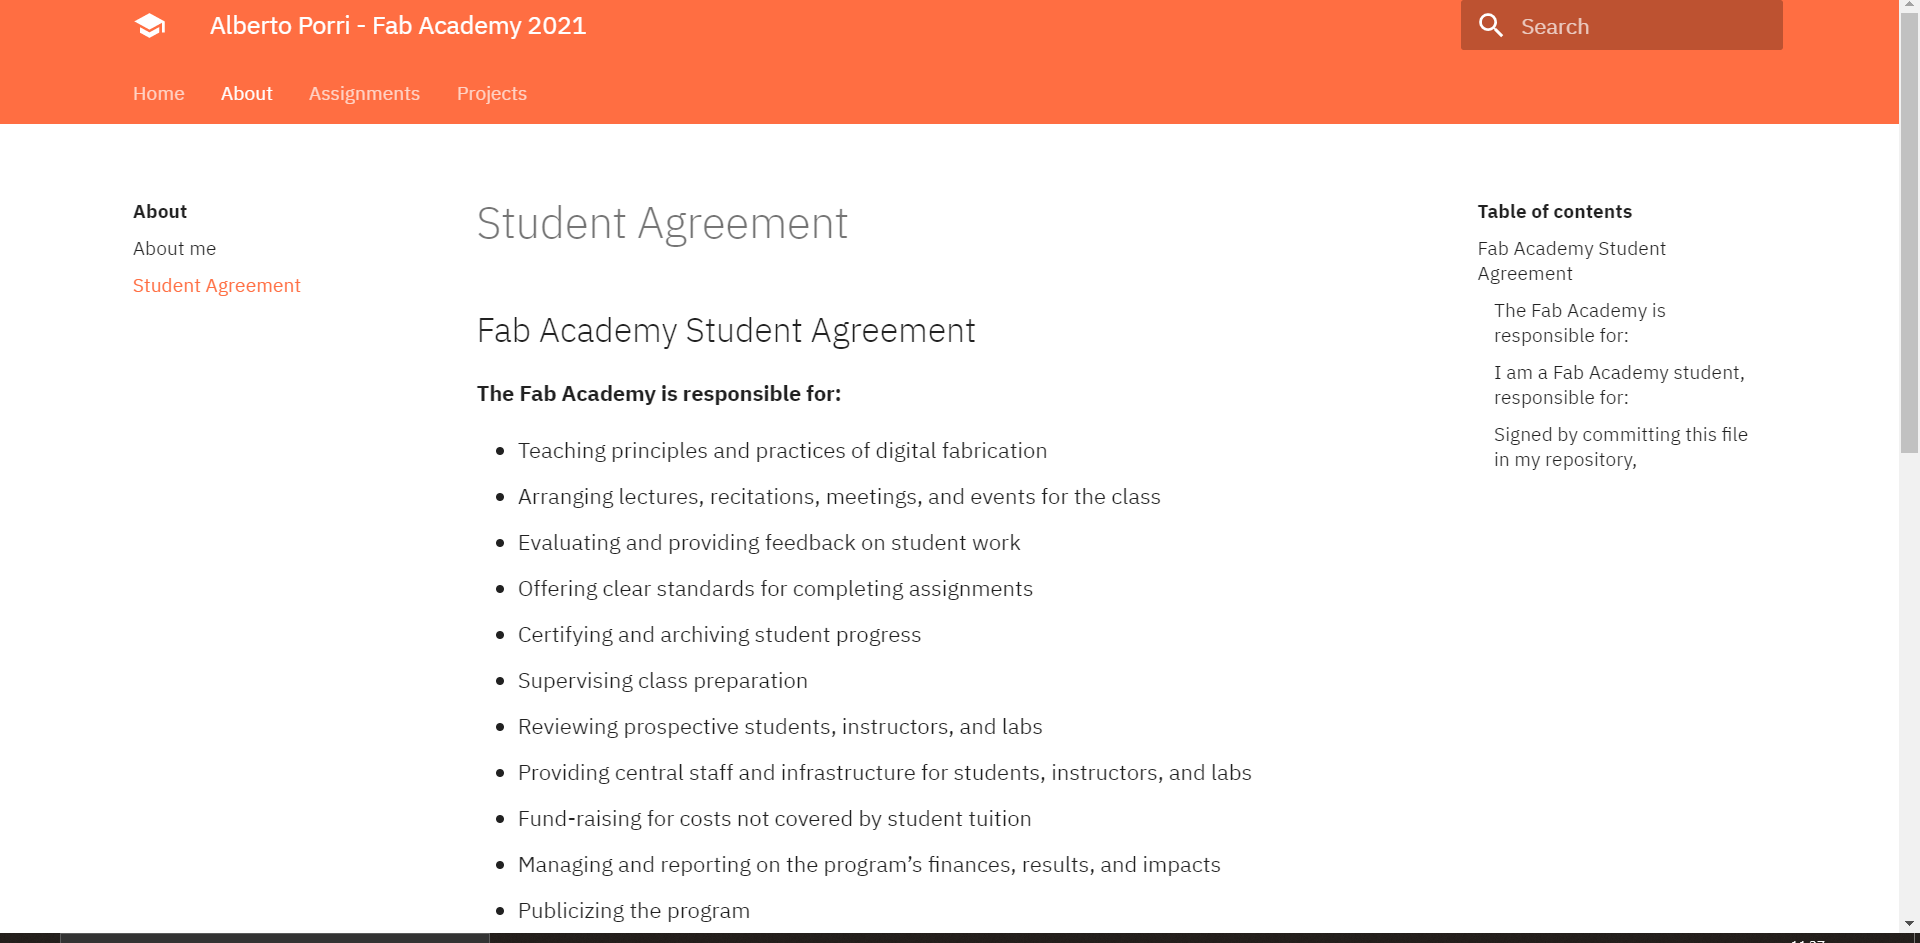
First of all, I put the proper text into the student’s agreement. I pushed to see if it worked. Then I changed some text and pushed again.
Once the agreement has been done and pushed, I created my “about” page, then I wanted to make the about page become the homepage of my website.
In order to do that, i removed the index.md file from the docs folder, cutting and pasting the other index.md (which previously was inside the about folder).
Then I renamed the about folder, making it the agreement section. I had to remove a extra folder (there where two about pages) and change the .png image to a .jpeg image. Then I saved and pushed.
After the about page, my task was to modify the existing assignments’ pages. I put all my text into the .md file and then I tried to push.
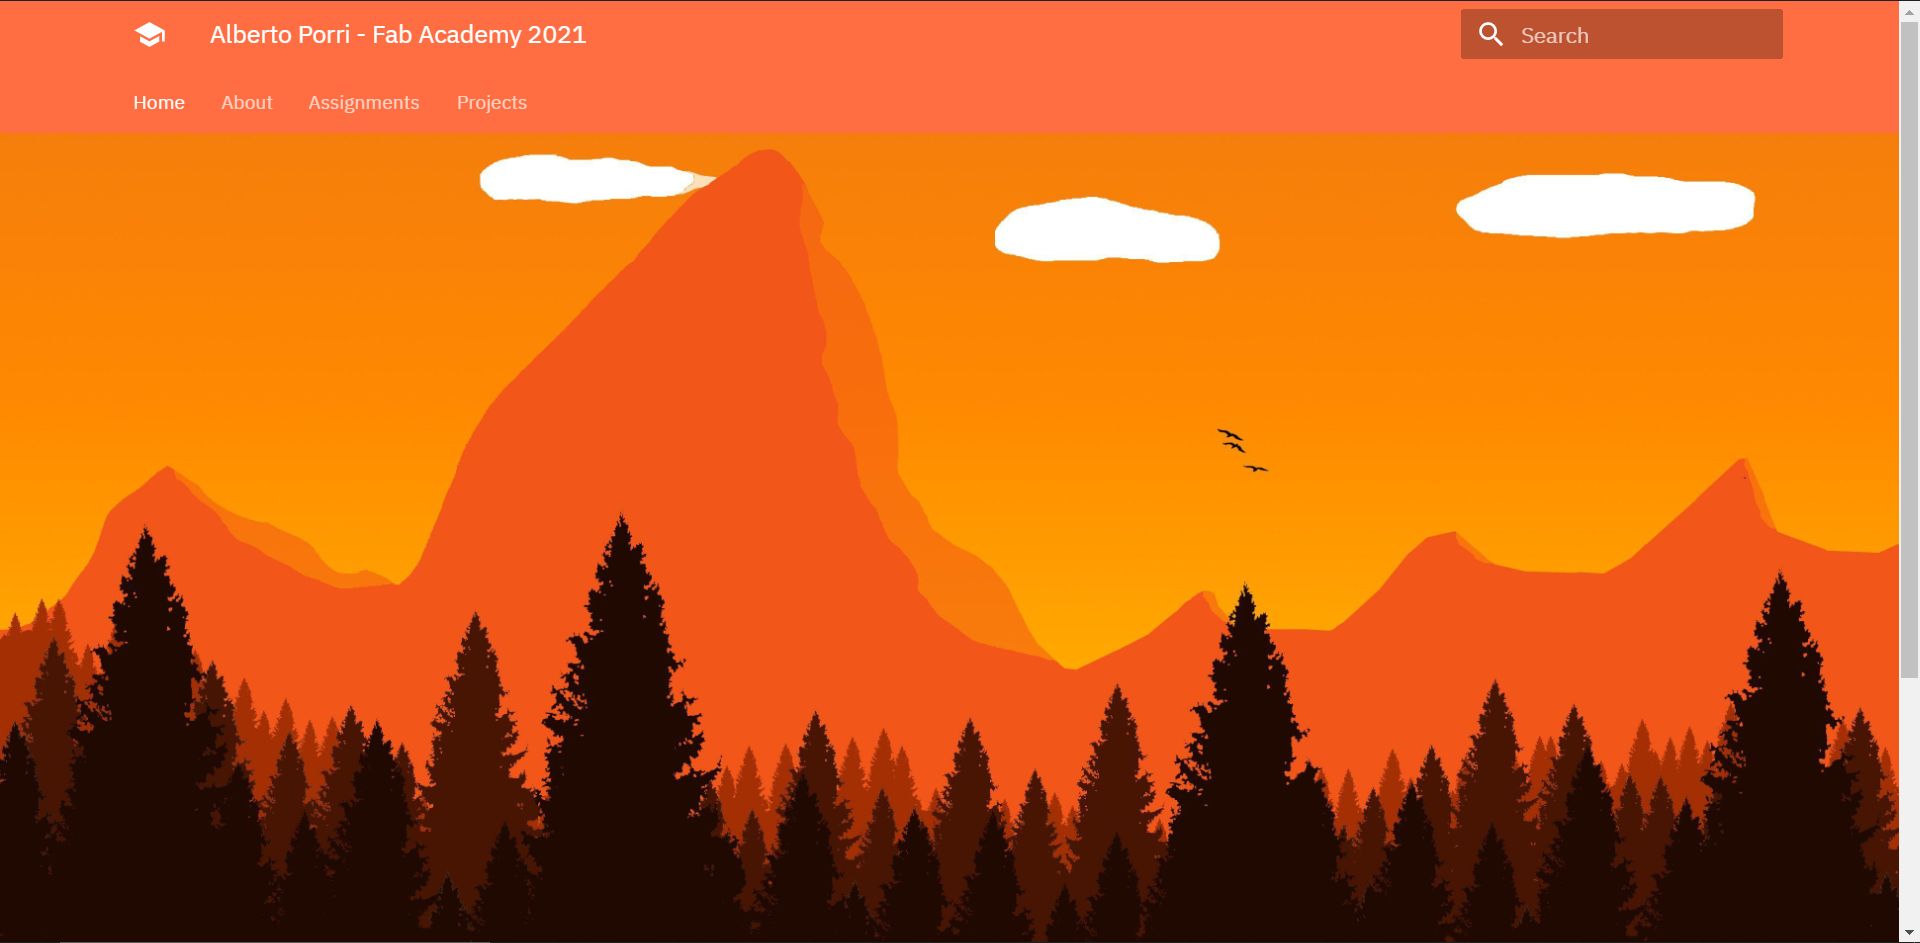
Once all the text has been put properly, I decided to recreate a homepage. I took a look on other student websites and I really liked the website made by Teddy Warner. Starting from that idea, I wanted my homepage to be without text and with a background image too. I searched for an image, then put some html code to put it accurately.
The website can be considered for week 1 deadline.
Final Project - First concept
You can find the whole documentation about my final project on this page