5. 3D Scanning and Printing
This is the assessment for this module:
Group assignment
- Test the design rules for your printer(s)
- Document your work and explain what are the limits of your printer(s) (in a group or individually)
Individual assignment
- Design and 3D print an object (small, few cm3, limited by printer time) that could not be easily made subtractively
- 3D scan an object, try to prepare it for printing (and optionally print it)
Group assignment
You can find the documentation about week 5 group assignment here.
Individual assignment - 3D printing
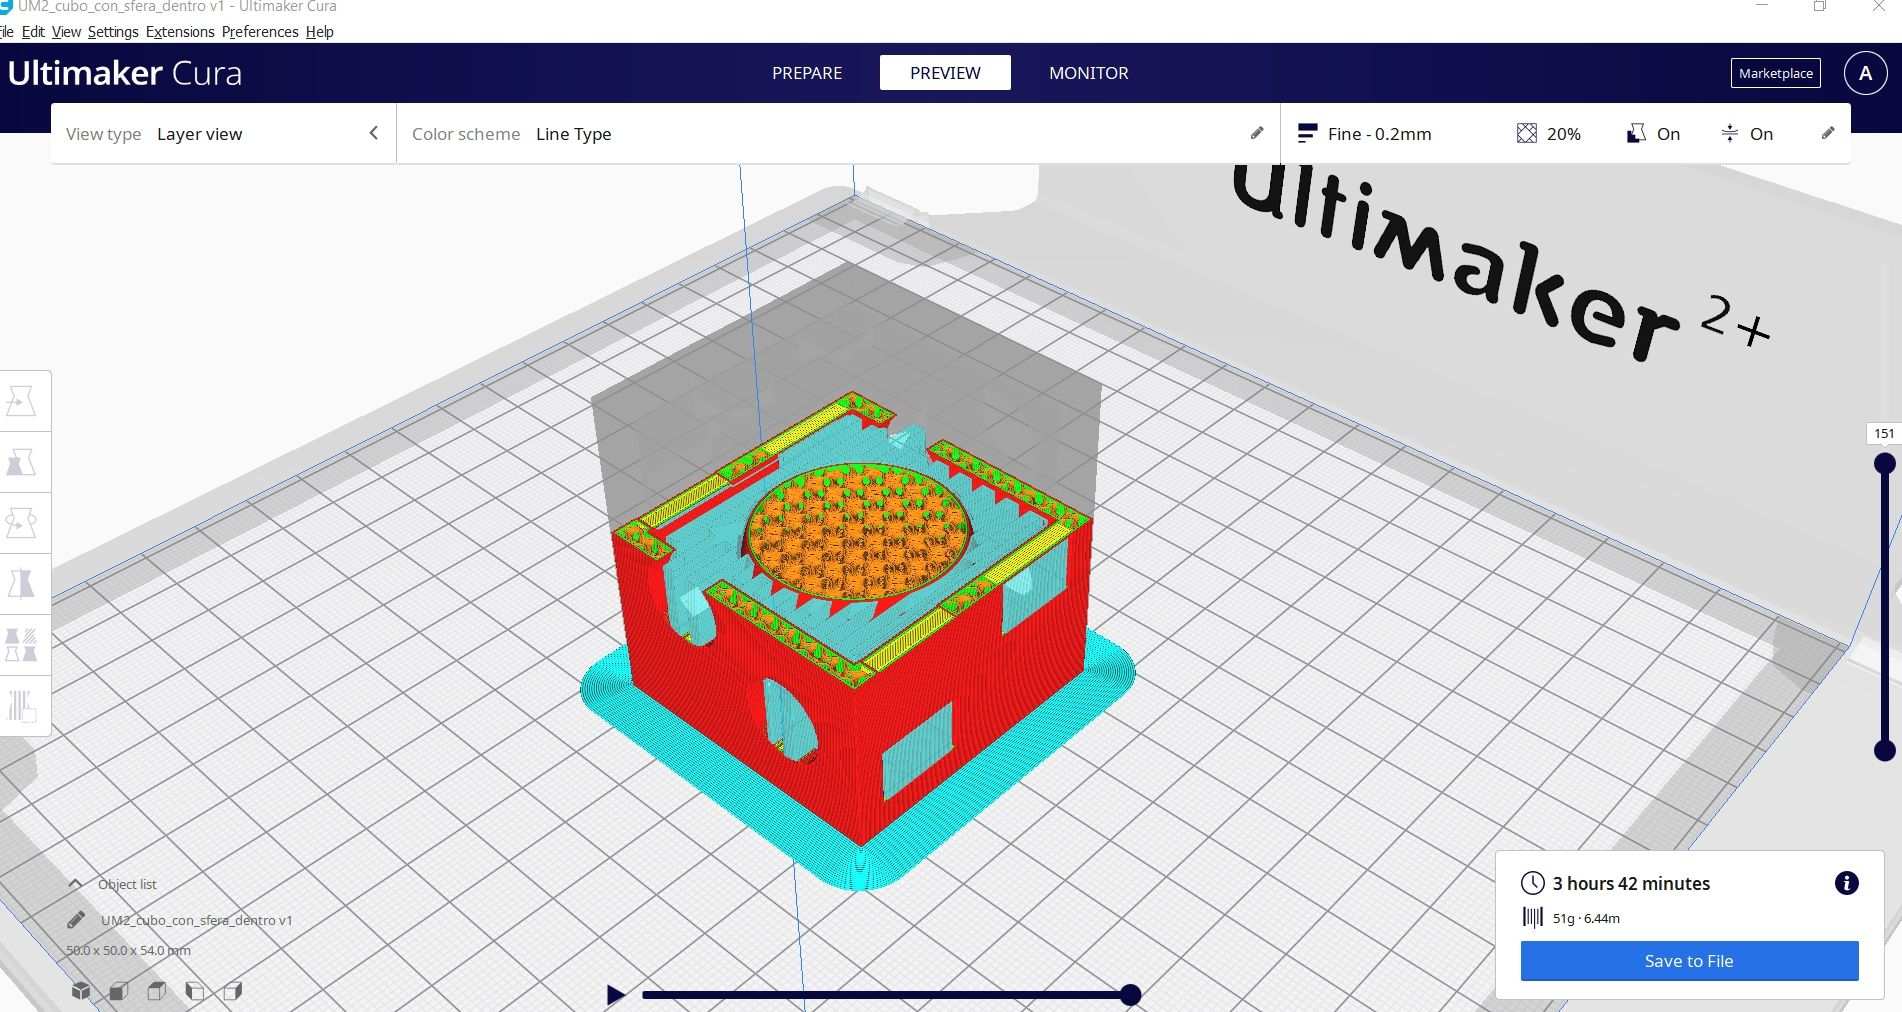
This week I had to design and 3D print an object (small, few cm3, limited by printer time) that could not be made subtractively. The latter condition drove my designing idea. My instructor suggested to design an object inside another one. And that’s what I did: a cube with a sphere inside. It would be impossible to obtain this object subtractively since the inner object could not be made so accurately. The outer object could be obtained through a subtractive process, but the inside wouldn’t be possible.
Fusion 360
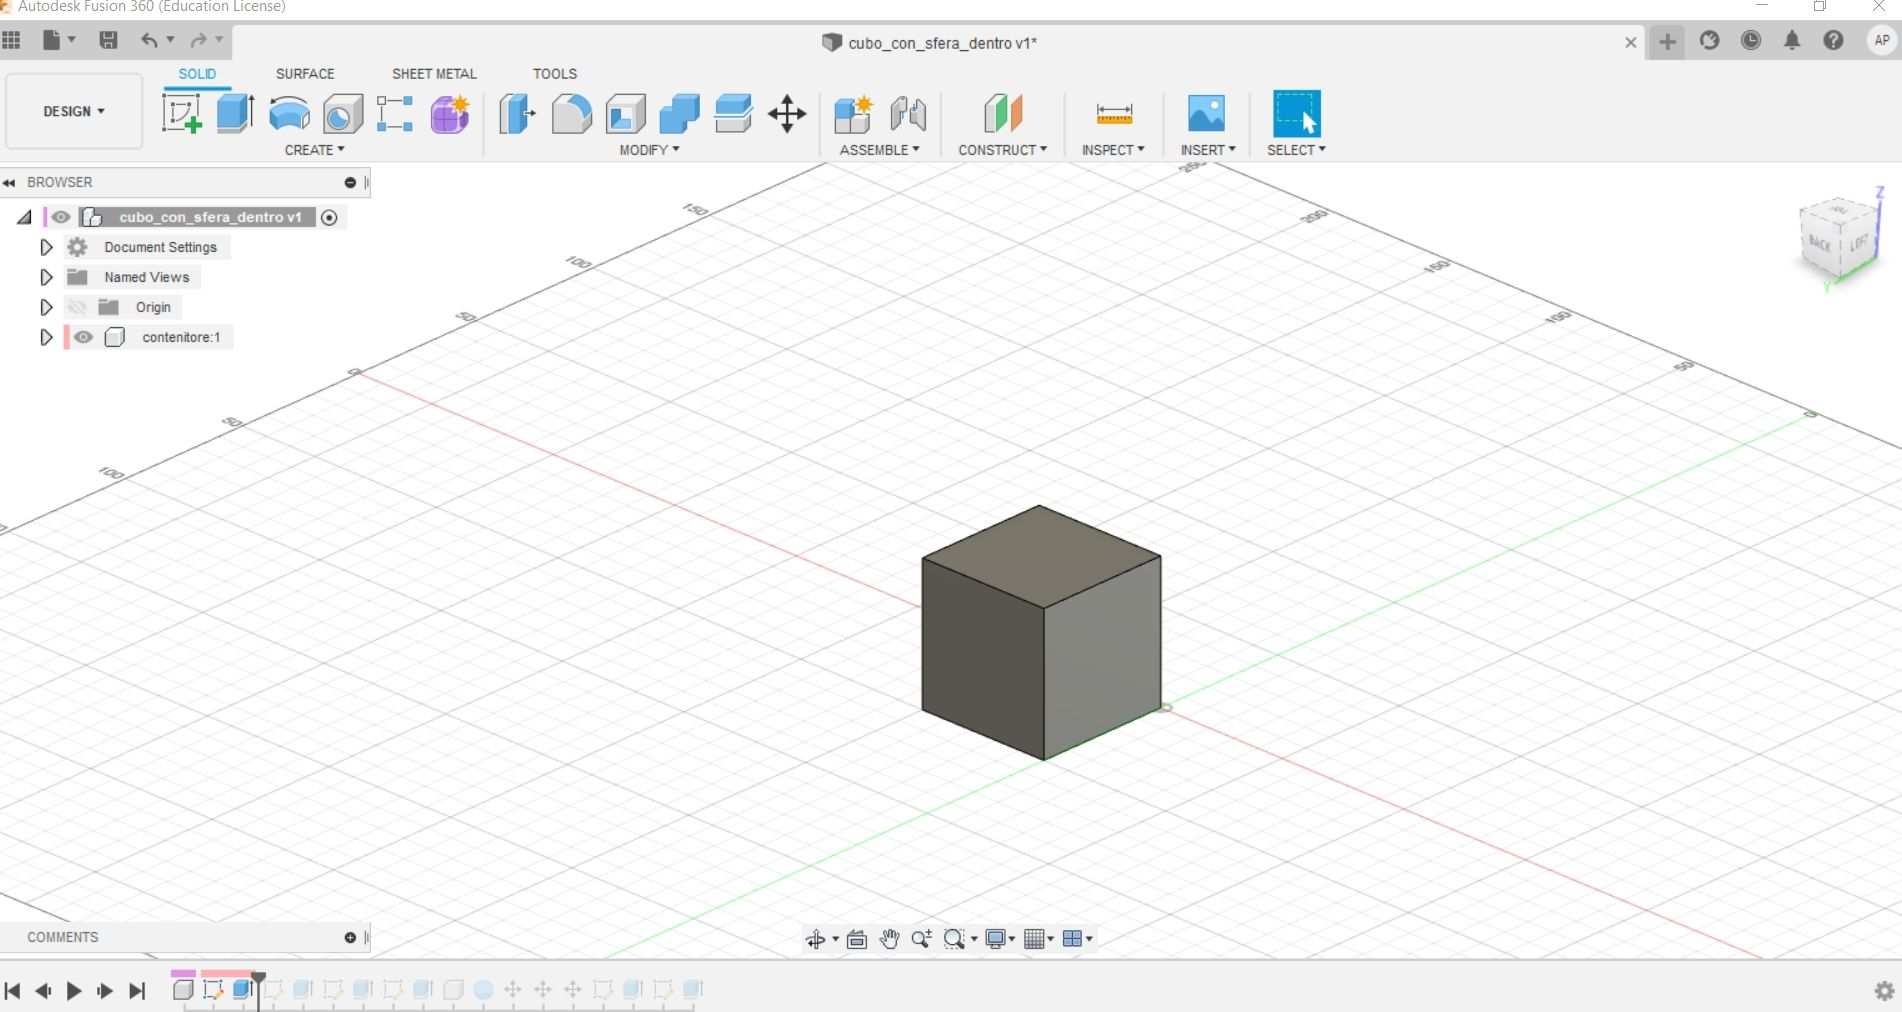
I started by designing a square on Fusion 360, then I extruded it in order to obtain a cube.
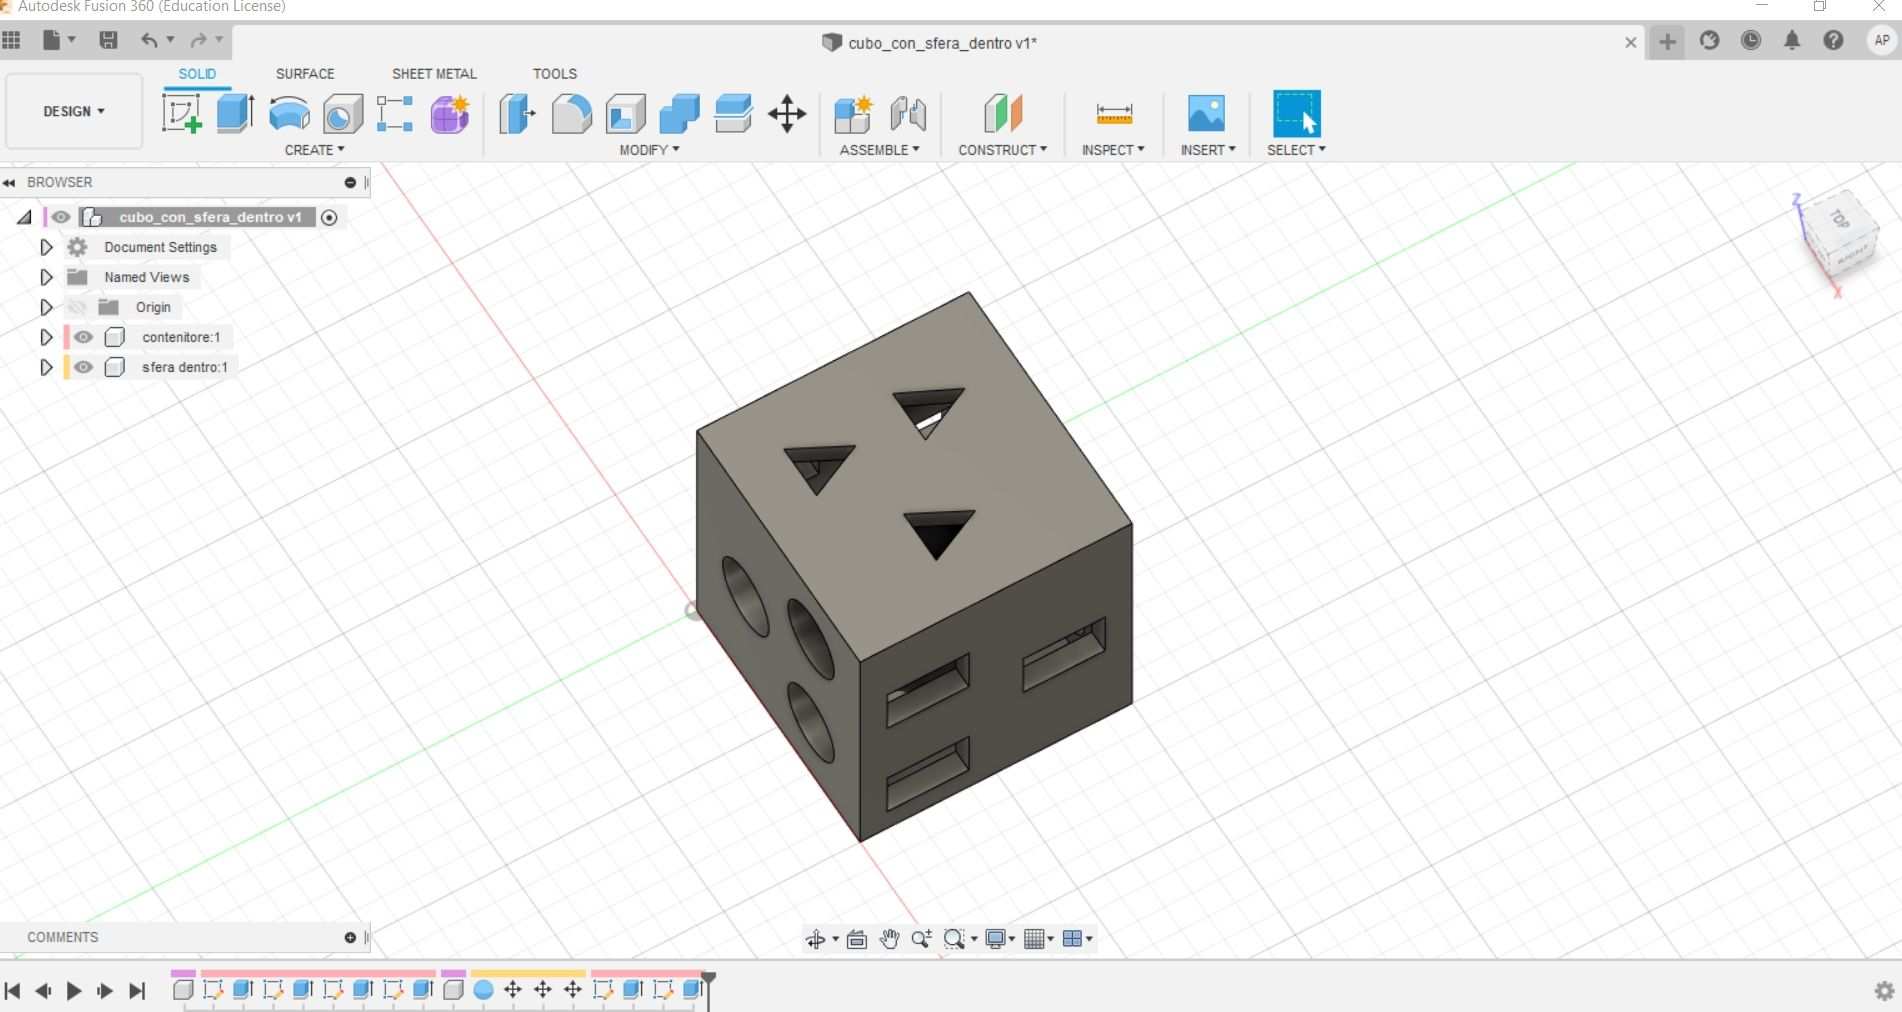
Then I made the cube hollow so that it could contain the sphere. I drew a sketch on the upper surface and made a 4mm offset so that the structure could be strong enough. Once the hollow cube was ready, I made three windows on each side. I extruded them to the opposite side so that they could be perfectly symmetric.
![]()
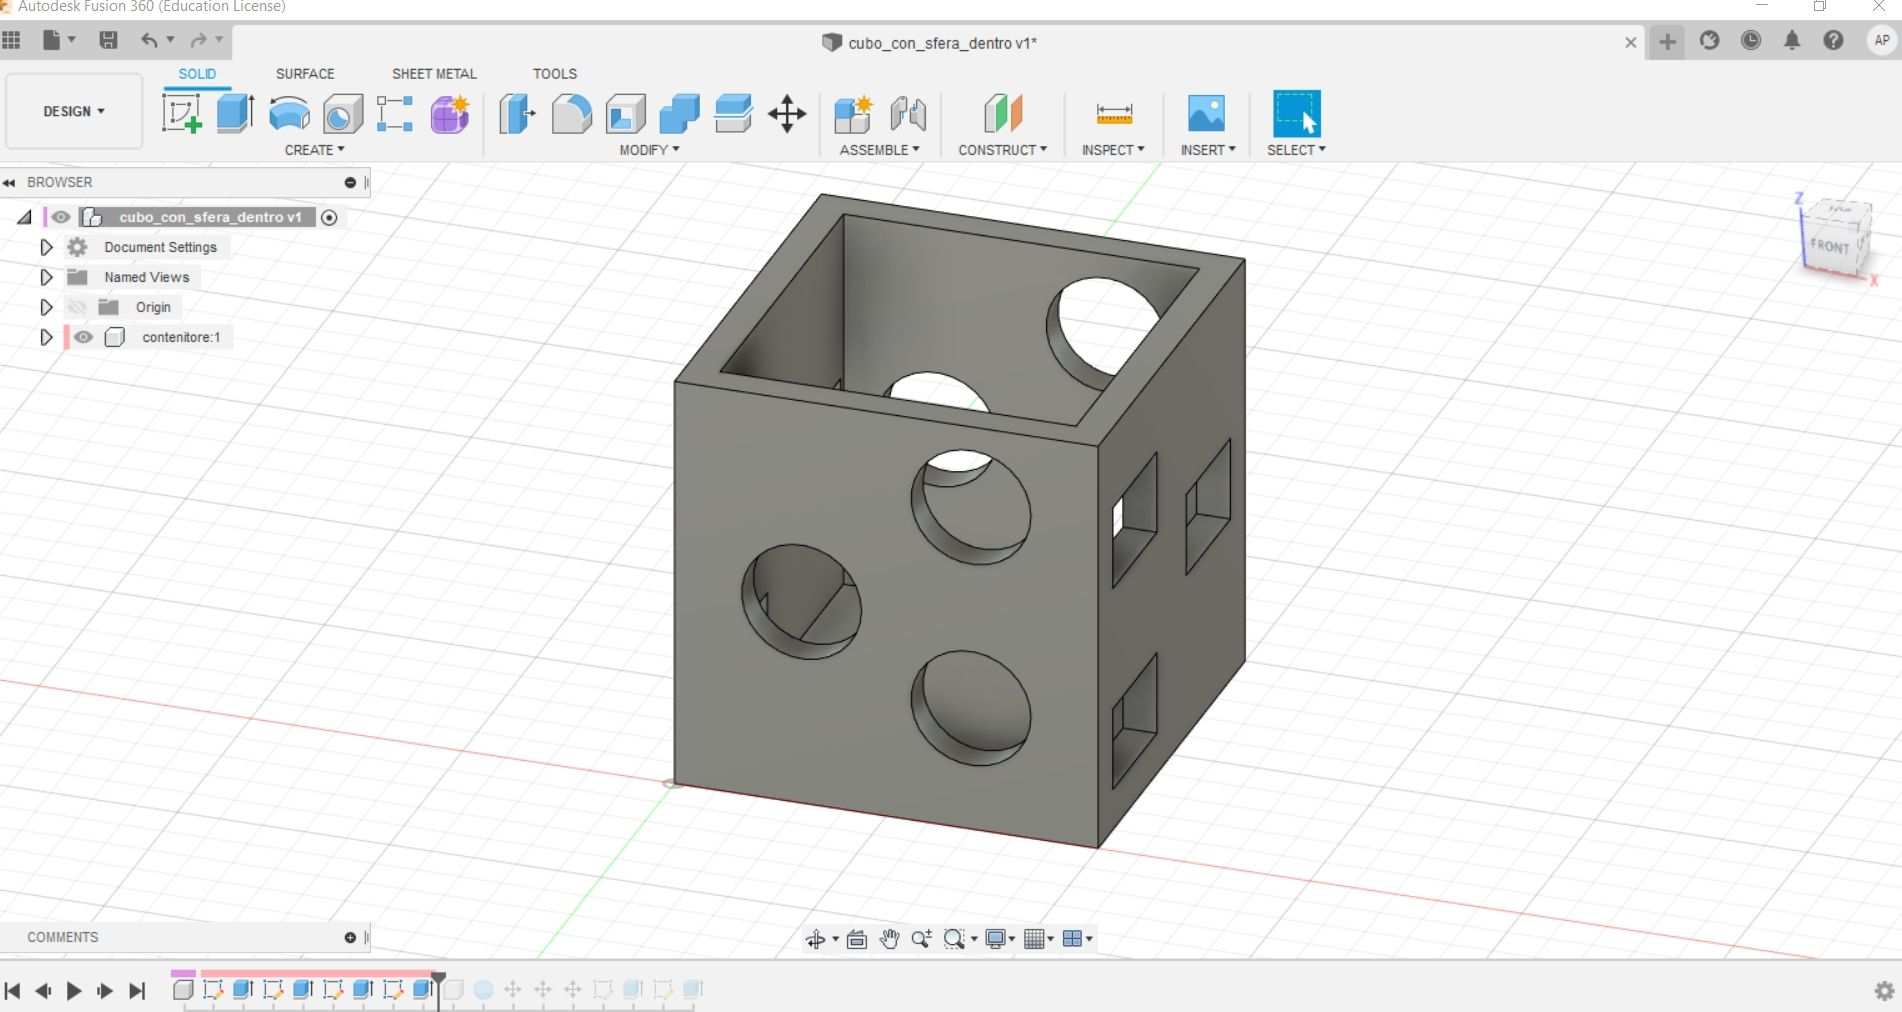
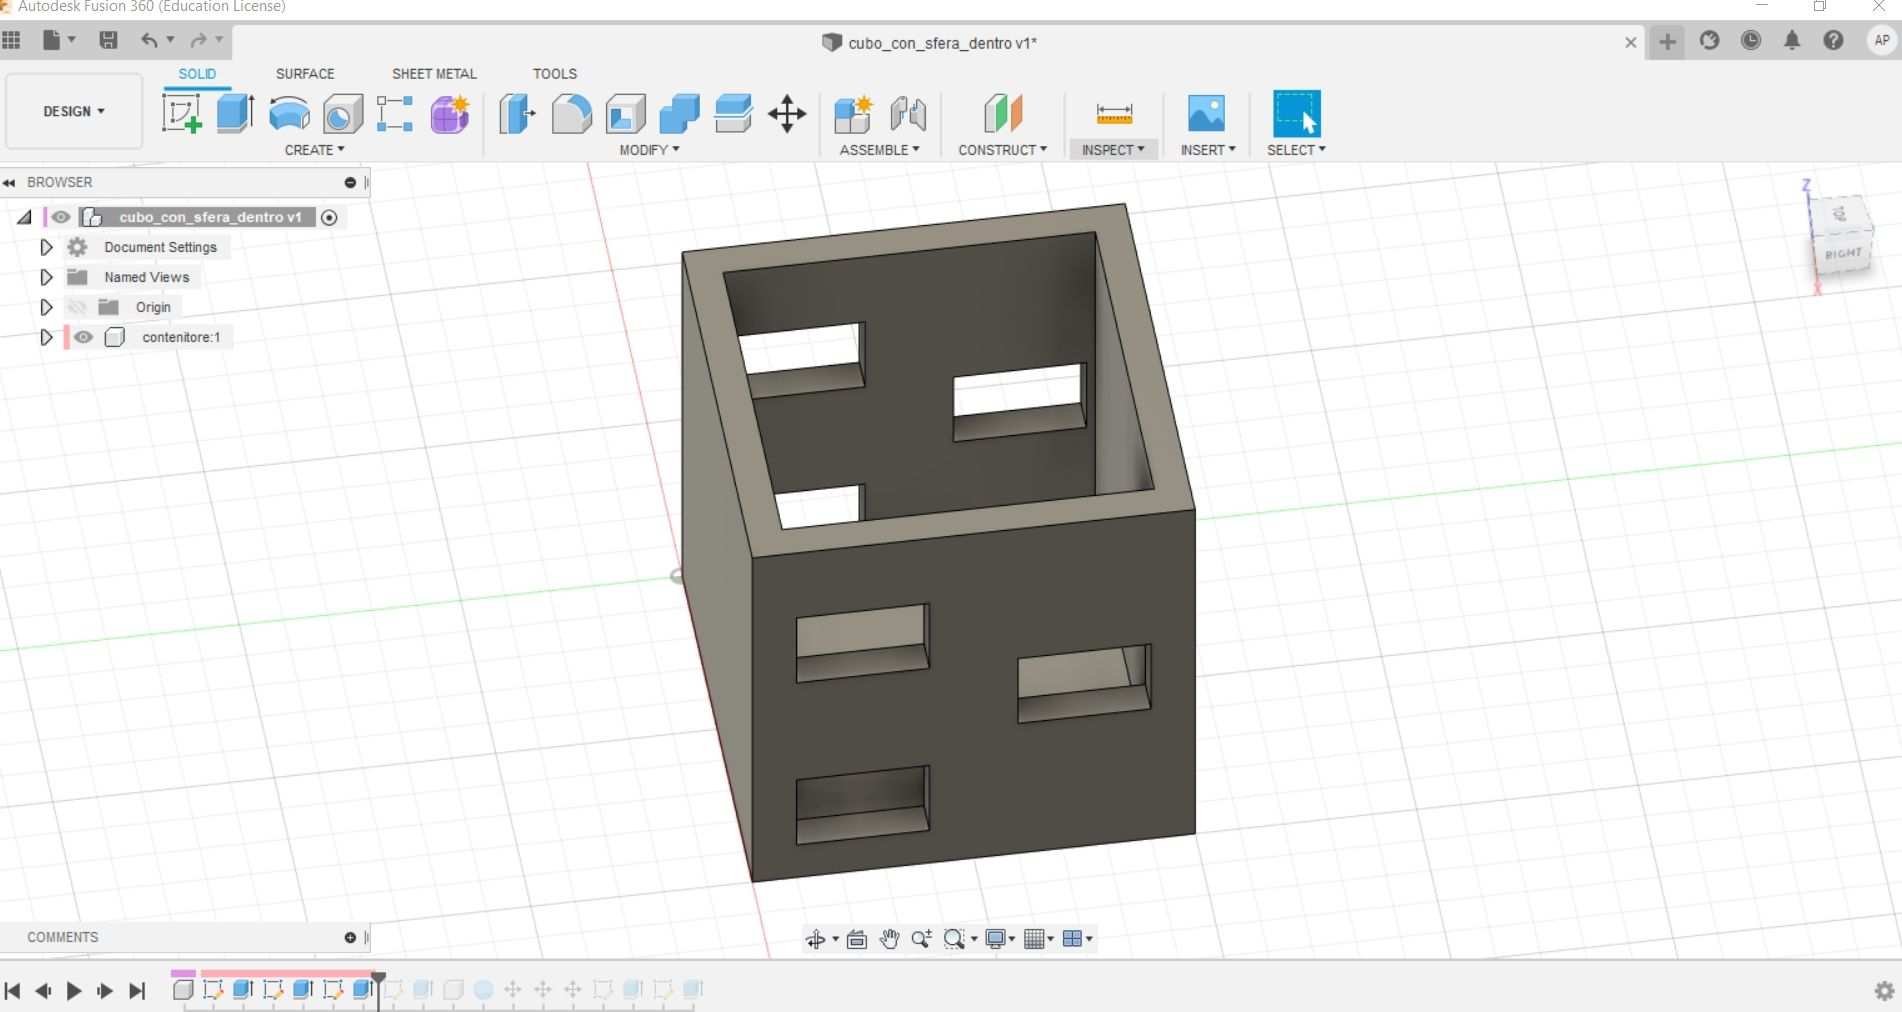
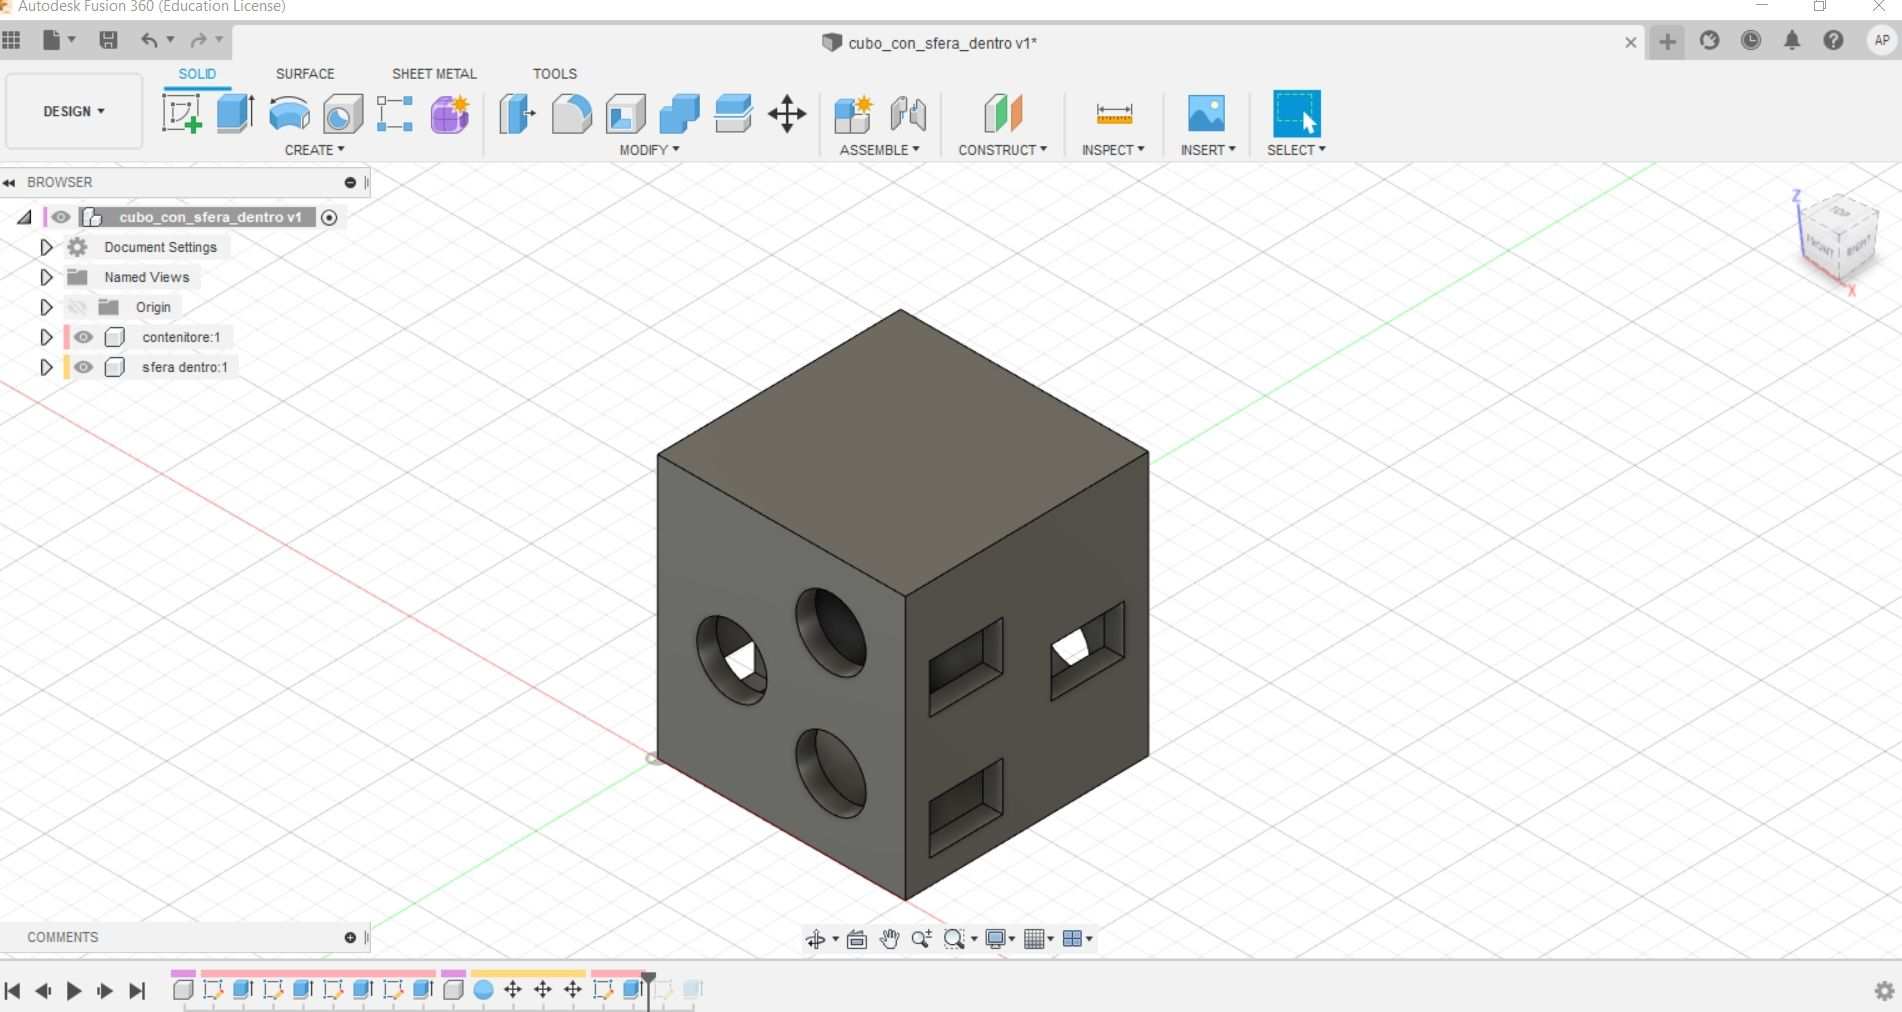
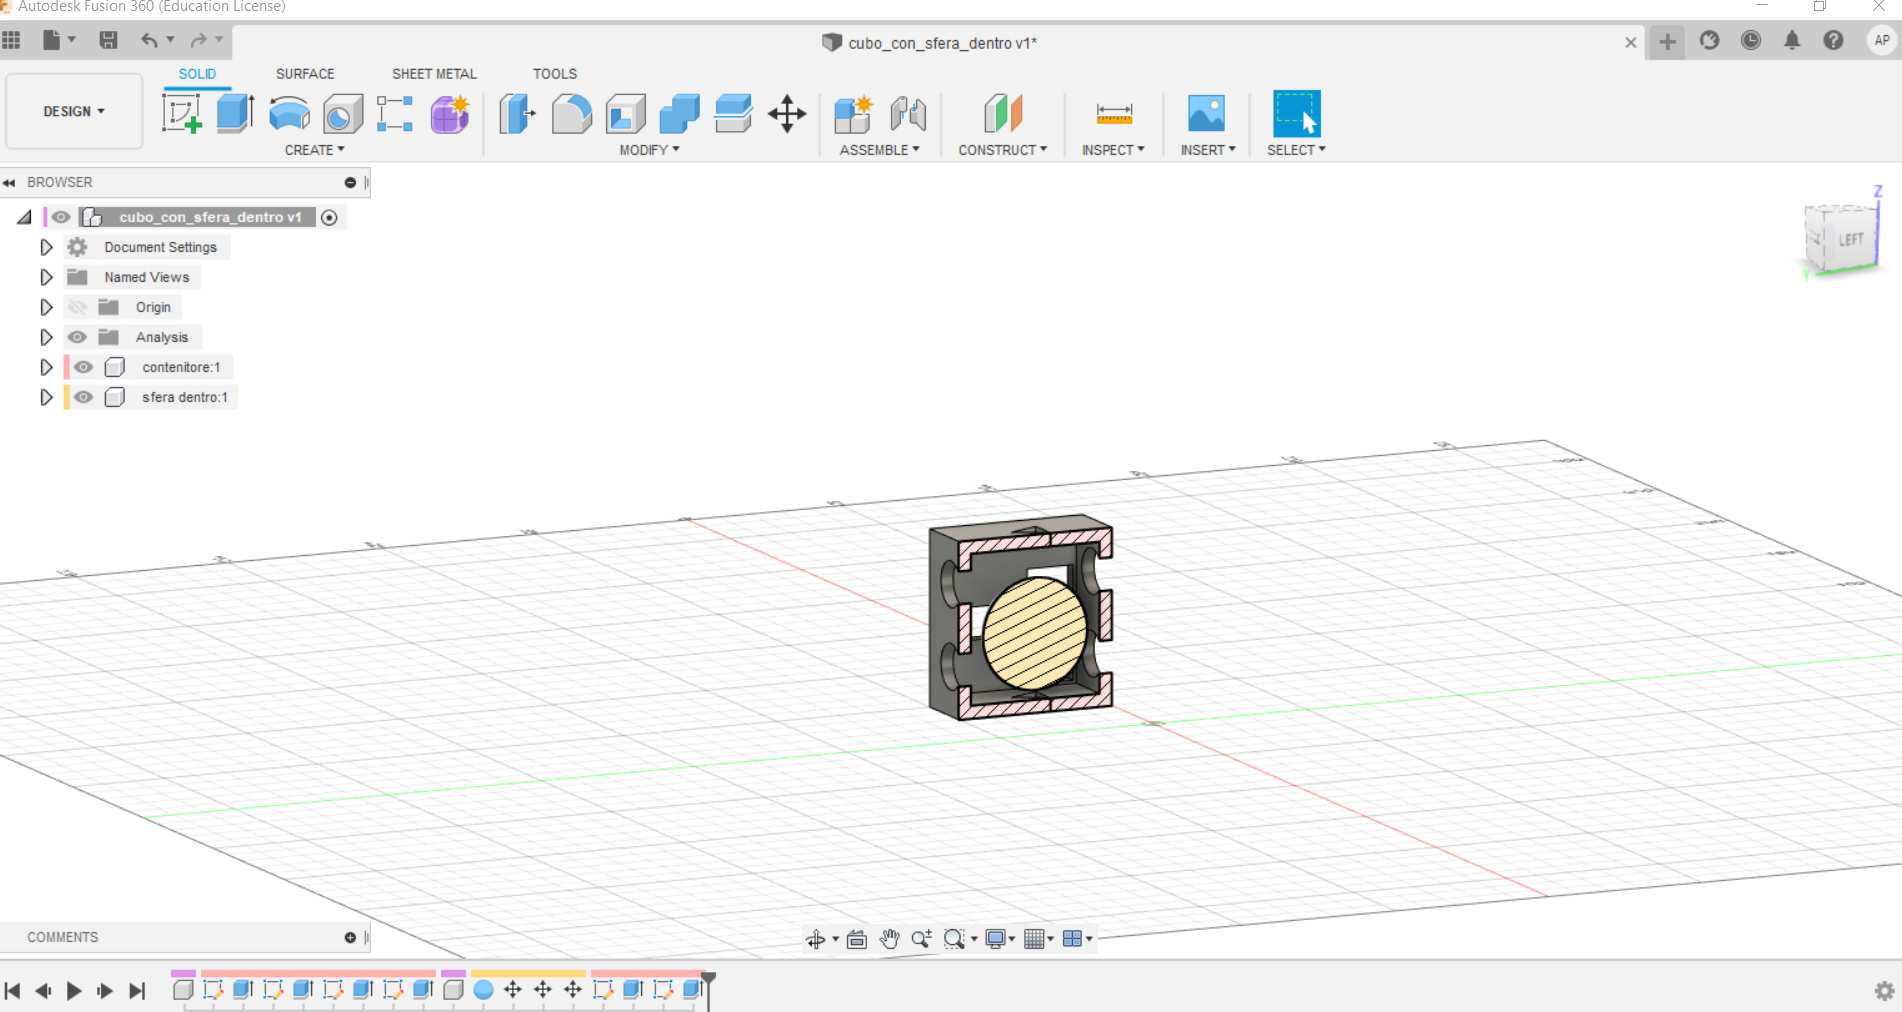
Next I made a 35mm radius sphere and I put it into the cube. Once the sphere was collocated properly into the cube, I made the 6th side of the cube so that it could be complete. Then I made three triangular windows on both top and bottom surfaces.

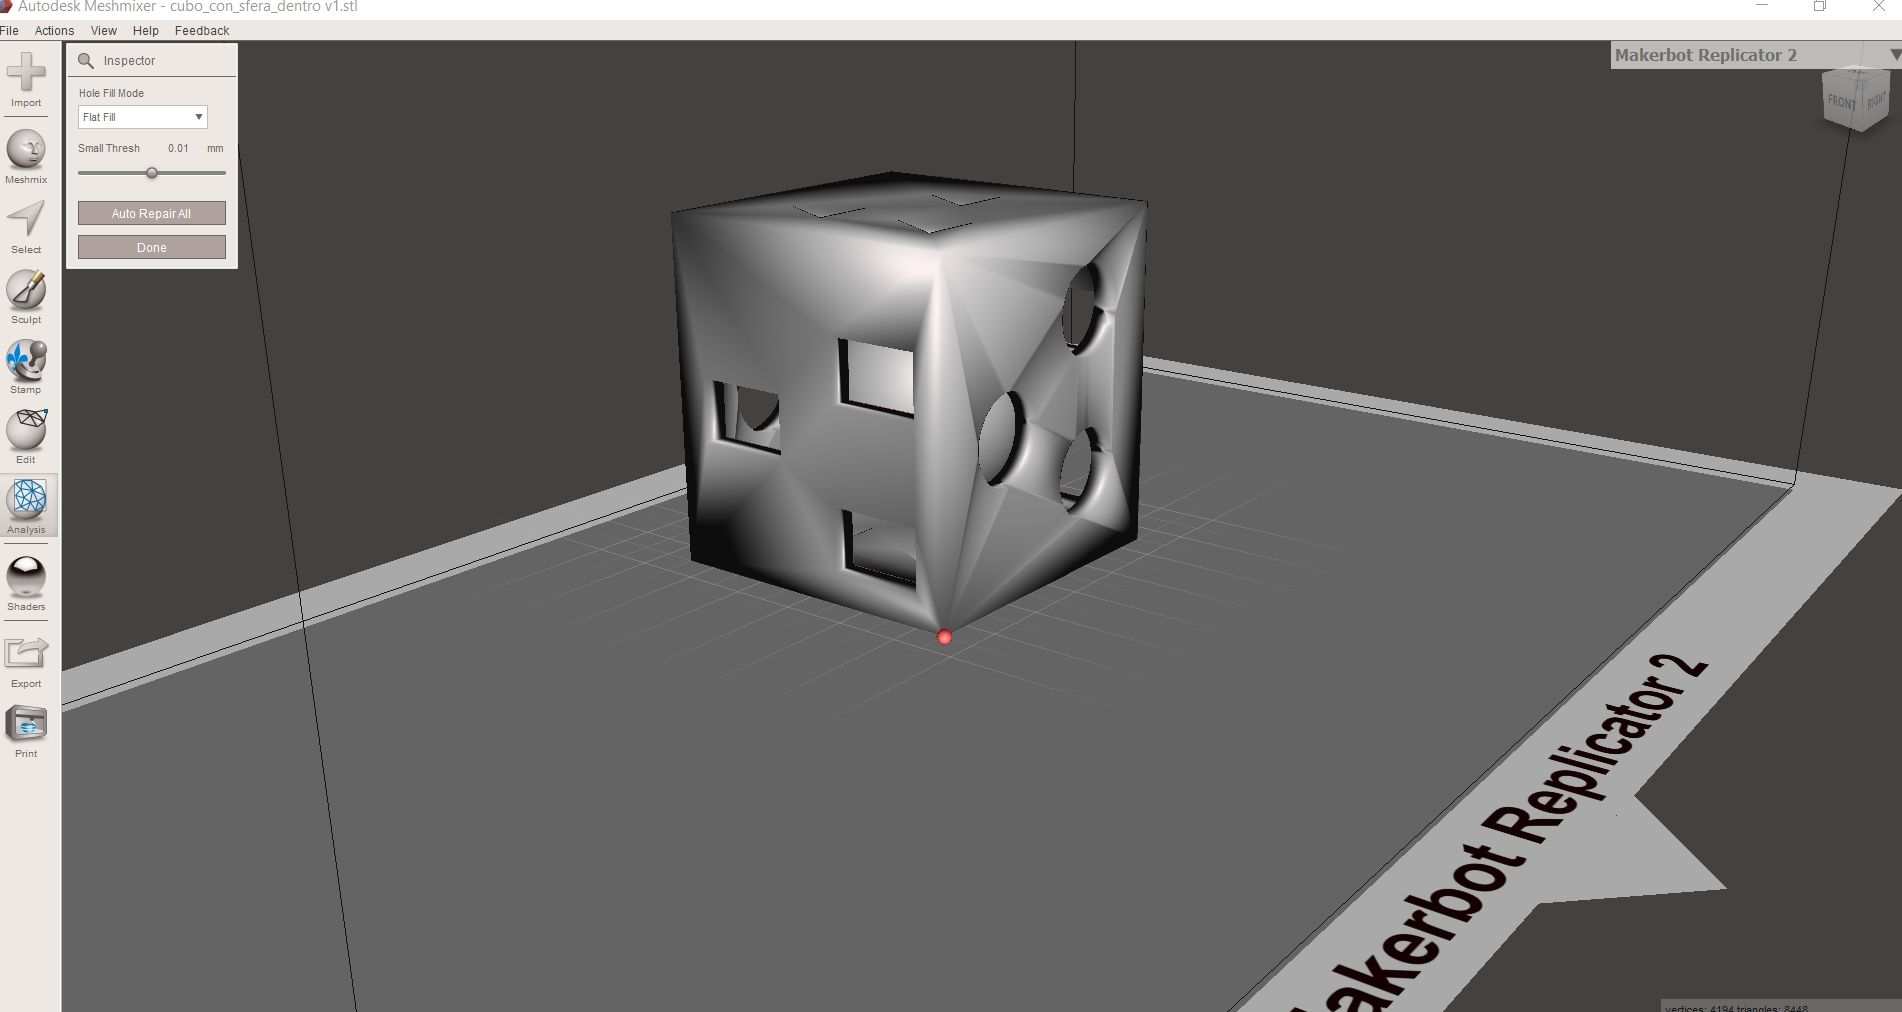
Meshmixer
There is a step that lies between the modeling phase and the printing one: mesh inspection. Meshmixer is a pretty useful tool since it allows to double check and eventually correct the model’s meshes before reaching the printing process. In this case the inspection ran smoothly.
Ultimaker Cura
This is the software that communicates with the machine. The 3D printer works with coordinates on three axes and Cura converts the stl files into gcode so that the 3D printer can work. Into this software it is possible to set all the necessary parameters in order to obtain the best result.
Layer height
Set how high the extrusion is going to be, moving from 0,1mm to 0,2mm halves the total time.
Wall thickness
Set the surfaces’ width.
Infill density
Set how much strong the internal support structure is going to be.
Infill pattern
There is a wide selection of pattern for the infill (grid, gyroid, triangle).
Material
Some machines have the material setup included, other don’t. In this case it is possible to setup build plate and extrusion temperature.
Print speed
Set how fast the extruder is going to move along the table.
Retraction
Once a layer has been extruded, the machine can retract the filament so that the process is more clean and precise.
Z Hop when retracted
When the machine ends a layer, the build plate makes a little jump so that the process is cleaner.
Print Cooling
It is possible to setup the cooling process of the machine. The fans can have different cooling speed. Each material behaves differently when it cools down.
Support placement
The support help the printing process sustaining the surfaces that would suffer gravity while being printed.
Support overhang
This setting changes the amount of support provided to the object, as the angle gets steeper, the support becomes stronger.
Build plate Adhesion type
Users must secure the object adherence to the build plate. Every base must be larger than the real object, even more if the object is particularly tall. It is all a center of gravity matter.
Draft shield
Long printing processes can have problems related to heat loss. It is possible to create a thin barrier all around the object so that the temperature decreases way more slowly.
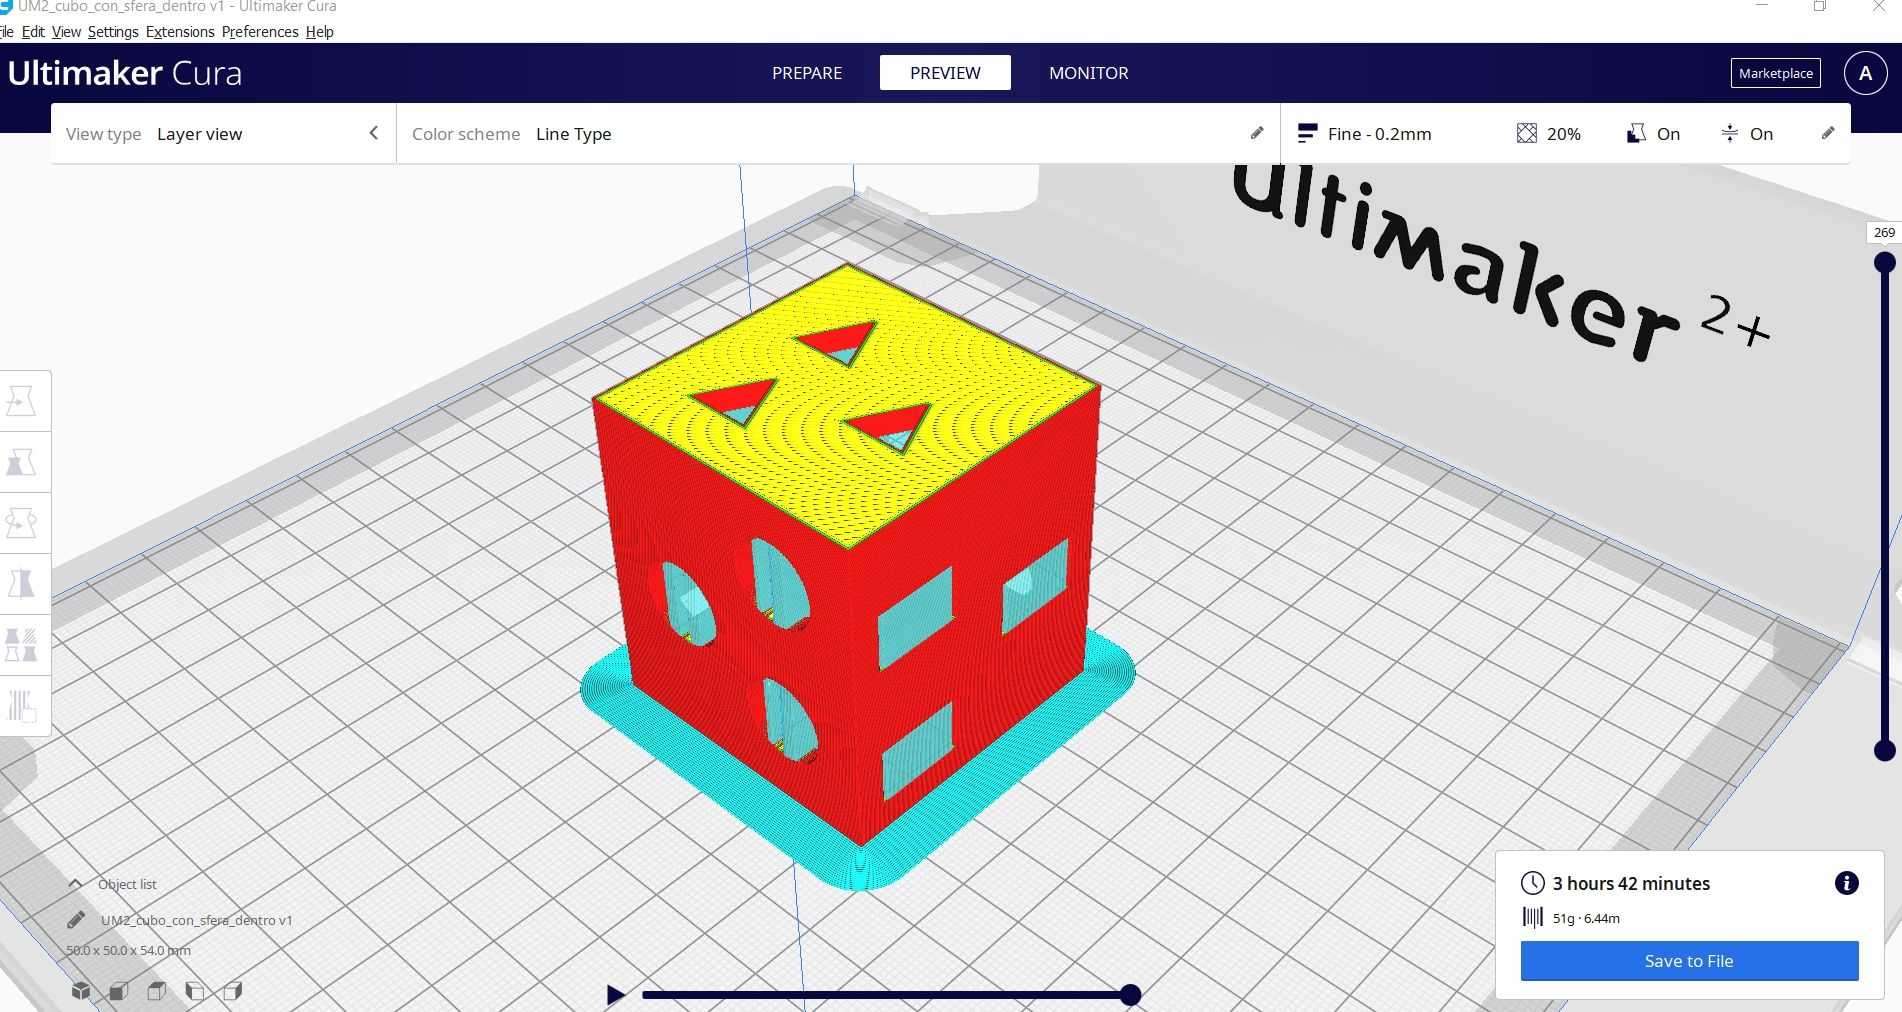
I imported the stl file from Fusion (since Meshmixer did not show any problem) and set it on the virtual build plate.
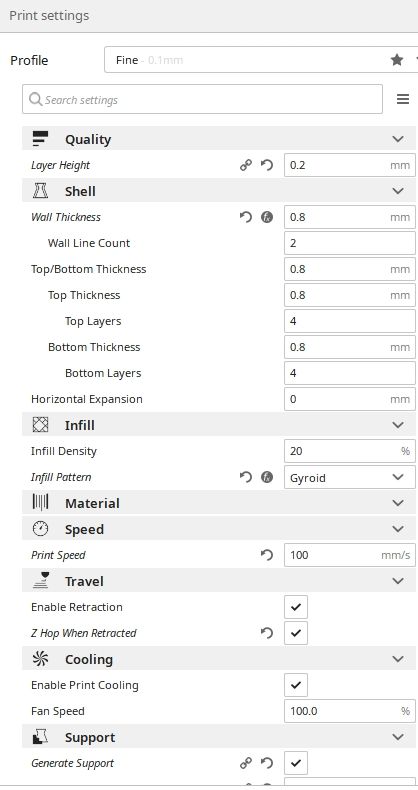
These are the settings I put for this assignment:
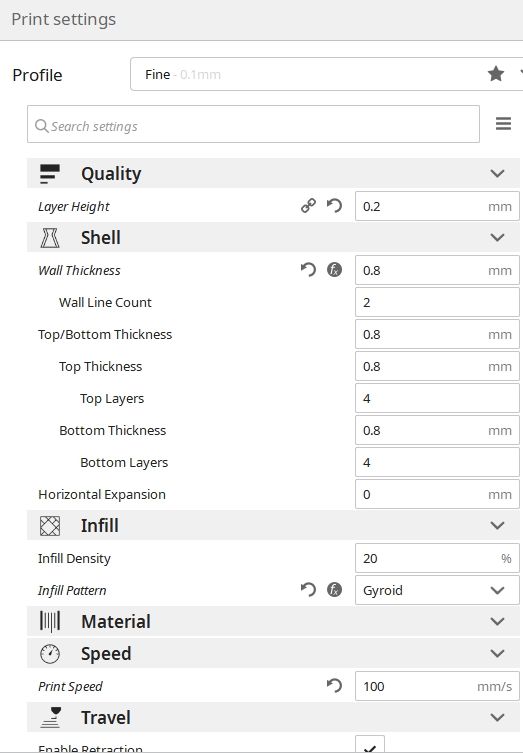
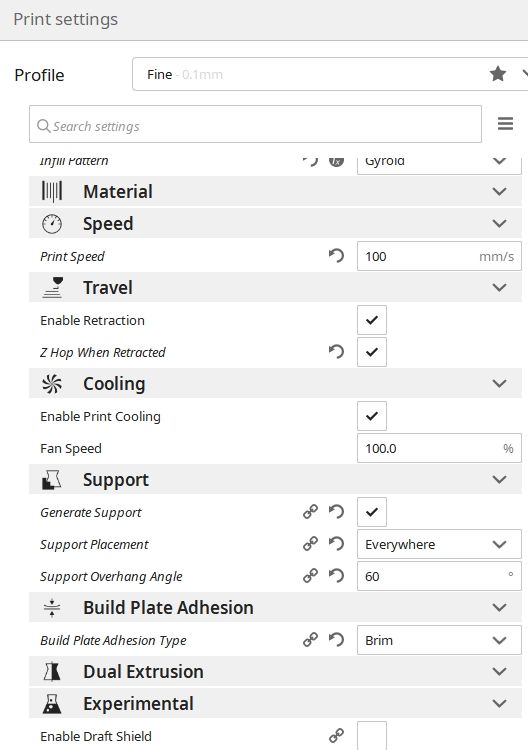
The object initial size resulted in a 4 hours long printing process.
Since I wanted to print before than the weekend but it was already friday evening, I decided to resize the object. The final object required one hour printing.

It’s time to print!
Printing process
I turned on the ultimaker 2+, checked the filament spool behind it and chosen the gcode file from the SD card. Then the machine started setting up and reaching the 205 °C extruder temperature and 60 °C build plate temperature. After a while the machine started extruding.
Halfway through everything was still running smoothly.
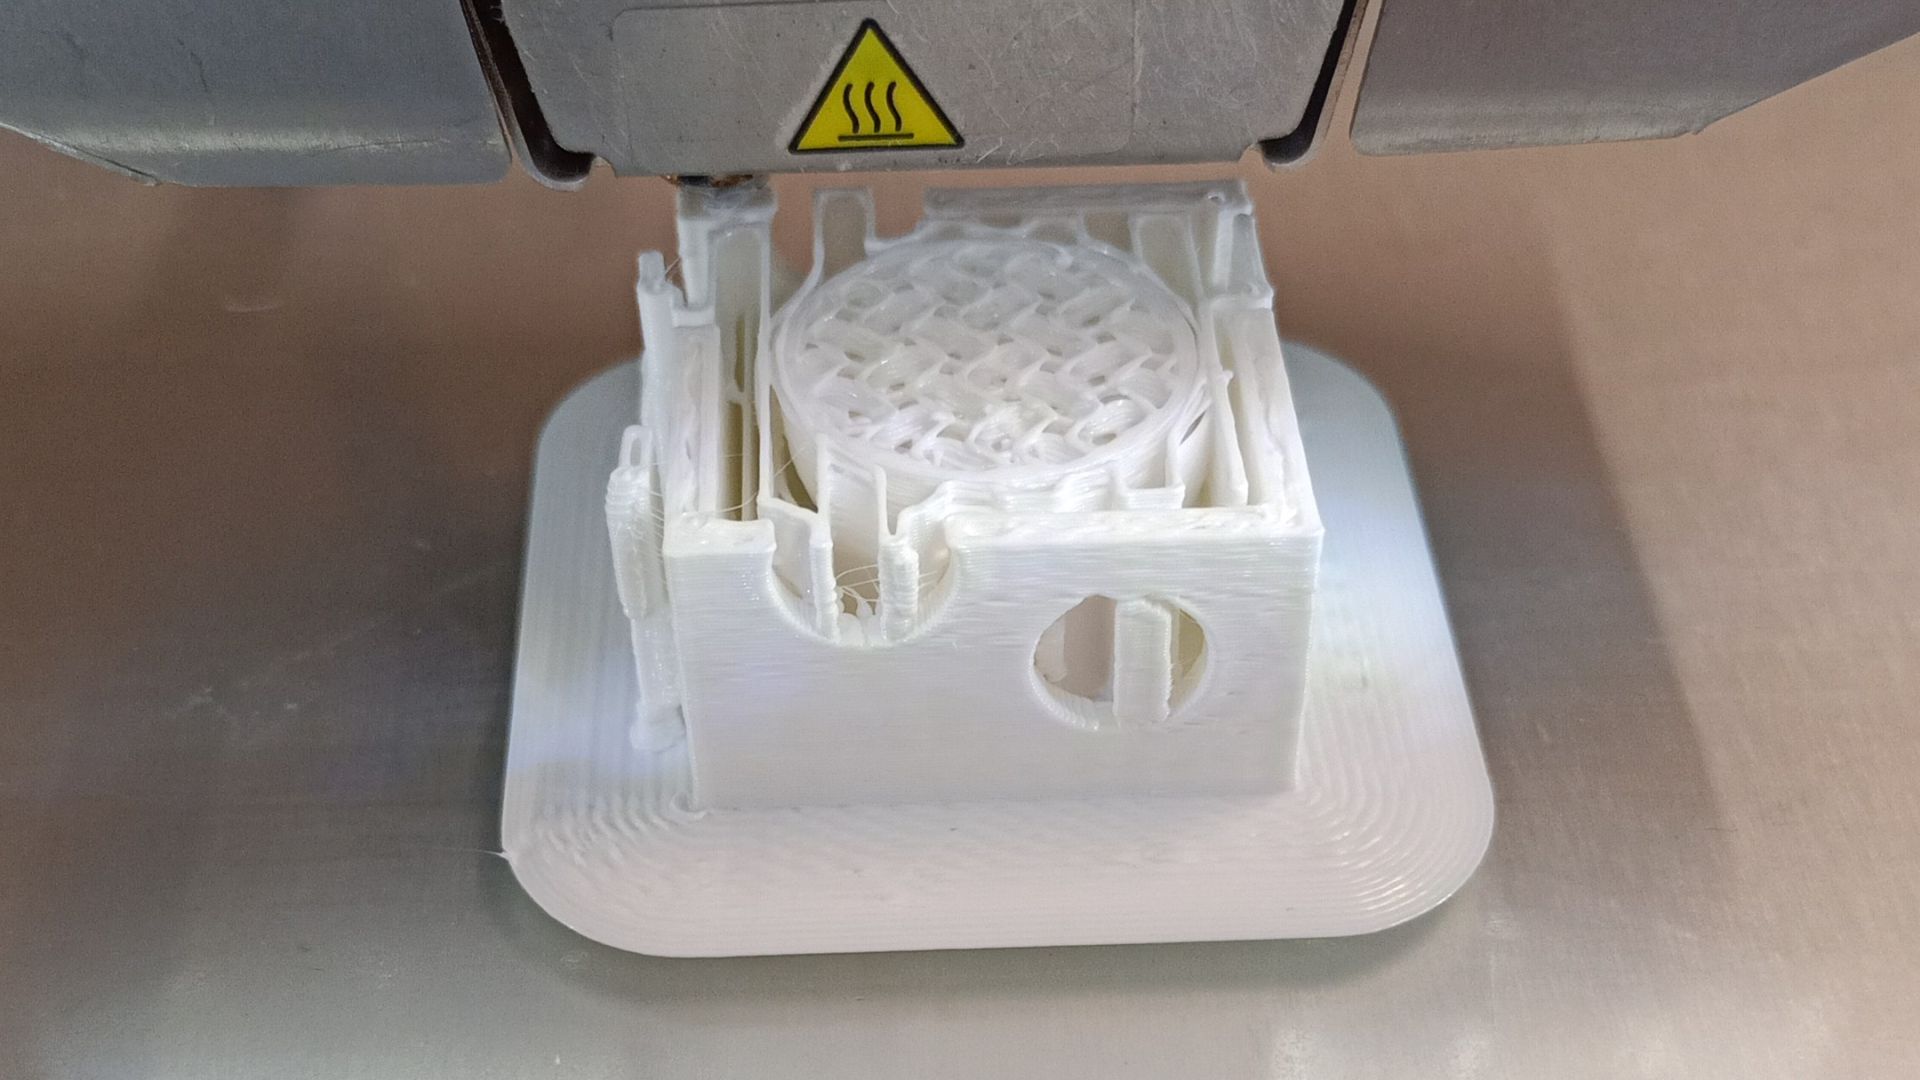
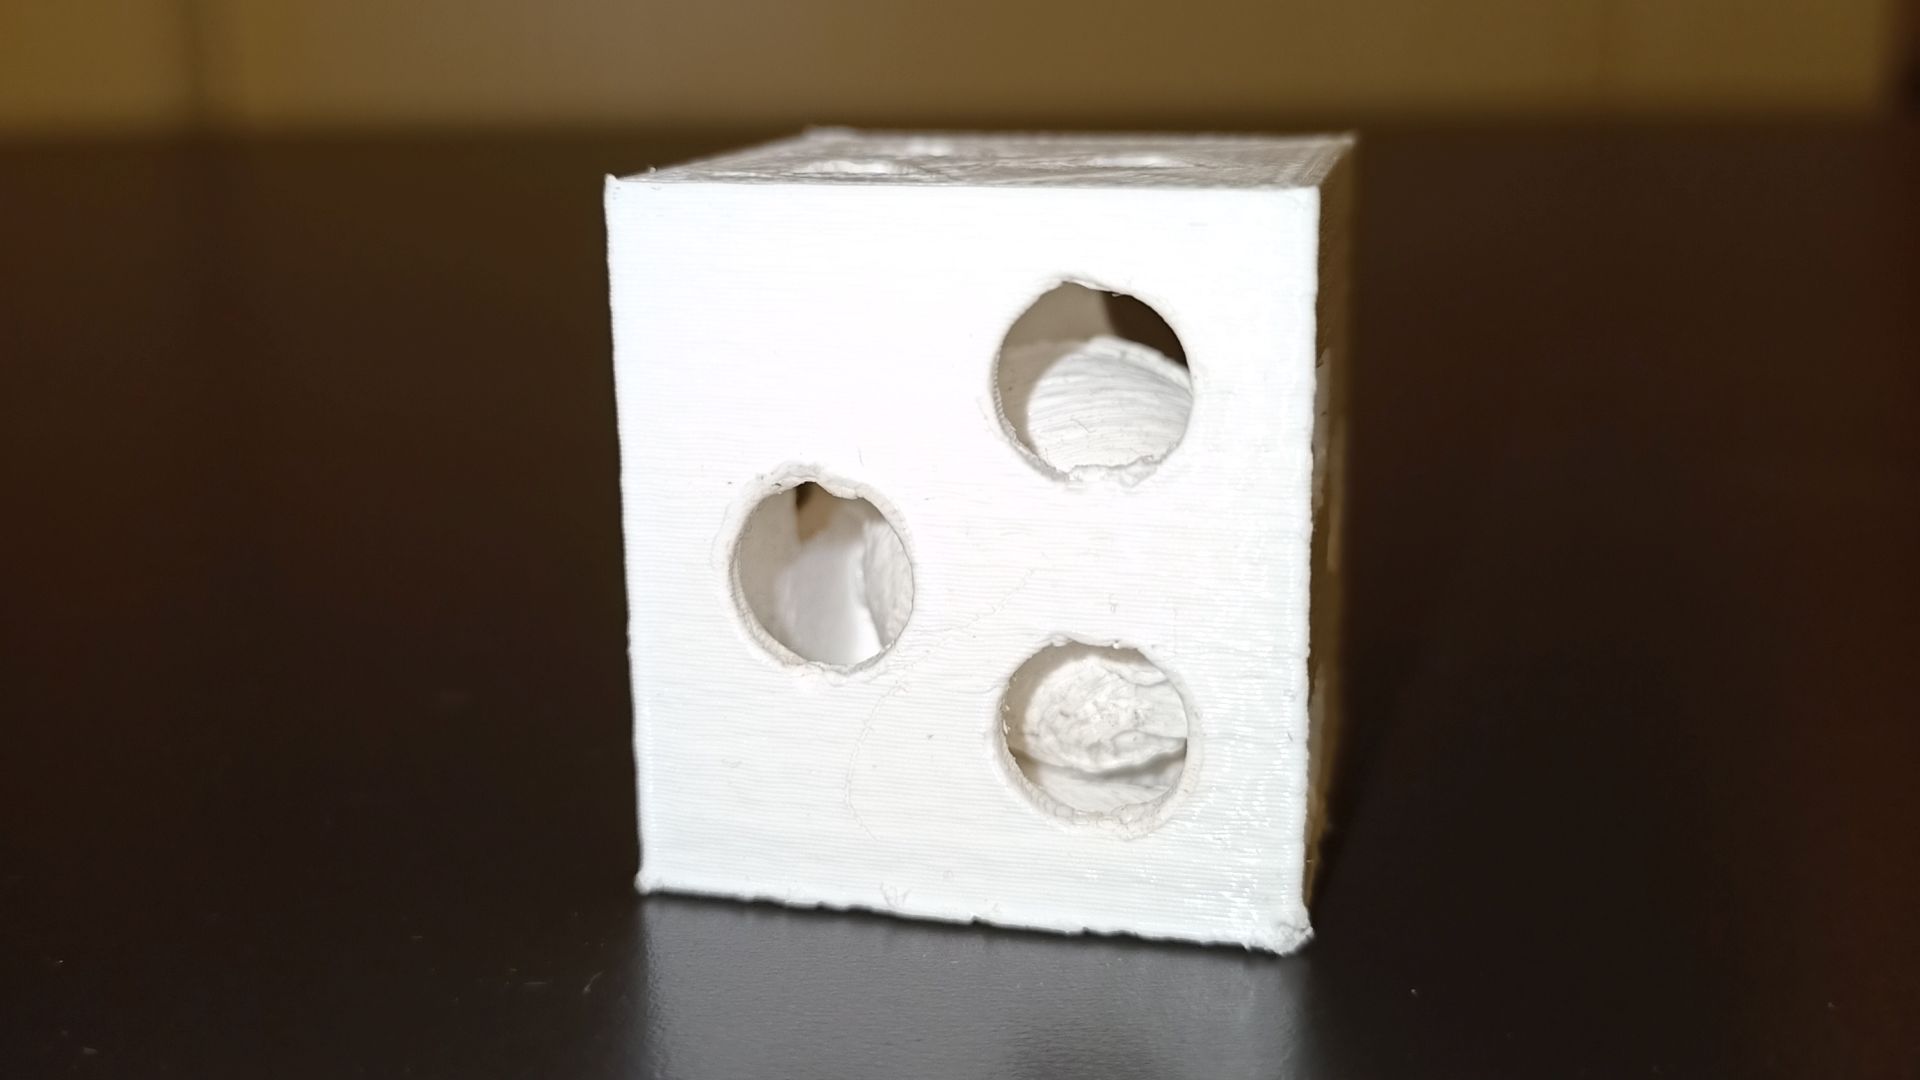
At the end of the process, this is the result. The object is tiny but everything seems properly printed.
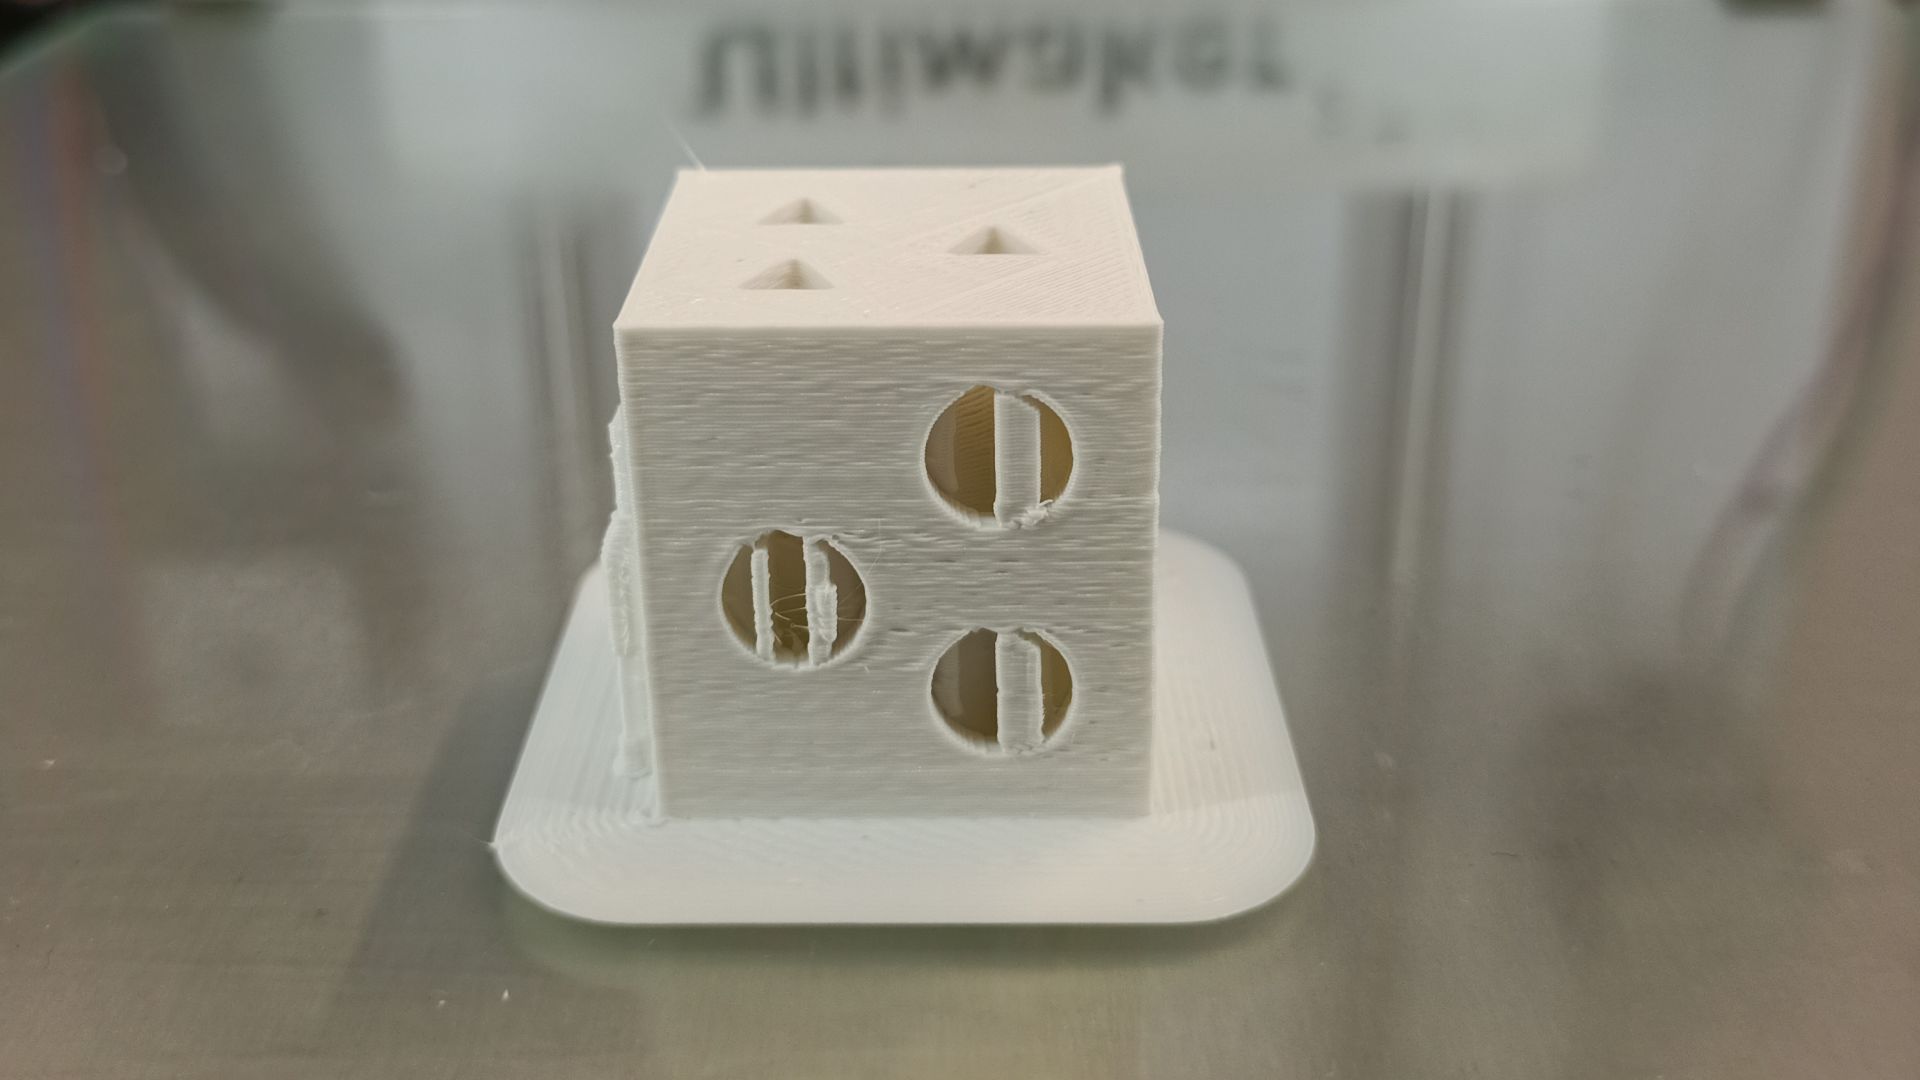
Removing the supports on such a tiny object has been a nightmare. But in the end the result is satisfactory.
Fab Academy 2021 - week 5 - 3D print from Alberto Porri on Vimeo.
The stl file can be downloaded here
Individual assignment - 3D scanning
This week I had to pick an object, take pictures of it and assemble them through a software in order to obtain a “lookalike” 3D model, ready to be printed.
I tried a couple objects before picking the one that did the job. At the beginning I had some problems with the light setup so I did not change only the object but also the location. For the last and successful attempt I changed my approach: instead of moving around the object with my smartphone, I used a foam rubber cylinder as the rotating base. I put the object on top of it and kept taking shots of the rotating object from the same place trying to be as steady as possible. In order to obtain a good light setting, I used both natural and artificial lights, coming from different angles. The software behaved way better with this pictures than the old ones.
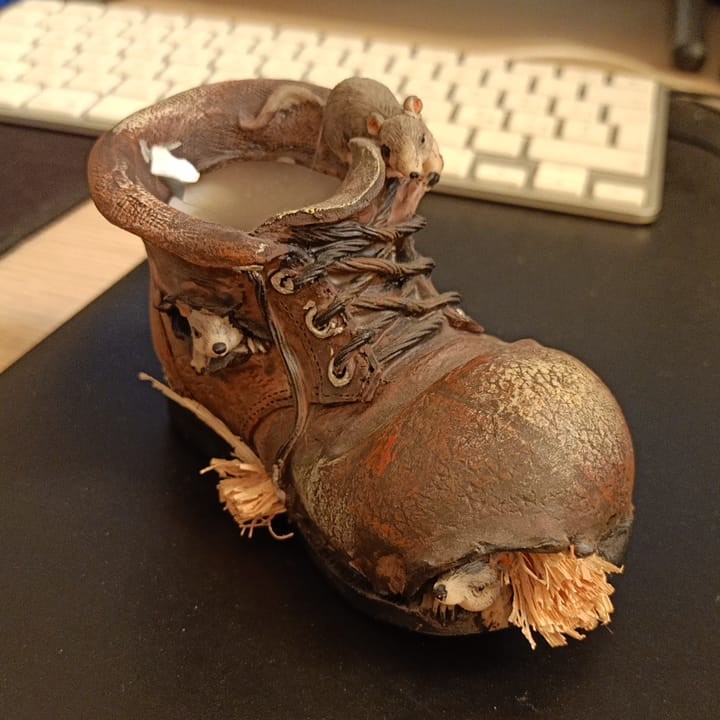
This is the object I finally picked:
Agisoft Metashape
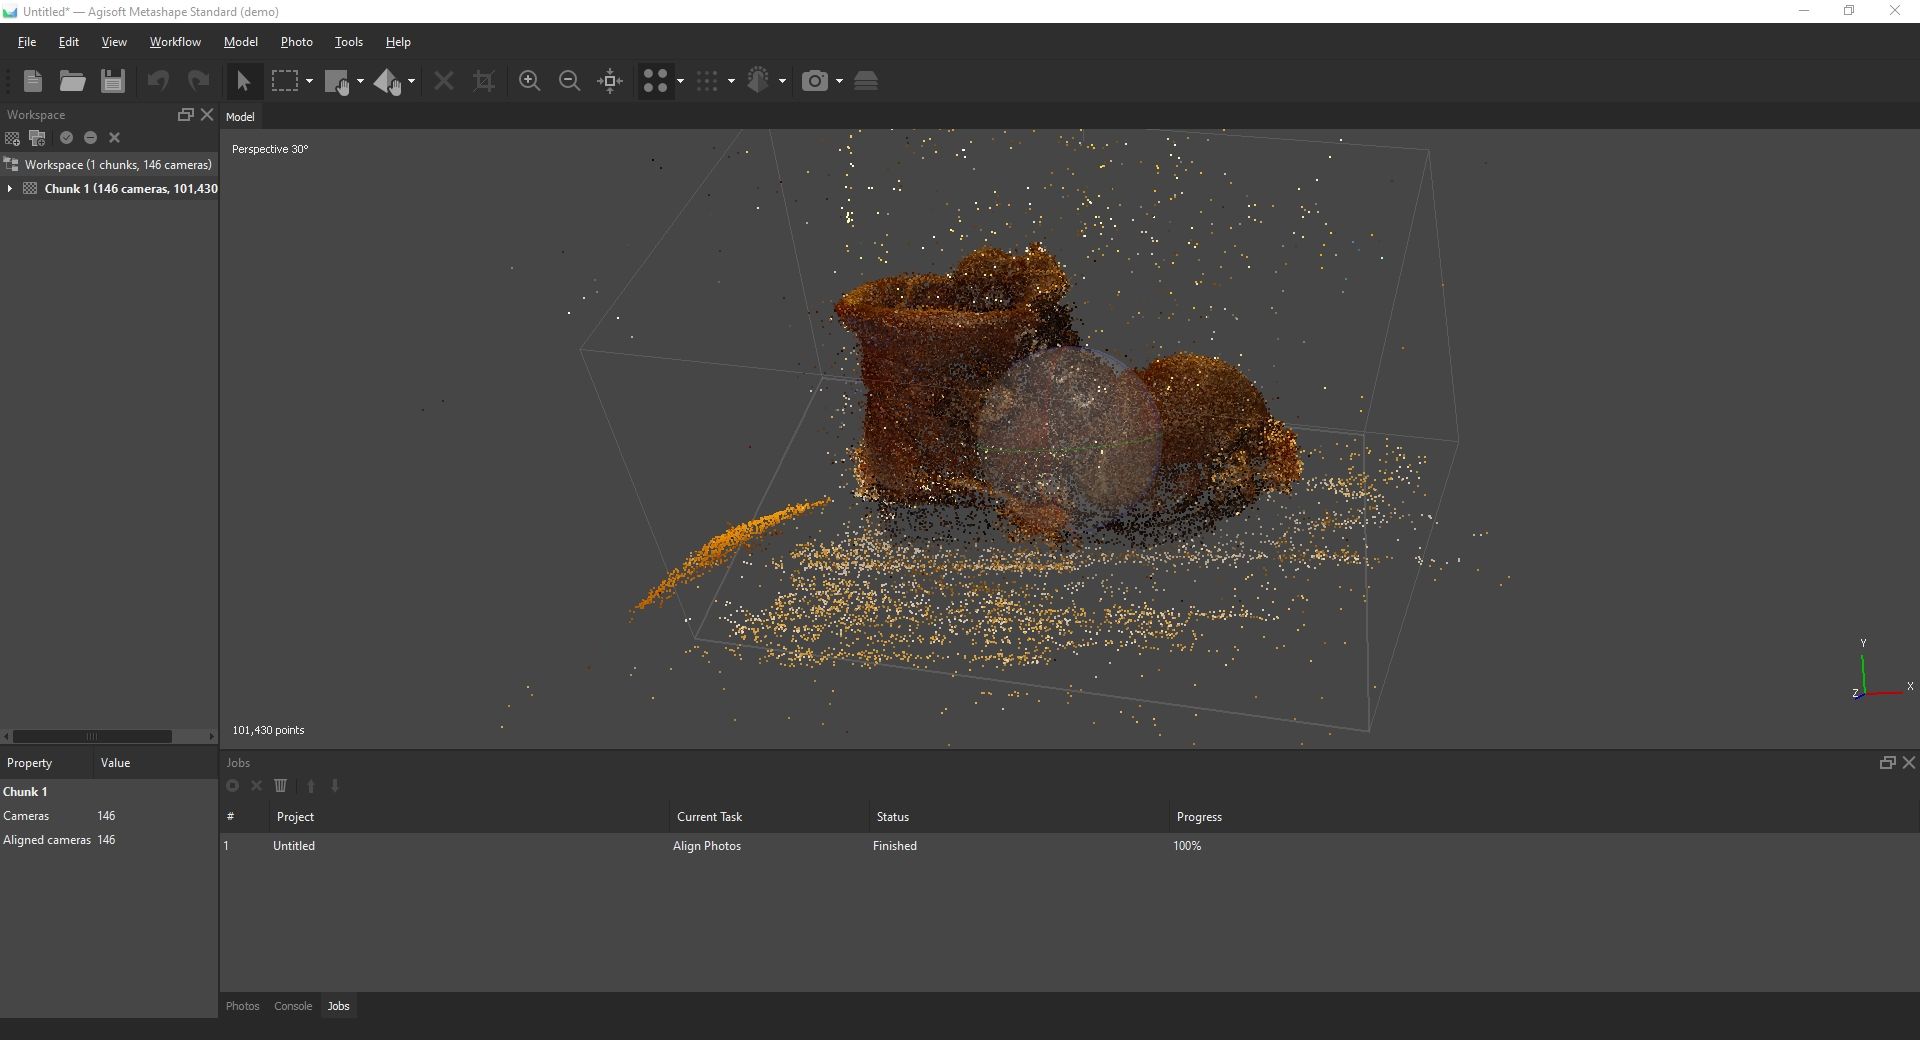
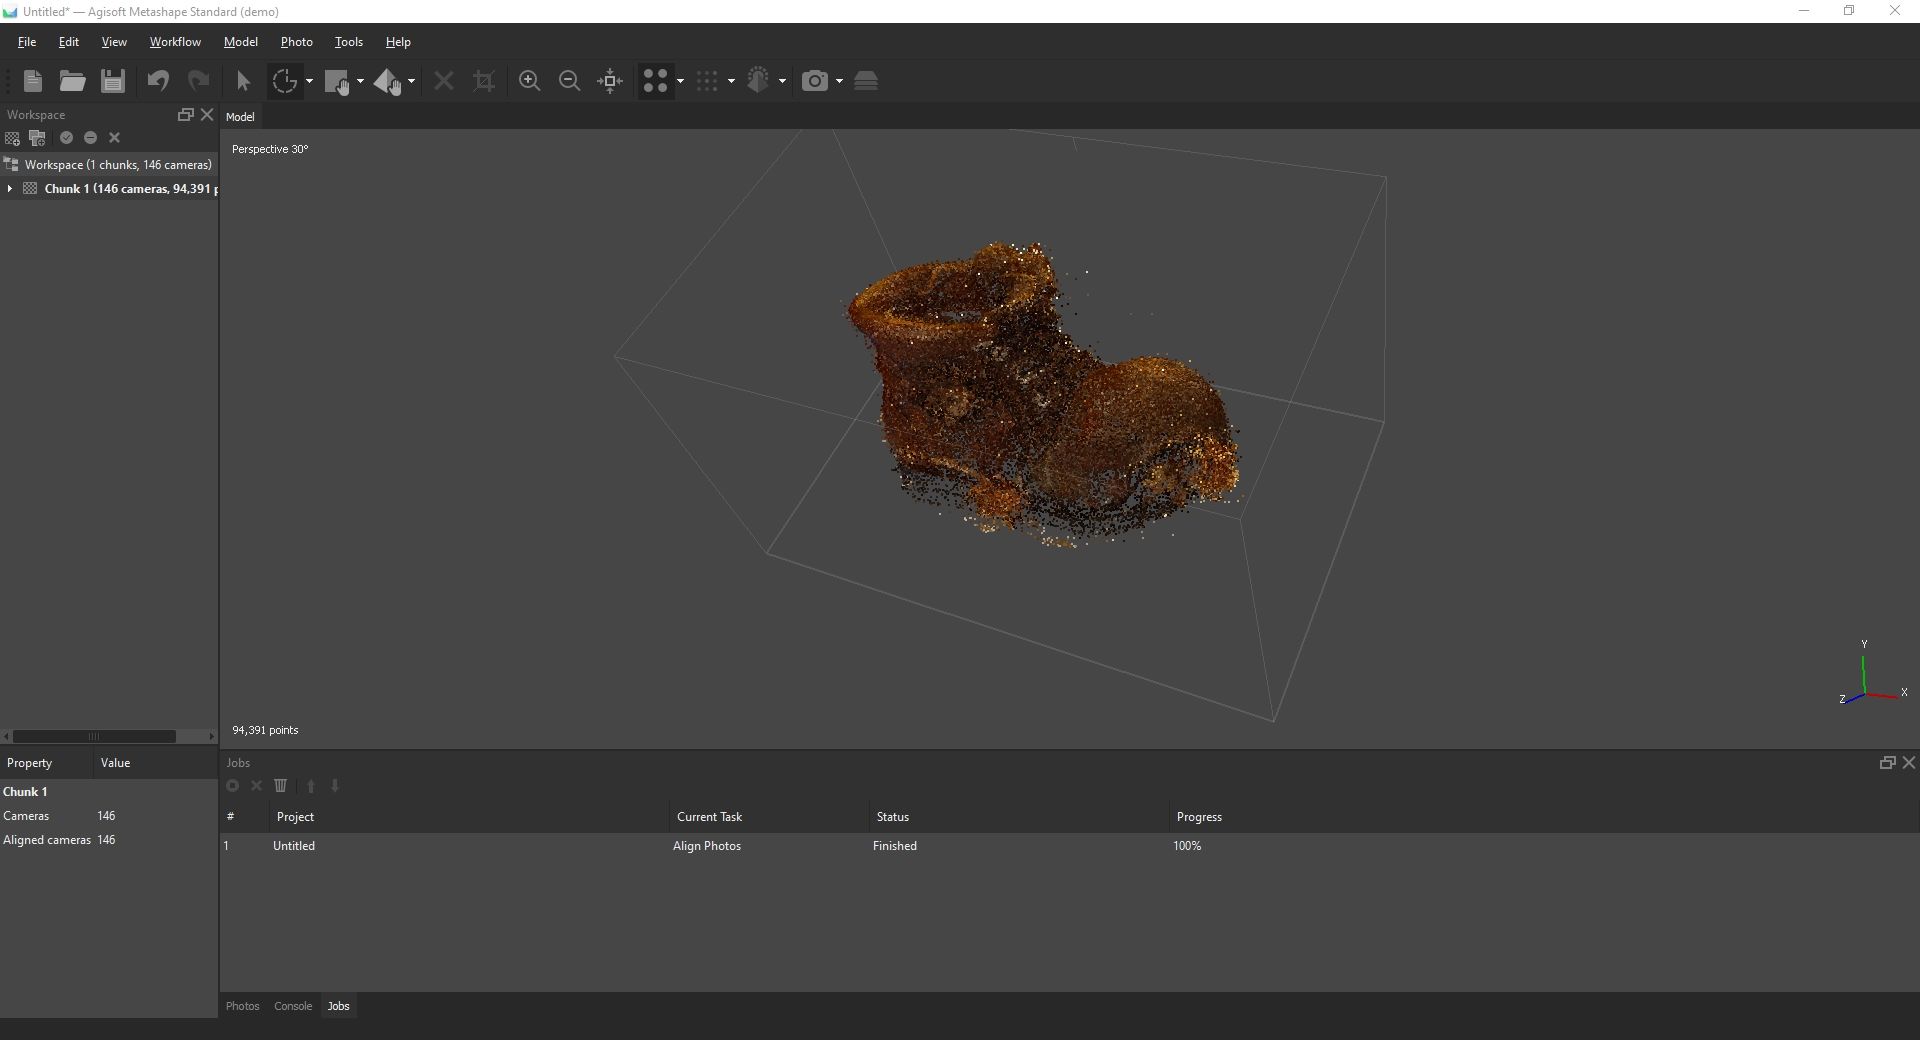
I made 146 photos with my smartphone all around it on three different angles. Then I loaded the pictures on Metashape.
The first thing I did was aligning the photos. The software ran smoothly and took the 100% of the pictures and obtained more than 90,000 points.
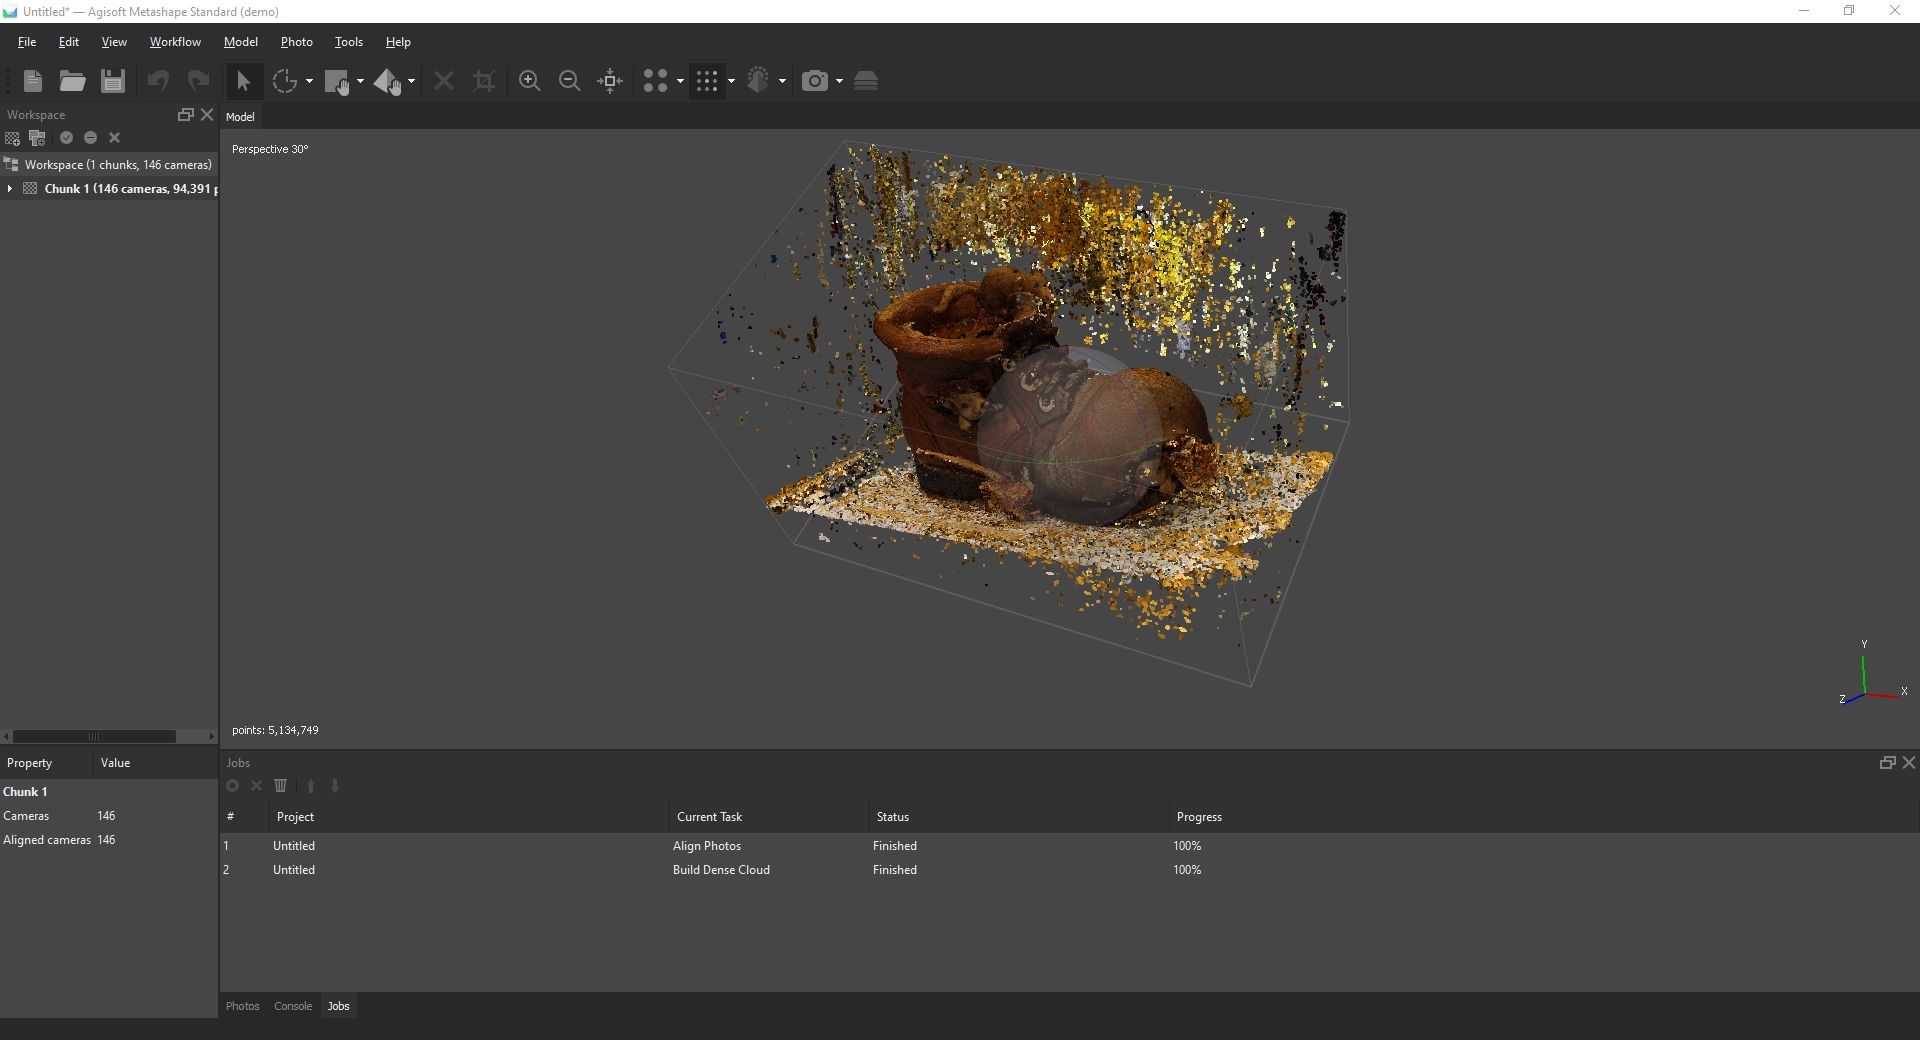
Then I cleaned all the dots that did not belong to the scanned object, in order to make the following steps more precise.
Next, Metashape started creating a dense cloud from all the remaining dots. Also in this phase I had to clean all the unnecessary material.
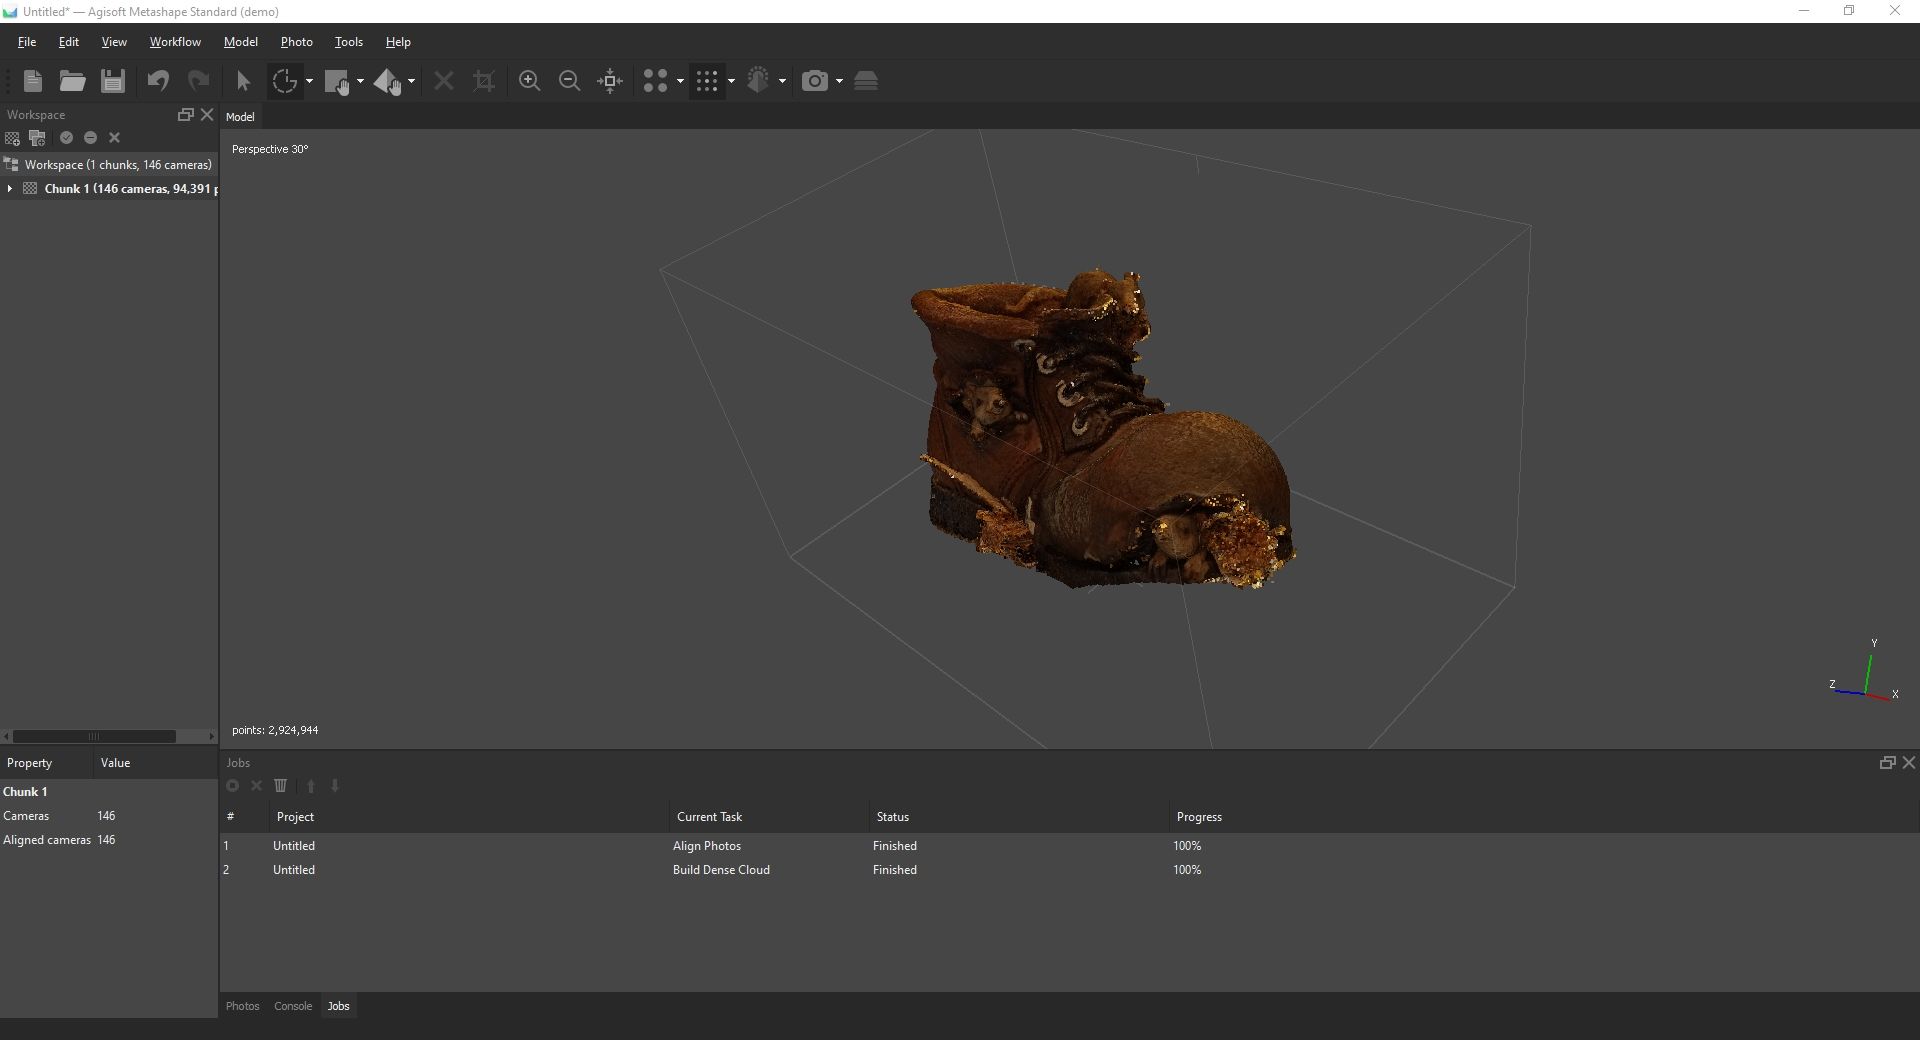
Once the object has been cleaned. Metashape can create a mesh from it.
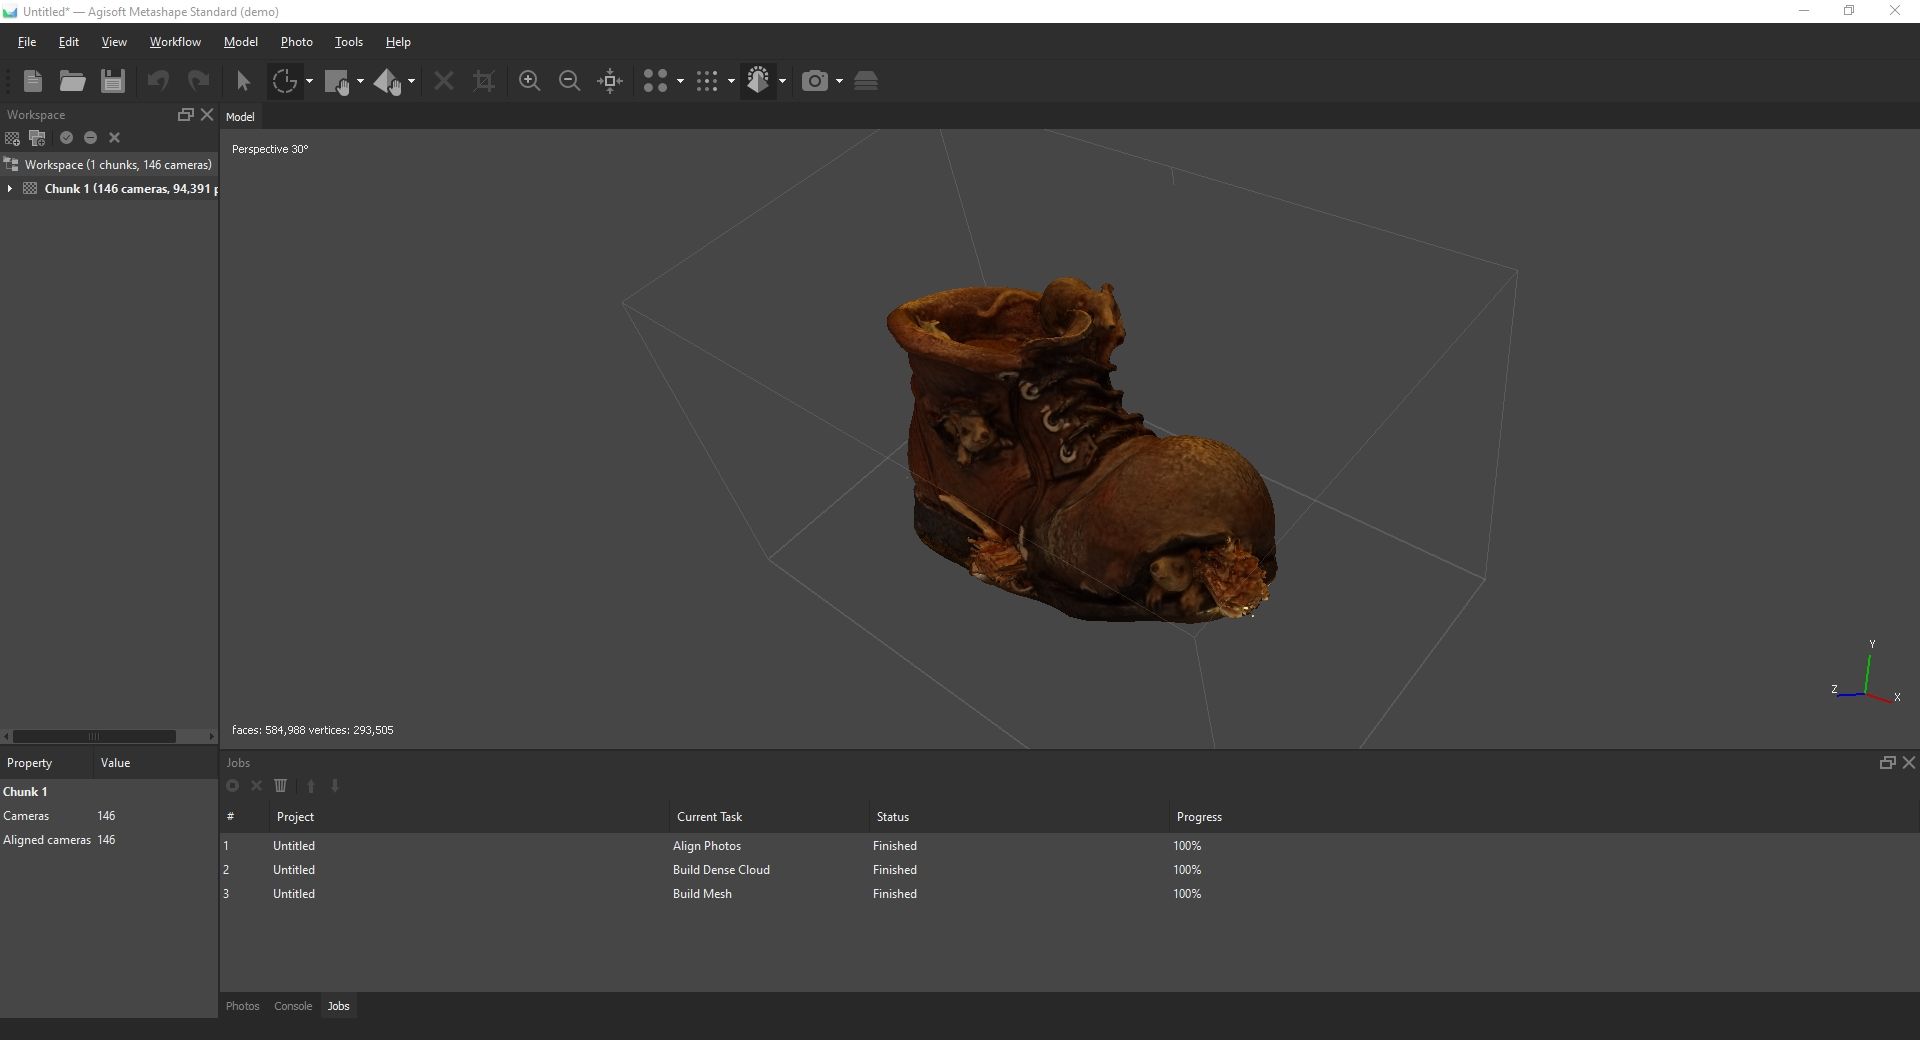
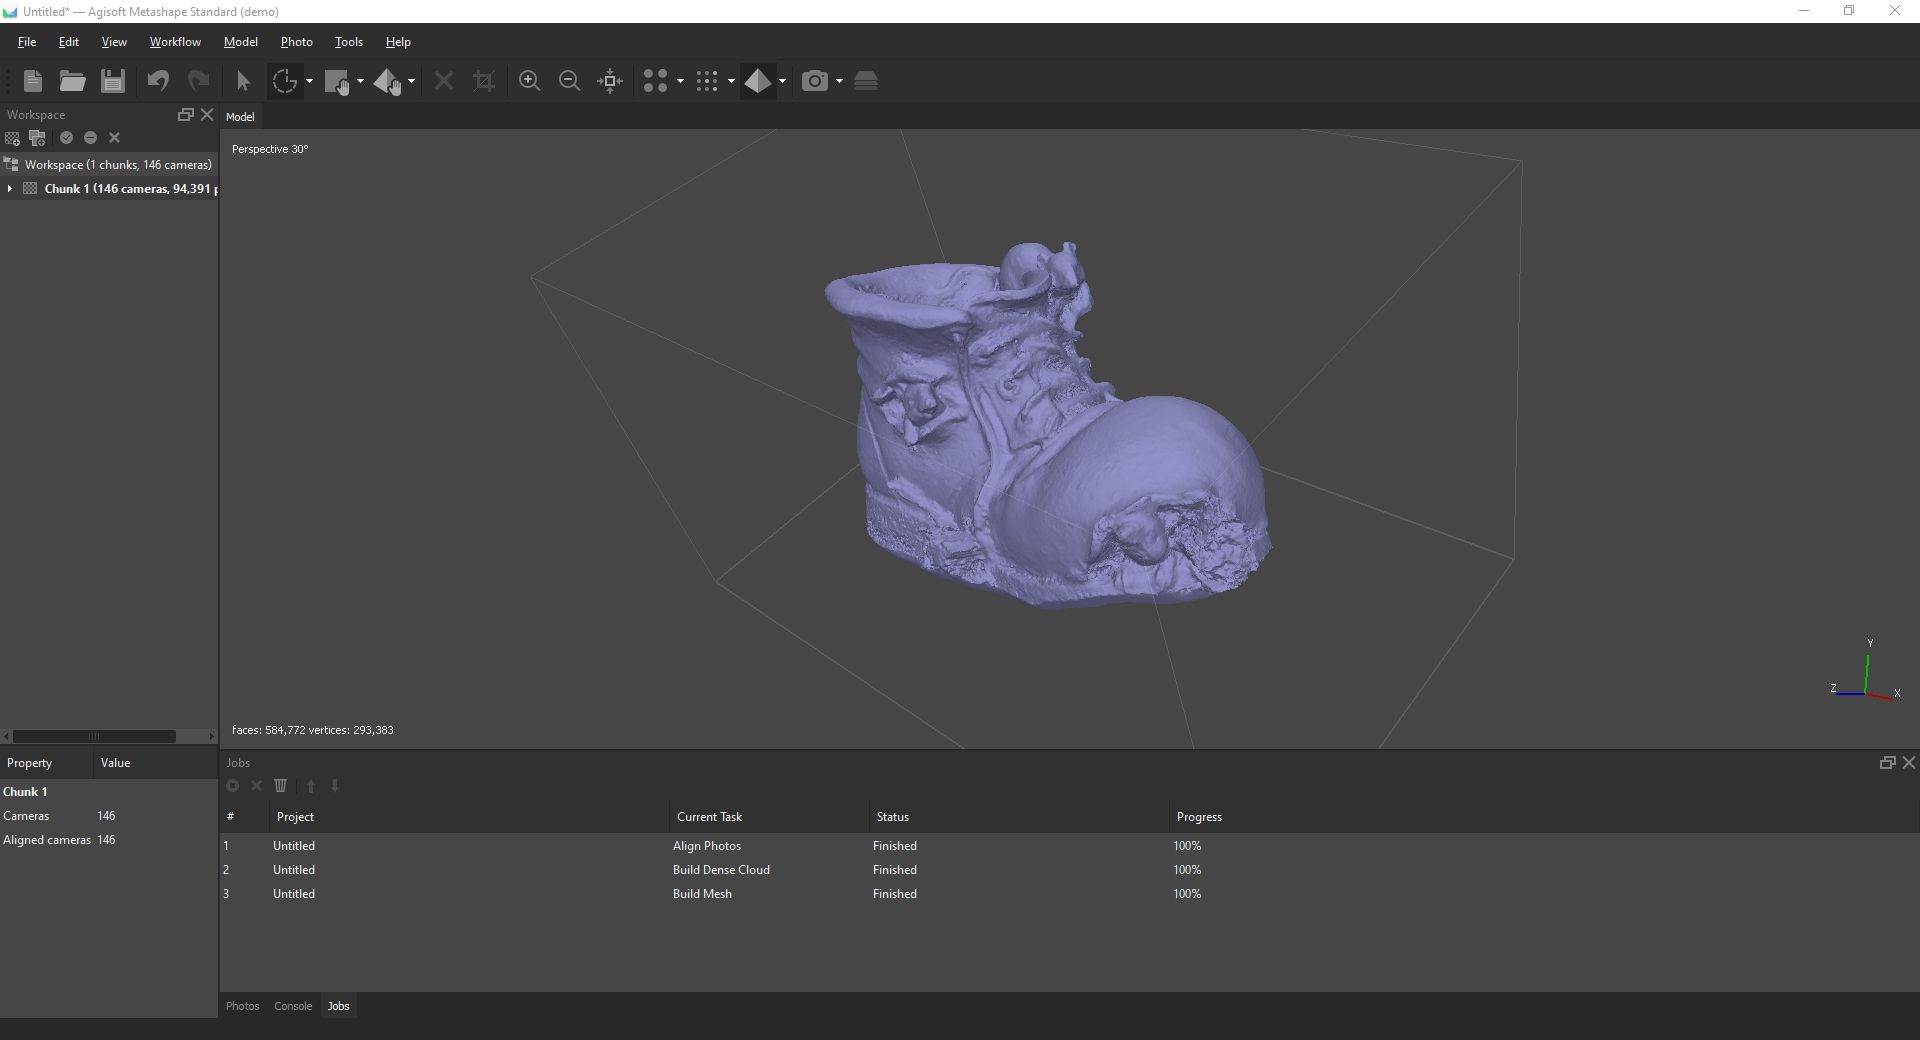
I removed few dots here and there, then as the last command given to Metashape, I added the texture to the mesh, starting from the pictures.
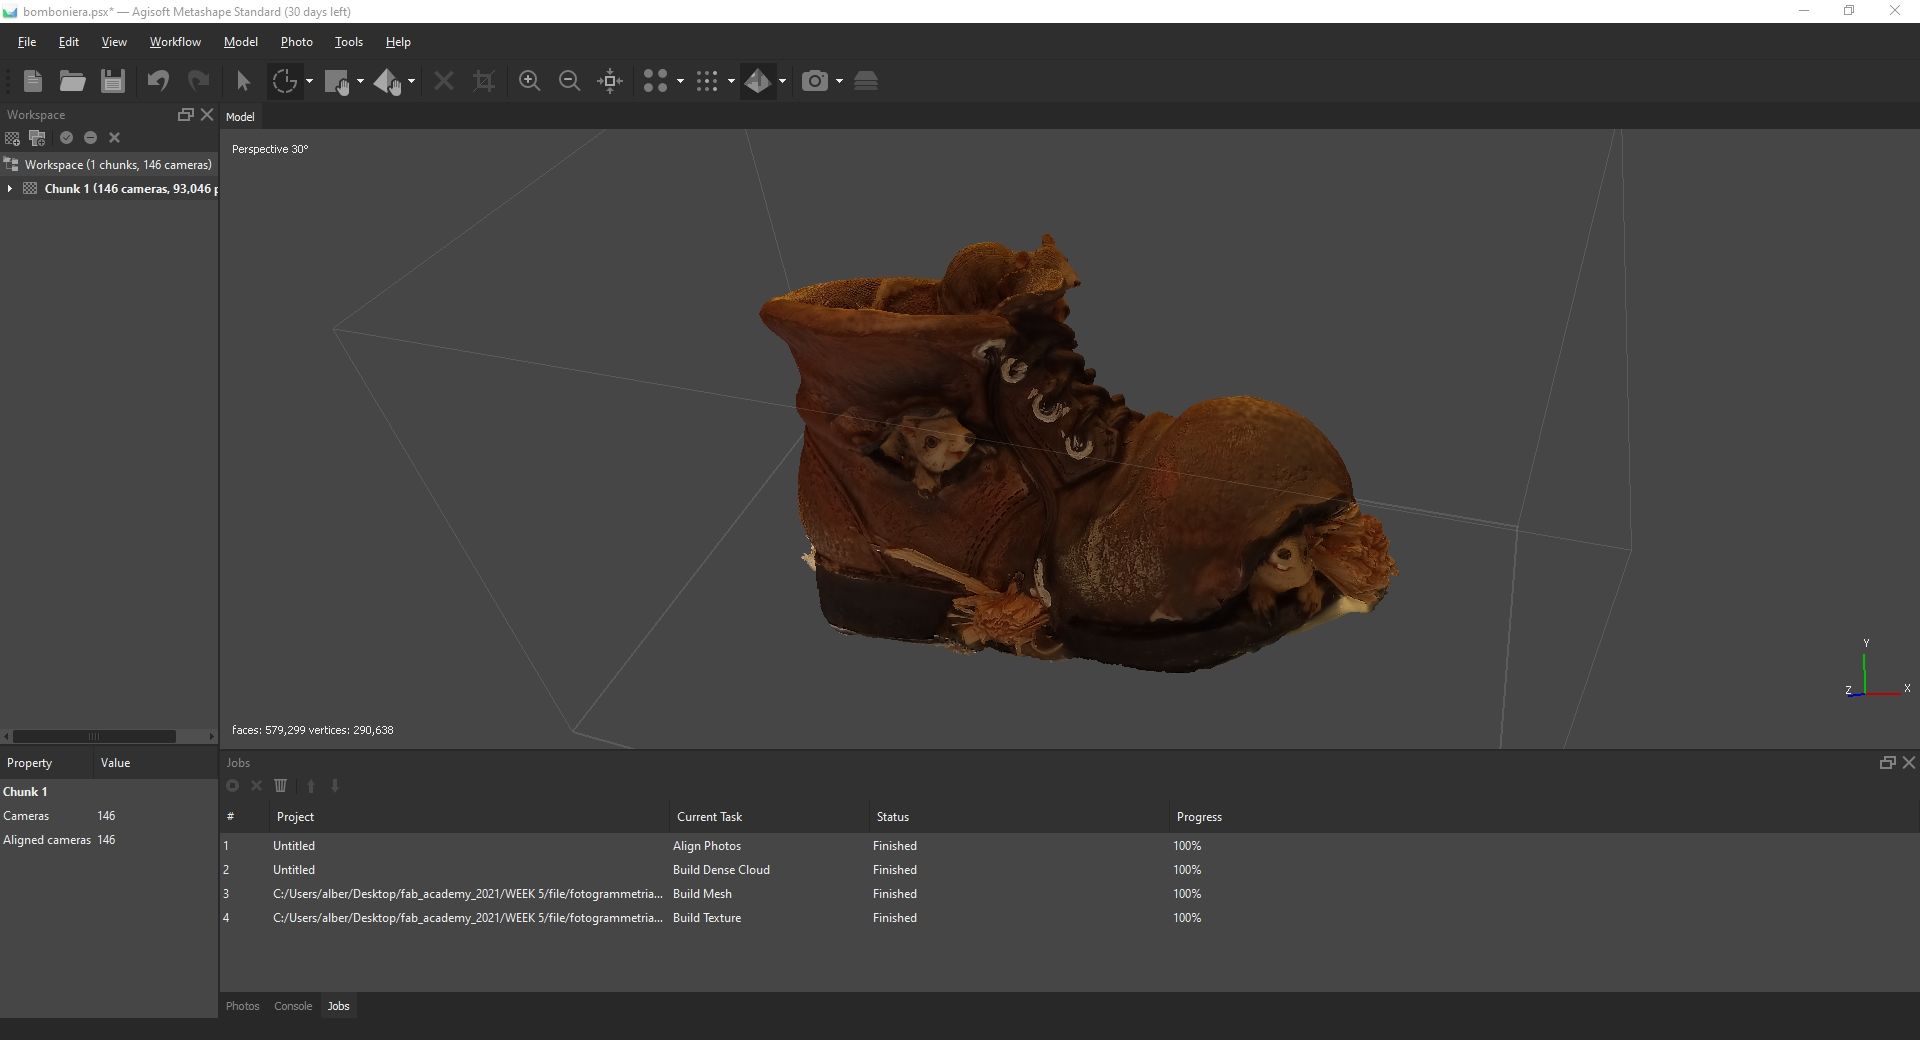
I saved the file and made an exportable stl file, so that I could analyze it on Meshmixer before using Cura.
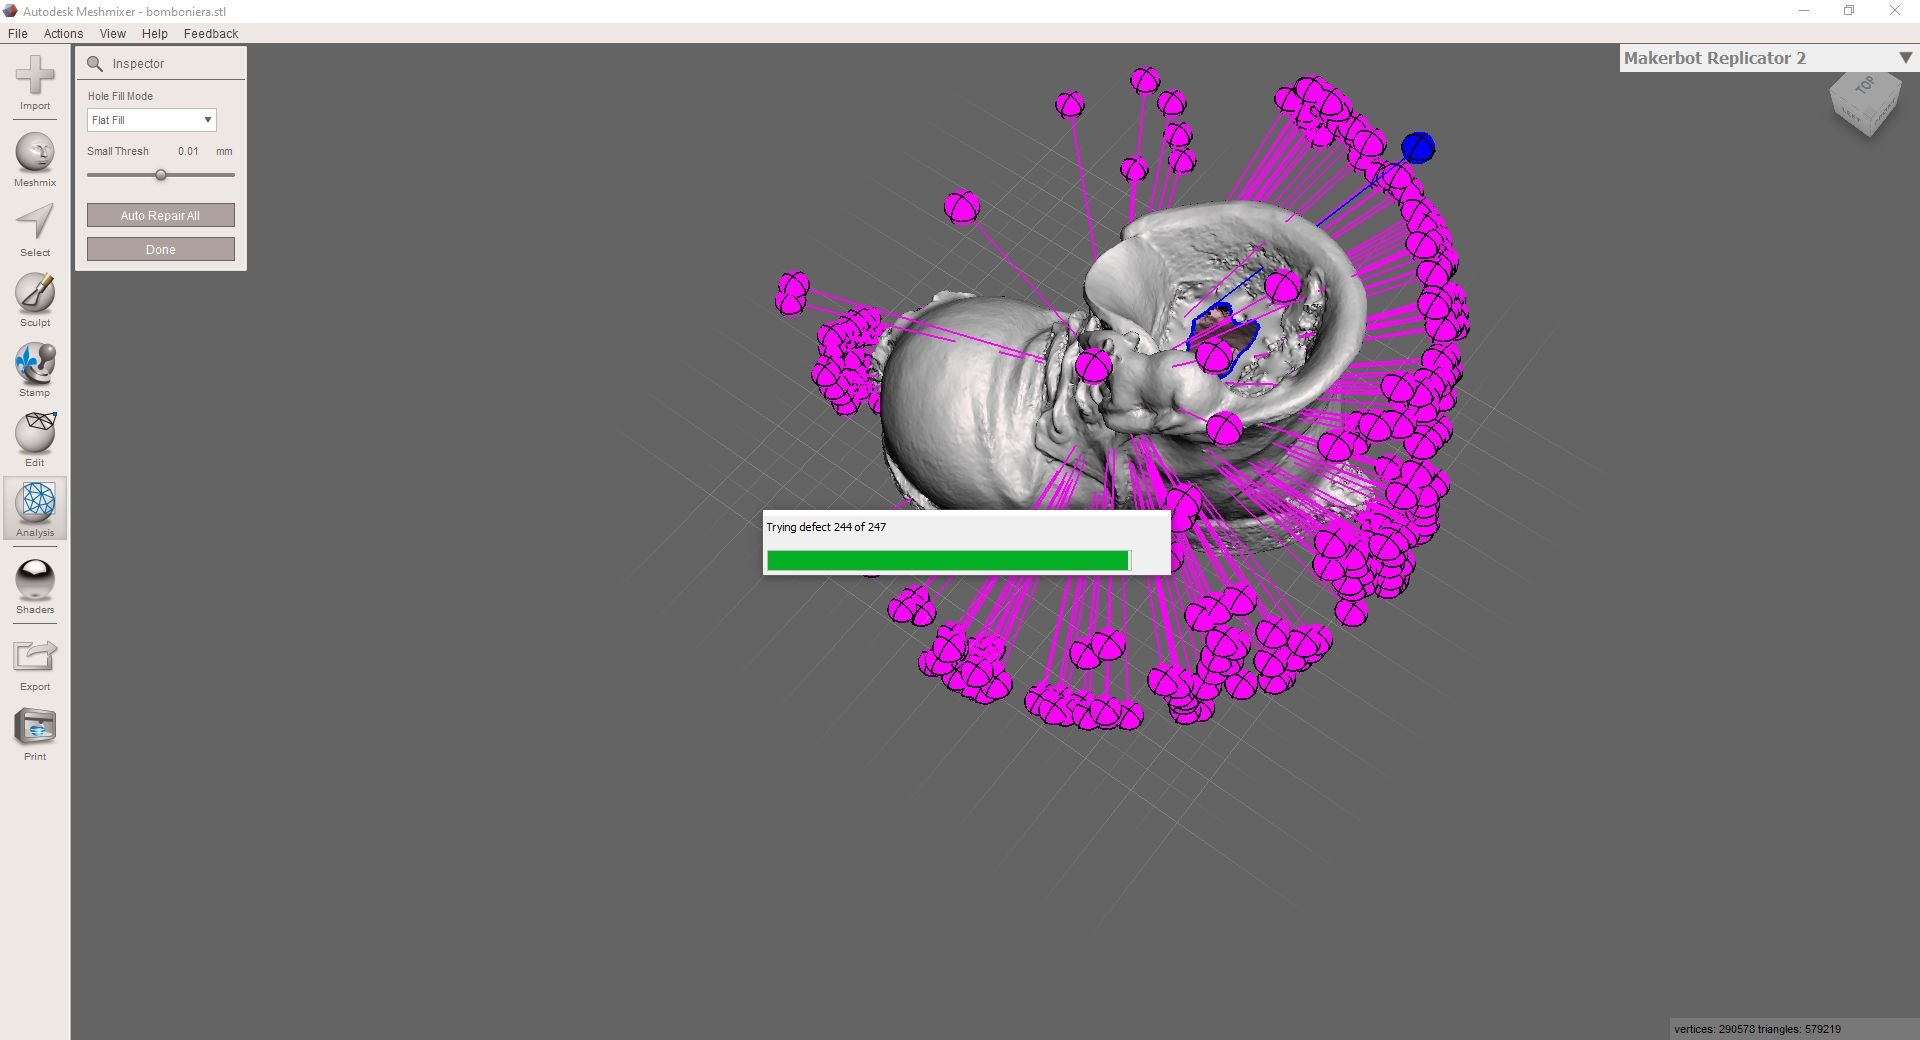
Autodesk Meshmixer
This software allowed me to repair and fix possible issues on the stl file coming from Metashape. Using its inspect function I was able to close all the holes on the stl and to create a regular-ish surface.
Then I used the plane cut and sculpt tools to made smoother surfaces where needed.

I saved the new stl file and moved on to the last software.
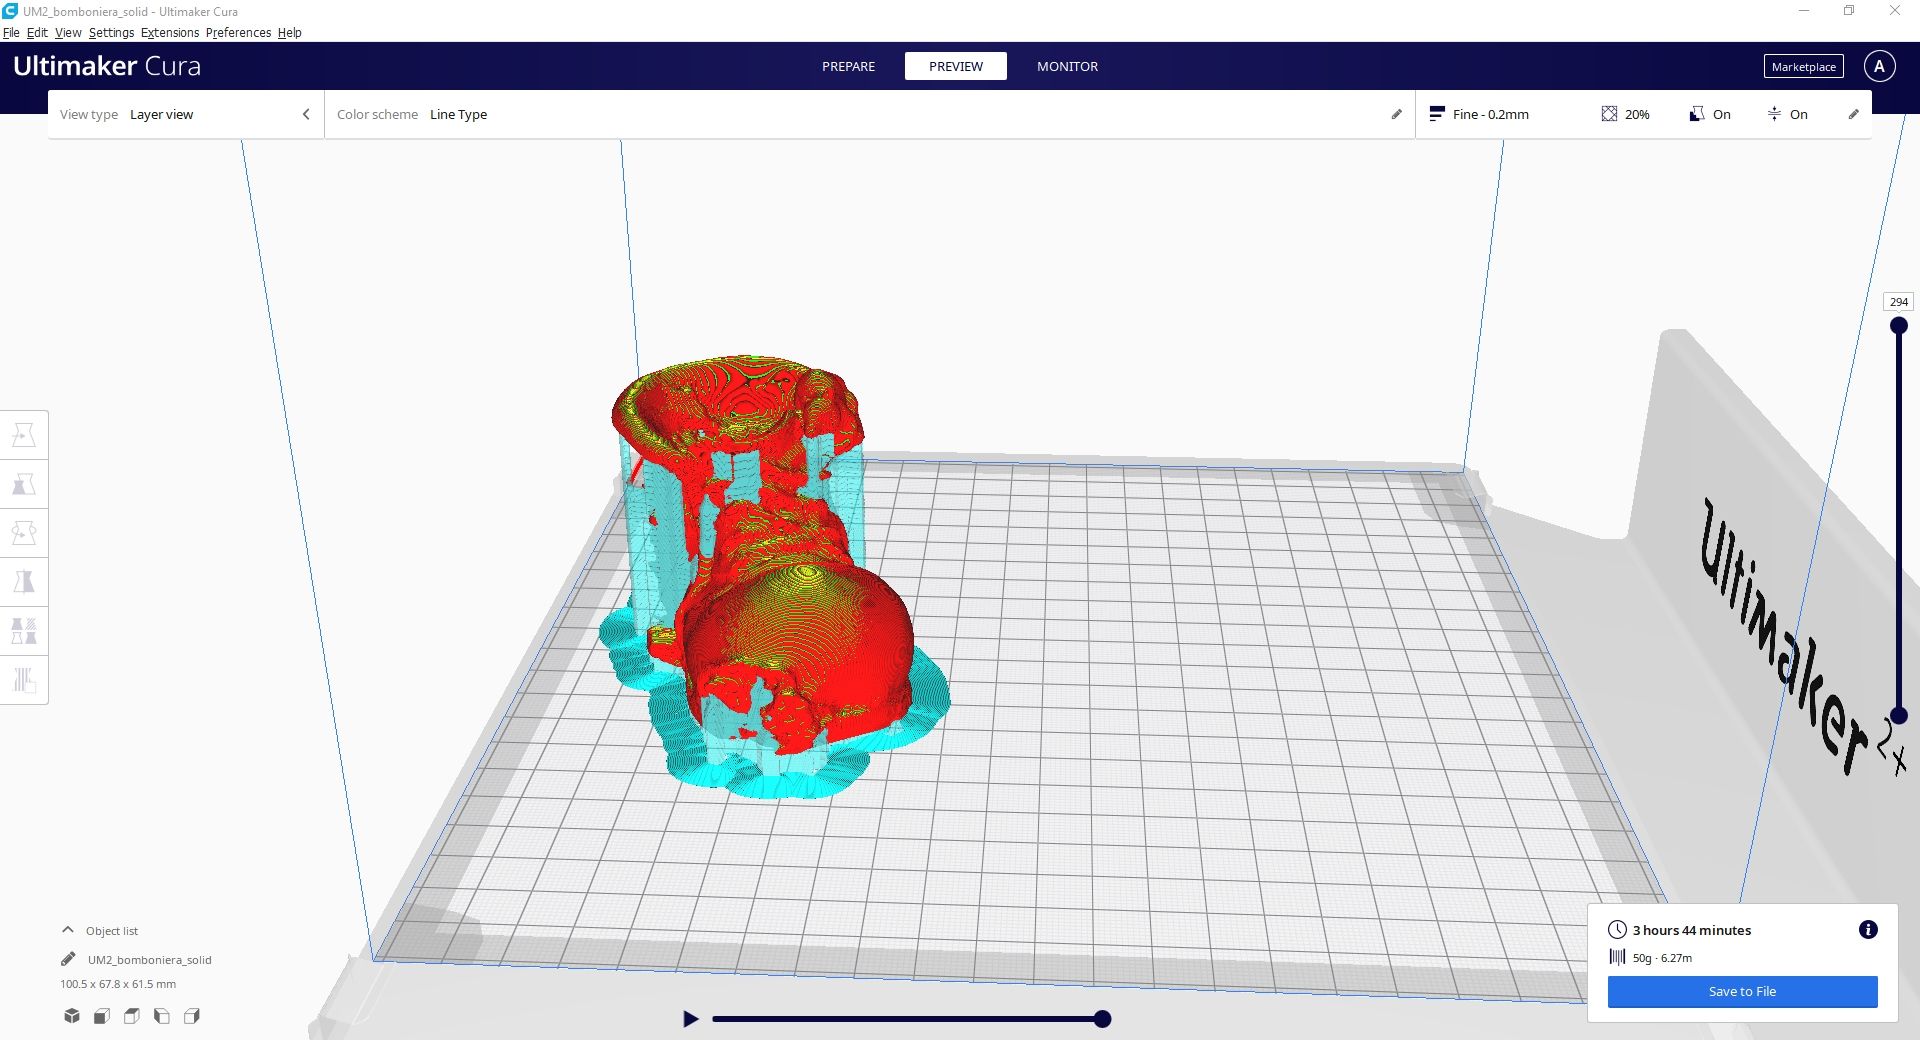
Ultimaker Cura
I prepared the printing process of the object, trying to obtain a model as big as the original one. These are the settings I used in order to print it with PLA:

So this is photogrammetry’s final step for today, I started from the pictures and here’s the 3D model ready to be printed.
This is how the object looks once it has been printed:
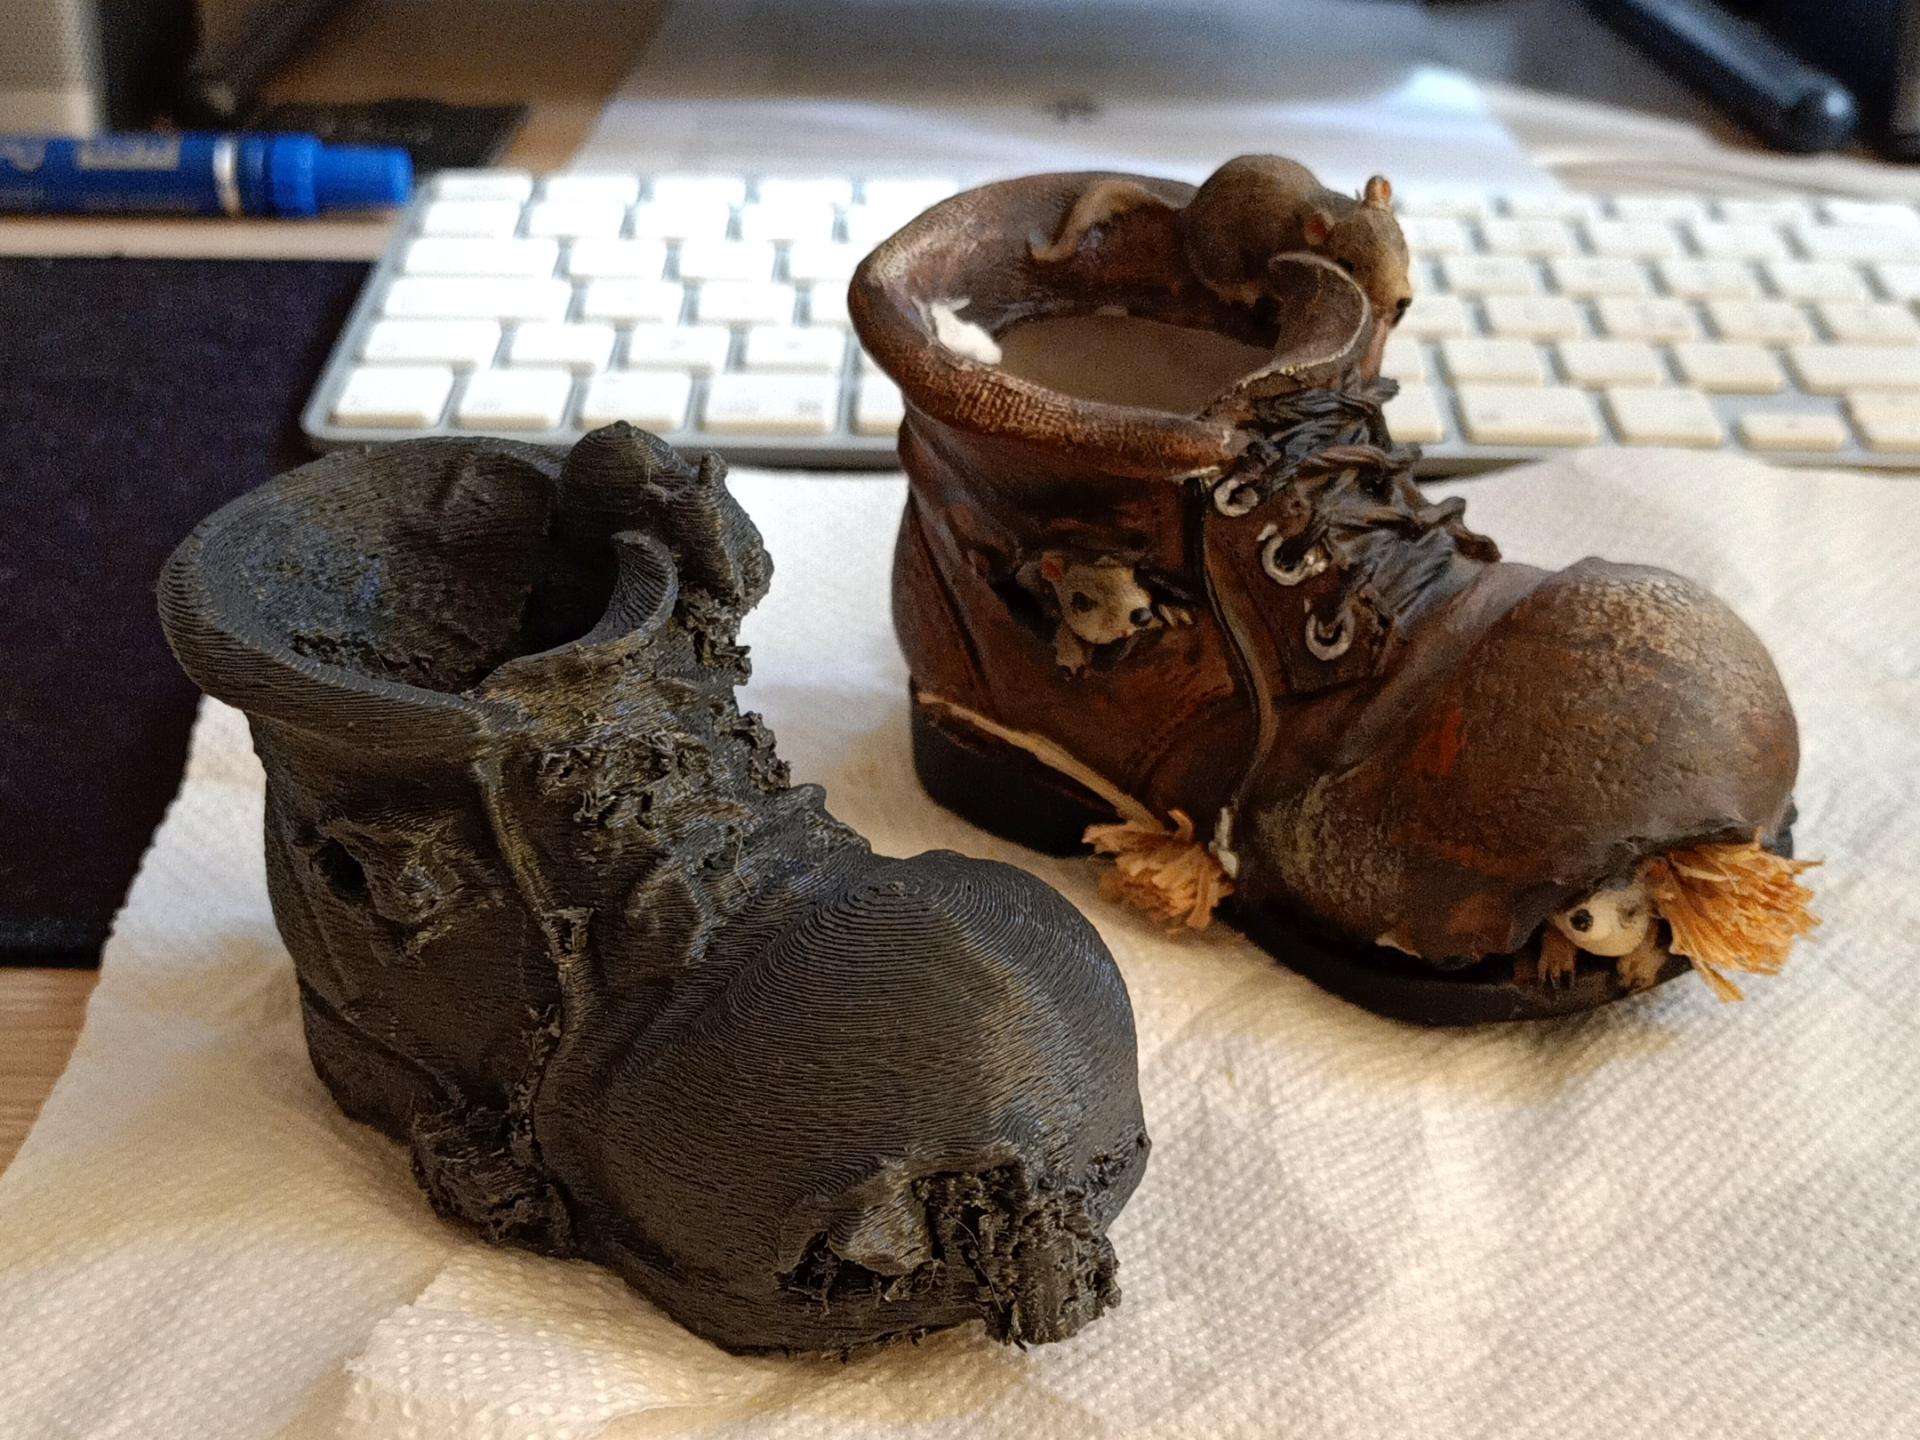
Since this has been my first print ever from scratch, I am going to try and find better settings. First of all I am going to reduce the print speed from 100mm/s to 70mm/s.
UPDATE - Printing pros and cons:
I am writing this update at the very end of Fab Academy, since now I can share a wider opinion about it. 3D modeling and printing have been my favorite subject through the whole course. I really enjoyed creating something from scratch and to see it and touch it after a few hours.
PROS
- You can create almost anything.
- The community allows you to not design anything but just print it, if you do not care about designing on your own.
- Materials like the first three PLA spools I tried are really easy to be printed.
- It is quite hard to damage the machine, compared to the other I tried during fab Academy. The ultimaker, with a little respect, is (almost) foolproof.
CONS
- The additive printing process requires way more time than other creating processes. As an example, for my final project I needed two gates for my marble track, I designed them on Fusion360 and then I checked two different ways to obtain them: Laser Cutter or 3D printer. The laser cutter required less than 5 minutes for the whole process, the 3D printer required more than 2 hours. If time matters for you, the 3D printer is not the best choice.
- Z axis calibration is fundamental but also frustrating. It is a must-do for your printer but if done badly, it can ruin your prints.
- Some materials require way more trial and error before good prints, the online documentation helps but can also confuse since there are thousand different solutions about the same issue.