12. Mechanical Design, Machine Design
As a continuing student this is my second try at machine week, the first time around is documented below.
In ‘21 I managed to put together a working machine. In ‘22 my focus was to cover the team working aspects.
2022
Reflections on Process and Progress
We have been facing some up hill struggles this week. A team-member who can’t go into the lab, a team member with a heavy exam load and finally a person in a different country.
If I compare us to other teams, the main missing thing is that most groups of student have been sharing a space for ten weeks, solving problems together. We have not had that team forming stage. So we had to start from scratch working out communication, understanding each others strengths.
It also seems that for various reasons none of us has been able to pour in the hours this week.
I think our initial meeting went quite well, we came away with a workable plan for a machine with resources in Oulu that were identified as available and applicable.
We put in place a web page early on, although there have been a few last minute additions, we were somewhat consistent in documenting as we go.
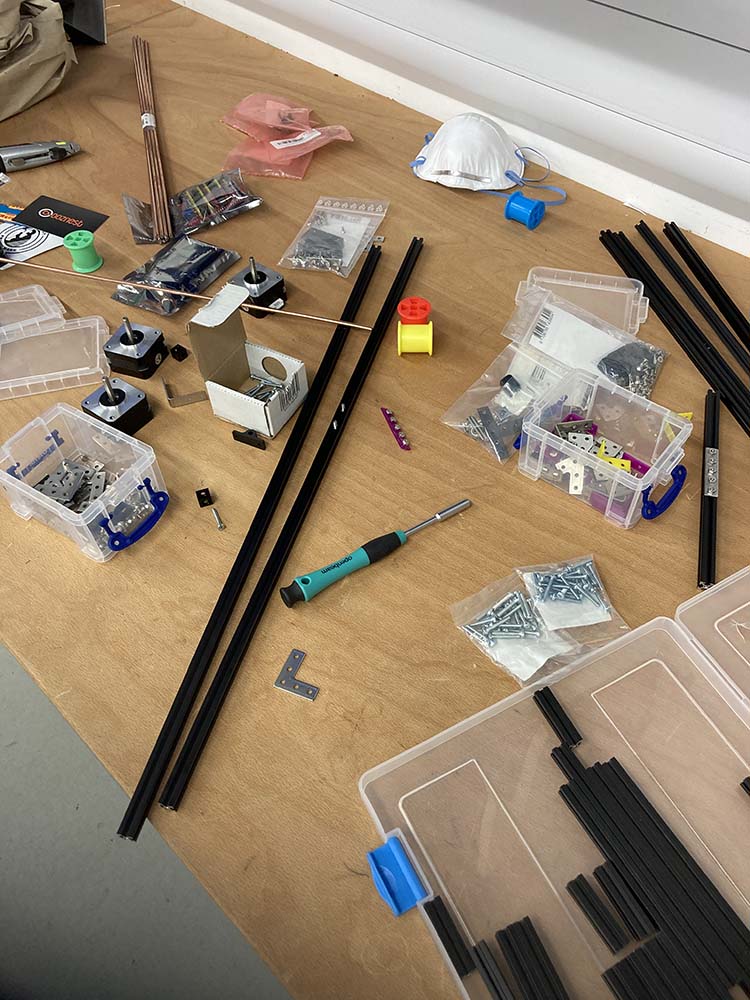
We’ve not got as far as we might have hoped, but Max has got a first draft of all the required physical components ready to try.
Reflections on Personal Contribution
I think I’ve been the one that has offered the coordination between students.
I’ve been active in documenting our efforts.
I constructed our initial mock-up.
2021 Effort.
Decided to build a cable machine
Mechanical Design
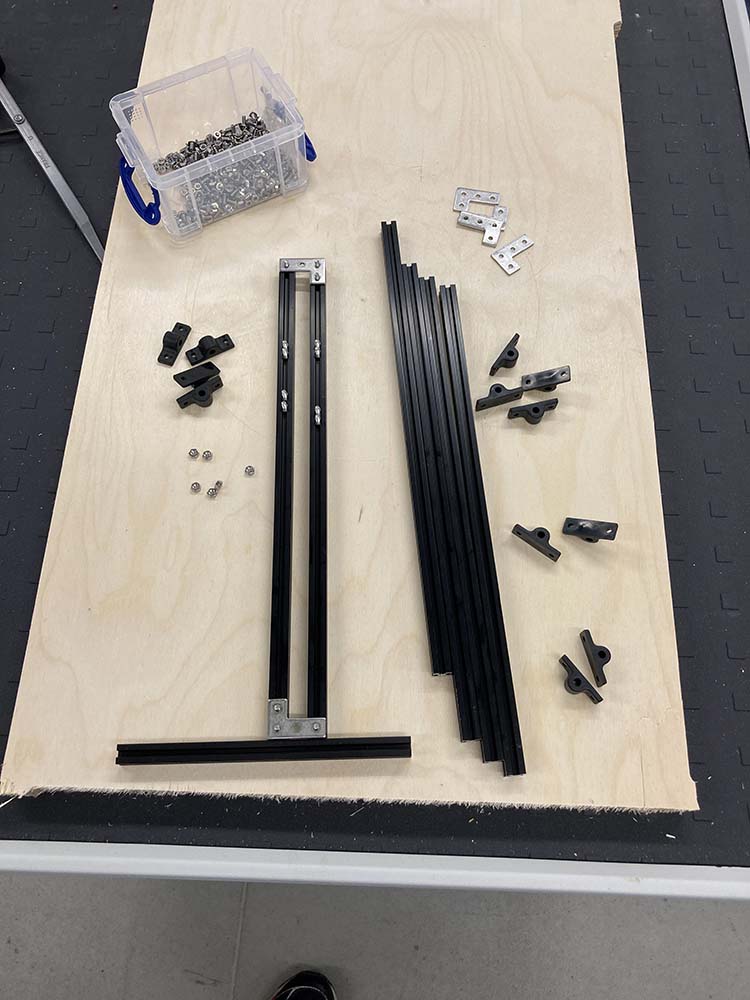
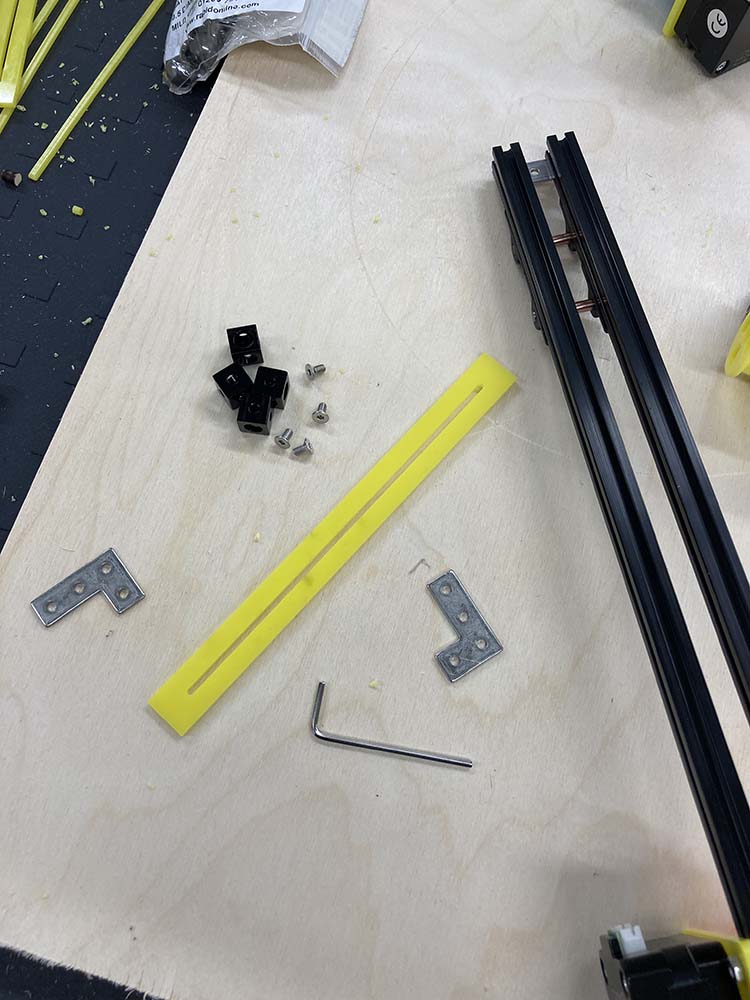
The main body of the winches is made up from MakerBeam:
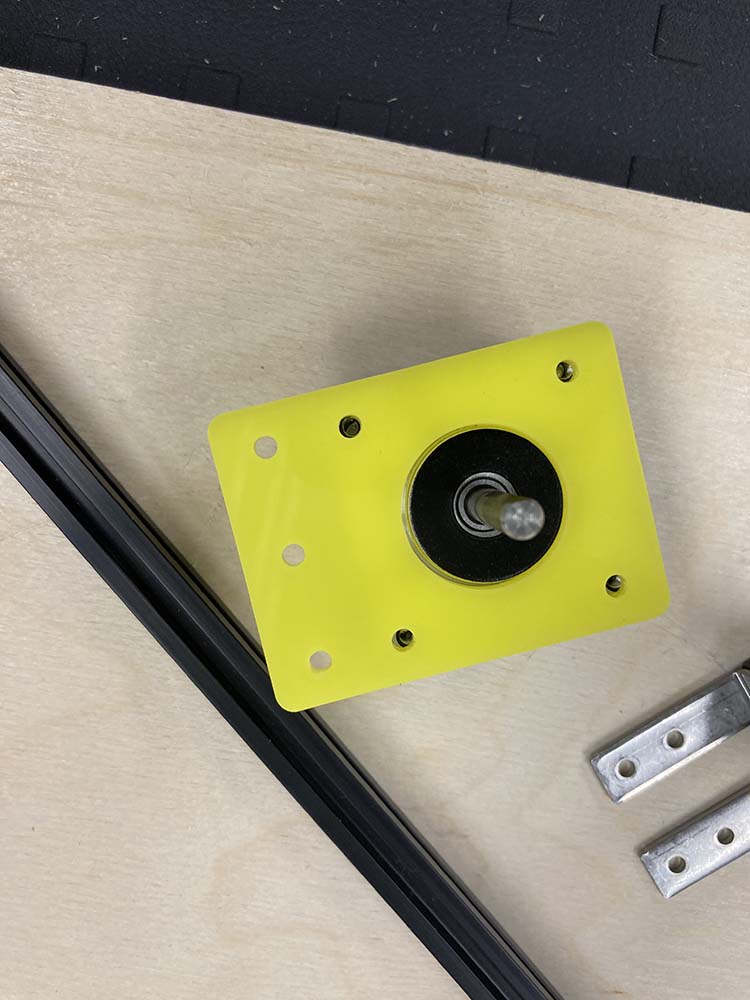
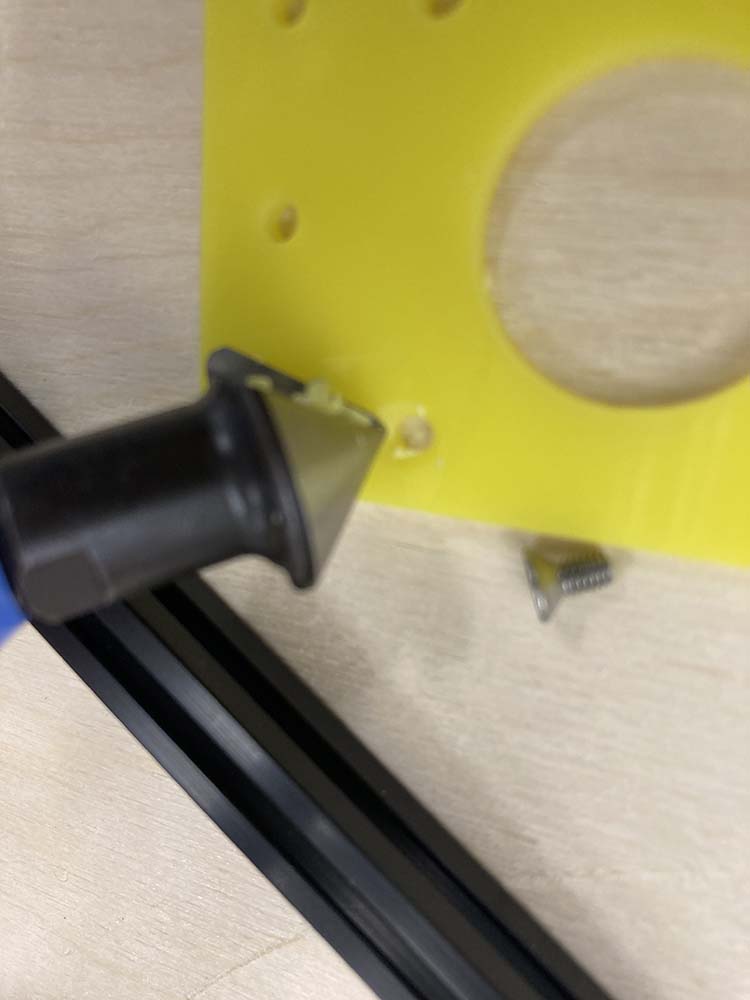
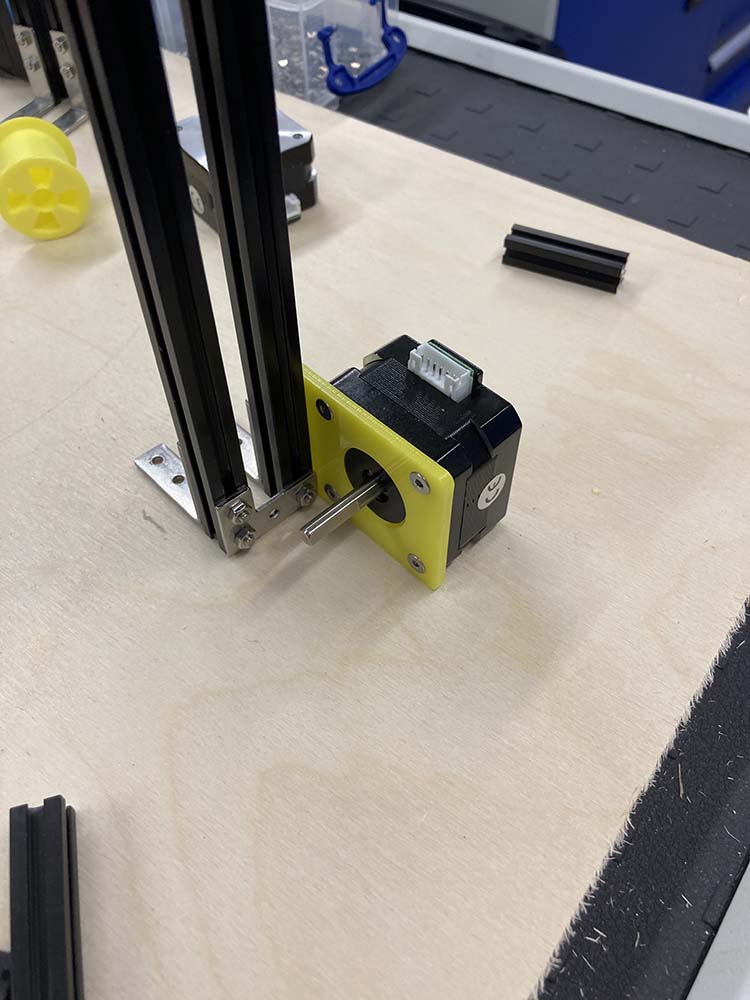
 Mounted some NEMA17 motors with a laser cut part, screws were countersunk
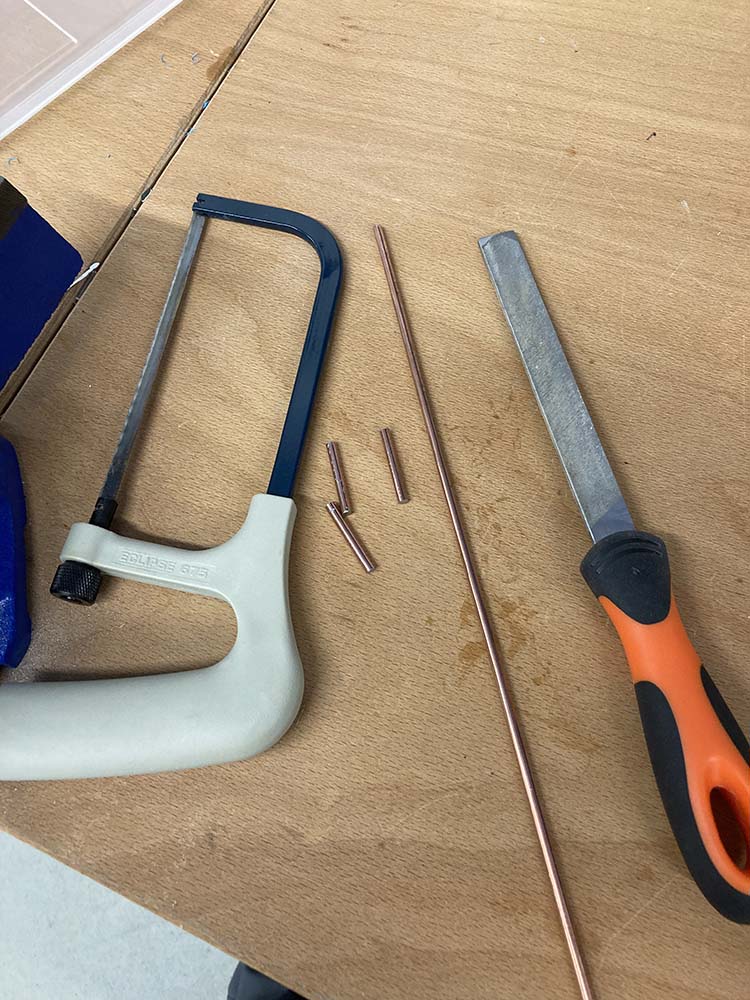
 Hand tools to cut up some axle
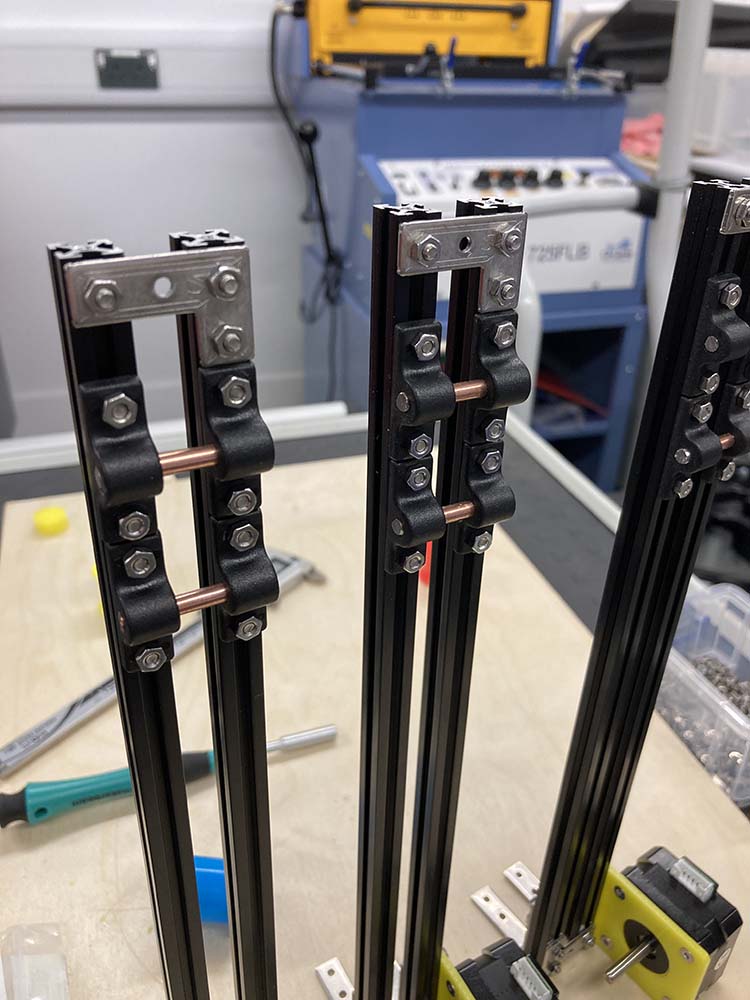 The winch drums were push fit onto some axle adapters made from stacks of 6mm Ply.
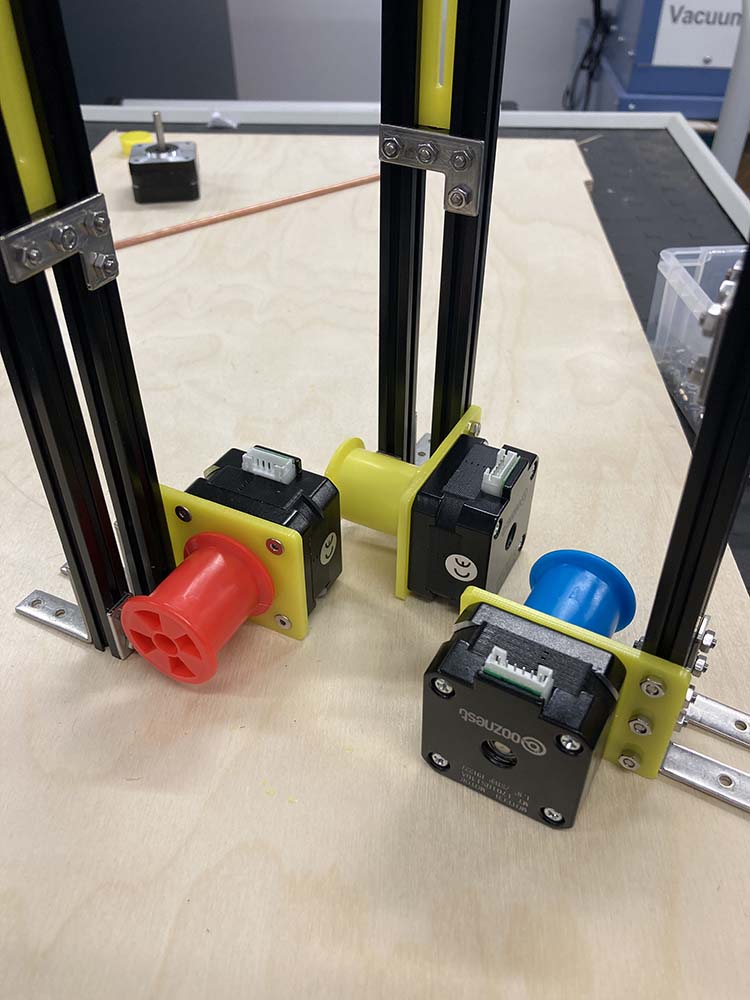
 Cable guides cut and installed, view of the compete motor mounts
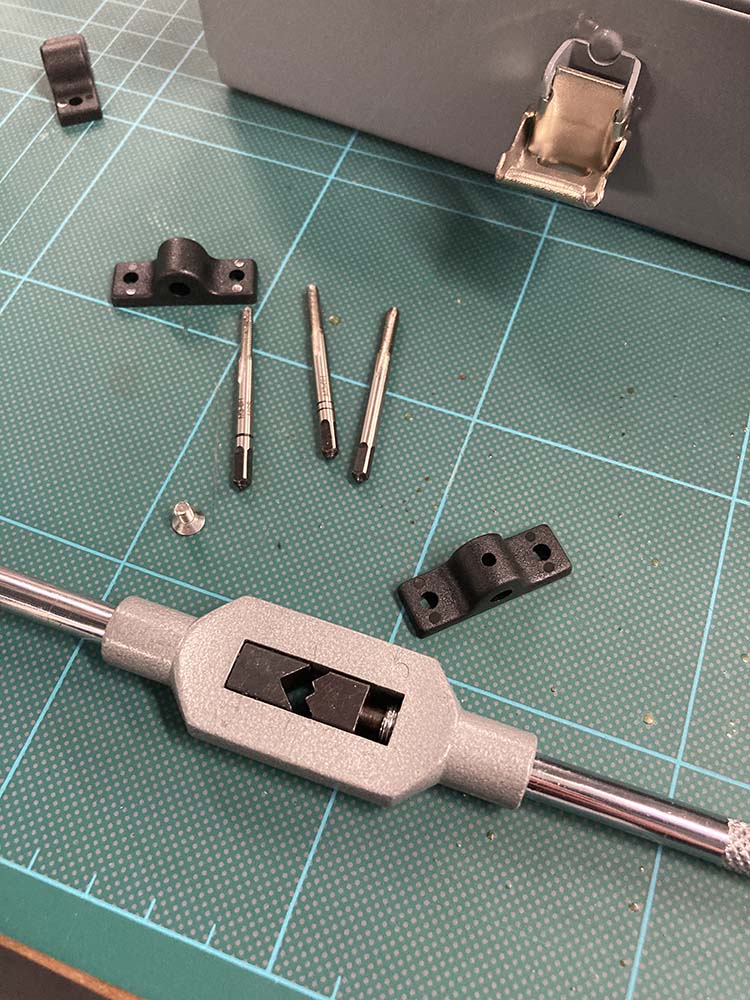
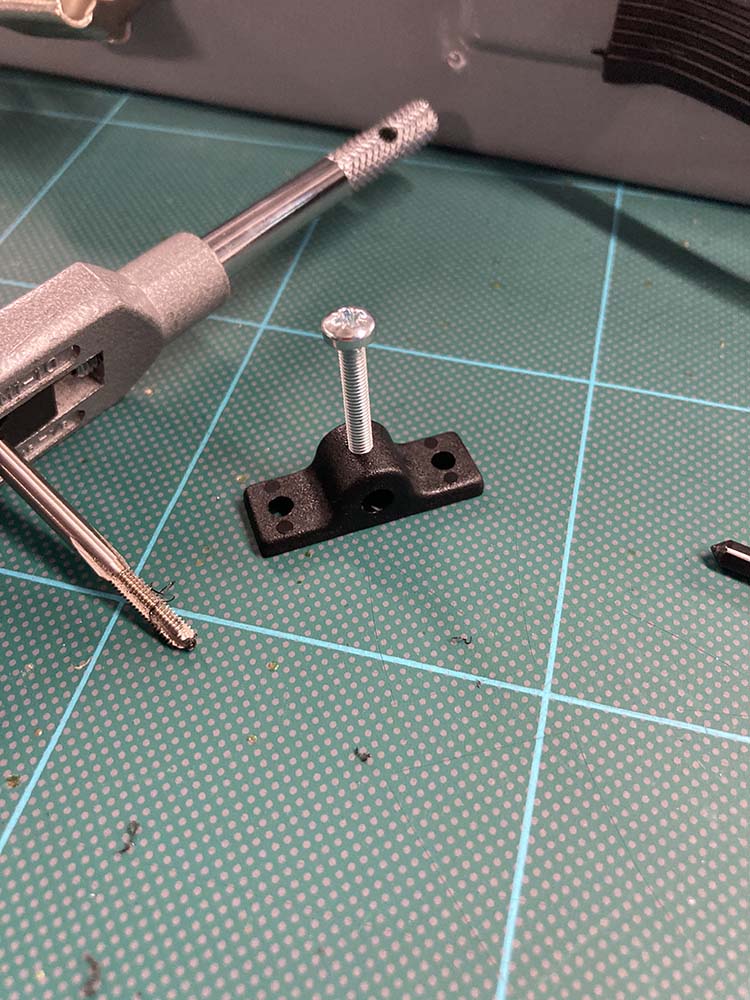
 Axles had some grub screws added, tapped out to M3
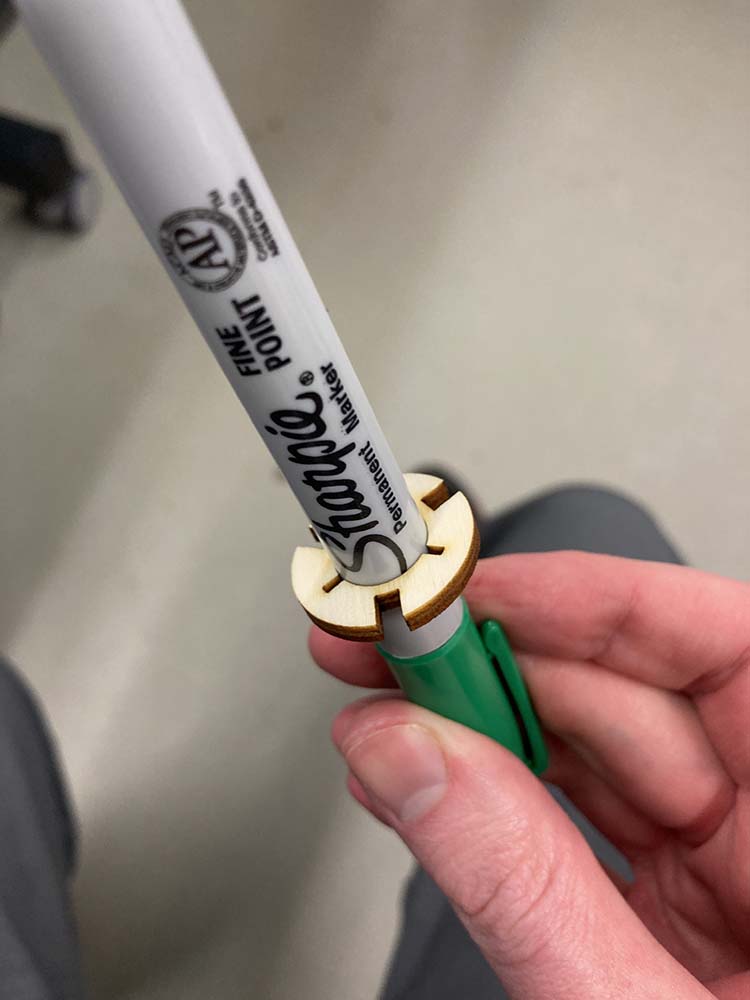
 Working on a Sharpie cradle
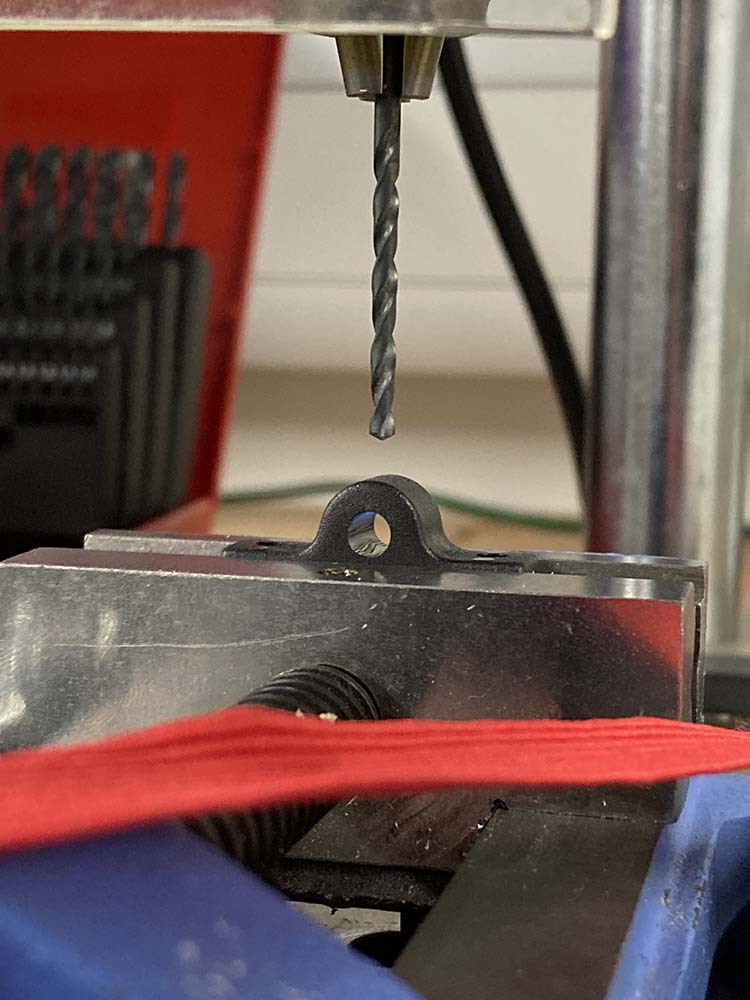
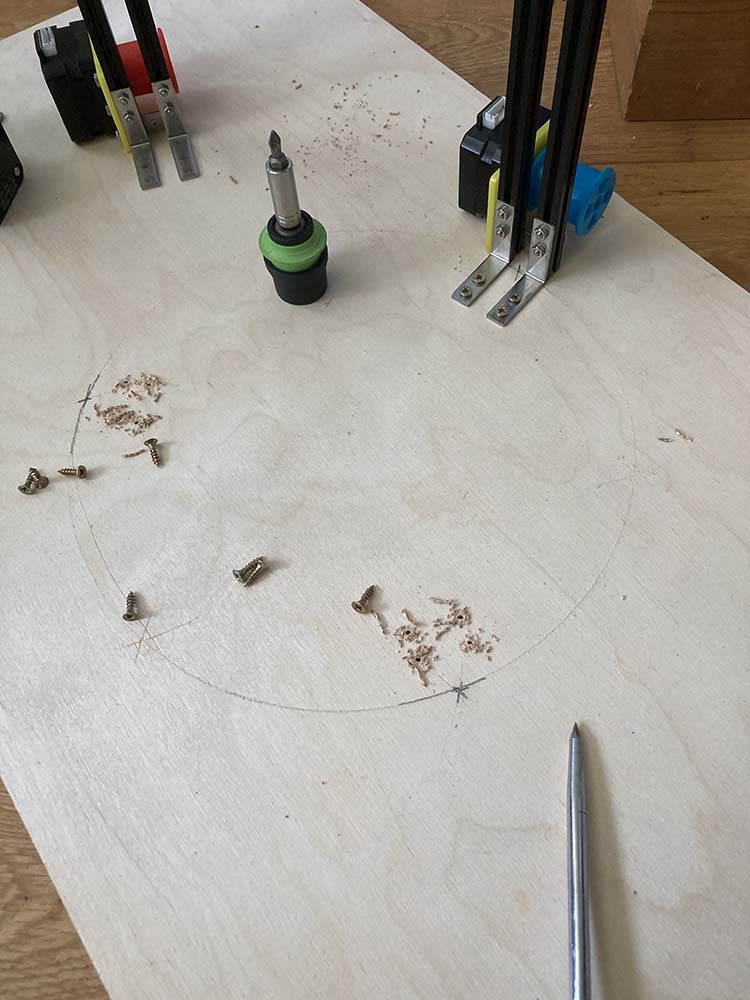
 Marking and drilling the base board

Quick video of the mechanics:
Machine Design
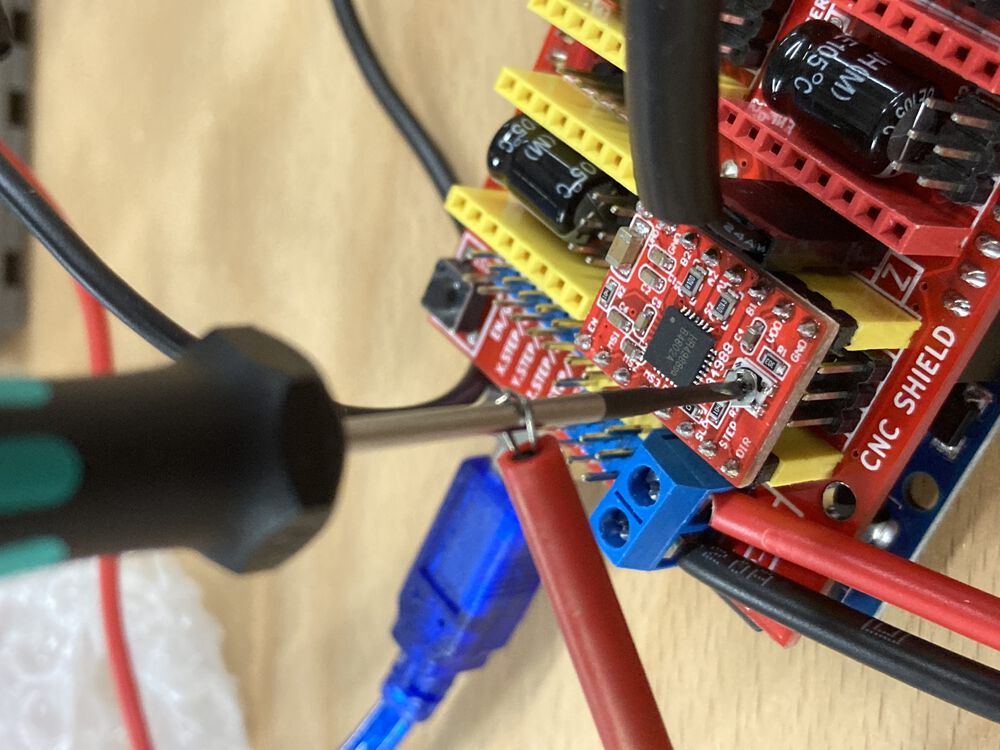
Made it run with an Arduino CNC shield and regular stepper motors.
When setting the current limit on the driver you can probe the voltage via the screwdriver, not something I’ve done before.
The screwdriver was wired into our bench top DMM
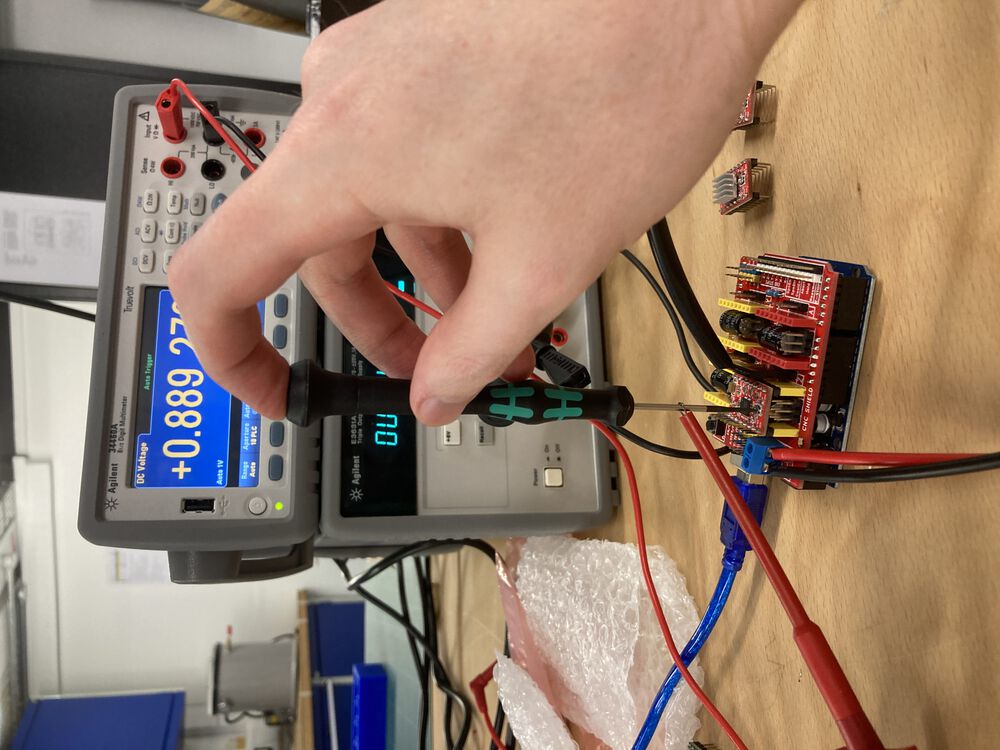
Our bench power supply is limited to 1A at the voltages we wanted to use to drive the motor so our bit of code to get it to run cycled through the motors one at a time for demonstration purposes.