10. Molding and Casting
This week we’ll make a chocolate mold. Starting with a milled wax form and filling that with a food safe silicon.
Files
Safety Data
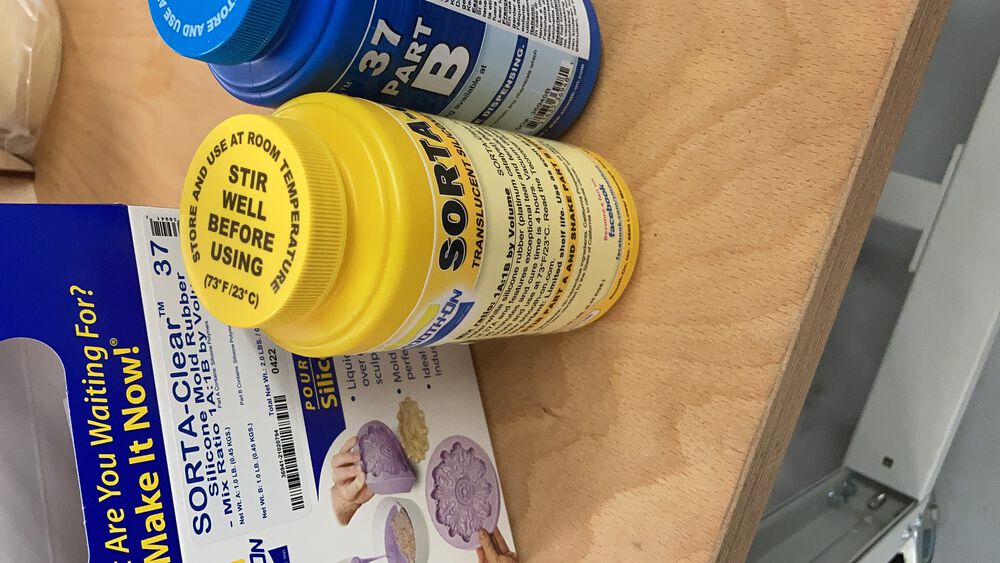
Smooth on have a document listing their food safe products: online / local copy We’ve decided on Sorta Clear 37. From it’s own data sheet we find out that it’s about as nice a product as you can get:
2.1 Classification of the substance or mixture
Not a hazardous substance or mixture according to United States Occupational Safety and Health
Administration (OSHA) Hazard Communication Standard (29 CFR 1910.1200), the Canadian
Workplace Hazardous Materials Information System (WHMIS) and Regulation (EC) No 1272/2008
and subsequent amendments.
3.1 Substances
 No ingredients are hazardous according to Regulation 2012 OSHA Hazard Communication
 Standard 29 CFR 1910.1200 criteria.
See more in the group assignment
Precautions
We’ll still be making the usual precautions in handling the material. It may not be poisonous but you still don’t wanna breath it in.
Design
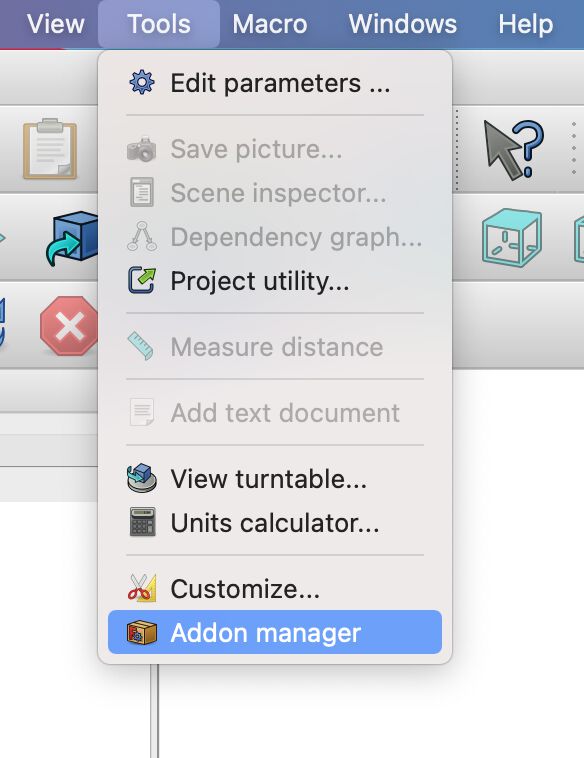
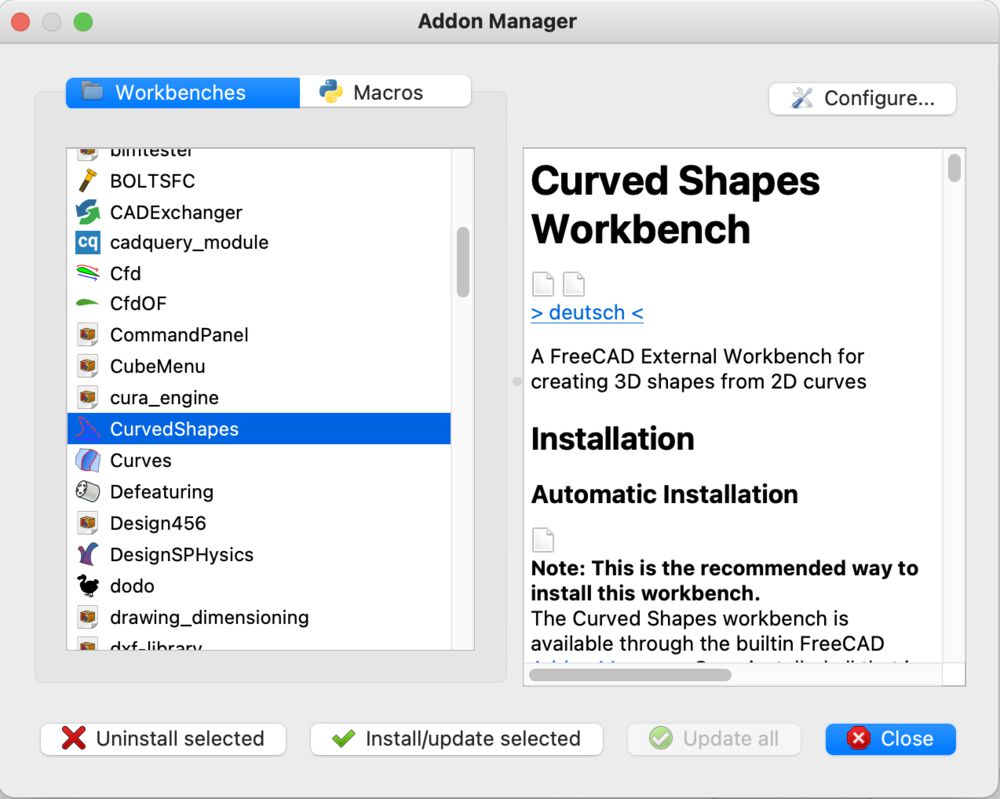
I made use of the Curved Shapes workbench in FreeCAD. It’s not part of the standard install, use the Addon Manager to add it:
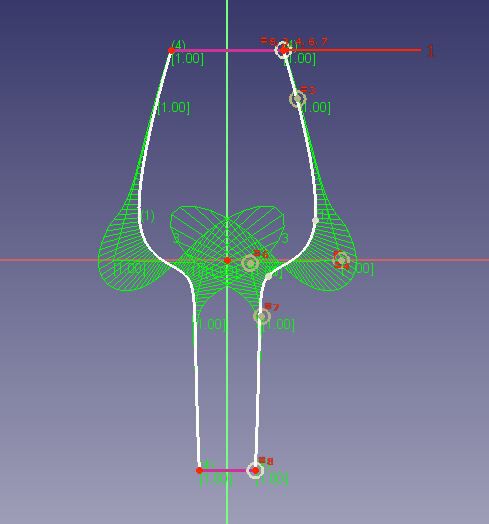
Using the CurvedSegment tool we take some guide rails and a couple of circles to make a shape that later gets sliced across the XY plane:
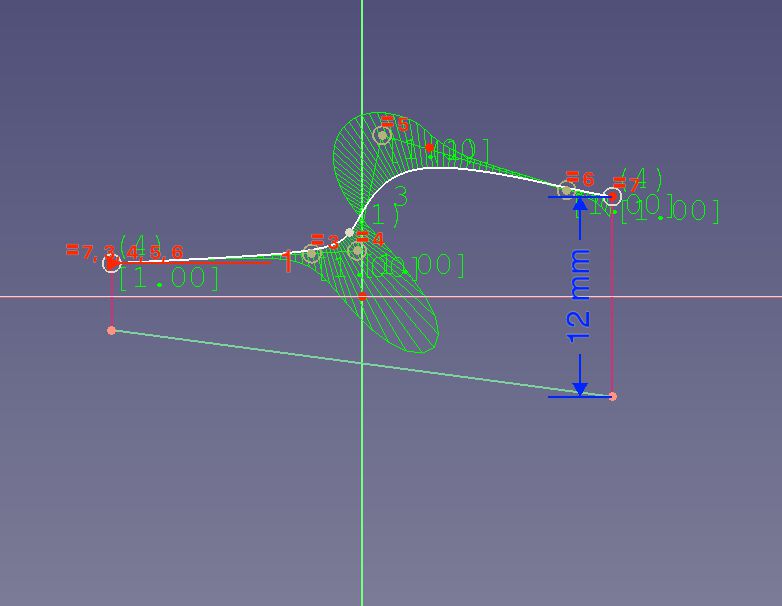
Next time we’ll have to work out how to get a surface to end cleanly, this one has a ramp at the edges:
![]()
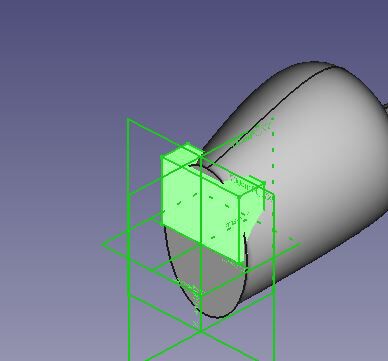
Adding ears that we know will come out of the mold:
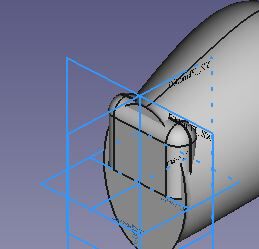
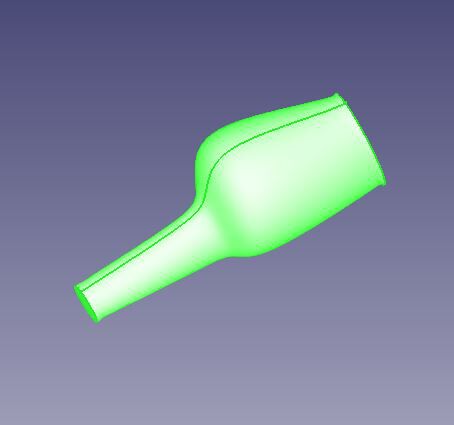
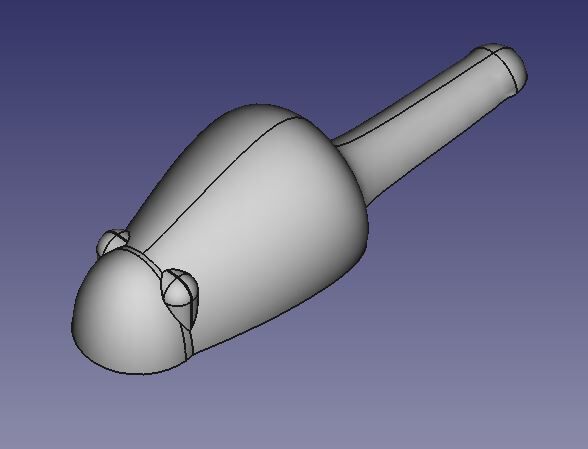
A finished mouse:
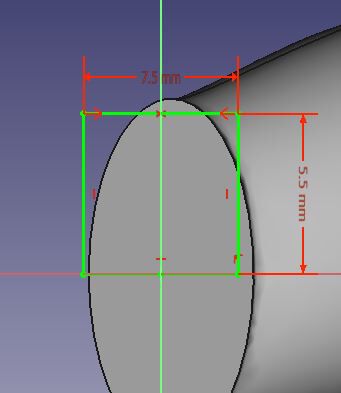
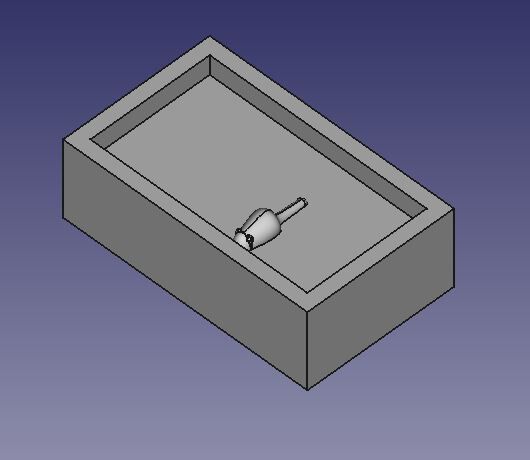
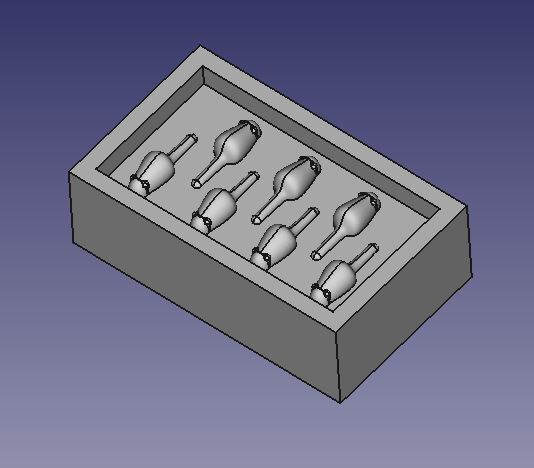
Once we have a mouse we place it into a simple recess, and mice multiply:
Milling
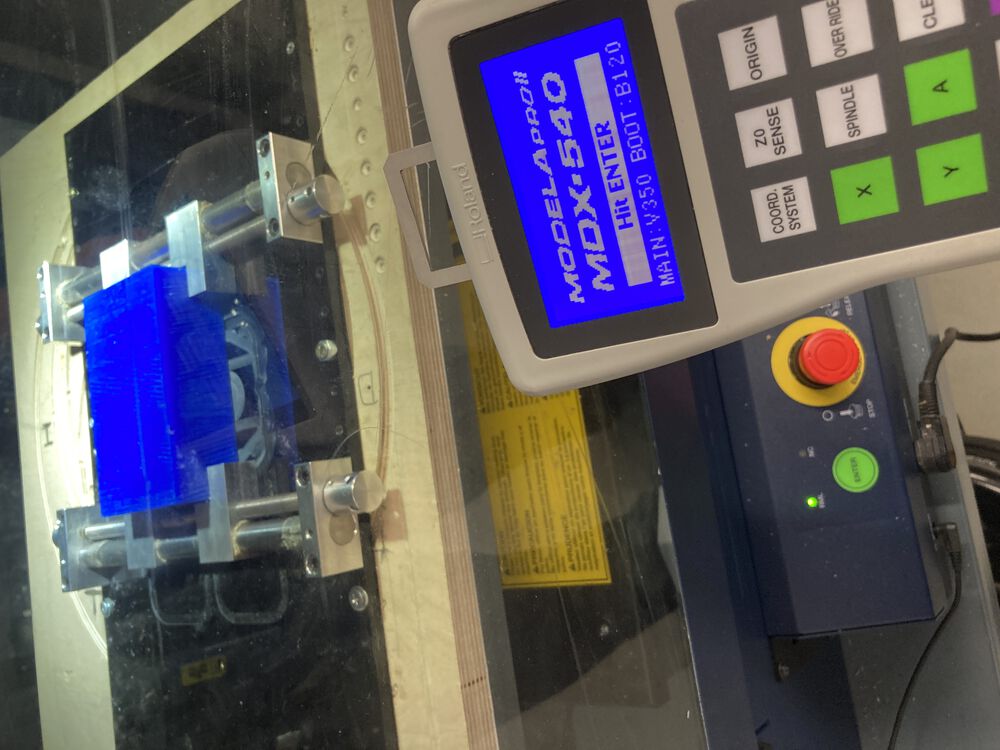
The milling was done on a Roland MDX-540, the wax was fixtured in the machine using a centring vice.
Tool paths
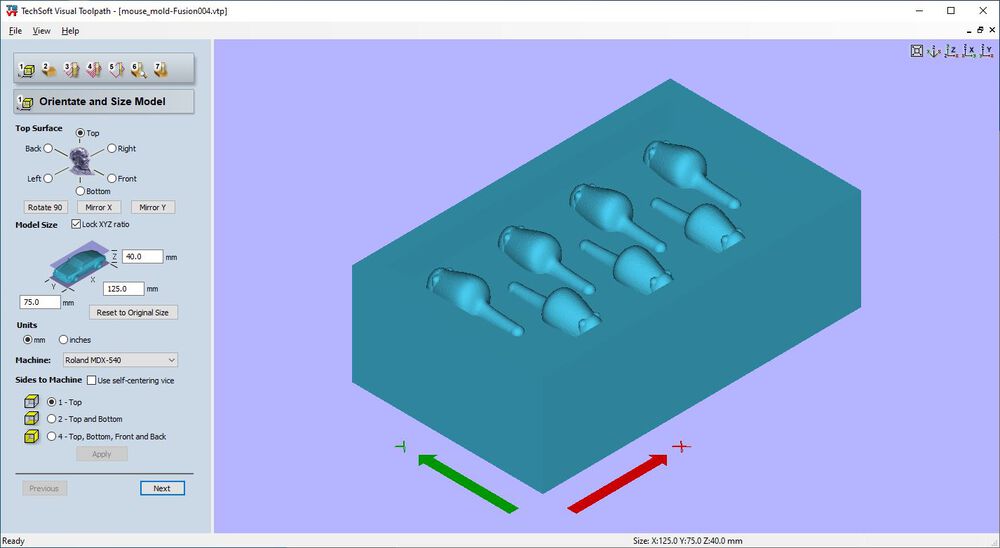
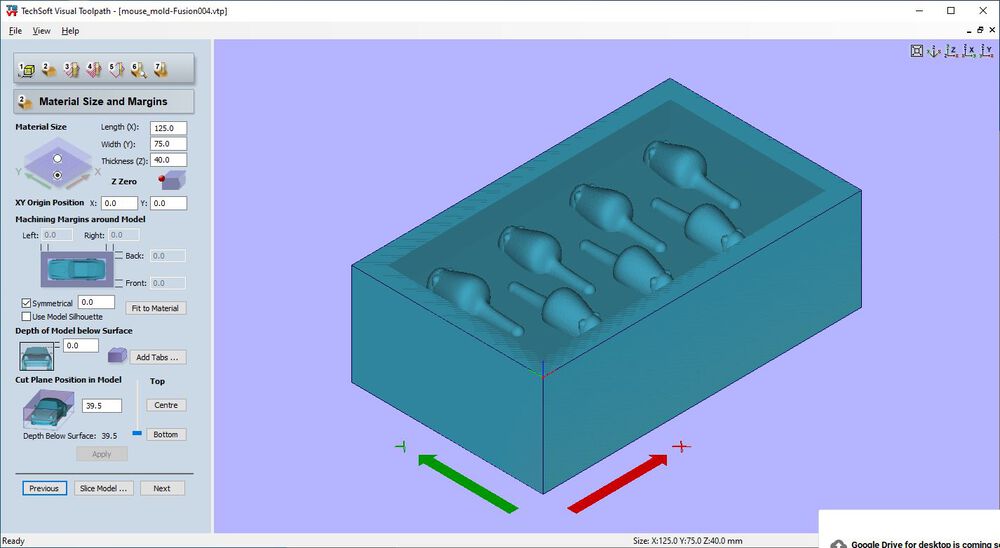
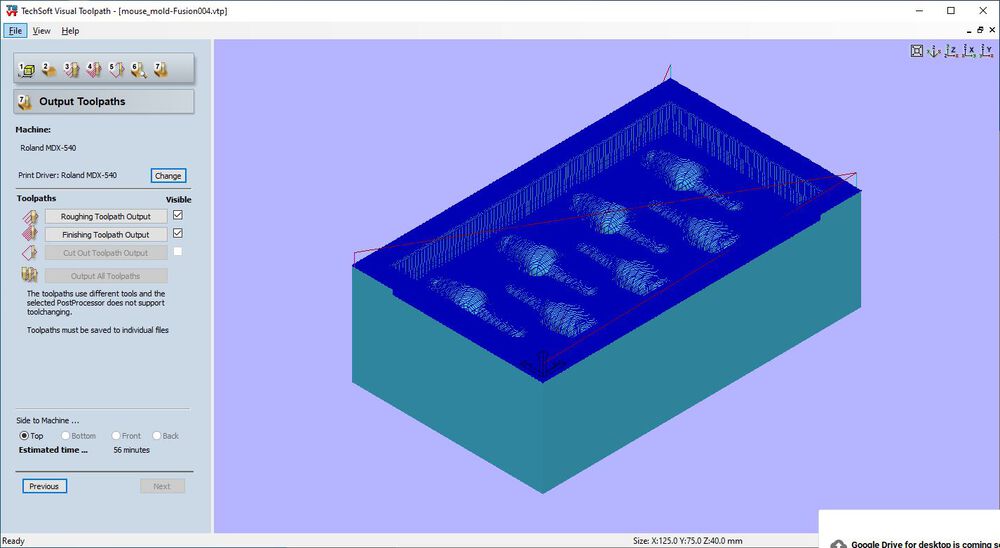
In the UK we have a firm Techsoft that largely sells into schools. They have a CAM tool Visual Toolpath.
Configuring the orientation of the model and material:
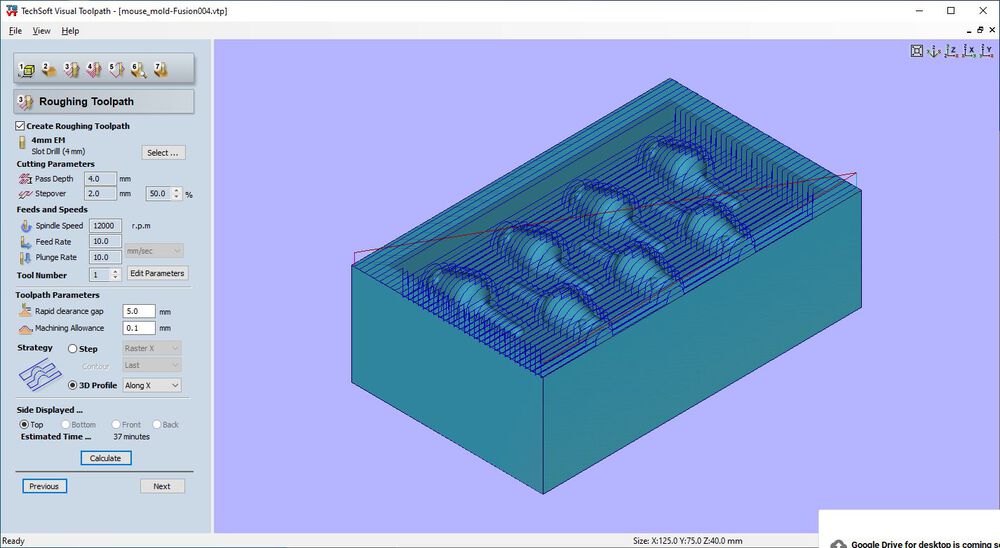
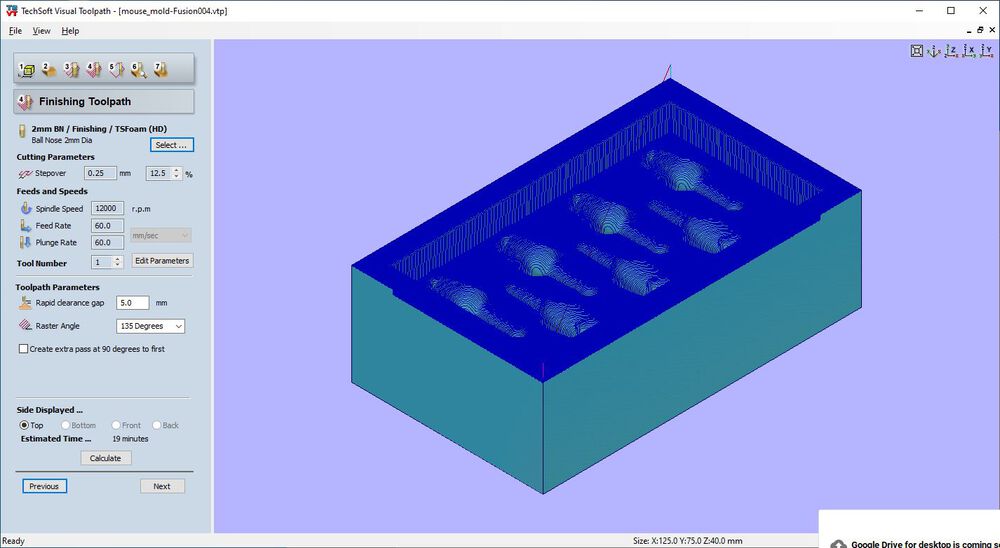
Setting up a roughing and finishing path. The finishing pass was set at 45 degrees. I later repeated the finishing pass on the opposite diagonal.
Roughing was done with a 4mm End Mill, 2mm step-over, the finishing with a 2mm Ball mill, 0.25mm step-over:
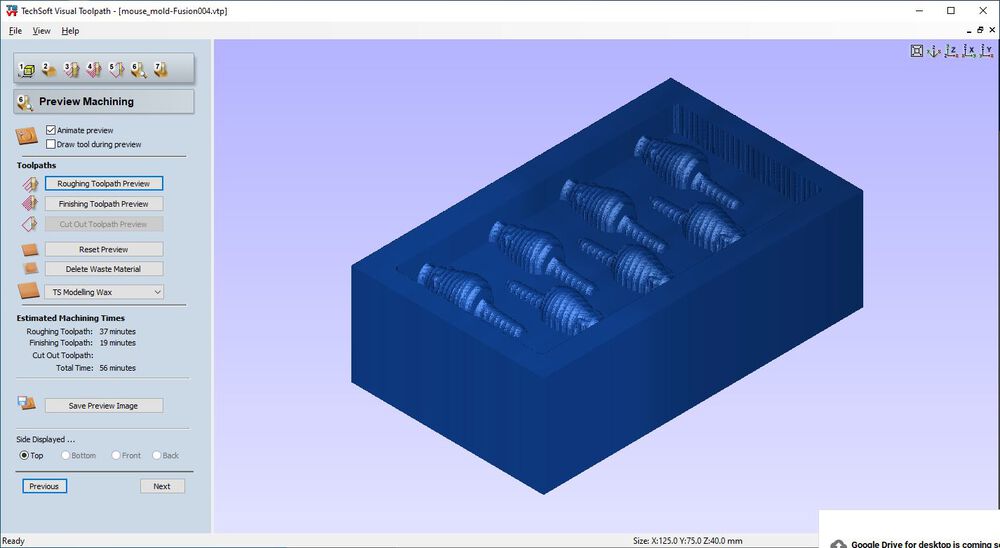
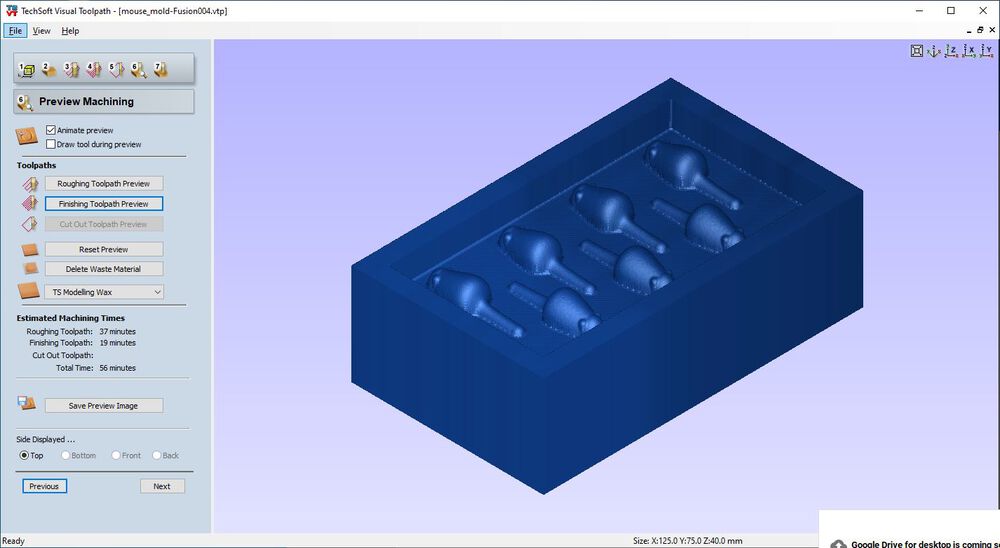
Pre-vis, always simulate:
Ready to export tool paths:
Milling
Roughing out made the most chips:
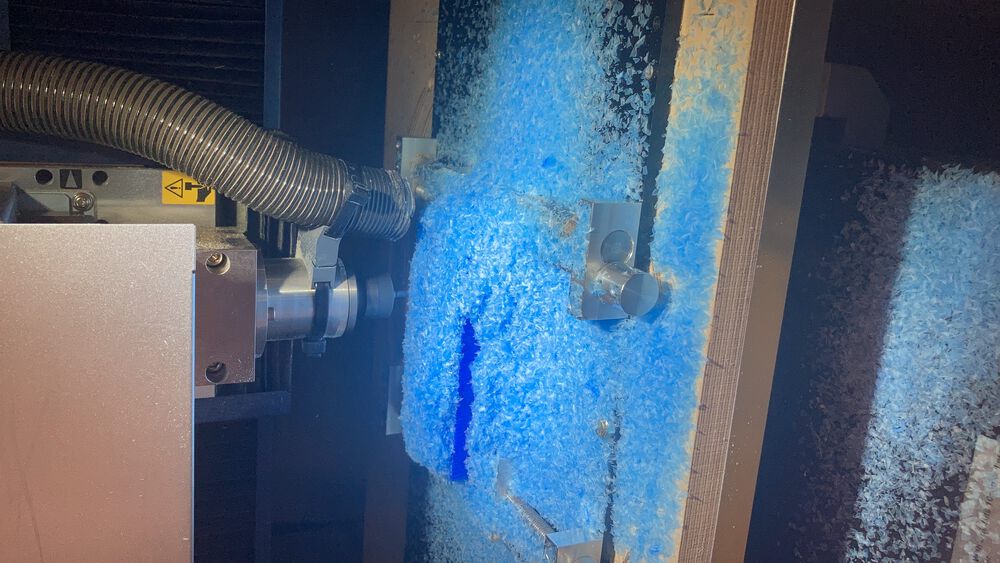
Following the 4mm end mill roughing pass:
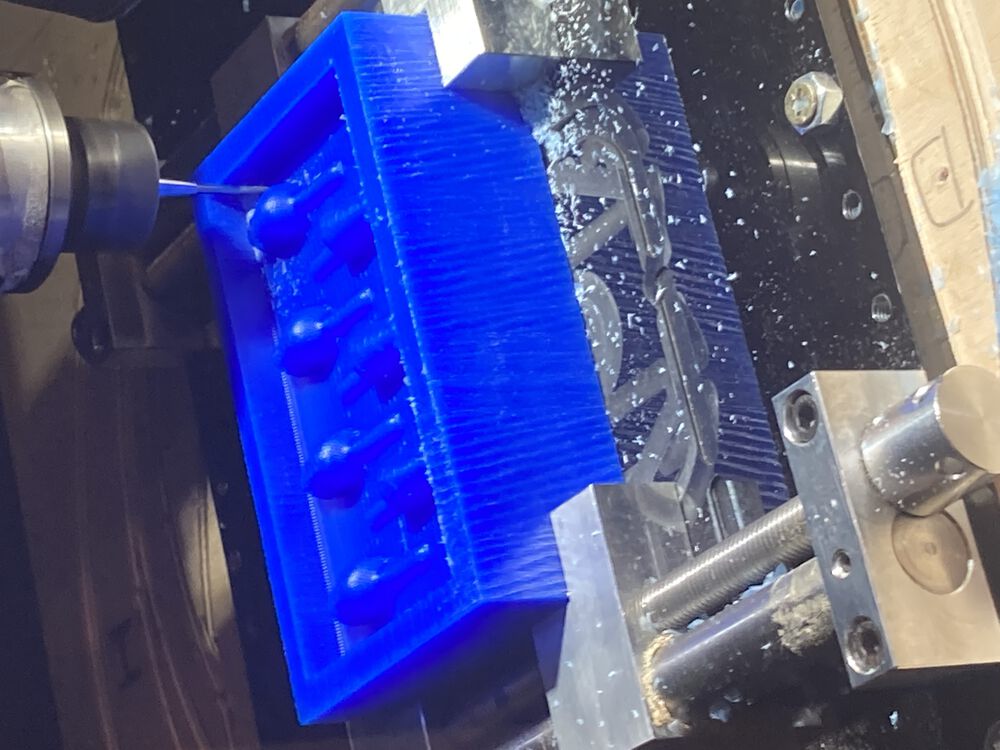
Starting to run the second finishing pass at the other 90 degrees to the first, the other 45 degrees.
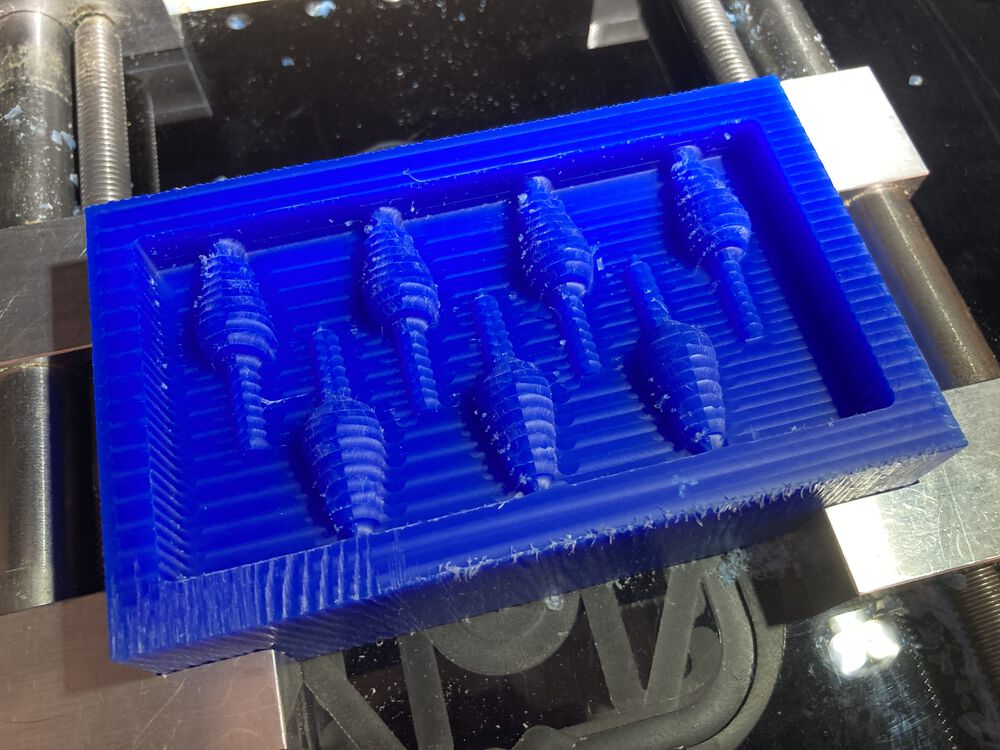
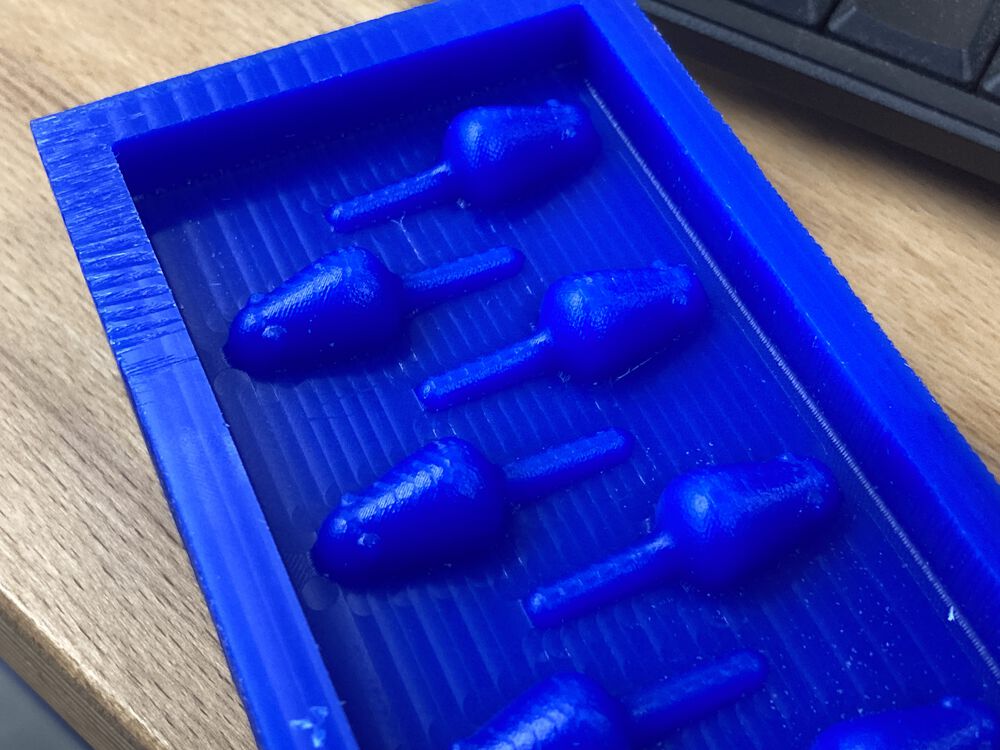
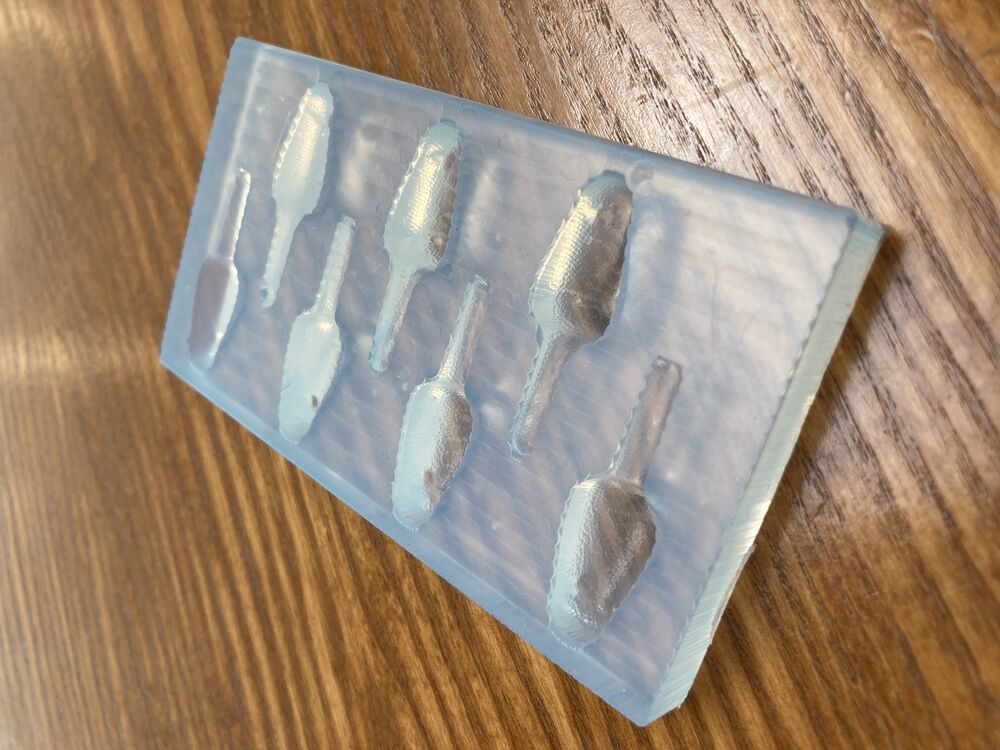
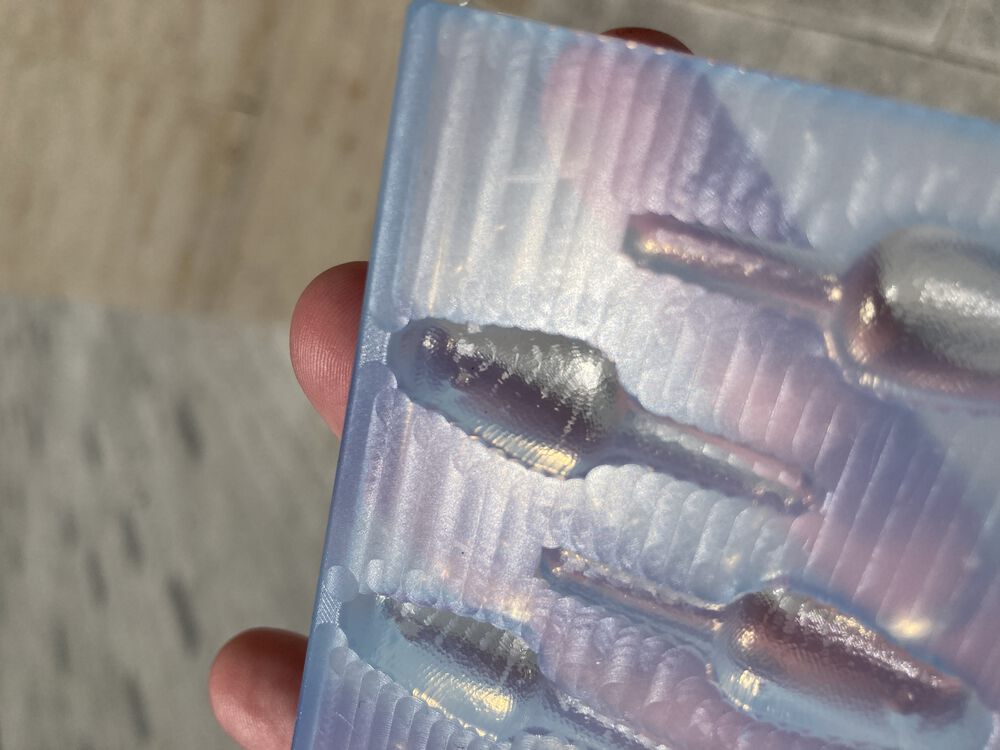
The finished mold, we didn’t use a small enough step-over for a very smooth finish on the mice so that they have a furry texture:
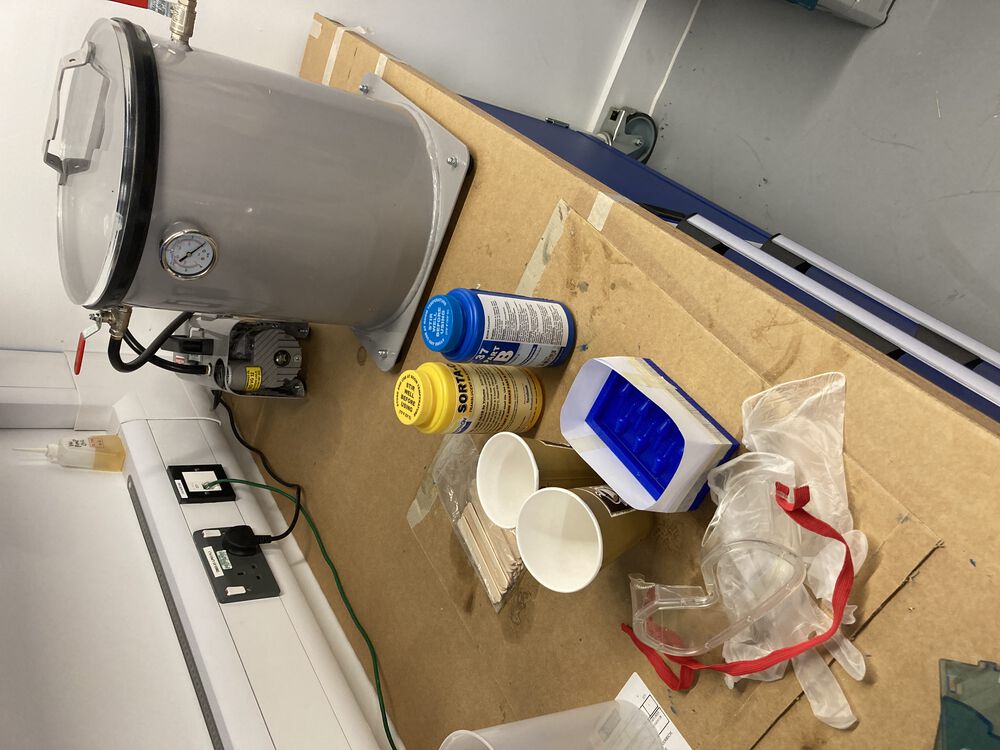
Silicone
Our selected food safe silicone and our setup. Safety equipment, mixing and degassing, on a disposable surface.
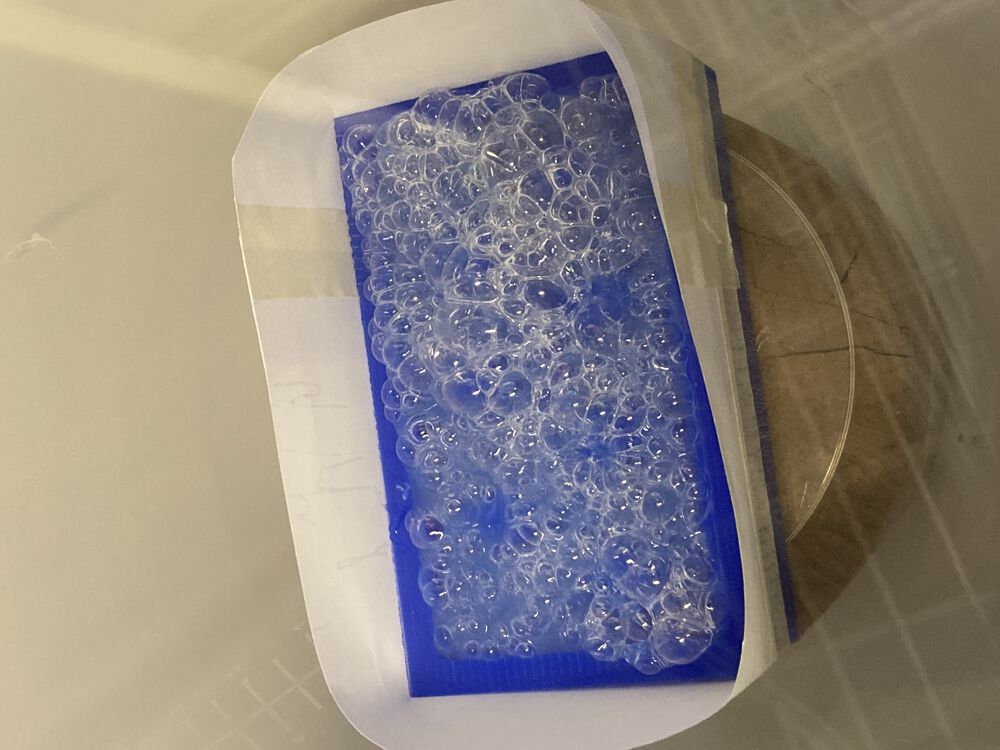
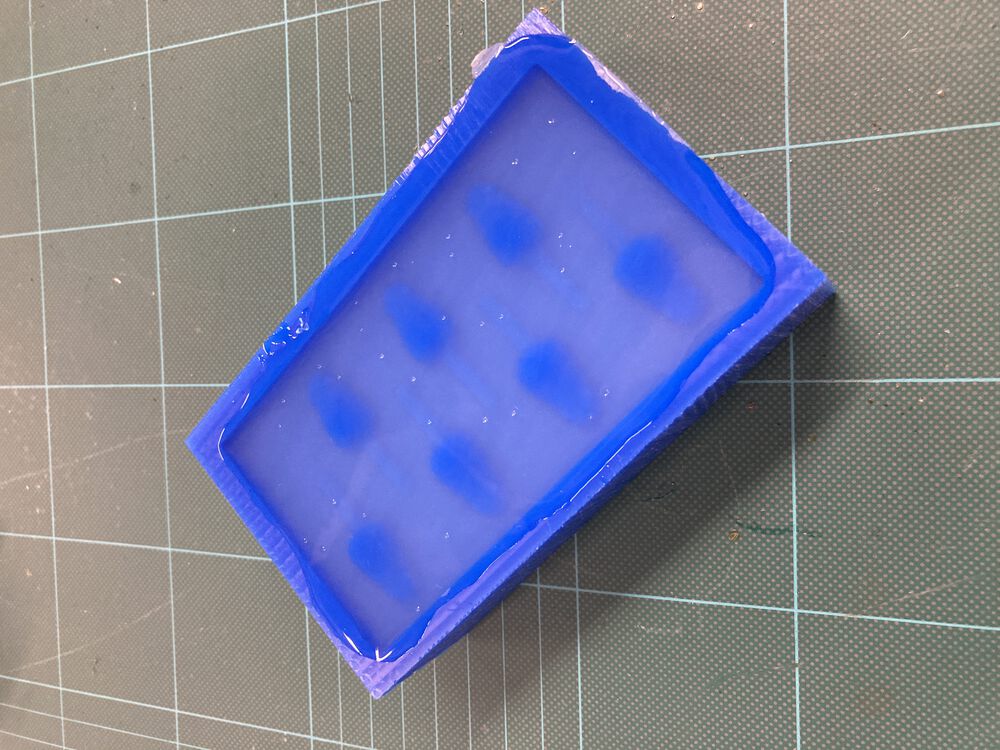
Once the silicon was poured into the mould we did a quick degassing which left a pretty clear result.
![]()
Set:
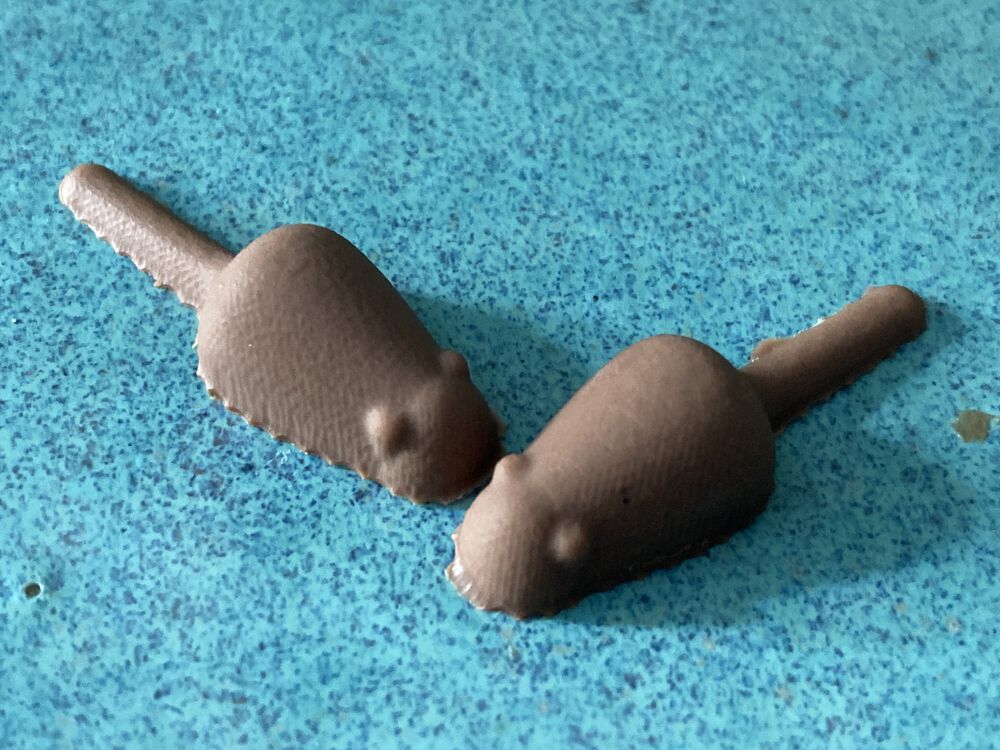
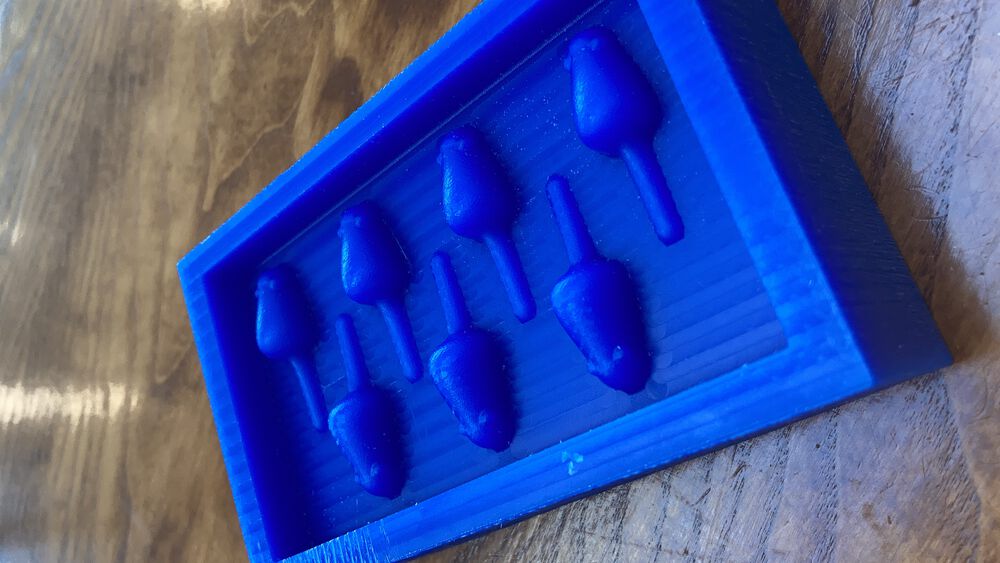
De-moulded silicone with flashing evident. This was removed with a scalpel.
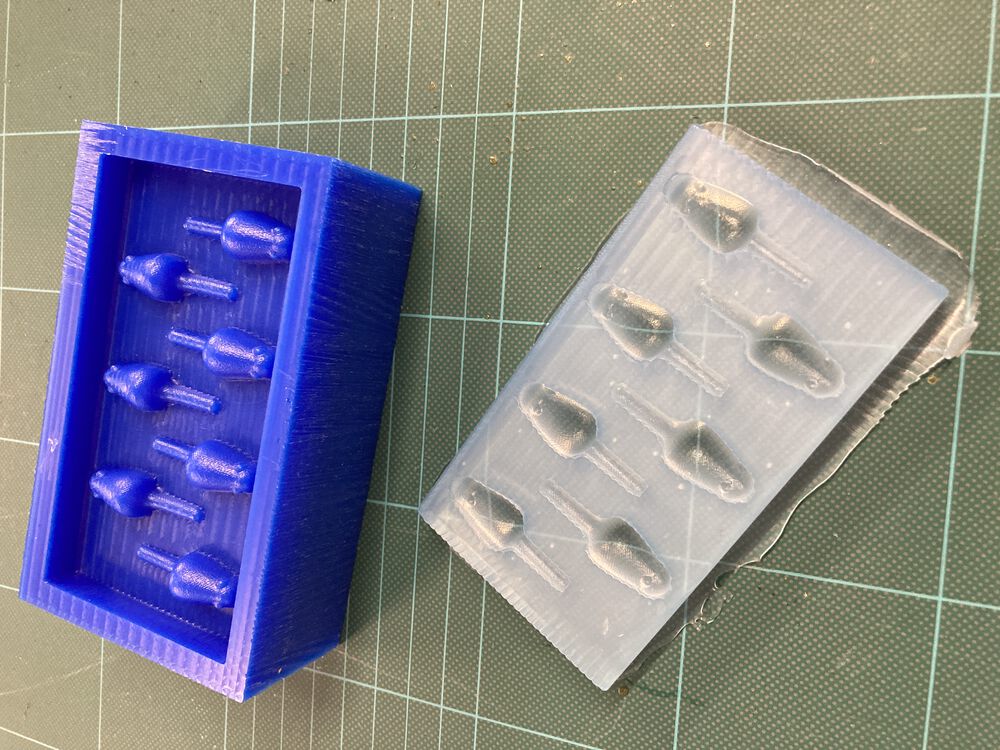
You can see every detail from the milled wax in the silicone copy:
Minor issue
To gauge how much silicone to mix I filled the mold with water and poured it out into a mixing cup. Even though I made up a similar amount of Sorta Clear, it didn’t fill the mold to the same level. Just had to quickly mix up some more within the working time, the first batch was still green enough for a seamless pour.
Hero shot
Next time I’ll thicken up the root of tail they had a tendency to snap off.