Digital Projects
Since I completed my FabAcademy training in 2021, it seems to me that I can indeed “Make Almost Anything”. It is definitely sure that I will continue using digital fabrication for the rest of my life. I have to admit that I am really not keen on going shopping, and I love using my imagination for making custom presents for my relatives and myself.
This section presents some of my work based on digital fabrication.
Integrated project
Skatepong
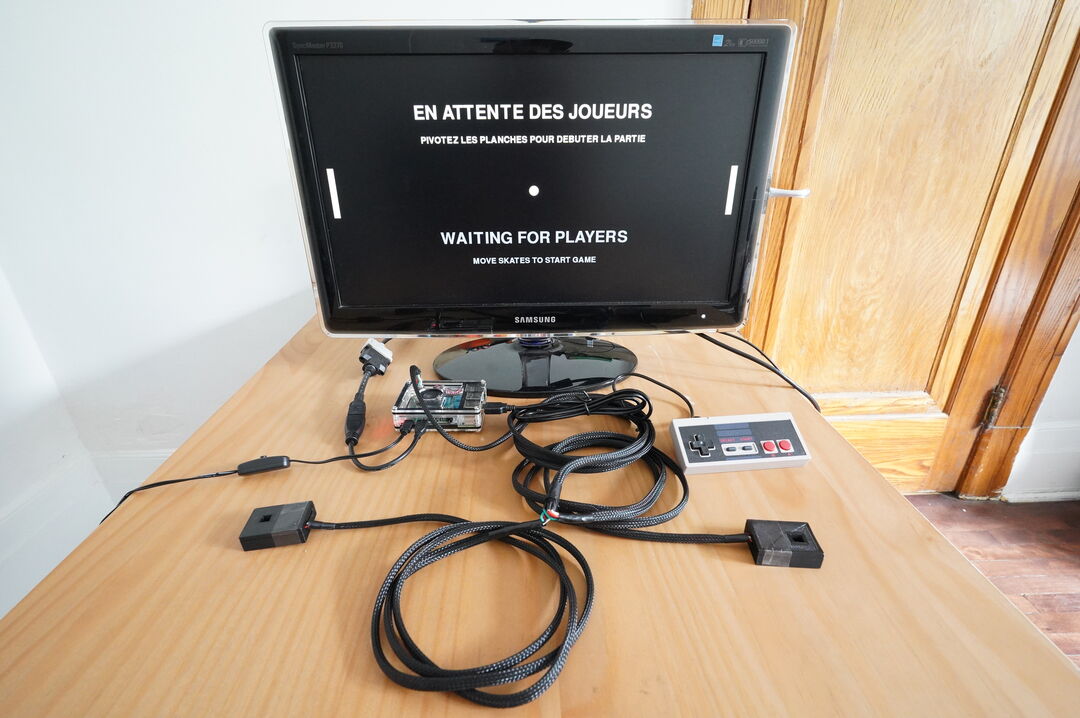
In 2023, I got the opportunity to develop a skatepong game which is currently operated by an event company in Montreal, Canada. This variant of the classical pong game is made to be played one against one, with the main characteristics that paddles are controlled via physical skateboards mounted on pivot links.
The game is running on a Raspberry Pi (Model 3B / 3B+ or 4) and has been developed in Pyhton, using the Pygame library. For the movement handling, a MPU-6050 gyroscope is installed under each skateboard, and communication with the Raspberry Pi is established over i2c. To connect all the electronics components together, I have crimped electrical wires and used Dupont connectors. For integration purposes, I have designed and printed 3D parts. Also, a NES controller connected over USB allows to perform different actions on the game such as calibration, proper shutdown of the raspberry pi, etc.
Most of my work is presented in the sections below.
Final Result
To have an overview of the game in operation, have a look at the following video :
Note : For some reason, in the video hereabove the speed has been automatically reduced when uploaded on Vimeo. I will try to fix this issue shortly, but as a workaround you can manually set the video speed to x2 to have a more realistic demonstration. I sincerly apologize for this inconvenience.

Skatepong Setup
By presenting on table demonstration, the next video gives a more complete overview of the game possibilities and setup :
Skatepong Setup - On Table
Electronics
Herebelow is presented the electronics wiring diagram I came up with :
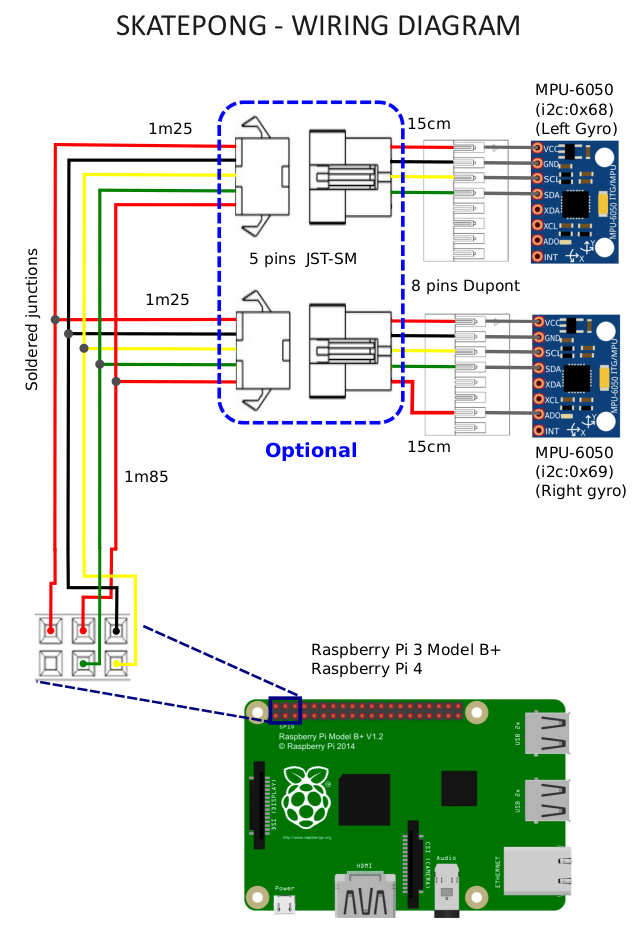
Skatepong Wiring Diagram
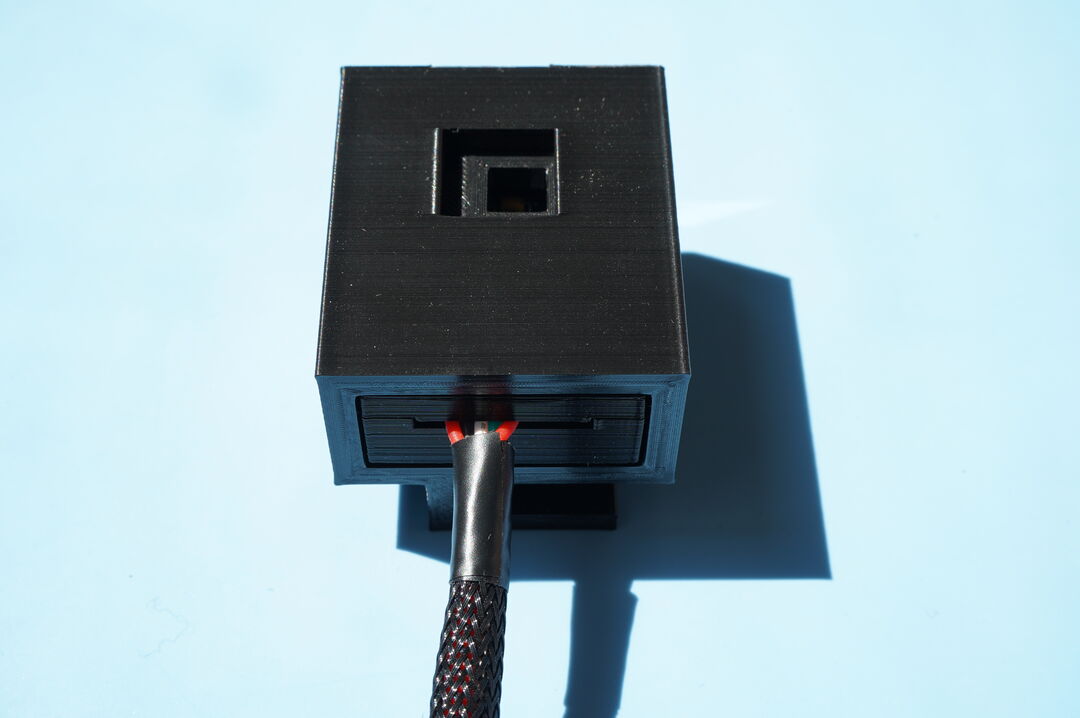
As already mentioned, I crimped wires (24 AWG) and used Dupont connectors to connect electronics components together. The electrical wires have been put in a braided cable sleeve (diameter 6mm) for protection and clean finish. Also note that a Y junction is requested to split the i2c signal between the raspberry Pi and the 2 gyroscopes. This juctions has been achieved by soldering.
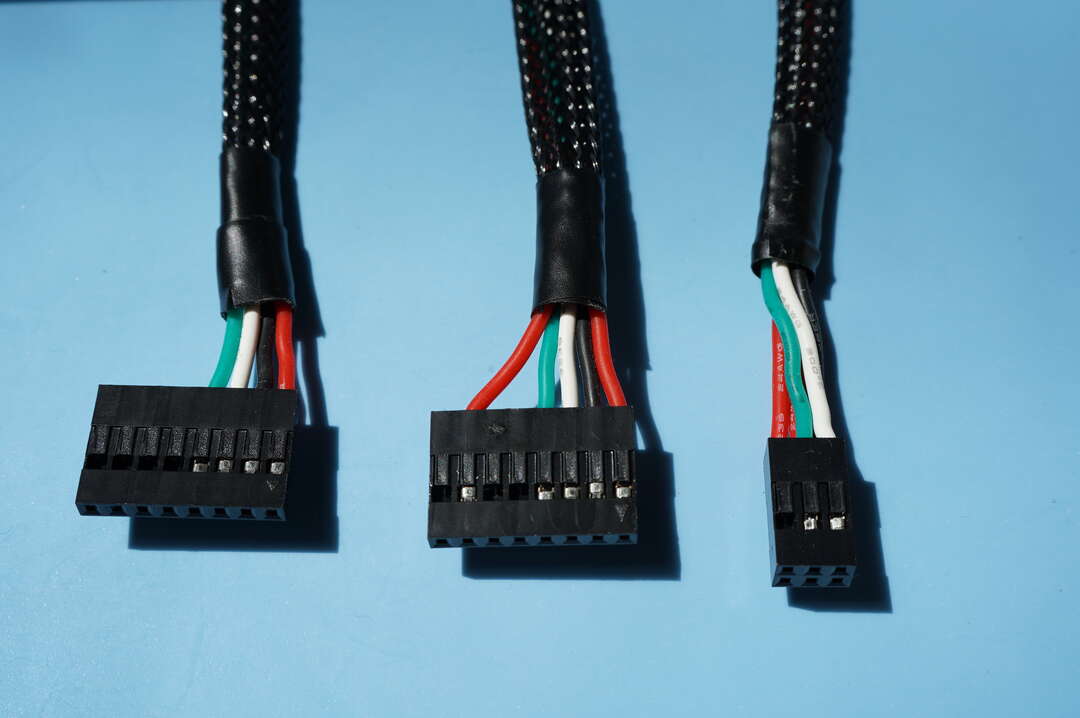
Skatepong Wiring Connectors
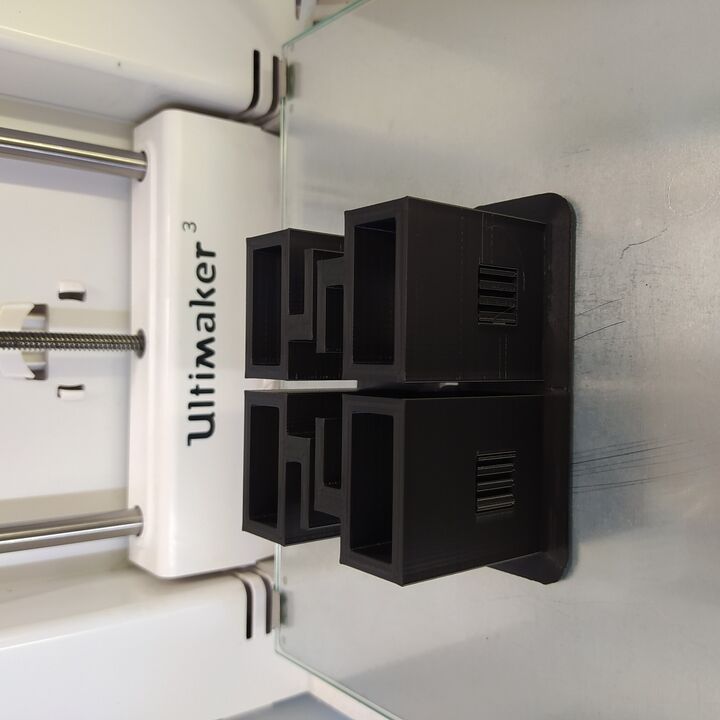
3D printing
The use case for this game within the event company I have collaborated with implies a lot of assembly/disassembly, transportation, and operation by a lot of different staff members ( not especially knowledgeable about electronics). As a consequence I had to imagine a robust solution that would resist over time, with parts that can be easily replaced if needed (such as the gyroscopes for instance).
Based on the existing pivoting skateboards, I came up with a solution based on two different parts that I designed :
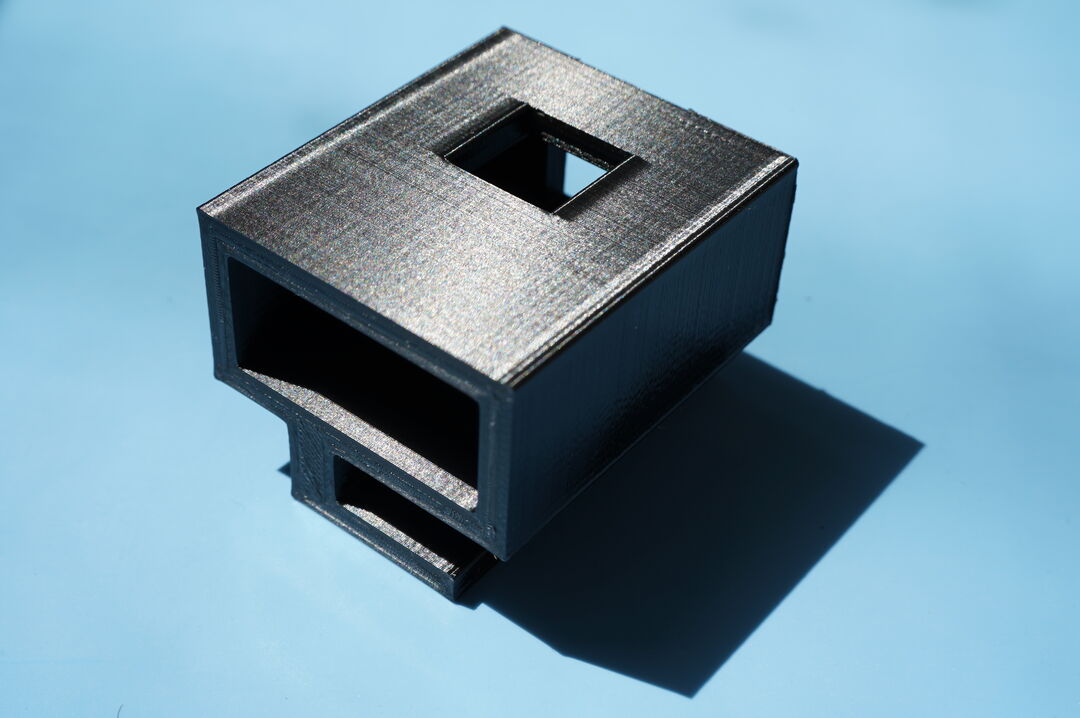
- A casing to host each gyroscope board.
- A support for this gyroscope casing, to be fitted on the metallic frame that lies under the skateboard.
This solution allows to easily insert/remove the gyroscope casing from the support that can remained mounted on the skateboard frame if desired for transportation.
The 3D printed parts are presented below, with different configurations and viewing angles for a better understanding :
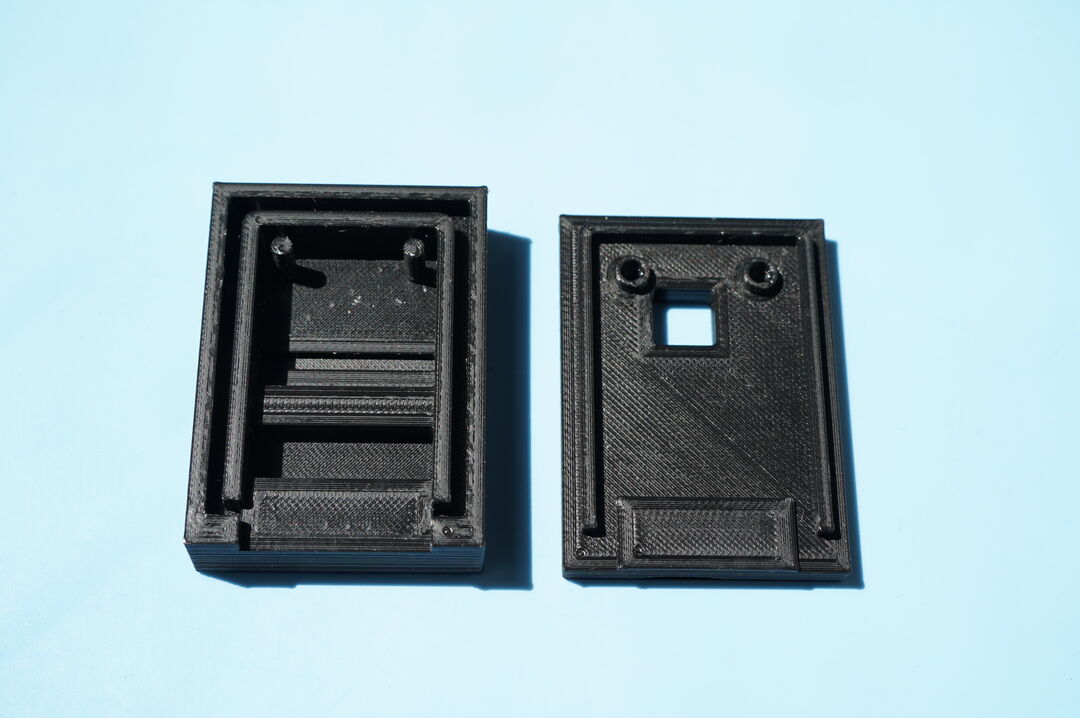
Gyroscope Casing Interior
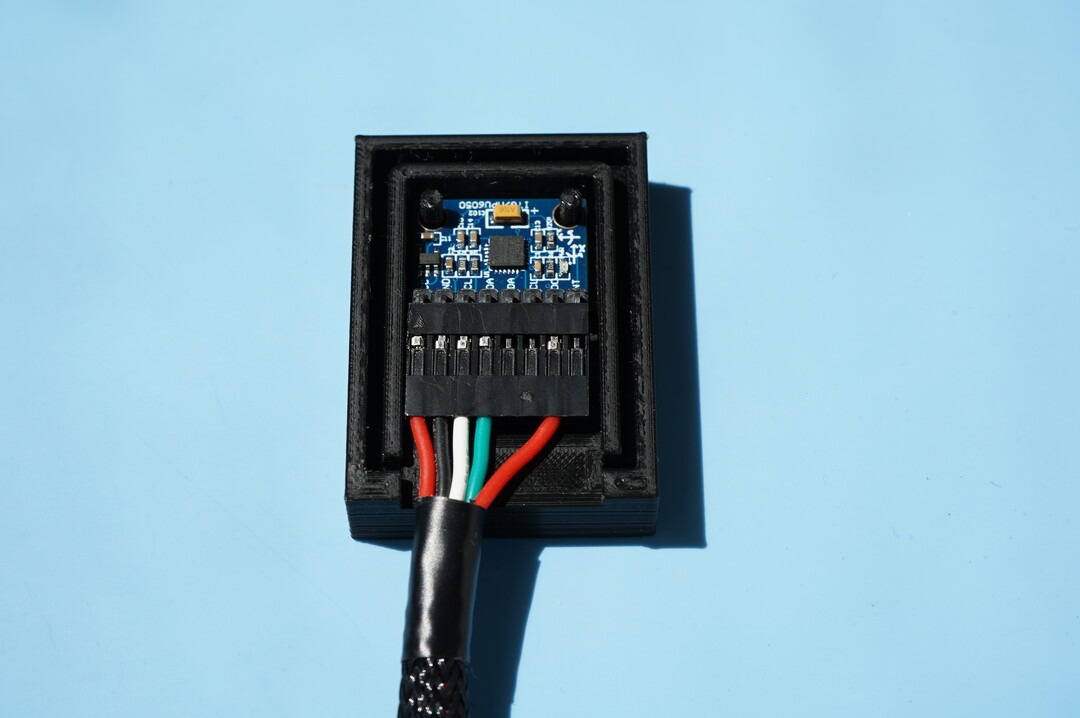
Gyroscope Fitted Into Casing

Gyroscope Casing Closed - With Ventilation Hole
Gyrosope Support - Side View
 |
 |
| Gyroscope Fitted Into Support | Gyrosope Support - Back View |
3D printed supports
Laser Cutting
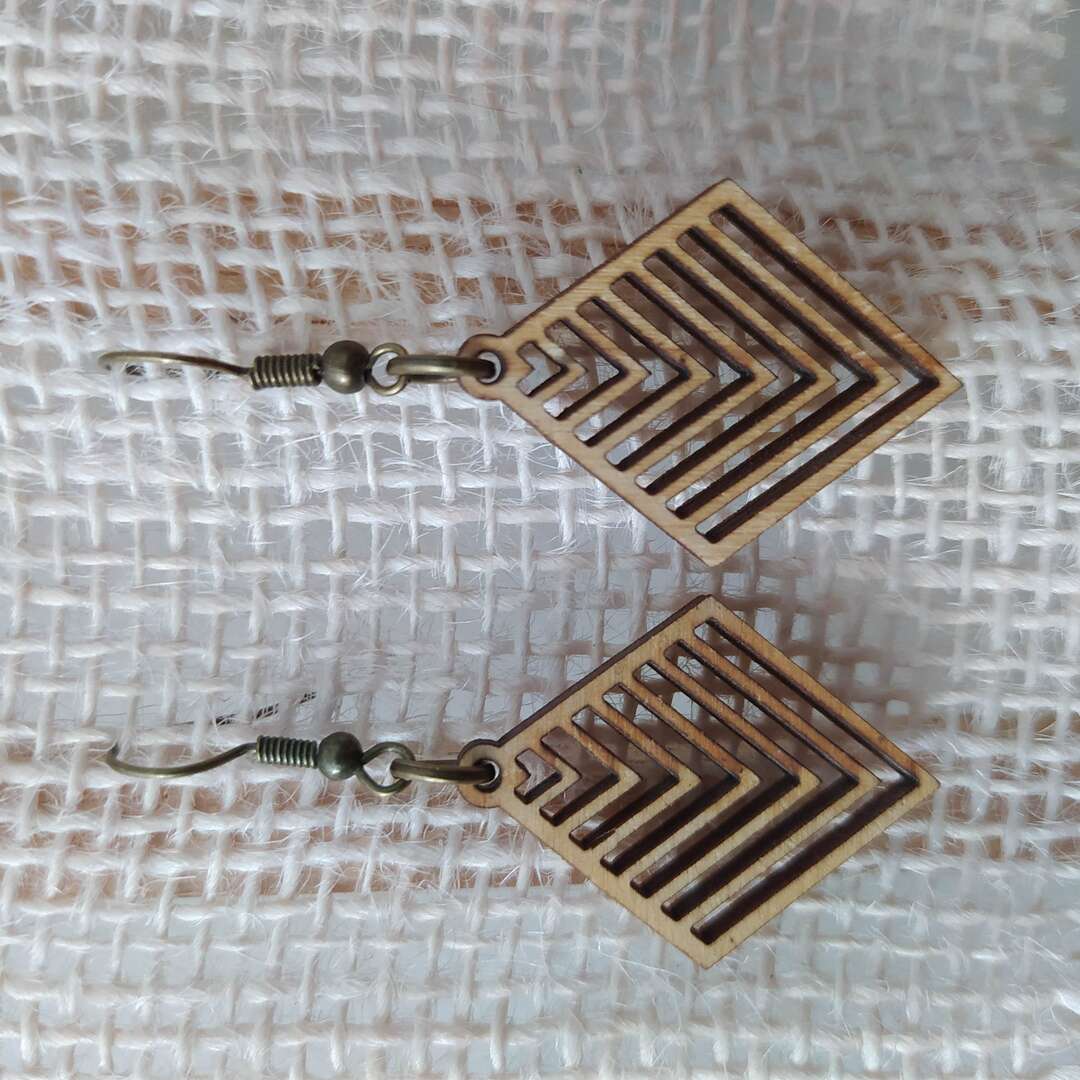
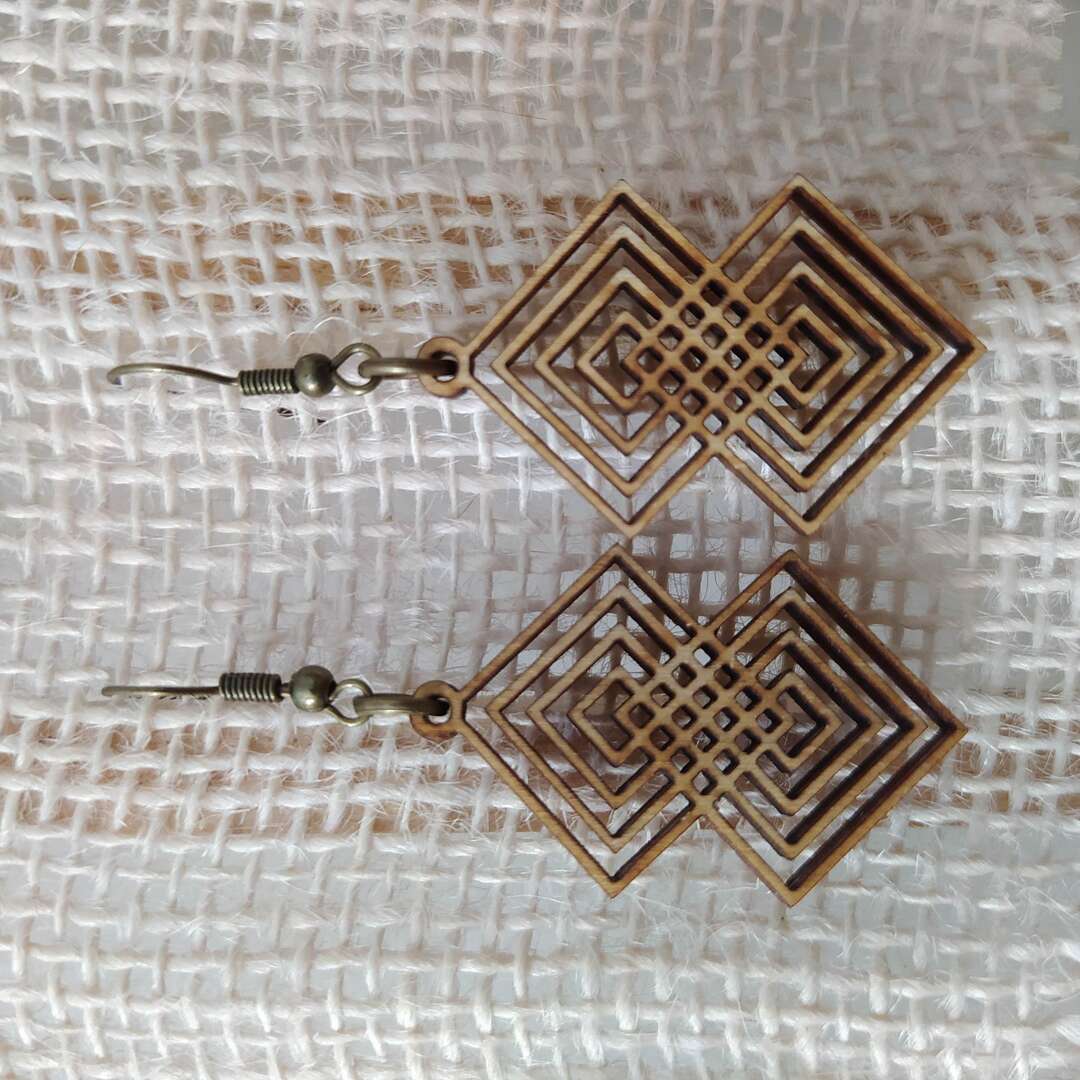
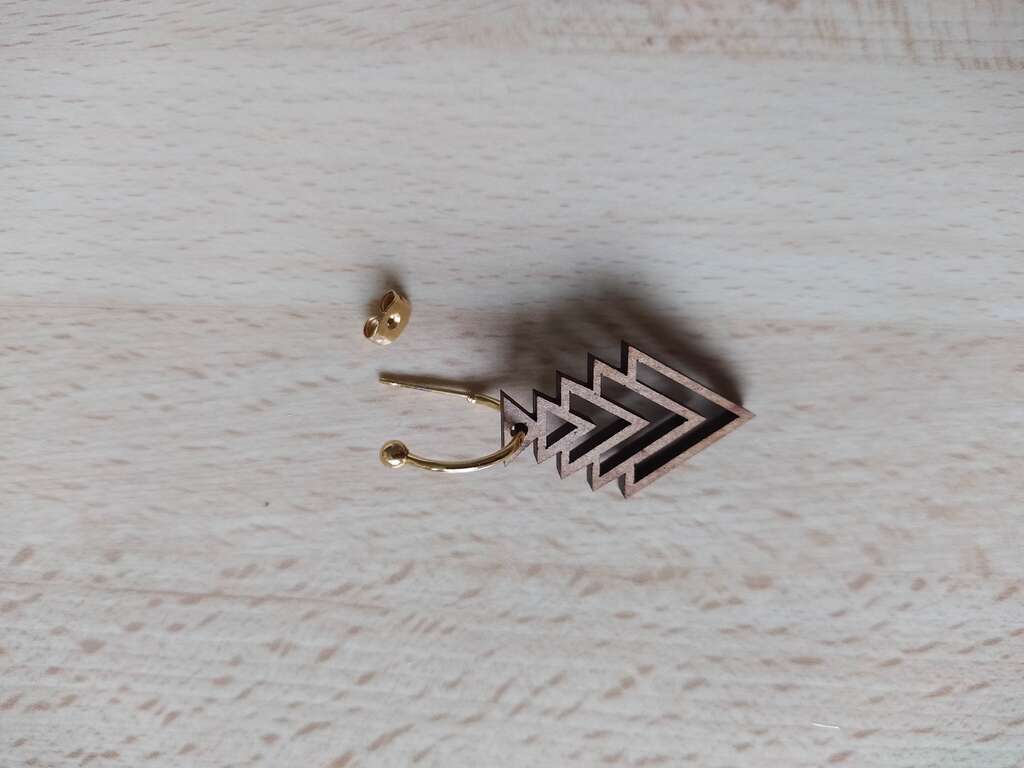
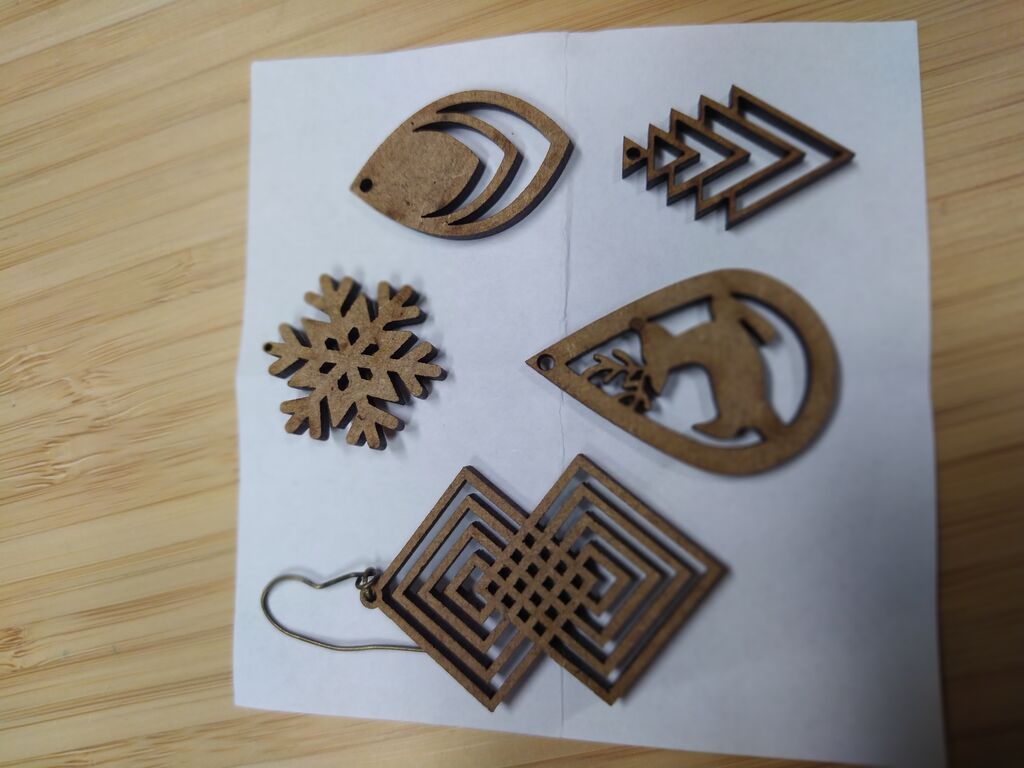
Wooden Earings
What a nice way to use plywood or MDF small scraps for making beautiful earings with the shape you like !
 |
 |
| Wooden Earings - Rhombus | Wooden Earings - Rhombuses Assembly |
 |
 |
| Wooden Earings - Triangles | Wooden Earings - Christmas Prototypes |
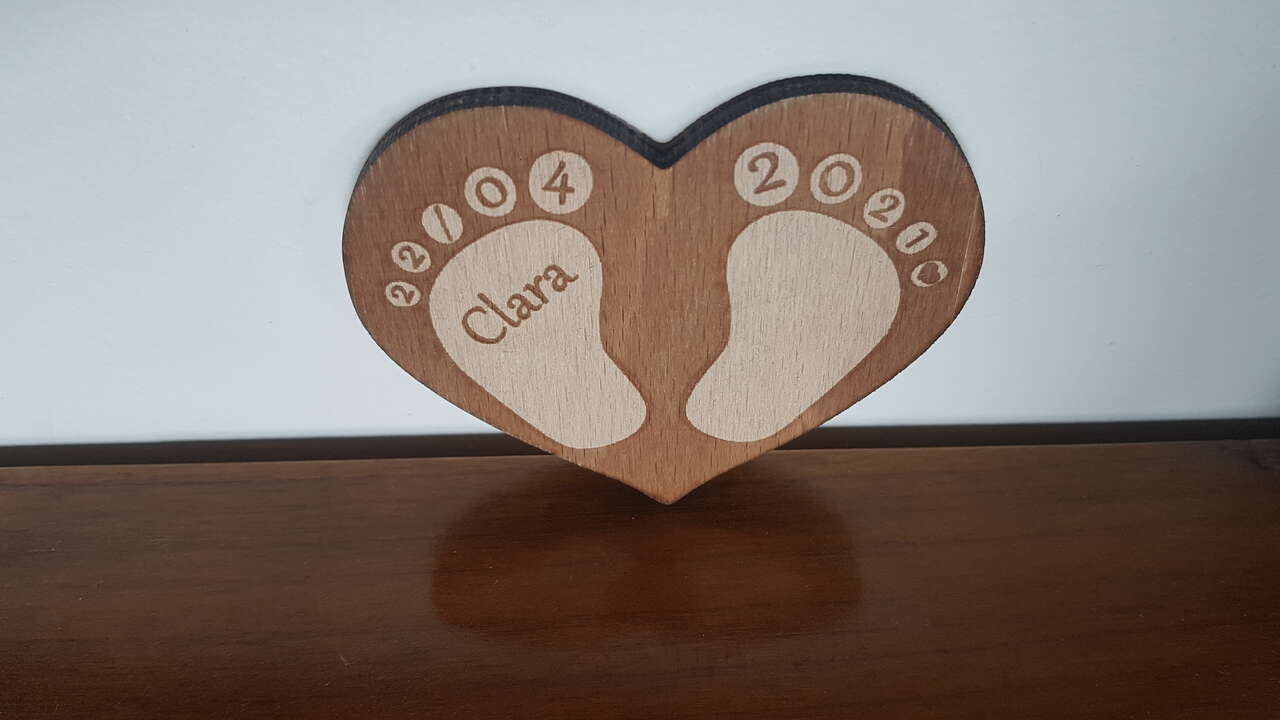
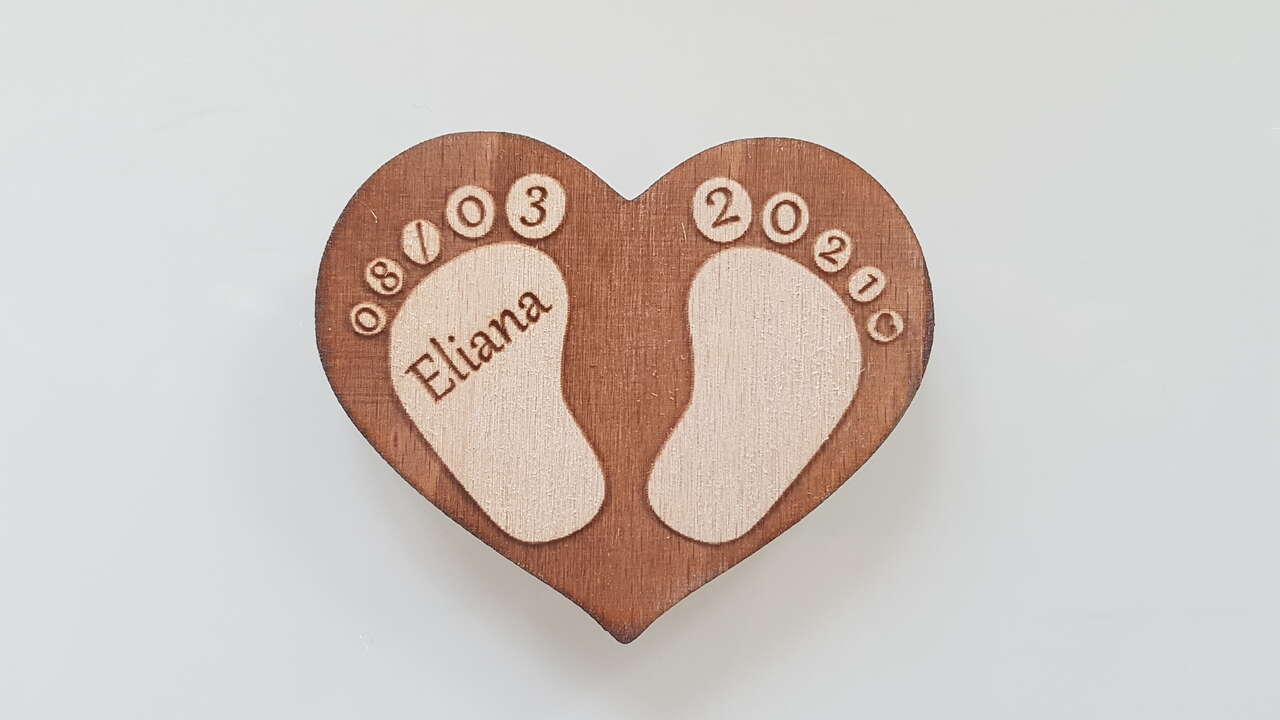
Birth Present
In March and April 2021, two of my cousins got babies. I thought that those little presents with their names and birthdates were so cute to celebrate their births !
 |
 |
| Birth Present - Clara | Birth Present - Eliana |
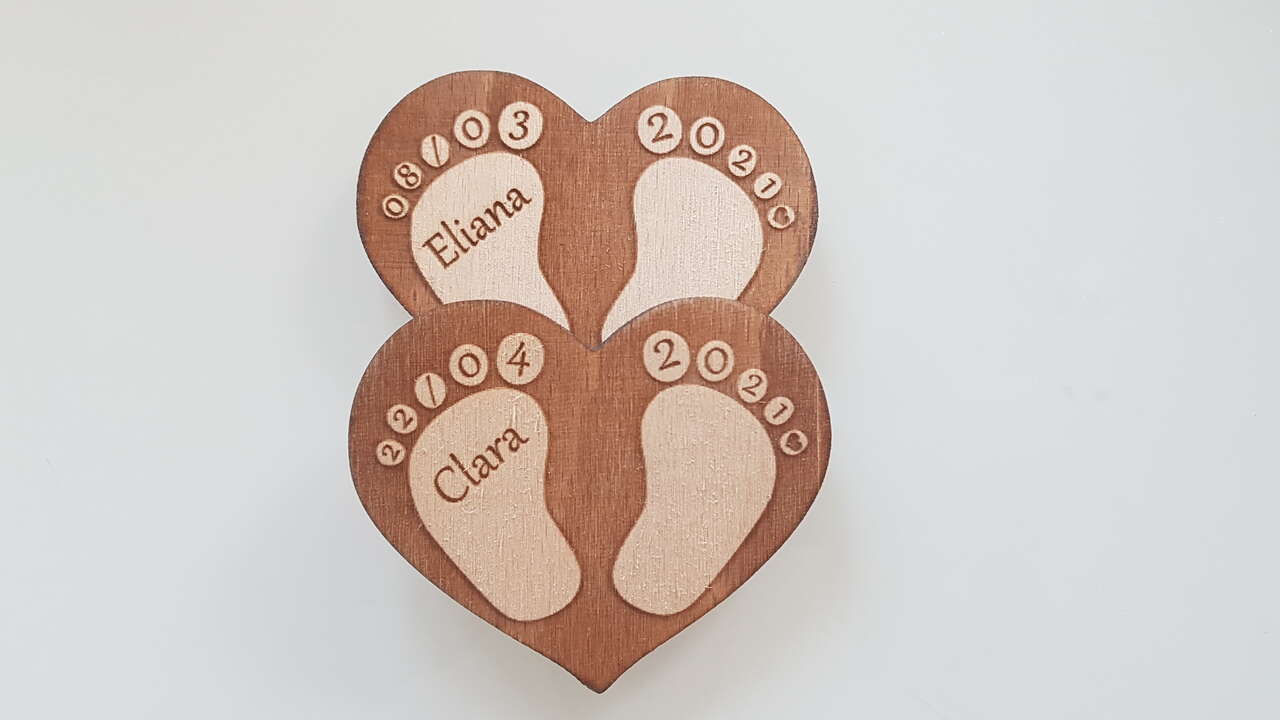
Birth Presents - Clara And Eliana
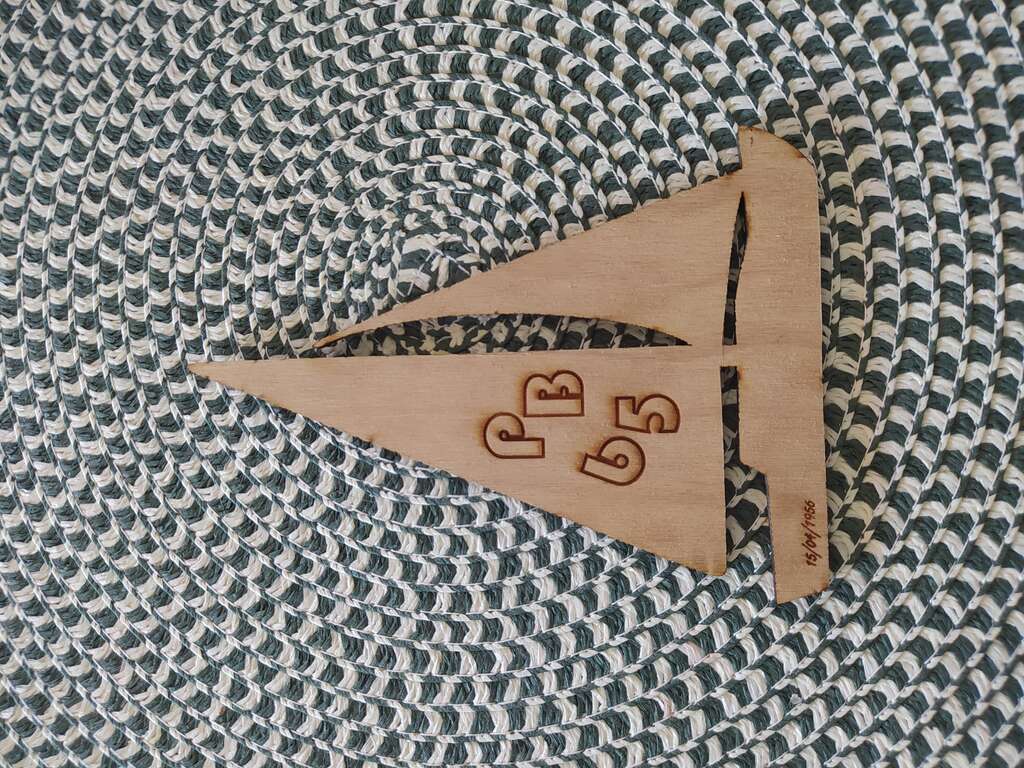
Birthday Card
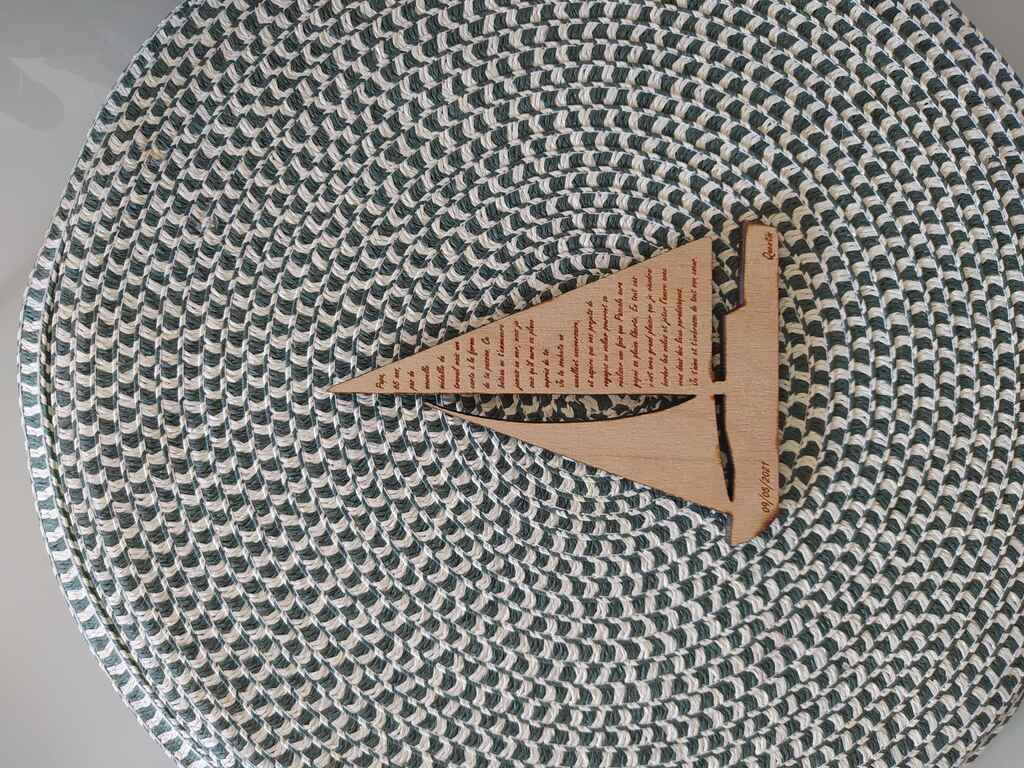
My father is a sailor, and rather than buying a regular birthday card for his 65th birthday, I rather made one myself.
 |
 |
| Birthday Card - Front | Birthday Card - Back |
Note : For privacy reasons, I voluntarily chose a low quality for the image showing the text I wrote him for that special occasion.
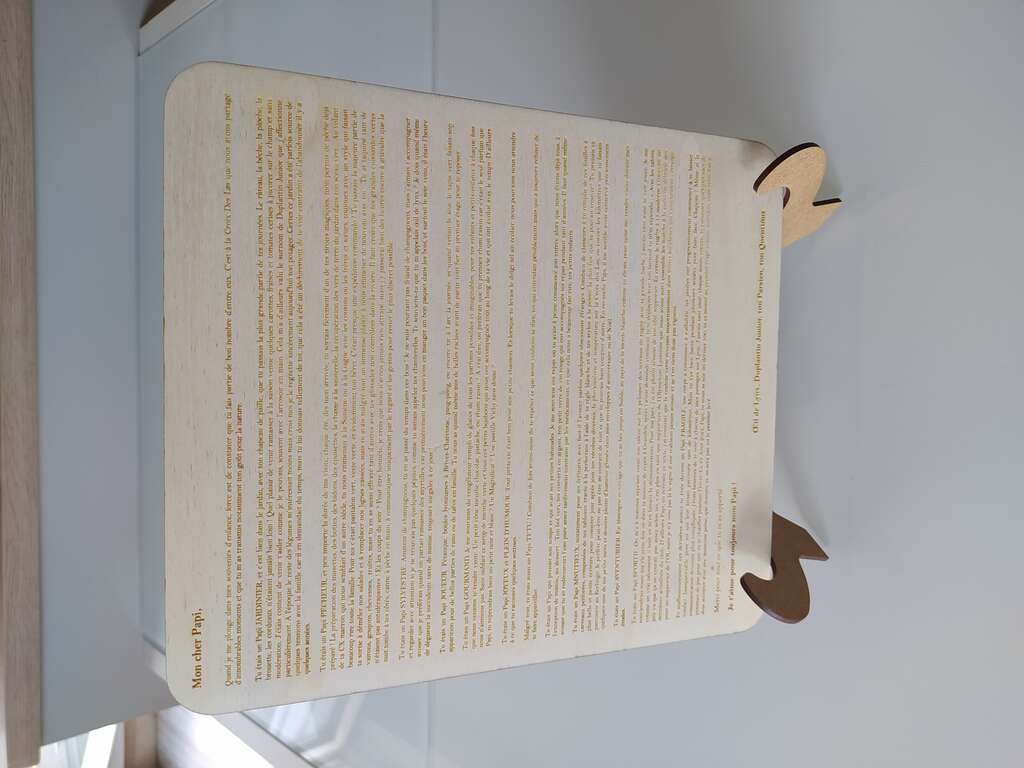
Homage To My Grandfather
Sadly my last grandfather pasted away on August 28, 2022. To honor him, I wanted to make something special for the ceremony and that could remain beside him forever. Those first versions have been laser cut and engraved in plywood, but my plan if possible is to reproduce it using other matherials weather-resistant that could be placed directly on his grave.
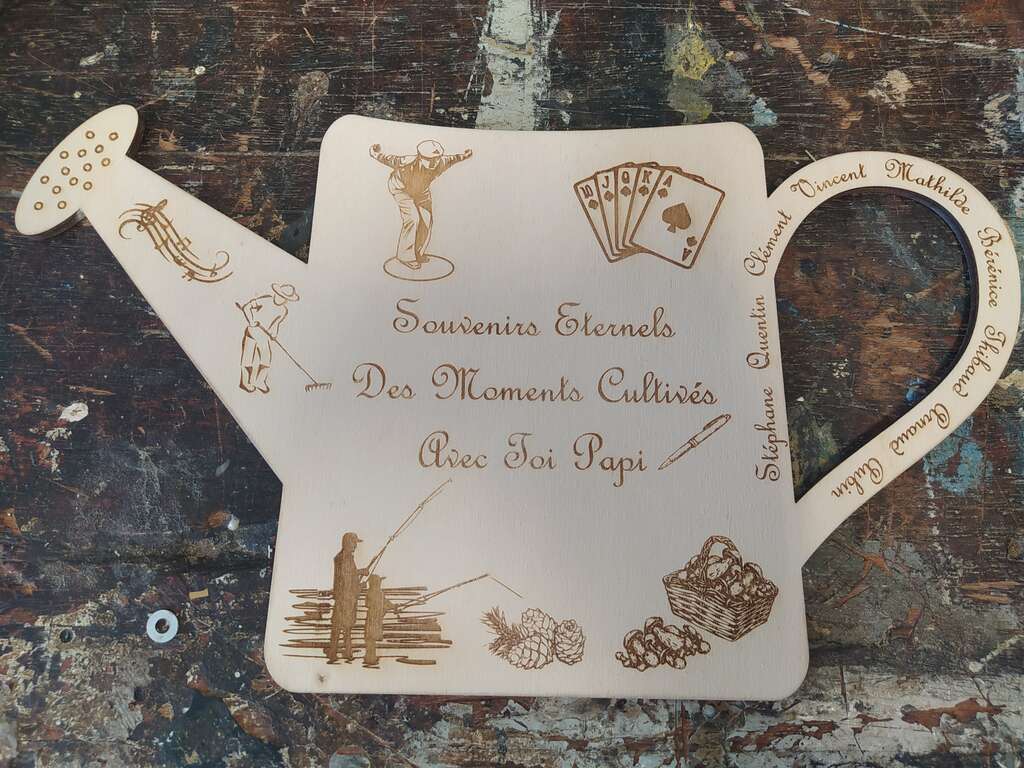
Homage To My Grandfather
 |
 |
| Personal Homage To My Grandfather - Front | Personal Homage To My Grandfather - Back |
Note : For privacy reasons, I voluntarily chose a low quality for the image showing the text I wrote him for this last homage.
Sailor Table Mat
Herebelow is a table mat I made for my father who loves sailing.
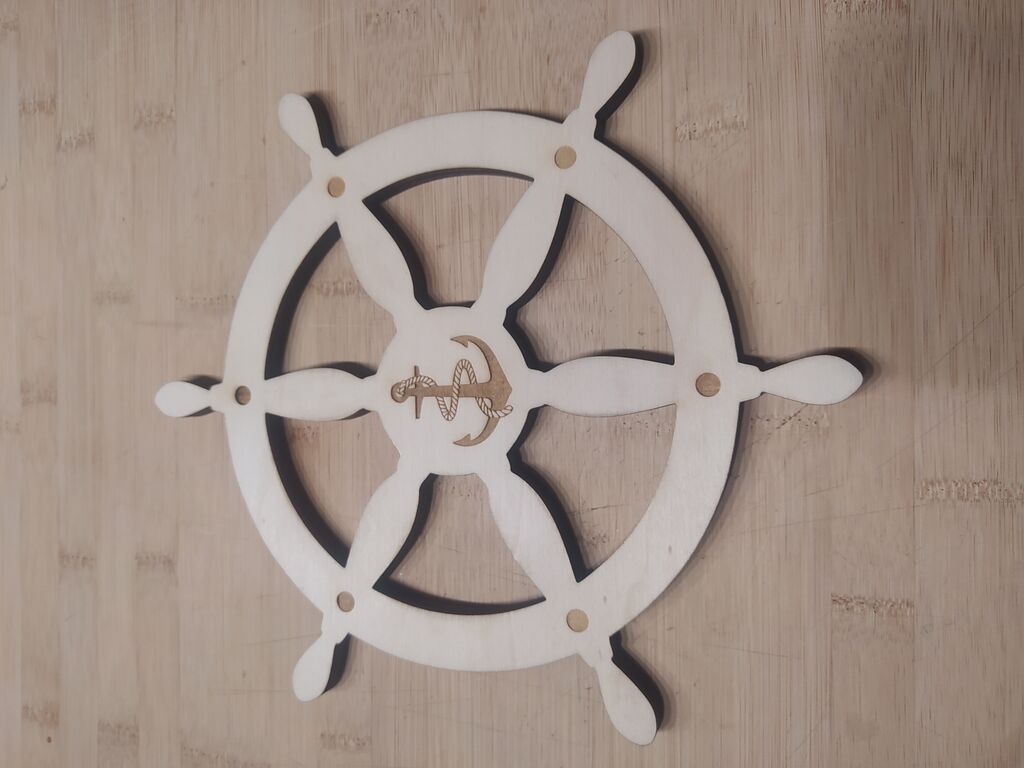
Sailor Table Mat
Embroidery
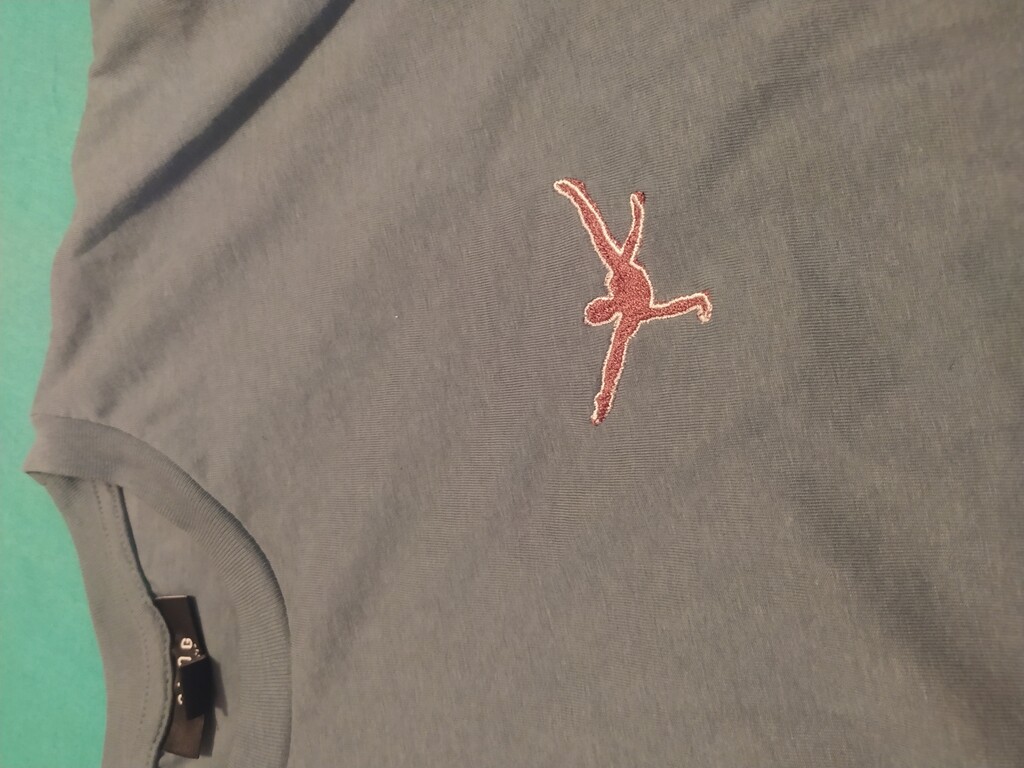
Tee-Shirt Embroidery
Those 2 tee-shirts are my first embroidery works. As I have practised gymnastics for so many years, I naturally got inspired by my passion to make something meaningful to me. For this first try, I did not make my life easier by chosing an extensible material, but although the results are not perfect, I am pretty satisfied with it.
 |
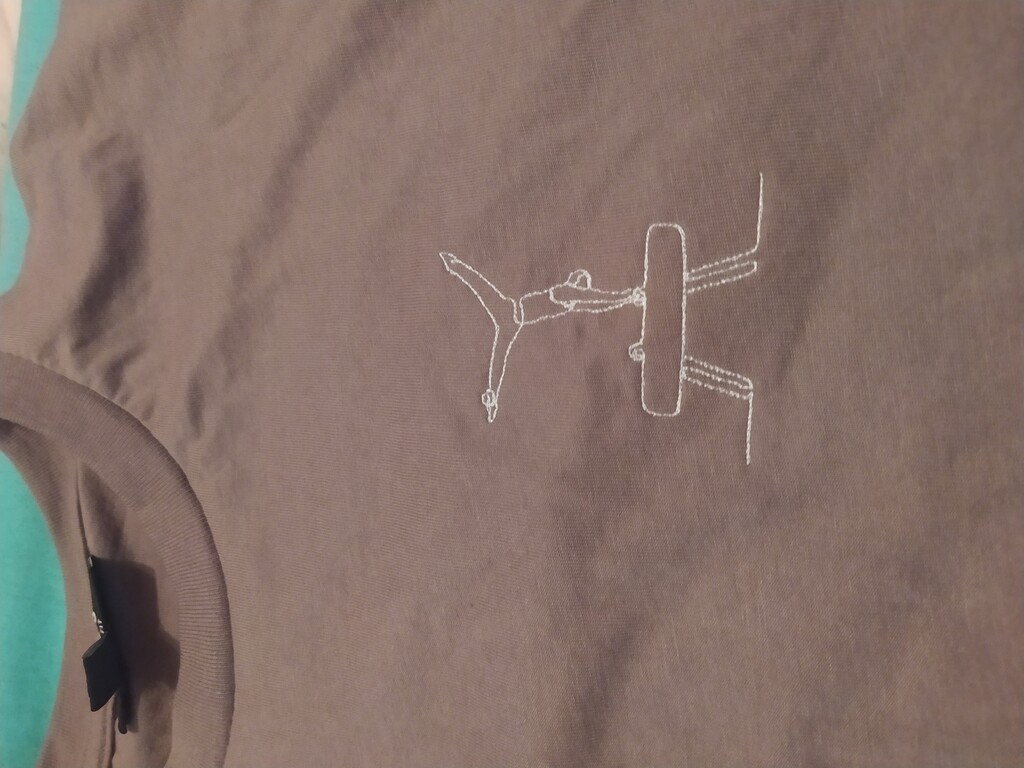 |
| Tee-Shirt Embroidery - Gymnastics - Floor Routine | Tee-Shirt Embroidery - Gymnastics - Pommel Horse Routine |
One Line Sweater Embroidery
When I showed my first embroidery work to my sister, she rapidly came up with an idea to customize one of her sweaters. This was an excellent opportunity for me to share with her what I had learned about numerical embroidery and also going to the fablab together. The design she chose was a one line face, that we embroidered with a satin stitch. The same design has been stitched in small on the front side of the sweater, and in bigger on its back.
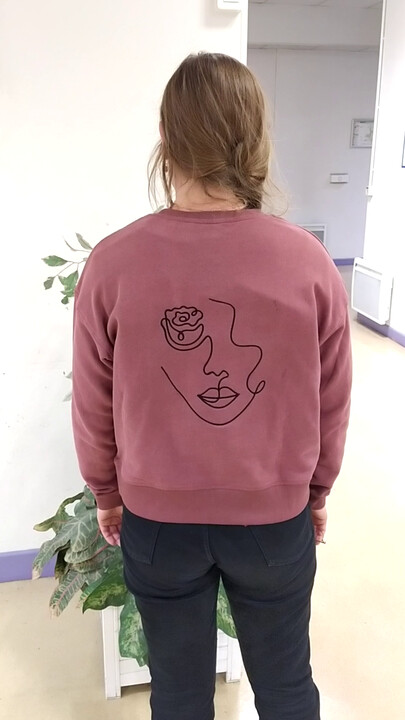
Sweater Embroidery - One Line Face - Back
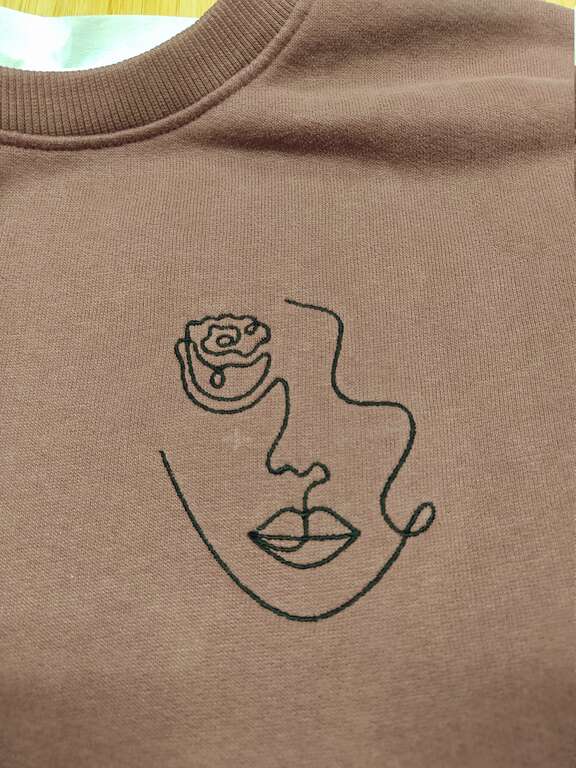
Sweater Embroidery - One Line Face - Front
Totebag Embroidery
Another command from my sister ! As she has started doing some sewing recently, she made a totebag to offer our mother and she asked me for some help to design and stitch a particular logo to customize it even more. Let’s see if some day we end up opening a business together :)
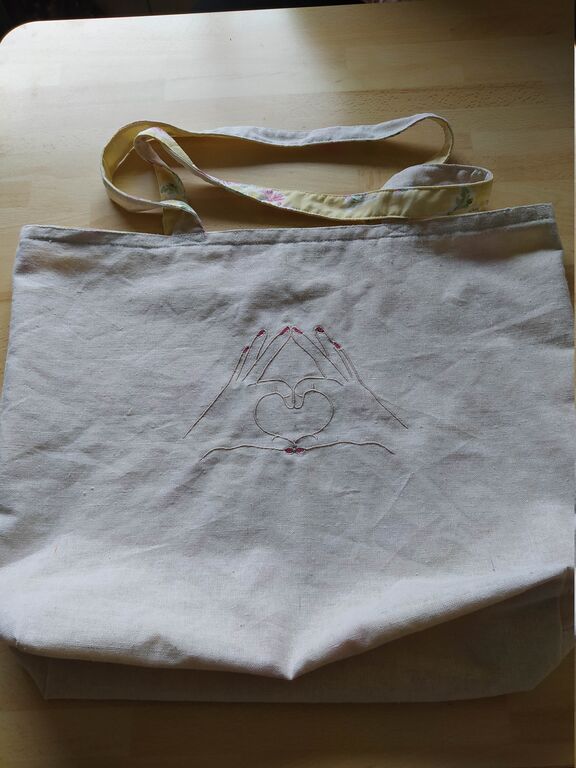
Totebag Embroidery
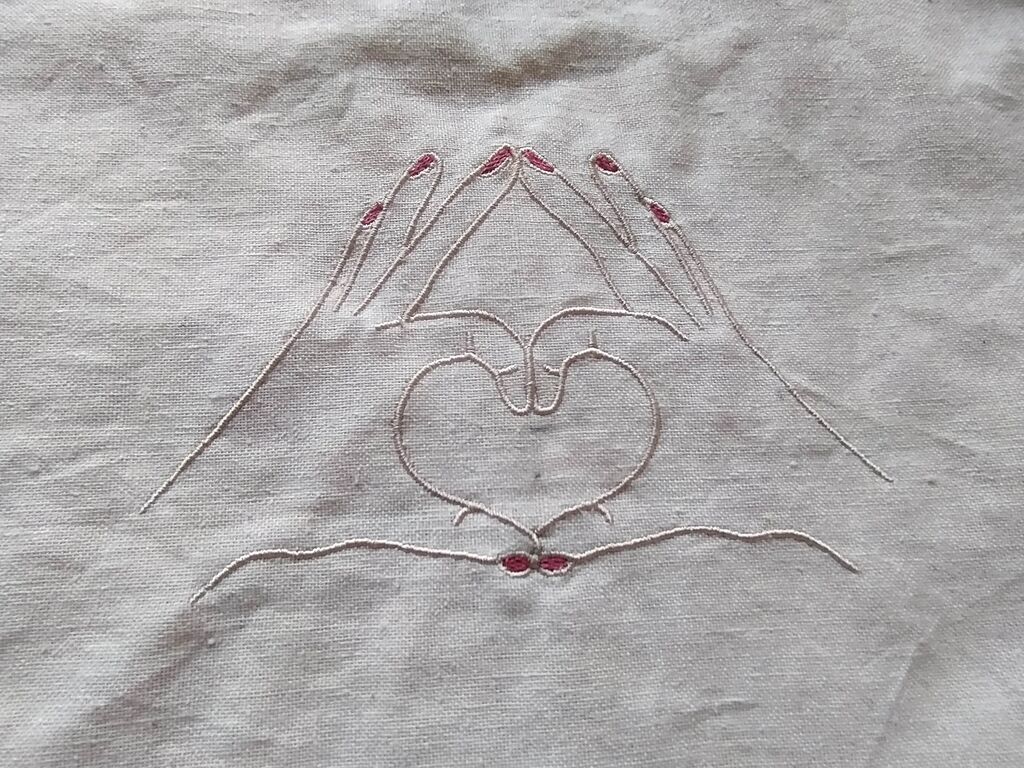
Totebag Embroidery
3D Printing
Camera Screw
Unfortunately some day I lost the screw that was used for holding my camera casing. Those screws are really special for cameras, and it is not something that you can easily find in regular DIY shop. Rather than buying a new “expensive” spart part in a camera store, I rather decided to make a 3D printed version of it, based on this 1/4” camera screw model I found on the Thingiverse plateform.
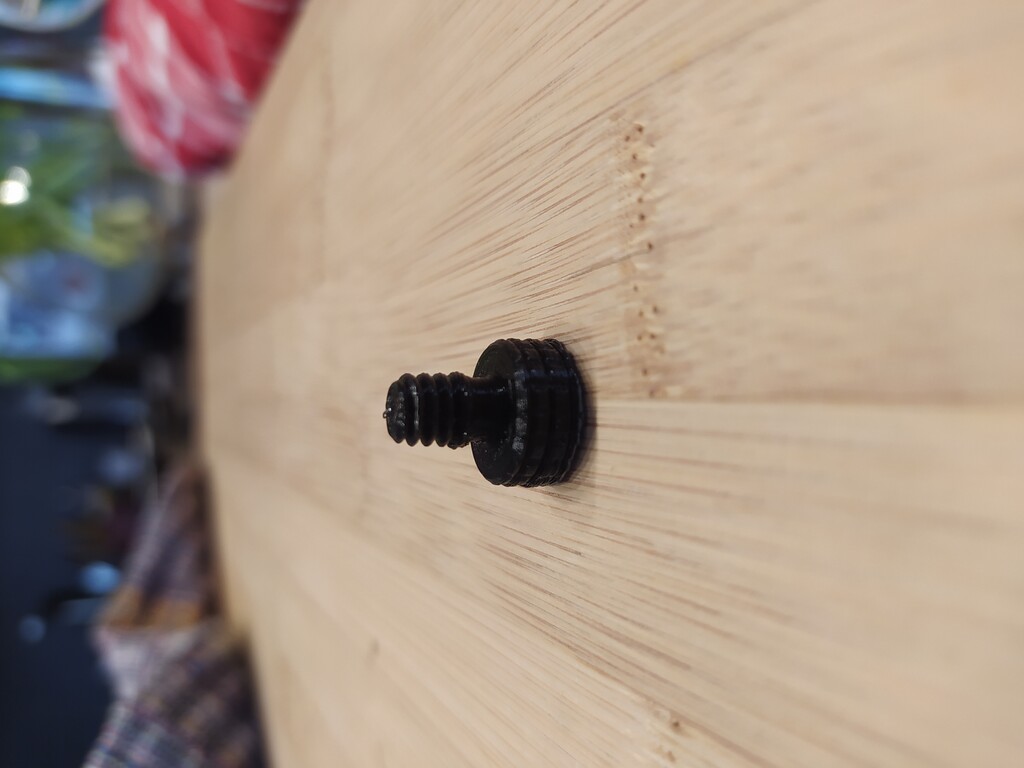 |
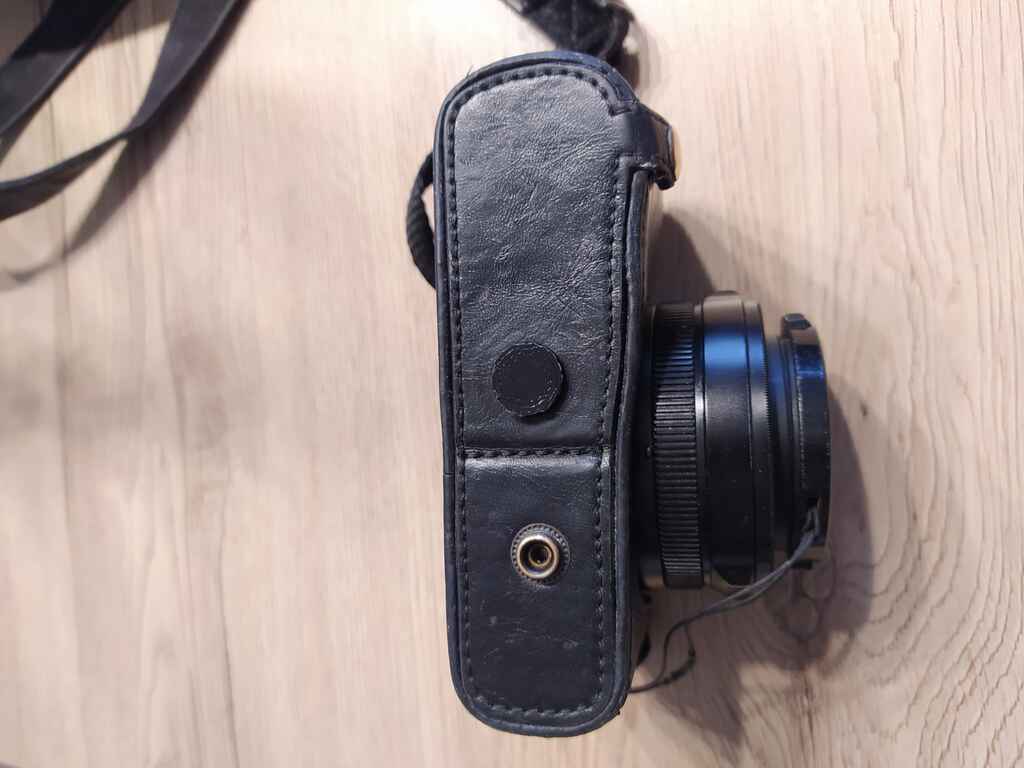 |
| 3D printed camera screw 1/4” | Camera casing with 3D printed screw |
Programming
Arcade Make Code - Basketball
Basketball Game v2.0 - Advanced