15. Wildcard week
Assignments:
- Design and produce something with a digital fabrication process (incorporating computer-aided design and manufacturing) not covered in another assignment.
- Document the requirements that your assignment meets, and include everything necessary to reproduce it.
For this week’s assignment I have decided to experiment with two 3D printing technics that I did not have the time to cover during the dedicated week in the beginning of the FabAcademy program :
- Stereolithography (SLA)
- Fused Deposition Modeling (FDM) using dual materials : TPU and PVA.
I printed the same model using both technics to compare the results. The model I chose is a variant of the virus model I designed in FreeCAD during the 3D scanning and printing week, which will be part of my puzzle box final project.
Stereolithography (SLA)
Stereolithography is an additive manufacturing process that, in its most common form, works by focusing an ultraviolet (UV) laser on to a vat of photopolymer resin. With the help of computer aided manufacturing or computer-aided design (CAM/CAD) software, the UV laser is used to draw a pre-programmed design or shape on to the surface of the photopolymer vat. Photopolymers are sensitive to ultraviolet light, so the resin is photochemically solidified and forms a single layer of the desired 3D object. This process is repeated for each layer (with the build platform going one layer up once a layer is completed) until the 3D object is complete. The object must then be washed with a solvent to clean wet resin from surfaces, and eventually a post-curing process through application of light and heat allows to complete the polymerization reaction and give full mechanical properties to the object.
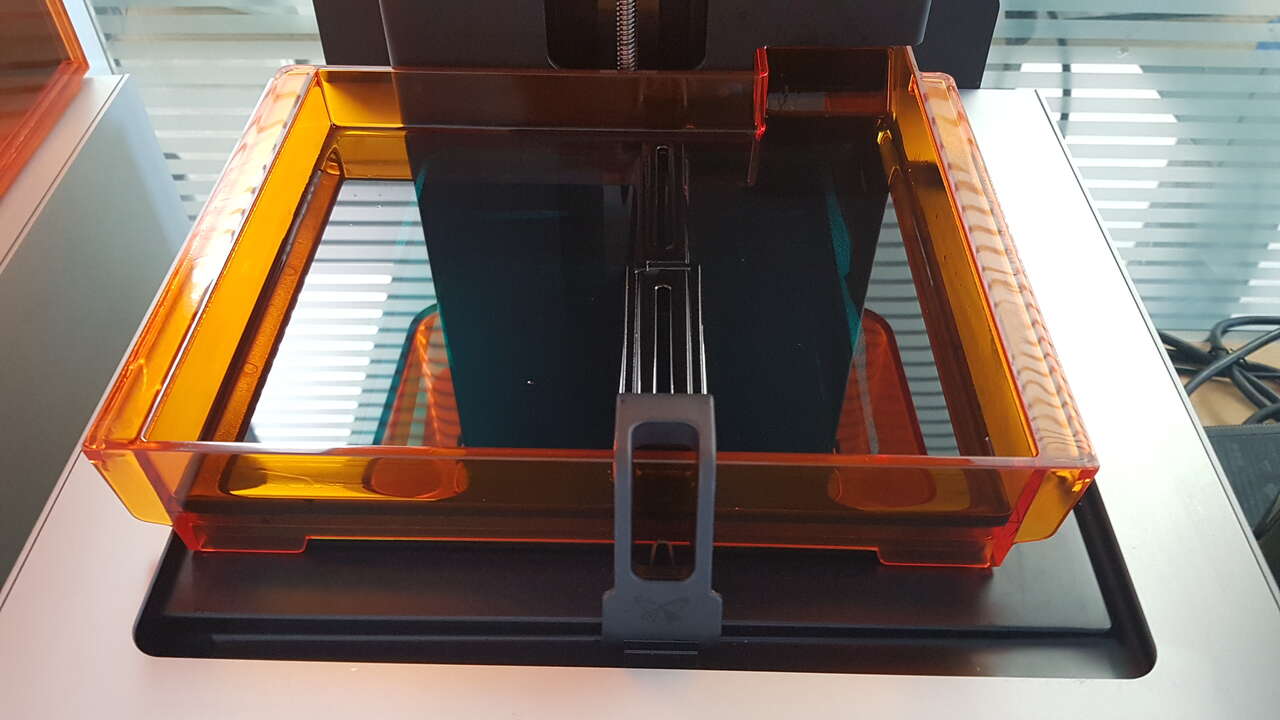
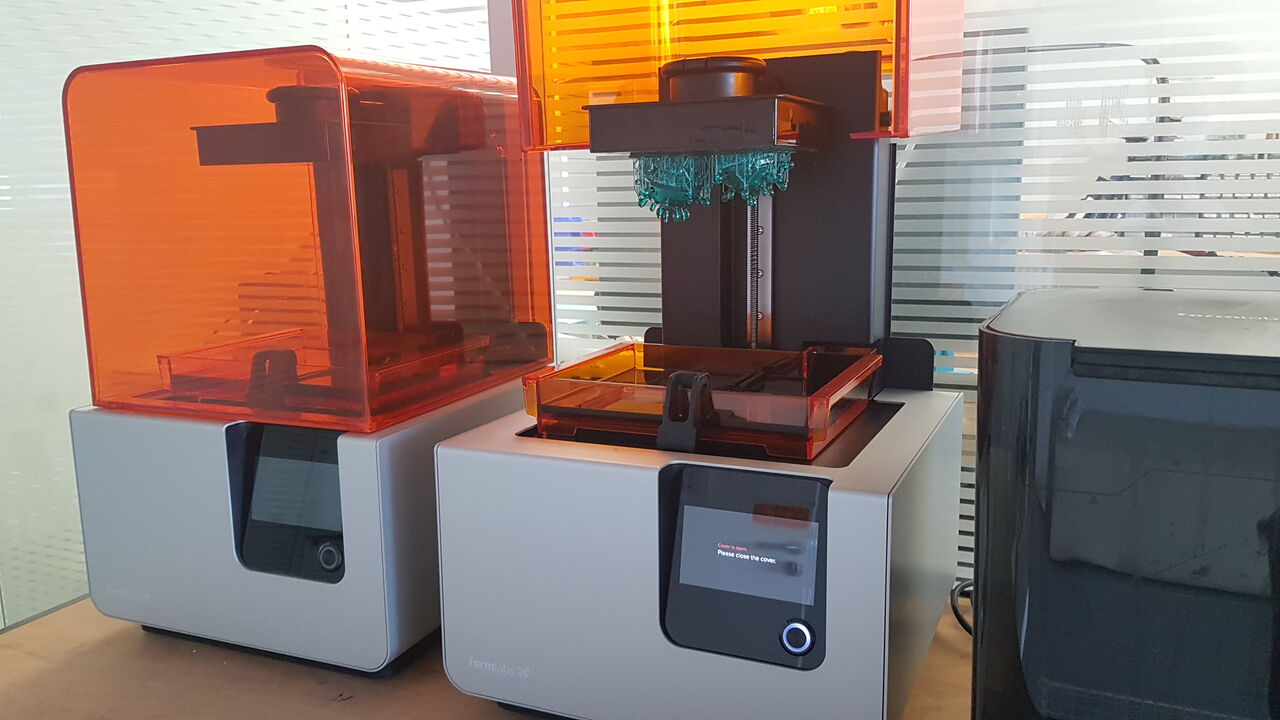
Herebelow is presented the SLA printers Formlabs Form 2 and associated machines for cleaning and post-curing steps availabe at Fablab Digiscope :

SLA printers - Formlabs Form 2
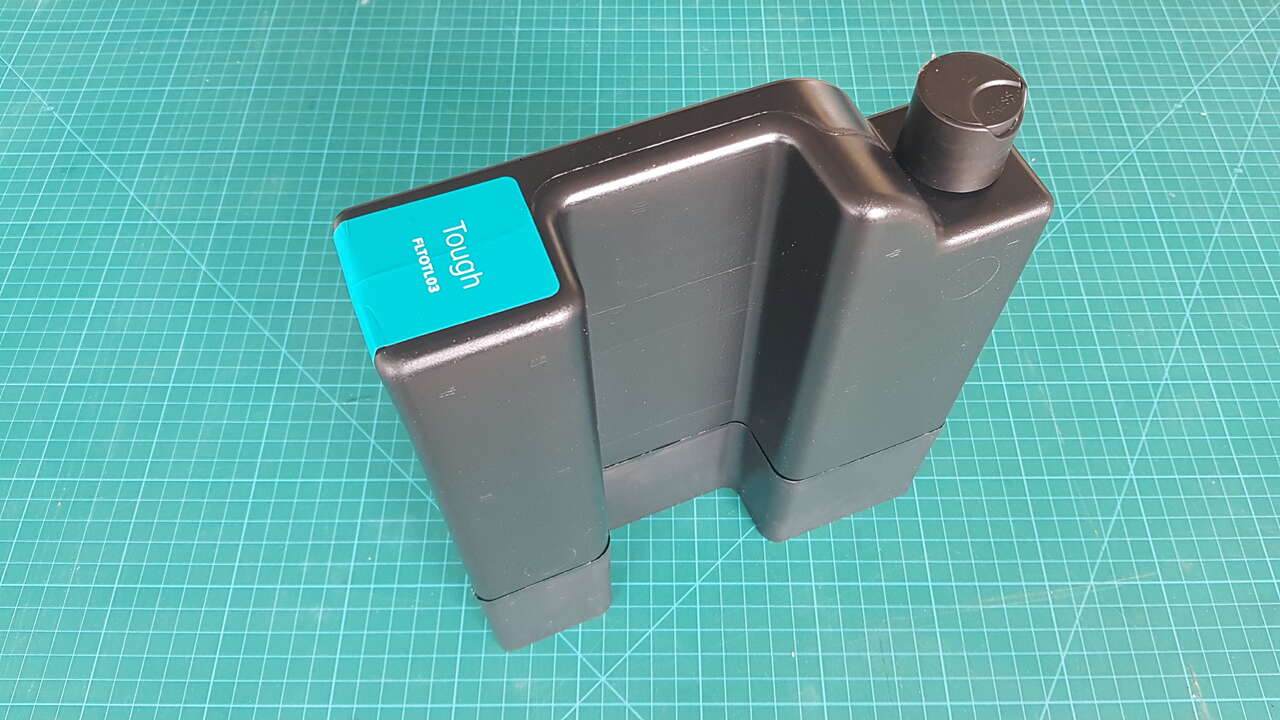
The resin I used is the Formlabs Tough FLTOTL03, which is an older version of this Formlabs Tough FLTOTL05.
 |
 |
| Formlabs Tough FLTOTL03 resin cartridge | Resin cartridge cap |
 |
 |
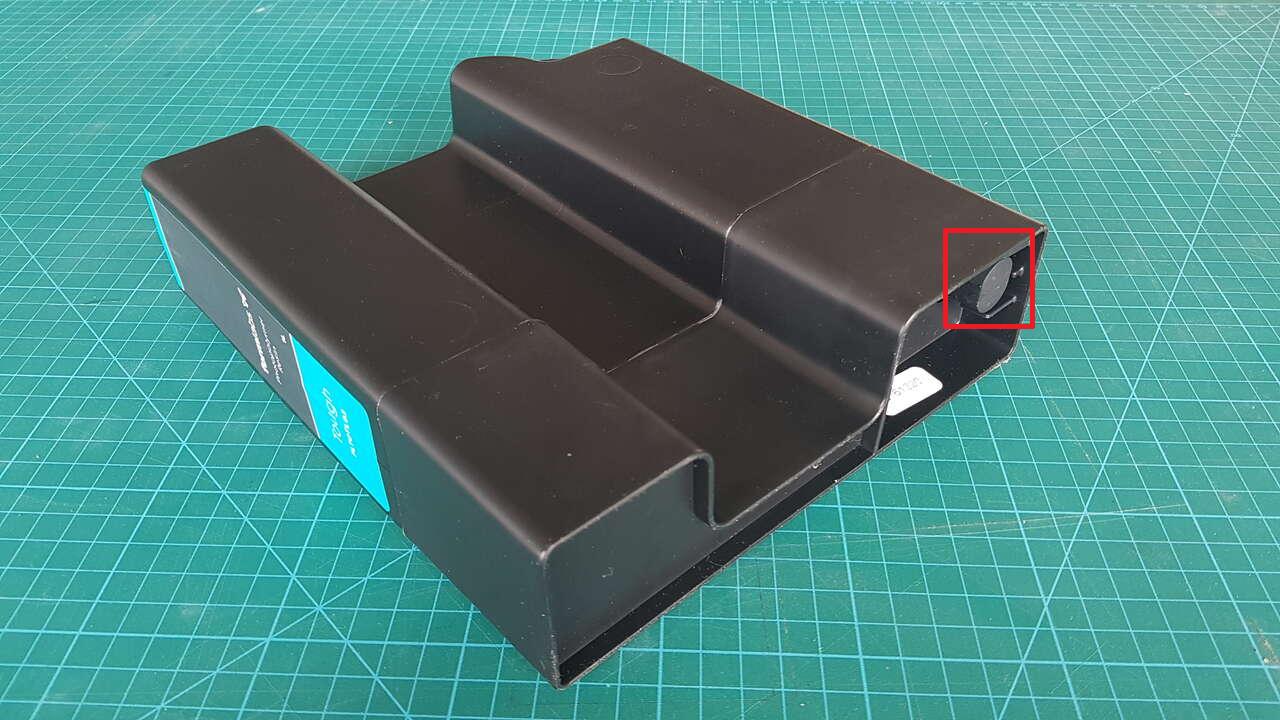
| Resin cartridge inserted | Resin tank |
Even though the resin container had already been used in the past I had issues because the resin tank could not be filled as expected by the cap located at the bottom of the container. As a consequence the printing job could not start. Once I realized it, I just poored resin directly into the printer tank from the top valve of the container, and this solved my problem.
For preparing the print, I used the Formlabs PreForm software :
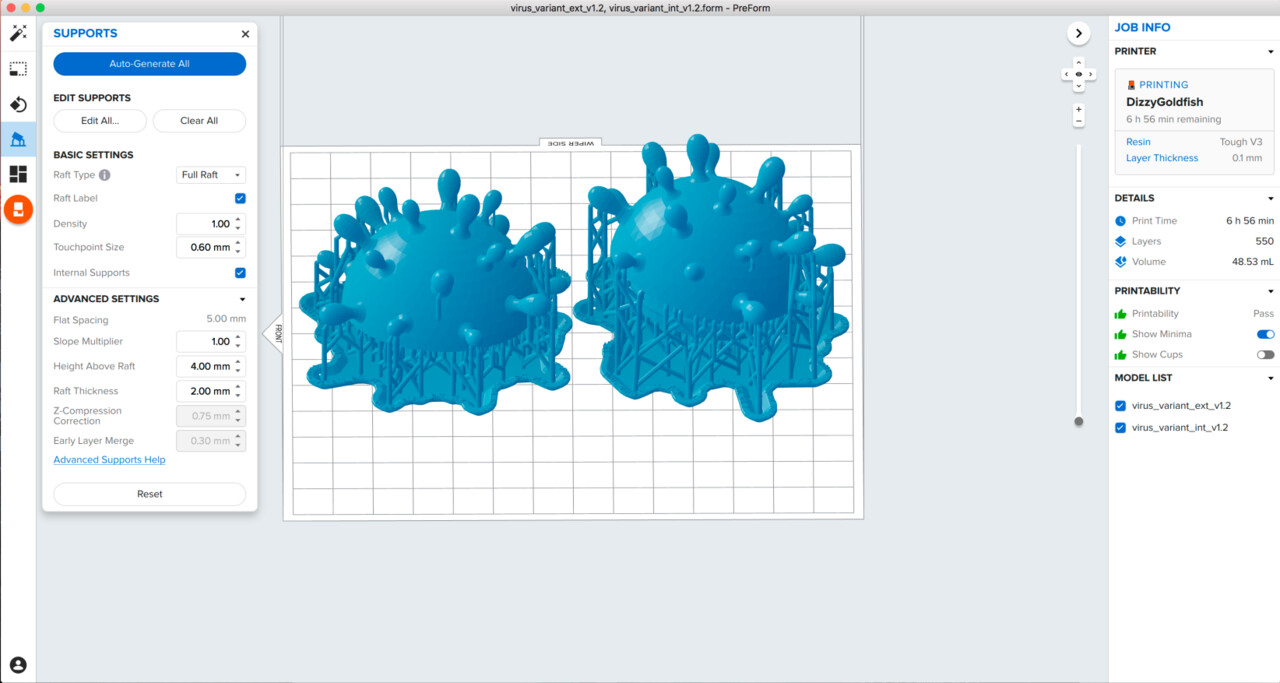
Print job preparation - Preform Software
Note : In order to avoid a too strong adherence of the freshly solidified resin layer to the resin tank, it is recommended to orientate the 3D object to be printed with a certain angular position (and not perfectly flat as we would do for FDM printing).
Also it is interesting to observe the supports structure proposed by the software and to orientate the object so as to minimize the number of supports on the surfaces of interest.
As an illustration, please find hereunder a quick video of the SLA printing ongoing :
Printing process completed :
SLA print job completed - machine view
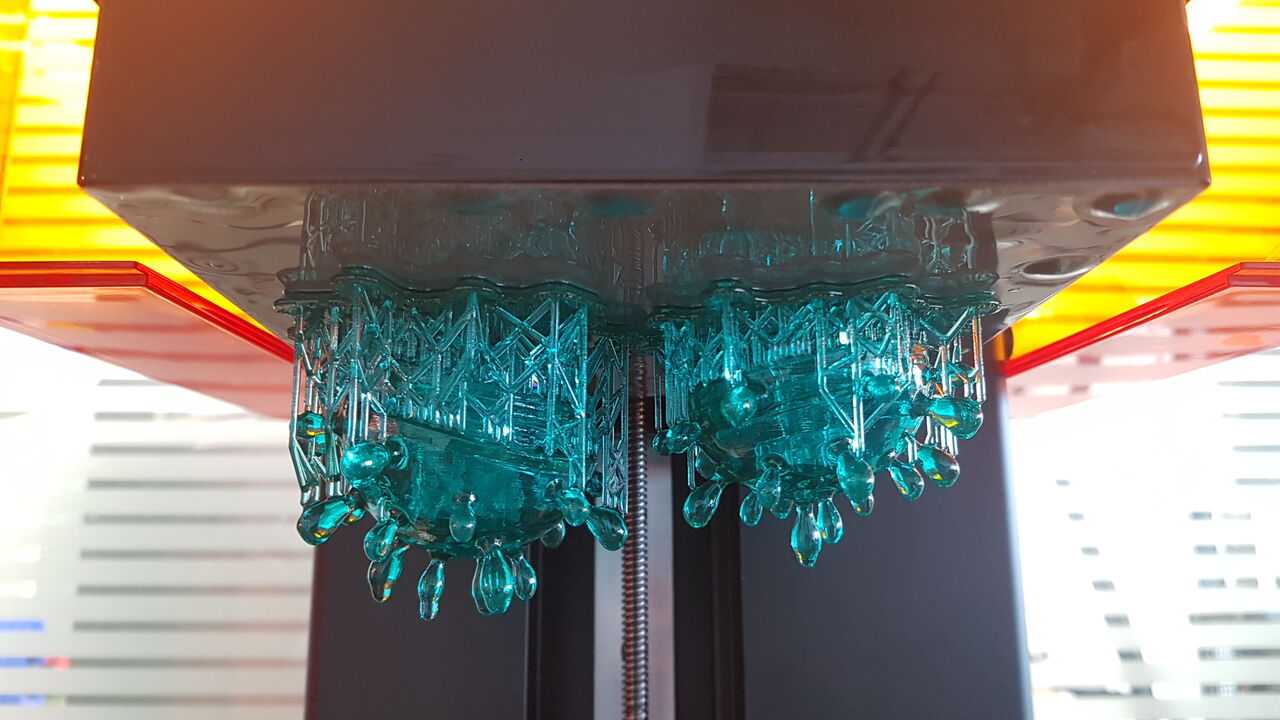
SLA print job completed - zoomed in
Cleaning the 3D printed object for about 30 minutes in a vat of isopropyl alcohol.
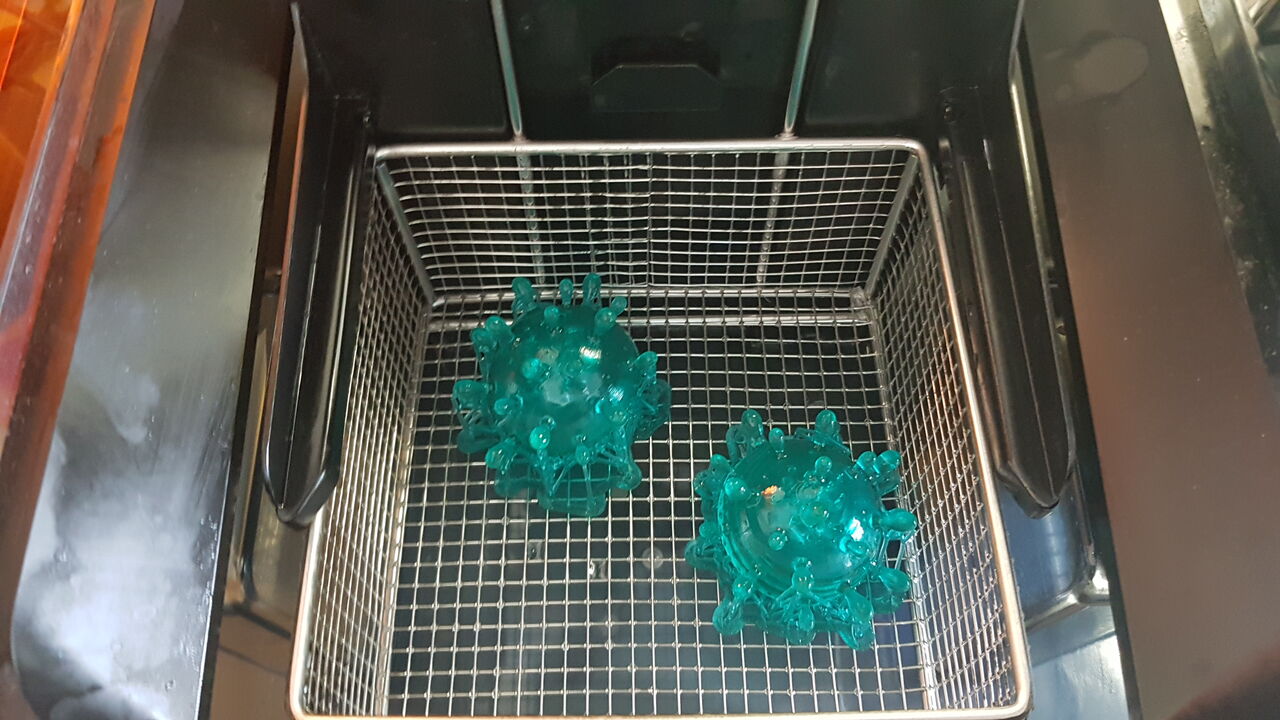
Cleaning - Isopropyl alcohol

Parts after cleaning, before post-curing
Post-curing process : applying heat and light for about 45 minutes in a resin curing box :
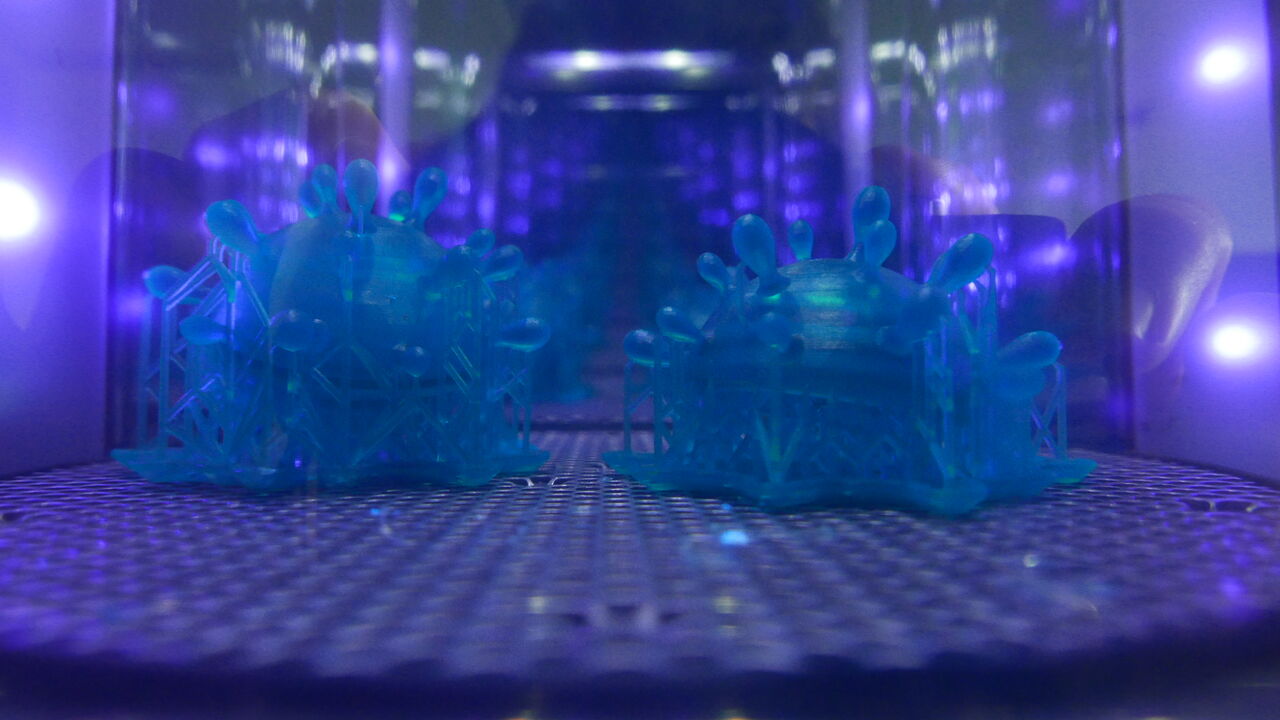
Post-curing
Final parts, with supports :
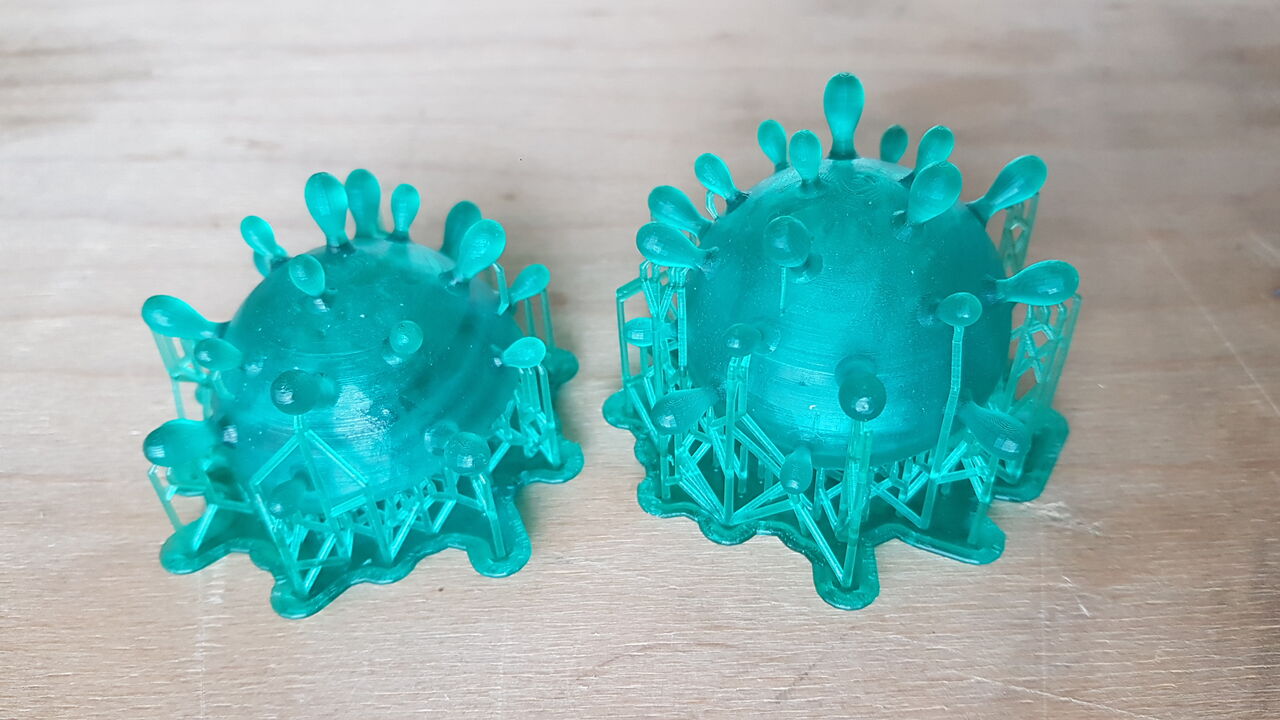
Final parts with supports
Final parts, with supports removed (cut very delicately with a pair of bolt cutters) :
Final parts - supports removed
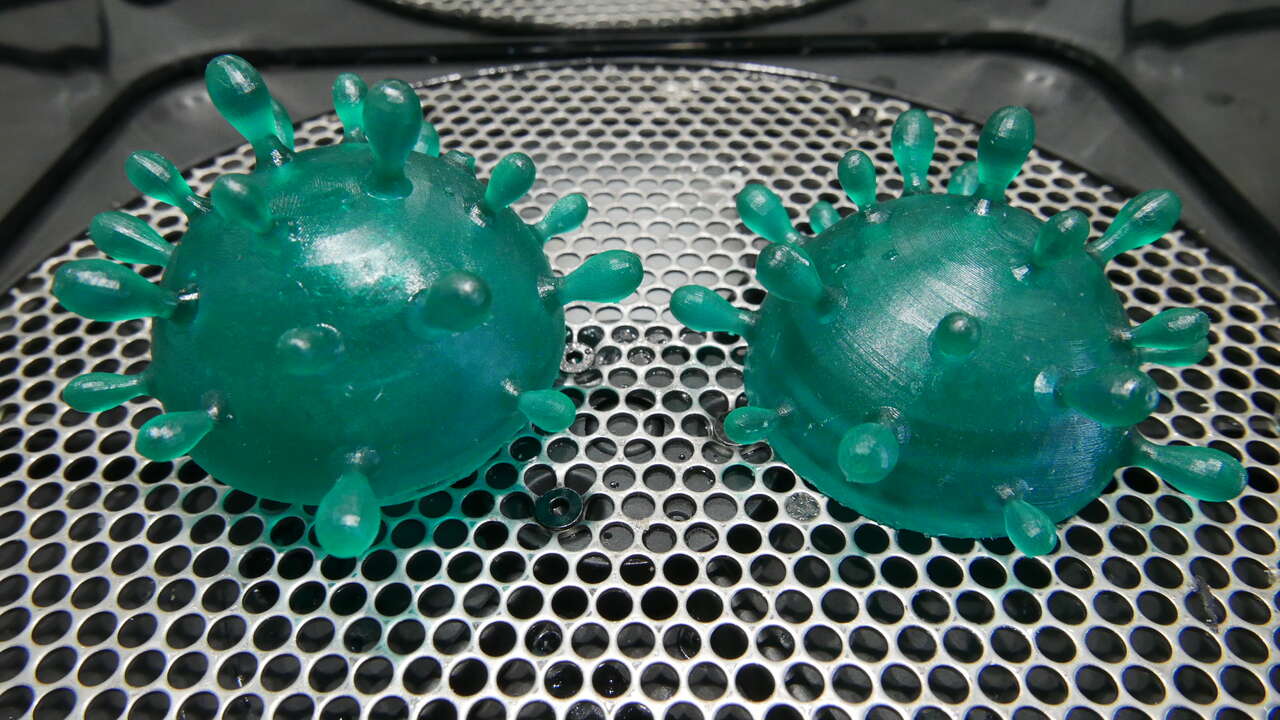
Final result with the 2 parts screwed together :
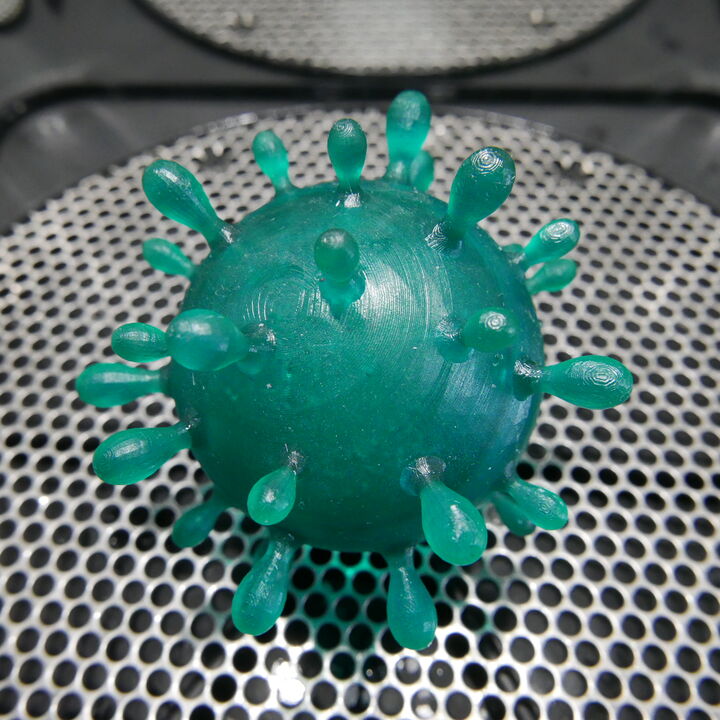 |
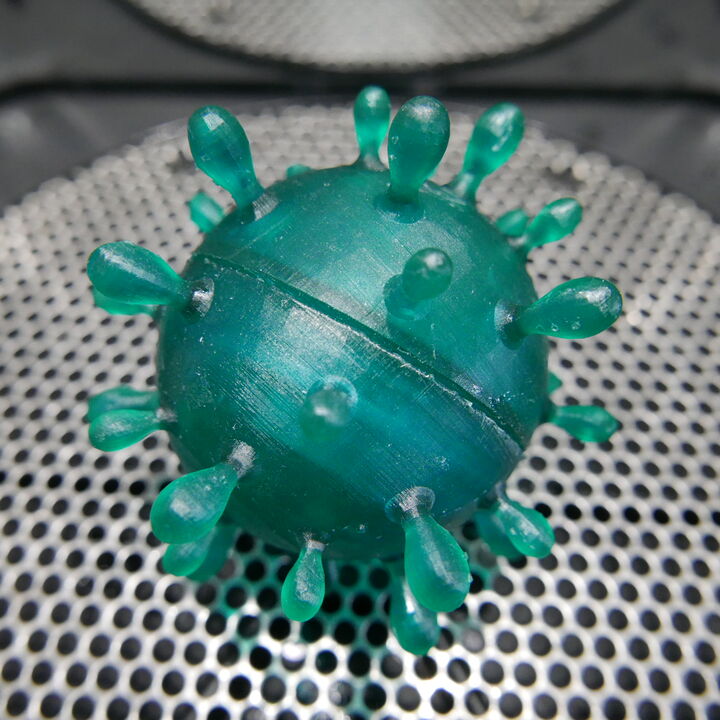 |
| Final SLA 3D printed virus | Final SLA 3D printed virus - parts junction |
As one can notice, final result demonstrates an extremely high quality and resolution, nothing comparable to what has been obtained with FDM printing.
FDM dual materials printing
As mentioned in introduction, I already printed a virus model with PLA during the 3D scanning and printing week, but this time I wanted to try the TPU material (Thermoplastic polyurethane) which is more flexible. As my model required some supports based on the object itself (for supporting the virus spikes), I was afraid that TPU was not really appropriate for such application as supports might have get stuck to the material. In order to get around this problem, I dediced to use PVA material (PolyVinyl Alcohol), a water-soluble polymer, for printing the supports. This was at the same time a great opportunity to give it a try to dual materials FDM printing.
Unfortunately I rapidly got into troubles, with my print job stopping unexpectedly two times consecutively few minutes/hours after starting. At the beginning I felt that it was probably due to filament residues continuing to flow when alternating from one print material to the other, but after deeper investigation it might have been due to an incorrect xy calibration on the 3D printer I used (Ultimaker 3).
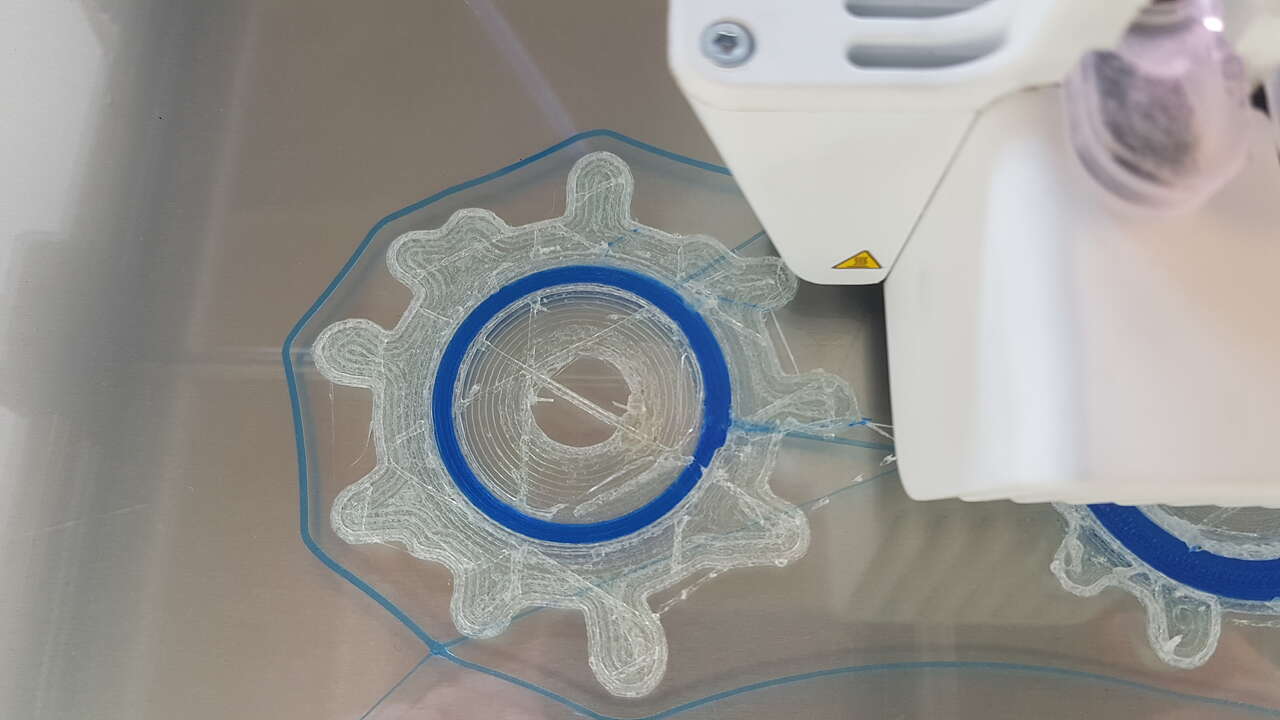
Indeed, on the picture below one can notice an offset on one axis (x-axis because the plate is presented with a 90° rotation compare its position during the print) of the support material (white) compare to the object material (blue) :
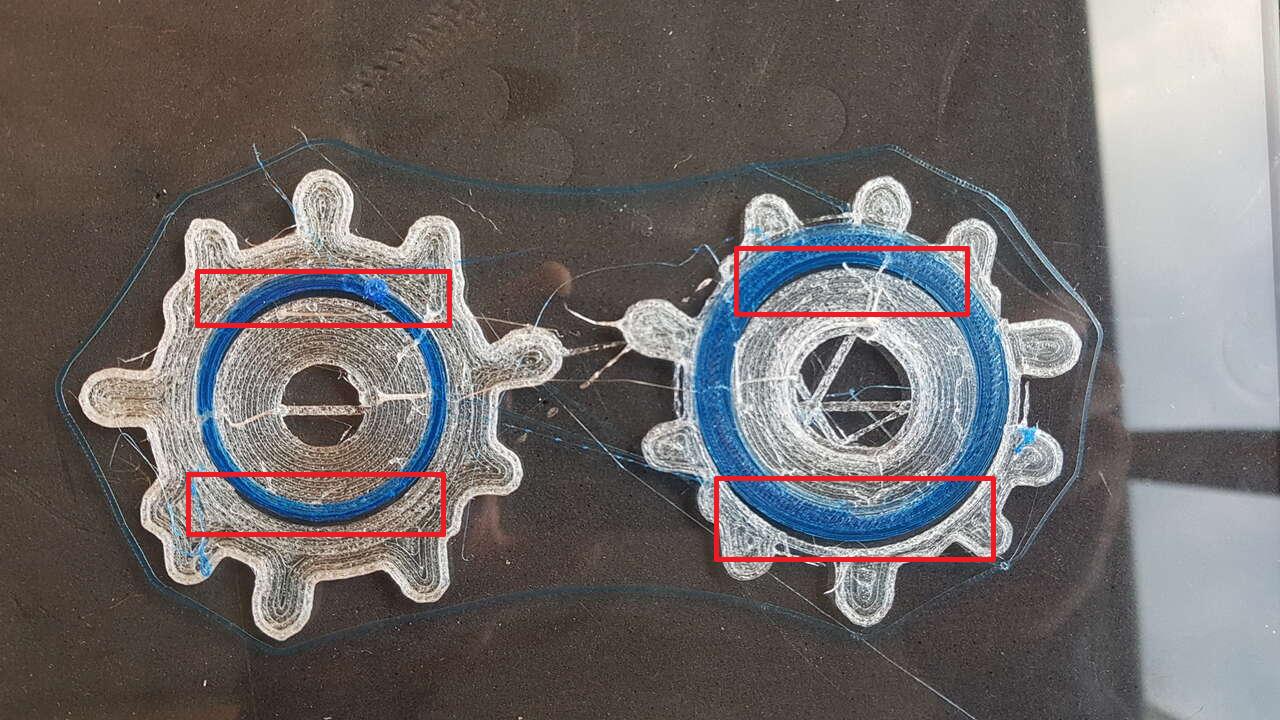
Ultimaker 3 - Dual materials printing - Offset on X axis
This resulted in both materials overlapping on some locations, which could definitely be the root cause of the problem I observed.
I thus decided to perform an XY calibration of the printer, following this tutorial. While doing so, I indeed got the confirmation that a “-20.0” offset value was currently set for the X axis in the machine.
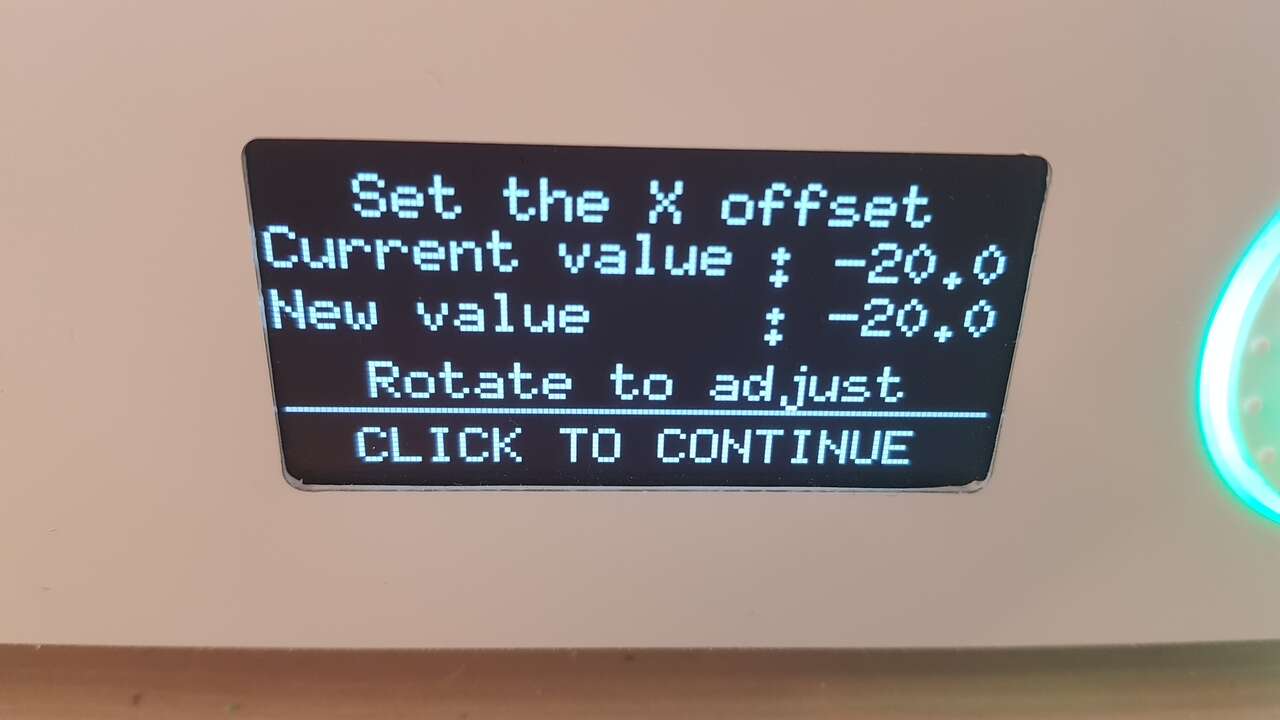
Ultimaker 3 - Offset on X axis
XY calibration print test :
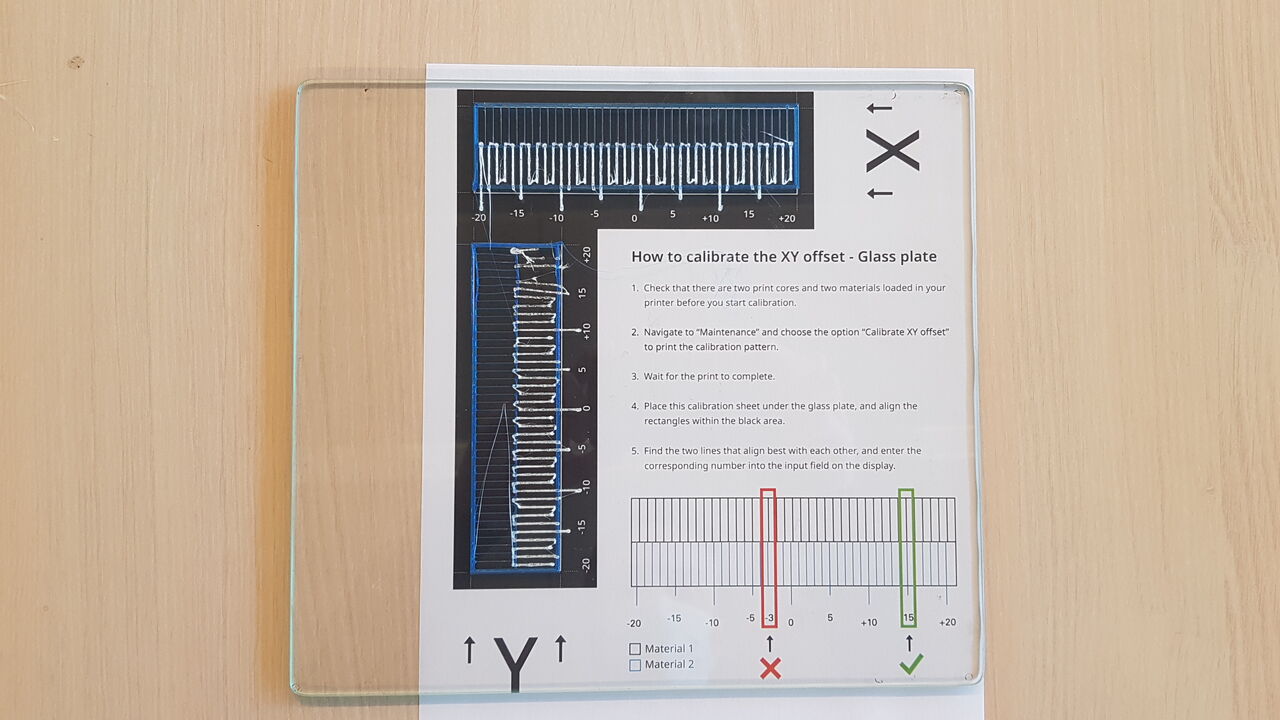 |
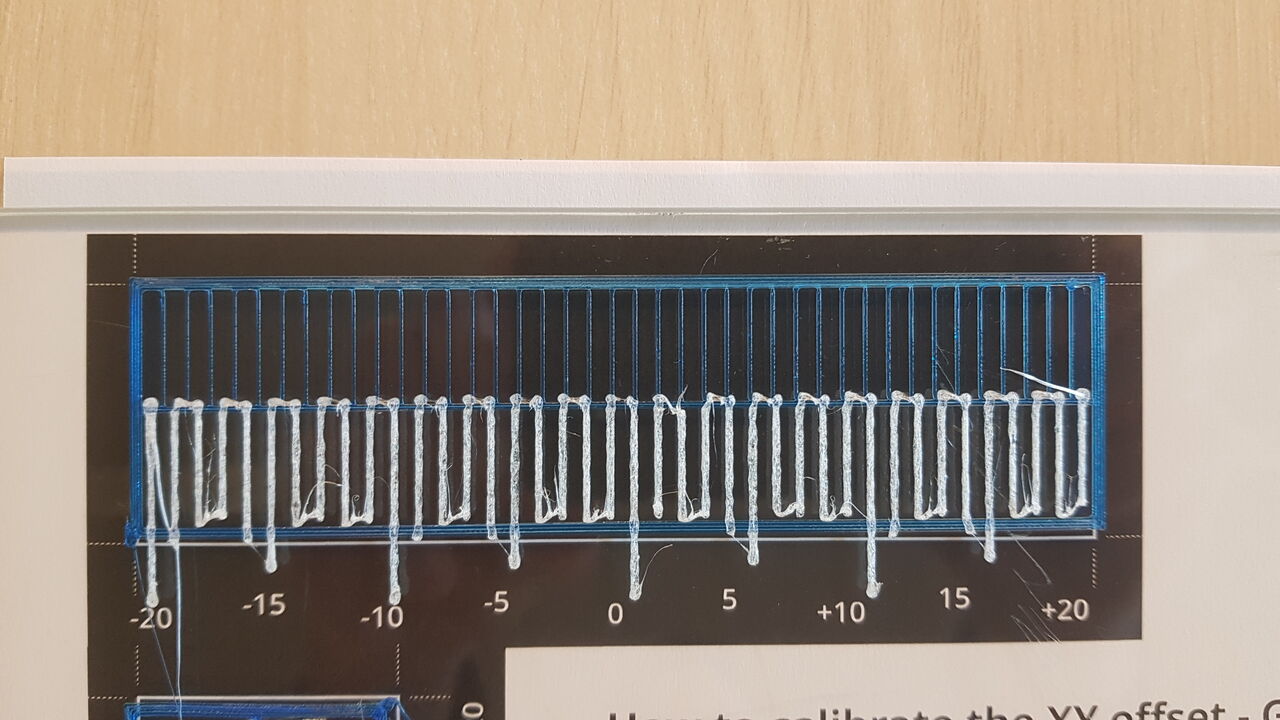 |
| XY calibration print test and reference | XY calibration print test - X axis zoom |
Once the offset value for the X axis corrected (set to +2.5), I could confirm that the offset issue previously observed vanished :
Ultimaker 3 - Offset issue fixed
Following this calibration, the print successfully completed until the end :
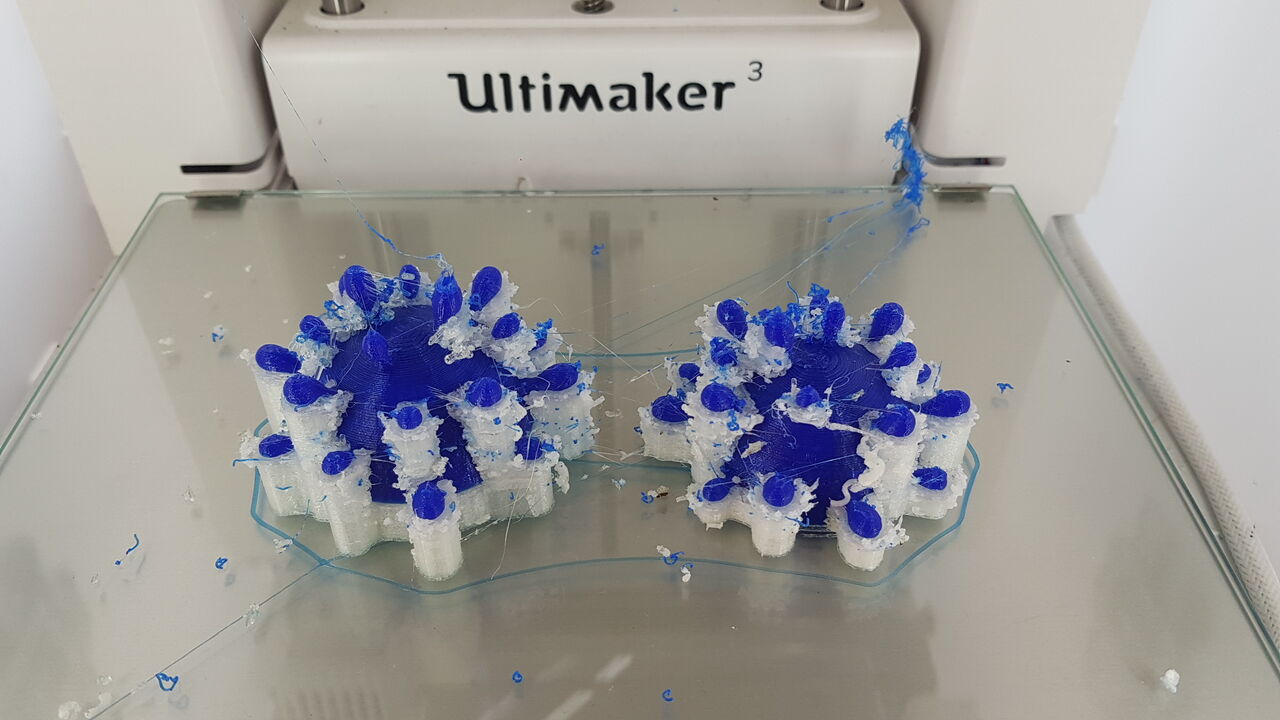
FDM dual materials - Virus parts completed

Virus parts with PVA supports
Note: One can observe that the final result is pretty messy, with a lot of unexpected filaments around the objects, due to the difficulty for the printer to immediatly stop the extrusion of material from one print head to swith to the other print head. I could possibly have avoided this phenomenon by enabling prime towers in Cura when preparing my print job.
Next step, was to get rid of the supports (transparent material), by plunging both parts on water. This took more than a day to completely remove all the PVA material, although I was regularly changing the water to avoid saturation and also scraping the PVA material to get rid of it faster.
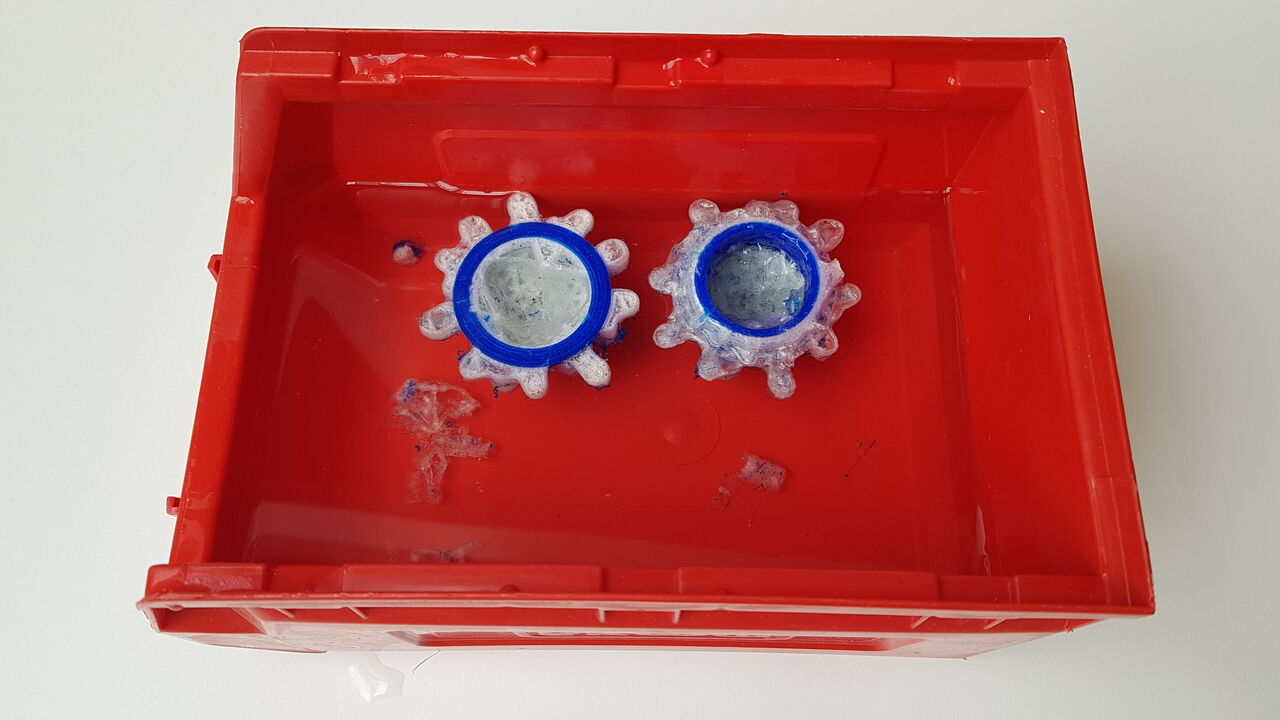
Getting rid of the PVA supports with water
Final result :
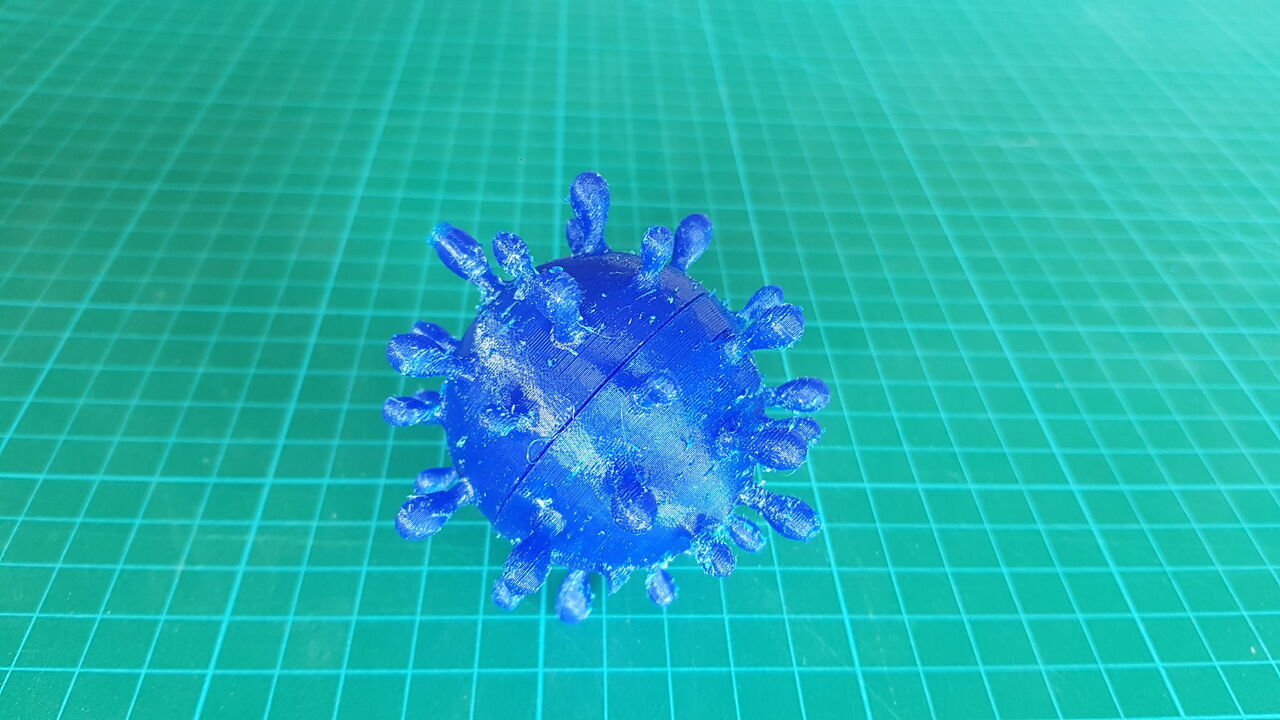
FDM 3D printed virus - Assembly
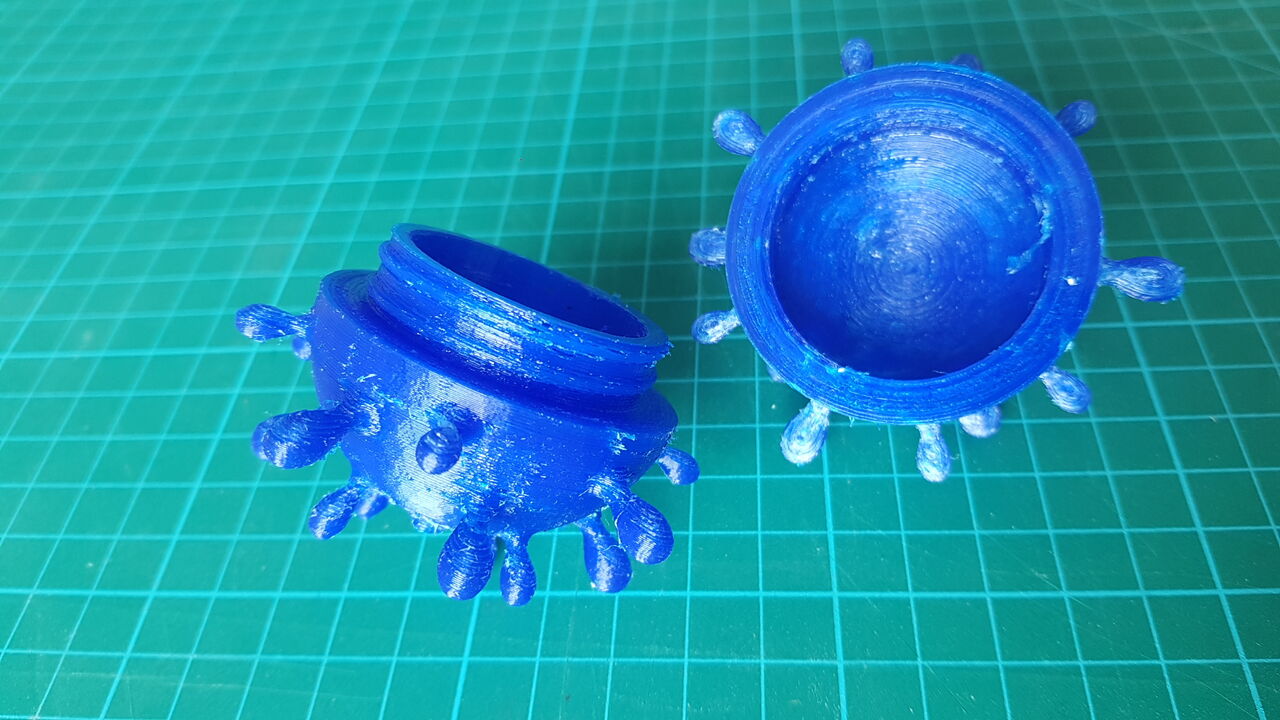
FDM 3D printed virus - Separate parts
Although result quality is less impressive than the one obtained with SLA printing, the feel of this TPU is really pleasant.
Source files
The source files of the work presented in this week assignment are available for download here :
- Virus model : STL files