11. Moulding & Casting
I. Individual assignment
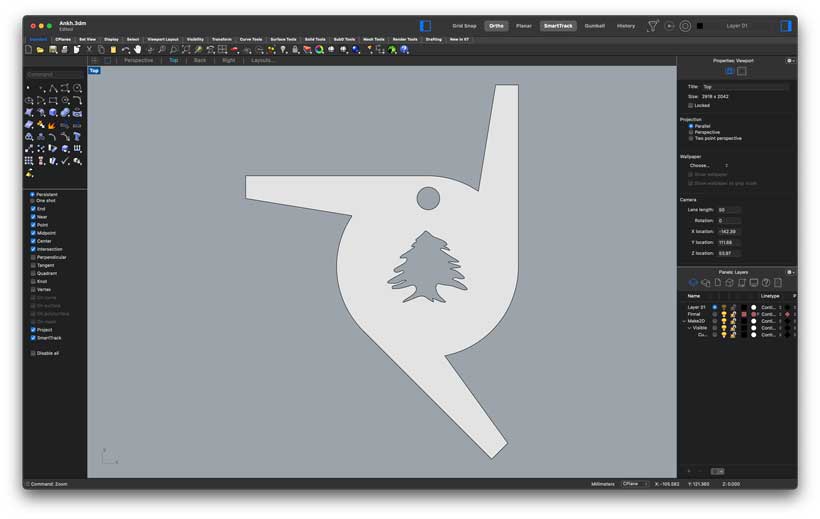
For this week, I decided to cast an accessory for my keychain. I designed a shape inspired by the Cedar Racing Team logo shown below.

A. Designing the mould
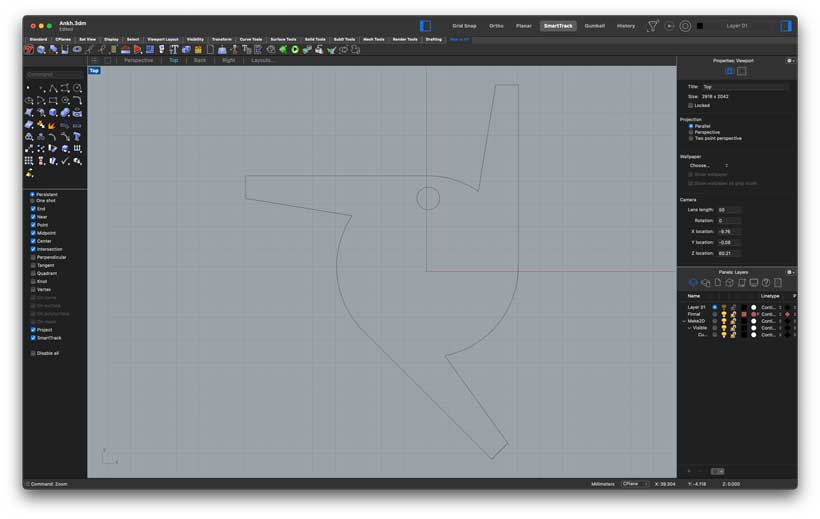
I worked with Rhino throughout as I was starting to get really comfortable with the software and wanted to master its use. I started by drawing the profile of the object to which I added a hole at the top. Once done, I had to find a way to add the cedar tree at the centre. One option would have been to import the reference picture and use it as a canvas to draw the lines. However, Rhino has a plugin called Vectorize whose sole purpose is to create vectors from profiles found in JPG/PNG files.
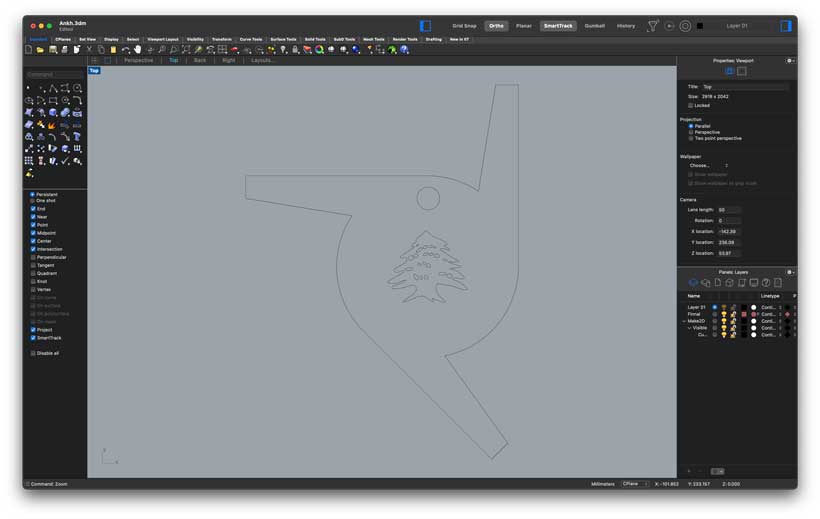
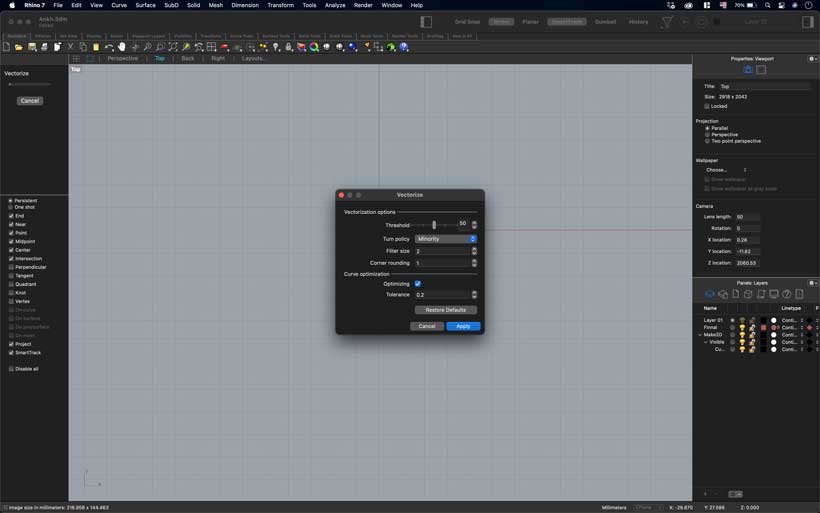
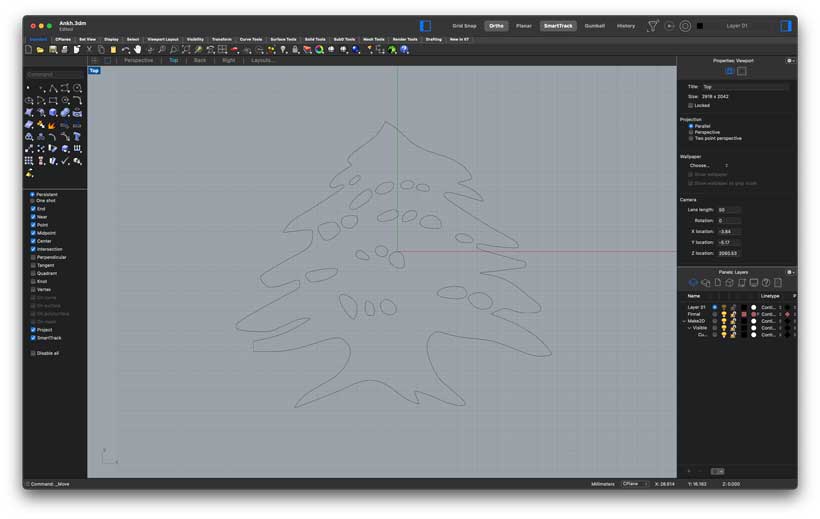
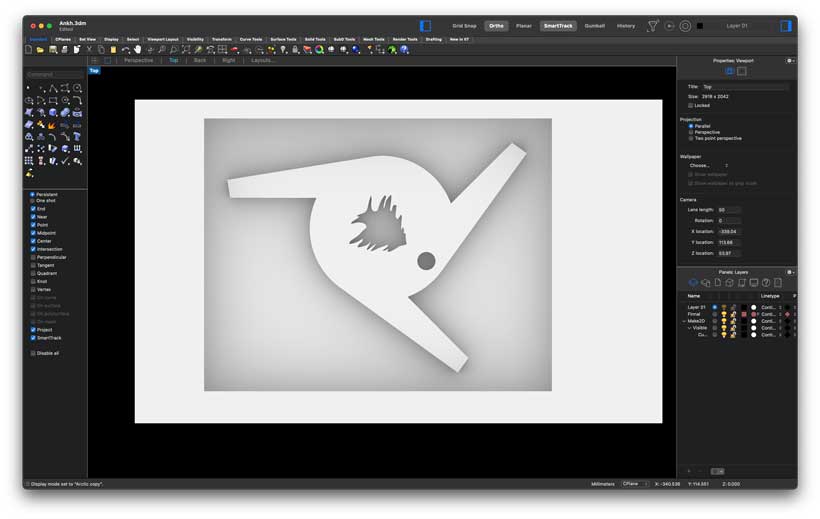
The Cedar tree found on the reference picture is the same as the one found on the Lebanese Flag. Having installed the Vectorize plugin, I used the vectorize command to import a picture of the Lebanese flag, which created the desired shape as 2D lines. I placed these lines at the centre of the designed shape and extruded the whole geometry by 6 mm.
Finally, I placed the final shape inside a block of 95mmx75mmx12mm (widthxlengthxdepth) which I then embedded at the surface of a 149mmx89mmx44mm cube representing my block of wax.
Vectorize Plugin Procedure

B. Milling the wax
Preparing the Files
All milling files were prepared in SRM’s propietary software MODELA Player 4. This was done by following the following steps:
- Import the Geometry and select the material to be milled.
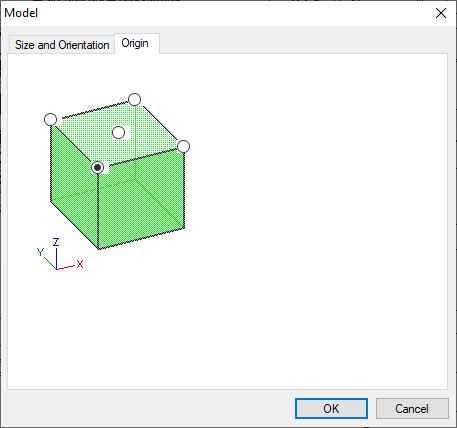
- Set the origin to the desired location in Set>Model>Origin.
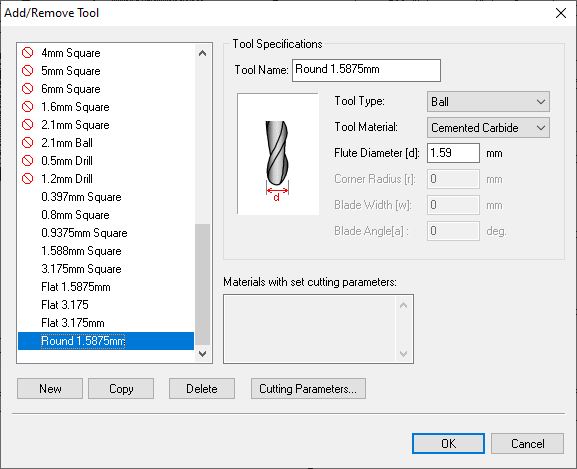
- Initialise the desired tools (end-mills) in Options>Add Tool.
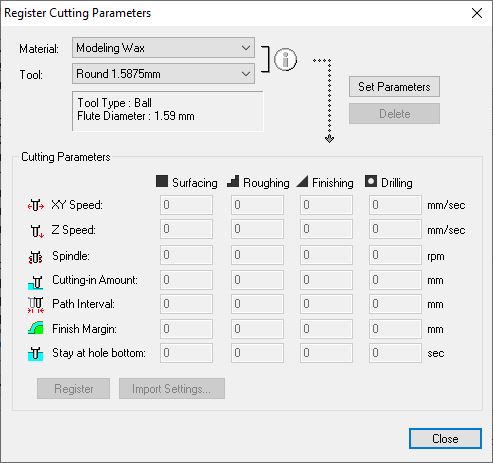
- Register the cutting parameters for each tool/material combination in Options>Add Tool>Cutting Parameters (Must click on Register then Ok). If this isn’t done, the tool won’t be available for operations with the selected material.
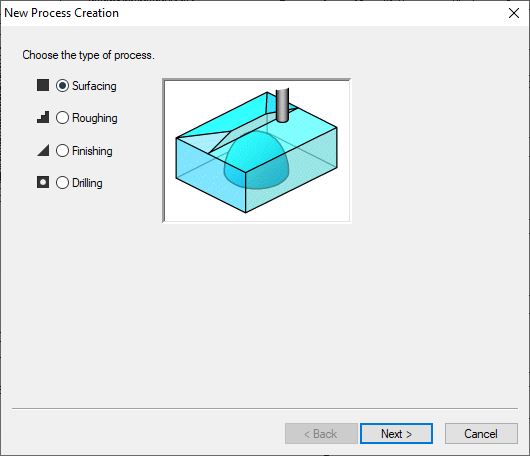
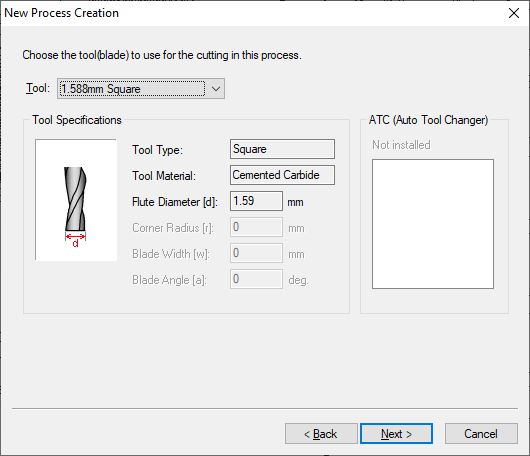
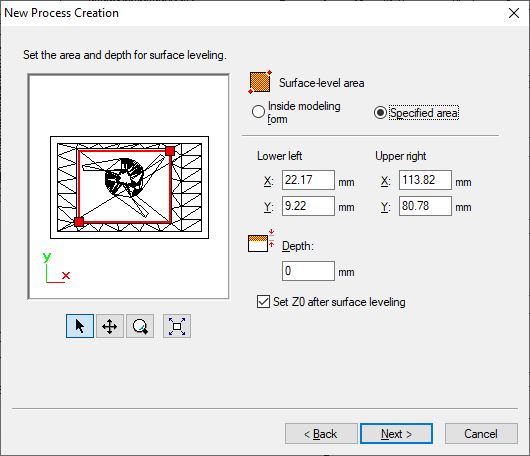
- Start a new Process. Define milling area and milling tool.
- Export generated toolpath by clicking on Cut (Bottom Right) and selecting Output to File if software is not linked to CNC.
Modela Player 4 Interface
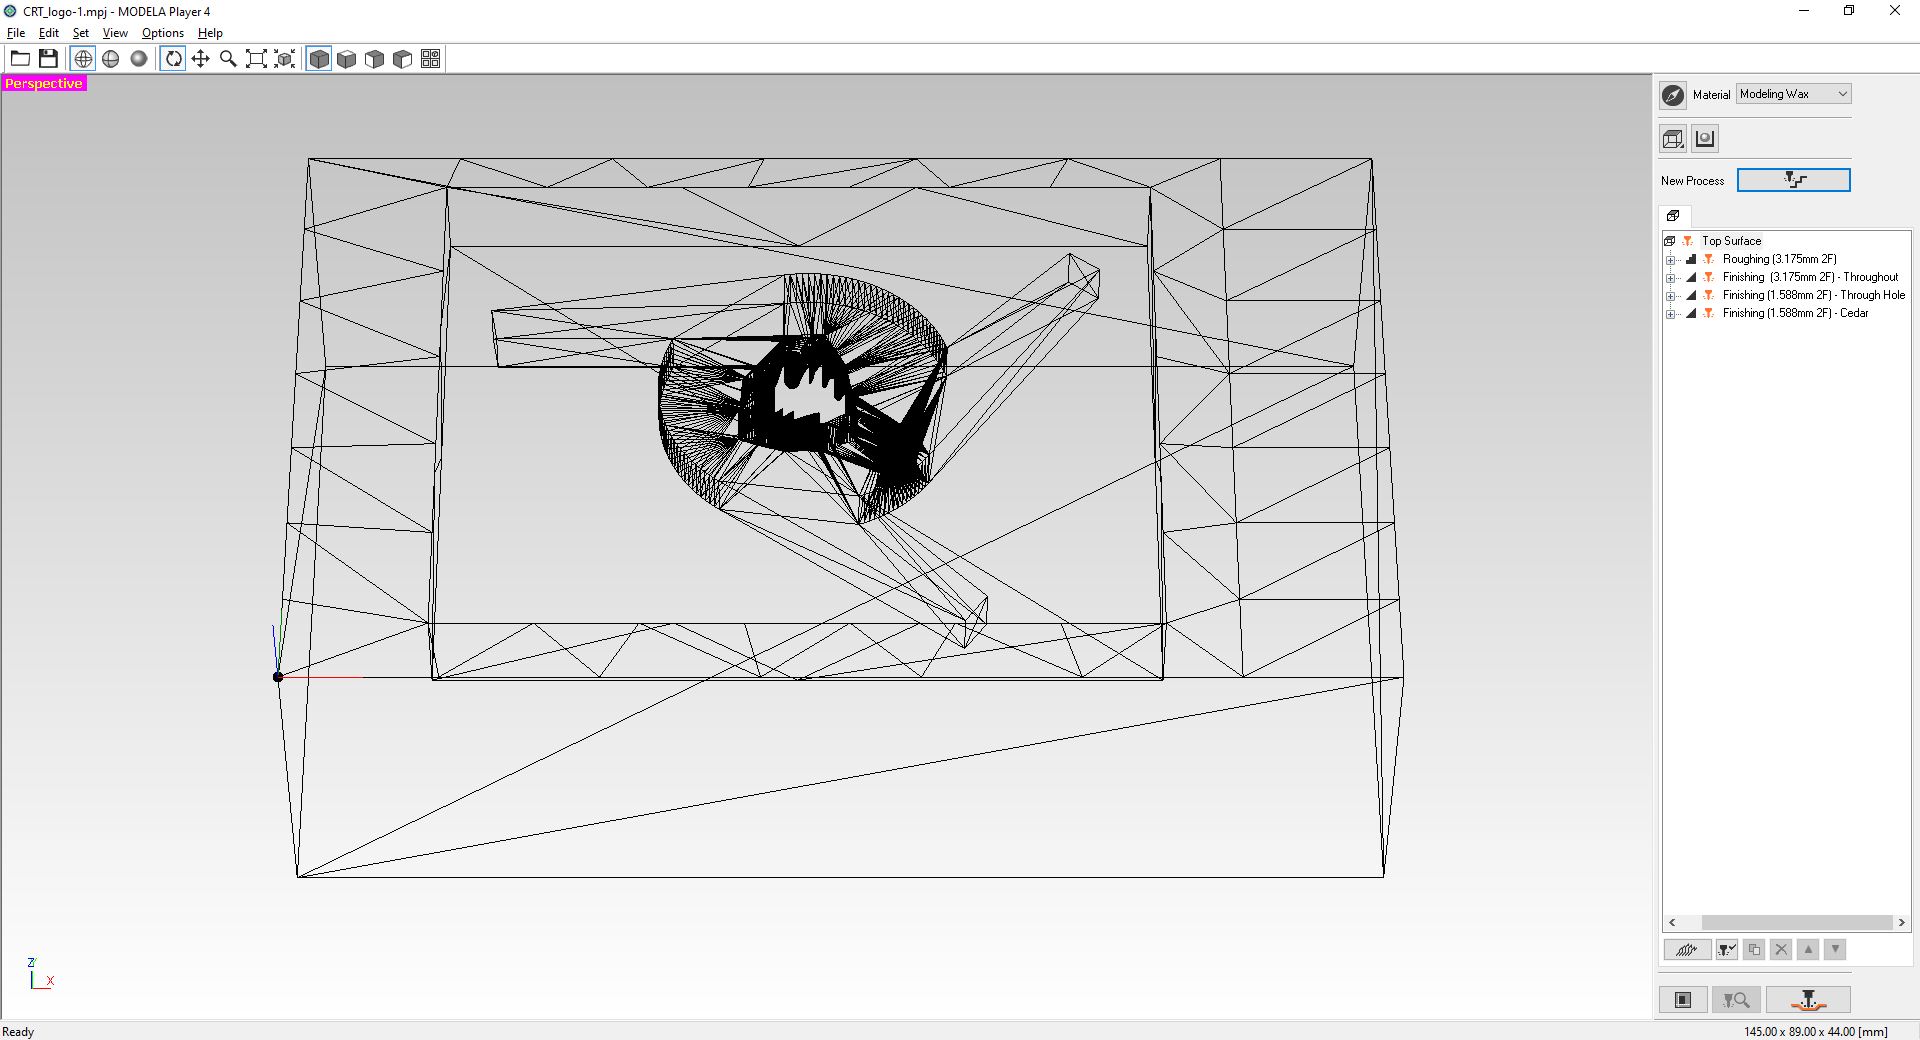
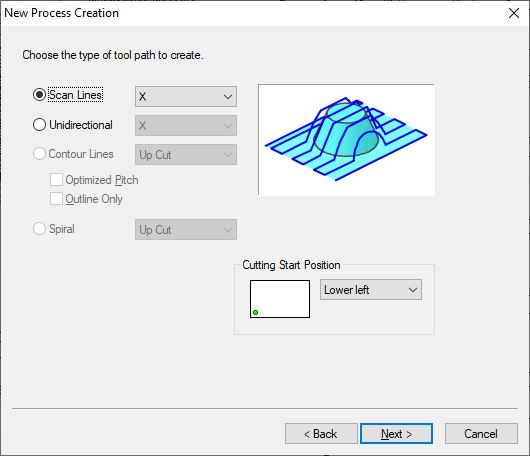
The below table describes the characteristics of the operations I used to mill my positive mouldinto the wax. The first roughing operation cleared the material from the mill area. It was then followed by a finishing operation to improve the general surface finish of the mould. Another pair of finishing operations were then executed. These were done to add further details to the cedar tree and properly round the through hole.
| Operation | Tool Diameter | Tool Flutes | Line Type | Duration |
|---|---|---|---|---|
| 1. Roughing - Whole Geometry | 3.175 mm | 2 | Contour | 94 minutes |
| 2. Finishing - Whole Geometry | 3.175 mm | 2 | Scan | 30 minutes |
| 3. Finishing - Cedar Tree | 0.938 mm | 2 | Scan | 4 minutes |
| 4. Finishing - Through Hole | 0.938 mm | 2 | Contour | 2 minutes |
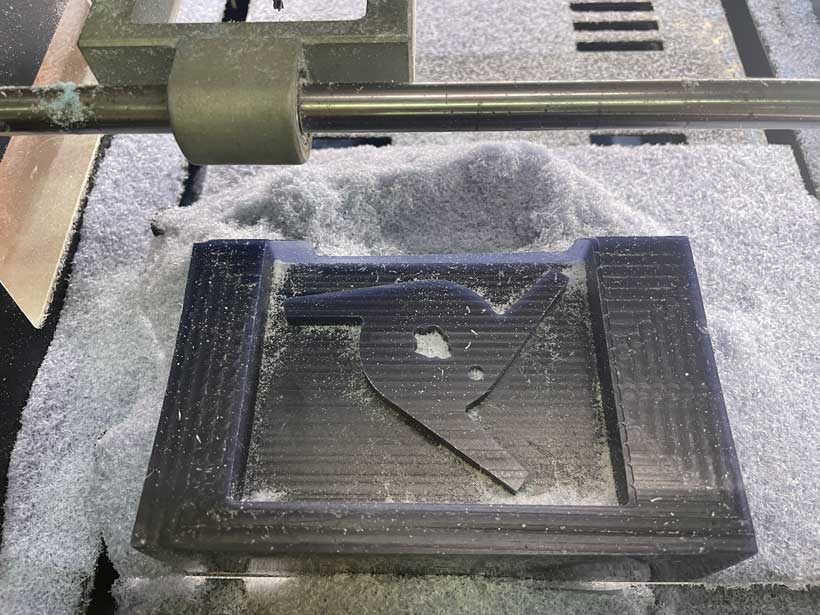
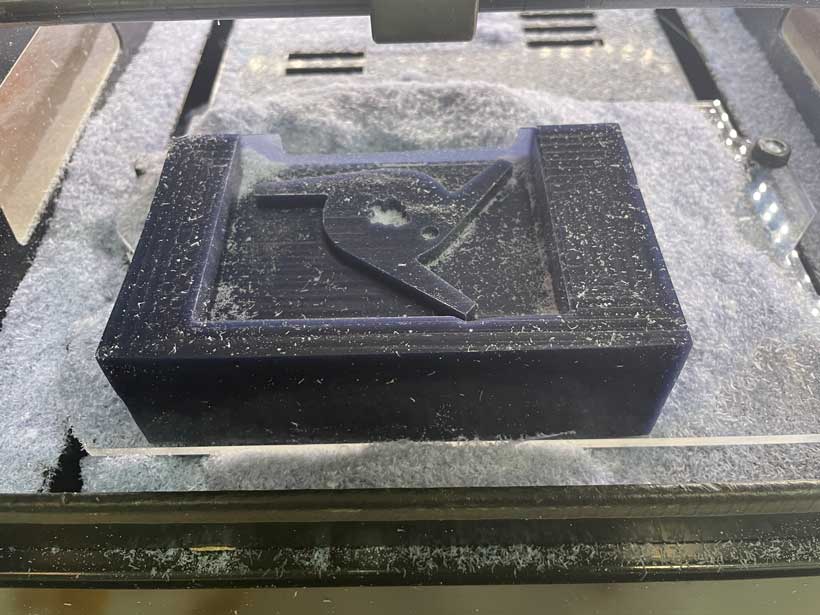
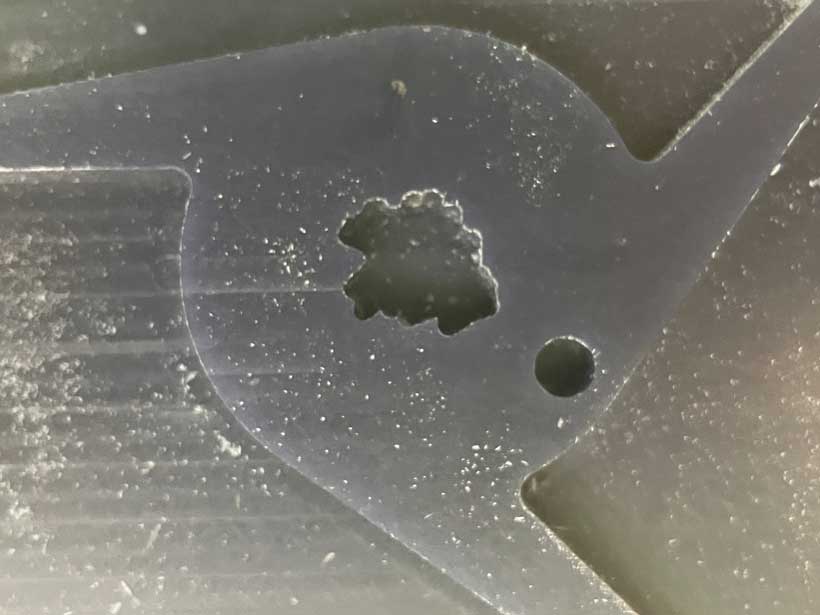
Milling Outcome
Wrong measurement of block width
I had set the length of my block to 89mm when it was actually of 86mm. I only noticed this half-way through the roughing operation as the wax chips had initially covered the whole block. As the operation progressed, some chips started falling over the edge revealing that the outer top wall was extremely thin and eventually broke. Having discussed this with one of my instructors, I decided to keep going forward with the milling and try using a flat piece of acrylic to block the hole.
Notes on detailing
I believe the finishing of the model could be significantly improved. First of all, perhaps setting the tool path as scan lines in both the X and Y direction would have been better. Furthermore, Using a finer tool for the central cedar tree could have yielded a better shape. However, I was limited by the length of the flutes on the end-mills. In fact, any mill with a radius smaller than 1/16 inches is has a tool shorter than 6 mm, which means that the thicker shank of the tool would have messed-up the shape. In conclusion, I should have gone for a two part mould if I wanted finer details.
Add pictures
C. Making the moulds
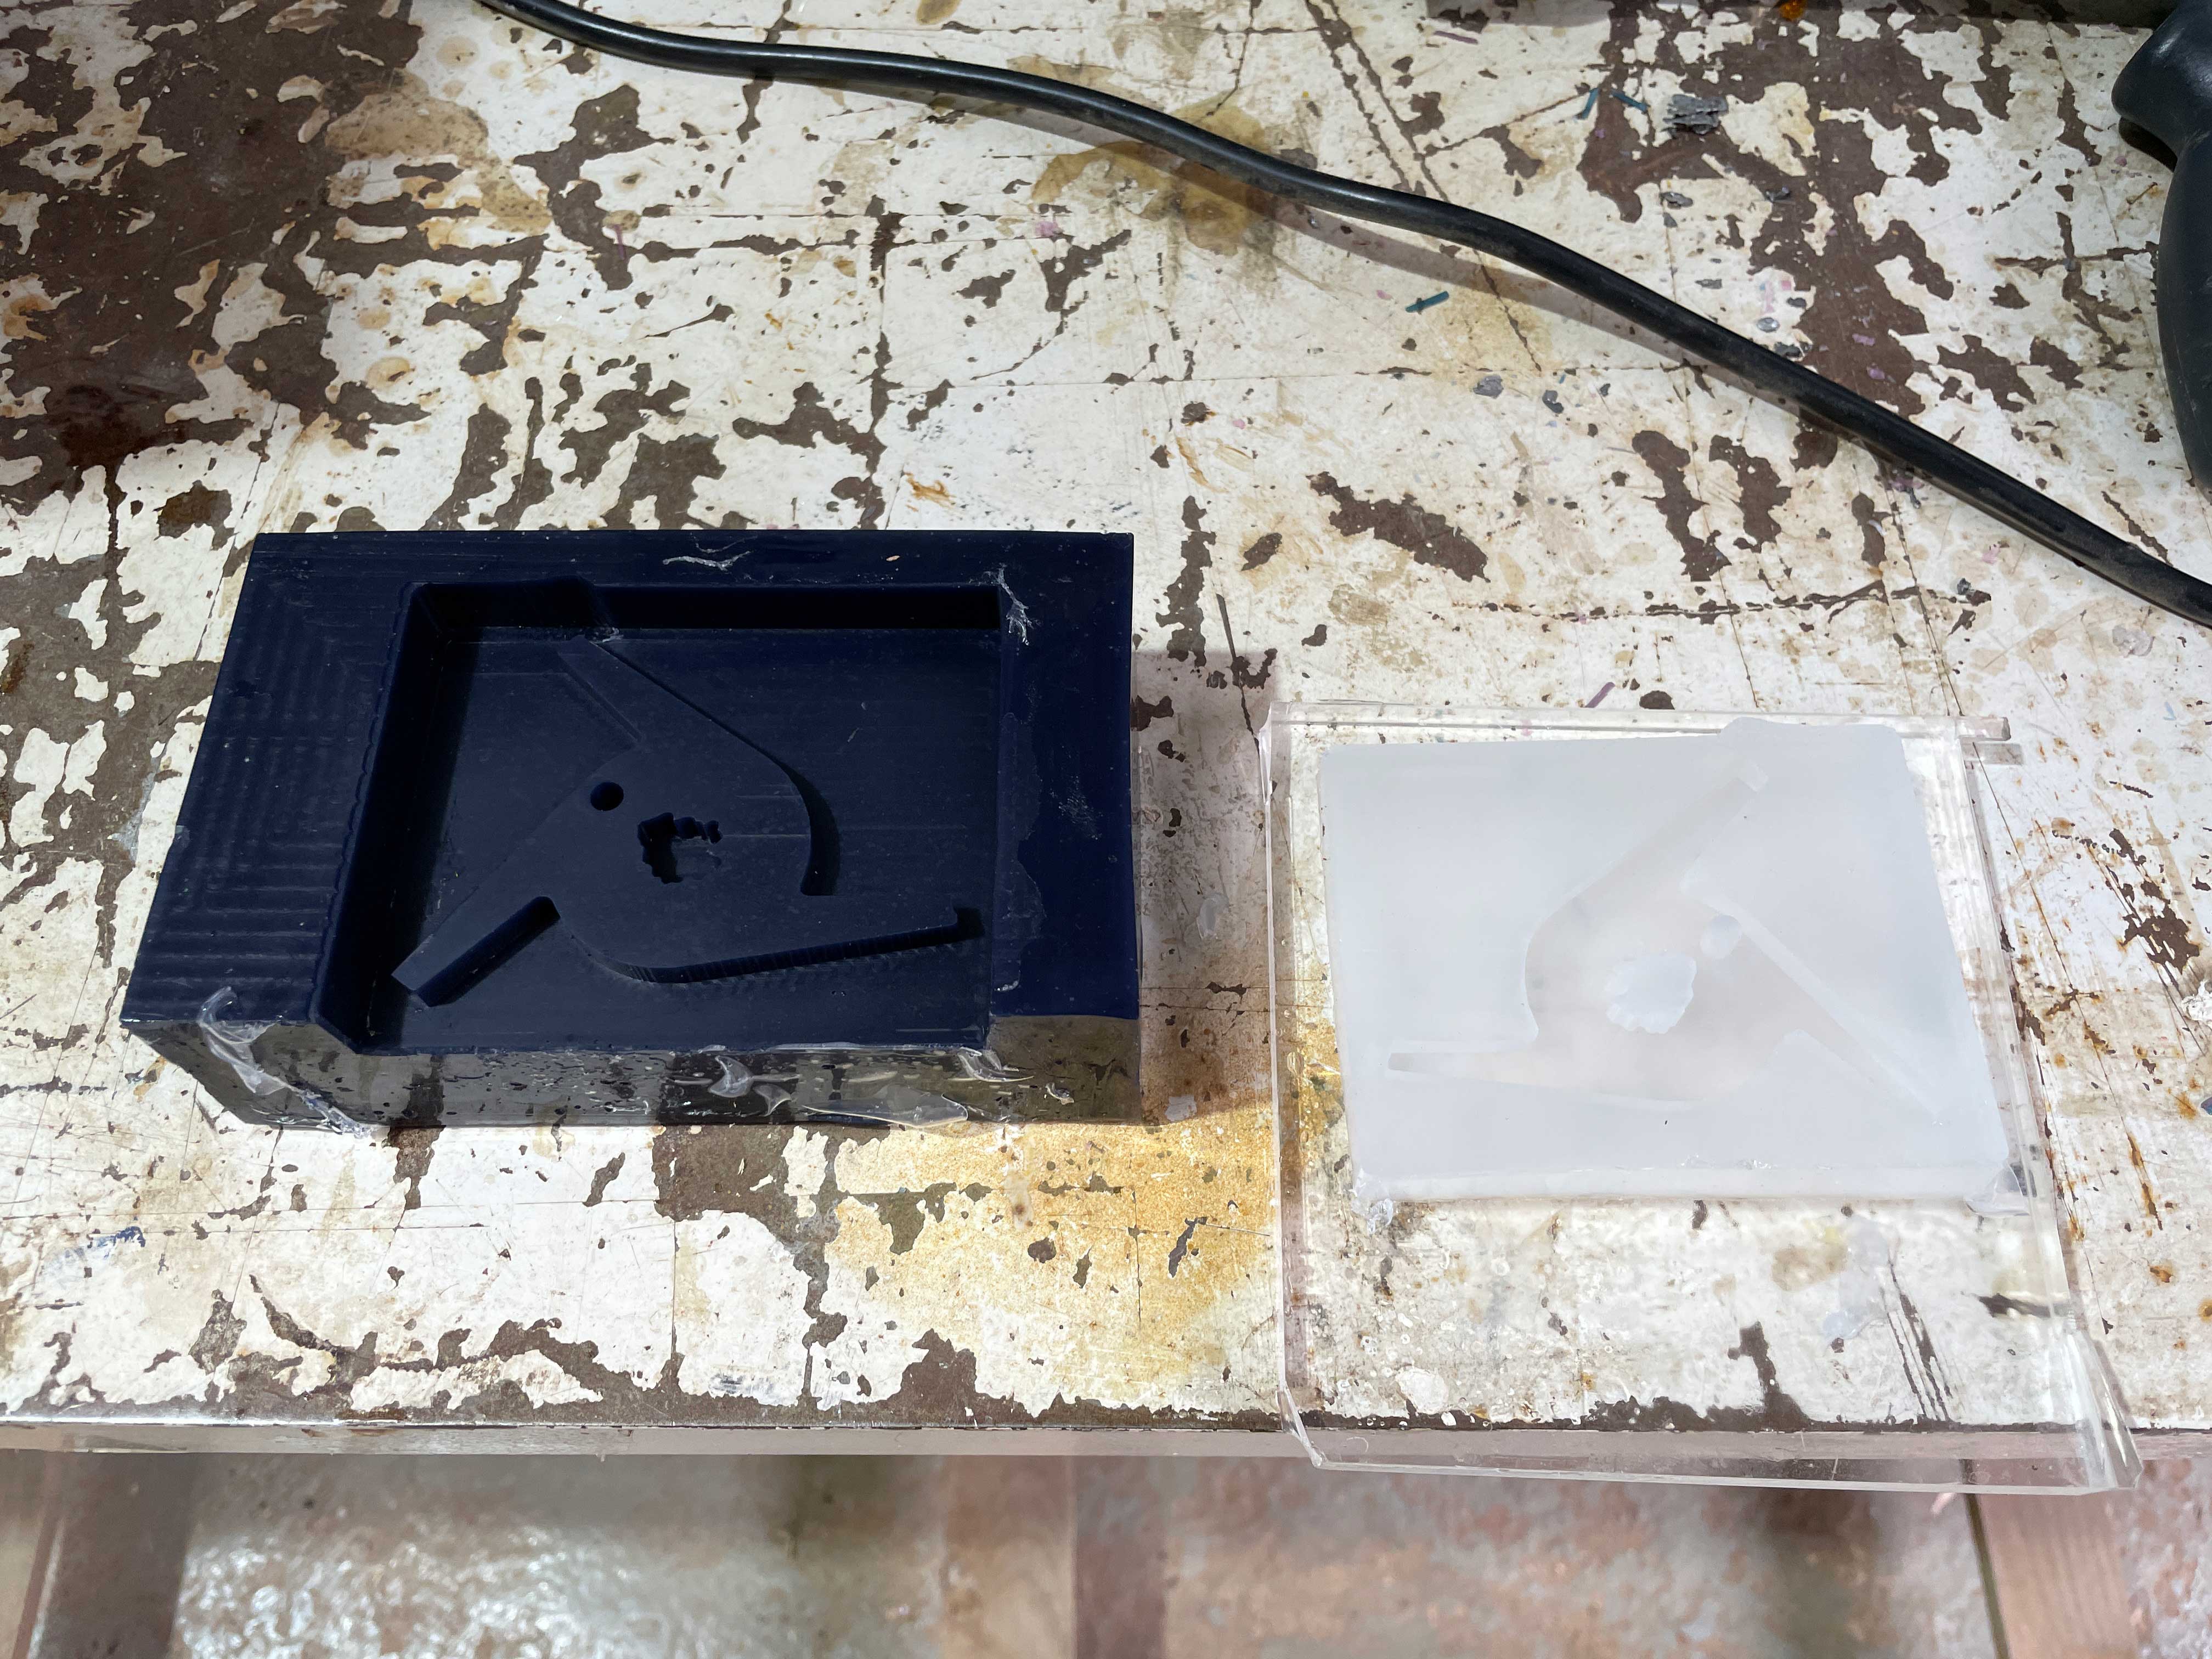
Silicone Negative mould
I had initially planned on casting my accessory in metal. The silicone that can be used with metal has a 24 hours curing time which was too long for the time I had left to complete the assignment. While curing it at a temperature of 100 degrees C would have reduced the curing to 1 hour, the fact that I needed to clamp a flat piece of acrylic on one side of the wax meant that I couldn’t use an oven. I therefore decided to use a silicone compound compatible with a shorter curing time.
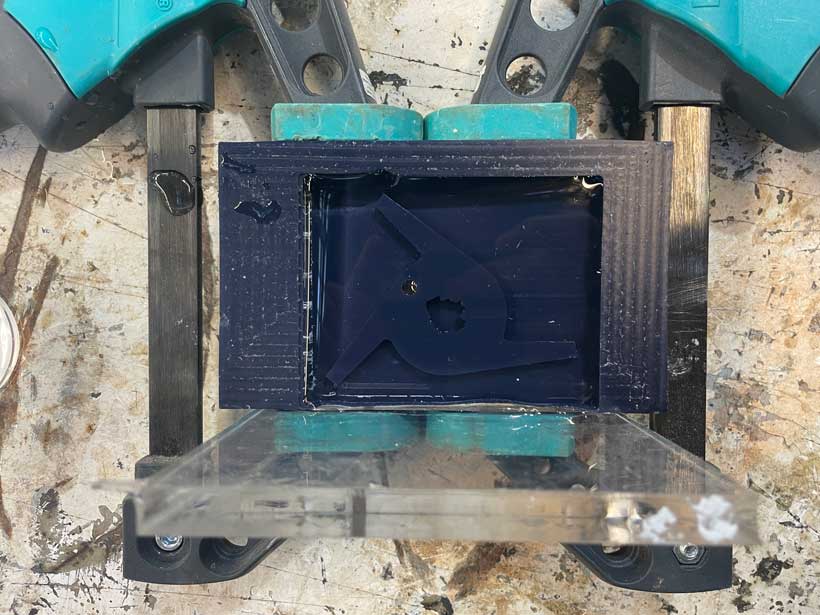
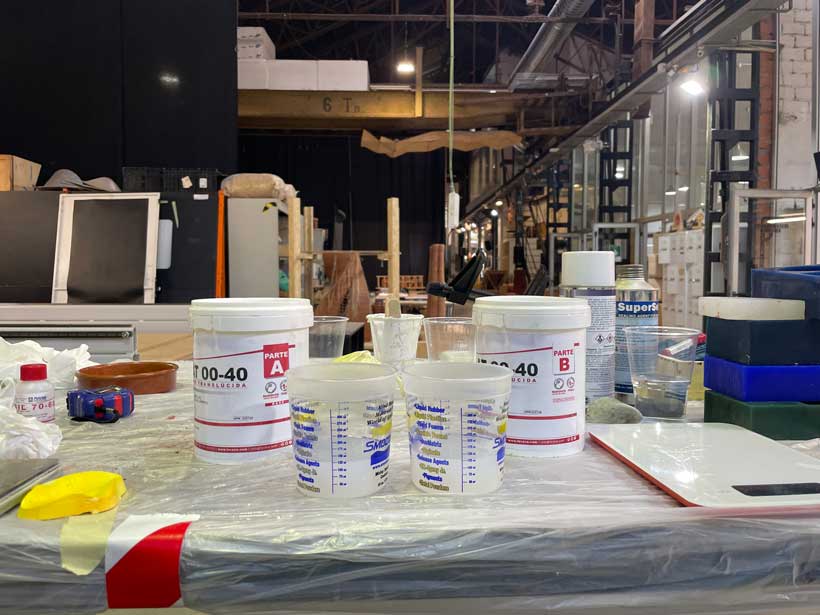
The EASYPLAT 00-40 is a two component translucent and low viscosity, addition cure silicone kit produced by Feroca. It has a prep time of 30 to 60 minutes and a curing time of 3 to 6 hours. Diego Diaz and I prepared a batch of EASYPLAT 00-40 for each of our moulds. I first needed to determine the volume of the mix I needed. To do so, I filled my mould with water and measured the weight of the water used to determine its volume. This also allowed me to determine if the acrylic plate I had clamped was properly sealing the mould area.
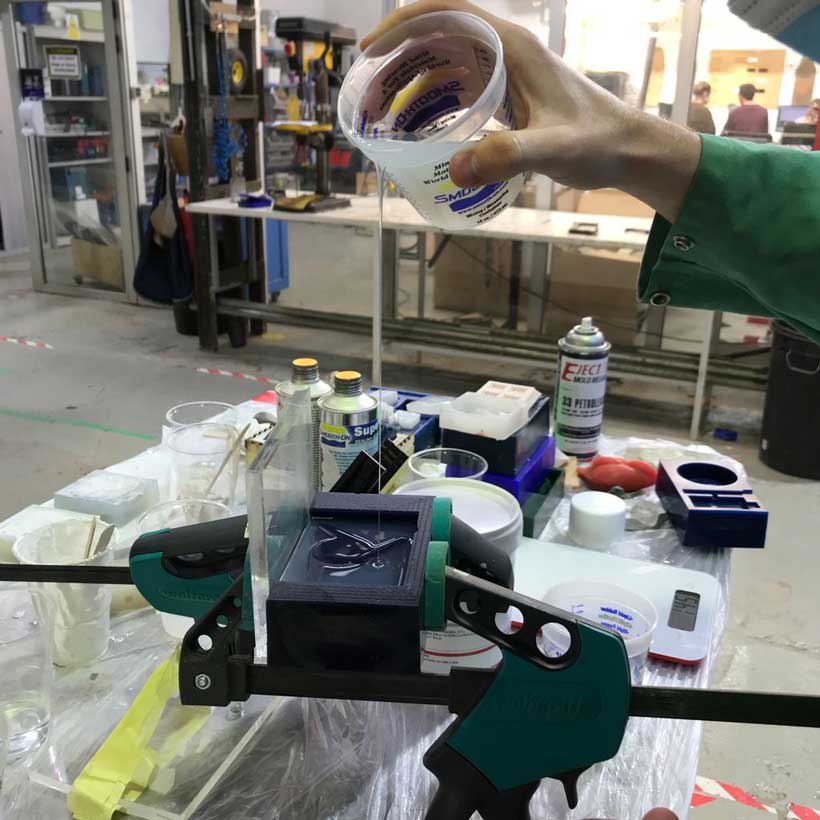
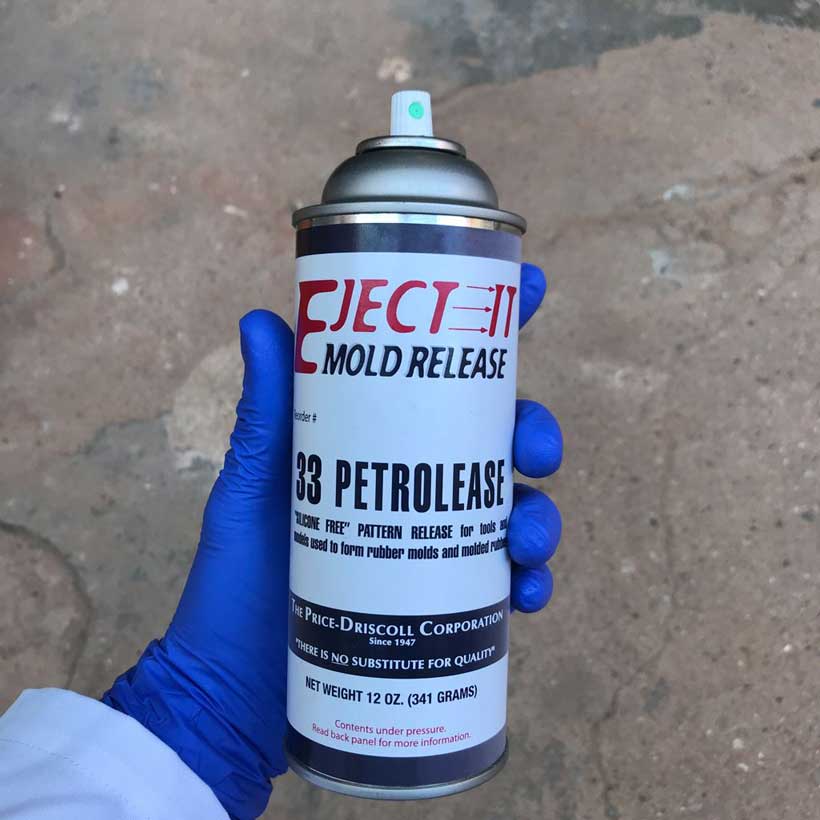
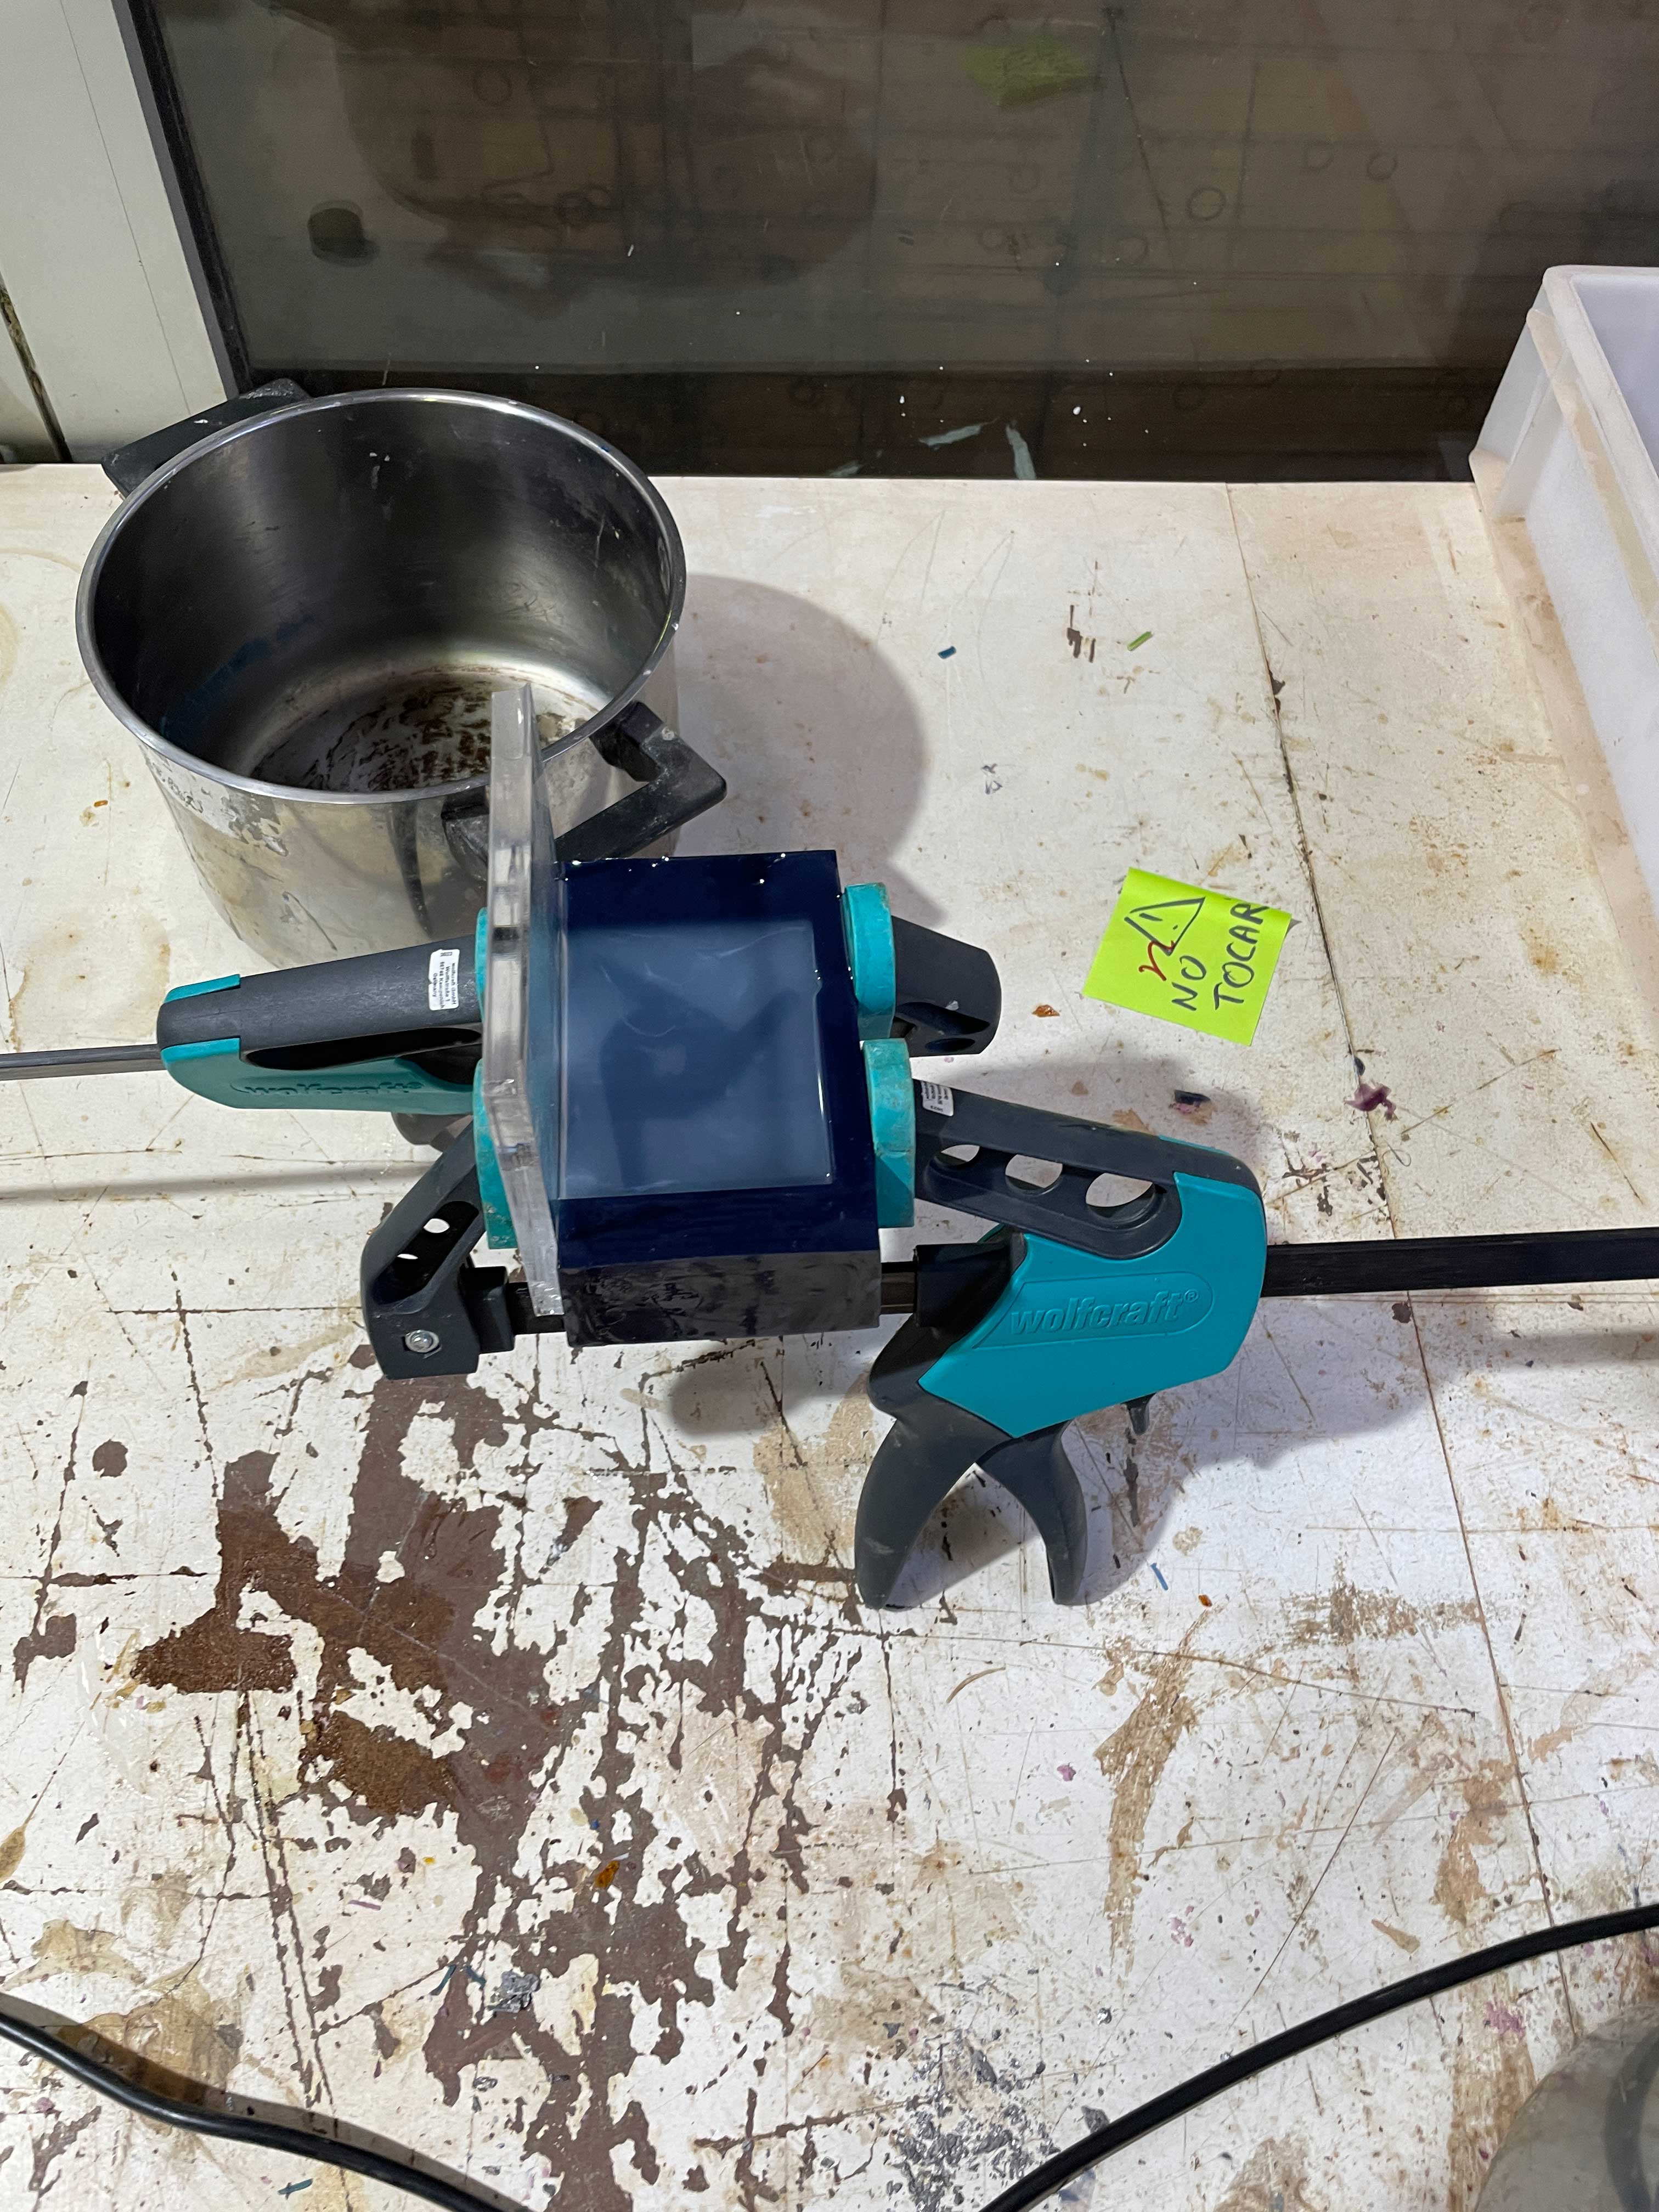
The volume of my mould was measured to be 90 mL. I mixed a volume of 110 mL of EASYPLAT 0040, a 25% increase in the measured volume just to make sure I had enough silicone. EASYPLAT 0040 requires equal volumes of its Part A and Part B components, which in my case was 55 mL of each. Diego and I then mixed both components using a drill with a large bolt attached, for a duration of 5 minutes. I then sprayed a petrol based release agent on my wax and poured the mix onto my mould, maintaining a fine stream to prevent air bubbles from forming.

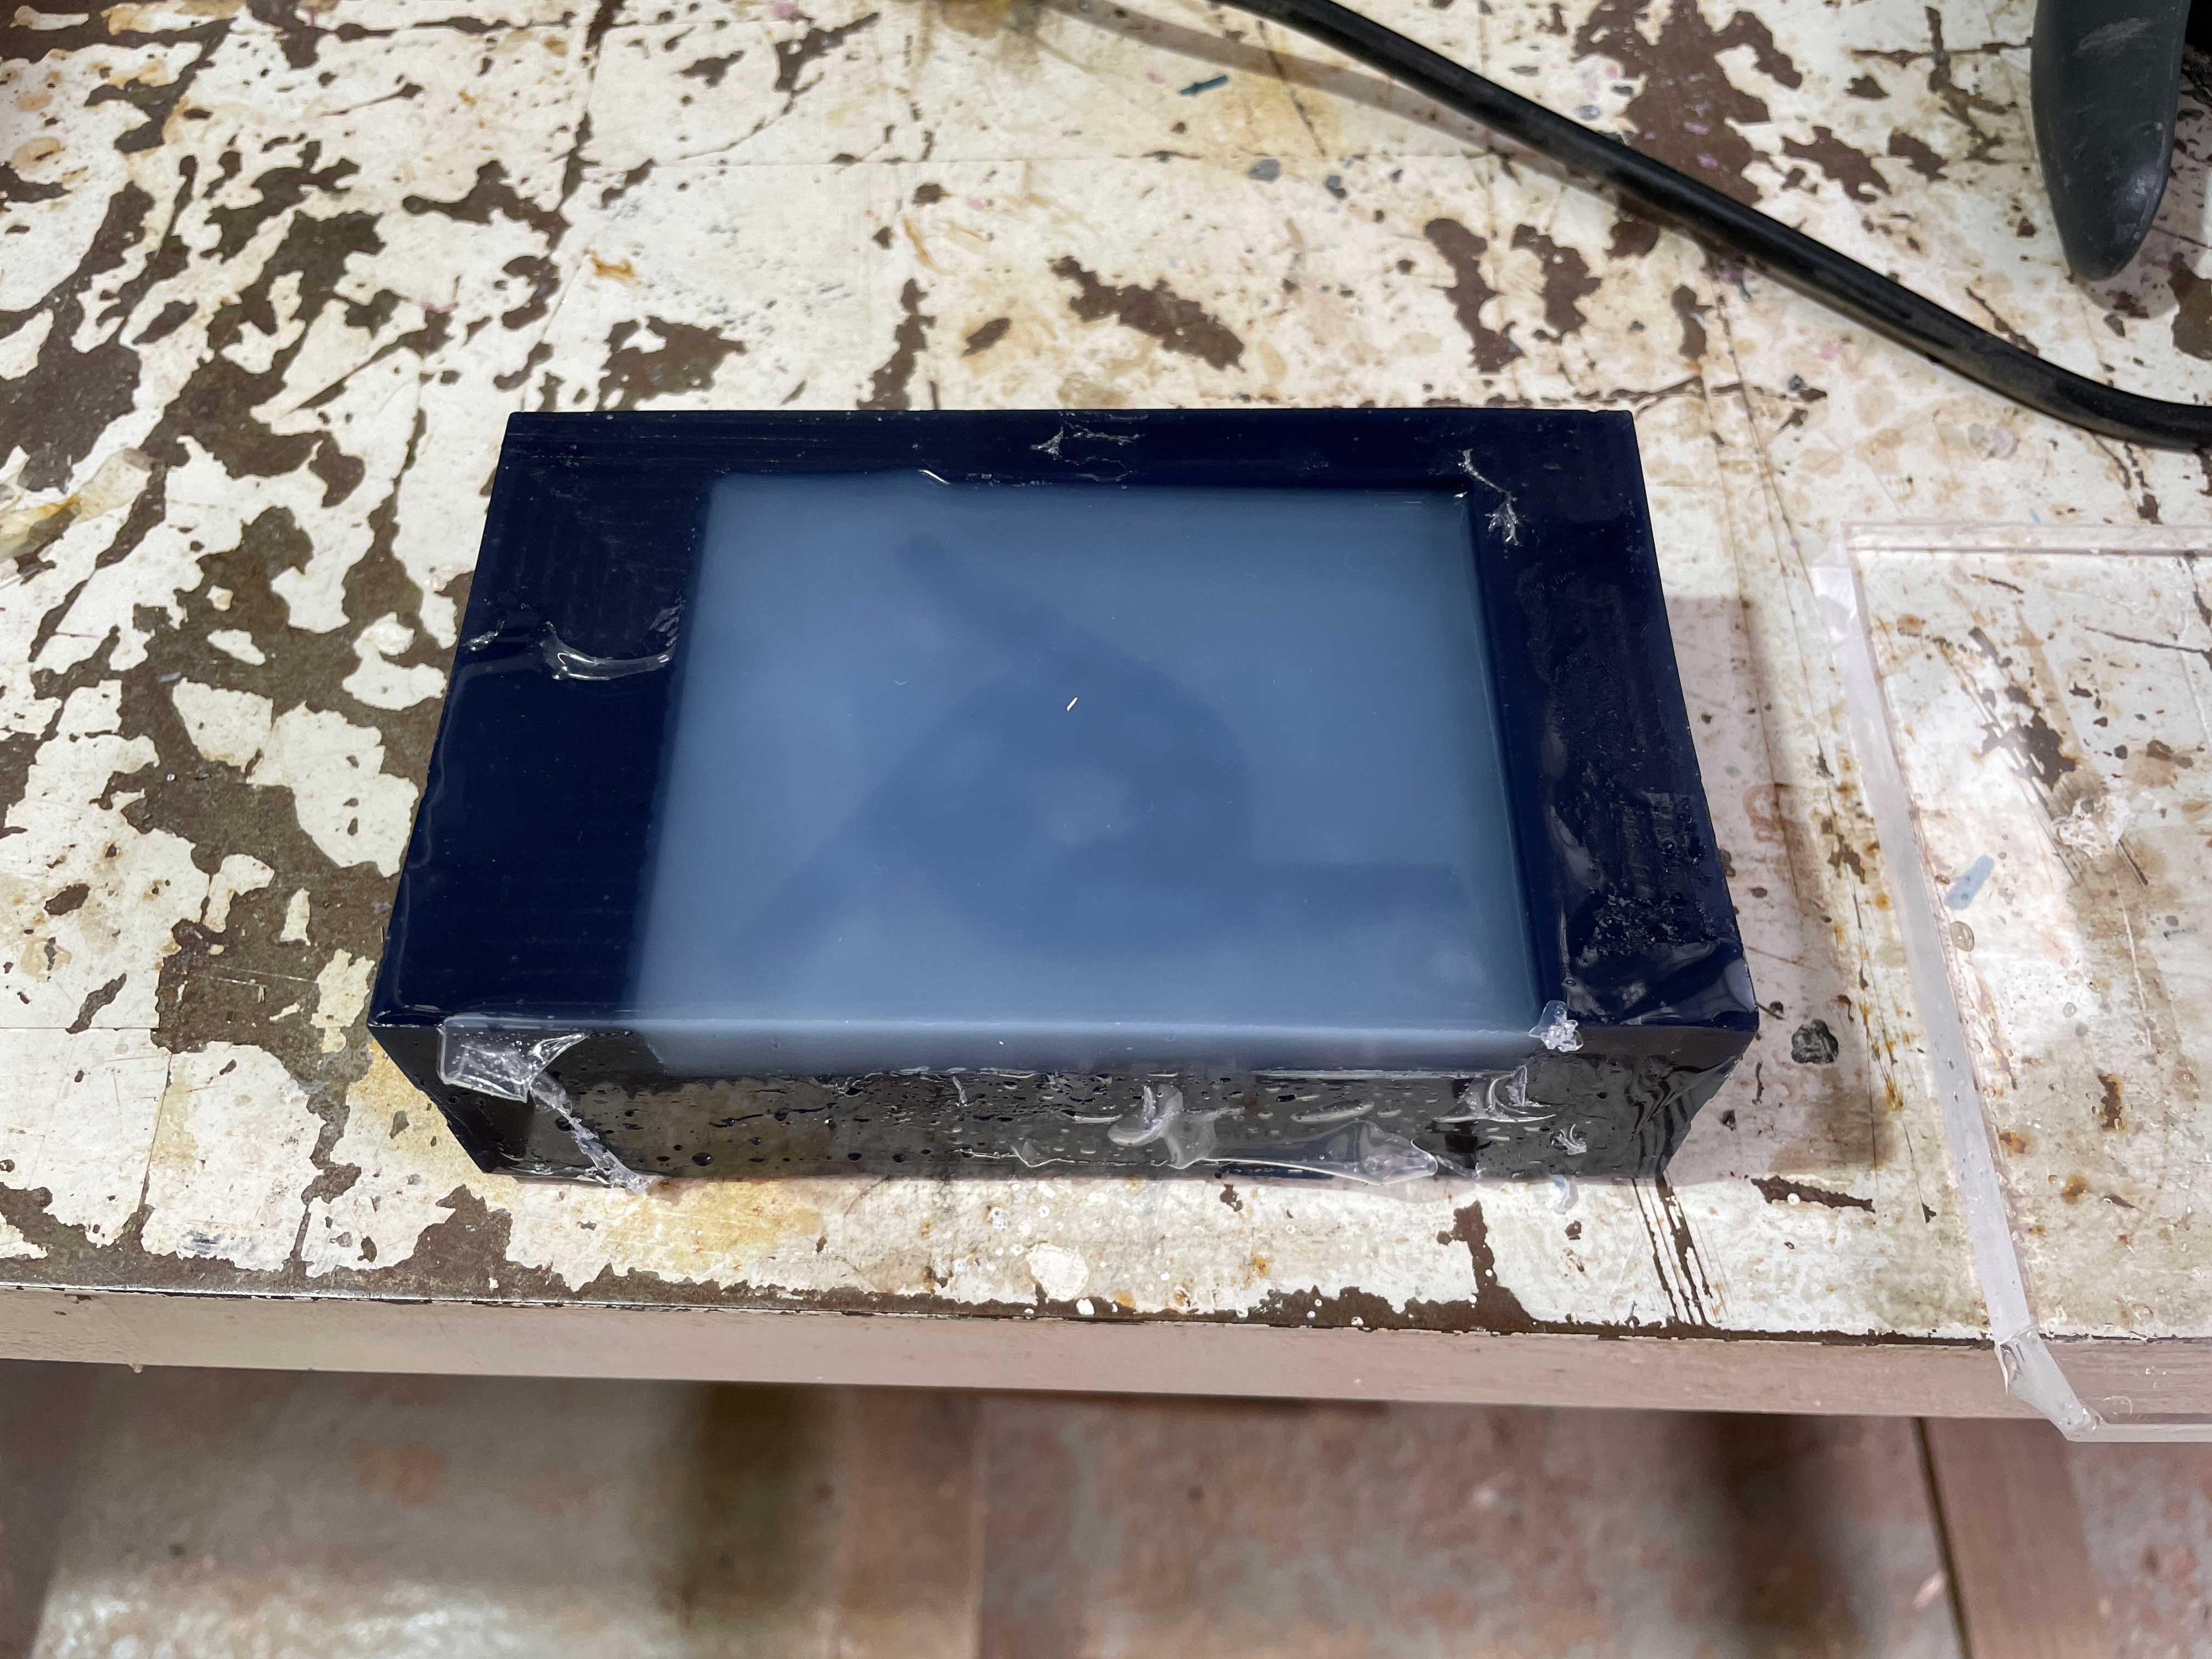
The curing went well. Some of the mix had spread on the surface of the wax, perhaps because the block was not completely flat because of the clamps. Some of it also passed though the acrylic plate. Nevertheless, the mould turned out great.
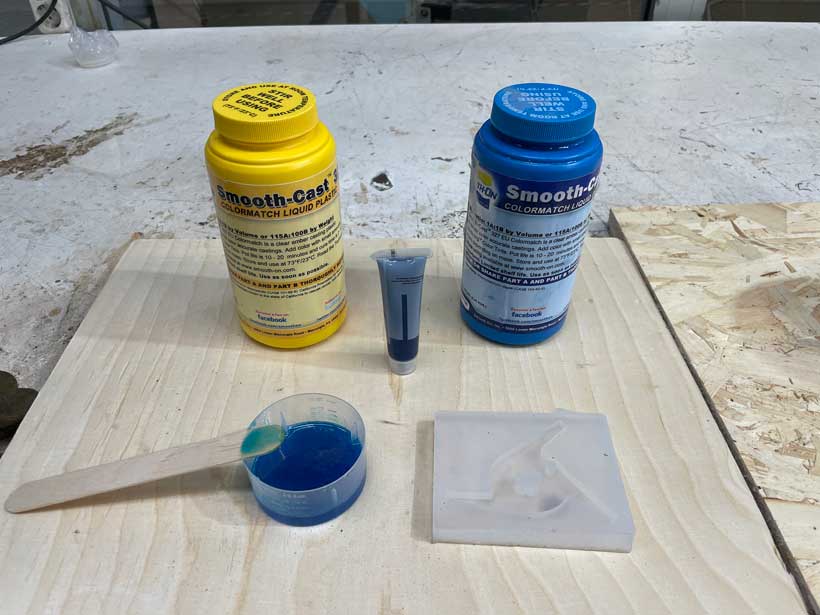
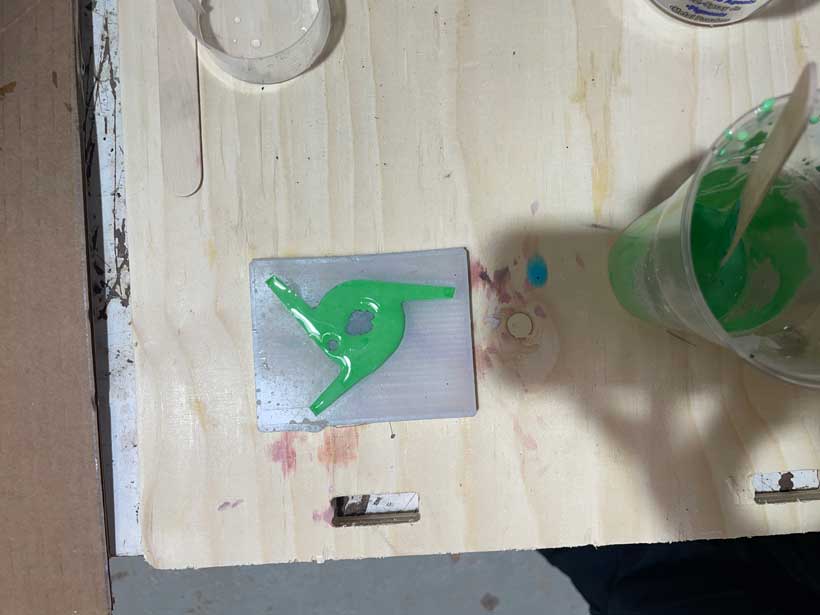
Liquid Plastic - Smoothcast 327
For the first test, I used smooth-On’s smoothcast 327, a fast-cast resin that can be used with color pigments. I followed the instructions outlined on the product’s web-page.
- Mix Ratio by volume : 1A=1B
- Pot Life : 20 minutes
- Cure Time : 4 hours
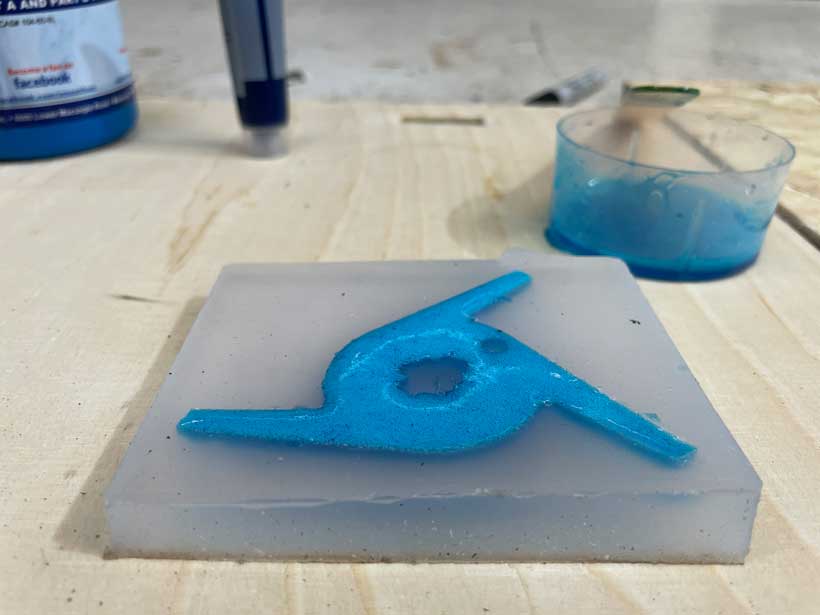
I respected the above and added a few drops of navy blue paint, mixing with a flat piece of wood for about 15 mins. I then poured the resulting liquid into the silicone mould and let it cure for four hours.
As I checked the curing’s progress, I noticed that a lot of bubbles were forming at the surface. As time went on, the number of bubbles in the mix increased, causing it to expand out of the mould. This was strange as the product’s datasheet specified that the mix might end-up shrinking not expanding.
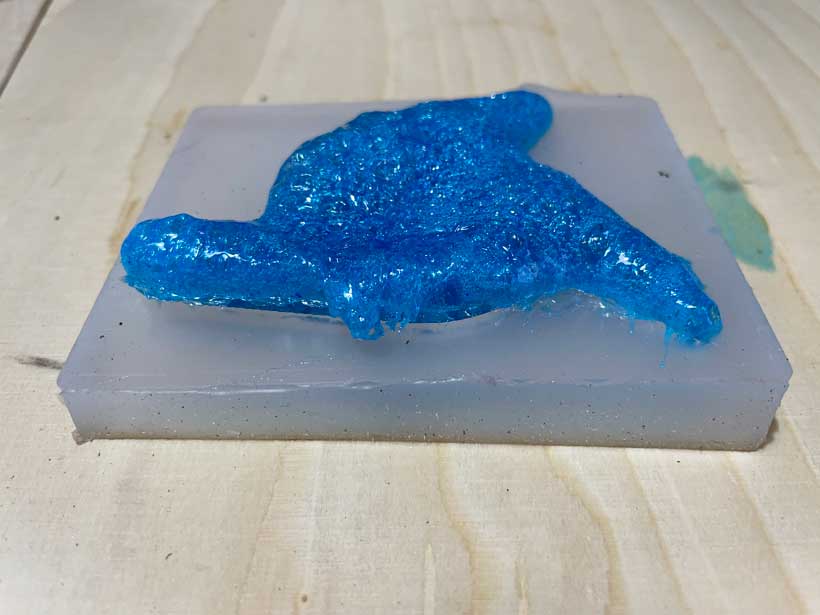
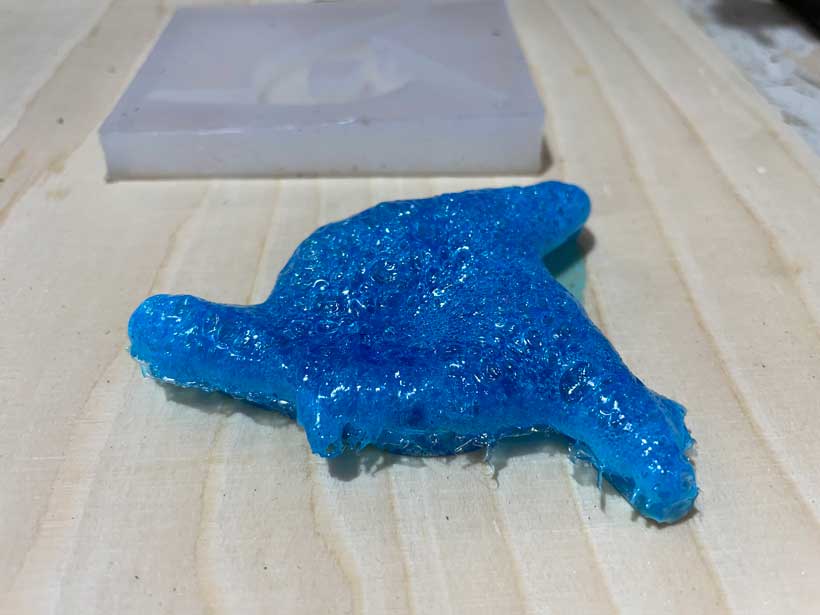
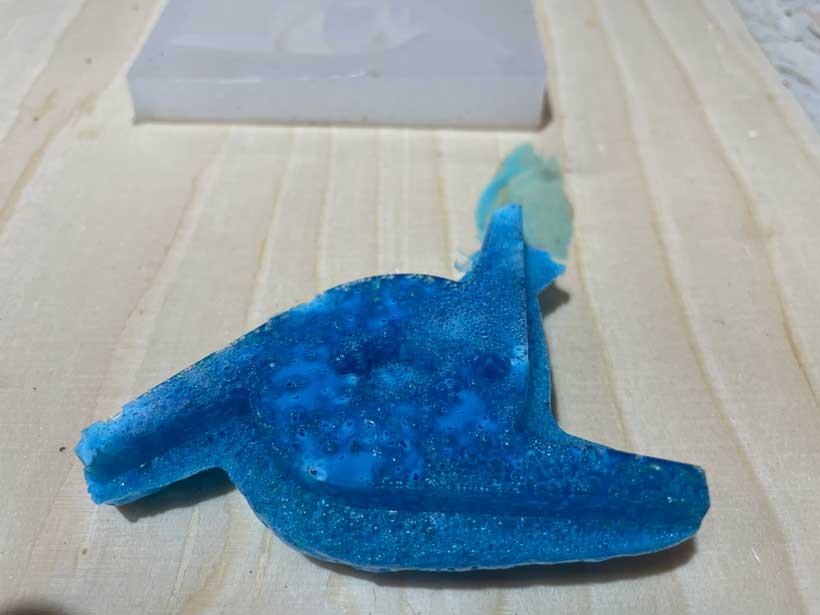
Having discussed this with my instructors, we came to the conclusion that this unexpected reaction is most probably due to the product’s limited shelf life. The Smoothcast 327 kit we had at the lab was over a year old and had been opened at the time. the components must have been altered since, causing the mix to react as it did.
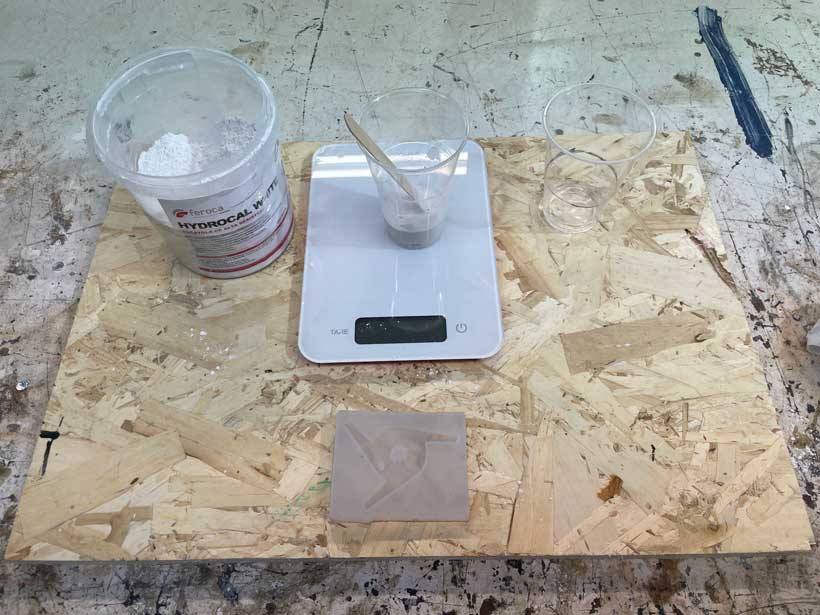
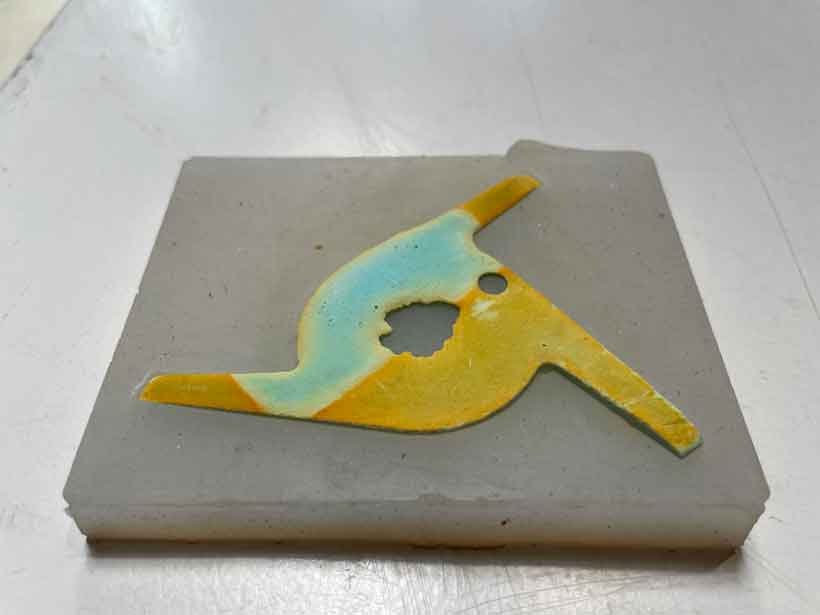
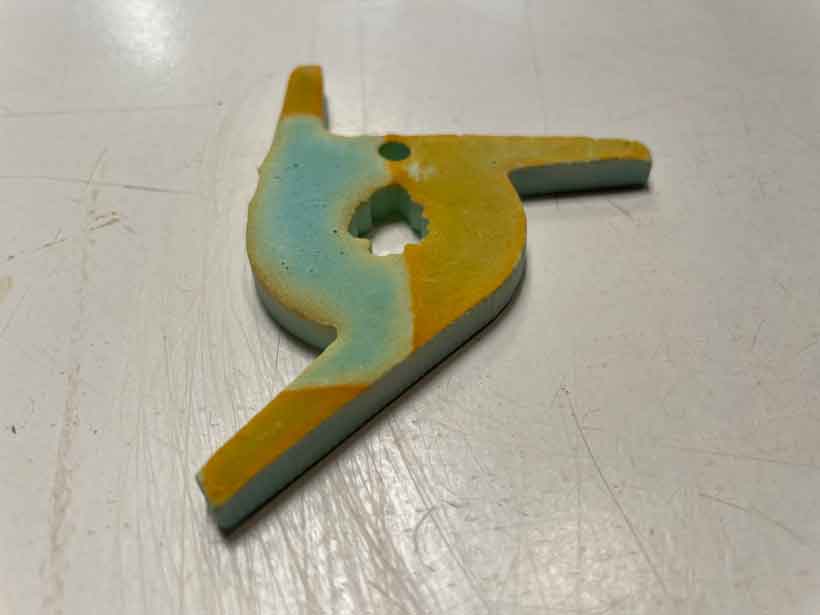
Plaster Cement - Hydrocal White
I also tested Feroca‘s Hydrocal White, which can be used to produce plaster cement moulds. The preparation is relatively simple. Hydrocal’s is provided in the form of a white powder. Once mixed with water, it solidifies into a cement shape. According to the product’s datasheet, the mix must be made of 45 parts of water for 100 parts of hydrocal and has a pot time of 20 to 30 minutes. In other terms, for a specific mass of water, the equivalent of 45% of that mass in Hydrocal must be added to create an optimal mix. Colour pigments can also be added to the mix to produce coloured pieces.
From the tests I have made, I realised that the mixing ratios do not need to be exact. I believe that quantities of each component can be added until the desired viscosity is obtained. This helps in ensuring all parts of the mould are covered by the mix. I am not sure what effect this has on the curing time as nothing is specified in the product’s datasheet.
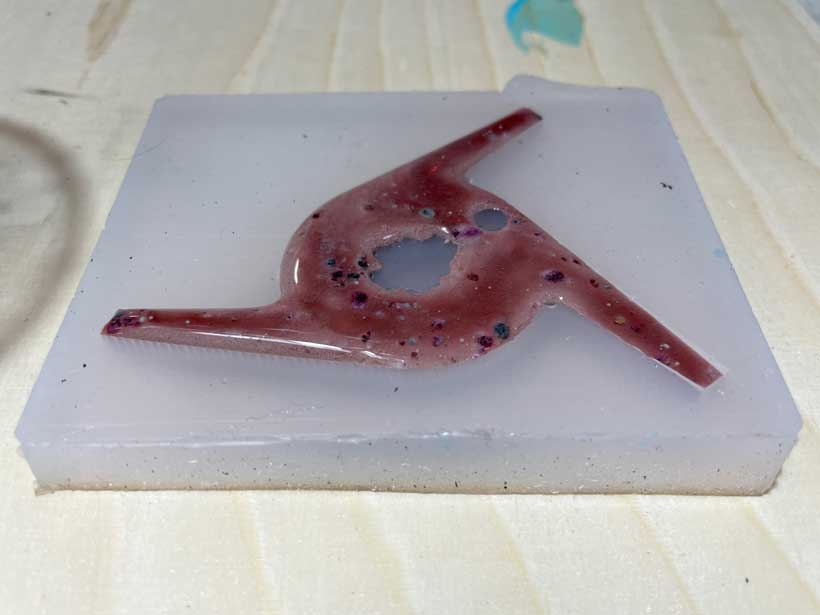
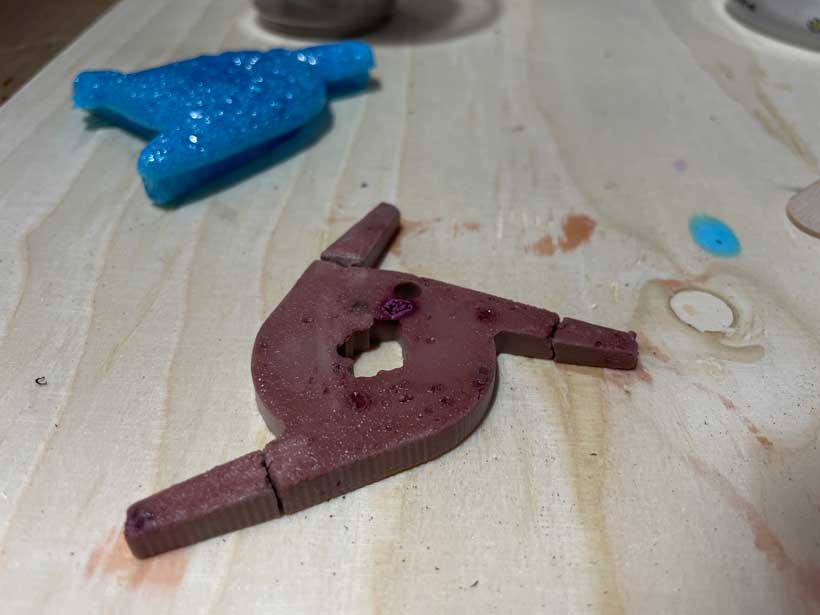
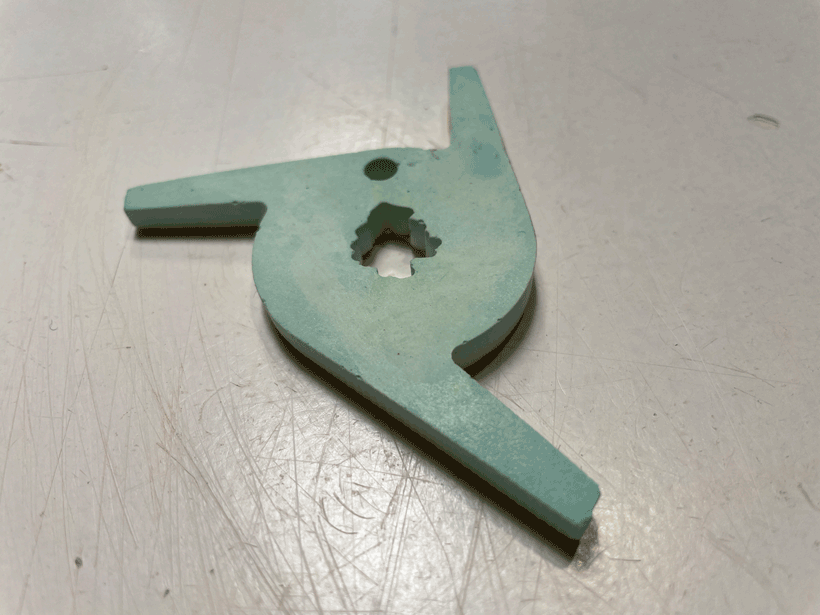
I made two batches of Hydrocal. One was to be cured for a short time, approximately one hour, and was mixed with red and purple pigments. The other was allowed to cure for more than 12 hours and was mixed with green pigments. The idea here was to determine how much effect the curing time had on the object’s resistance to structural failure. The first test failed as soon as I took it out of the mould. The three “arms” fell of and showed that the material was not completely dry at its core. As for the second test, the long curing time proved to be beneficial. While the test did gather some impurities on its surface, it had a much smoother finish and felt much sturdier than the first. To be precise, it wasn’t moved from the mold for more than two weeks as it was moved from its original position and I wasn’t able to find it. The mix therefore had all the time it needed to settle and create robust internal structure.
Missing Pictures
D. Summary
Notes on moulding and Casting
In short, I didn’t accomplish what I set out to do, which was to produce an accessory for my keychain. I still managed to create some morphed shape, which I guess is better than nothing. On a personal level, I am glad so many things went wrong. I am not used to making physical objects as my work up until now was limited to the computer screens where it is much easier to mitigate the impact of errors of inattention. In contrast, working with physical materials to produce permanent shapes requires great attention to detail, which I definitely lack. I have made similar mistakes during the CNC week, which shows that it is something I need to work on :).
What went wrong
- Milling - wax block dimensions were not measured properly.
- Smoothcast kit was past its “expiry date” and produced a bad cast.
- Short curing Hydrocal test broke
What I learned
- General processes for moulding and Casting
- Producing physical objects requires patience and attention to detail, which I do not have. Yet.
II. Group Assignment
Please refer to Adrien Laveau’s comprehensive documentation.
Files
hide: - navigation # Hide navigation - toc # Hide table of contents