Ninth Week

Ninth
class


Ninth class at Fab Academy and this time they gave us a week break, for sure it would have been much more useful if there were no holidays since in Lima Peru there was a total curfew during Holy Week, but at least it has also allowed us to take a break from the intense pace we are living with this diploma. In my case unfortunately I had to stay at home and work remotely because a relative at home has a case of covid, as a precaution and care of my teammates I did not approach them for more than a week, then I did a COVID test and happily I came out negative, after that I could meet and continue working in our new space DETONADOR.💪


Exploration

My experience

A new learning experience


This week I was really looking forward to it, I knew it would be a challenge but I never really imagined I would get to build something this crazy. With the Fab Lab Peru team we chose to do a project that we had been thinking about for a while, in 2019 we wanted to provide a different experience to people traveling to Lima Peru, one of the most outstanding things in Peru is the food so we thought of giving a unique experience to people who came to try the typical Peruvian dishes, as it could not be only a conventional experience we decided to use technology to our advantage and create a machine that prepares these dishes. As a conclusion we chose a dish called "Causa Limeña", this historical dish in our city is a mixture of history and flavor since its creation was 200 years ago as a result of the fight for our independence. What better invention for this bicentennial? A causa machine! 🤩
Here is a little bit of my exploration and progress this week.

First step


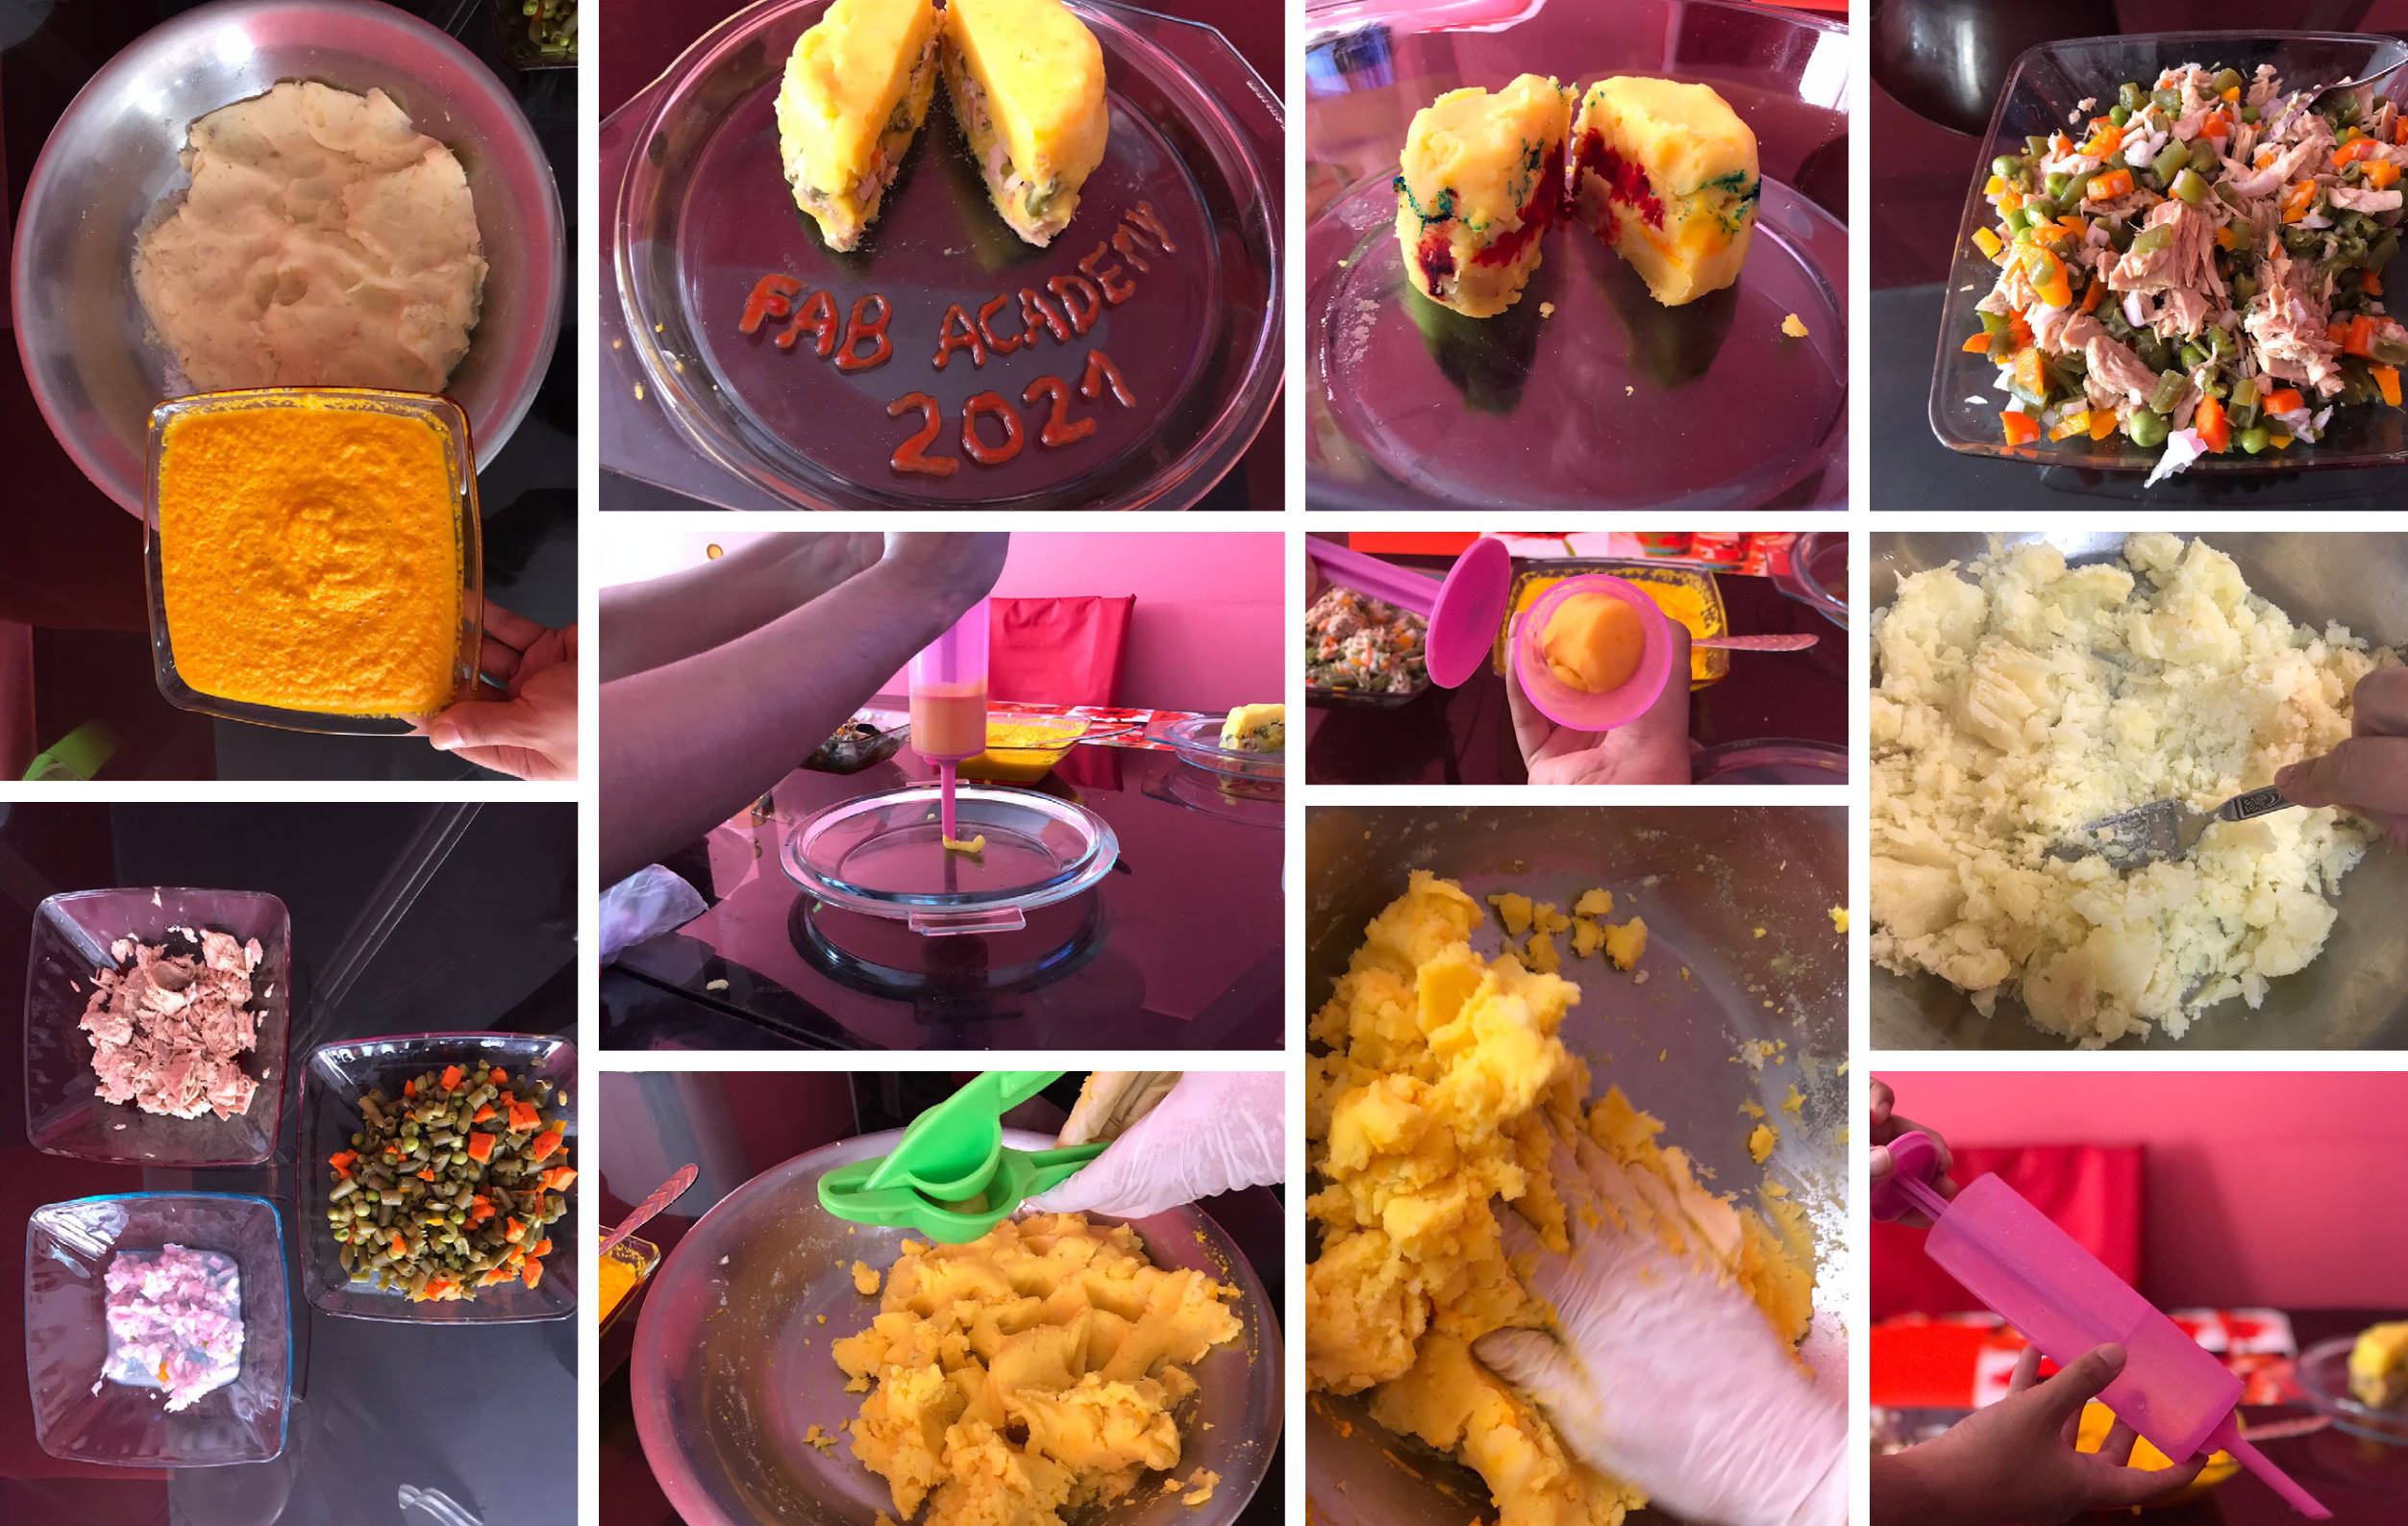
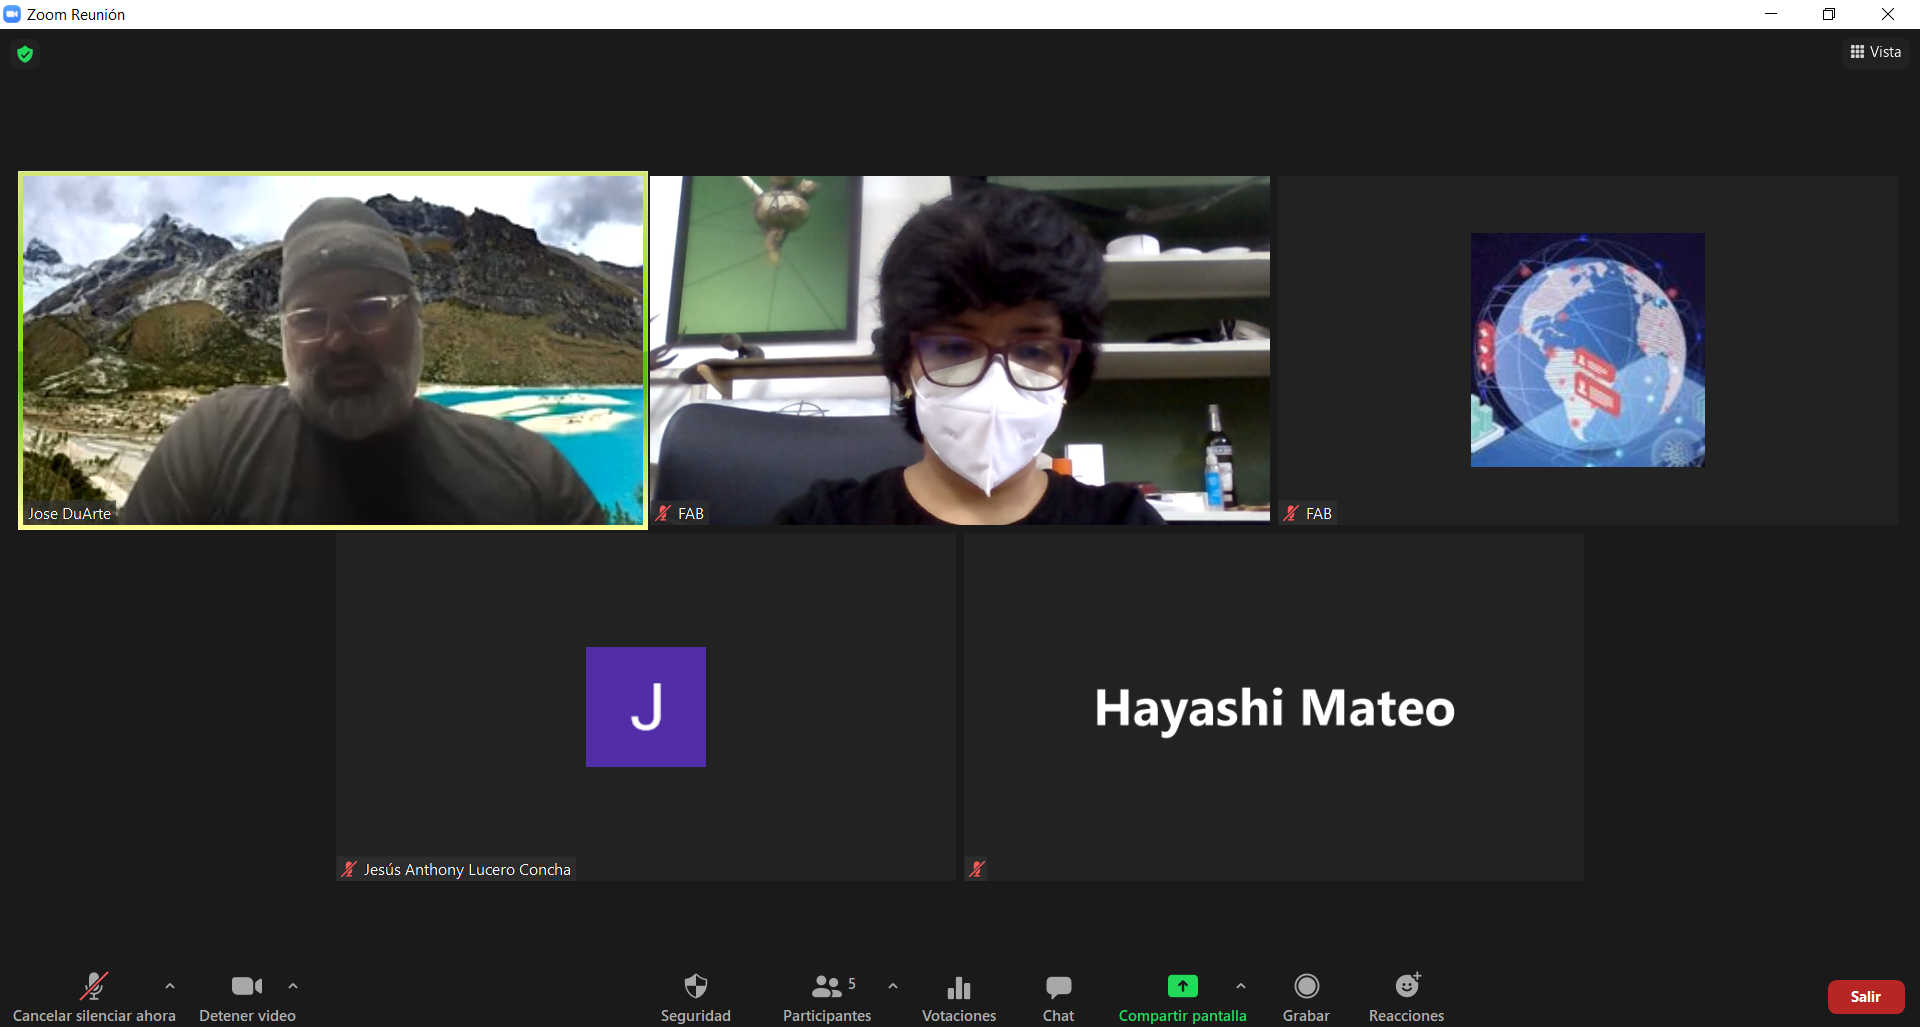
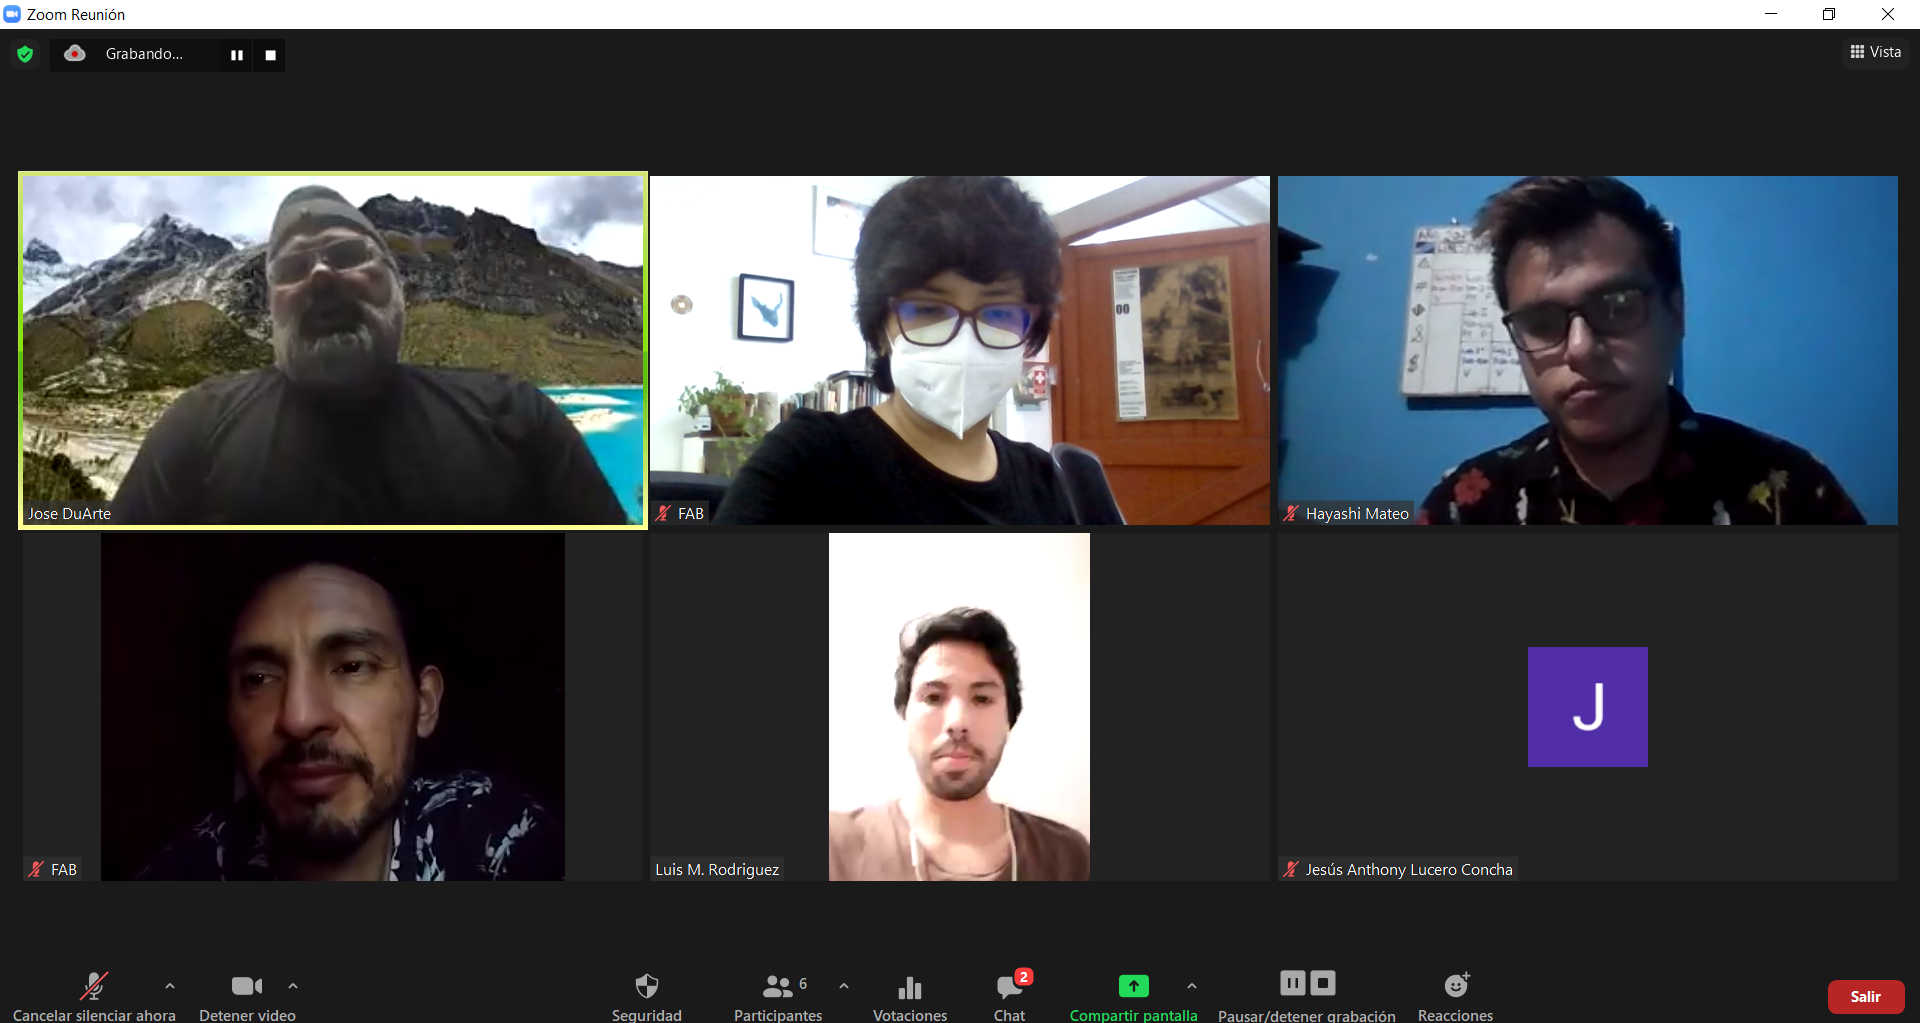
Before starting with the individual explorations of the material we had some meetings with José Duarte, he is a well known Peruvian Chef who really had a lot to tell us about this well known Peruvian dish. It was a lot of fun to meet him and learn as I in particular was not yet very clear on how to go about preparing a causa that would be suitable to be served with a machine. Below I will show an exploration I did.
´


Meeting


Meeting


First we mash the potato


We use some lemons


We boil some vegetables


Mix the vegetables with tuna


Blend yellow chili


Mix with your hands


Add lemon to the mixture


I used a homemade extruder


I put the potato dough


I pressed the piston


There was a lot of pressure to do


The texture of the potato was very coarse


First Conclusion


The first conclusion I had was that it would be very important to get a texture that is not so difficult to extrude, if this stayed like this it could make the motors work more than they should and that was not good. To achieve this trade-off we had a lot of explorations with the whole team and finally we came to the conclusion to use some different ingredients to make the dough lighter. As a first prototype I imagined that the cause would end up like the following pictures.😃


Machine


Machine


Machine


Machine


Electronic connections


Electronic connections


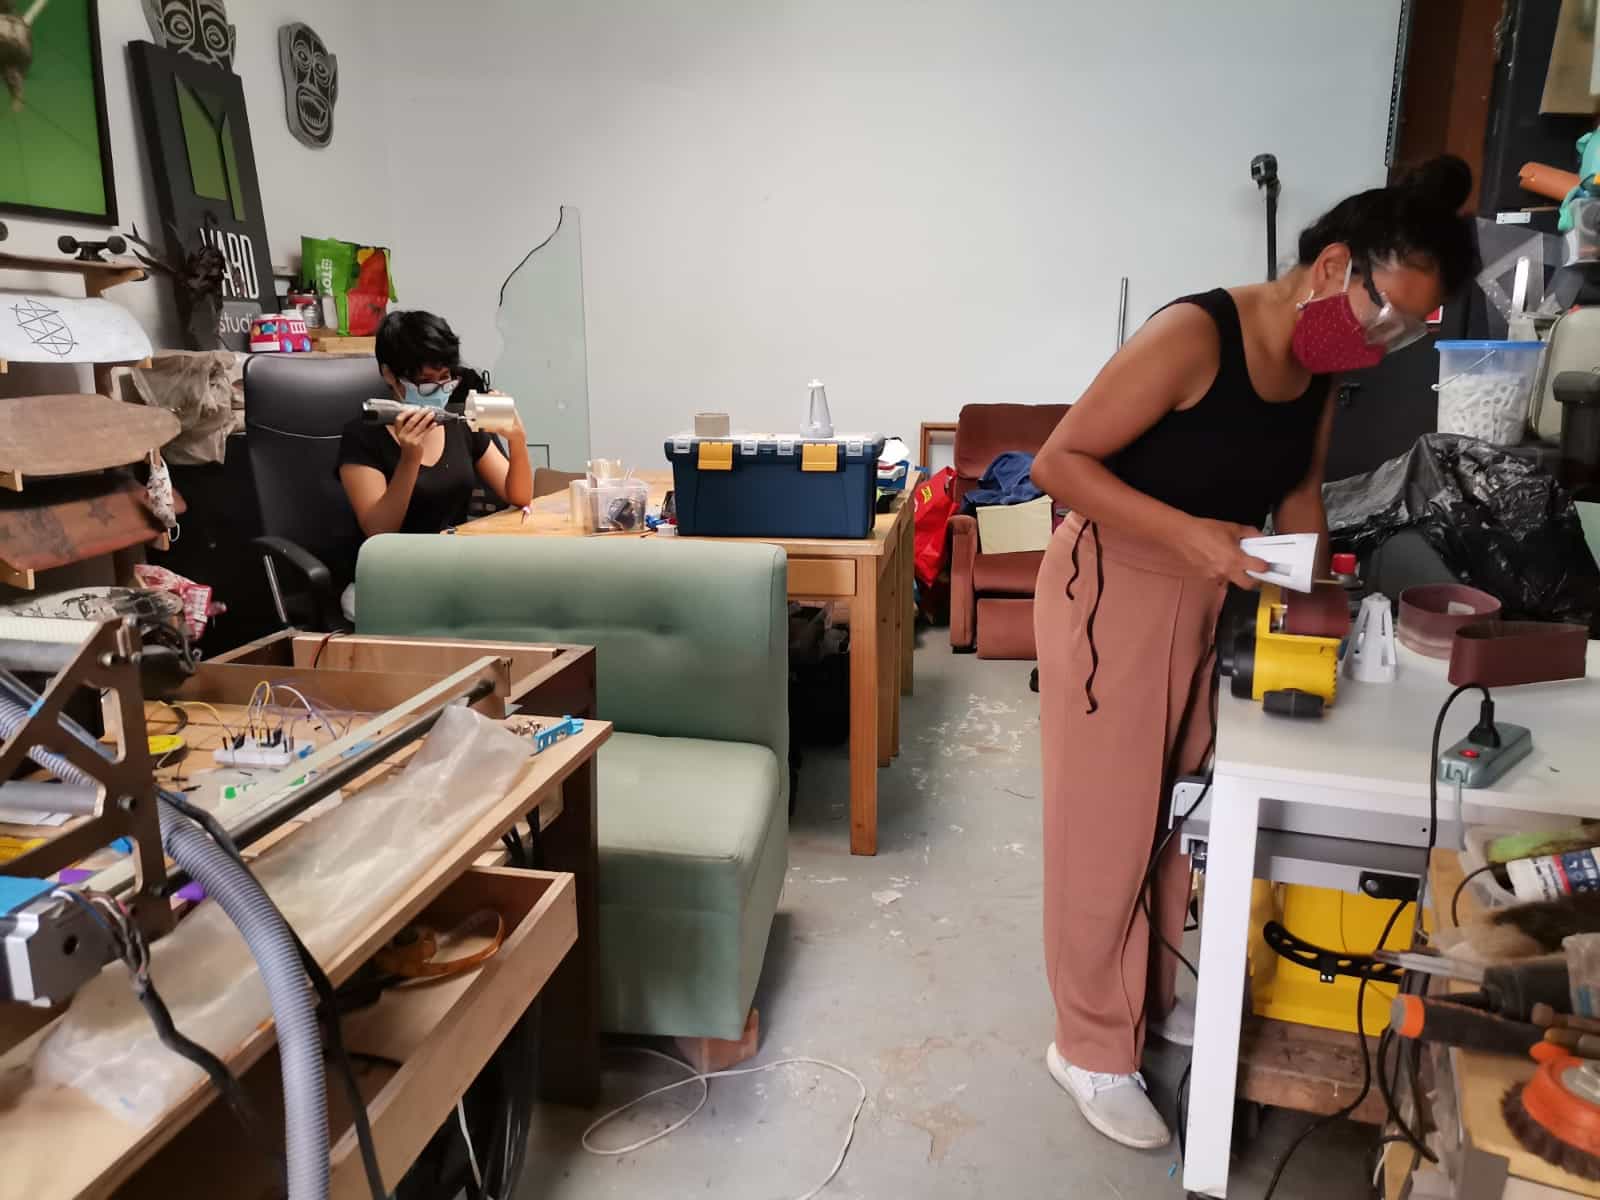
As this machine is quite old, we first had to get it to work, so we made some adjustments and revisions to both the mechanical and electronic parts. After many tests we managed to get it to respond to our computers. Here is a moment of happiness when I was able to control it from my laptop. 🤩
10

Assignment of the week

Grupal Assignment

As a team task we are asked to design a machine including mechanism, drive and automation, as a next step to build the mechanical parts and operate it manually. Additionally and as a way to demonstrate our individual work we must document our experience and contribution to the project.

Working at Detonador Art Lab

Grupal


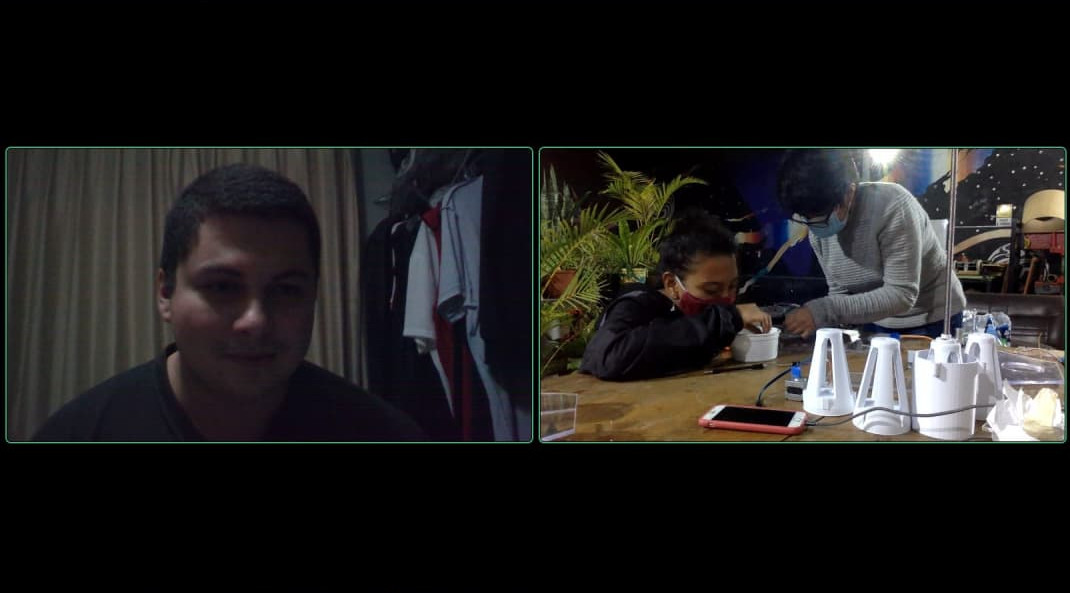
This week I moved to Barranco and we dedicated ourselves to process everything we had coordinated via Discord. The process started with the design by hand, then the design in digital, testing in 3D printing, purchase of electronic components and finally the assembly with laser cutting. Our team was divided in its functions but it was Stefany and I who were in charge of the total assembly of the machine since the others could not be present. I will now give an account of my interventions and progress, commenting on all the good and bad events during these days. In spite of all the inconveniences we managed to achieve our goal. 🥰


Virtual meeting


Design of the machine

First attempts


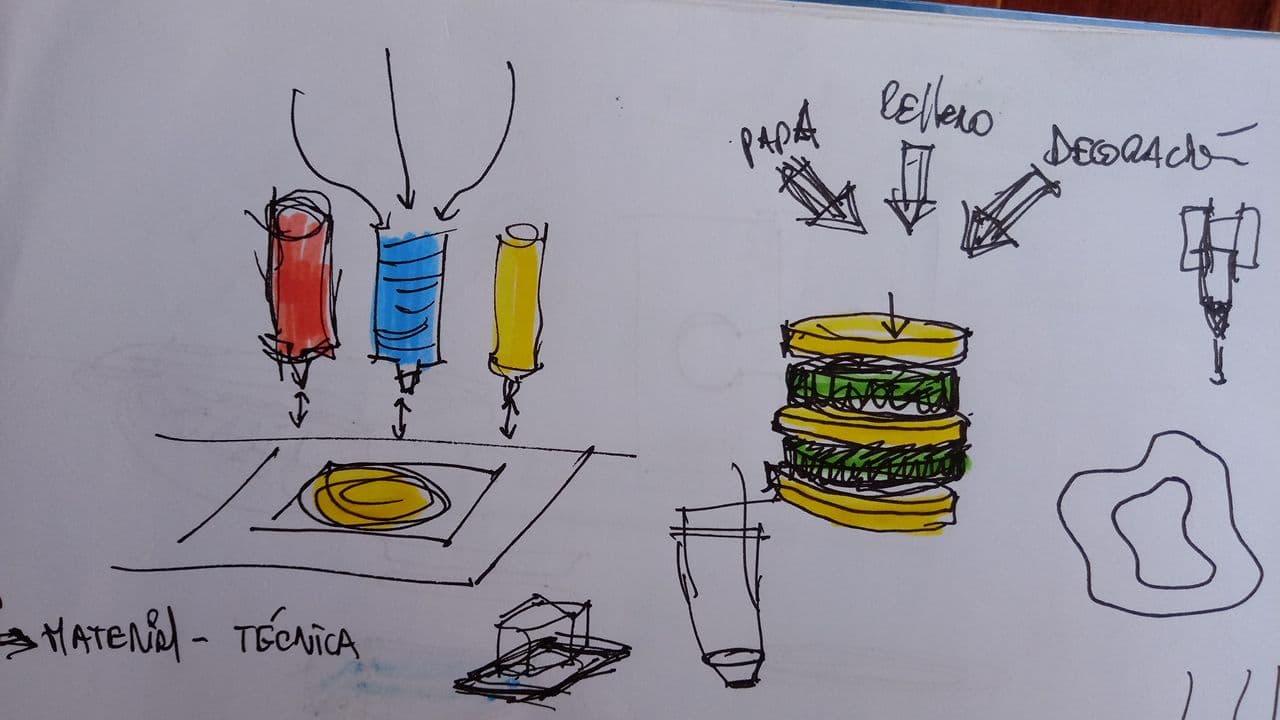
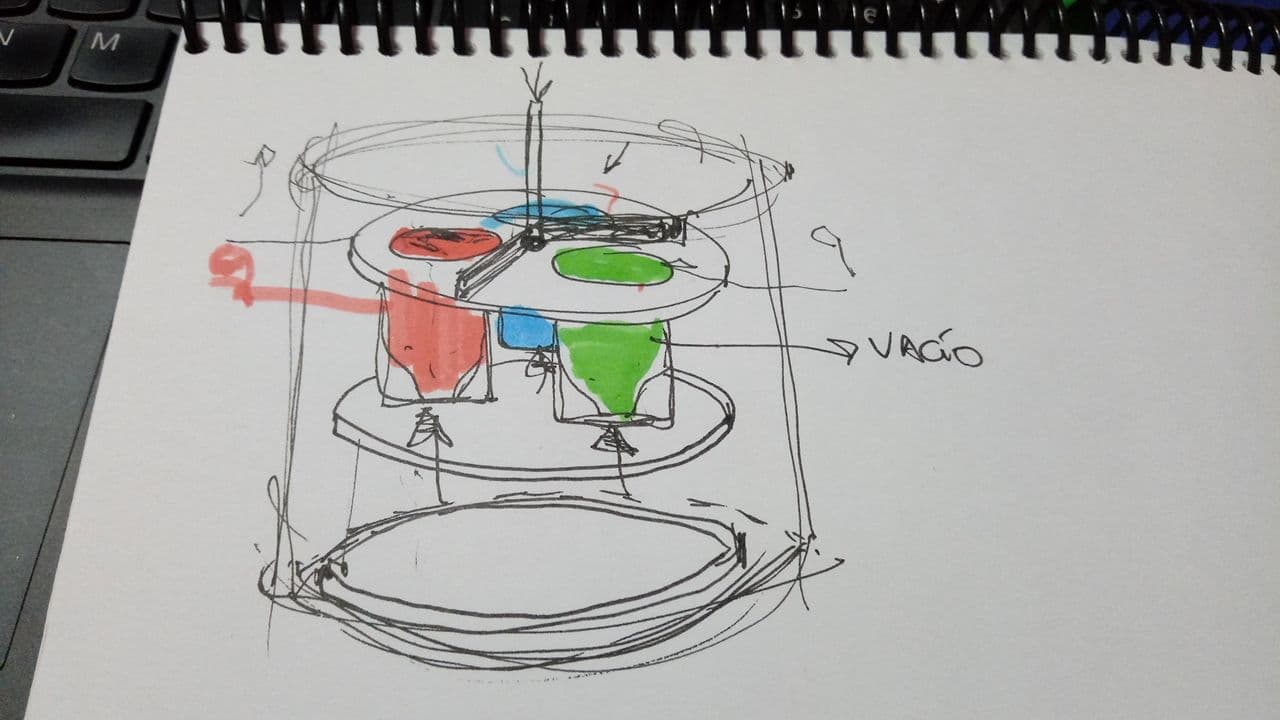
In my case I had many questions regarding the design, thanks to many consensuses with the team we started sketching both by hand and in 3D to better visualize our ideas, here I show some results of my personal explorations.


Thinking in the form of extrusion


With three extruders


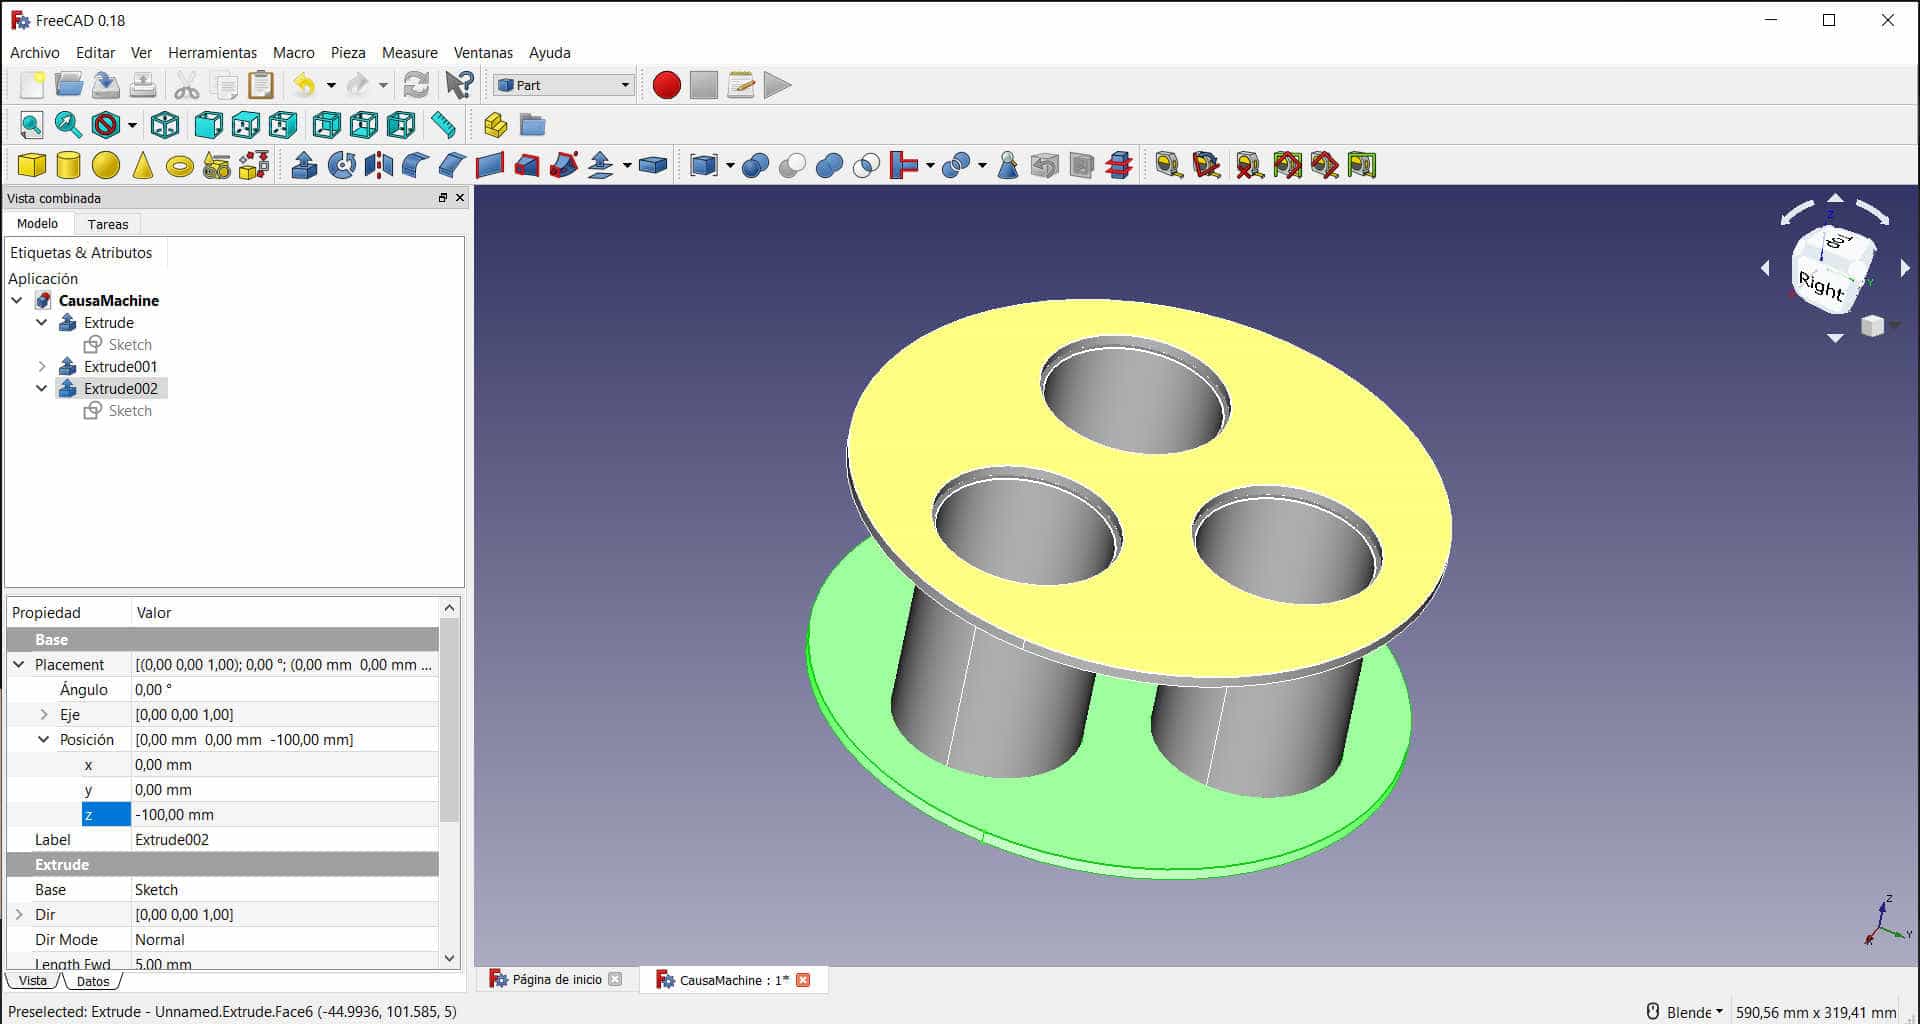
FreeCAD exploration


FreeCAD exploration


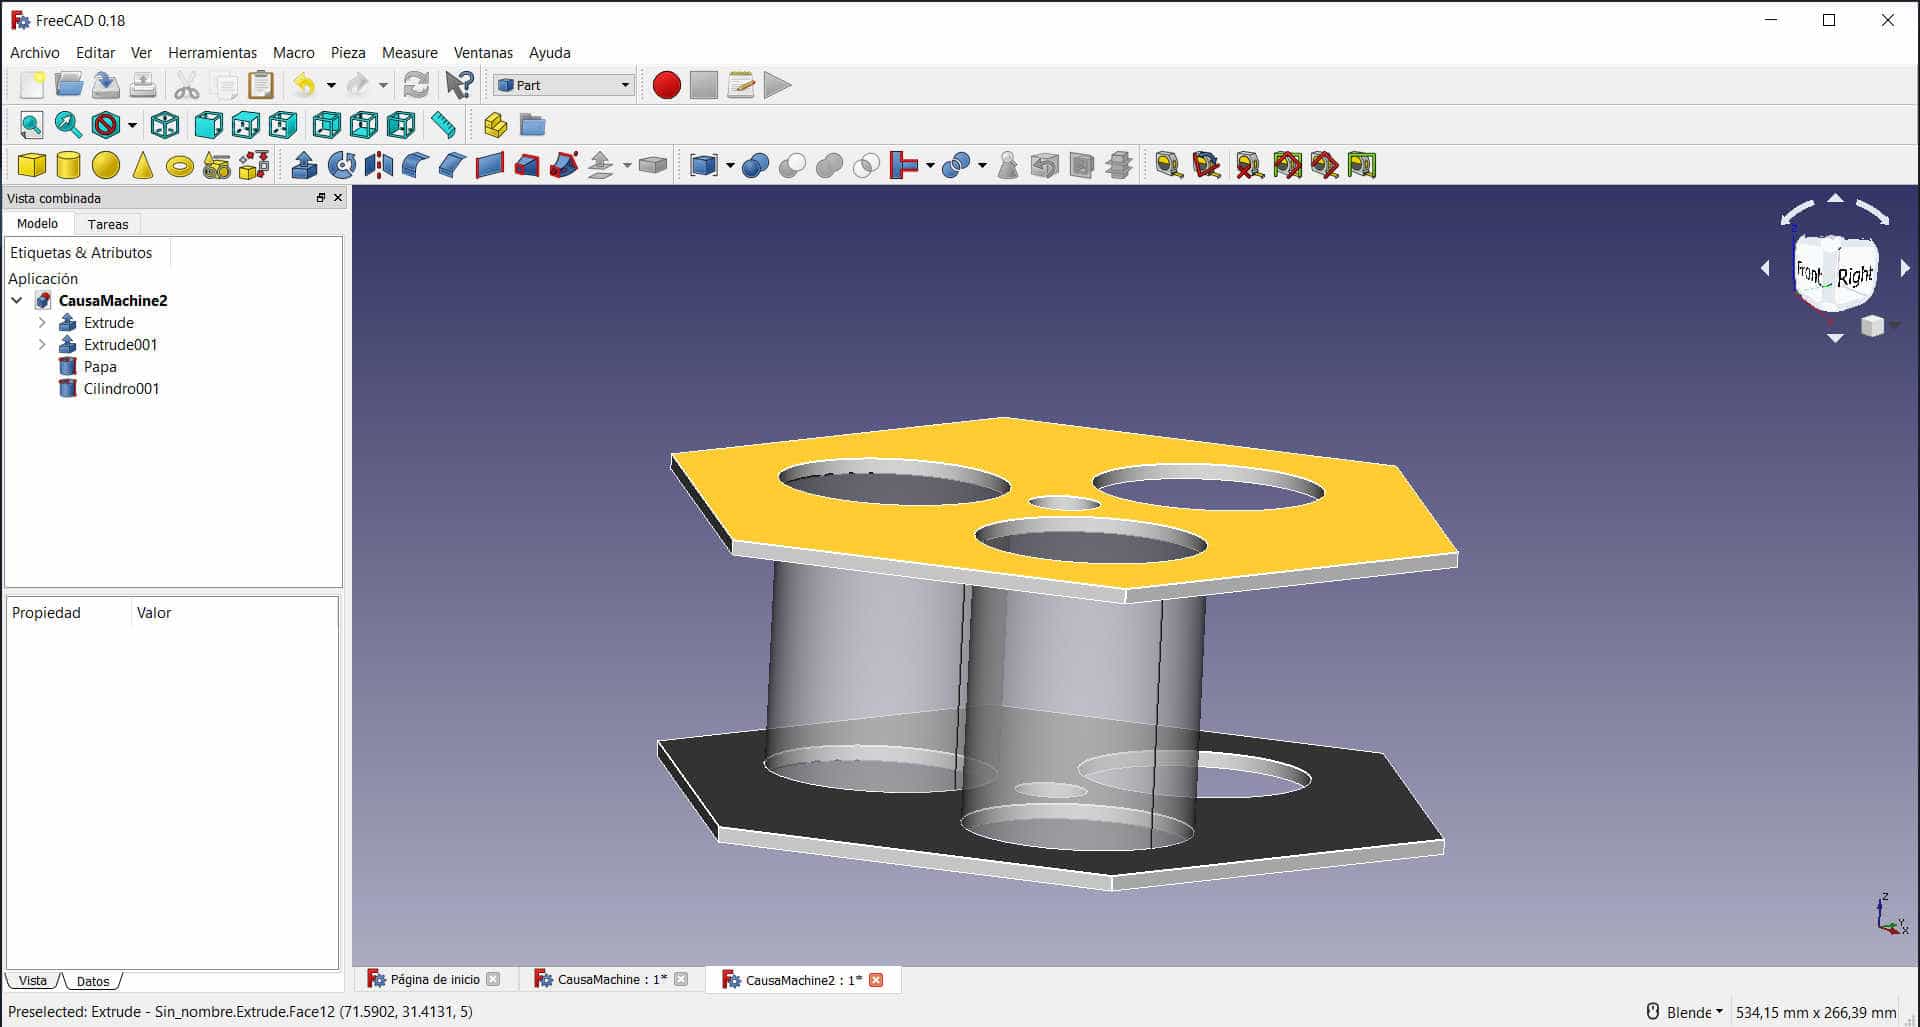
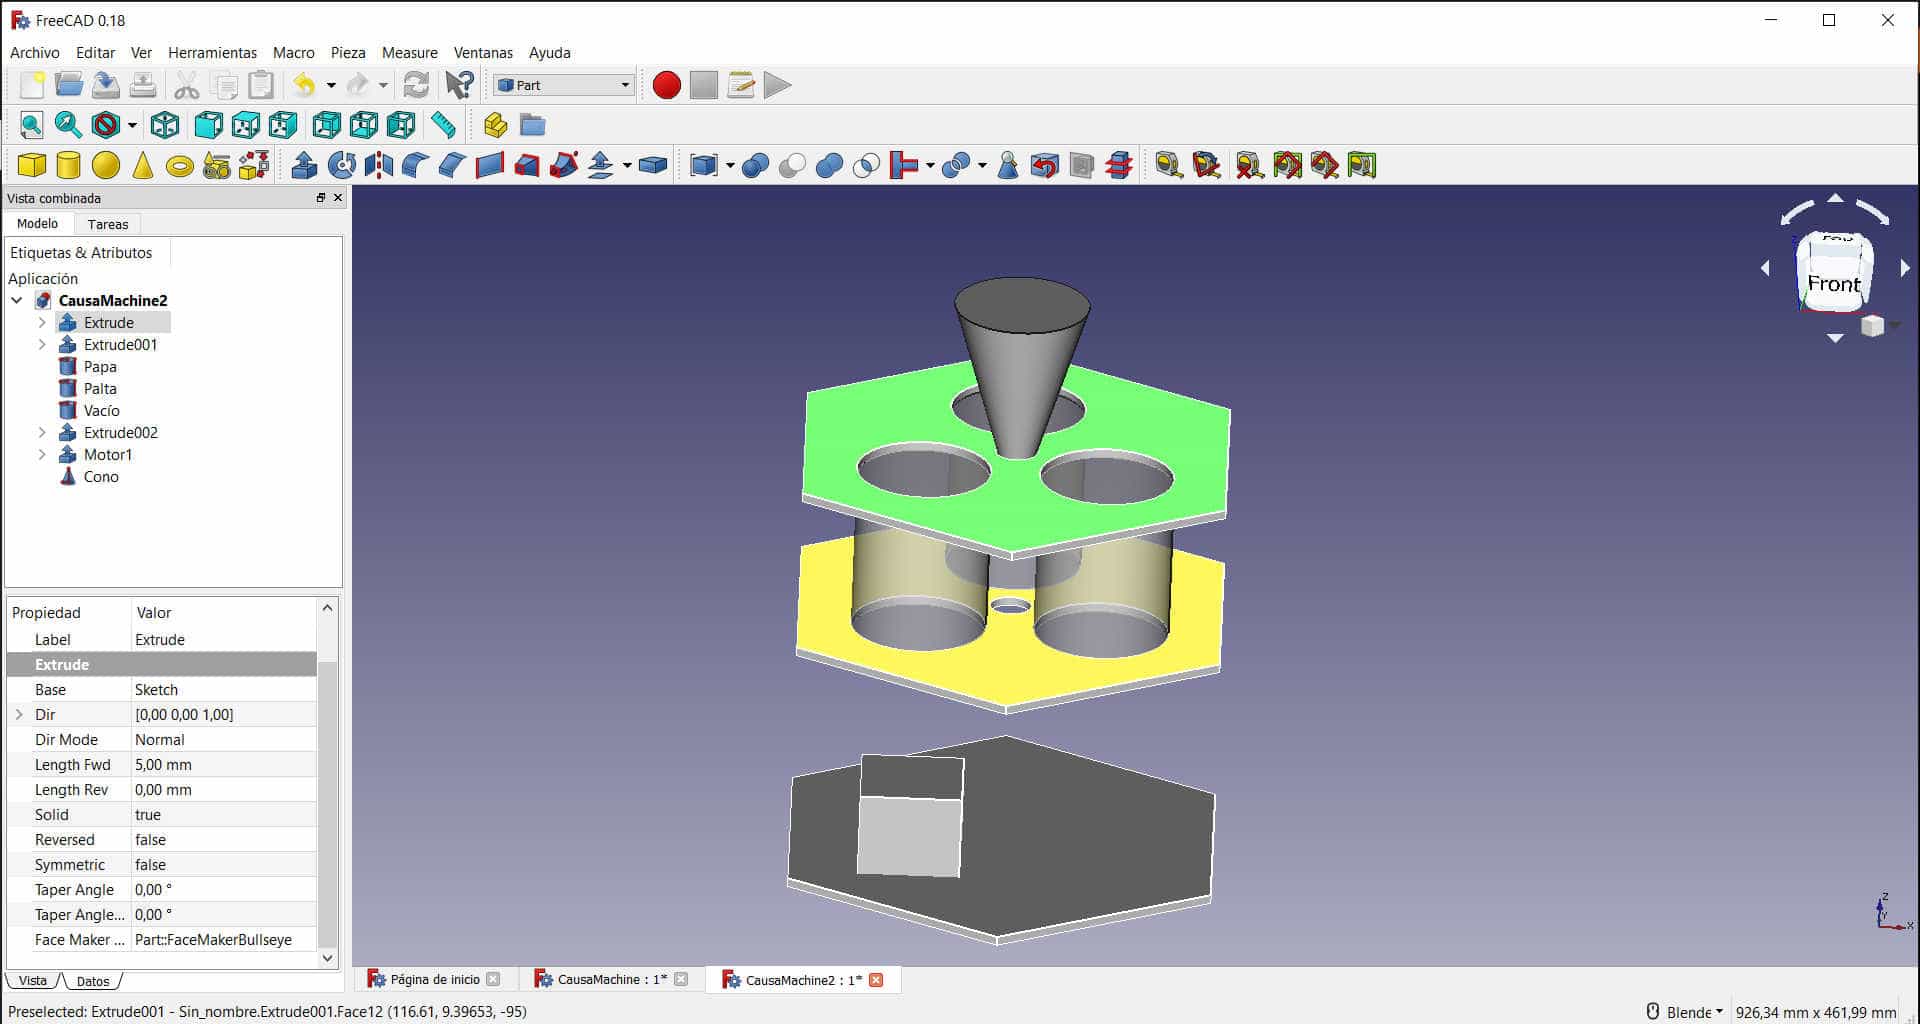
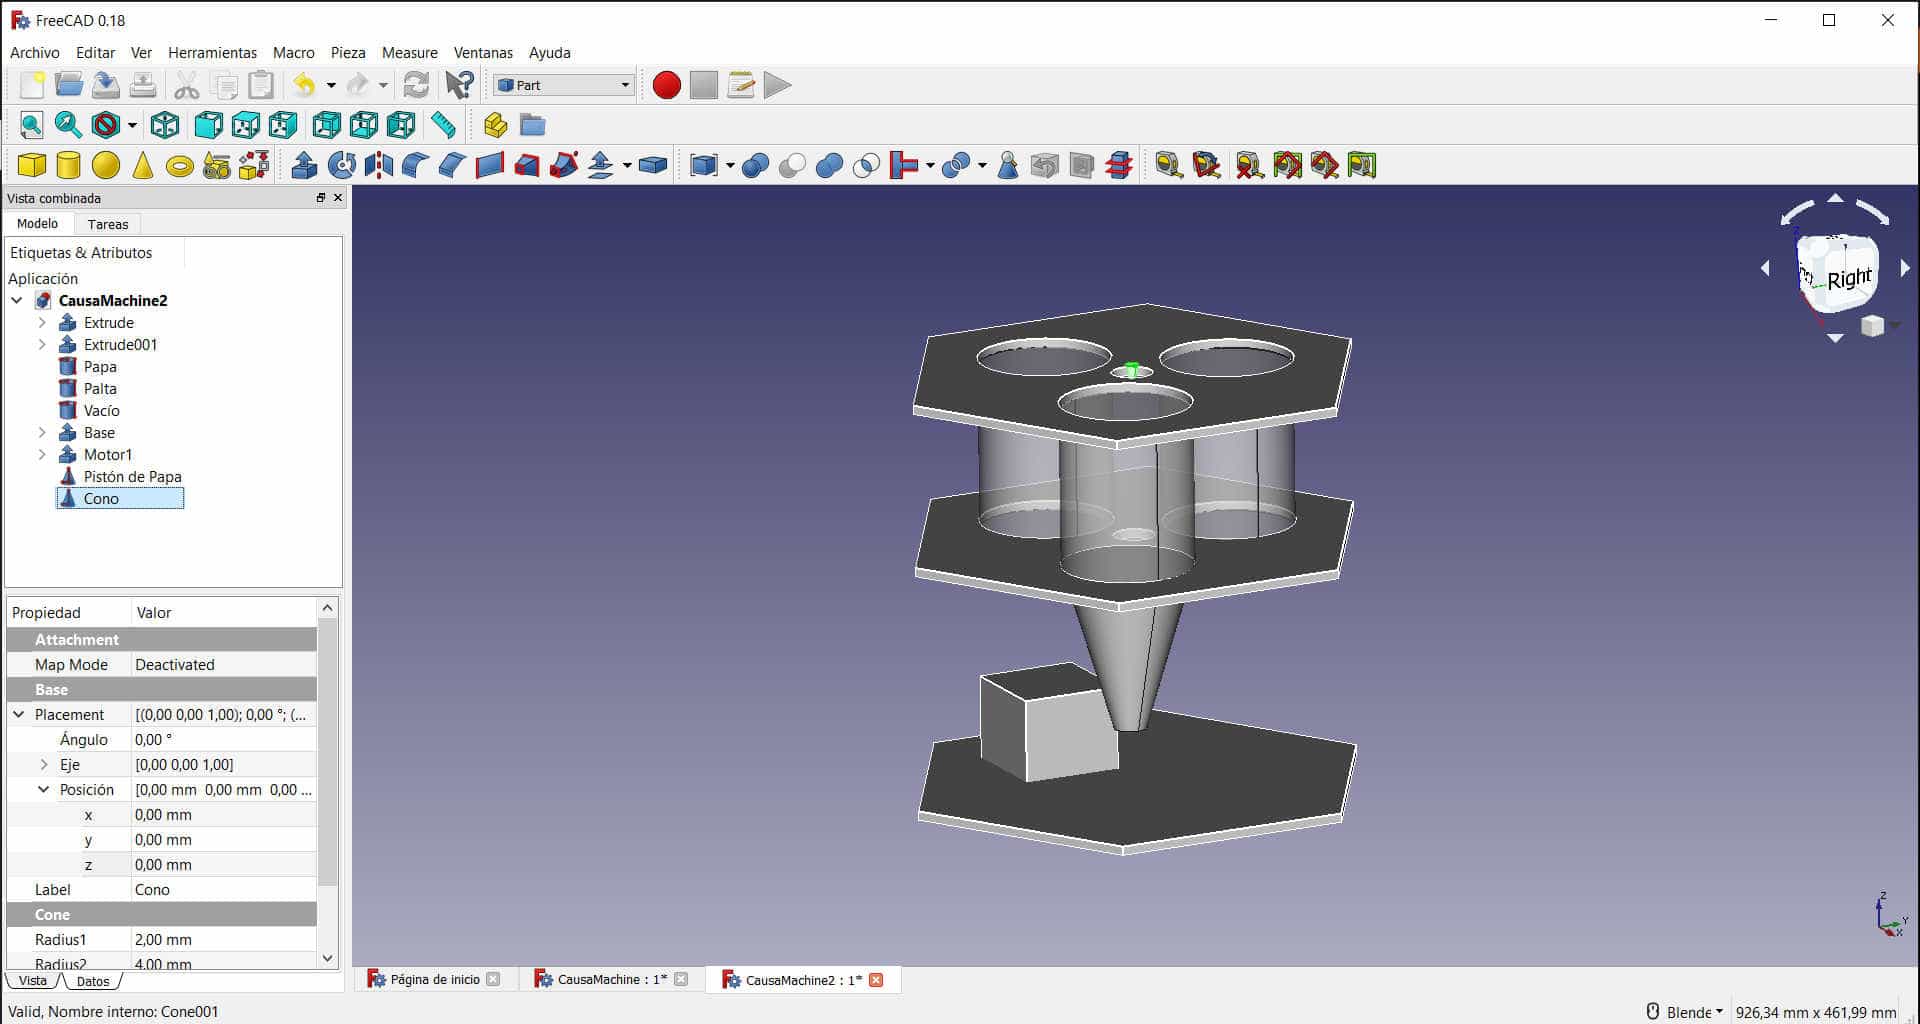
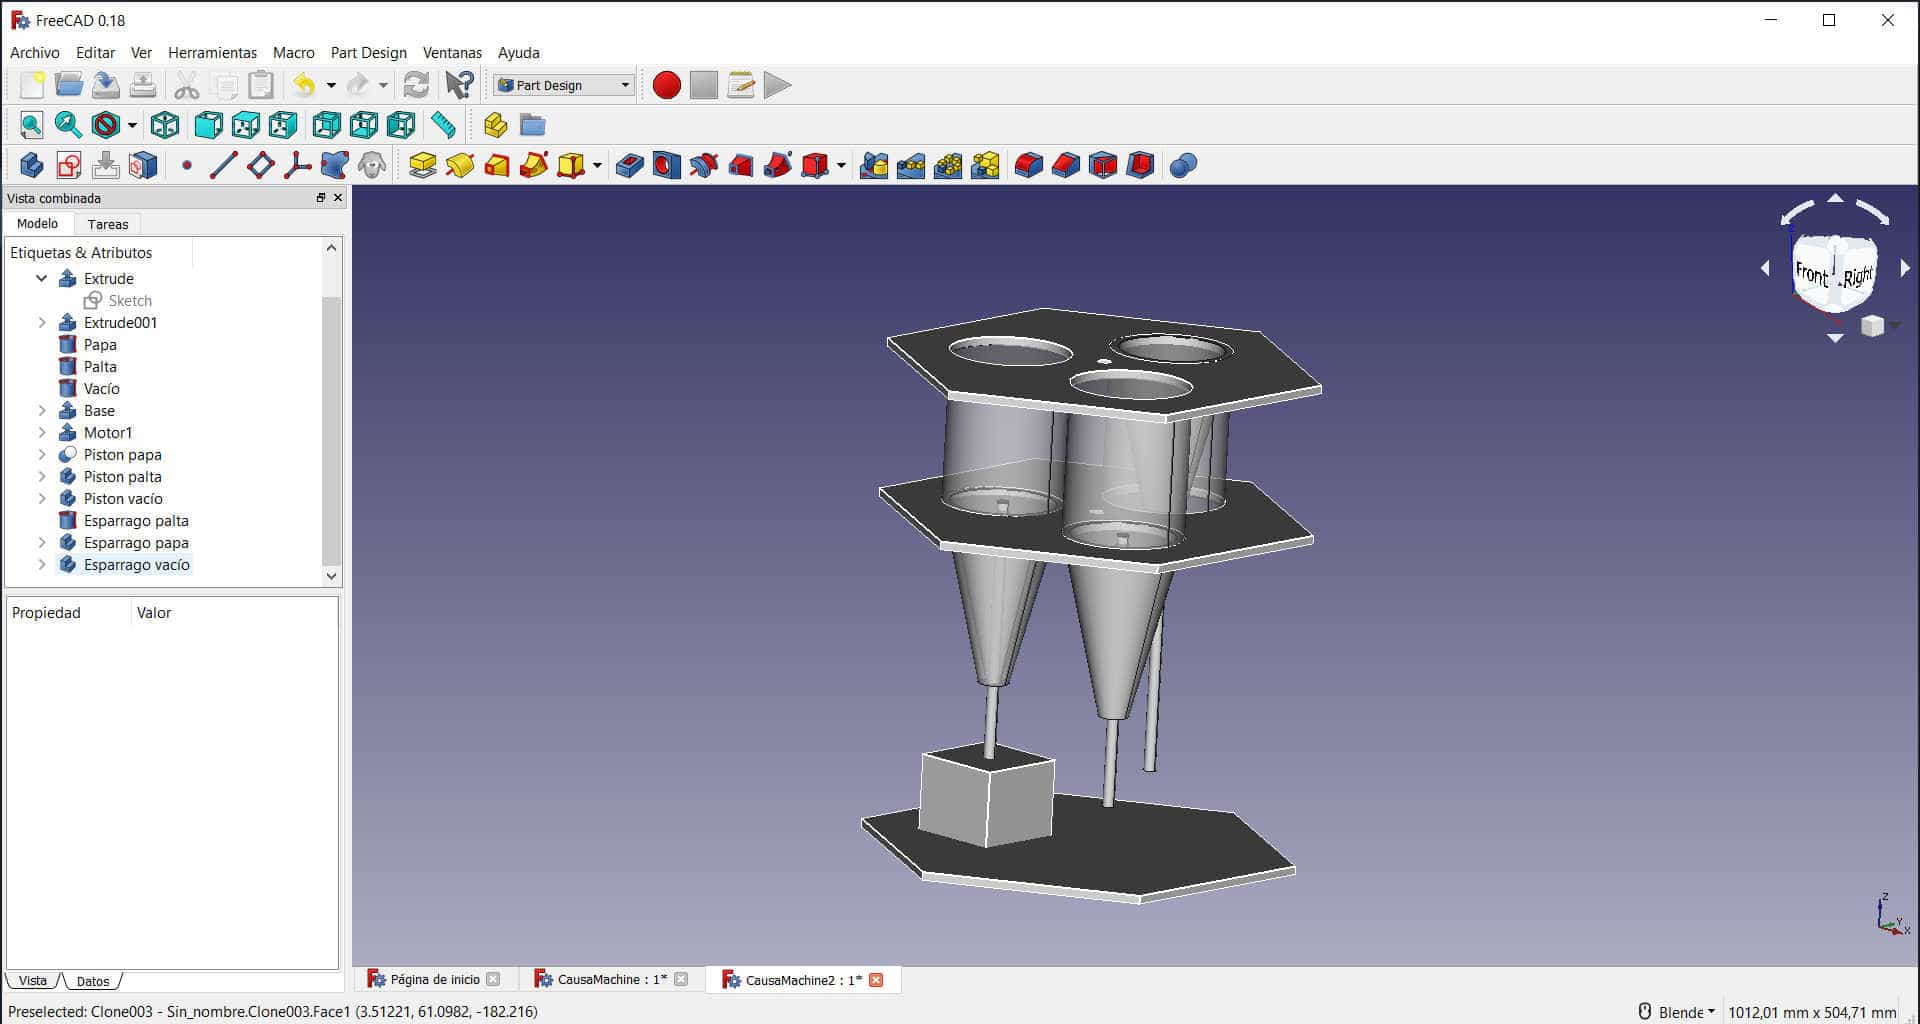
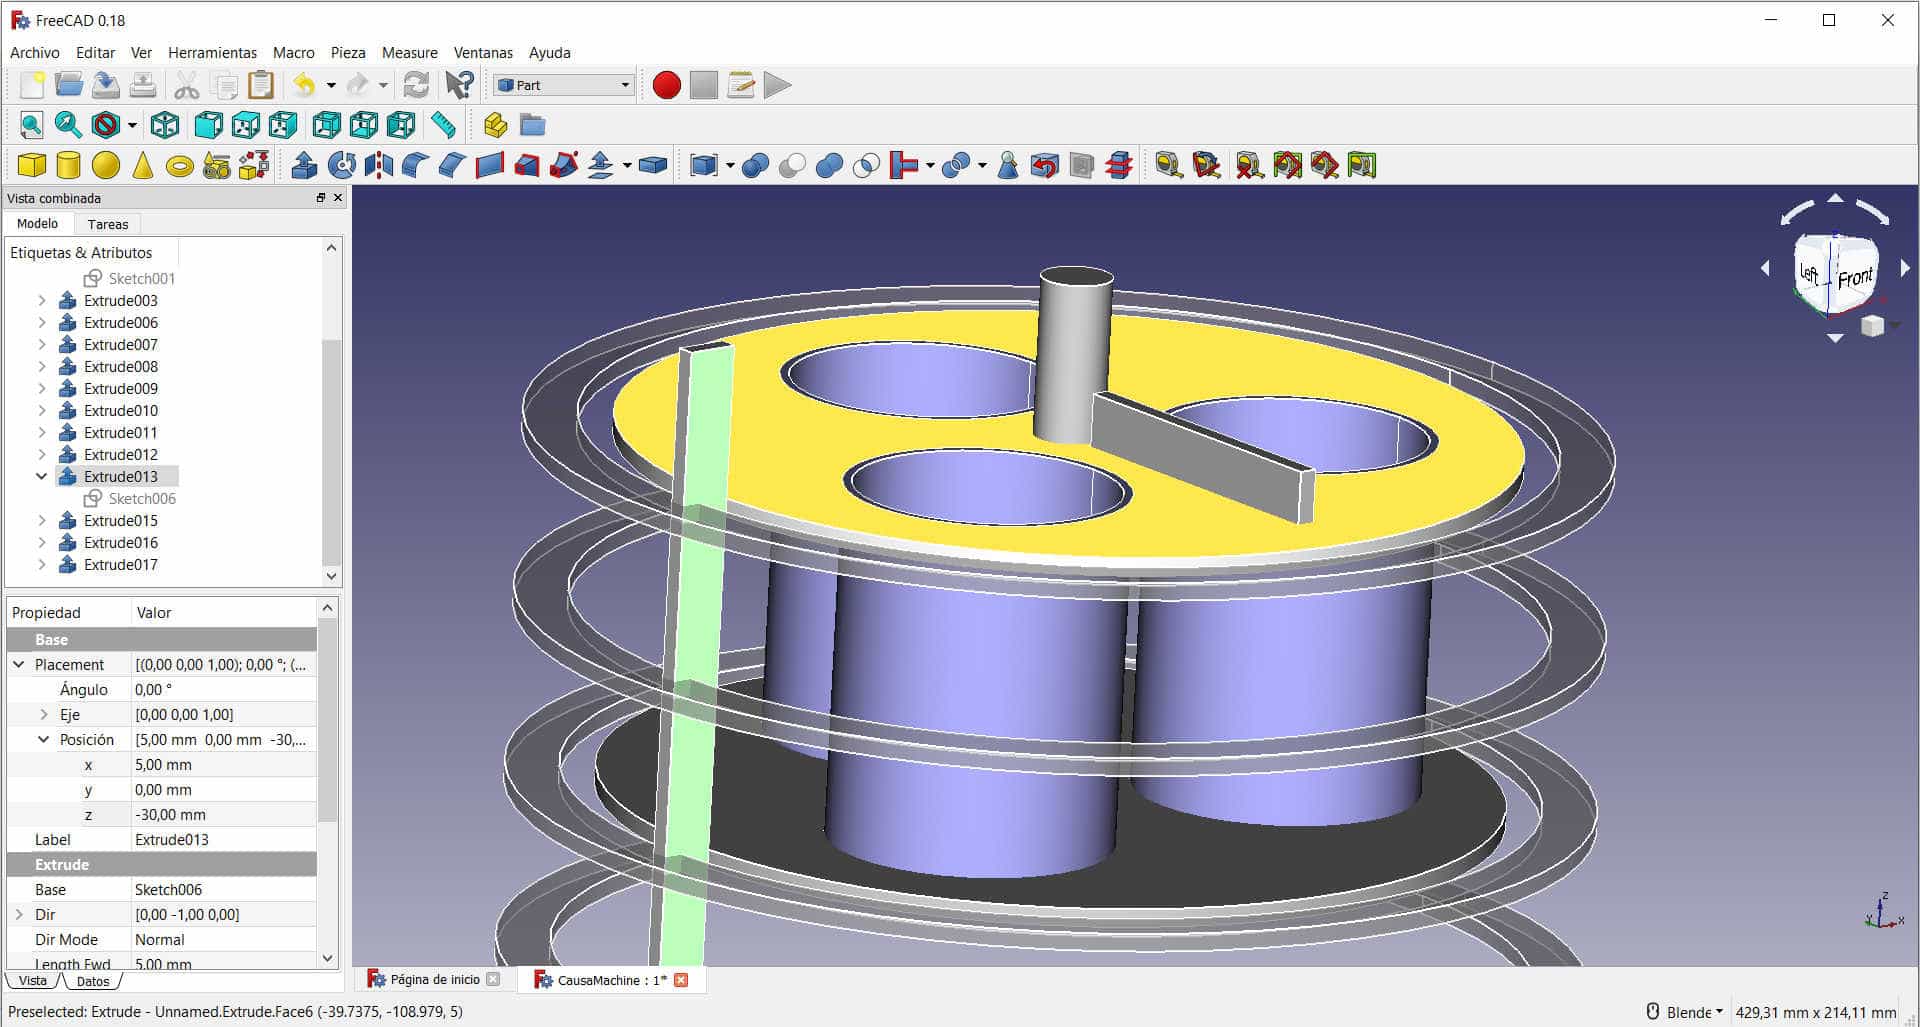
Due to the complexity generated by the use of curved shapes, we chose to make the platforms hexagonal, so we had orthogonal figures that allowed us to better engage the pressfit designed for the parts to be assembled, the important thing was also to make the structure stable and support the weight of the cylinders and the system in general. Here are some pictures of the modeling I did in FreeCAD. 💪


Prototype


Prototype


Prototype


Prototype


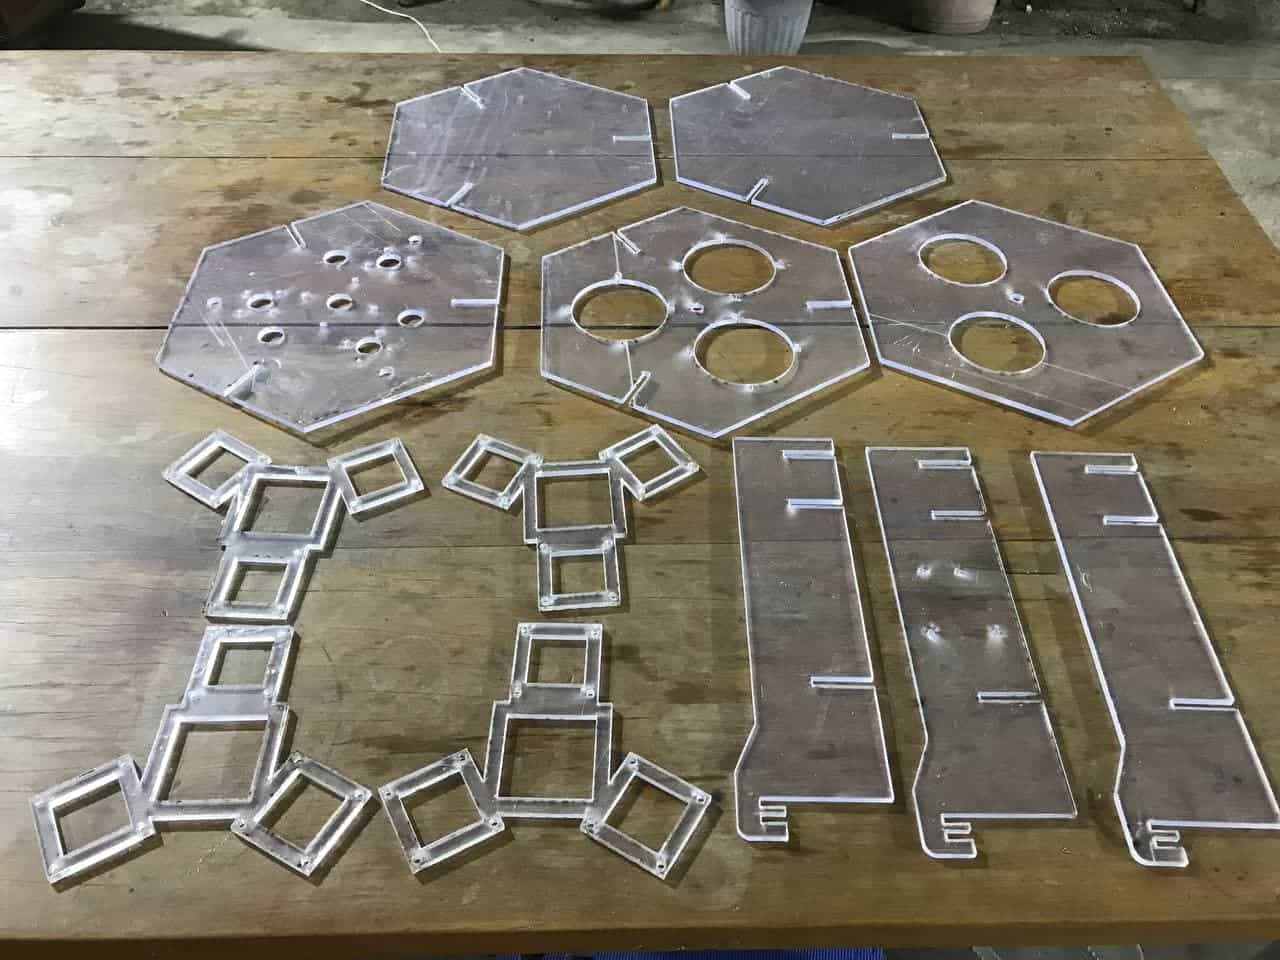
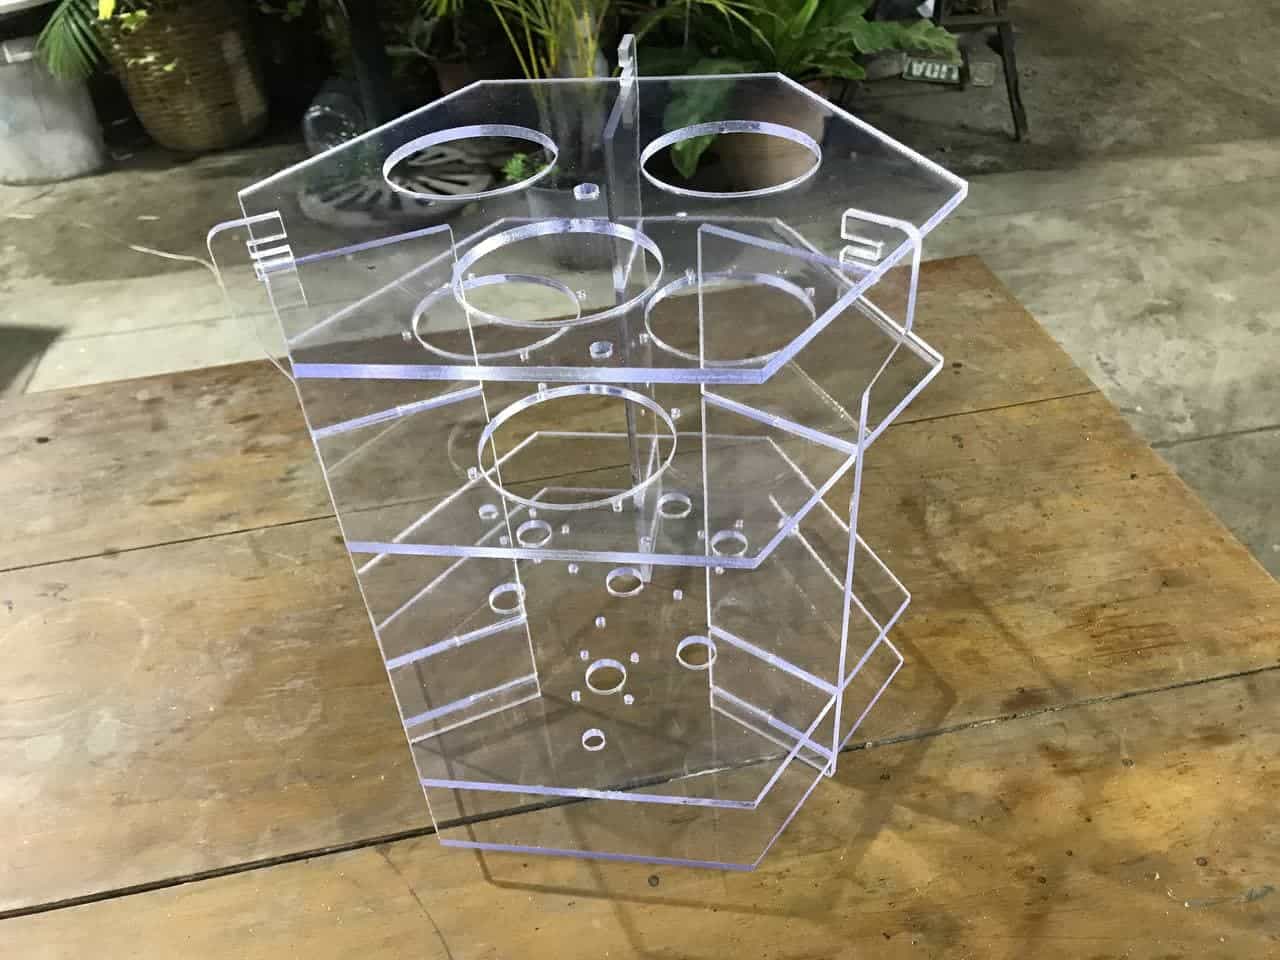
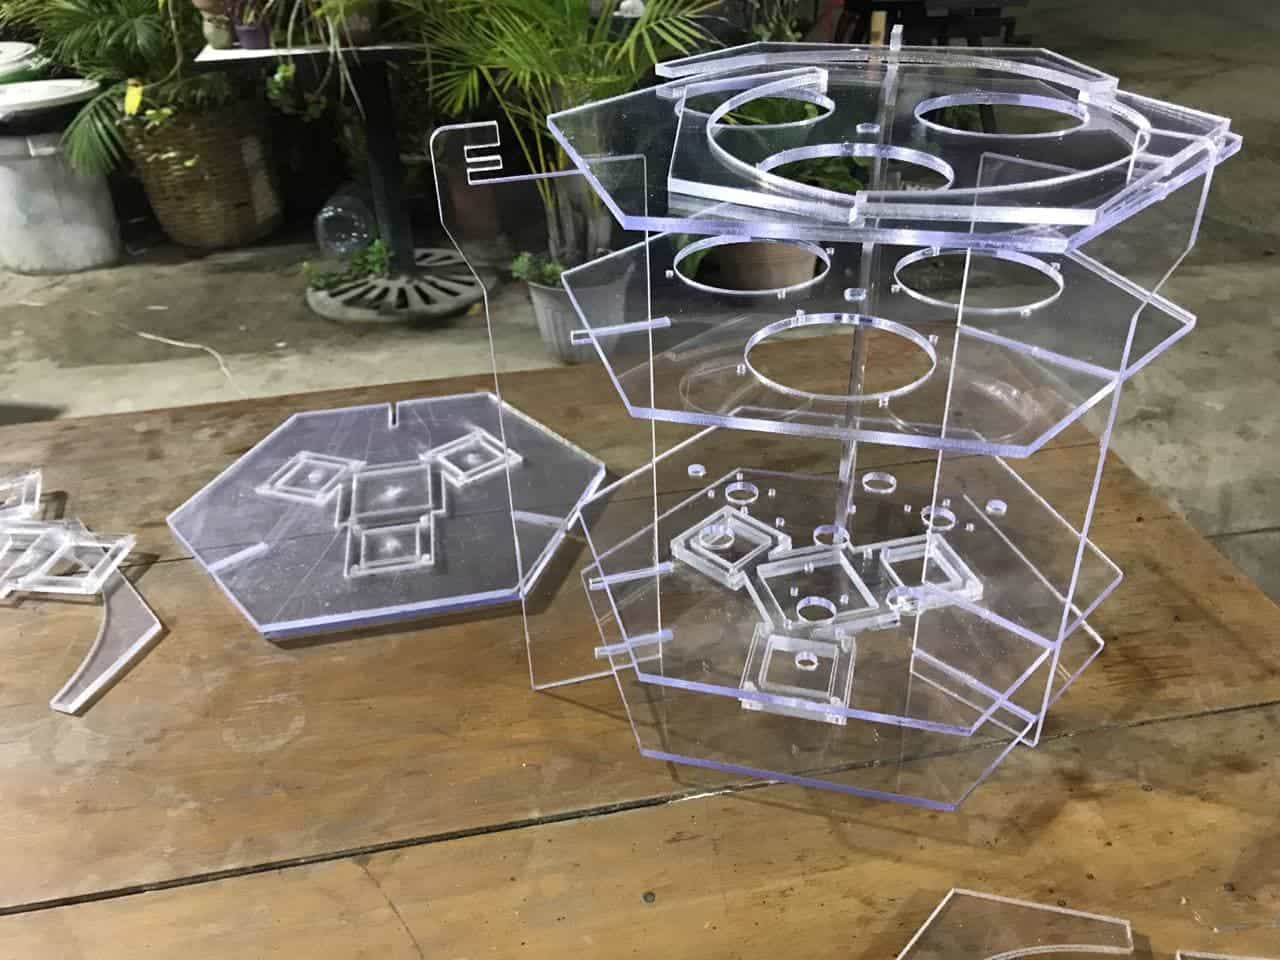
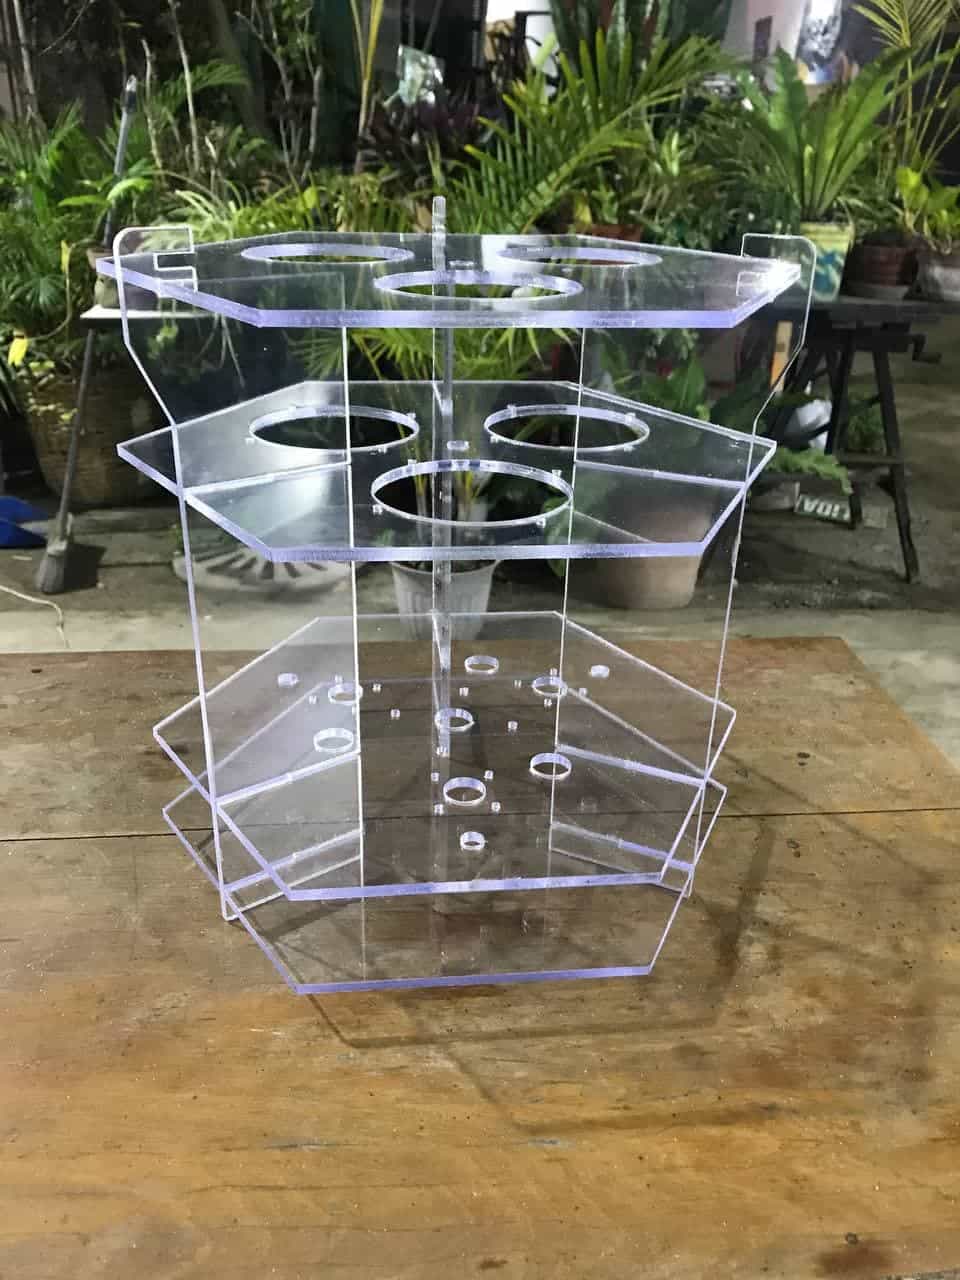
After many design tests and meetings with the team we were able to reach a consensus that you can see in its entirety in our complete page, (click here) However the next step we had to do was to laser cut the pieces of the structure so we went looking for support since our laser is still disabled or rather still not working as we need. The material we used was 5mm polystyrene and below I show some pictures of the assembly we had to do. 💪


Part of the team mobilizing


CNC laser testing


All the pieces


Assembly


Assembly


We locate all parts


Assembly


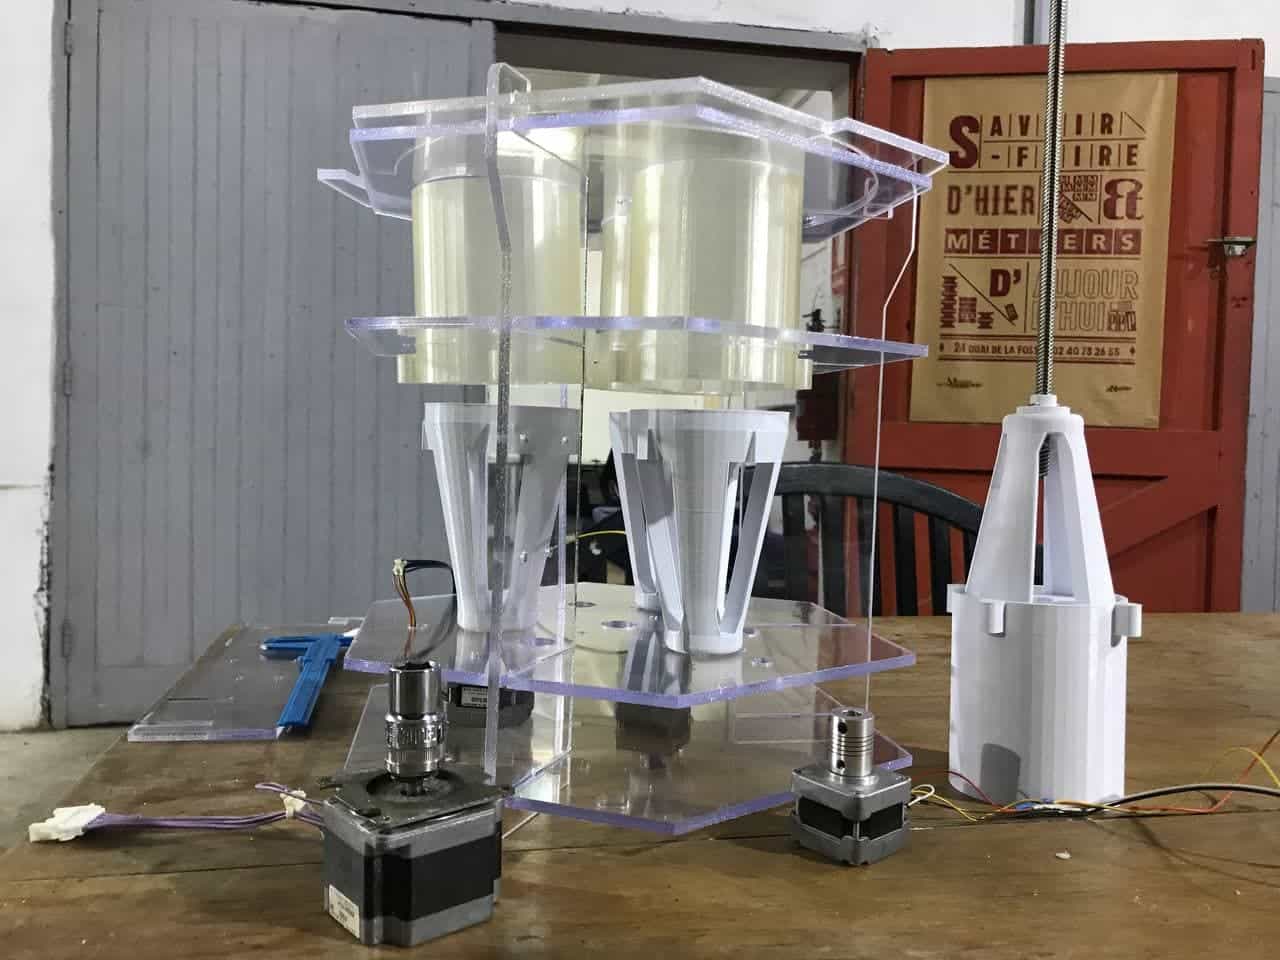
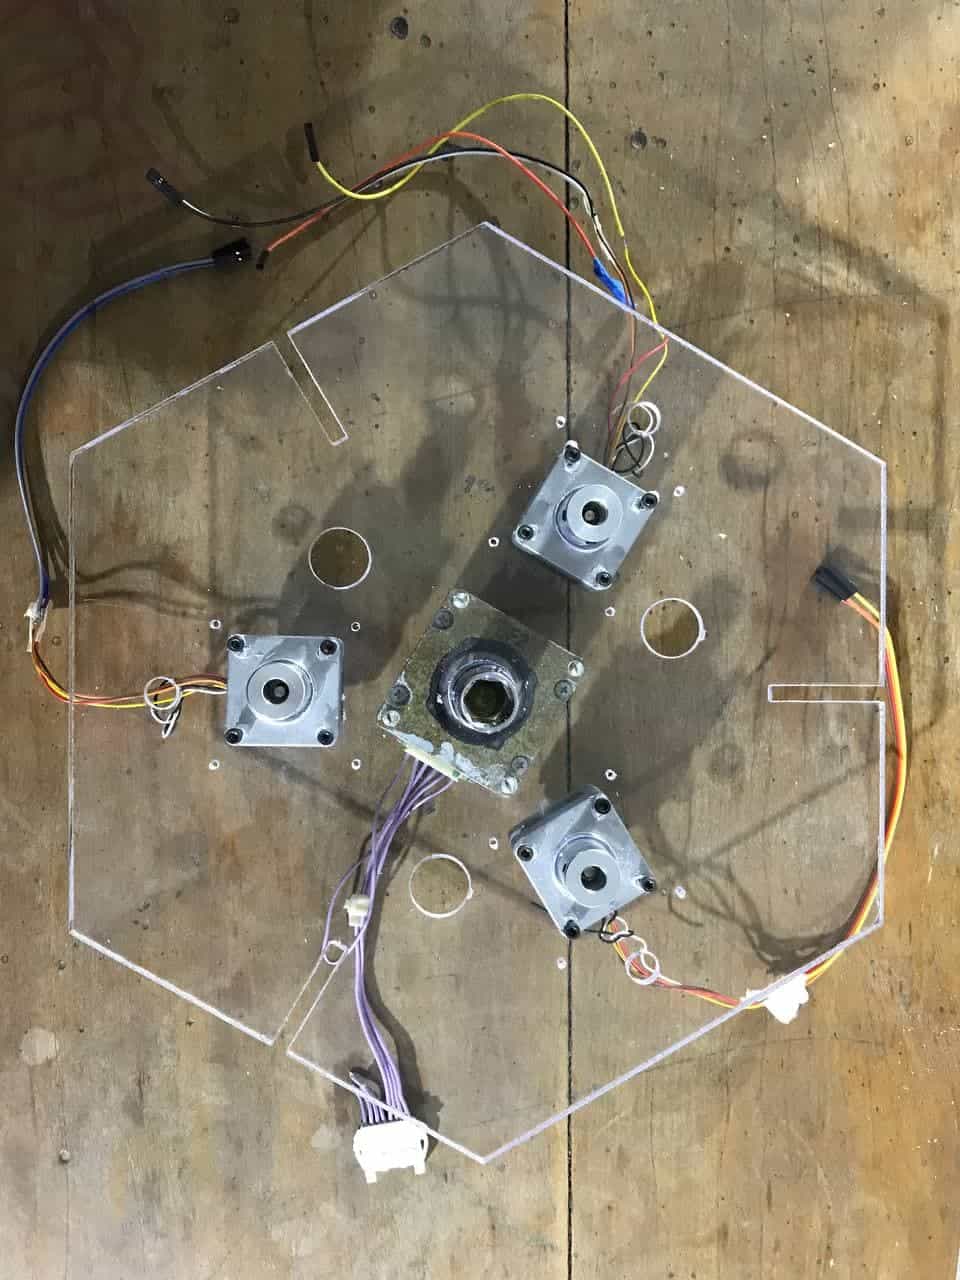
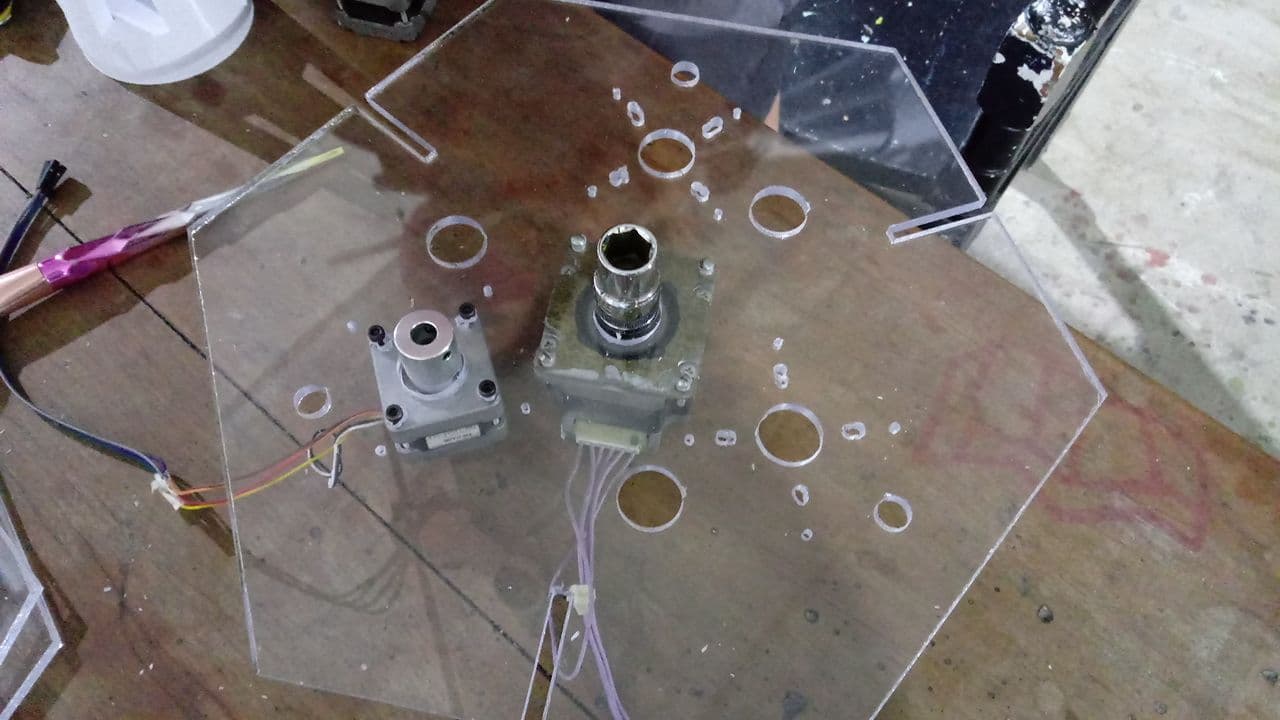
Location of motors


It is also important to mention that in all that was done we had to face many challenges, we ran out of light, the components did not fit in our pieces, we lacked material, etc. Even so we managed to do everything we set out to do and in my case I was in charge of writing in Spanish all the documentation of the week and then pass the information to my partner Walter Lenigan, he would be responsible for making the push to our group page. Additionally, I was in charge of editing our video and collecting the story of our project. 💪


Motors with assembly problems


No light in our city


Documentation


Video editing


Visit our website


I invite you to review our website, this project has been developed in order to generate a significant invention in an important year for our country, the causa limeña is a dish that in this 2021 celebrates 200 years of creation, what better way to celebrate than creating a machine using all the current technology that revalues the process of its preparation and is also served in a fun way?

Fab Lab Lima WEB


New gastronomic project


On this occasion, I also had the opportunity to be part of the team that made a new gastronomic project; “La picaronmaker”, we definitely like food very much. 🥰🥰

Picarones are ring-shaped fried sweets made with wheat flour dough mixed with pumpkin, and sometimes sweet potato, bathed in flavored chancaca honey. Its origin goes back to the Spanish fritters, and it is a traditional dish of Peruvian gastronomy.


Traditional Picaron making


Picarones Served


In order to recreate this process in a mechanical way, considering that this time a machine will be in charge of depositing the picarones dough in a pan, we started sketching and designing many shapes until we found the right one. 💪


Structure Sketch


Sketching Function


Tinkercad test


Tinkercad Test 2


To make this possible, we first discussed about the materials and components needed to make it work, we had many ideas but finally decided to use the following:

1.Controller motor module L298N
2.Arduino UNO
3.Jumper wires
4.Screws
5.Nuts
6.Power Supply
7.Aluminium Flex Shaft Coupler
8.Endless screw
9.Stepper motor
10.PETG filament
11.MDF


Components Kit 🥰


An interesting and important part was the testing of the materials, our design required a lot of sockets that could be easy to fit, below I show the tests we had to fabricate before choosing the right parameters for the acrylic.


Acrylic test


Socket


Finally, thanks to the tests we carried out, we settled on the 2.90 mm thickness to have the spacing between the pieces, as it was very easy to place and at the same time it felt well fastened between the pieces.


Correct Parameter 😍


The same thing happened with the piece that served as a repository for the dough, we decided to 3D print it, we made 3 different tests and one of them was printed in PET-G.


Three versions of extrude piece


Overall, our result was very satisfactory, we managed to test the materials of the structure going from MDF to Acrylic and for 3D printing we used PLA and PET-G, the latter is ideal since we are working with edible subjects.


Testing it now assembled


Picaron Maker Done! 💪


To share with you the full experience please visit the following link . Here you will find all the details of the work done. 😄

Group Task Picaron Maker