GROUP ASSIGNMENT
A realmachine!!!
This week is a very big challenge, we will build a real machine, we will apply everything we have learned so far. I am excited!!!, I have many ideas in my head that I will analyze one by one and we will see the final result that I am sure will not be boring at all.
Real machine
Week 9 Assignment
📆 March
GroupTask
In this assignment we must activate and automate the machine that we are going to build, in turn we must document the entire process. In a first attempt we developed the group assignment with the entire Fab Lab Peru team. We made a machine called Cause Machine, if you want to see its development, it is here.
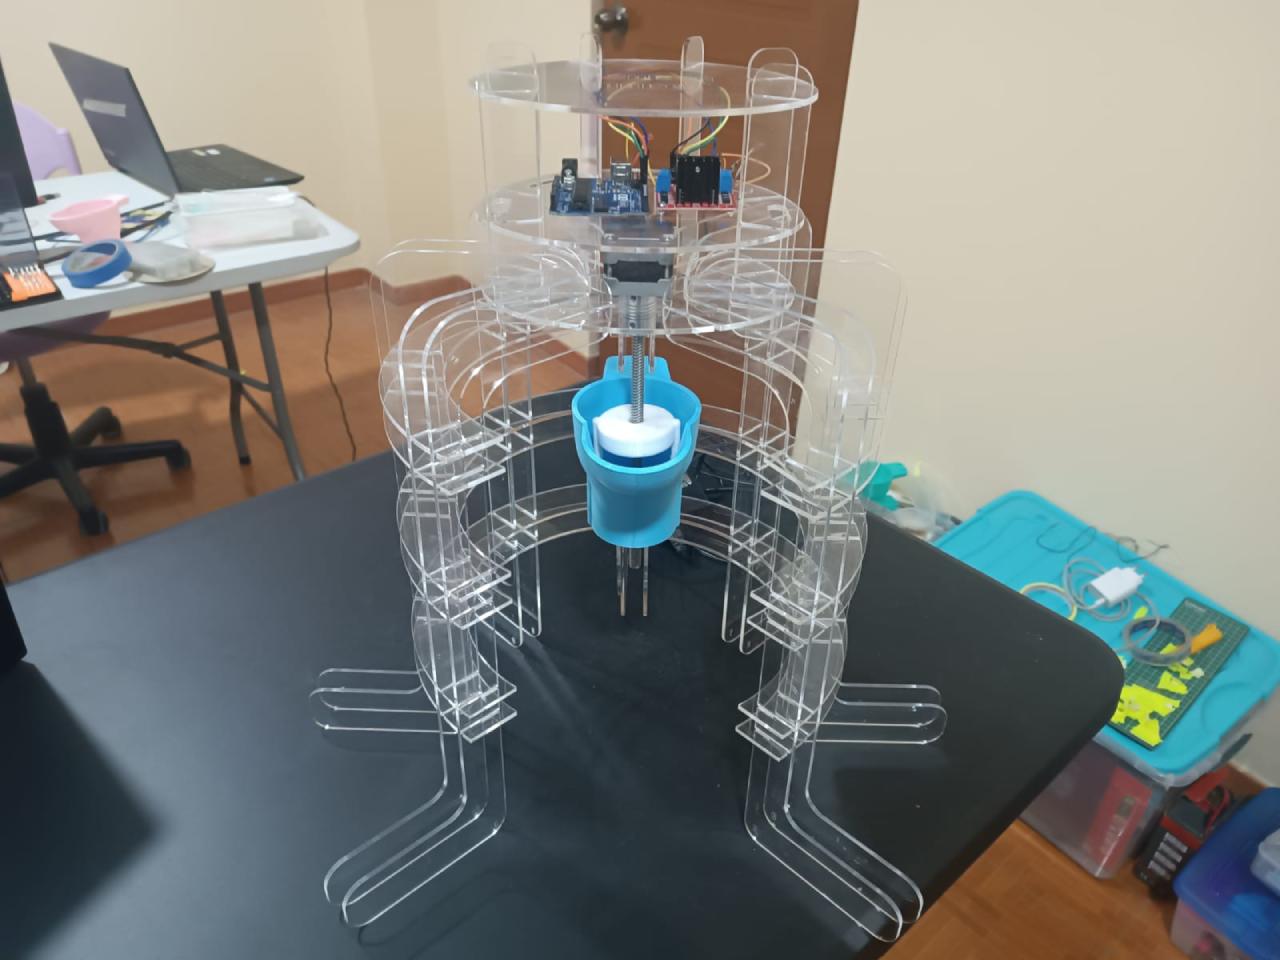
But then in a second attempt with a smaller group, when our node was Fab Lab Esan we developed the Picaron Maker. Together with Mayra Ascencio and Leslie, we developed the first prototype of the picaron maker, then only with Mayra Ascencio we made the second prototype, and we improved the machine much more and finished it.
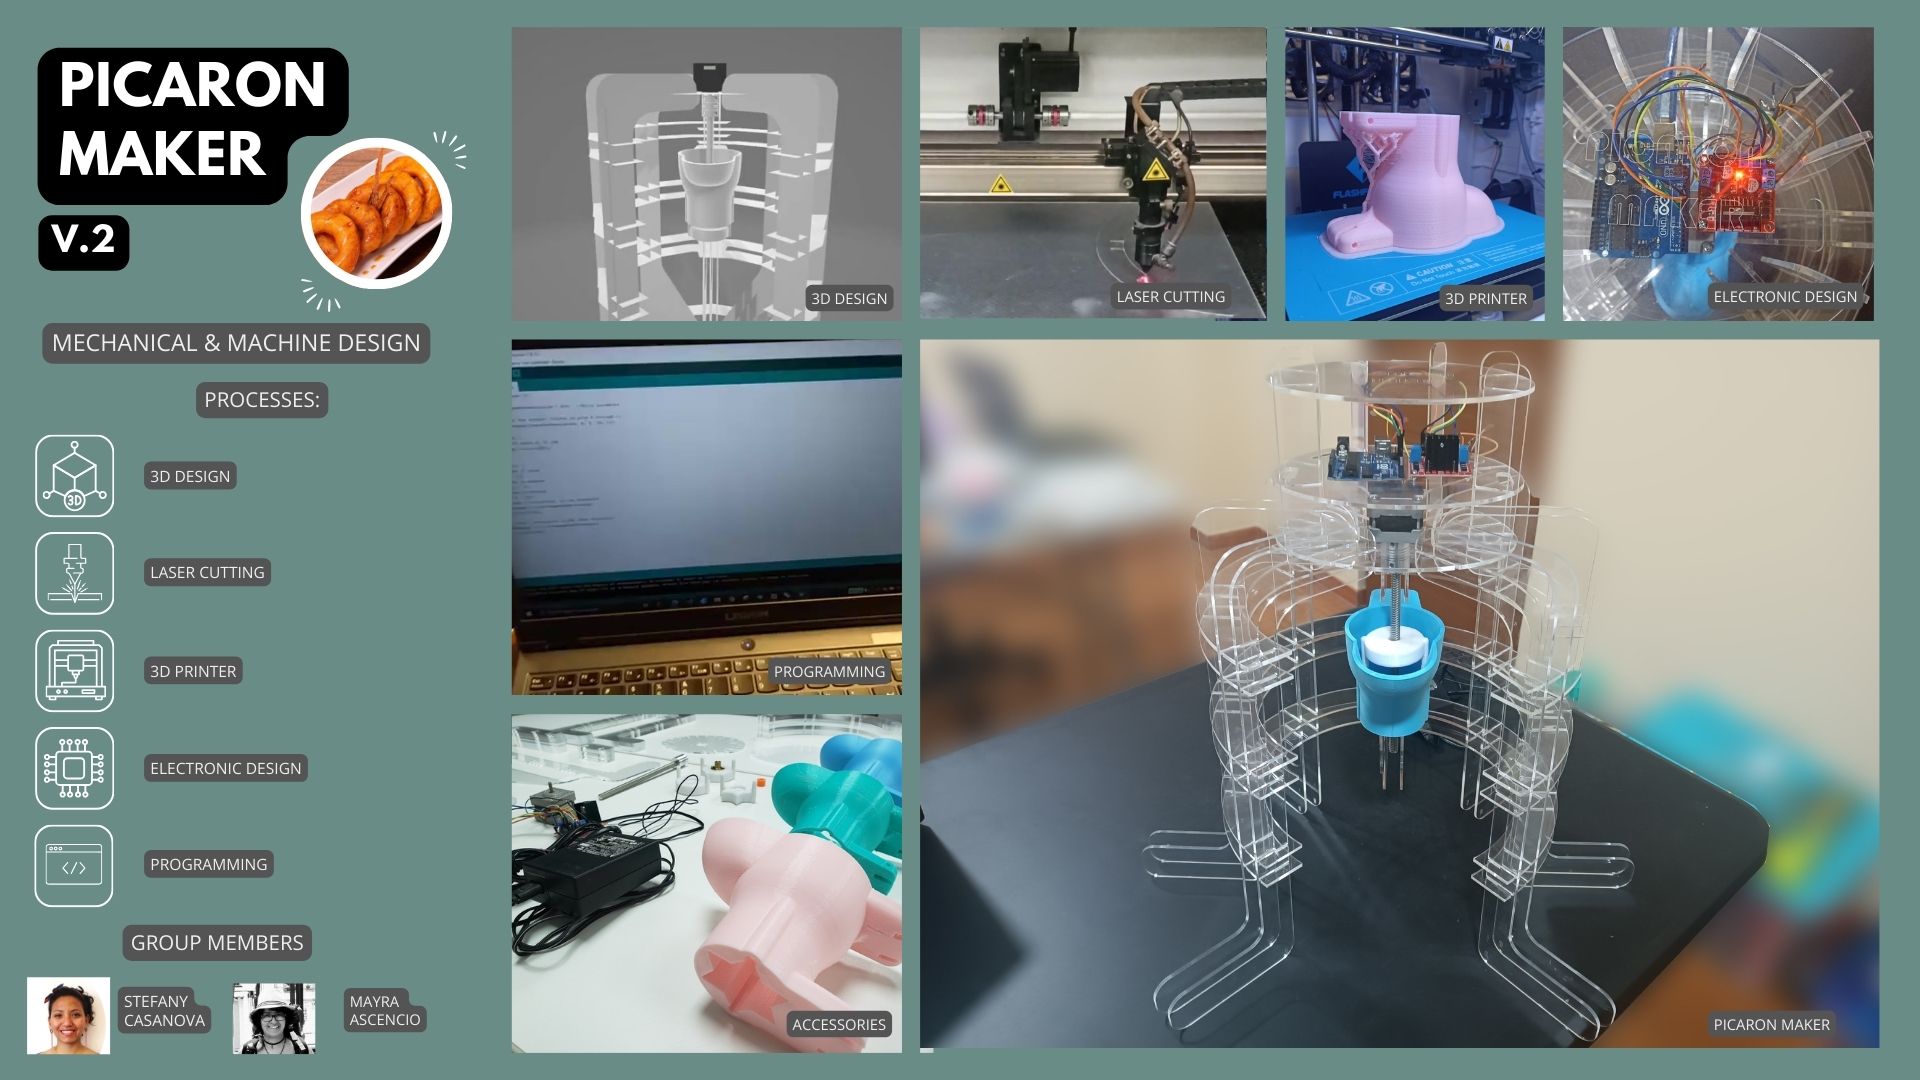
Presentation
Scheduleand workflow
We draw up a schedule for the development of the project according to the skills of each member and indicating the time available for each activity.
Phases:
- Design
- Fabrication
- Assemble
- Website
- Video
- 5 days (Thursday to Tuesday)
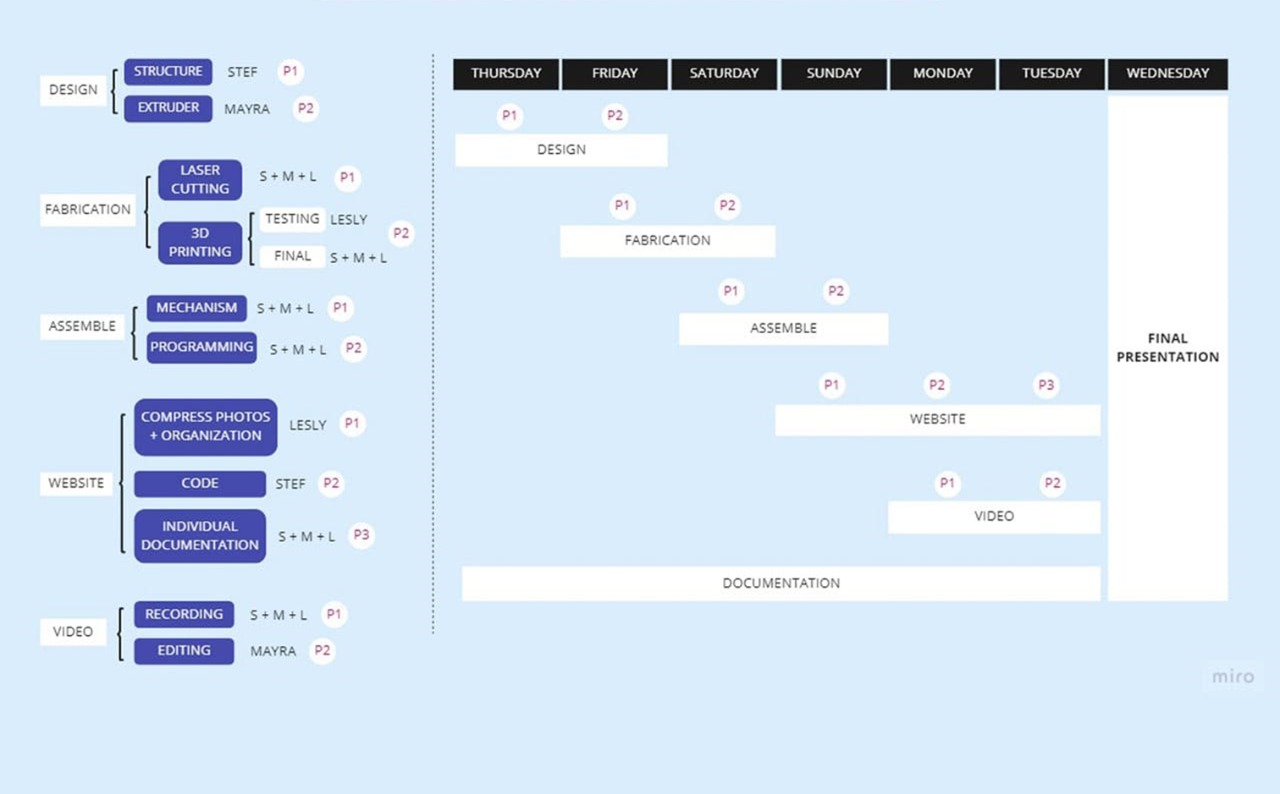
Schedule
The tasks were distributed, but at each step there was collaboration among the team, giving feeback and advancing their activities in parallel.
When you get a different point of view, you can improve your work and see the mistakes or improvements can be made.
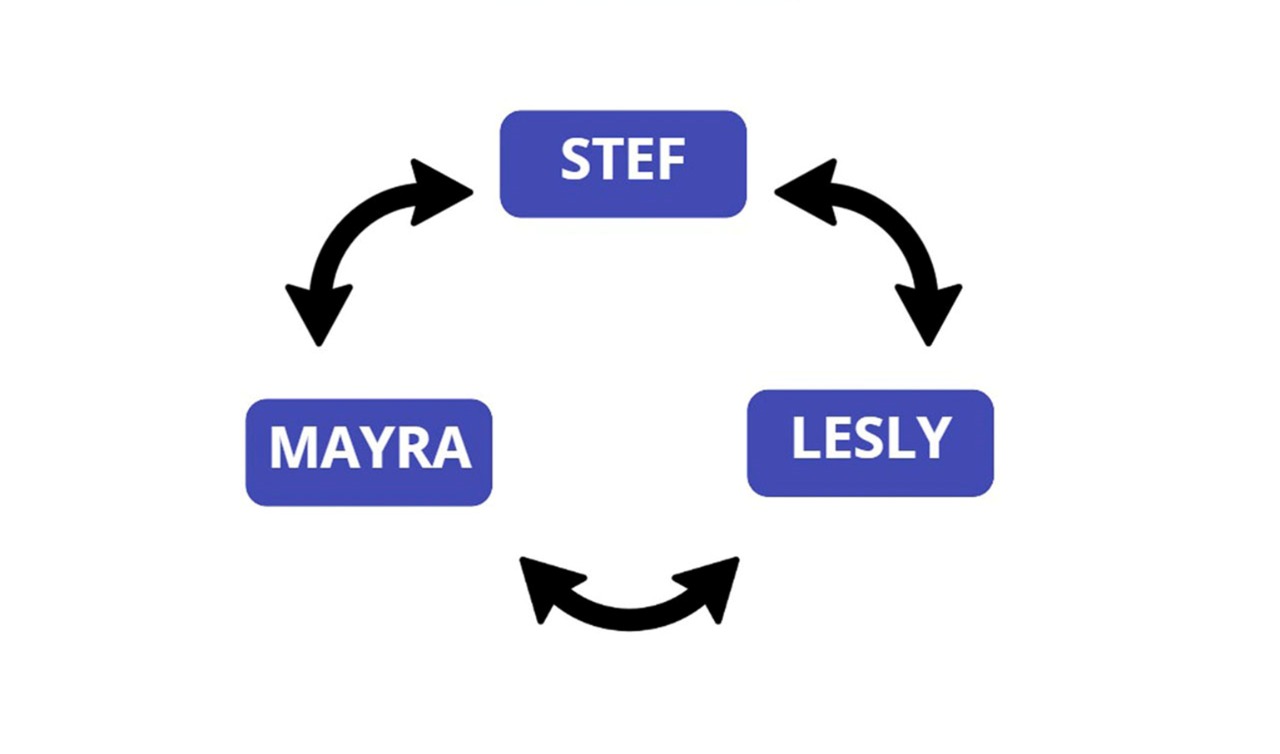
Feedback
Designthinking
First, prior research was done and the following questions were answered:
What?
What is for?
How does it work?
Second, we were thinking about something to make and enjoy it, so to define our project we choose something that can be done manually but could be automated, reduce time and improving efficiency.
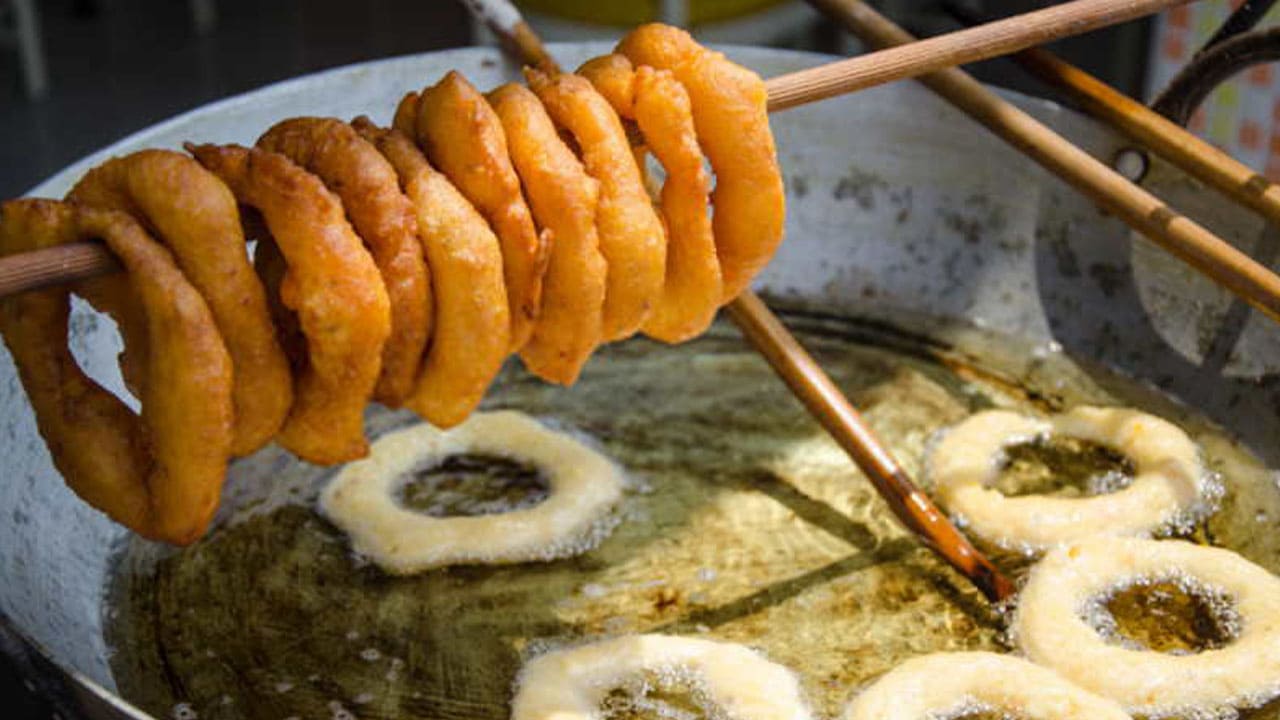
How the Picaron should look
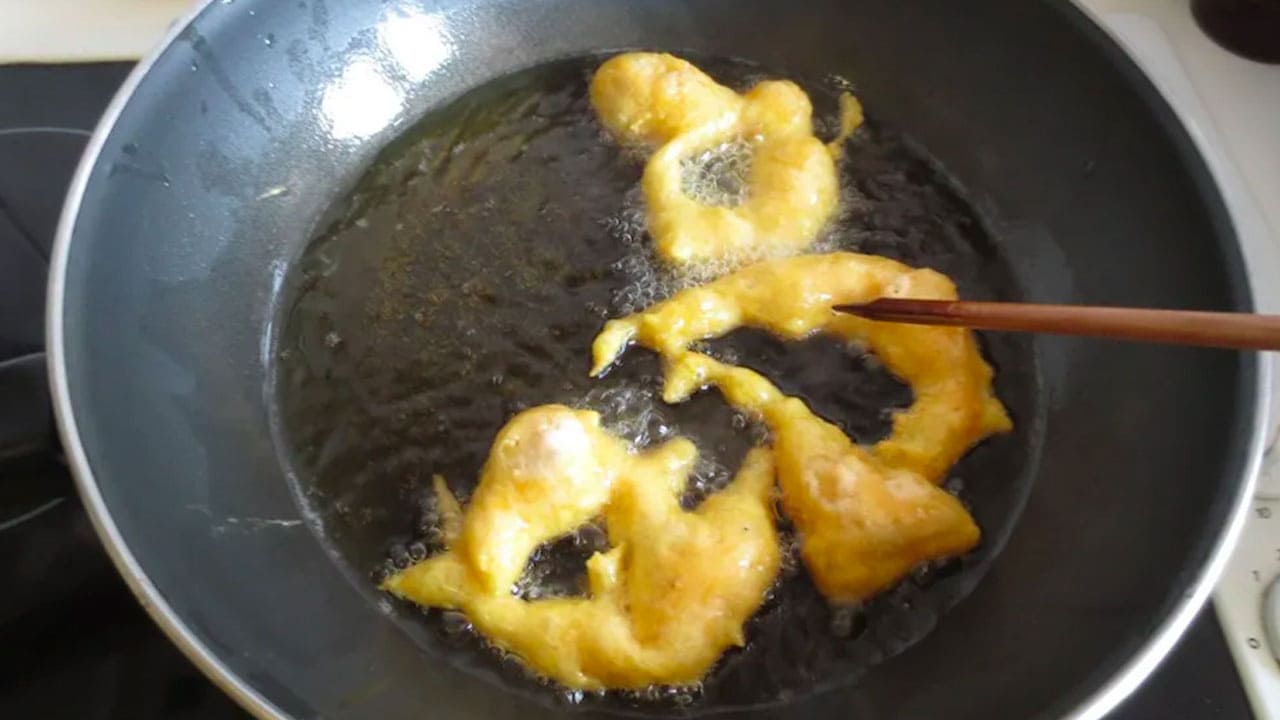
Fail
Why
We proposed this project for:
-Beginners: To prepare this dessert well and to get the dough rigth, it takes a lot of practice, so anyone could prepare it with this machine.
-Spedd and efficiency: It improves production, especially for businesses that are dedicated to this area.
-Adaptability: It can be adapted to any place and it is easy to transport.
-Cuztomization: To be able to create different shapes, fun designs and arouse curiosity in the consumer.
In addition to researching what it is and how it is prepared, we also looked for references of other food machines in order to analyze their mechanism, analyze their interaction and operability, as well as to take into account our skills in order to develop this project.
The following is the scheme of work that was carried out to propose and develop the project.
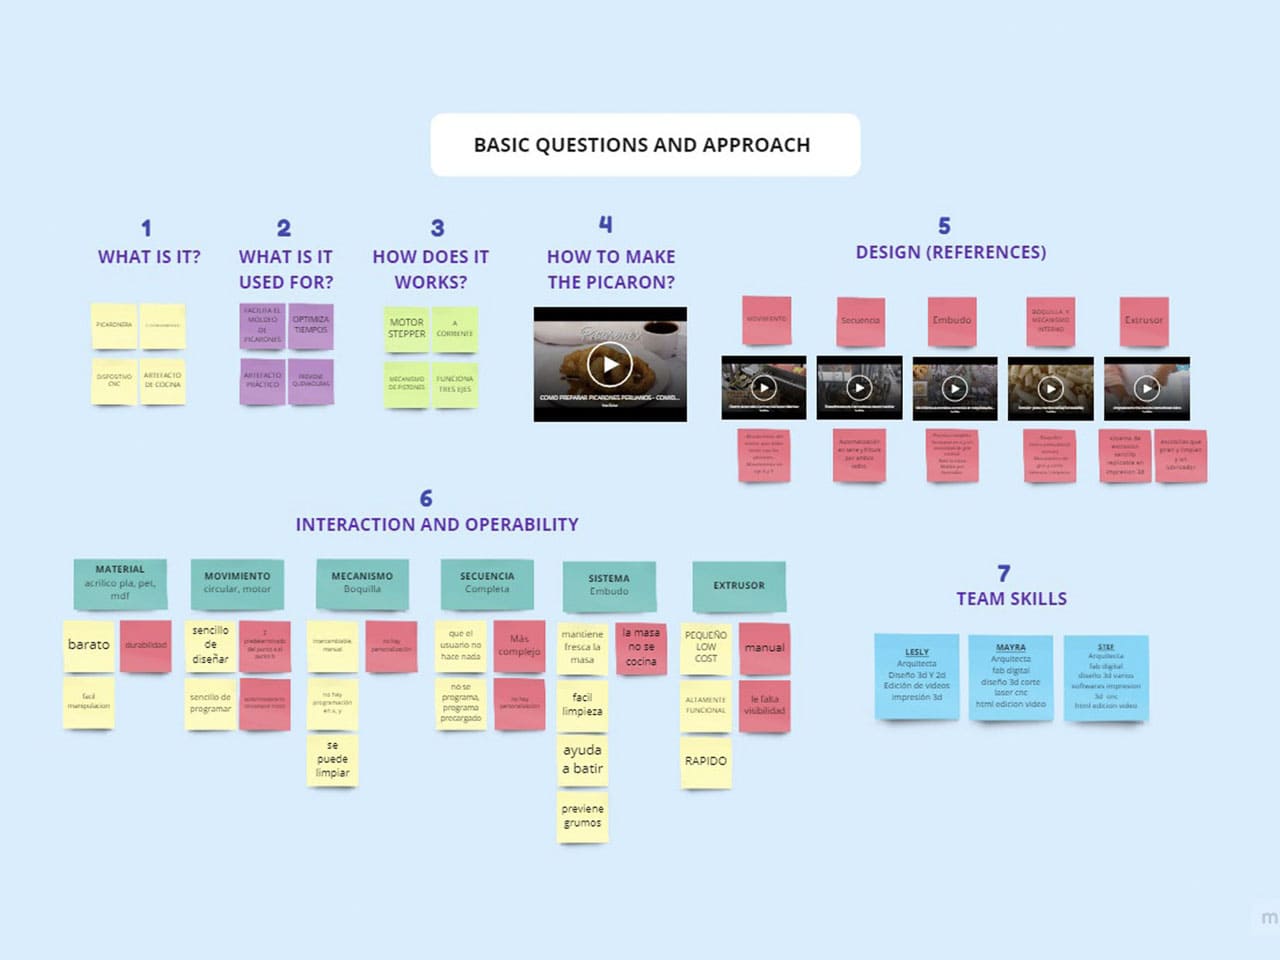
Execution
Design
According to the Design Thinking process, each member made a design proposal, indicating how it would work and its advantages as you can see in the following diagram:
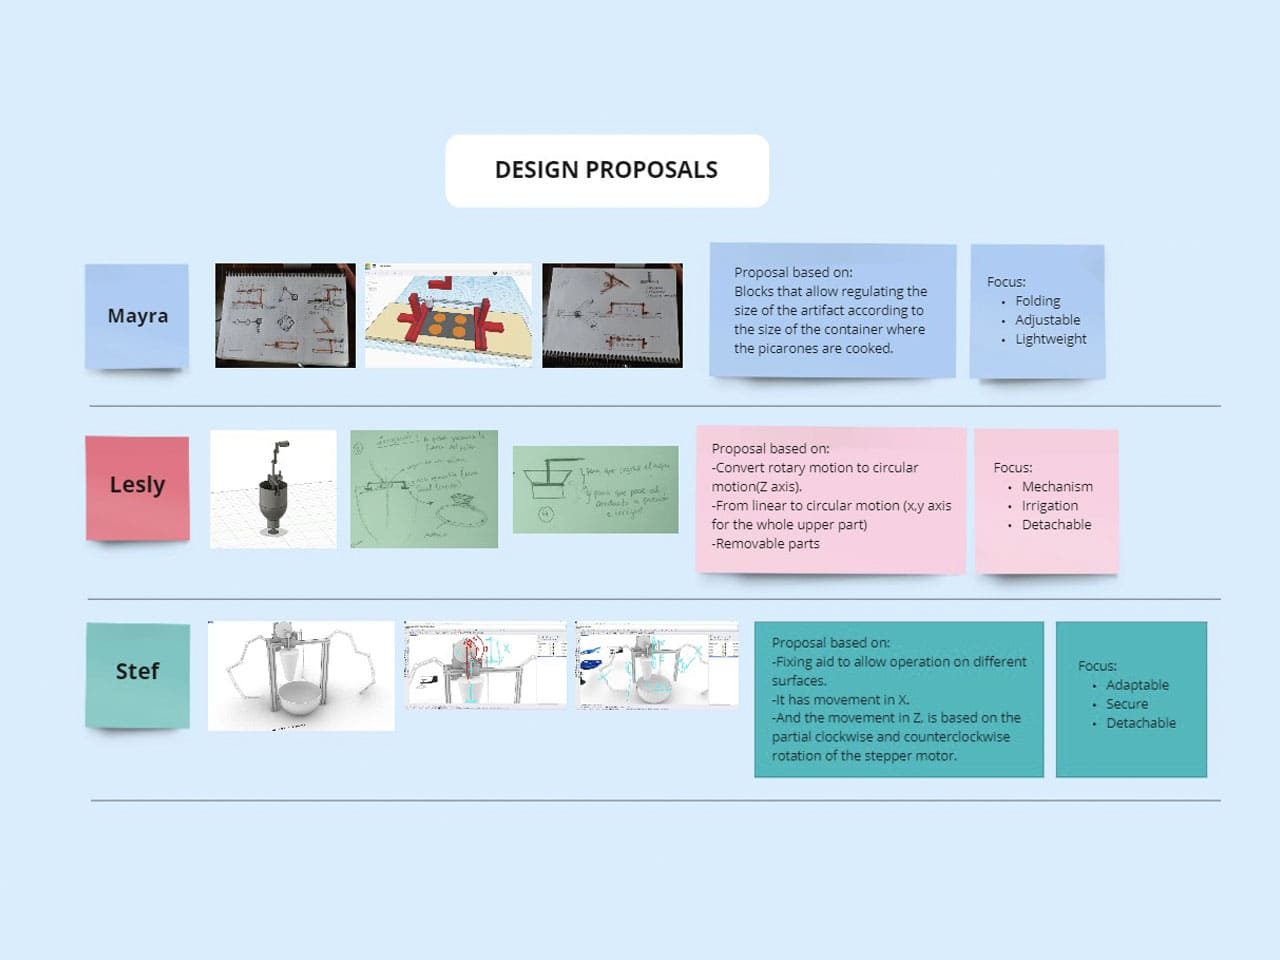
We discussed the ideas and the main design points are:
- Extruder
- Structure
- Electronics
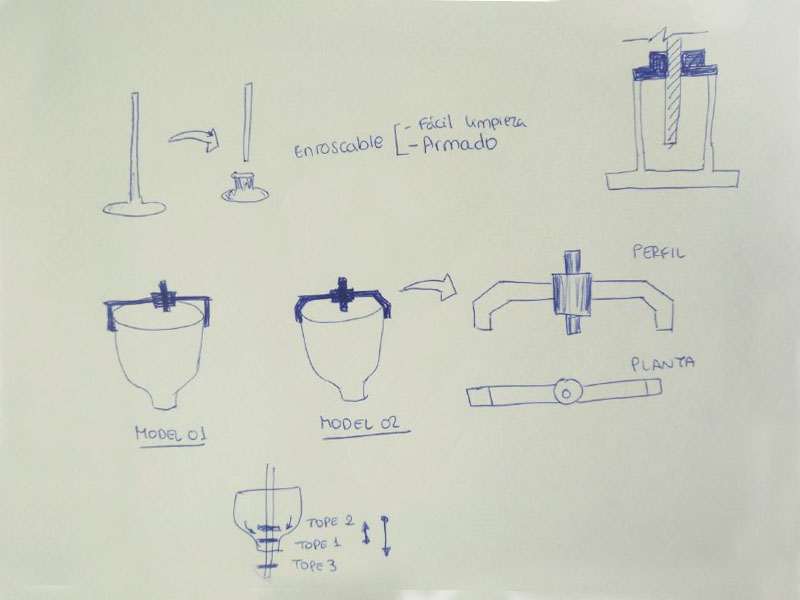
Design 1
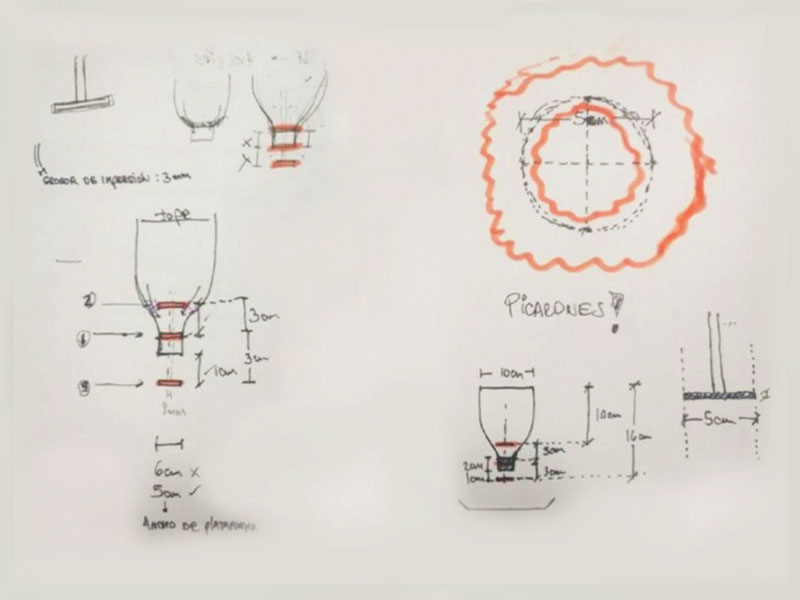
Design 2
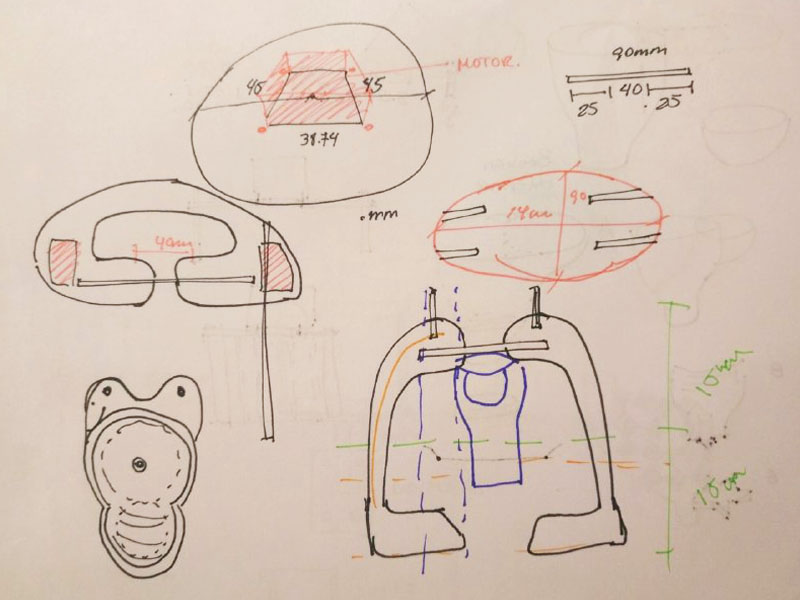
Design 3
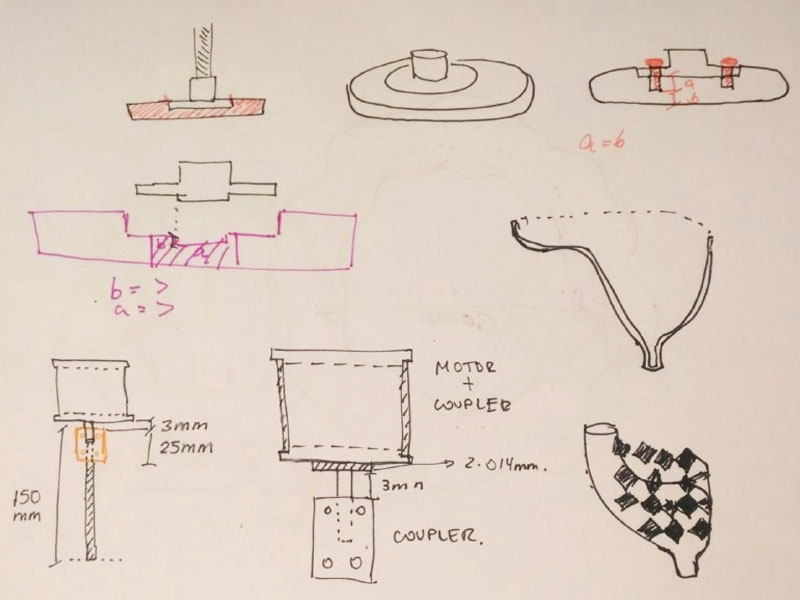
Design 3(details)
We defined parts of the design and started to move forward in parallel. Working as a team, despite the pandemic, we were able to get together to do the project and it became a great experience, fun times and also filled with a lot of learning. Finally, after all the research we came up with the exact components and workflow of the machine.
- Extruder
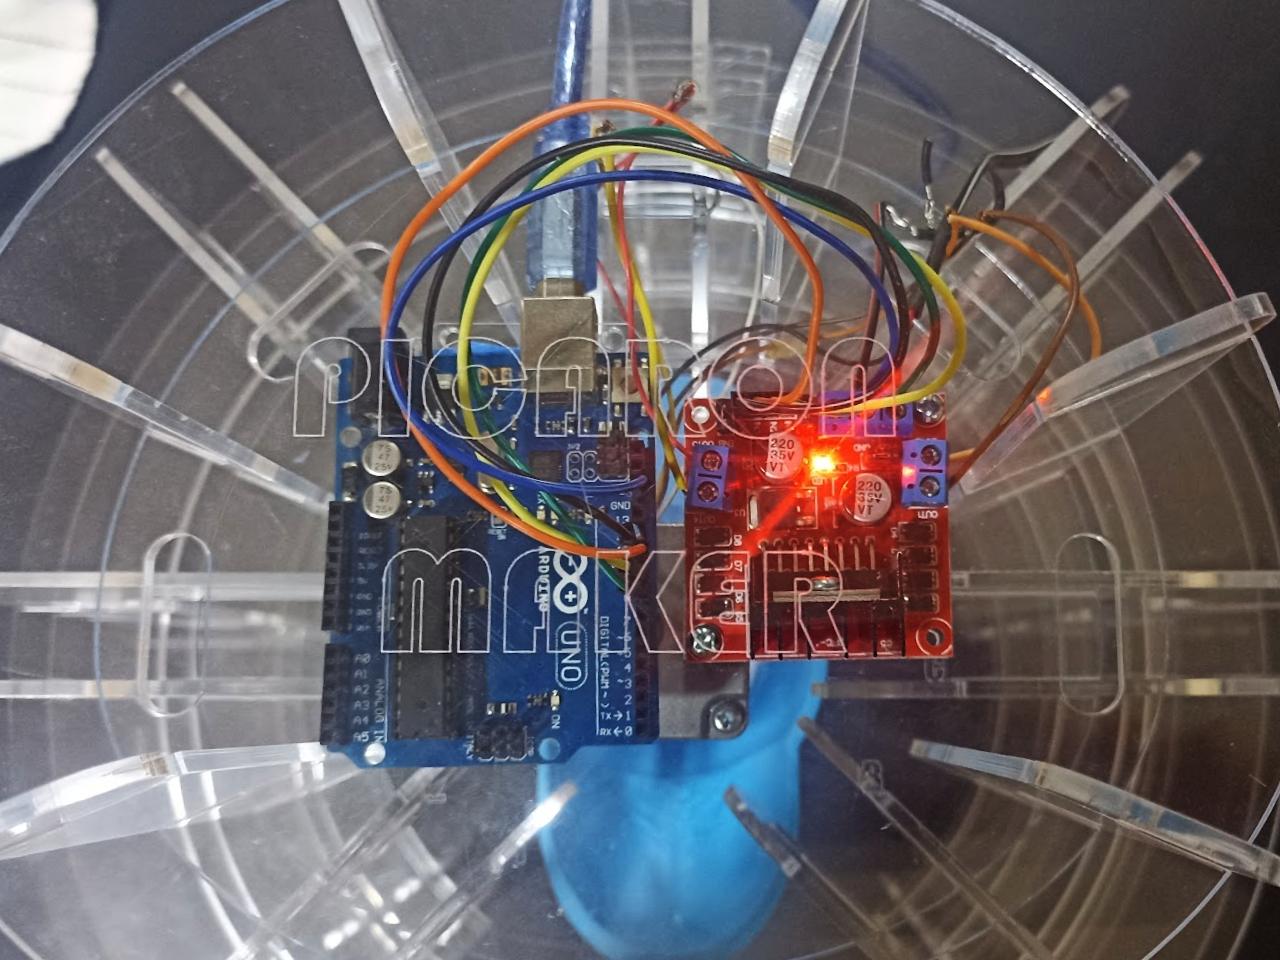
- Stepper Motor/li>
- Motor Controller Module L298N
- Arduino Uno
- Power Supply
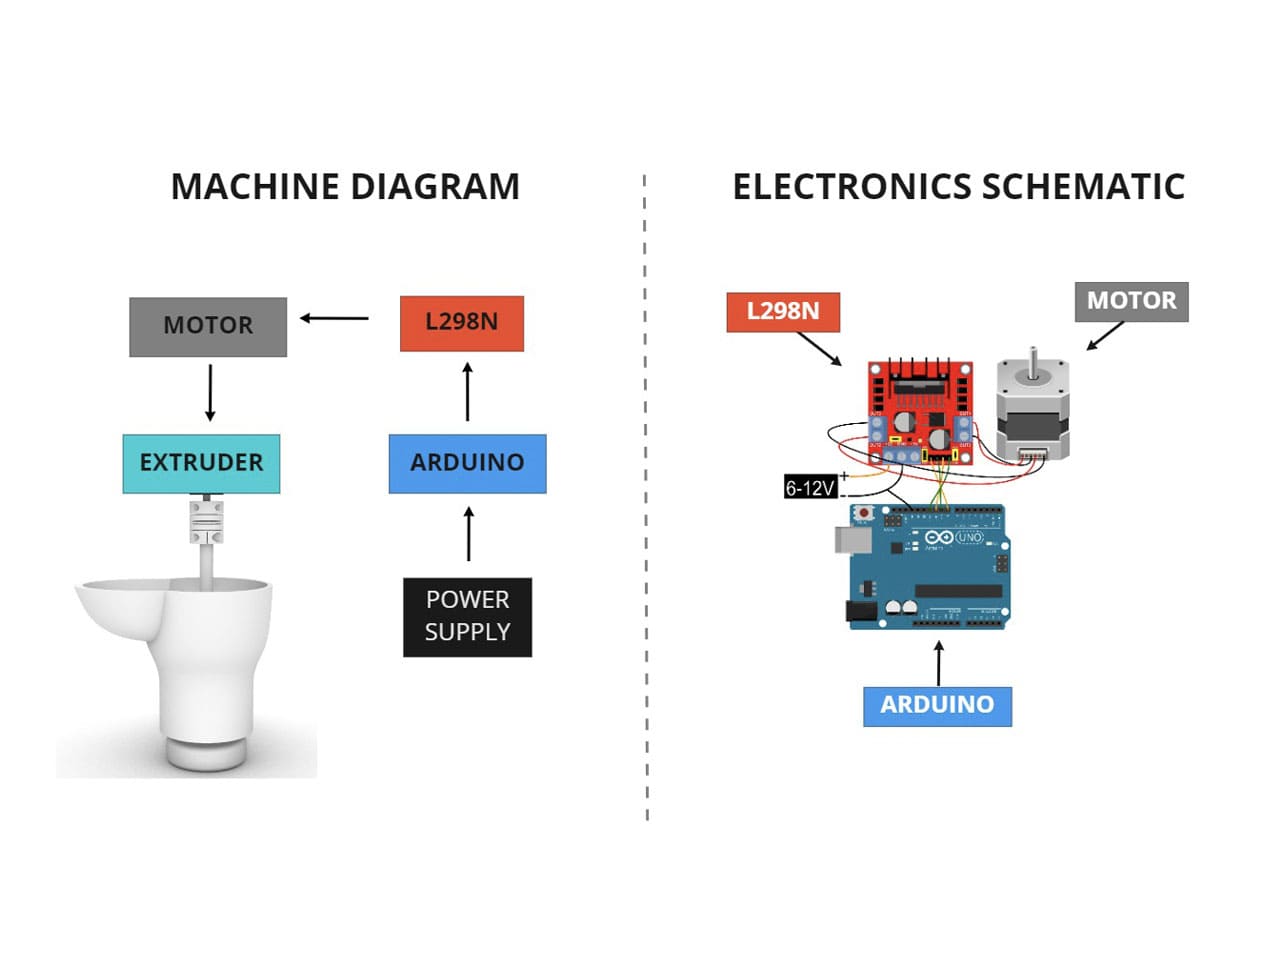
After defining the workflow and components, we continued with the process, improving the design, electronics and documentation.
And here we are, apparently very calm working, but we had many doubts and made tests to see if the pieces fit or if what we designed could really work 😂.
There are things that sometimes do not turn out the way you imagine them and you have to take into account gravity, knowledge about mechanisms and common sense.
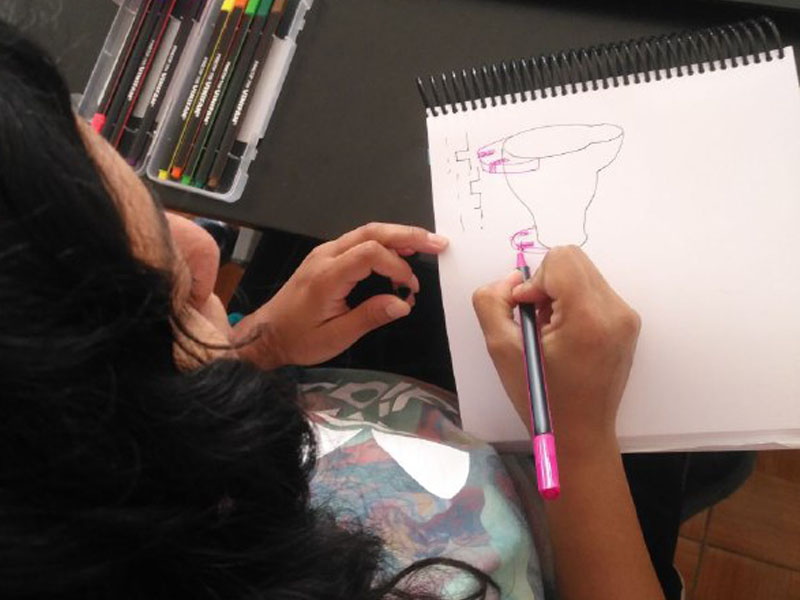
2D Design
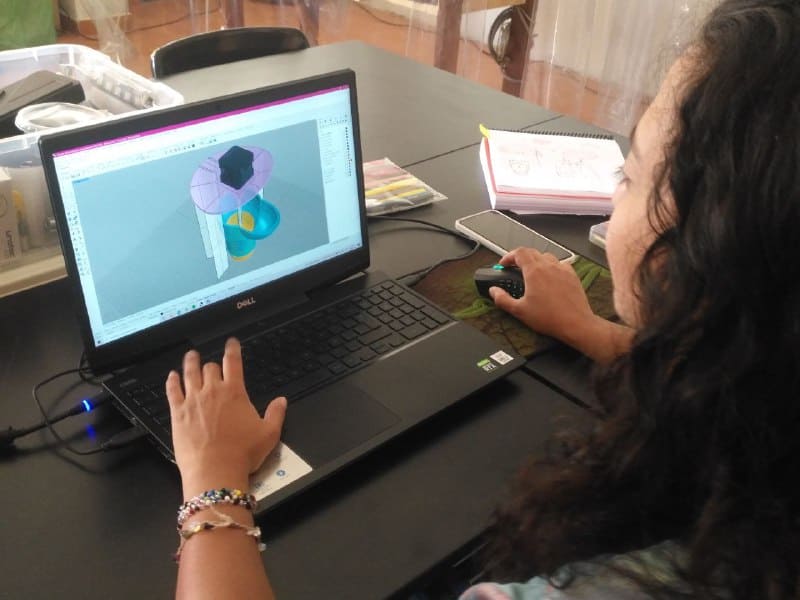
3D Design
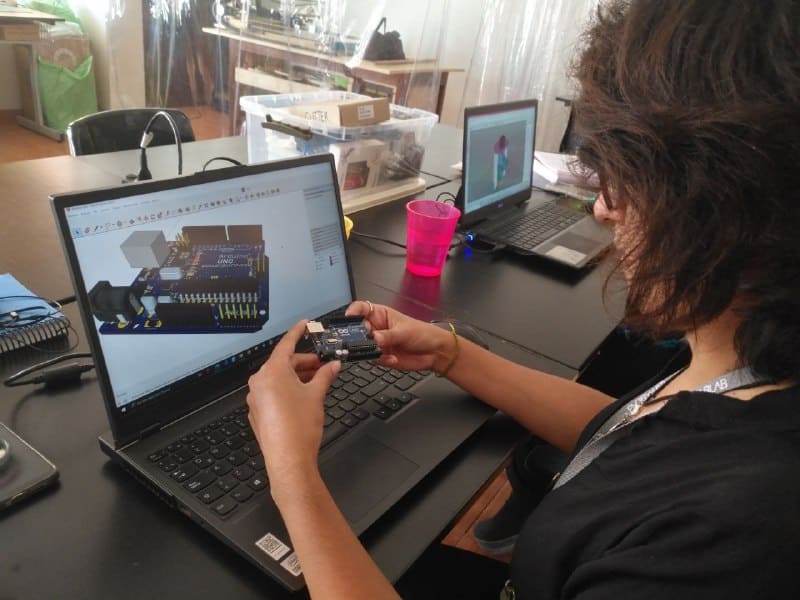
Electronics
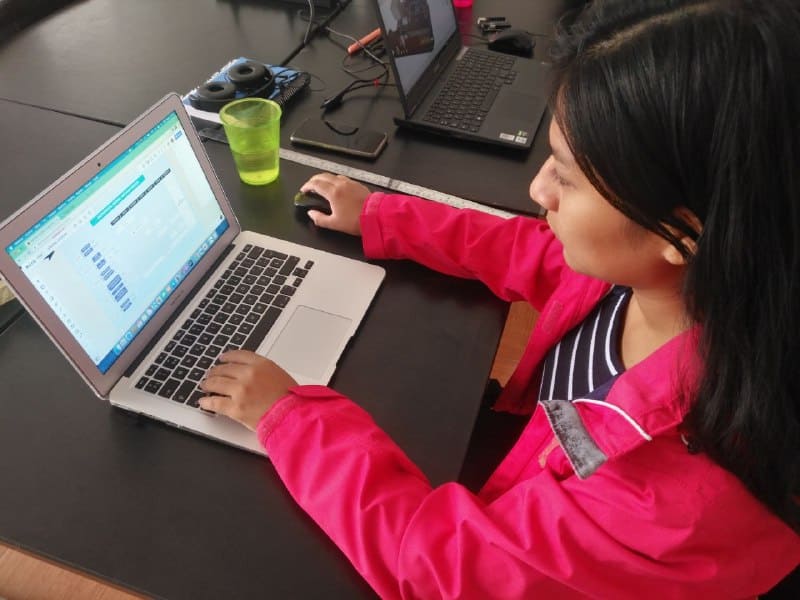
Documentation
Materialsand components
Sometimes there are problems that can be easily solved but sometimes we can't see it, clearing the mind is important. First, we choose the right materials that will suit our entire design as you can see in the next image:
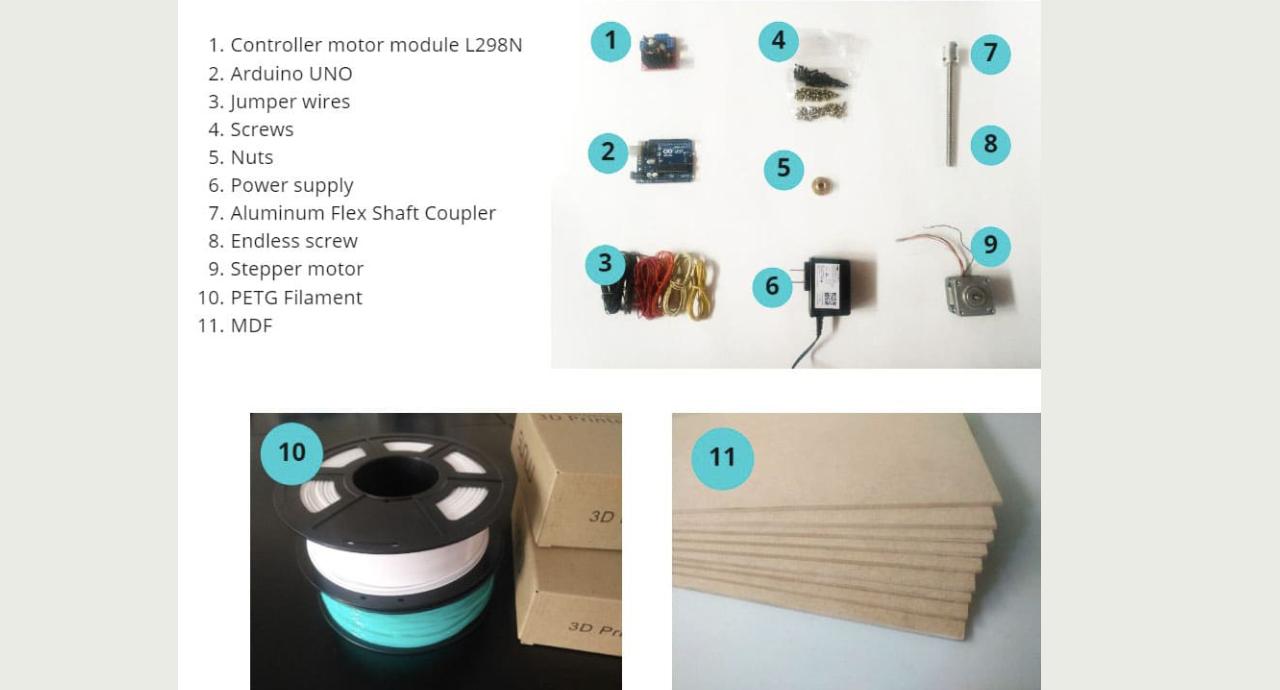
list of materials and components
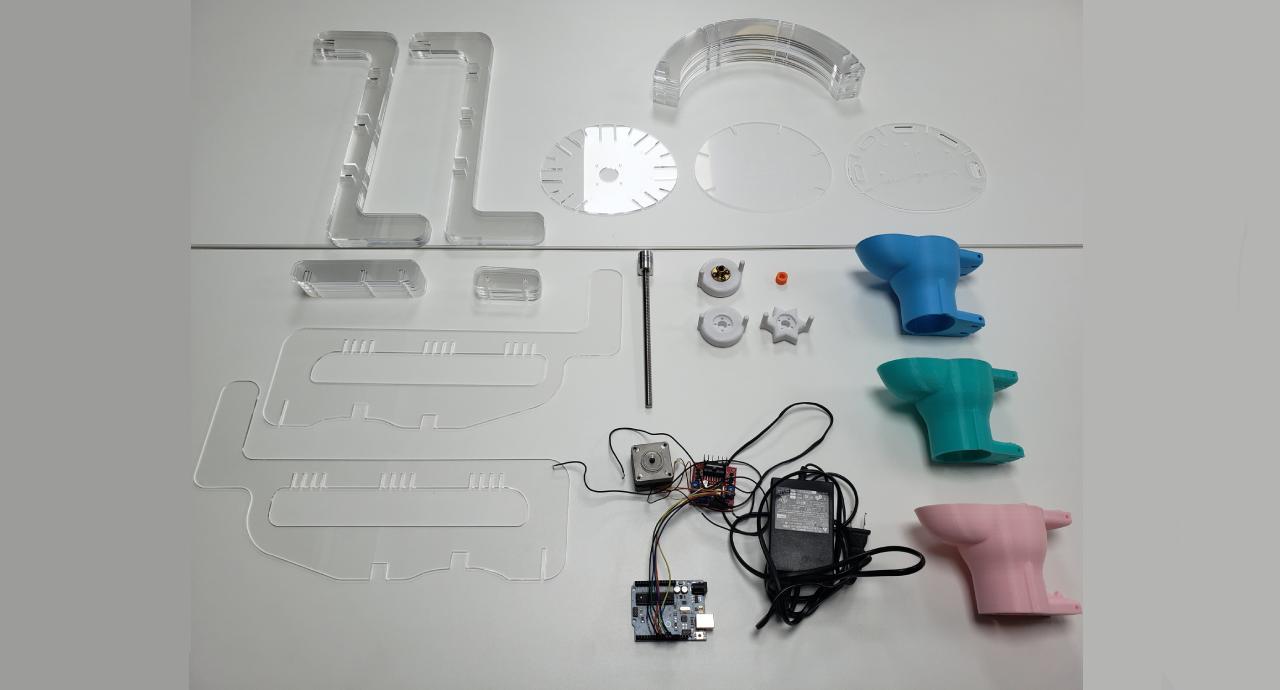
materials and components
One of the materials we use is PETG, for our project it is necessary that the filament is non-toxic since I will be in contact with food. For the structure we chose 3mm MDF for better stability.
Testingmaterials:
Kerf MDF and AcrylicWe have used a different laser cutting machine than the one we used during the week of Computer controlled cutting, therefore, we had to test again in order to have the precise structure fittings and we tested two materials:
MDF
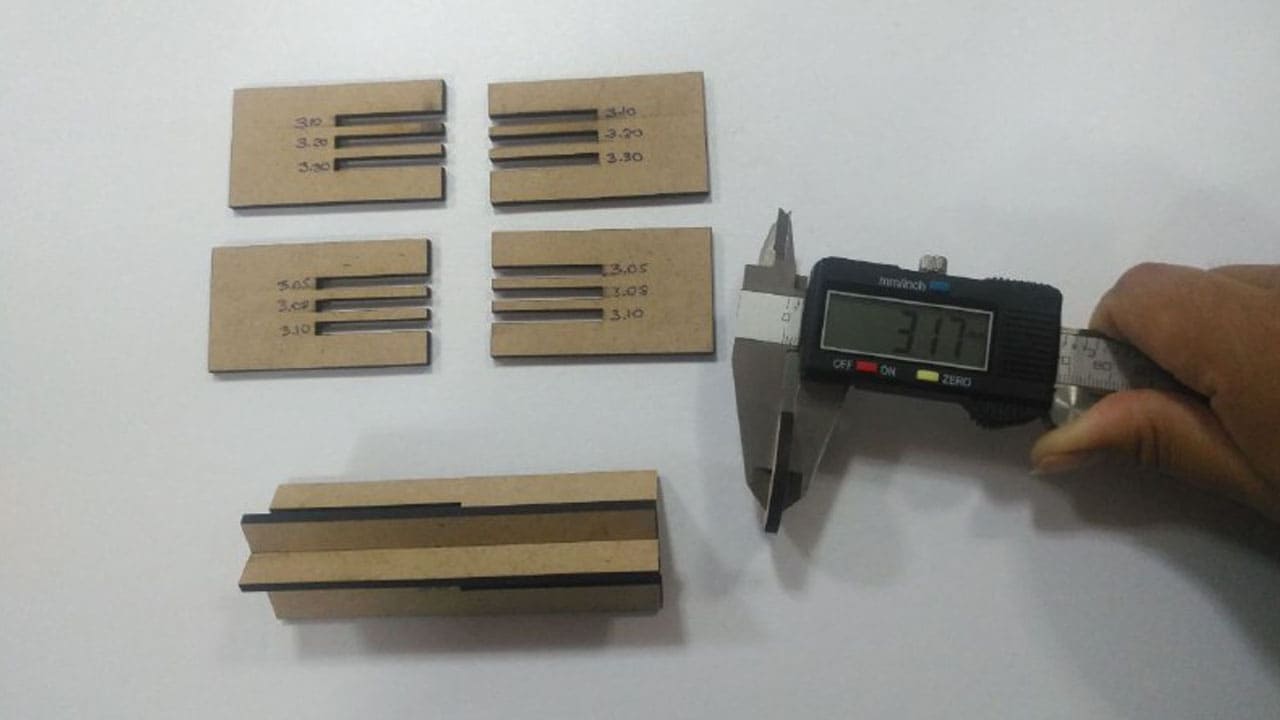
Material Thickness: 3.17 mm Perfect Fit: 3.05 mm
Acrylic
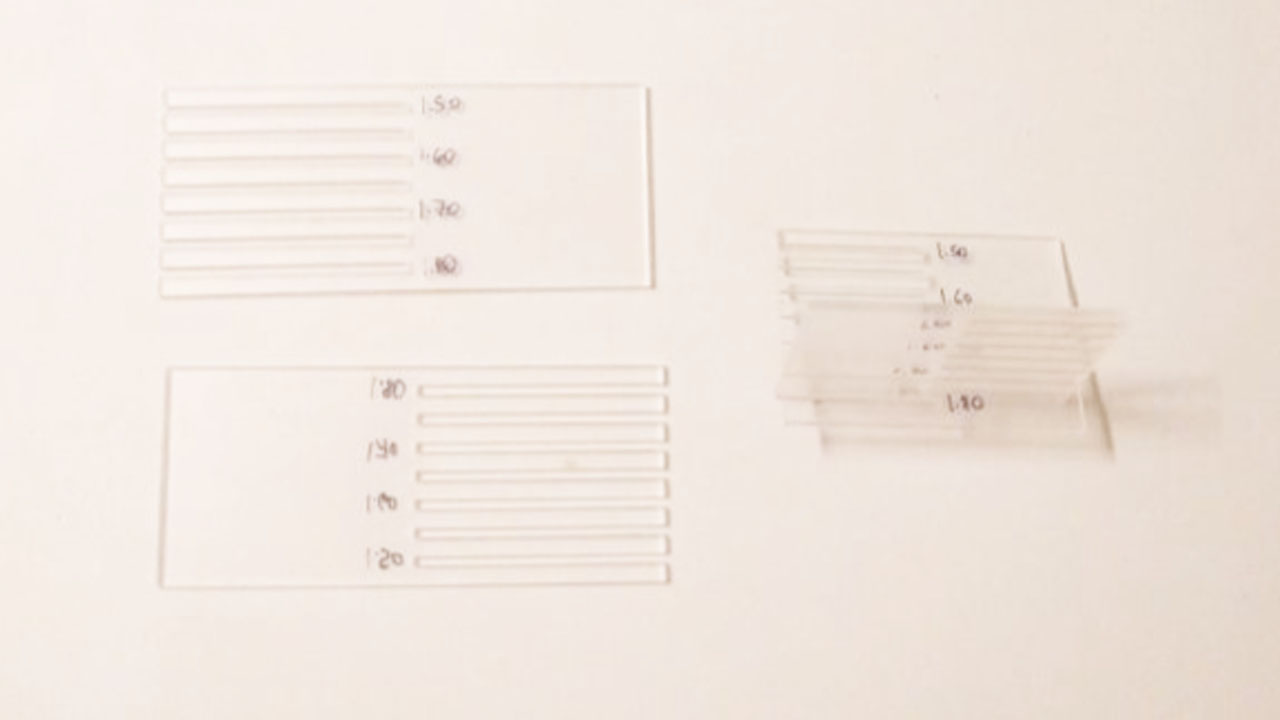
Material thickness 1.92 mm Perfect Fit: 1.75 mm
Testing PETG
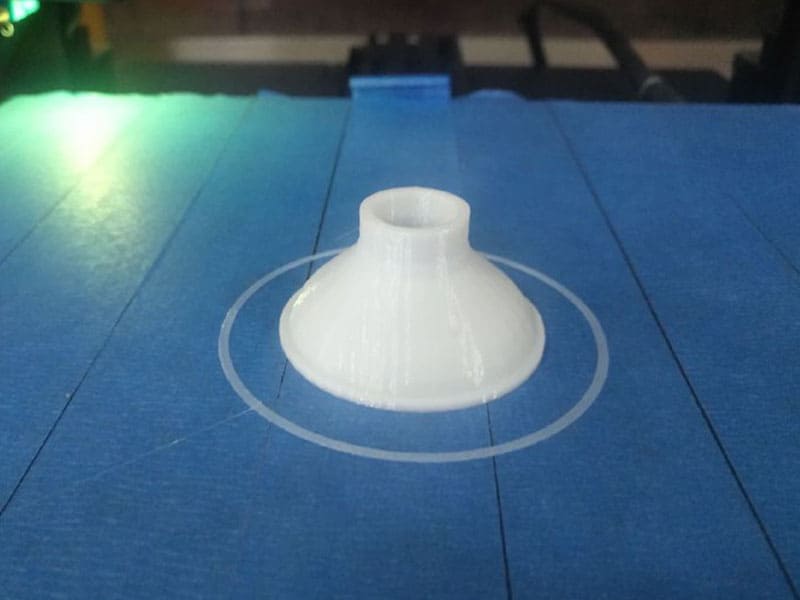
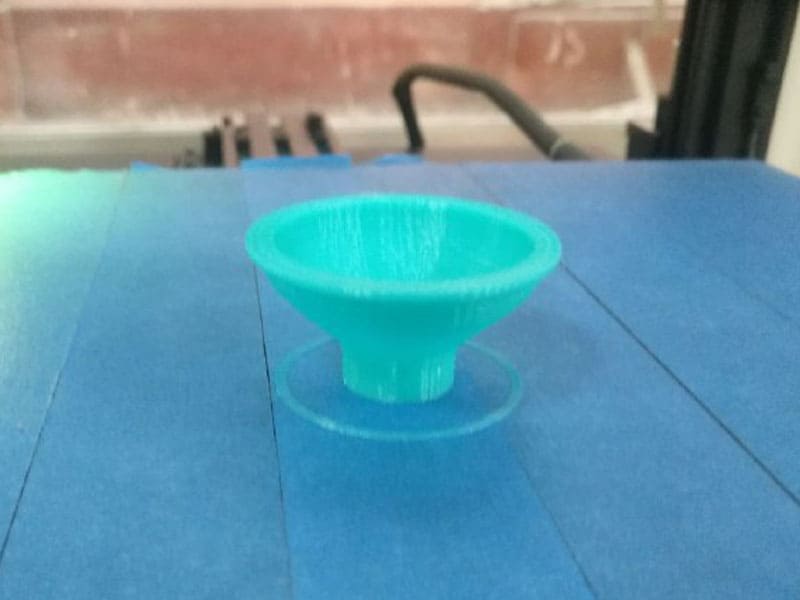
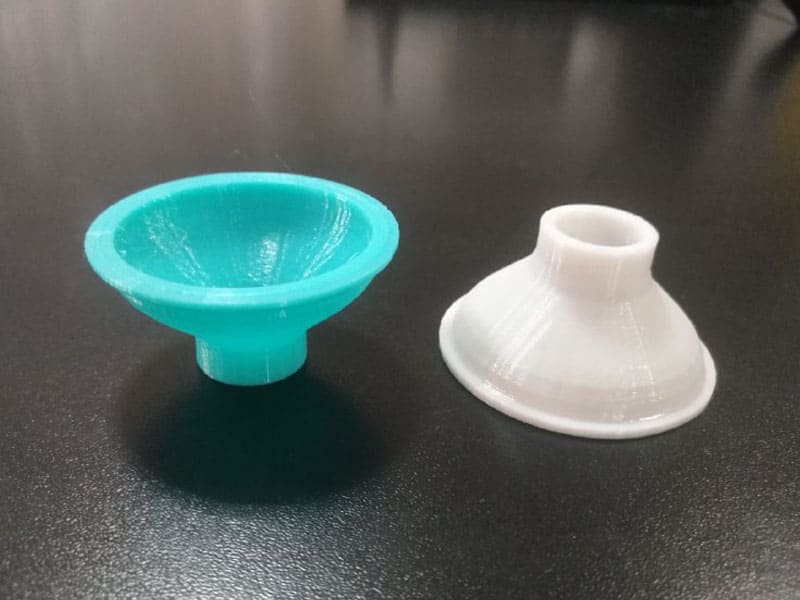
We also test the PETG filament, the minimum recommended configurations to print in the shortest possible time:
- Layer height: 0.28
- Cooling: Off.
- Filling: 5%.
- Material temperature: 220
- Bed temperature: 80
- Speed: 48
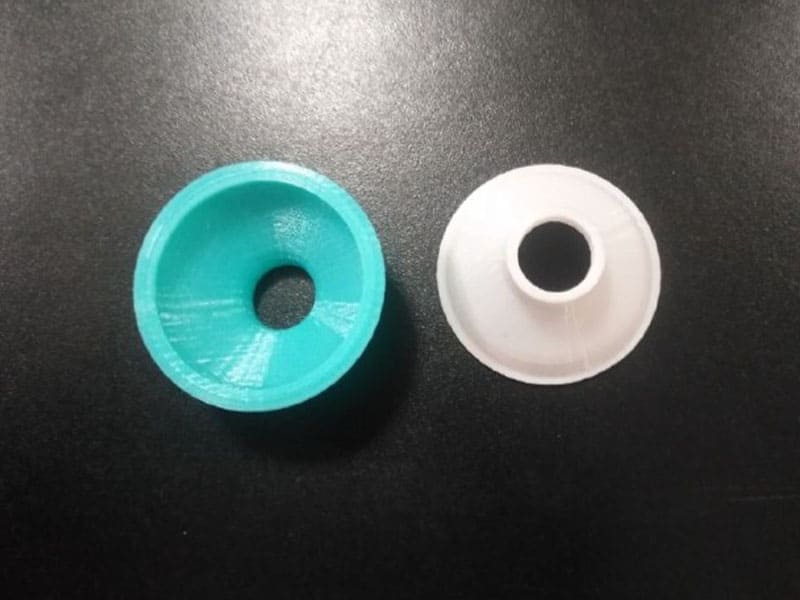
Conclusions:It was printed without supports, good printing quality and no deformities. This test was made to see if we could print the funnel shape without supports in both positions, because we wanted to add more shapes and accesories.
Fabrication:
Having the design, we started printing small pieces to see the fit and testing nuts, in the process a lot of mistakes happened....😂😂😂😂😂
Each filament has parameters in which it will print best and differences in finishes or thicknesses, which may influence it to mate with another part, such as the following test:
3D piece
Printing
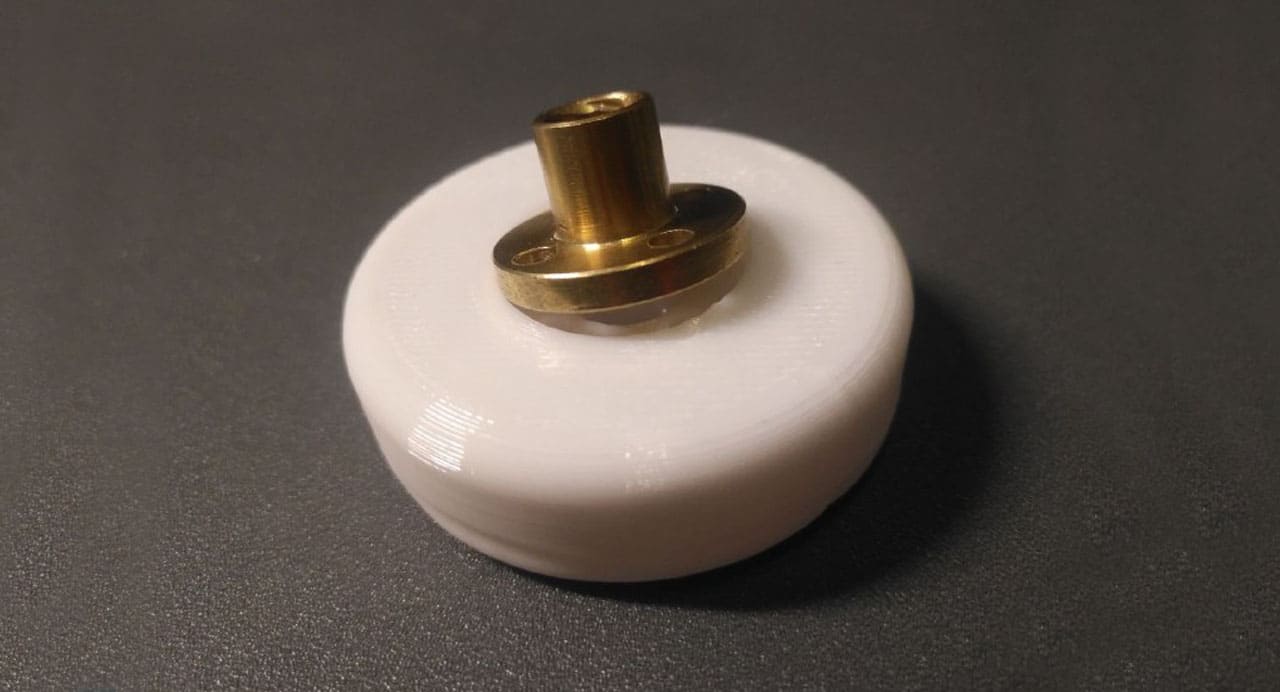
First attempt at 3D printing the nut does not fit
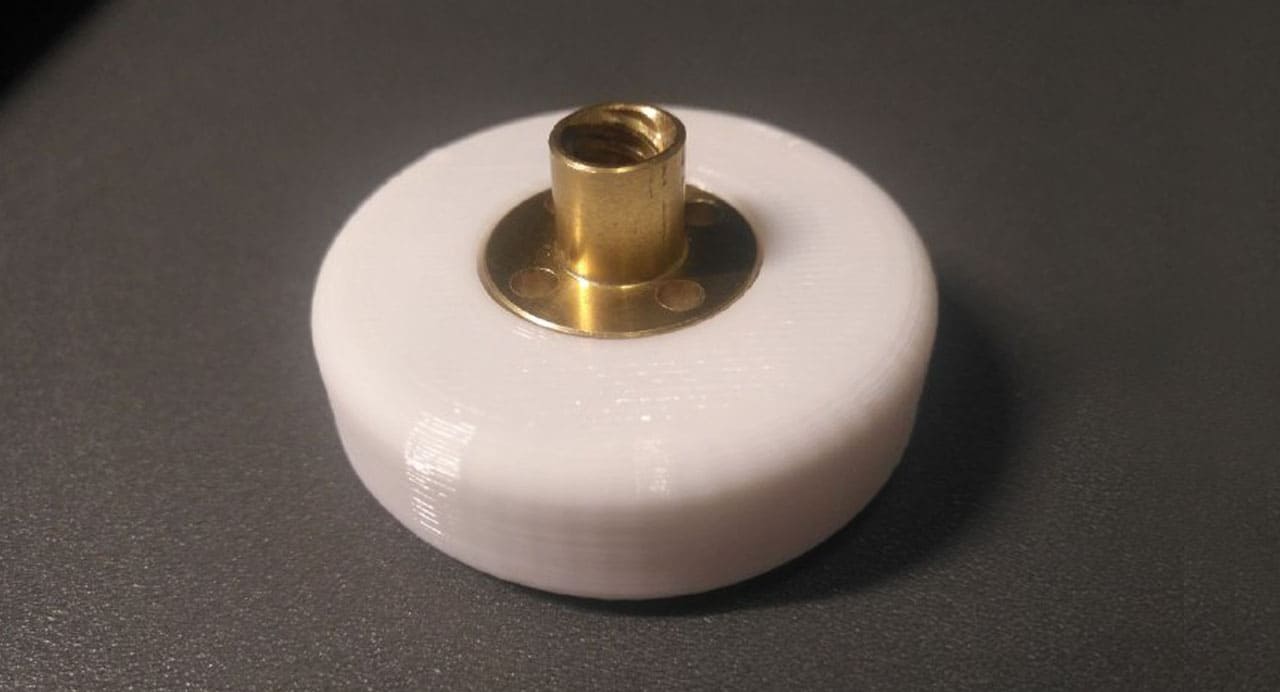
Second attempt at 3D printing the nut fits perfectly
We had several changes before we got to the final parts. From rethinking the main shape of the funnel, the extruder and the structure.
Join me in this roller roulette of emotions, tears and laughter were not lacking! 😎😎😎😎😎
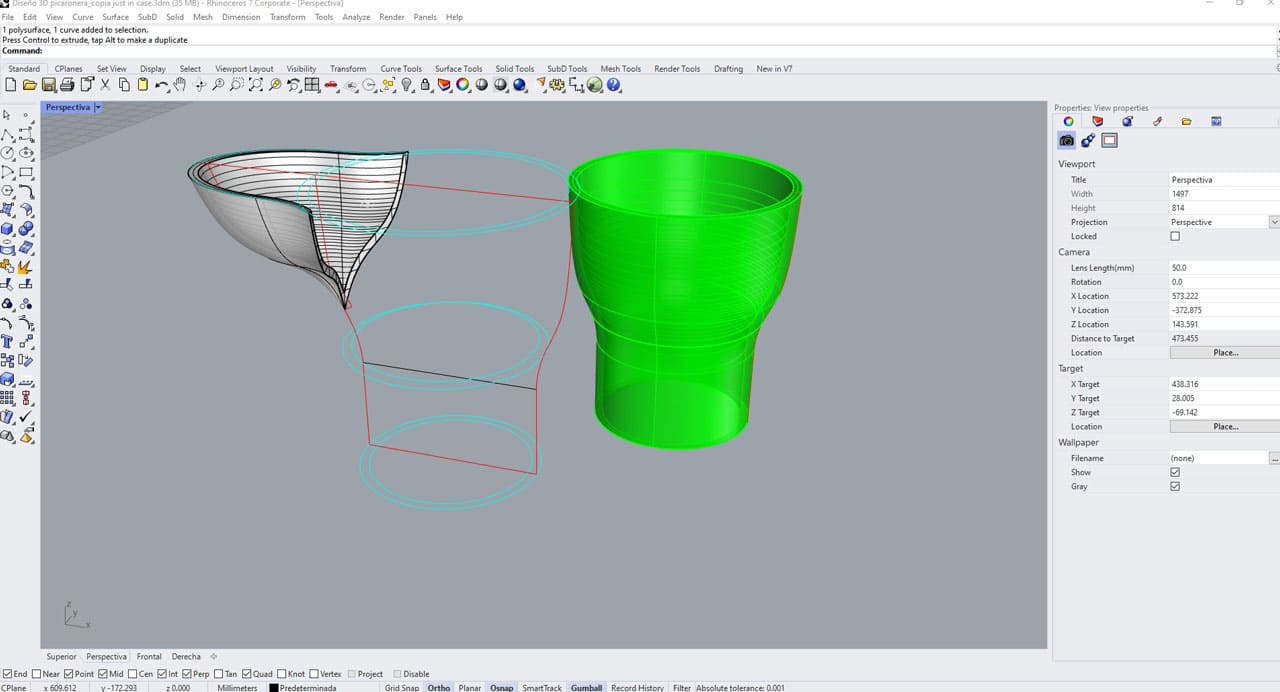
Container funnel
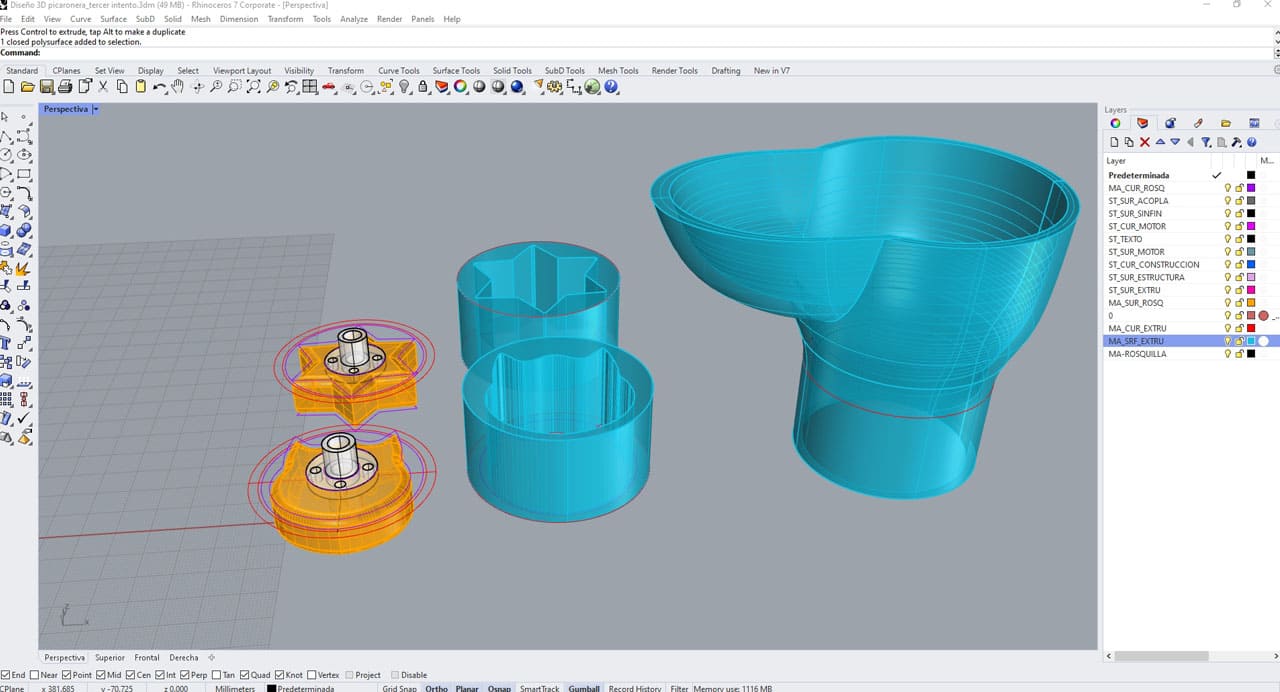
Container funnel and extruders
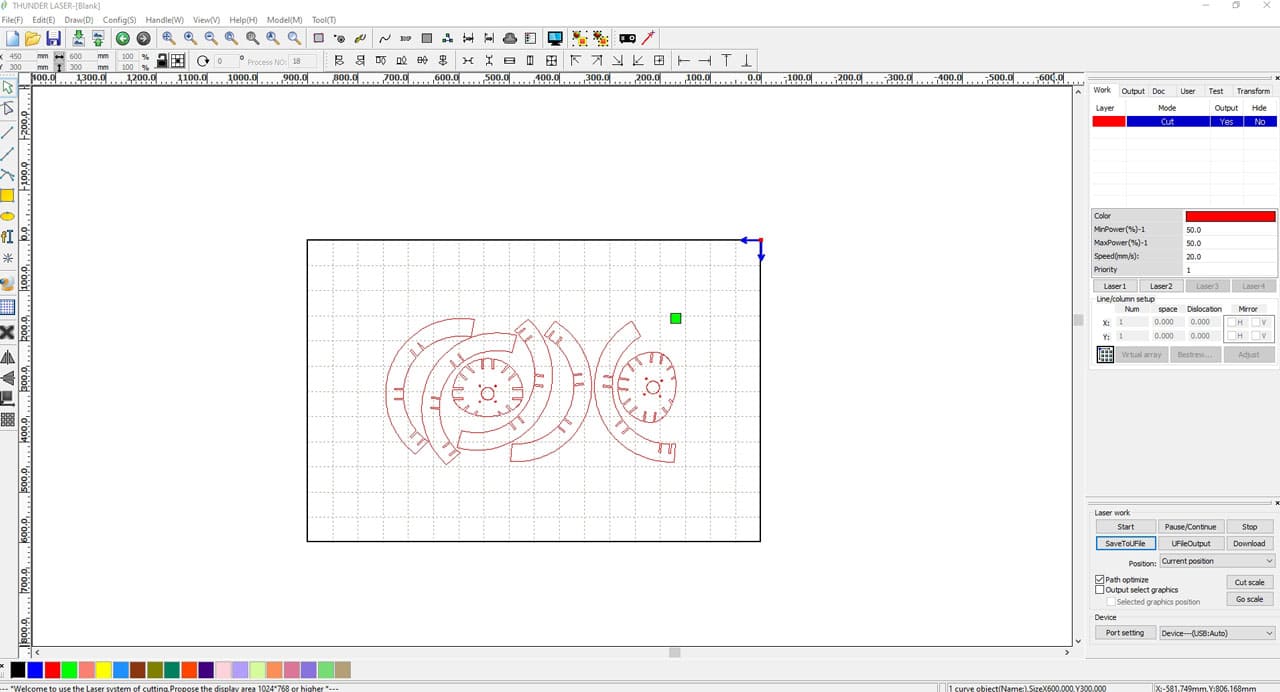
Part of the structure
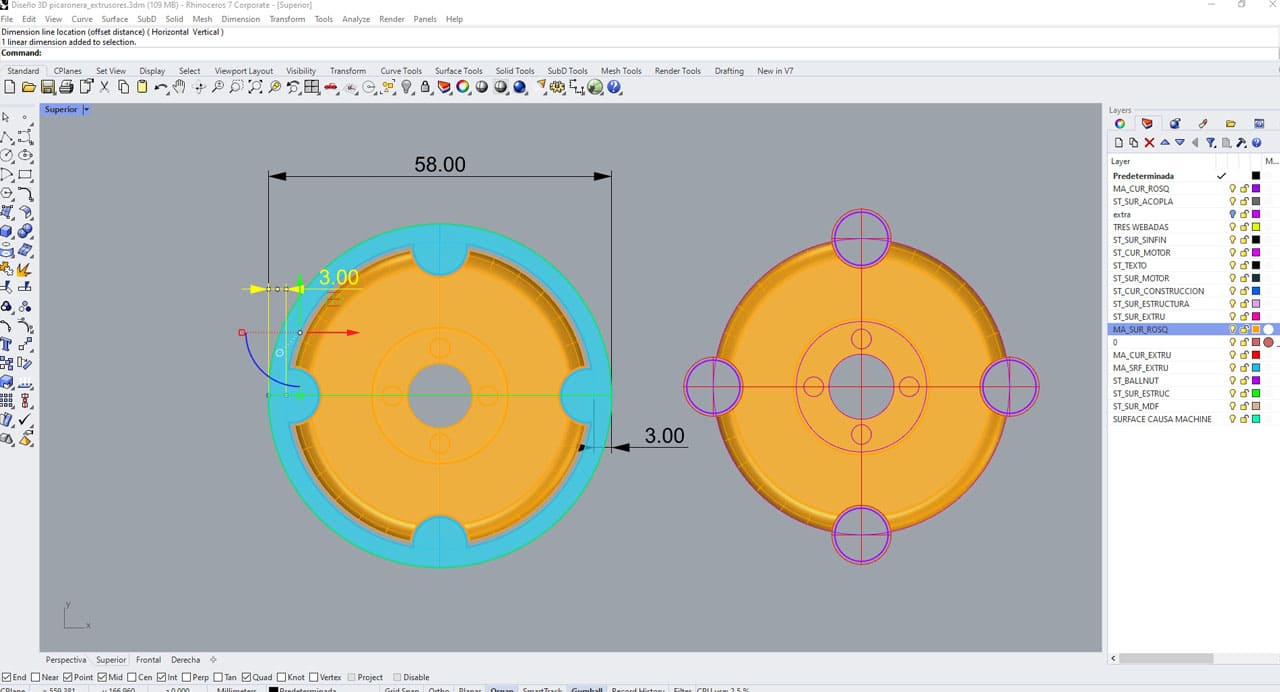
Extruder
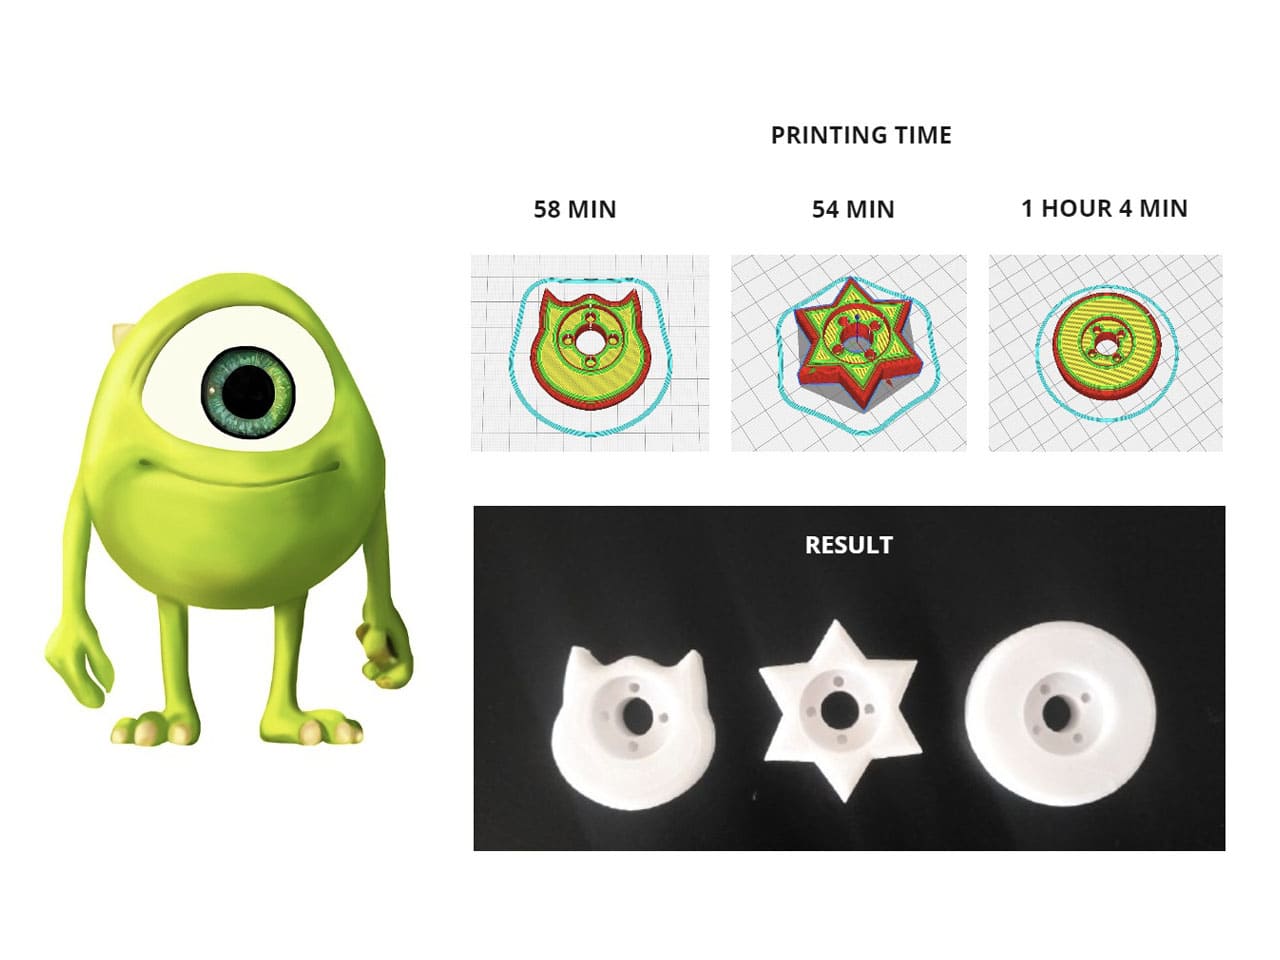
We want to design not only the circle like the traditional picaron, we tried to design different shapes like a star and cat, but one of them looks very familiar.
Wazowski, what are you doing there? That's not your family! Accidentally the cat became Mike Wazowski, believe me, it wasn't planned 😅.
Gravity said no!
When everything seemed to be fine, we forgot that the piece could fall without something to stop it...
But a small part would solve our design and internal rails become very important. In this way, no part falls into the vacuum by gravity.
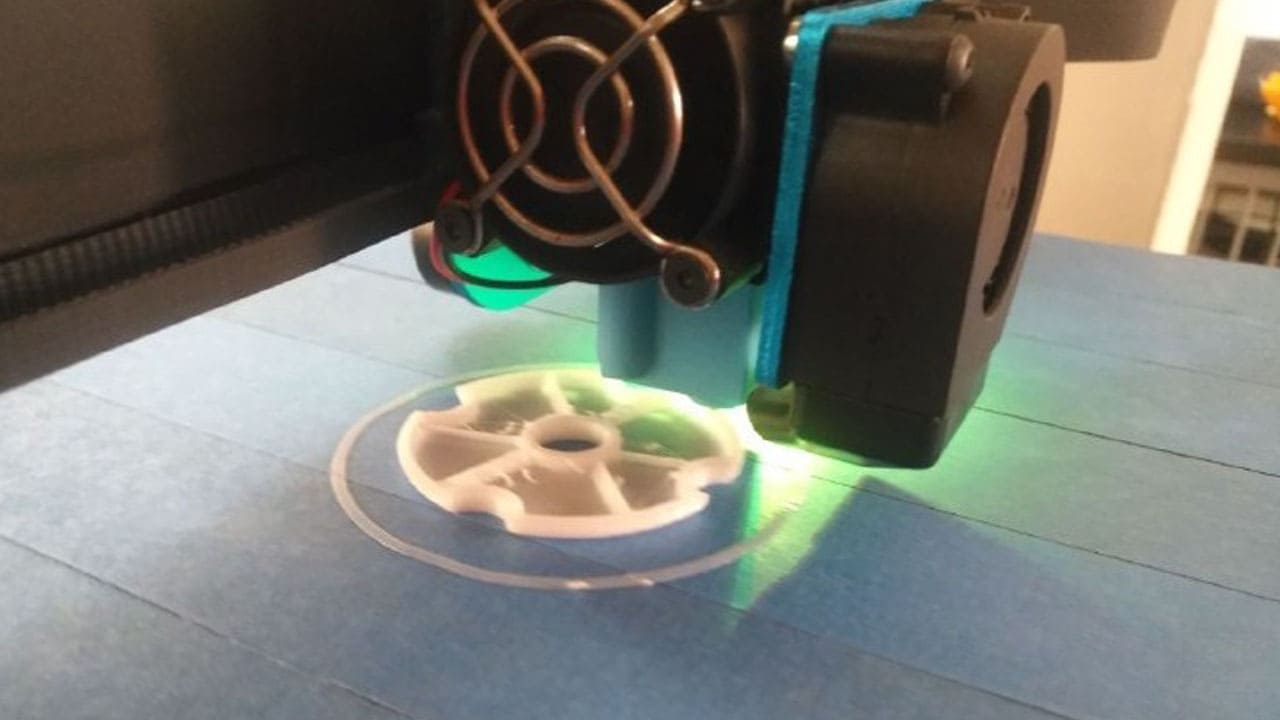
3D printing
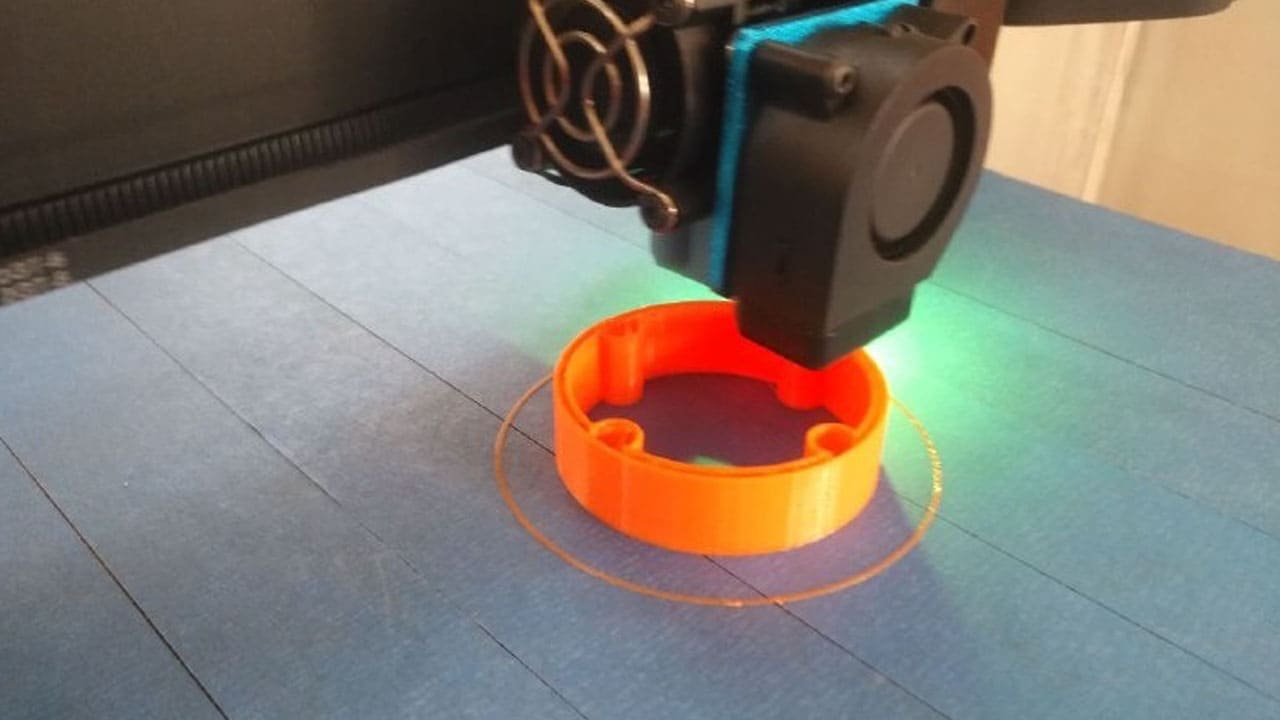
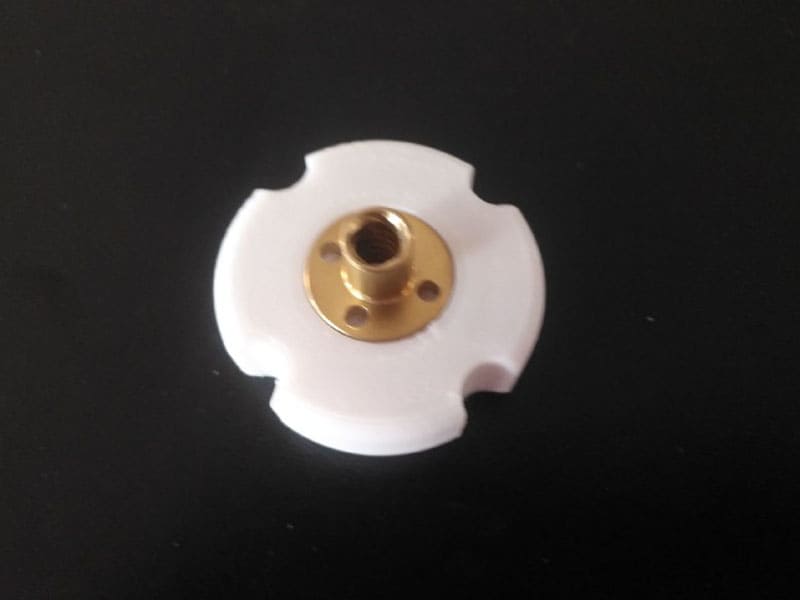
Testing parts in assembly
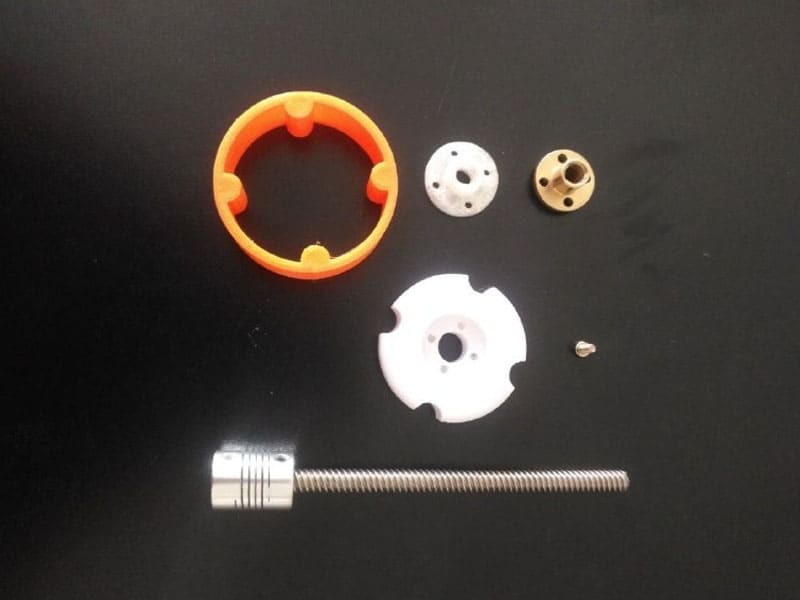
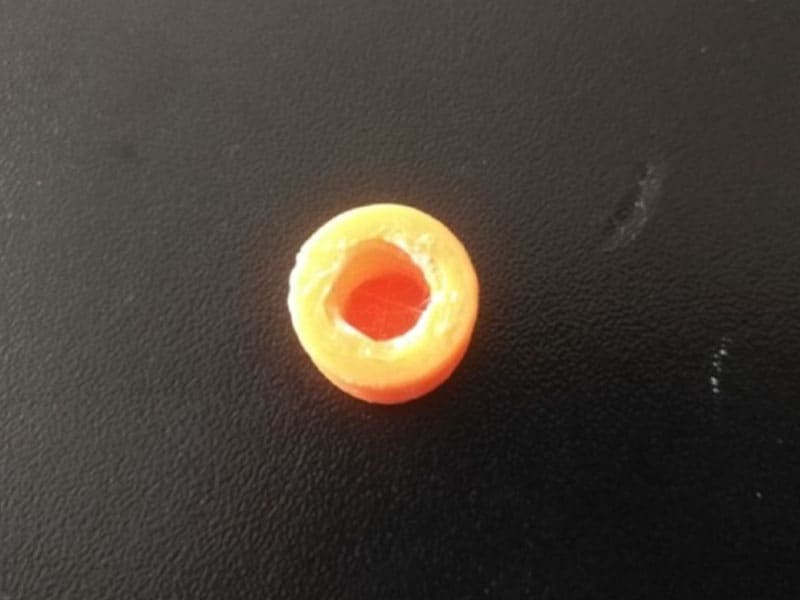
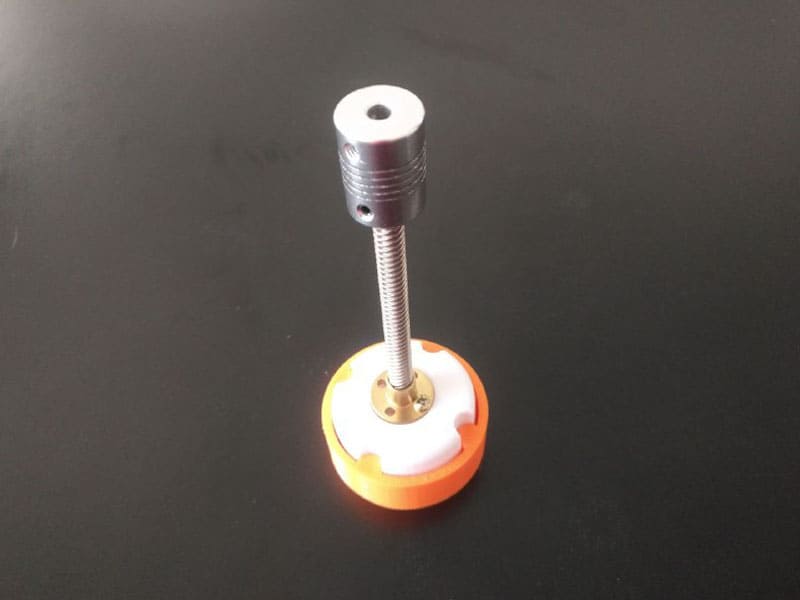
Tryagain!
At this point we didn't know whether to stop and cry for all the hours of 3d printing, so we just smiled and kept going.
After so many mistakes, we finally know what changes are needed to be able to continue manufacturing.
Let's set this thing on fire!
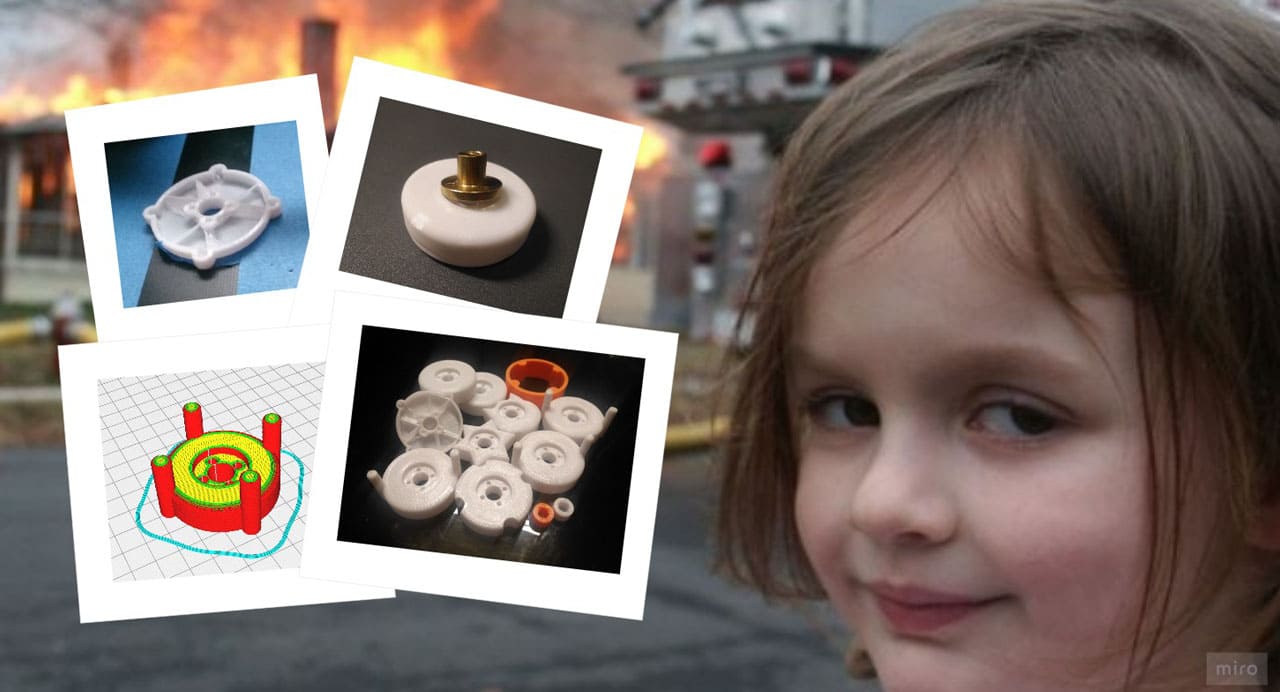
Scheduleprind and cut!
The design took a long time because we went back and changed measurements when something didn't fit. You always have to avoid mistakes in the final pieces, so you can print or cut certain sections and verify that everything fits perfectly, avoiding spending too much material and time. The modeling was done in Rhinoceros
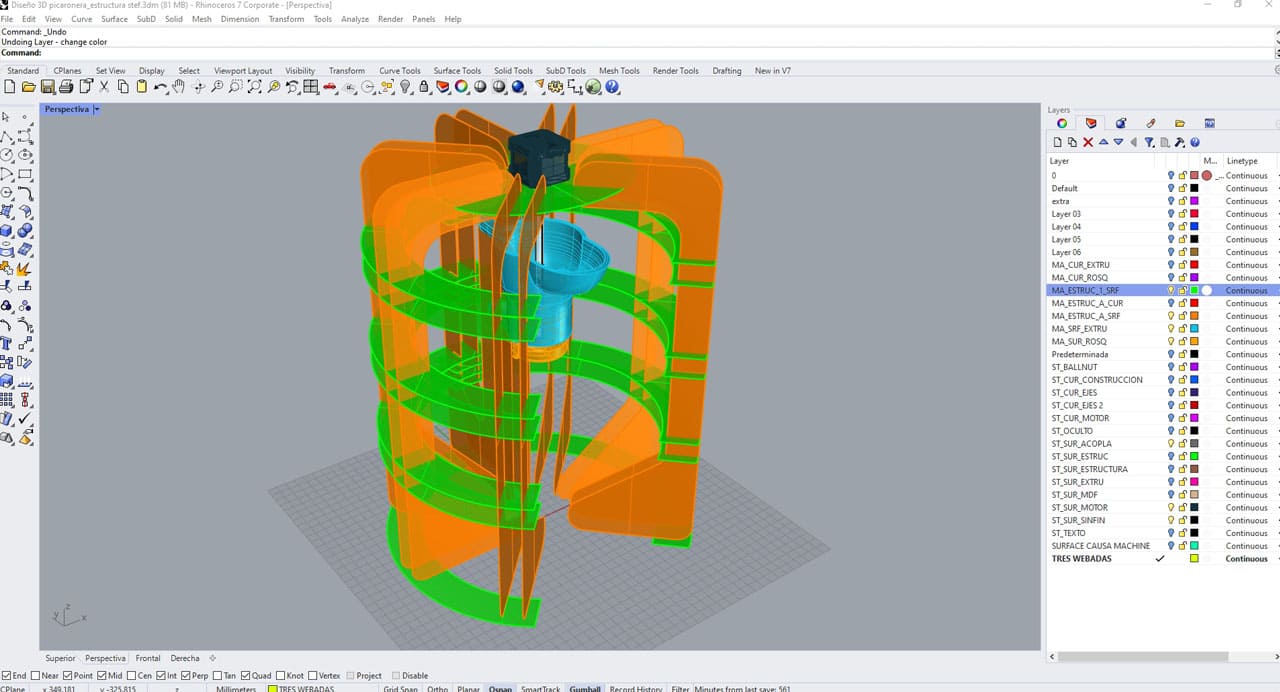
3D Models
Doughnutshape
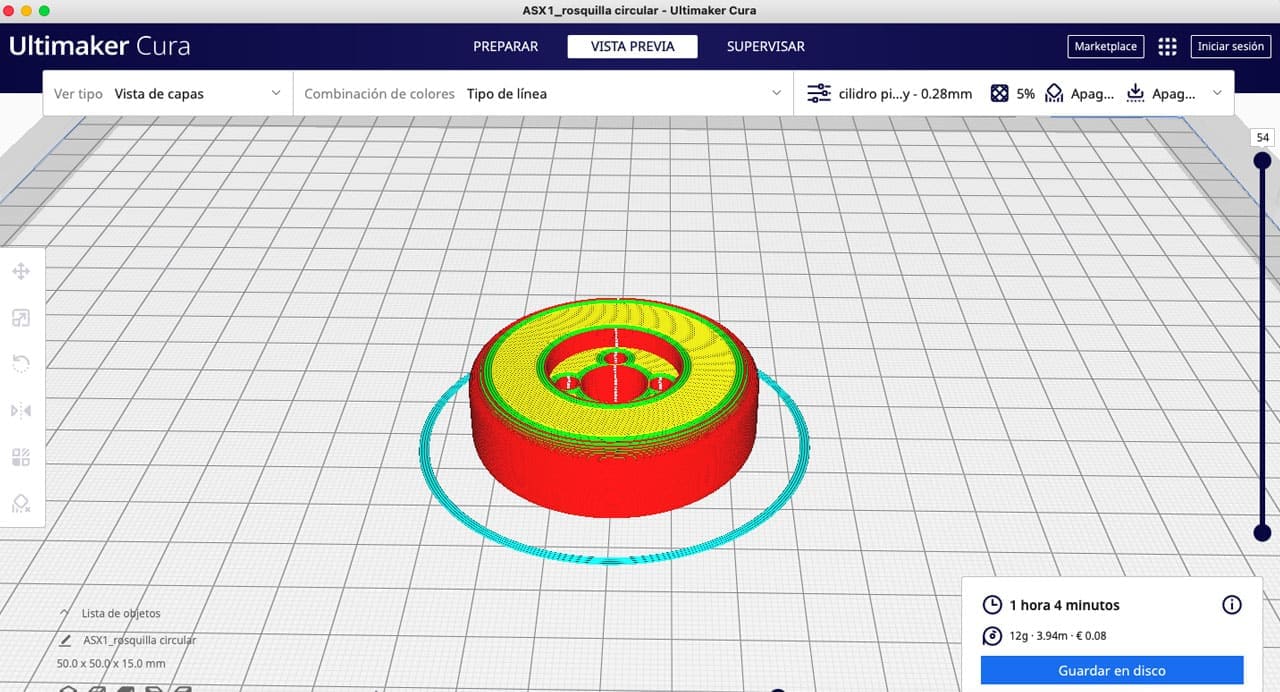
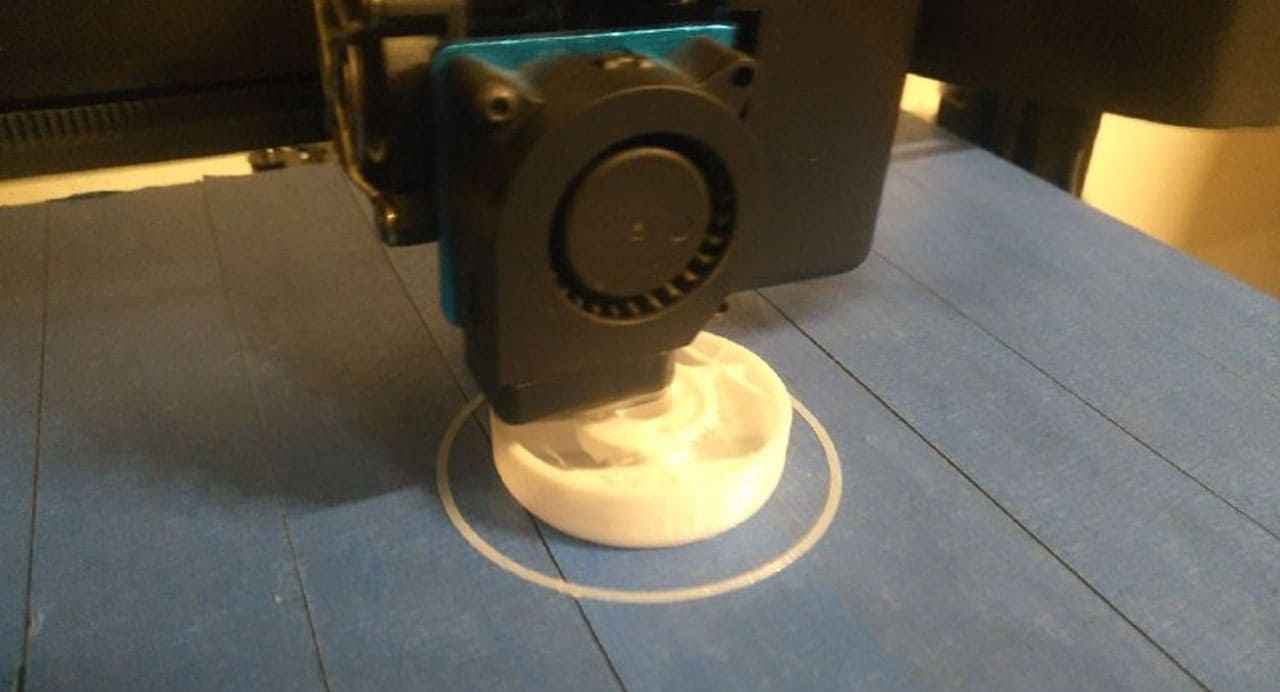
This was the first file to print and we use the next setting to print PETG on an Artillery printer, Ultimaker cura was the slicer software that we use to convert it to g.code.
- Layer height: 0.28
- Cooling: Off.
- Filling: 5%.
- Material temperature: 220
- Bed temperature: 80
- Speed: 48
The result was quite good, it took 1 hour and 19min.
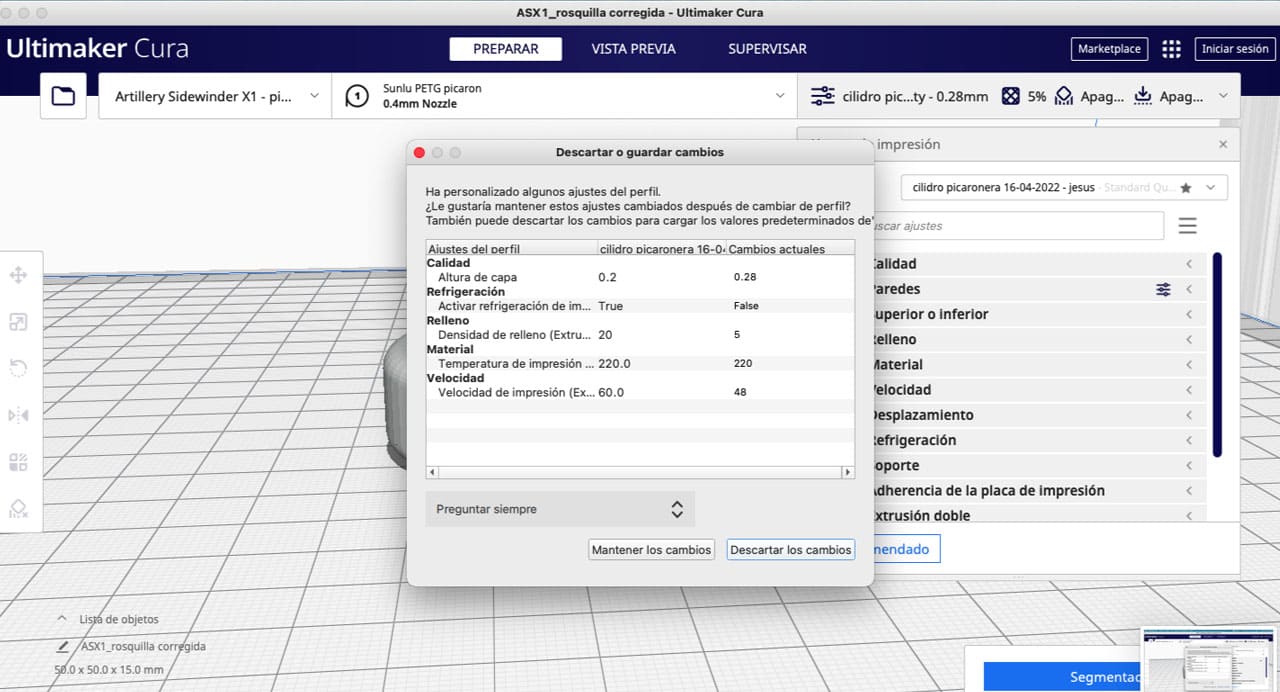
Parameters
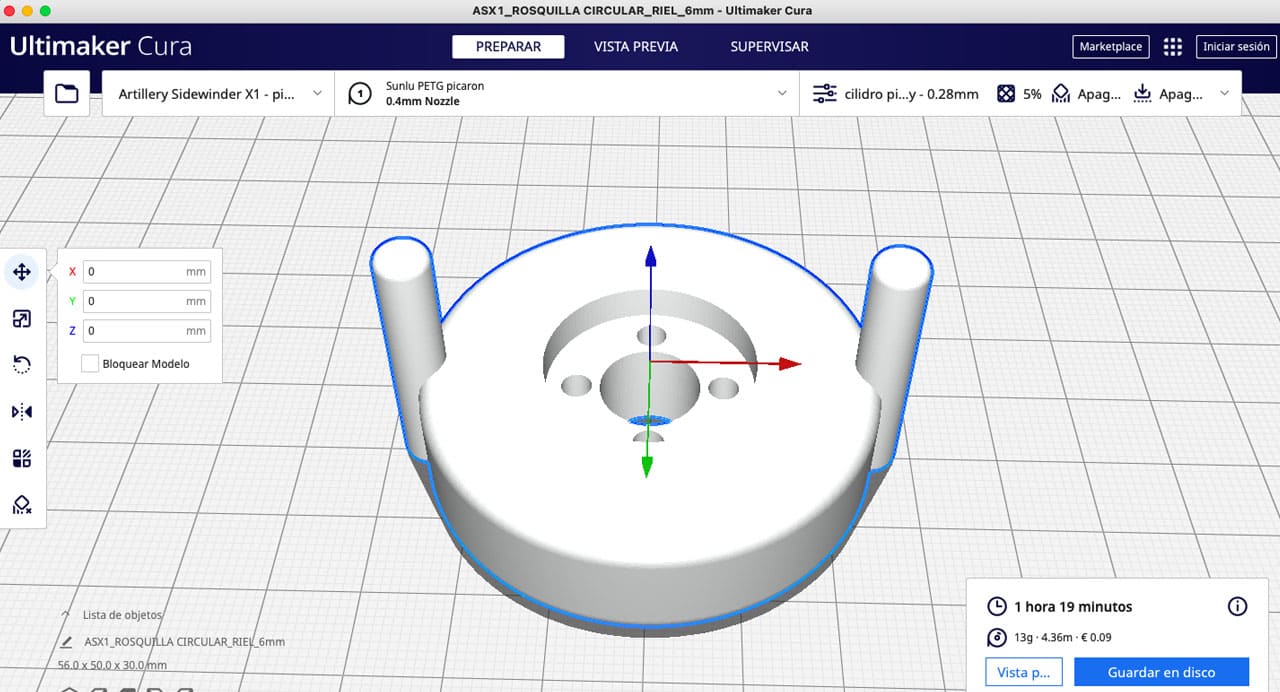
Ultimaker cura
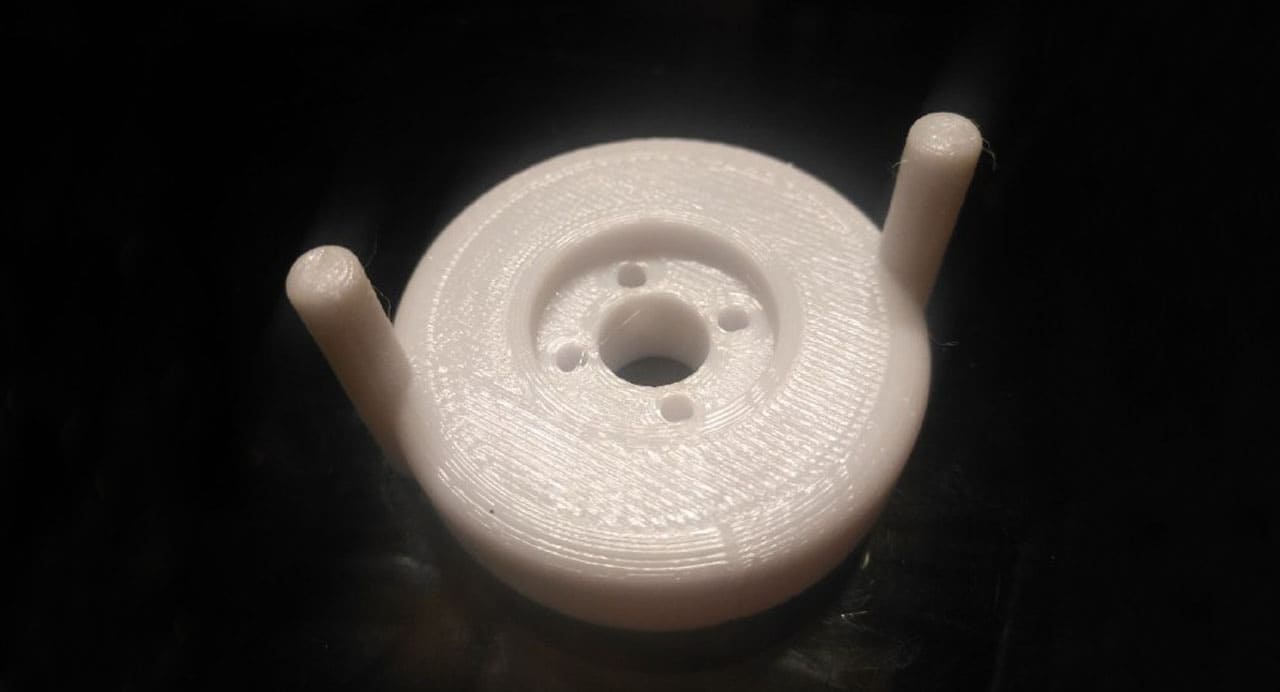
Final result
Extruder
The second file to print was the "Extruder", we call it by this name. The configuration used was the same as in the previous piece.
We were printing and cutting at the same time and we had to open the windows due to the toxic fumes emitted by the laser cutter, but this affected the print quality because the ambient temperature changed (the window was next to the laser printer).
Due to the change in temperature, the first layers are irregular and the last layers are smoother.
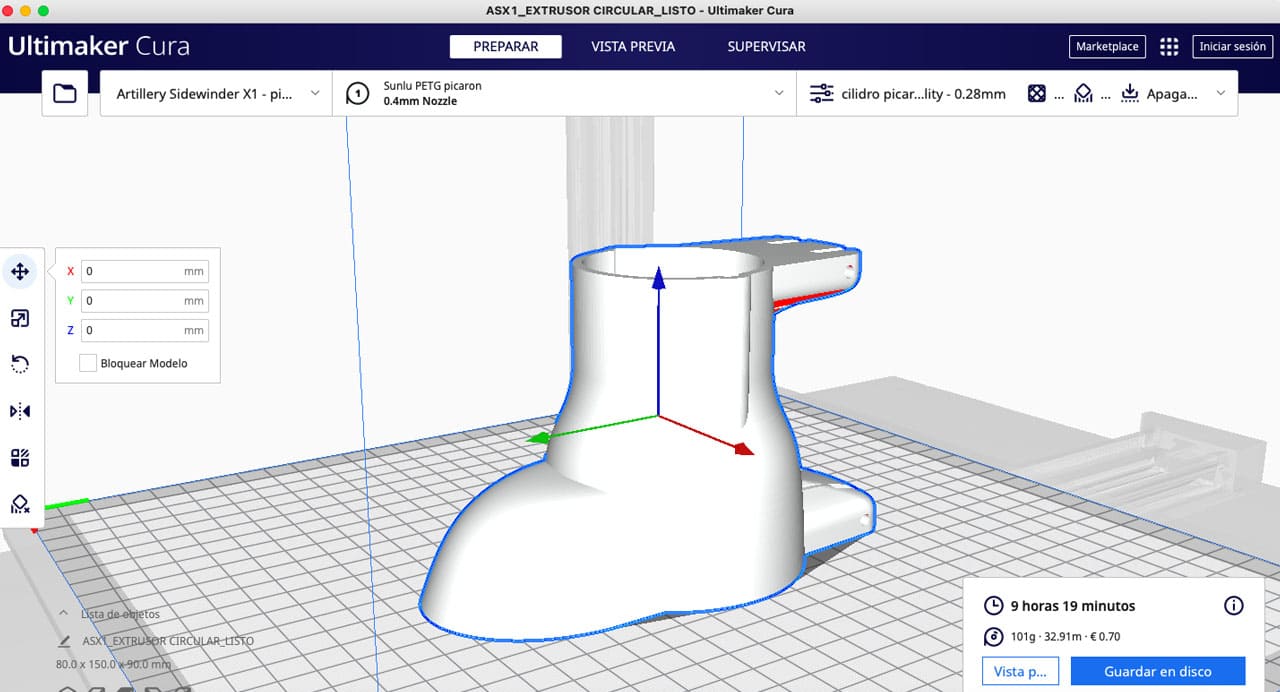
Ultimaker cura
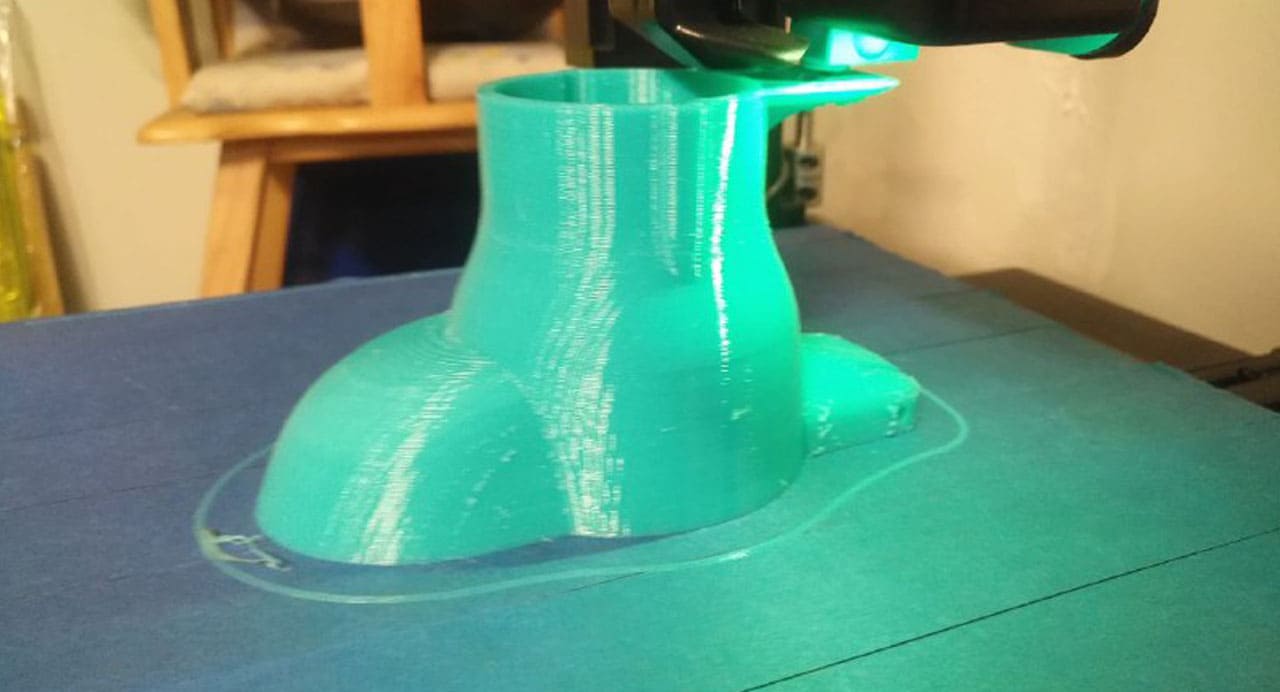
Printing process
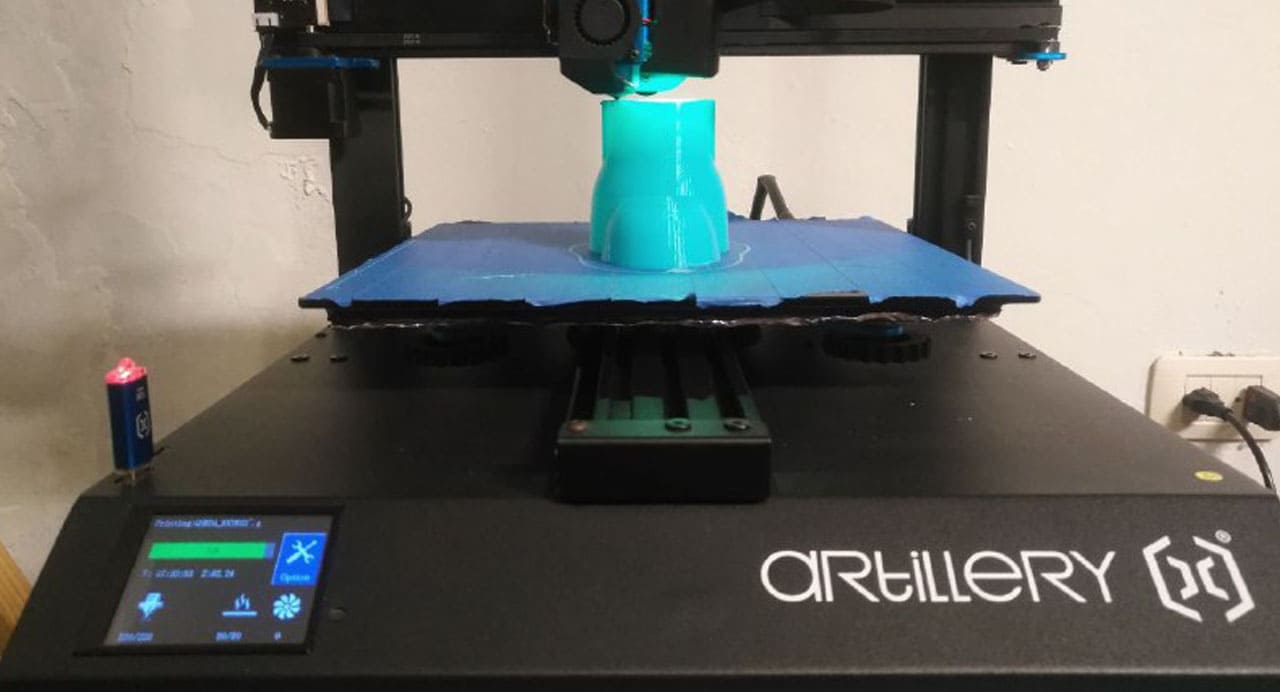
3D Printing in artillery
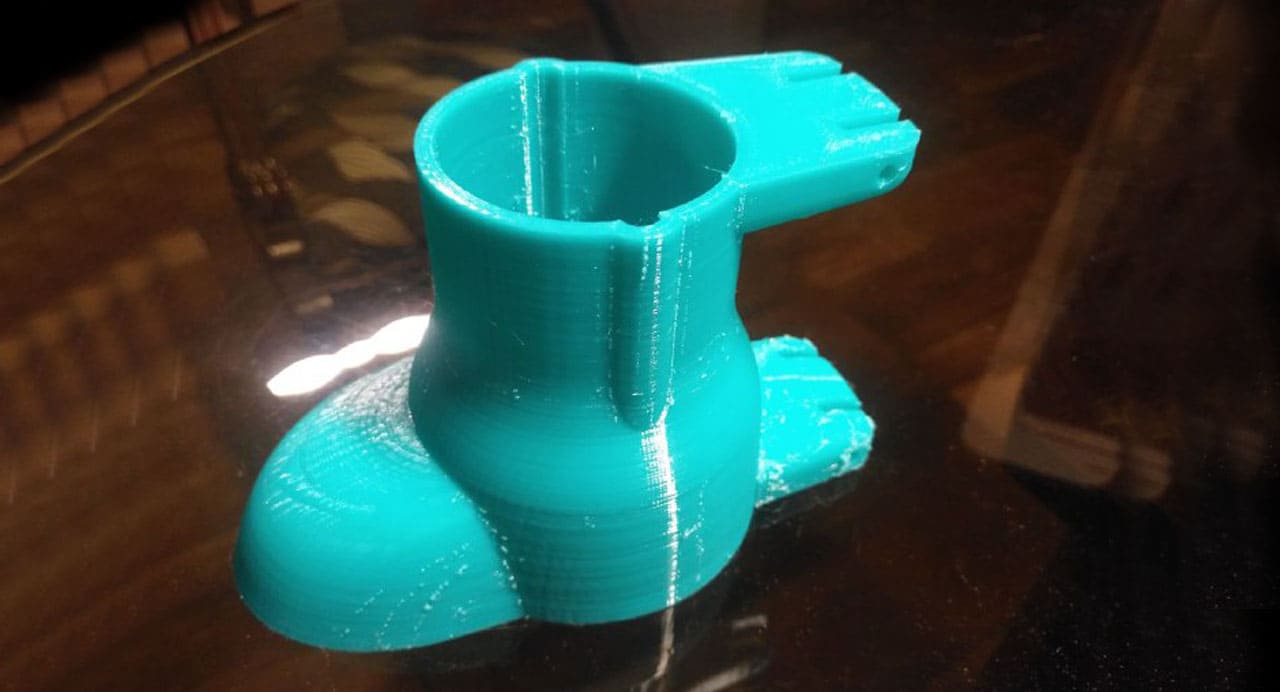
Final result
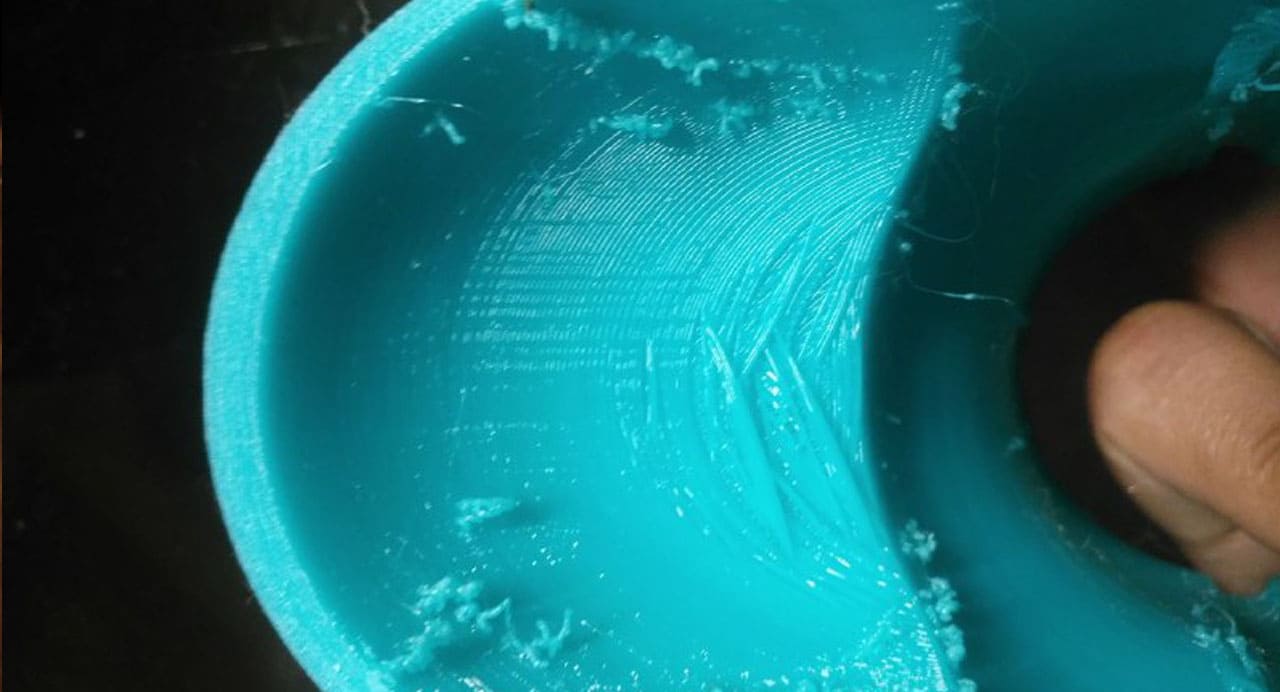
Details of irregularities
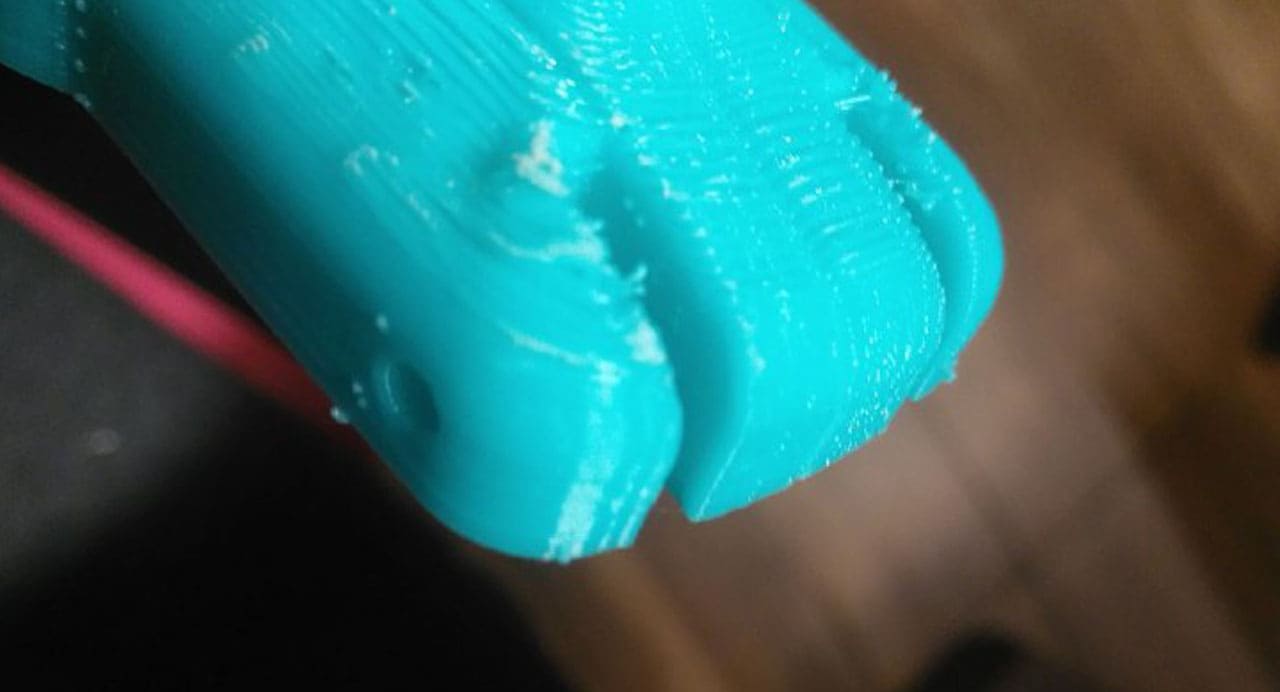
Details of irregularities
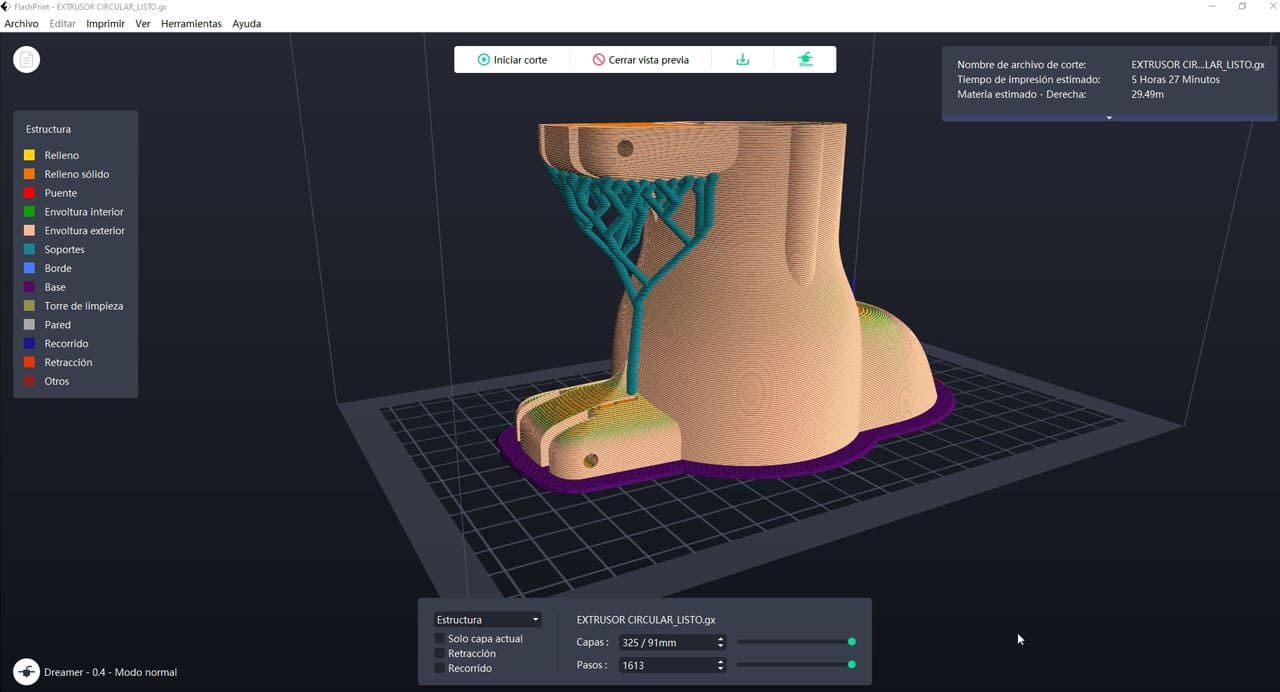
We made a second parallel print with a DREAMER 3D printer, added supports and the result was different, much more uniform and could be done in less time.
We have used the FLASHPRINT software and the printing time was 5 hours 27 min.
Details irregularities
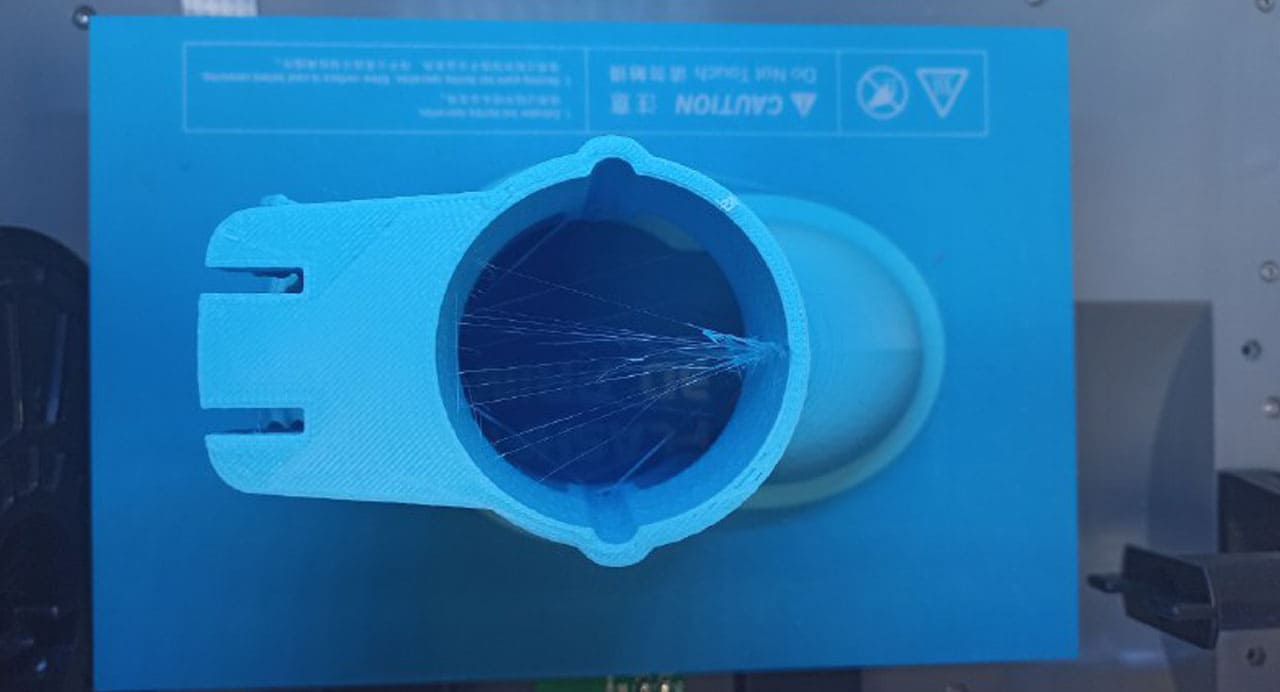
side top view
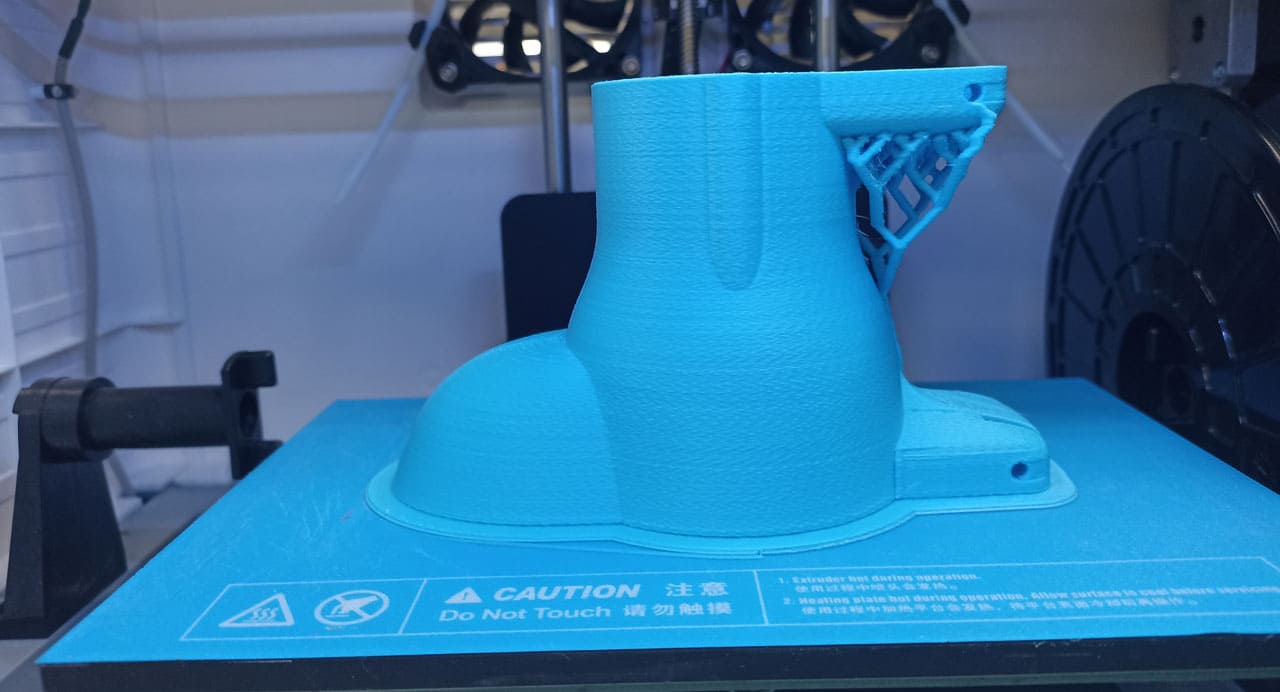
side view
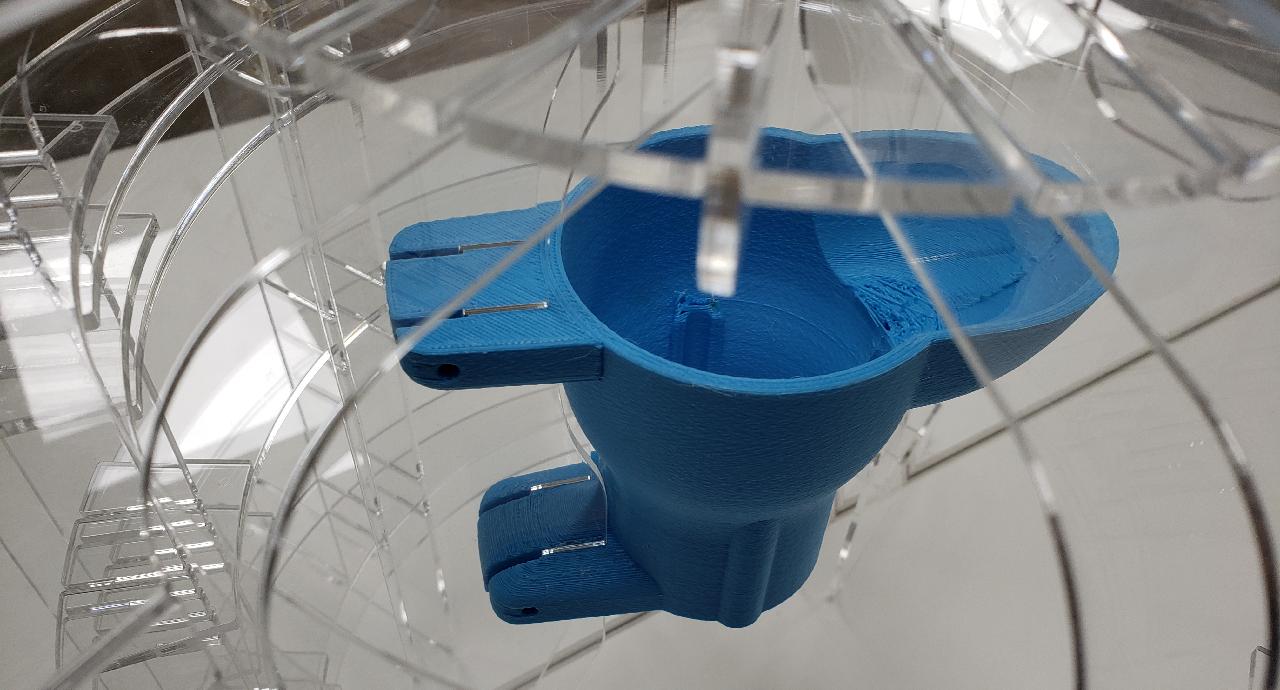
anchoring detail
For the cutting of pieces we made two versions, in one we used only 3mm MDF and in the other 2mm acrylic, that way we could have two models of structures and see the difference in balance, strength and aesthetics.
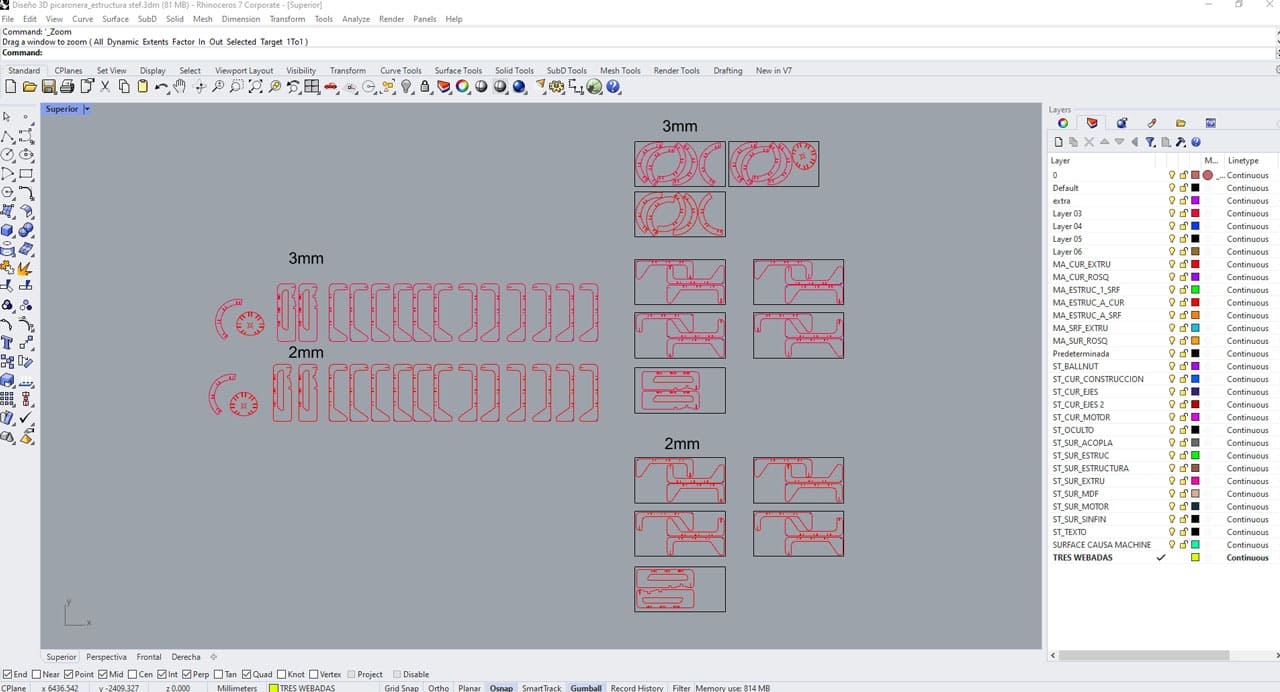
3D Design
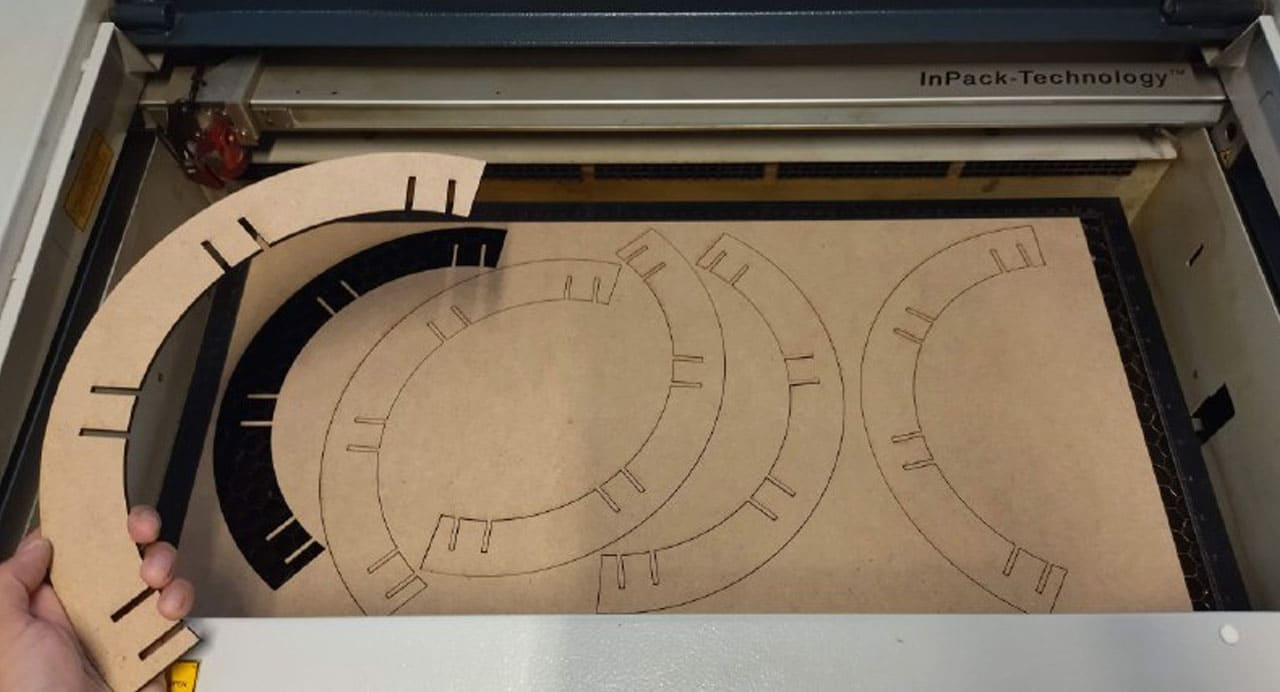
Cutting in MDF in
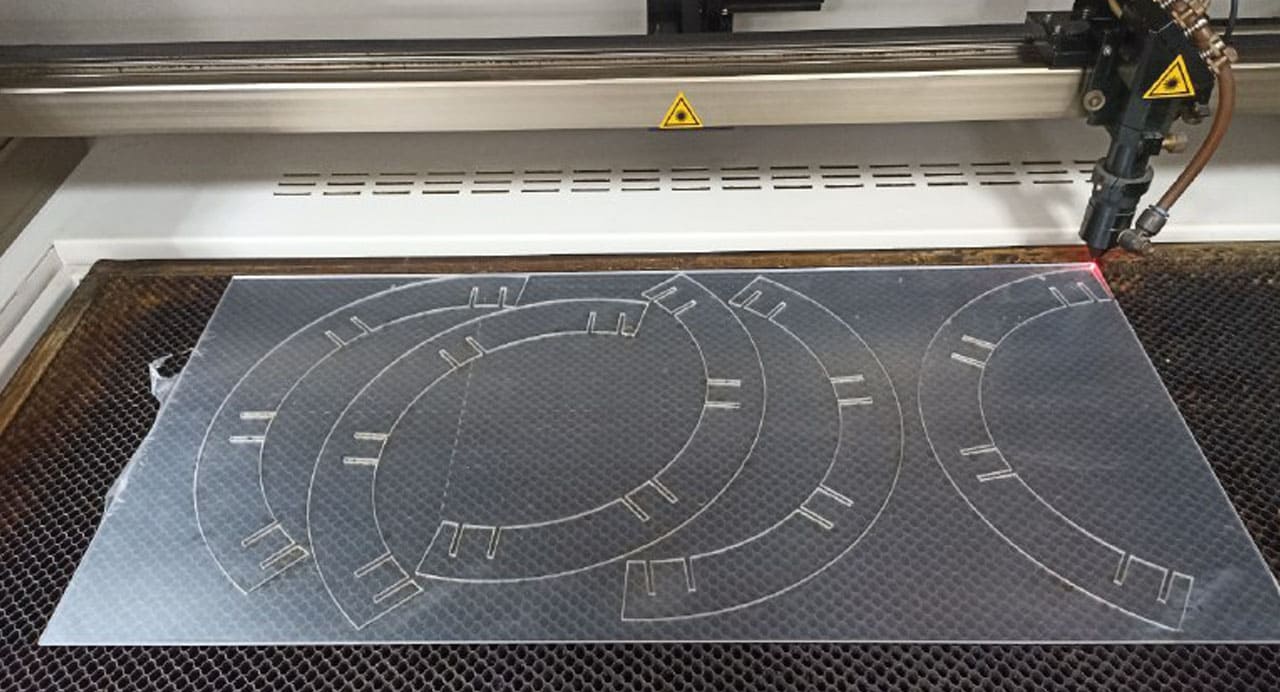
Cutting in Acrylic
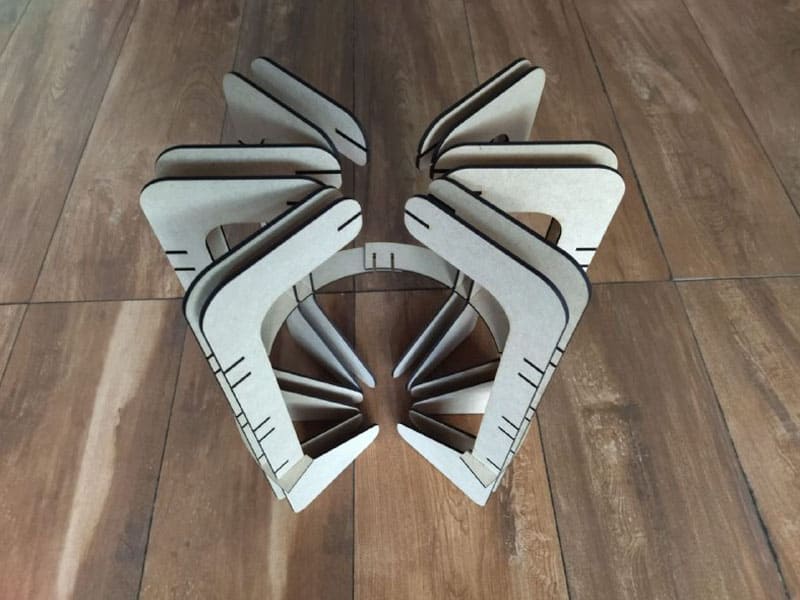
Asemble
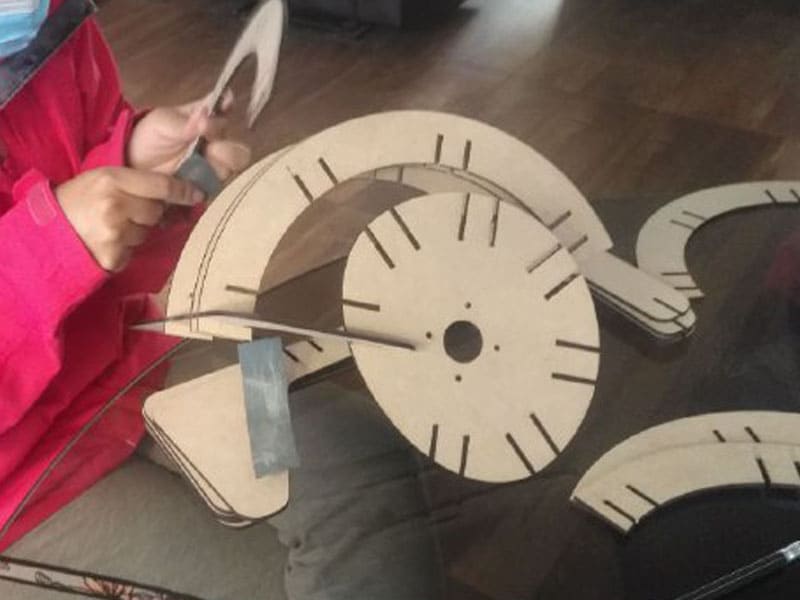
Asemble
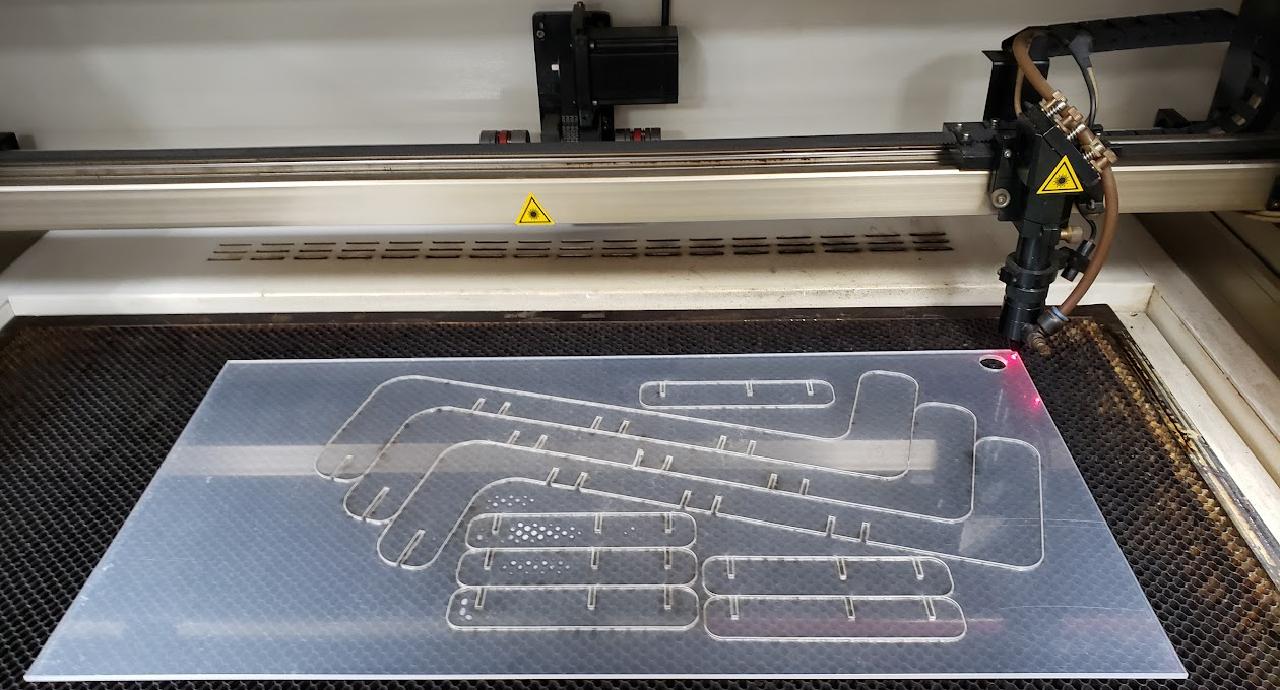
laser cutting of acrylic pieces
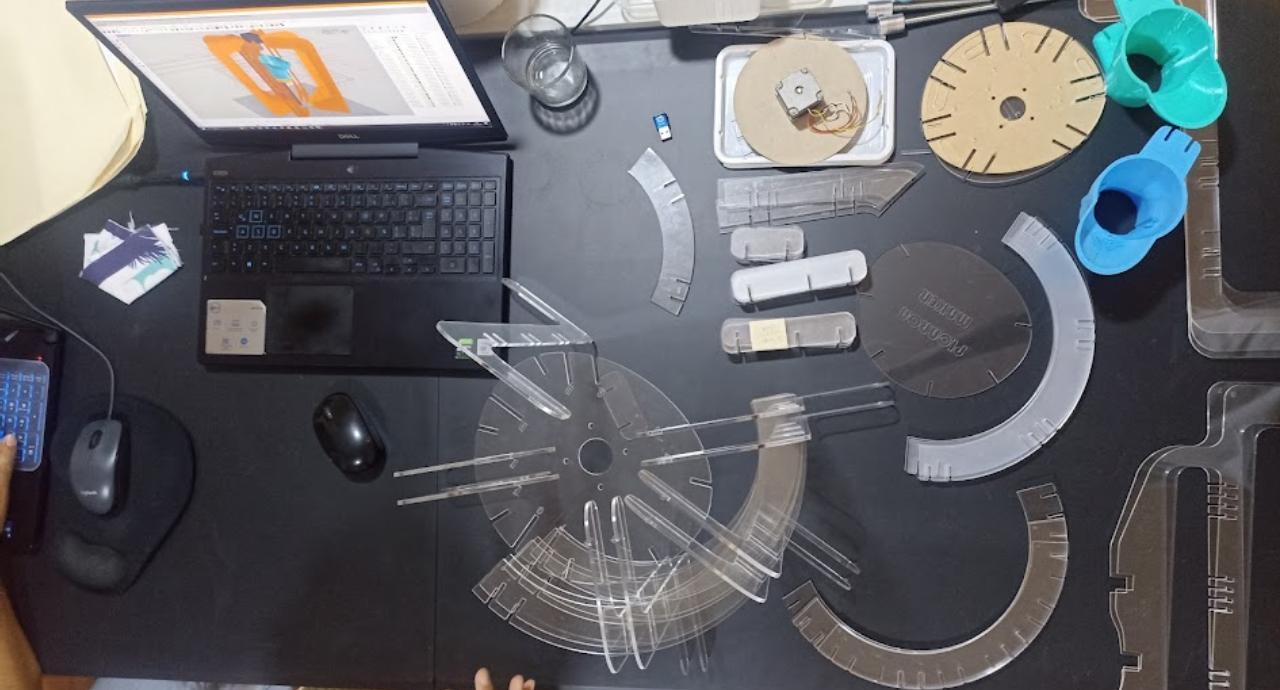
acrylic pieces
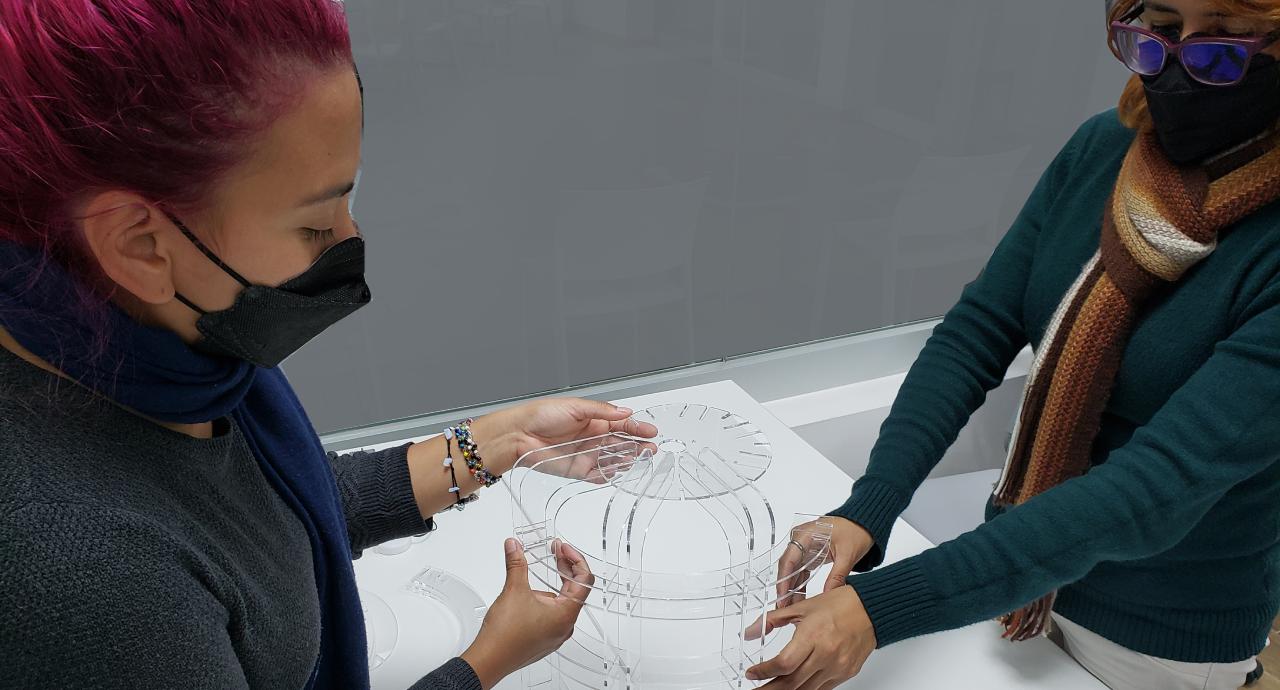
working as a team
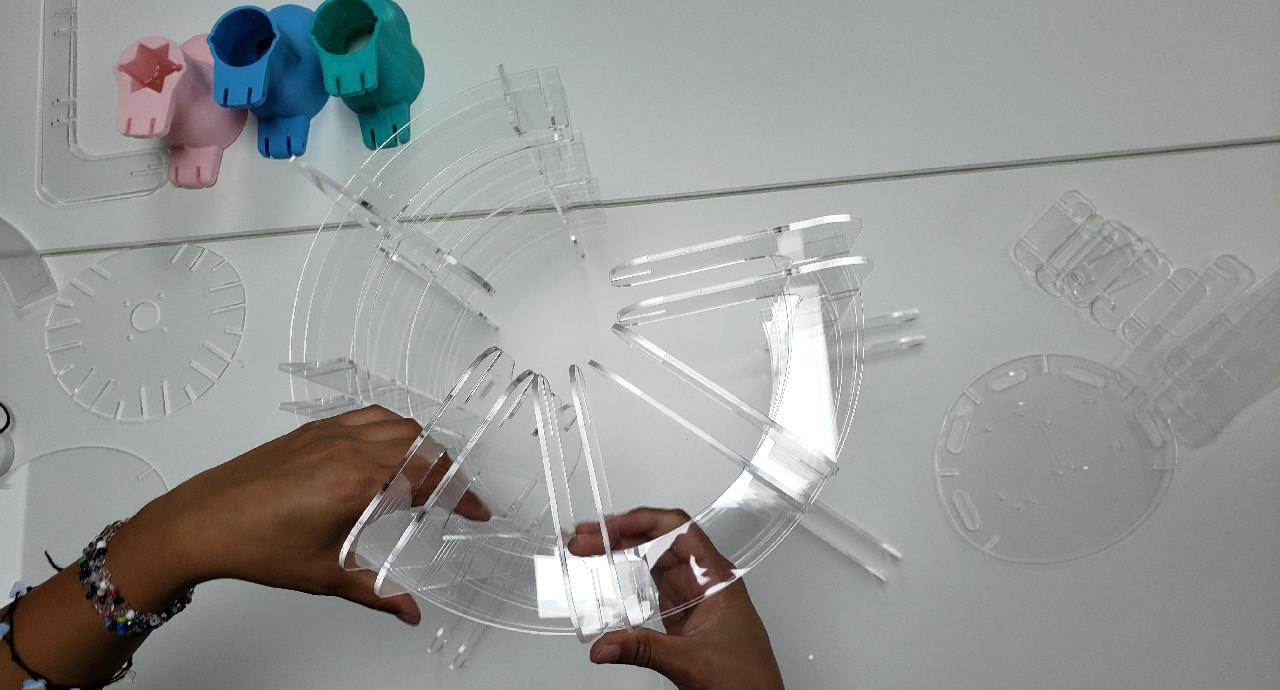
assembling
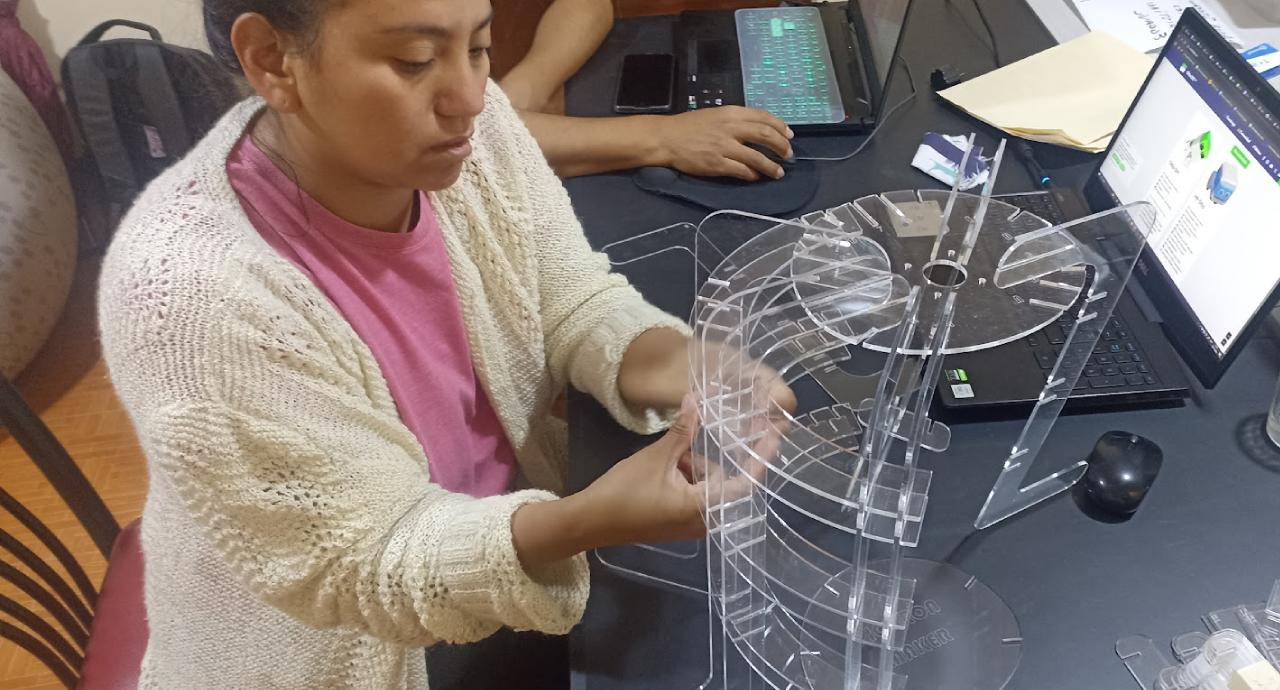
is taking shape
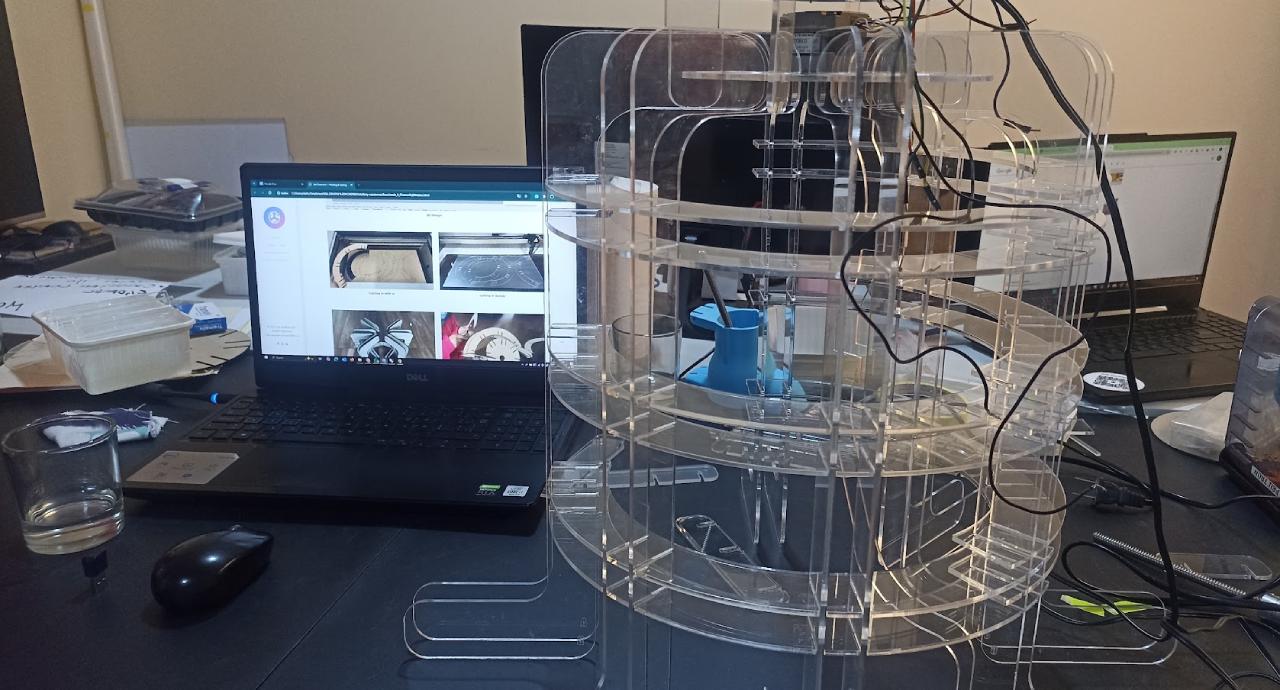
fully assembled acrylic structure
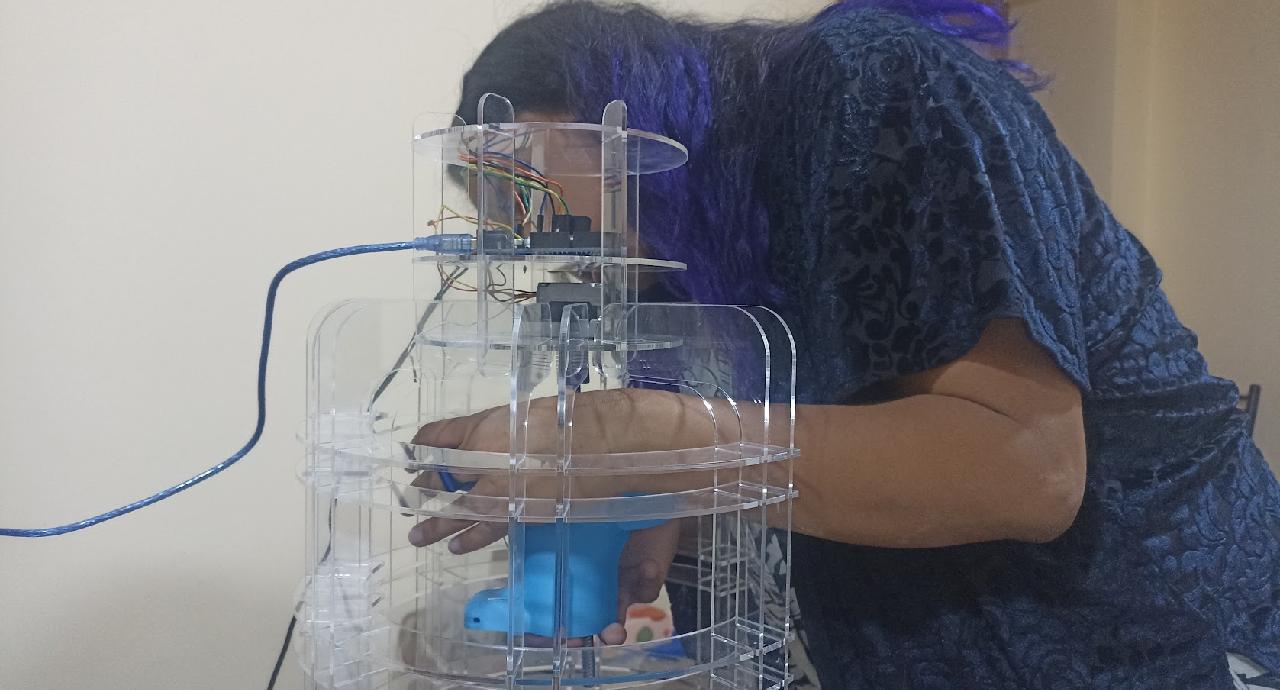
installing the extruder
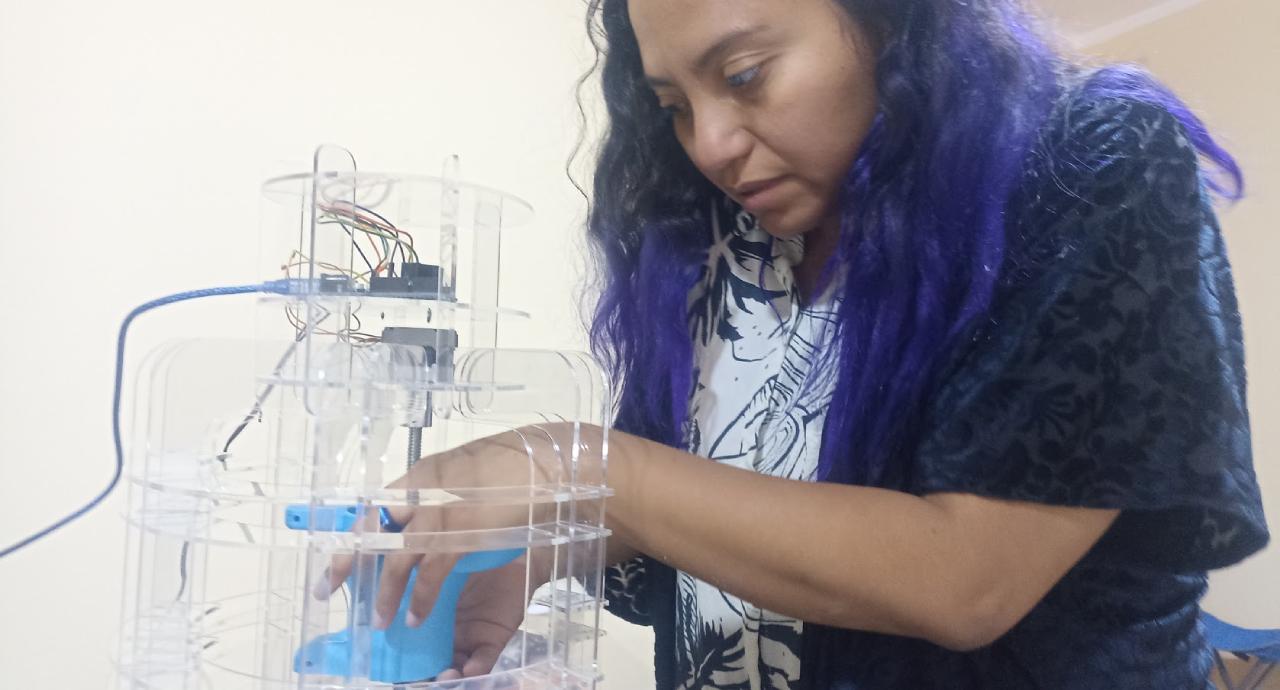
installing the extruder
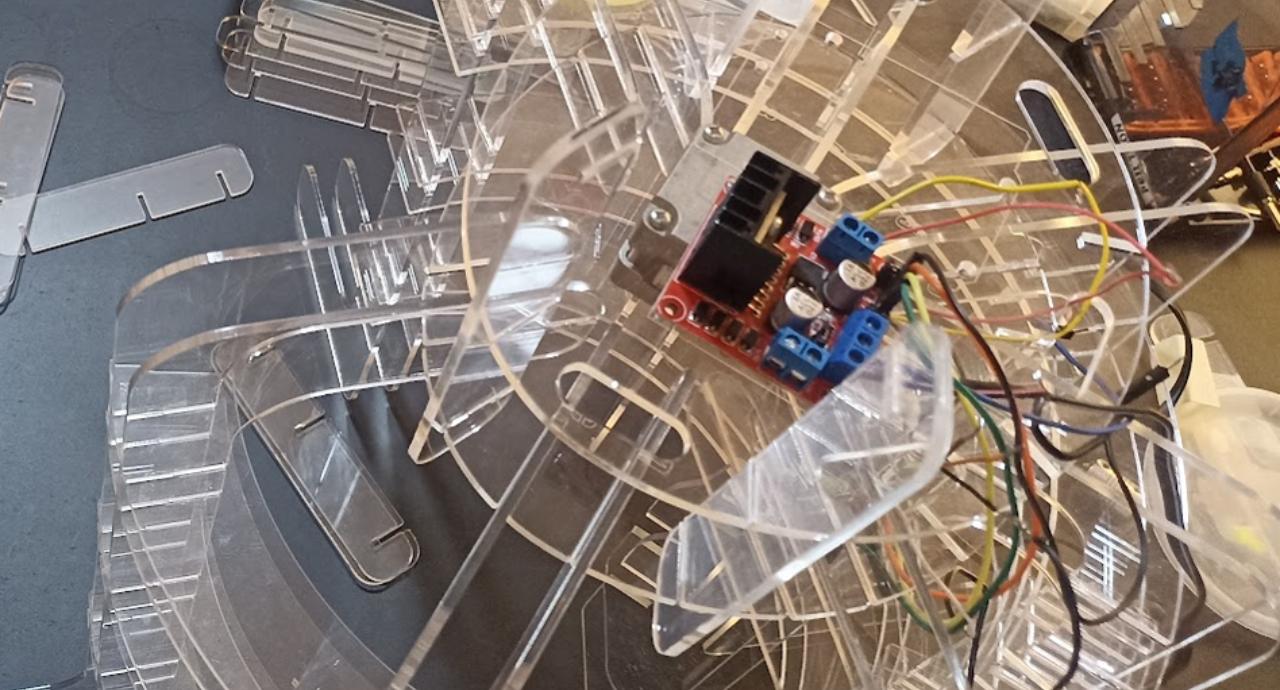
installing the electronics
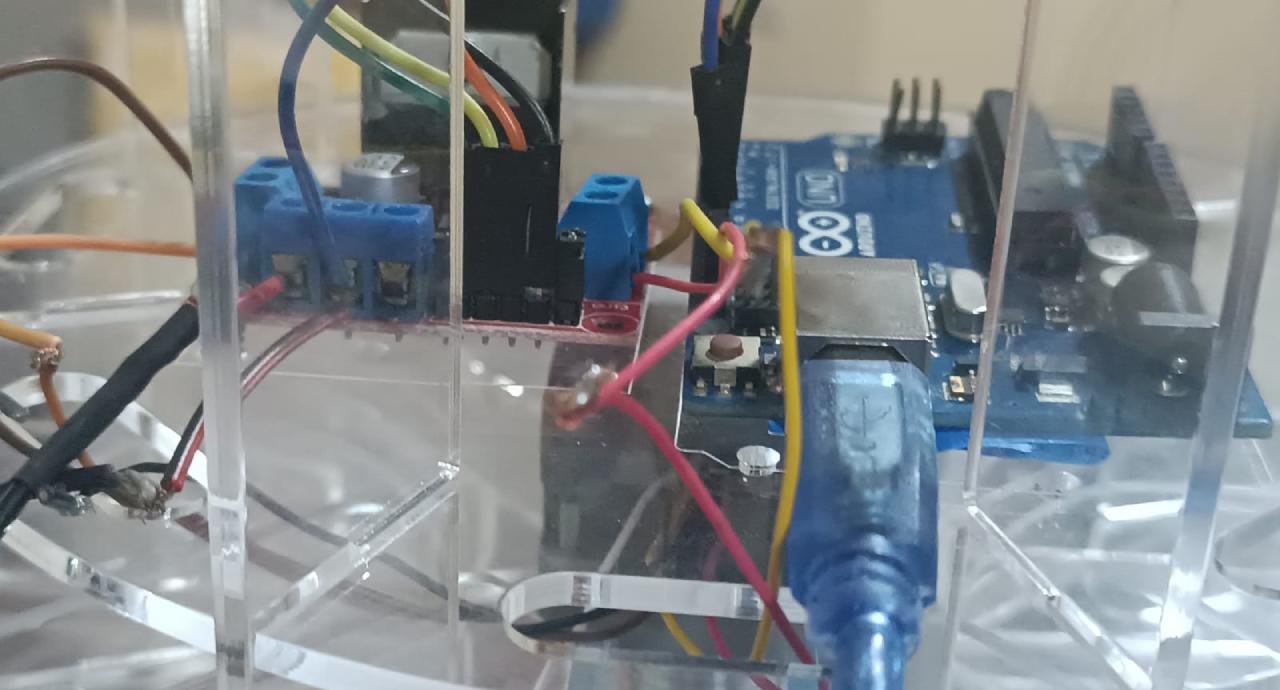
installing the electronics
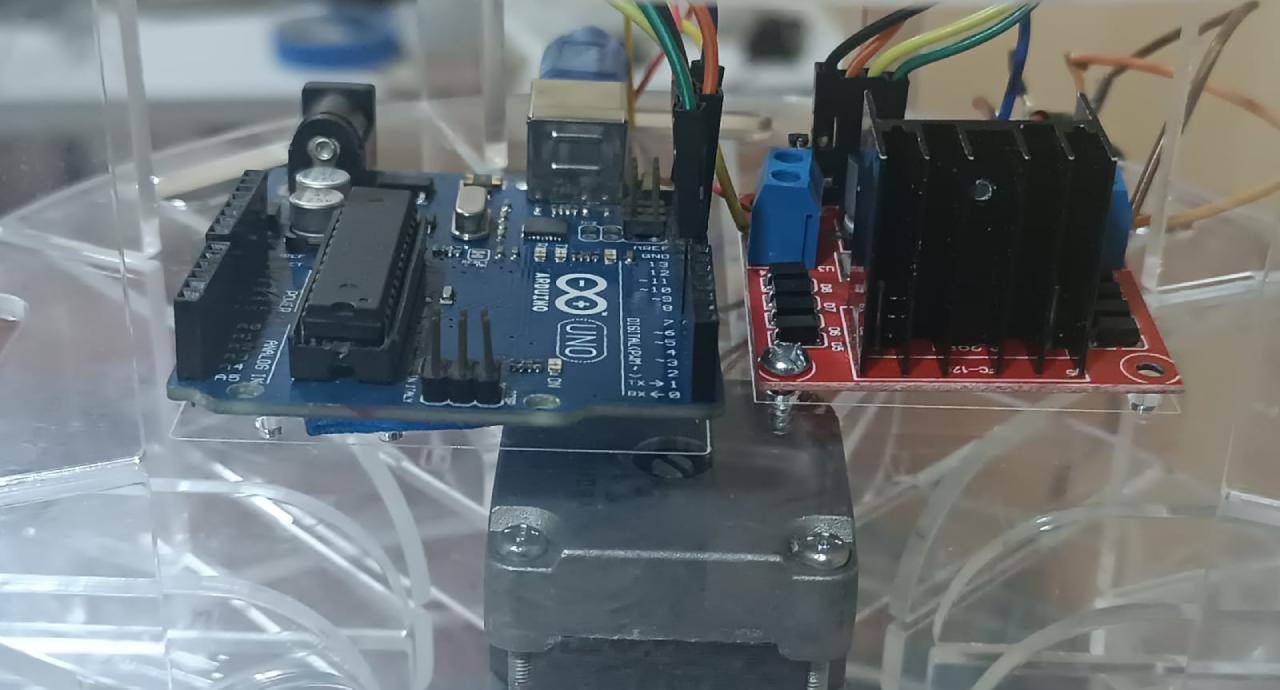
Complete electronics installed
Programming
We begin to write the code that will allow our machine to function, we use an Arduino Uno that we will program using the Arduino IDE, we hope to have good results.
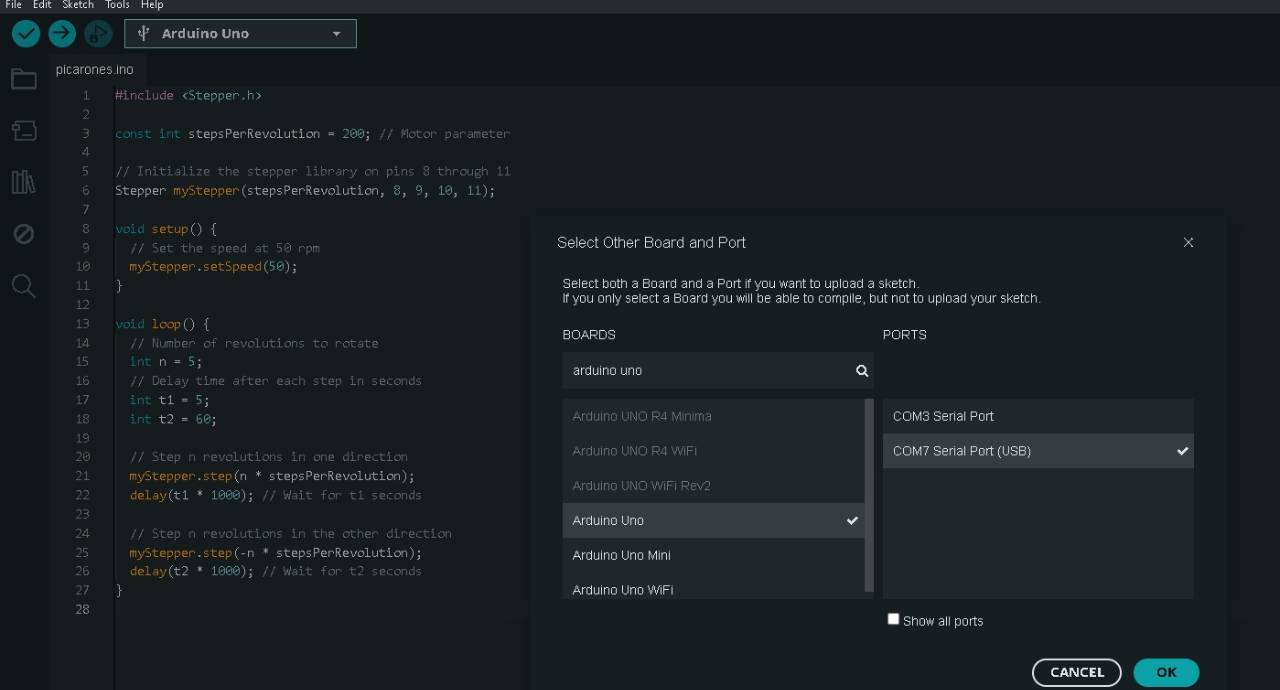
Select both a Board and a Port
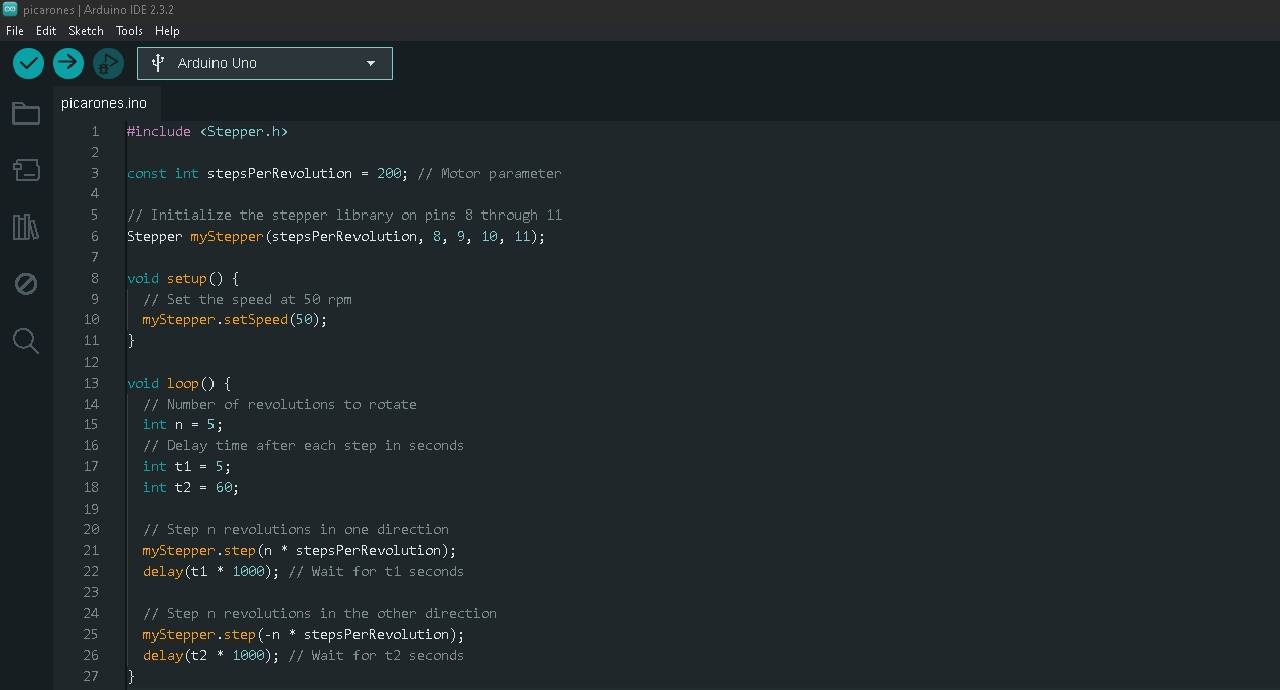
Writing the code
#include <Stepper.h>

	const int stepsPerRevolution = 200; // Motor parameter

	// Initialize the stepper library on pins 8 through 11
	Stepper myStepper(stepsPerRevolution, 8, 9, 10, 11);

	void setup() {
		// Set the speed at 20 rpm to make it slower
		myStepper.setSpeed(40);
	}

	void loop() {
		// Reduced number of revolutions to half
		int n = 2.7;  // Now the motor will only turn 2.5 revolutions
		int t1 = 5;   // Delay time (in seconds) for the first direction
		int t2 = 60;  // Delay time (in seconds) for the second direction

		// Step n revolutions in one direction
		myStepper.step(n * stepsPerRevolution);
		delay(t1 * 1000); // Wait for t1 seconds

		// Step n revolutions in the other direction
		myStepper.step(-n * stepsPerRevolution);
		delay(t2 * 1000); // Wait for t2 seconds
	}
Arduino IDE Code
Spin test with code
spin test
connection test
spin test
Final testof the machine
extruder movement
extruder movement
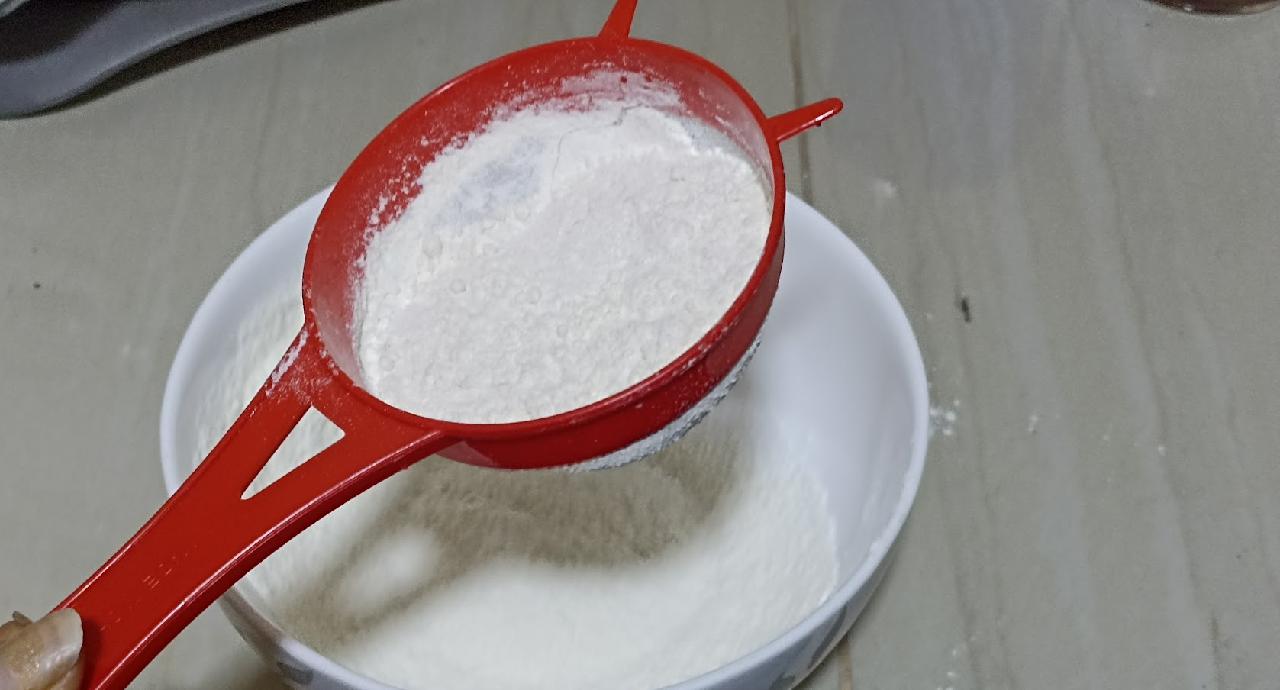
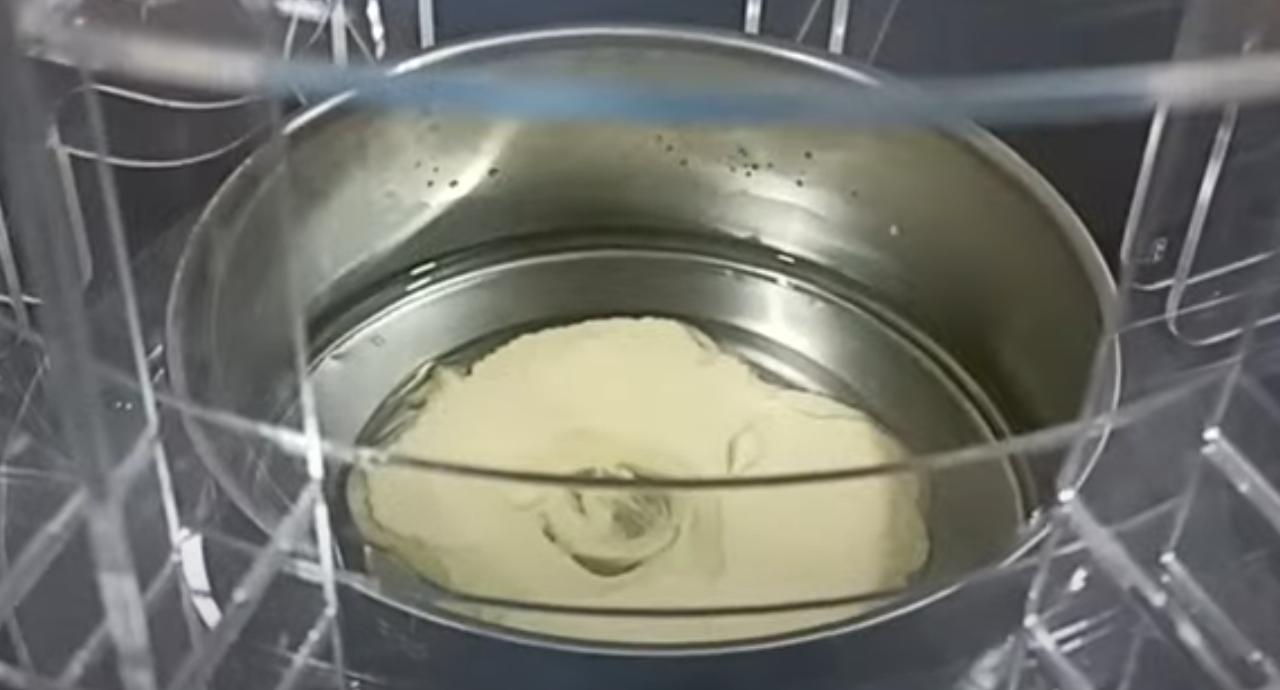
Preparing the dough for picarones
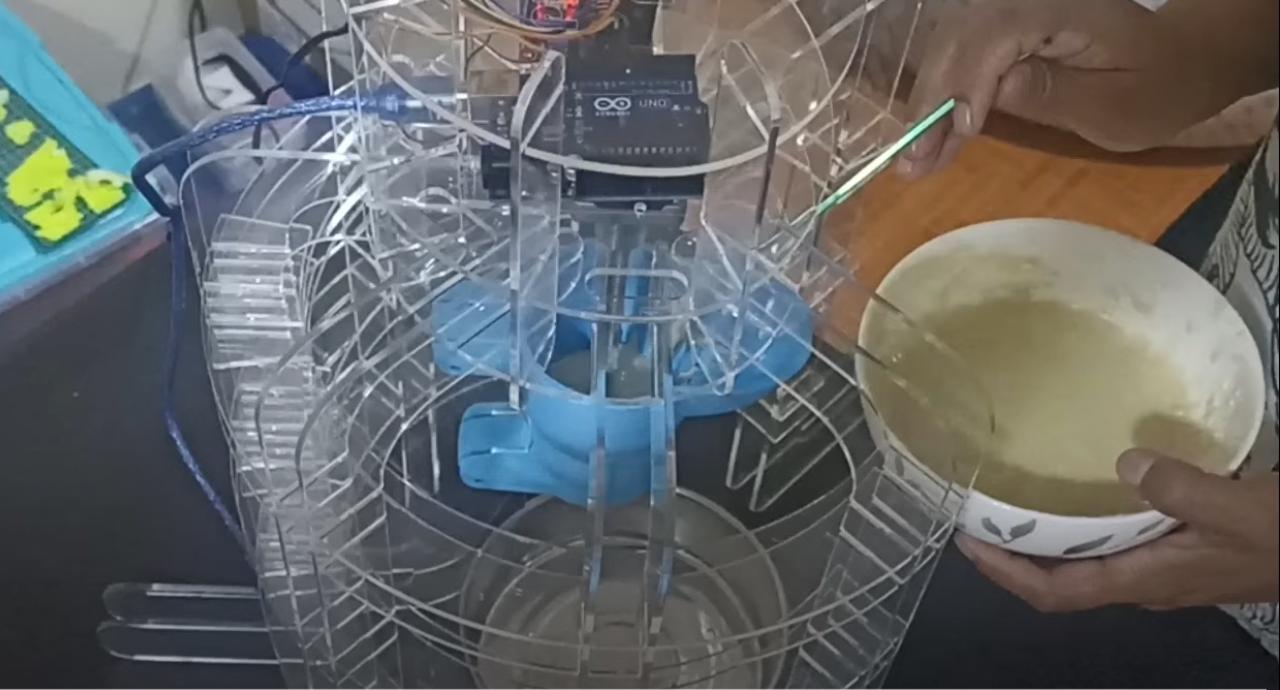
Dough ready to pour into the extruder
pouring the dough
working, we are excited...
It's not perfect but it works very well...we did it...
Final result of the Peruvian picaron, it's not perfect but it looks great!!!
Future ofthe machine
This project is the starting point for future proposals that can be developed as:
- New product for entrepreneurs with the added value of customization.
- Different extrusion designs by changing only two pieces, there would be no need to disassemble the whole machine to place it.
- It would help in the speed and efficiency of large-scale production, optimizing time and resources.
- MIt could be adapted to different types of masses.
Possible improvements
-Probably the material for the structure of the machine can be more resistant to heat, since the picarones are cooked by cooking very hot oil.
-It could be considered that the machine has some handles to attach to the bowl where the picarones are fried.
-Another improvement could be that the power with which the motor pushes the dough is higher, so that the "picaron" is formed quickly.
AboutLearning
-The opportunity to use an automation method for such a gastronomic experience could generate a new way of learning and enjoying a tradition such as preparing picarones.
-After this process of designing our machine, we realized that it is very important to take into account the optimization of the amount of material,
the assembly logic, and the types of materials.
- Many processes were followed to manufacture the machine; from testing the sockets so that the parts fit very well to designing different parts to extrude different shapes of picarones. Iterations are necessary to fine tune the features of the machine.
My Verdictfrom what I learned
-It is important to establish the ideal height at which the (white piece, I don't know if it has a special name in the documentation) should be located depending on the viscosity of the mass to be used.