Embedded Programming
Small brains, big ideas:The world of embedded systems!
It is time to program the board I have made, although it is an exercise I have already been exploring, this week I will understand a little more about microcontrollers and programming. What are they? What are they for? In group we will see the characteristics of each one, we will read and understand the datasheet and individually I will program my board whose heart🖤 is an ATtiny1614 microcontroller to interact with local input and output devices and communicate with remote wired or wireless devices.
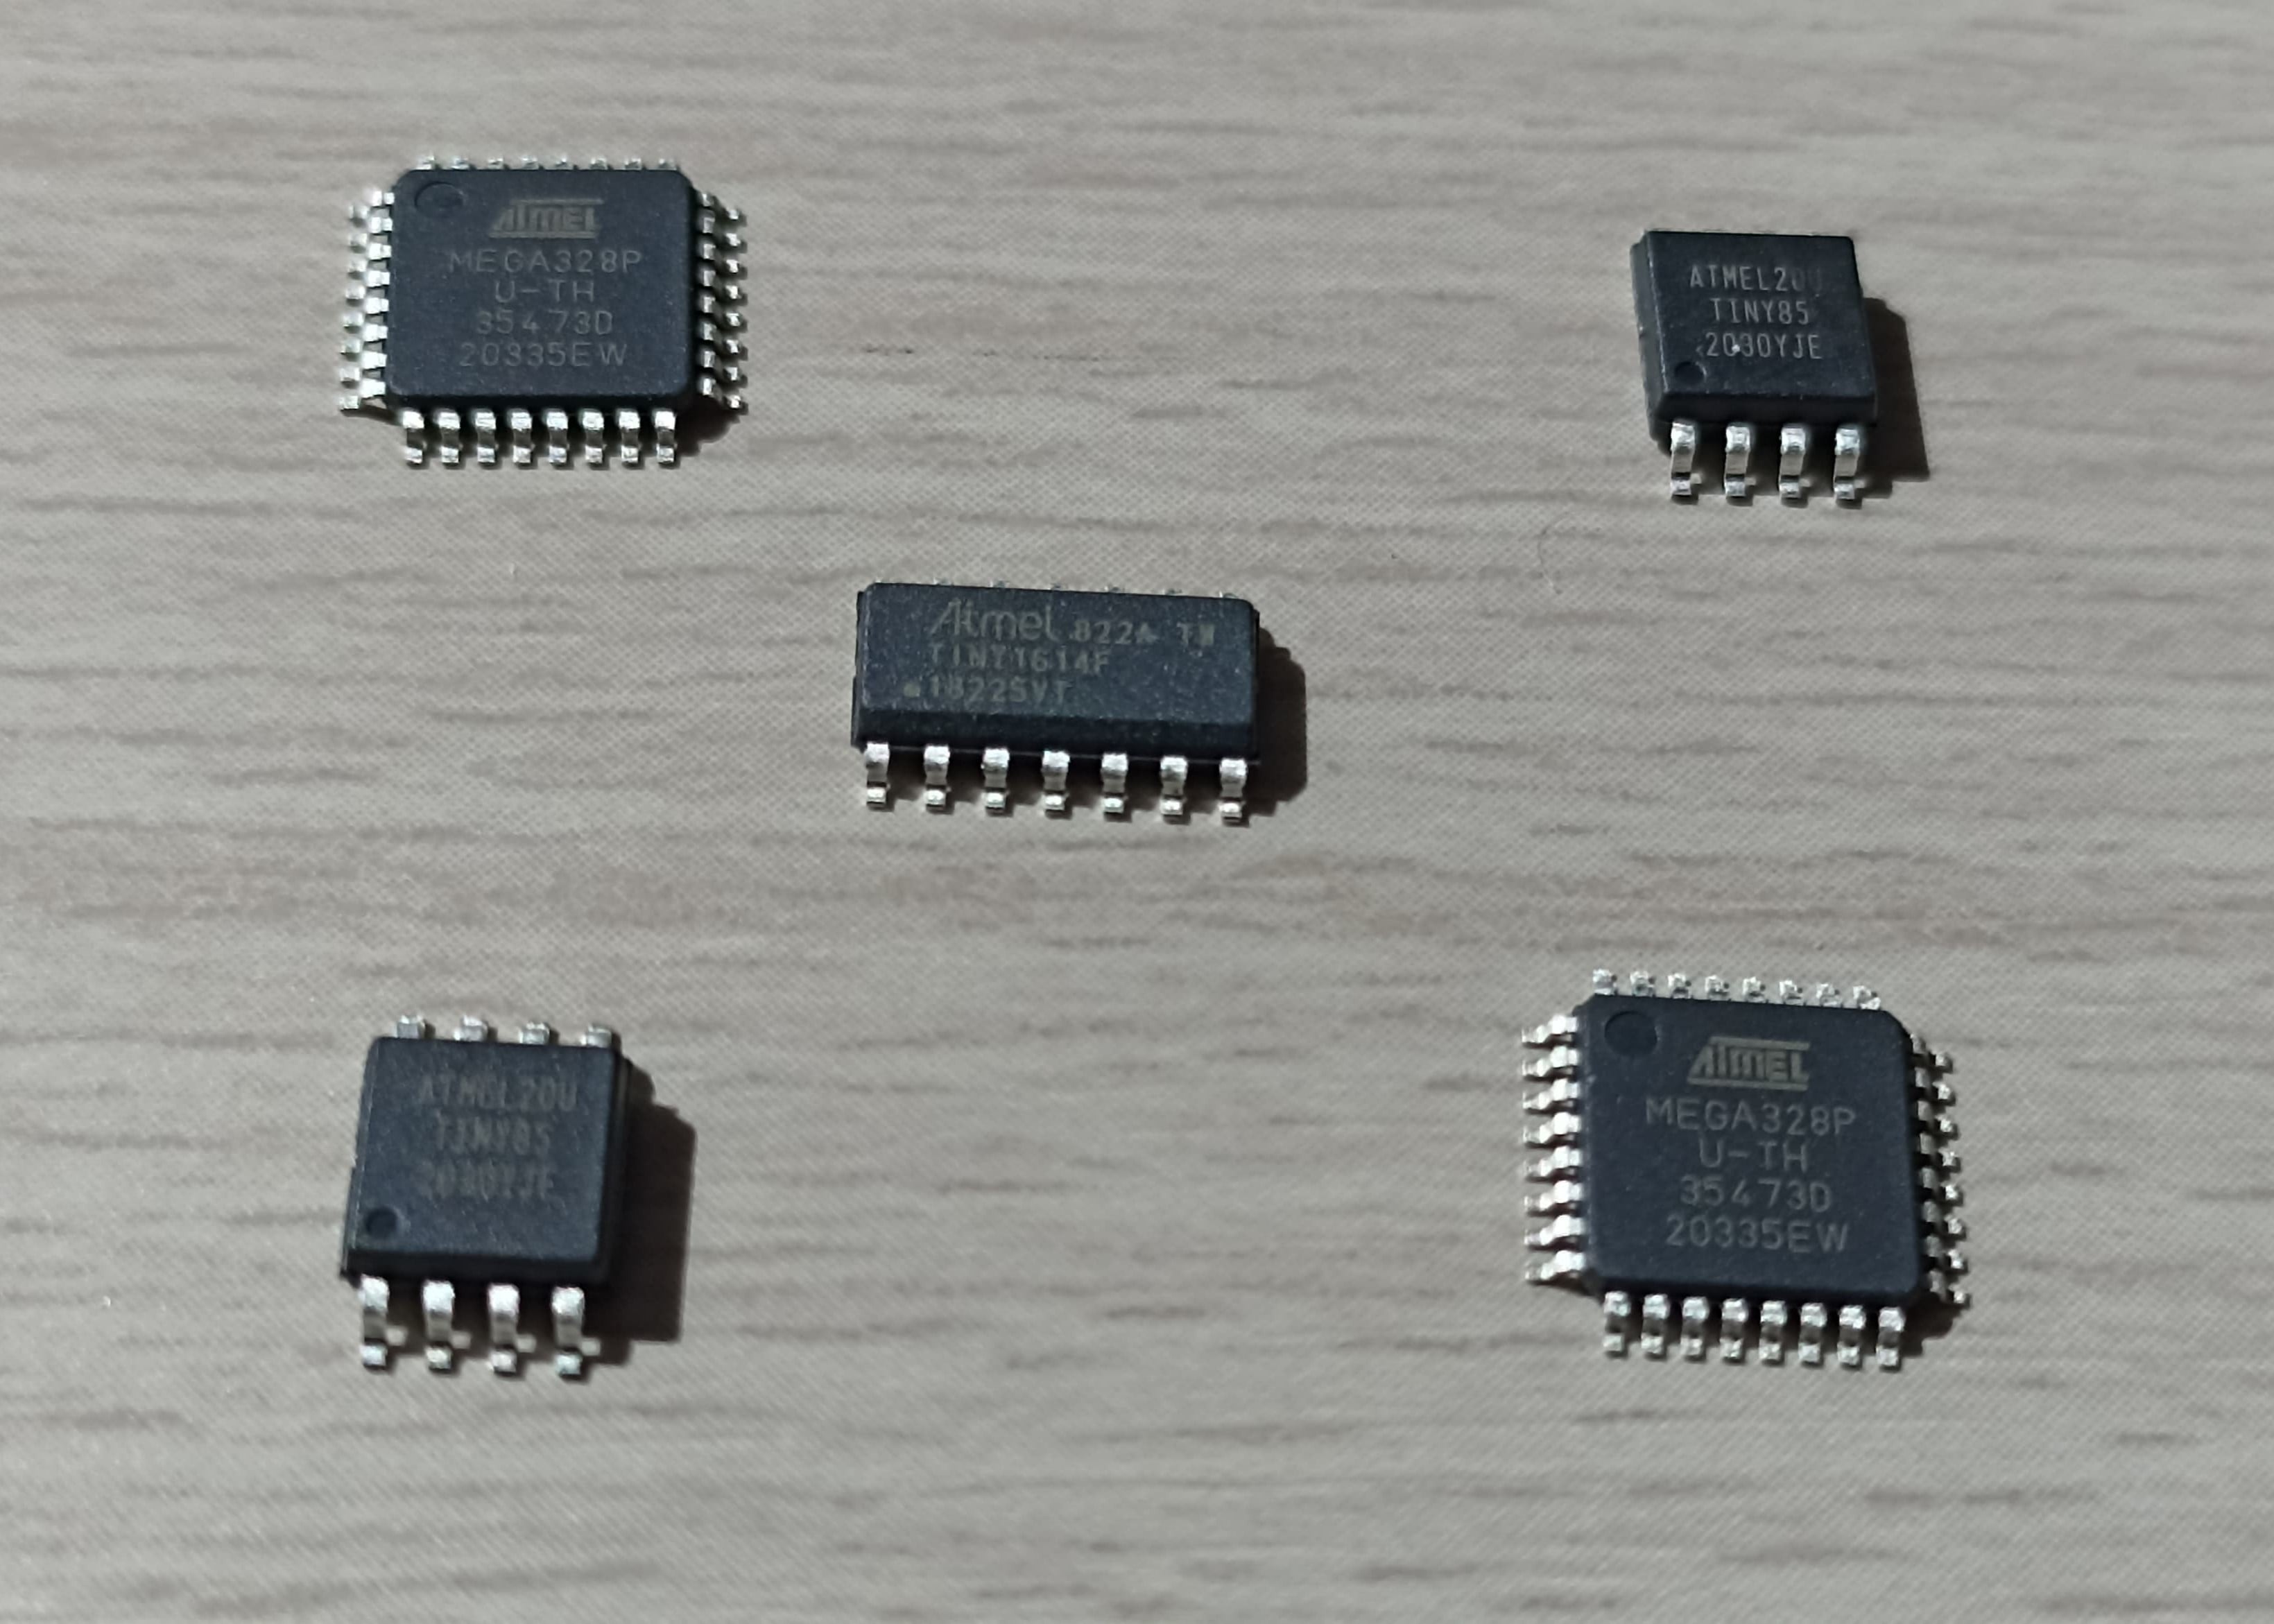
The microcontrollers
Week 8 Assignment
GroupTask
This week I learned together with Mayra as a team a lot about embedded programming and the microcontrollers we use in the design of our boards. You can visit our group research on Mayra's page.
Learning basic concepts
Embedded programming, is basically writing the “brains”🧠 of electronic devices that we use every day. It involves programming microcontrollers or small chips (which are like mini-computers) to do specific tasks. For example, when you use a microwave, a remote control, or even a smart watch, there is an embedded program behind it that tells the hardware what to do and how to react to buttons, sensors, or whatever you command it to do.
The practical thing about this is that you don't need a complete computer to make these things work. Just the programmed chip, which is specifically designed to accomplish these tasks. And yes, you generally use a language like C or C++ to write these programs, because they are super efficient and compact, which is just what you need in small systems.
Embedded Programming is what makes electronic devices “think” and respond the way we want them to. It's like bringing machines to life!⚙🖤⚙
The Microcontrollers
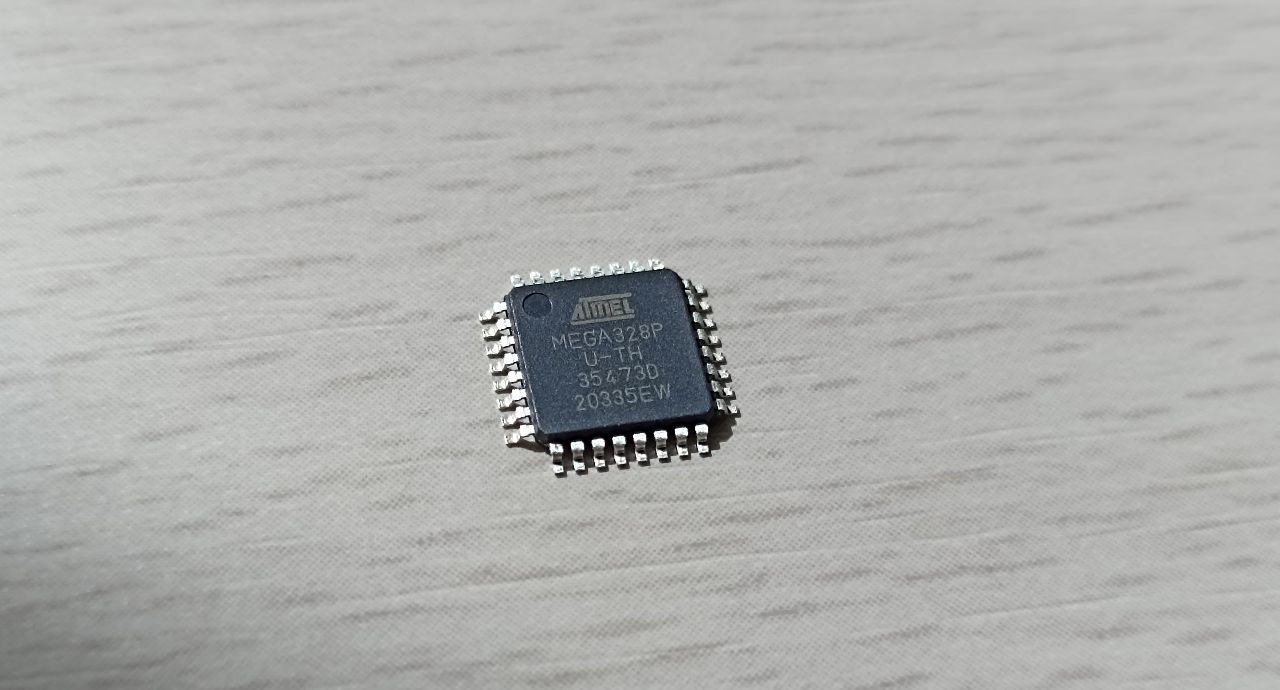
A microcontroller is like the “brain” of an electronic device. It is a chip that has everything needed to perform specific tasks: a processor (which does the calculations and makes decisions), memory (to store data and programs), and ports to communicate with the outside world (such as sensors, motors, LEDs, etc.).
Unlike a computer, which can do a lot of different things, a microcontroller is designed for very specific tasks. For example, controlling the lights of a traffic light, moving the motor of a robot, or reading the temperature of a sensor and displaying it on a screen. All this with a single program that you load into it. They are also super small, inexpensive and efficient, making them perfect for use in almost anything from home appliances to toys to electronics projects. Some famous microcontroller names are the Arduino like ATmega, ATtiny, RP2040 or the PIC family of chips.
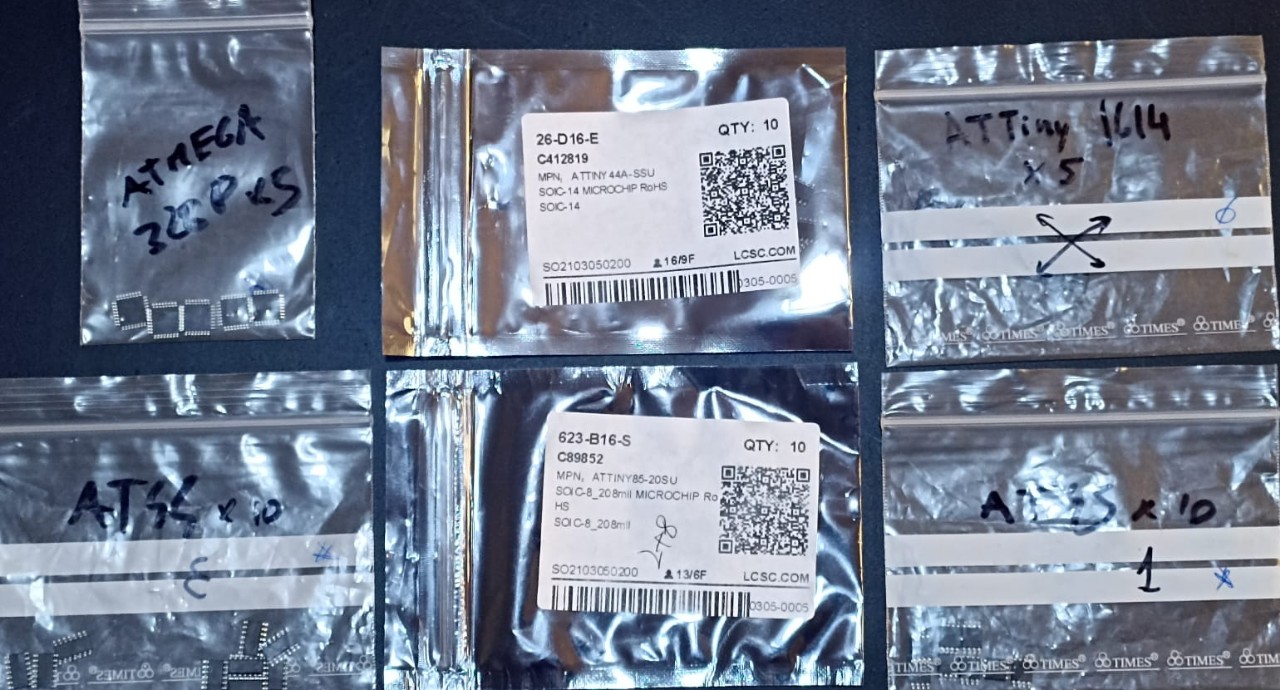
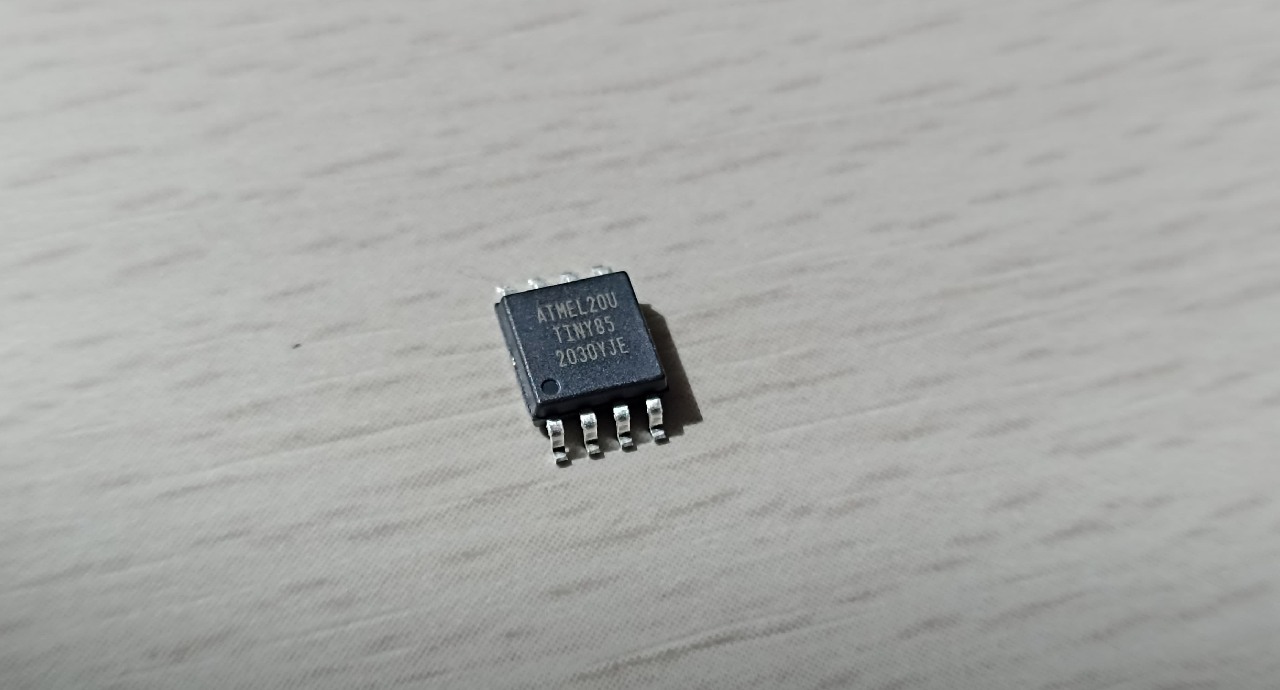
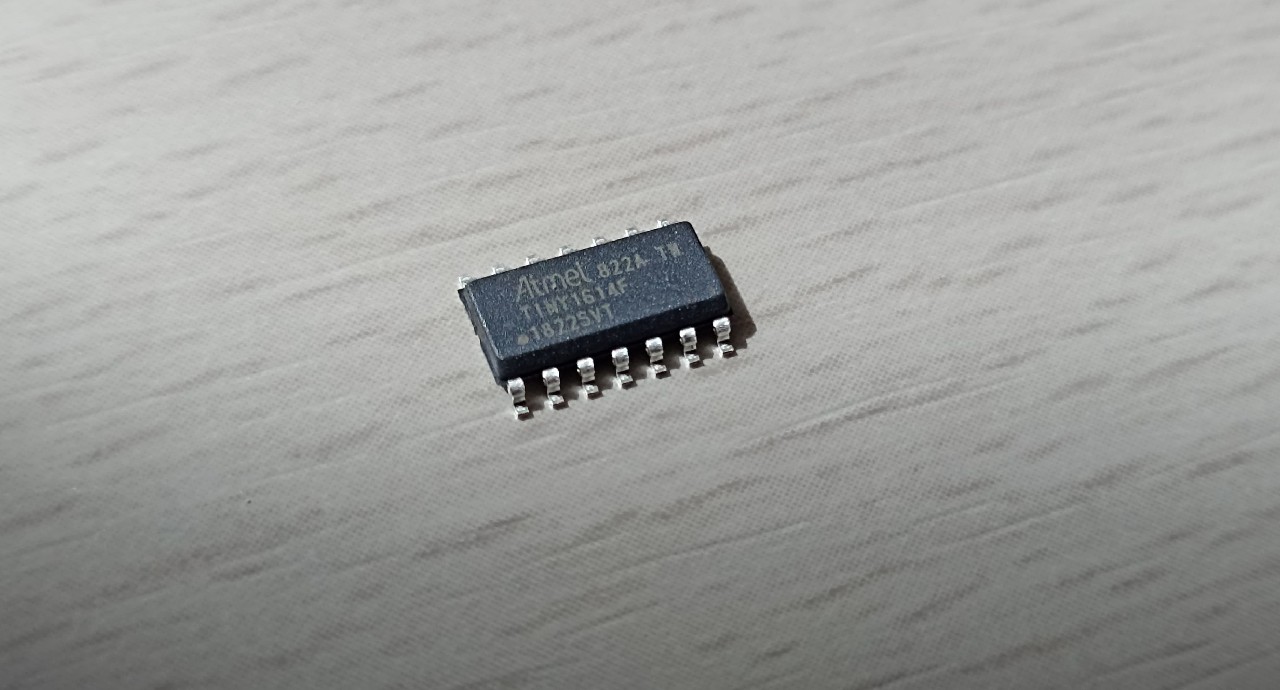
Both, Mayra and I designed the first boards with a microcontroller ATtiny85 and then we design other boards with the microcontroller ATtiny1614.
ATtiny 85The ATtiny 85, in its SMD (surface mount) version, is the “minimalist champion”.🏅 It is the makers' favorite for ultra-compact and cost-effective projects. Here's what it offers:
- Processor:It also has an 8-bit AVR core, perfect for basic tasks.
- Memory: 8 KB of Flash, 512 bytes of SRAM, and 512 bytes of EEPROM. Yes, less than the 1614, but enough for small projects.
- I/O: Only 5 GPIO pins, but with a lot of versatility: PWM, digital inputs/outputs and ADC.
- Speed: Up to 20 MHz (yes, just as fast as the 1614).
- Modern extras: Support for SPI and I²C communication, although somewhat more limited compared to the 1614.
- Voltage: It operates between 2.7V and 5.5V.
- Size: Super small and practical for projects where space is limited.
The ATtiny 1614 is like the “big brother” within the ATtiny family. This microcontroller comes with more power and features that make it ideal for projects that need a little more capability without complicating your life. Here's what makes it special✨:
- Processor: It has an 8-bit AVR core, perfect for simple but effective tasks.
- Memory: 16 KB of Flash (where you store the program), 2 KB of SRAM (for temporary data), and 256 bytes of EEPROM (data that you want to survive when you turn off the device).
- I/O: 14 GPIO pins, with various functions such as PWM, digital inputs/outputs and ADC (analog to digital conversion).
- Speed: Up to 20 MHz, so it is not slow at all.
- Modern extras: UART, SPI and I²C communication. In addition, it has an RTC (real time clock) timer and an analog comparator.
- Voltage:Operates between 1.8V and 5.5V, making it compatible with almost any common power supply.
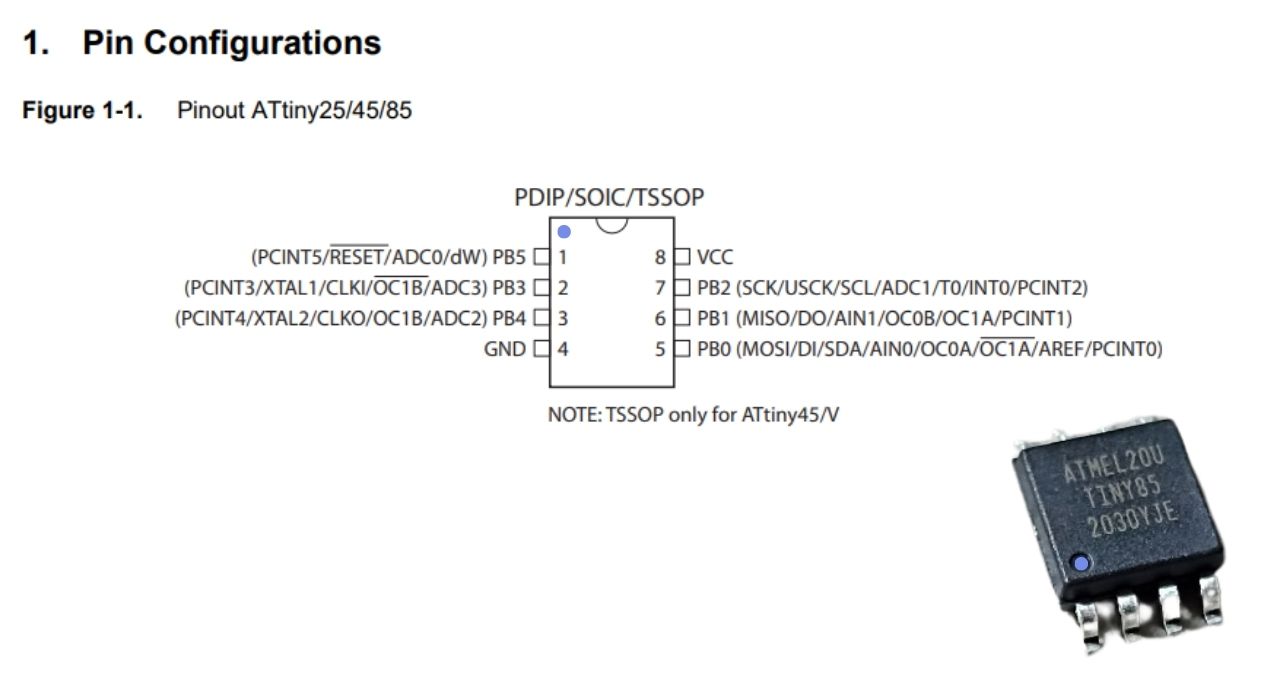
Pinout ATtiny85 (From Datasheet)
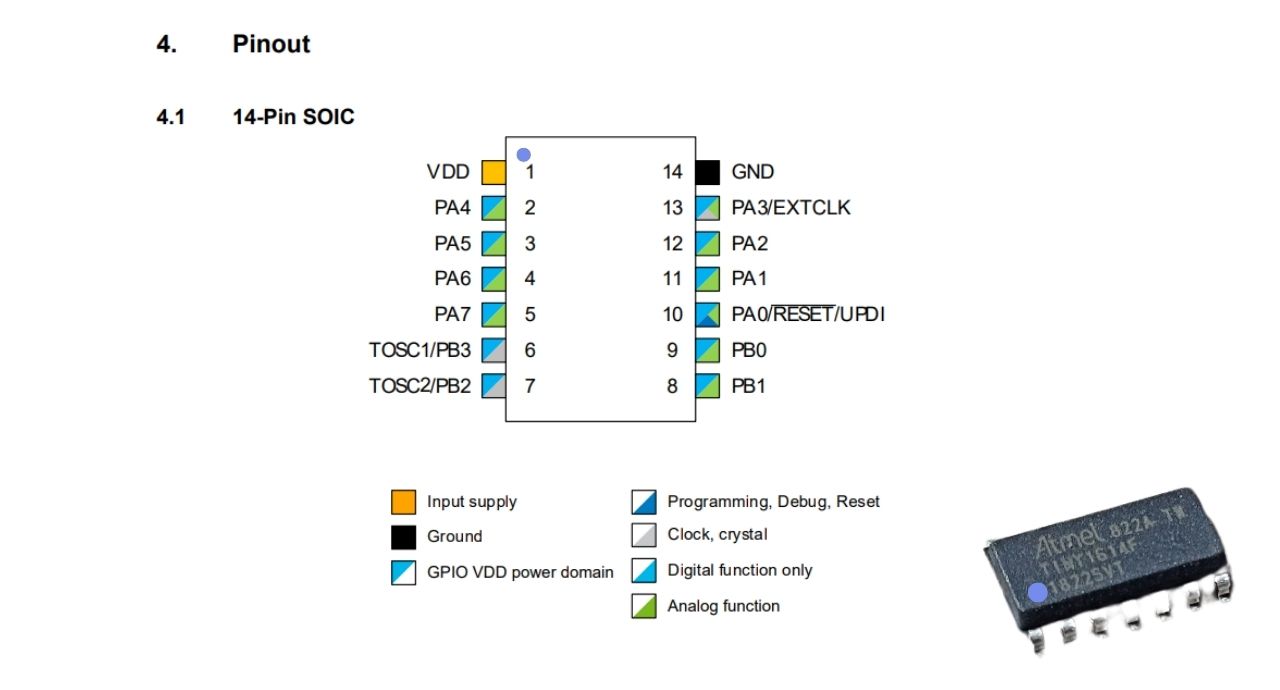
Pinout ATtiny1614 (From Datasheet)
Findings
How do they differ? If you need something small and inexpensive for a simple project, the ATtiny 85 is your best friend. If you're looking for more versatility and capability, the ATtiny 1614 is the workhorse.
- Memory and pins: The ATtiny 1614 has more memory and pins available, while the ATtiny 85 is more focused on small and simple things.
- Flexibility: The 1614 has more modern functionality and communication options.
- Size: The ATtiny 85 SMD wins in compactness.
IndividualTask
In the electronic production week and especially in the electronic design week, I already had an approach to programming using Arduino IDE. Now, that it has been proven that my “Ottino sound” board, part of Ohmmy, my final project, does work, it is time to use sensors and program it a bit more.This exercise will help me progress in the programming of my final project. Let's remember that Ohmmy will help you get rid of the stress of the day by playing screaming🔊. For this the device will have two sound sensors, A and B, which capture the scream of each of the players, user A and user B, it receives and senses the decibels of the two screams, it is interpreted that user has the most decibels.
Measuring screams like a Pro!
This code is made to measure sounds in decibels (dB) using two sensors, one internal and one external, and display those values on an LCD screen. Here I explain it a little more in detail:
What does this program do?
It configures the sound sensors and the LCD display:
- Uses two sound sensors connected to analog pins A0 and A1 to measure electrical signals.
- It configures a 16x2 LCD display to show the results.
Measures the strongest signals (peaks):
- Reads the values from each sensor continuously.
- Saves the highest value it detects for a period of time, because this represents the maximum sound peak.
Converts the signal into decibels (dB):
- Convert the sensor value to volts using a formula (which depends on the range of your sensor).
- Then, apply a formula to convert those volts to decibels. This basically says “how loud the sound is” on a known scale.
Display the results on the LCD:
- The dB values from both sensors (internal and external) are displayed on the screen.
- If the sound is very low (less than 0 dB), it sets it to 0 so that it does not display negative numbers.
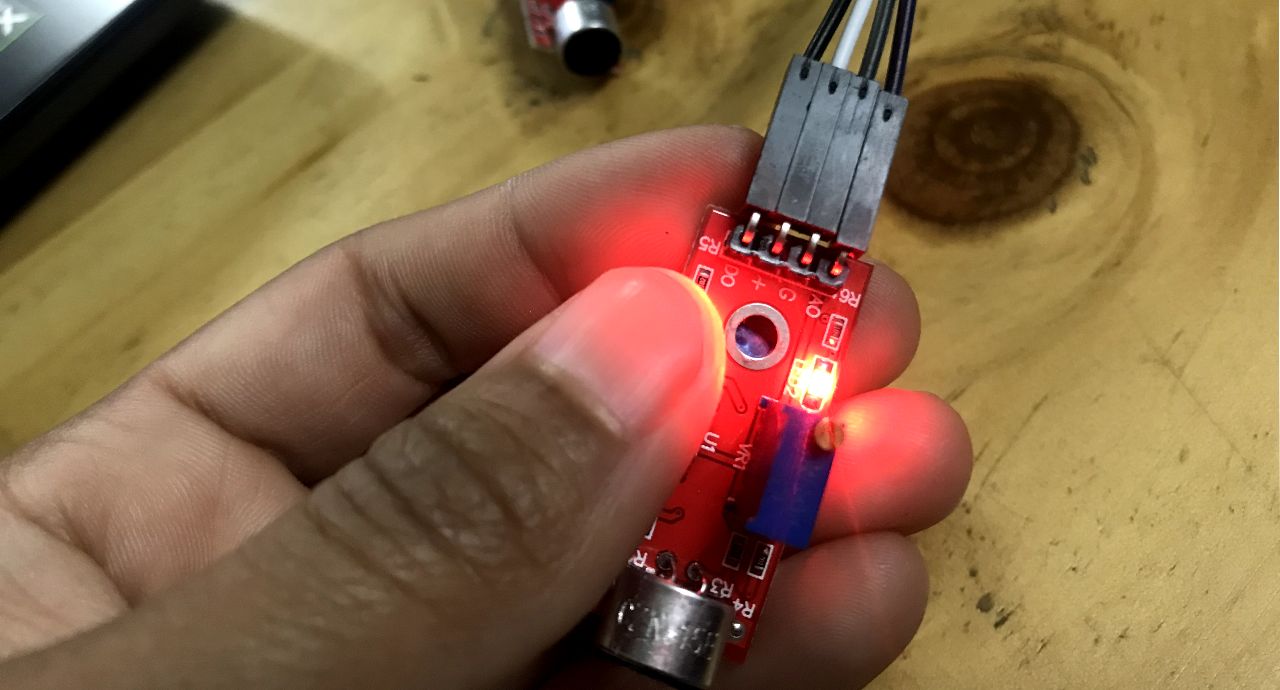
2 x Sound sensors KY-037
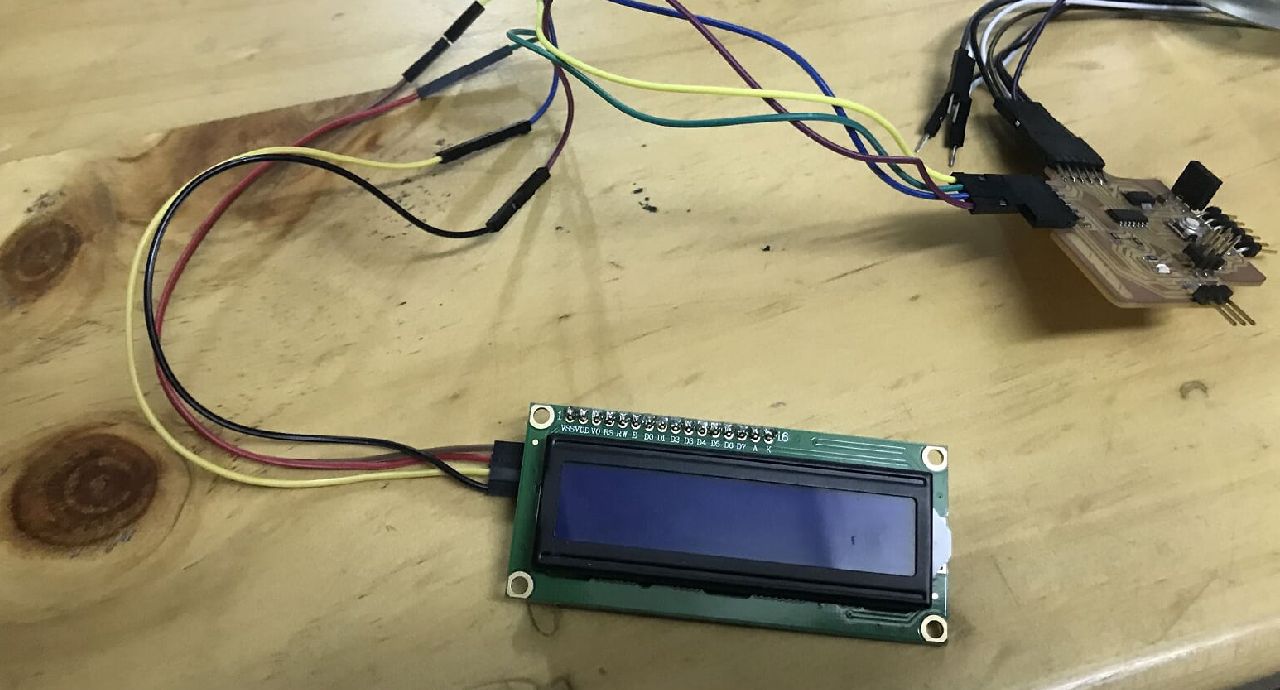
LiquidCrystalDisplay(LCD) & I2C
        /* Código para mostrar valor em dB */
        const int Sensor1AI = 0; //Sensor Analogo Interno, Entrada A0
        const int PinoDigital1 = 1;

        const int Sensor2AI = 2; //Sensor Analogo Externo, Entrada A1
        const int PinoDigital2 = 3;

        //int Estado = 0;
        int ValorSensor1 = 0;
        int valorMayor1 = 0;
        float volt1 = 0;
        int dB1 = 0;


        int ValorSensor2 = 0;
        int valorMayor2 = 0;
        float volt2 = 0;
        int dB2 = 0;

        int cont = 0;
        /*
        Board I2C / TWI pins
        Uno       =   A4 (SDA), A5 (SCL)
        */
        #include
        #include
        LiquidCrystal_PCF8574 lcd(0x27); // set LCD address 0x27

        void setup() {

        Serial.begin(9600);

        lcd.begin(16,2); // initialize 16x2 LCD
        lcd.setBacklight(255); // turn on backlight

        lcd.home(); // go home
        lcd.clear();

        lcd.setCursor(0, 0);
        lcd.print("Int:");
        lcd.setCursor(10, 0);
        lcd.print("dB");
        lcd.setCursor(0, 1);
        lcd.print("Ext:");
        lcd.setCursor(10, 1);
        lcd.print("dB");
        }
        void loop()
        {
        lcd.setCursor(6,0);
        Serial.print(ValorSensor1);

        lcd.setCursor(6,1);
        Serial.print(ValorSensor2);

        while(cont < 10000)
        {
        ValorSensor1 = analogRead(Sensor1AI);
        if(ValorSensor1 > valorMayor1)
        {
        valorMayor1 = ValorSensor1;
        }

        ValorSensor2 = analogRead(Sensor2AI);
        if(ValorSensor2 > valorMayor2)
        {
        valorMayor2 = ValorSensor2;
        }
        cont++;
        }
        cont = 0;
        volt1 = valorMayor1/1023.0*4.53;
        dB1 = 87.1*volt1 - 75,4;
        if(dB1 < 0)
        {
        dB1 = 0;
        }

        volt2 = valorMayor2/1023.0*4.53;
        dB2 = 87.1*volt2- 75,4;
        if(dB2 < 0)
        {
        dB2 = 0;
        }

        lcd.print("");
        lcd.setCursor(6,0);
        lcd.print(dB1);

        lcd.print("");
        lcd.setCursor(6,1);
        lcd.print(dB2);

        valorMayor1 = 0;
        valorMayor2 = 0;
        delay(100);

        }
Arduino IDE Code 2xSound Sensor + LCD
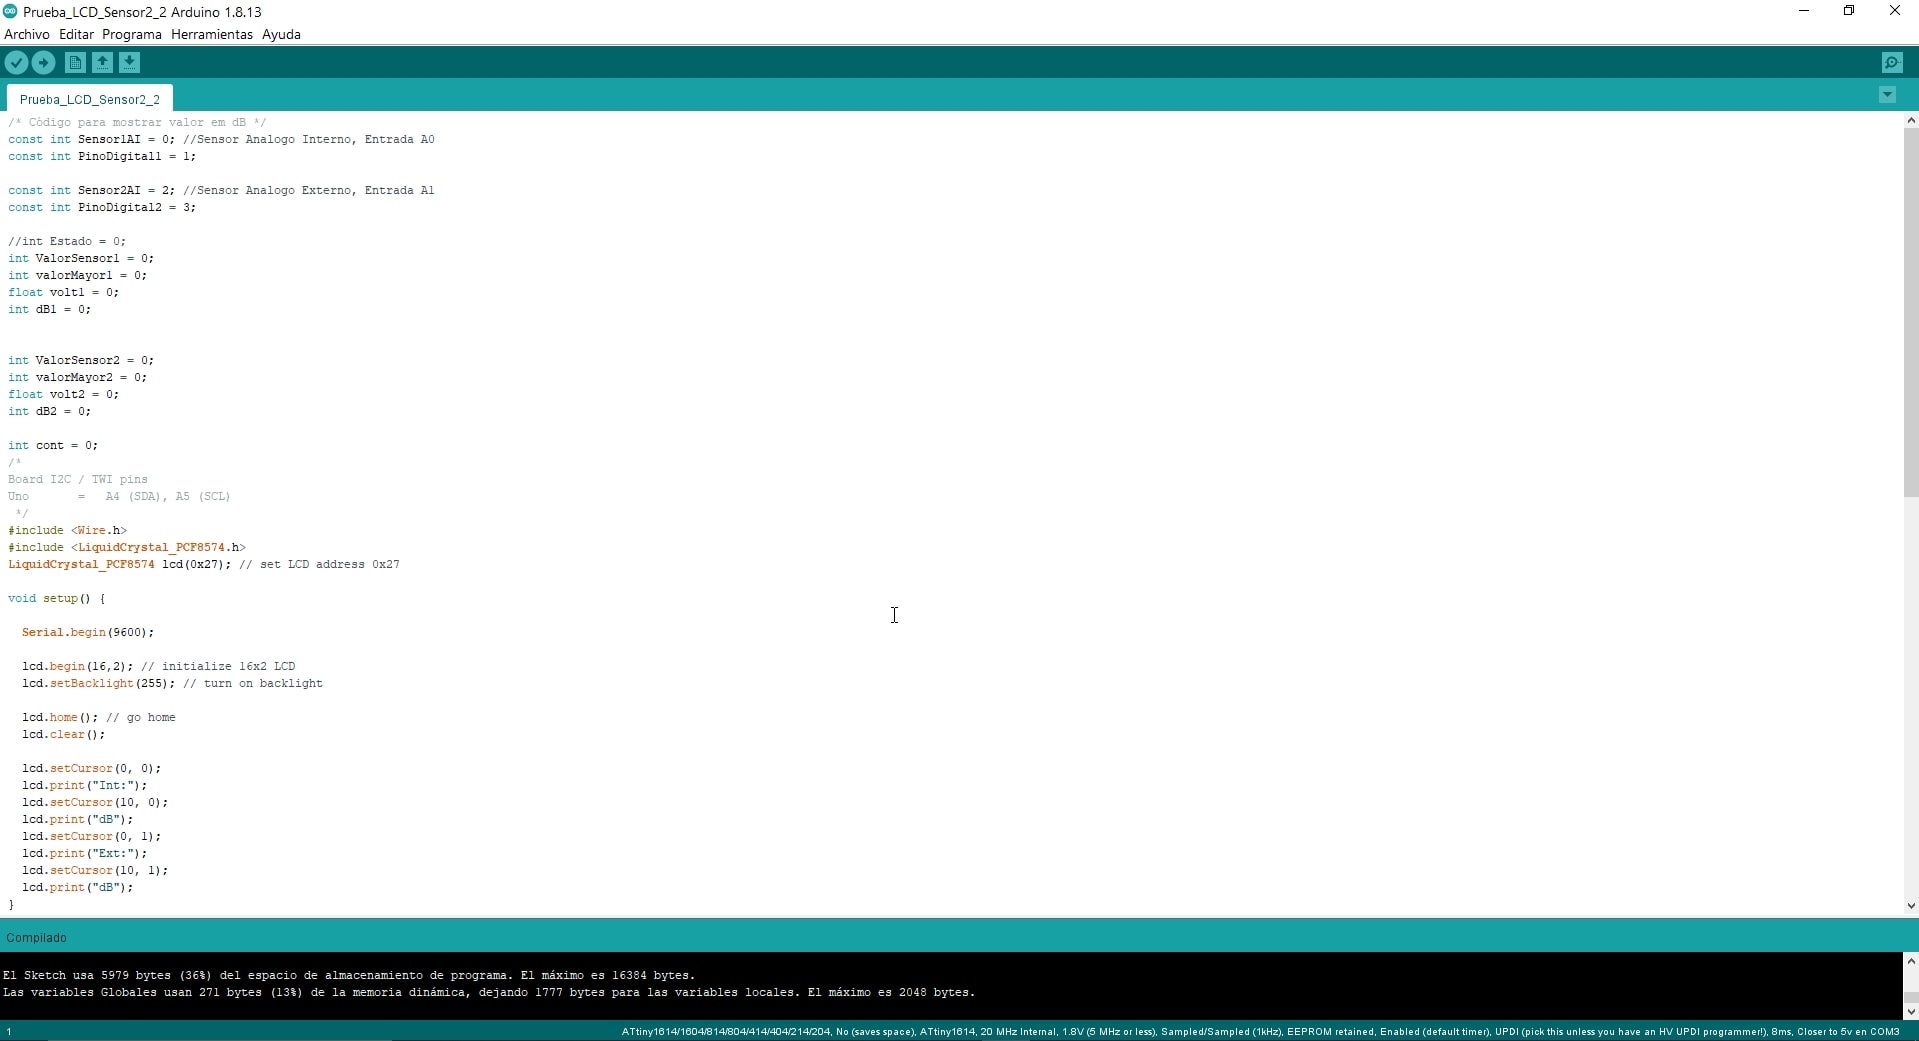
Program
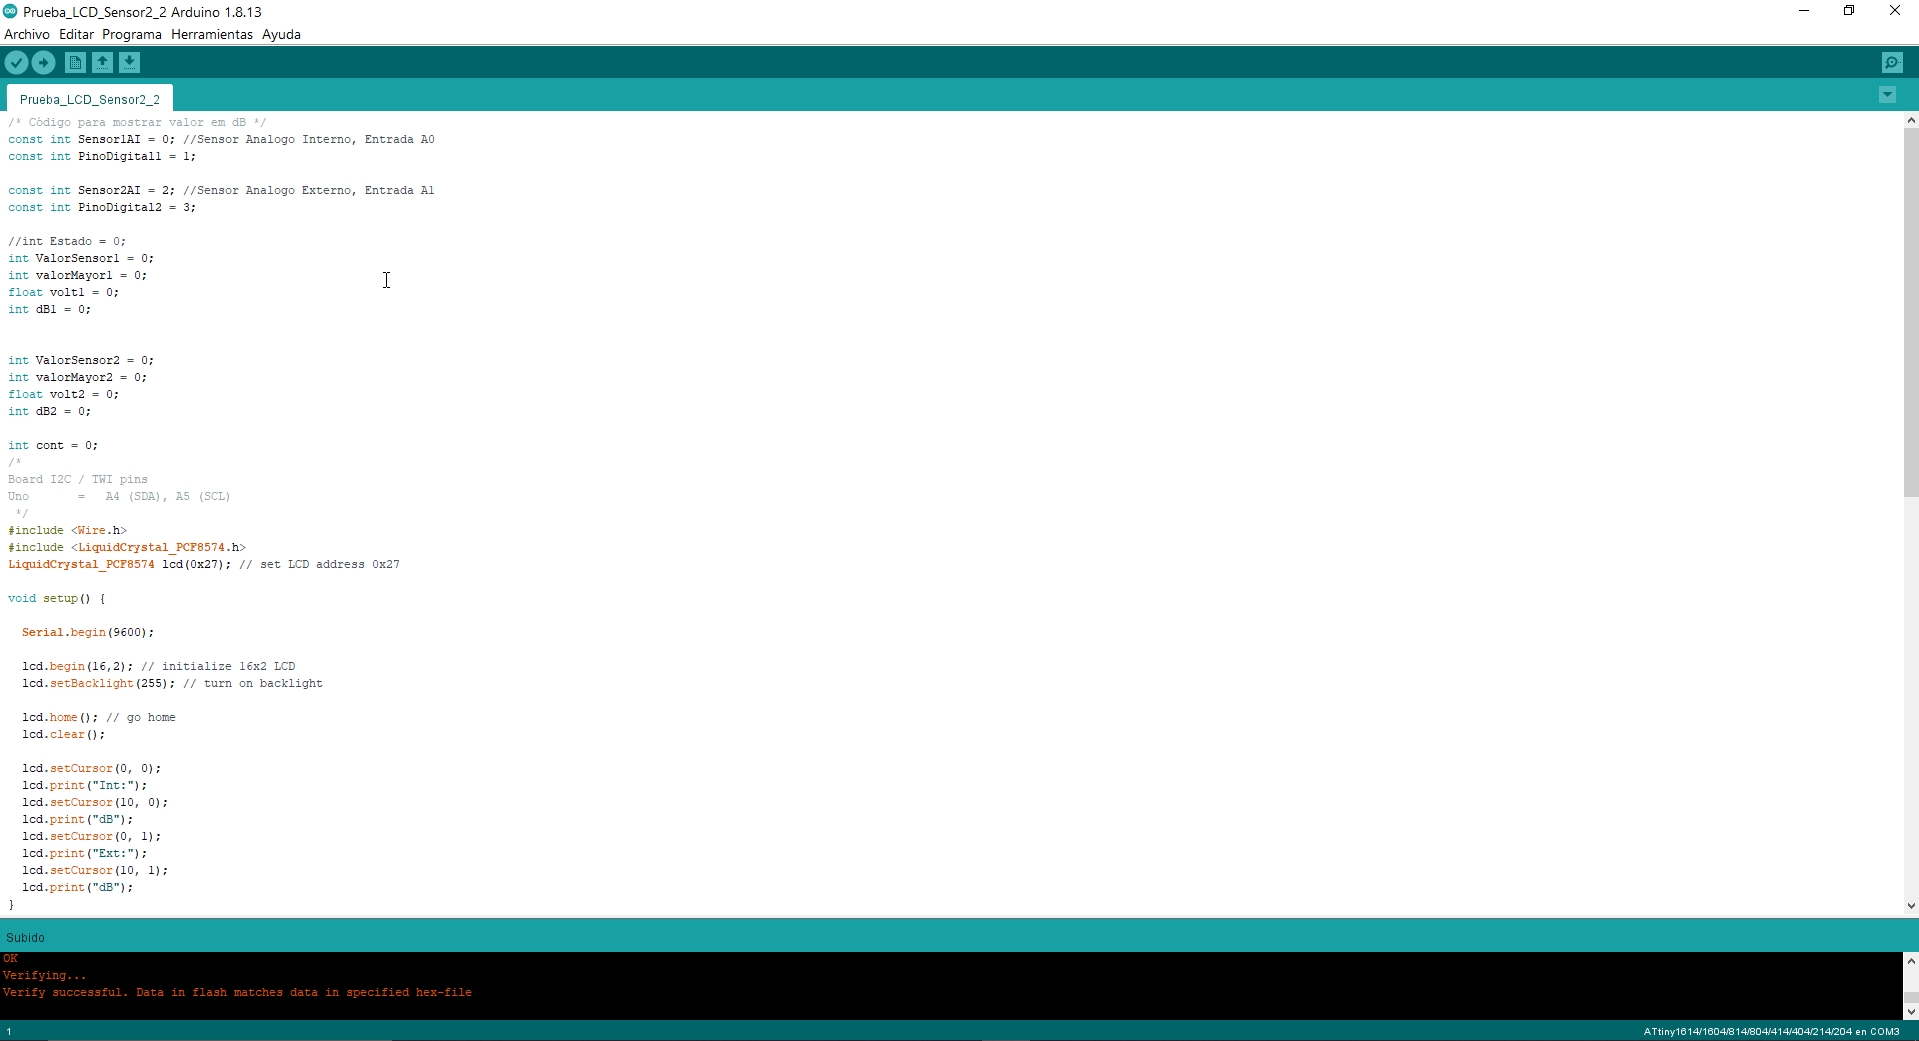
Program uploaded!
This code is “checking” how loud the noise around it is, using two sensors (one inside the circuit and one outside). Each time it detects a loud value, it converts it to decibels (the measure of how loud the sound is). Then, it puts those pretty numbers on the LCD screen, so you can see which sensor detects more noise. And it does this over and over again, updating the display.
Sound sensors detecting inside and exterior decibels and displaying on the screen
It's useful if you want to compare sound levels in two different locations, for example, inside and outside a room or two different environments. Perfect for noise monitoring projects or just to play a game to see who can scream the loudest!😄 Here's how to play with Ohmmy 🧡
Press the button and move the World!
In this new exercise I am using my board to control an MG996R servo motor (lent to me by Mayra) based on the signal from the on-board button. This is embedded programming because I will write code that makes the microcontroller interact with the hardware (the button and the servo motor) to perform a specific task: move the servo when I press the button.
Reinforcing what we have learned in terms of concepts, this exercise includes all the elements of an embedded system:
- Input: The button sends a signal to the ATtiny 1614 microcontroller.
- Processing: The microcontroller interprets that signal (pressed or not) and decides what to do.
- Output: Activates the servomotor to make a movement.
So yeah, I'm on the right track, doing embedded programming like a crack!💎💎
        #include
        const int boton = 10;
        const int led1 = 8;
        int s1;
        Servo servo1;
        const int pinservo1=1;

        void setup() {
            pinMode(boton,INPUT);
            pinMode(led1,OUTPUT);
            servo1.attach(pinservo1);
        }

        void loop() {
        s1=digitalRead(boton);
        if (s1==1)
        {
        servo1.write(0);
        digitalWrite(led1,HIGH);
        }
        else
        {
        digitalWrite(led1,LOW);
        servo1.write(90);
        }
        delay(100);
        }
Arduino IDE Code Servomotor + Button
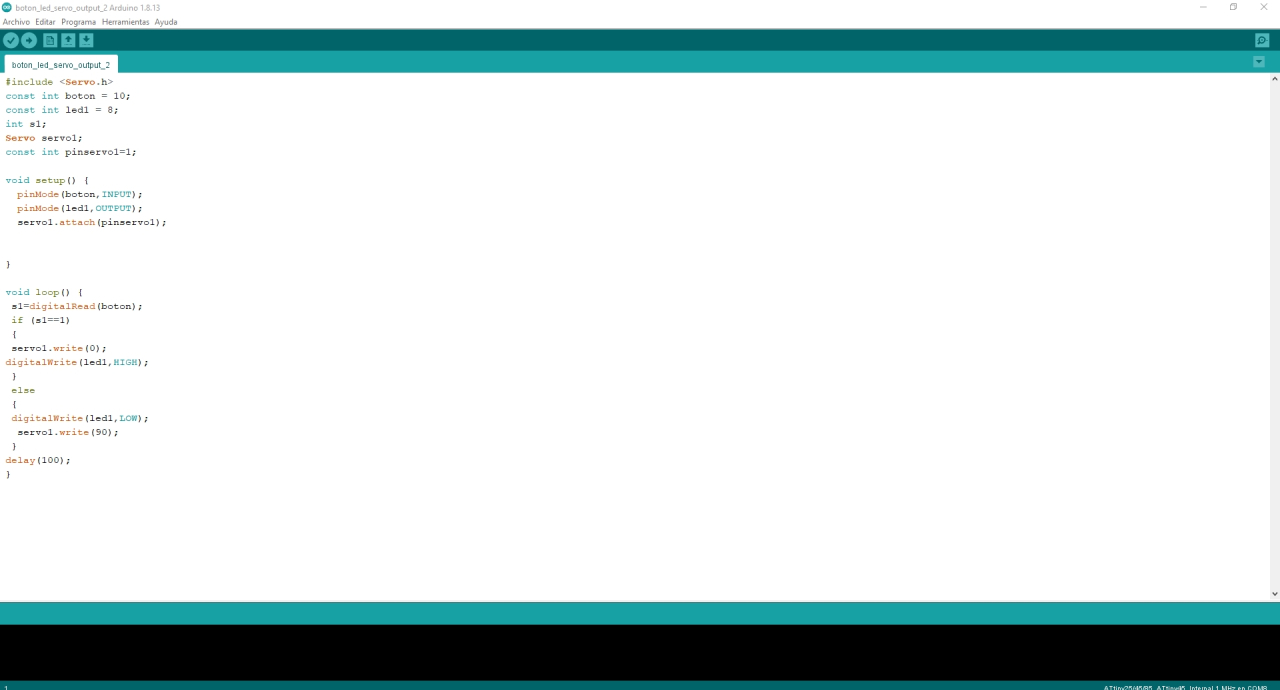
The program
Activating the servomotor with a push button
AboutLearning
- I've learned that embedded systems are like “mini brains” that bring electronic devices to life. Whether it's measuring noises or moving a motor, it's all about how the microcontroller processes inputs (buttons, sensors) and generates outputs (LEDs, motors). It's the perfect combination of hardware and software for specific tasks.
- Programming a button to move a servomotor or measure decibels does not require super-complex code. What makes embedded programming special is the ability to transform basic things like pressing a button into real actions. It's as if with a few lines of code you make the hardware come to life. That's pretty cool!
My Veredictfrom what I learned
- With small codes, I can achieve "big movements”. It reflects how a couple of lines of programming can control the physical world, such as moving a servo or measuring noise.
- “In every microcontroller, there is a universe waiting to be programmed.” This sentence reflects the immensity of possibilities that a microcontroller offers, despite its small size. Although it may look like just a chip, it actually has everything it needs to interact with the world: it can read sensors, activate motors, turn on lights or connect to the Internet. Every time you write code for a microcontroller, you are unlocking new capabilities for it to perform specific tasks, from the simplest to the most complex.
