Fifteenth Week
Fifteenthclass
This week has been very particular, as part of this learning process, we are asked to do something new, something that does not contemplate the processes already done in previous weeks. It is quite a challenge, but I have had the idea of making this week serve as a great help to continue prototyping my final project Quentino. Basically I propose, using a new method, to try to get to the shape using a new material. Let's go!💪

Thermoforming process
My experience
Object for Thermoforming
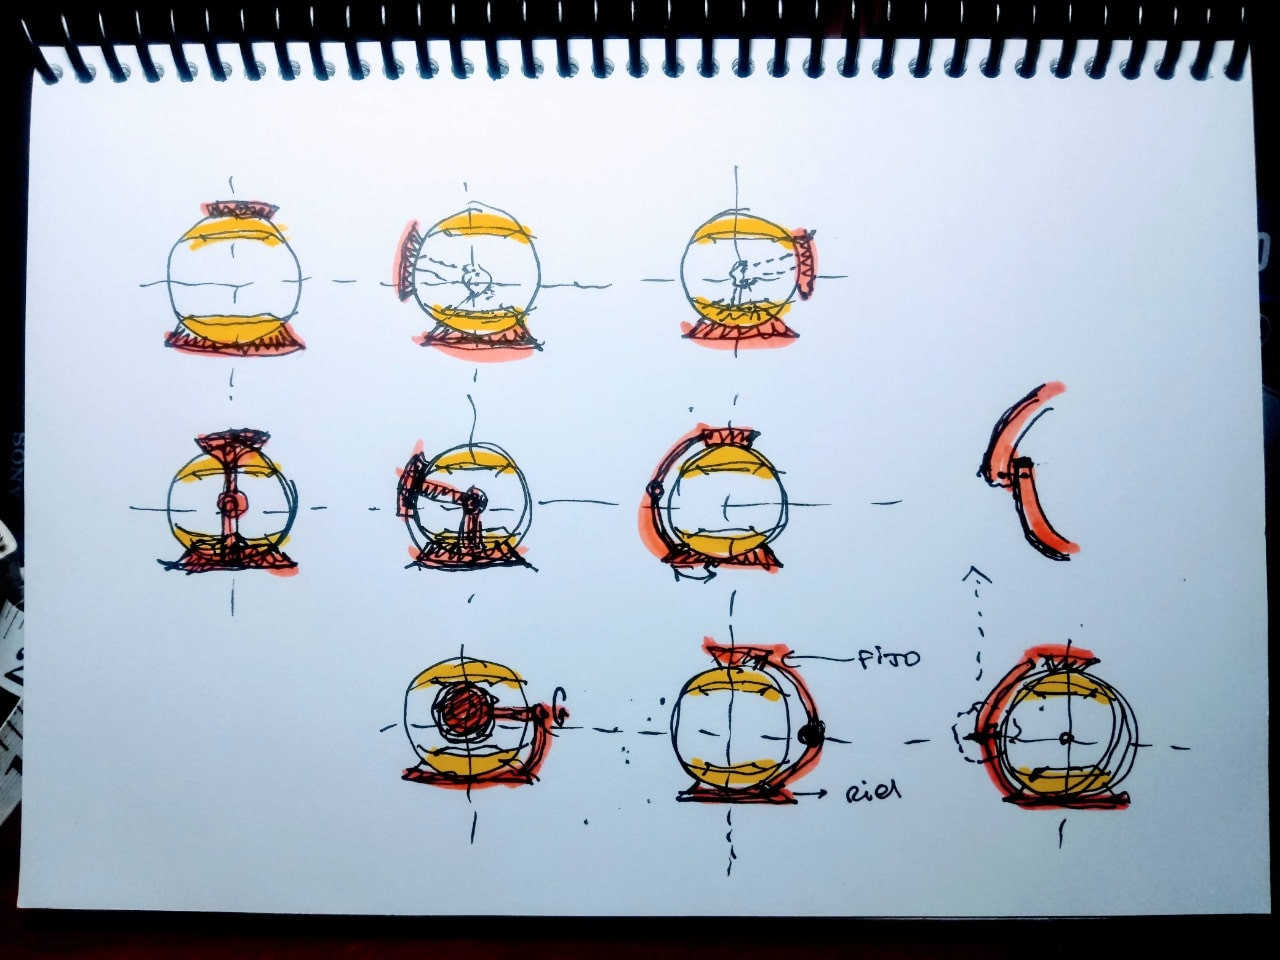
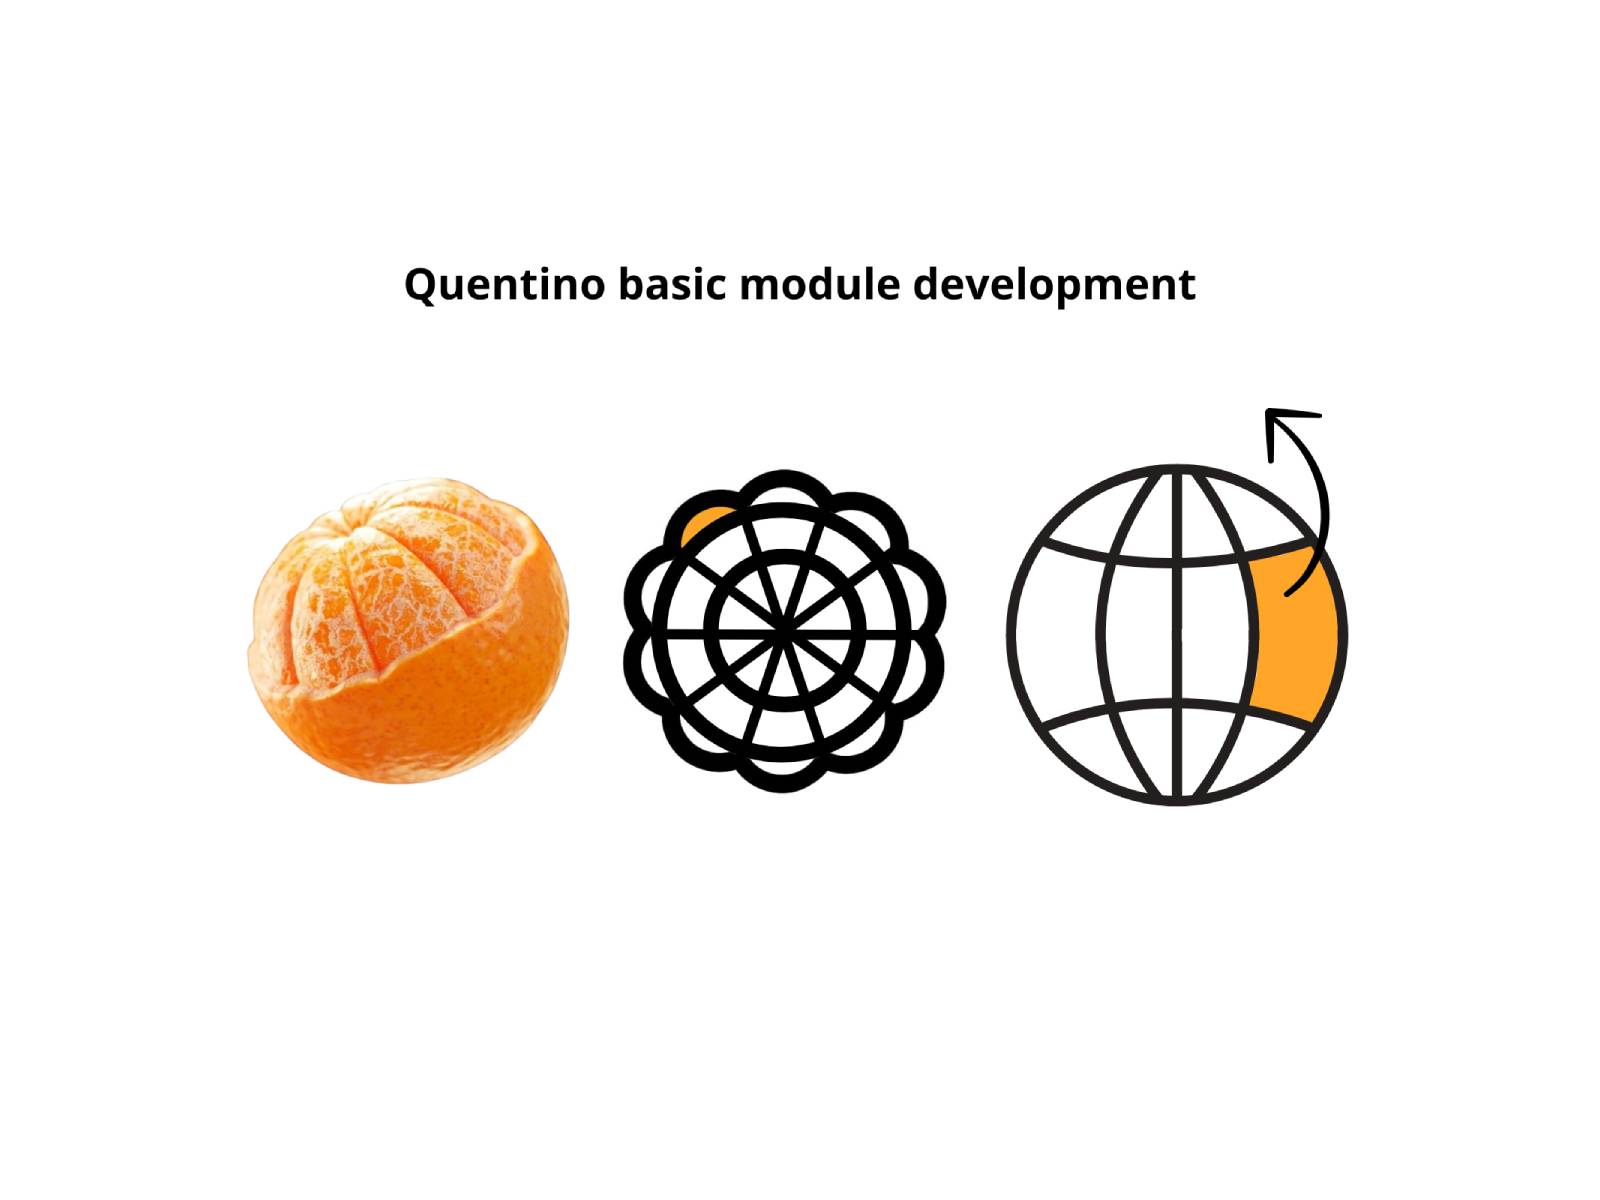
Great! The process I chose for this week is called thermoforming. This process involves heating a sheet of plastic and giving it specific shapes using a mold. The molded plastic is then cooled and trimmed to produce the finished part. The process is carried out using a thermoforming machine to heat and stretch the flexible thermoplastic sheet over the mold. Because of the ease and speed with which molds can be made, it occurred to me that I could take a first approach to my final project. To start, I began to schematically design a part of Quentino, yes, a module. I wanted this module to be replicable and that the union of all these would define my Quentino in shape and size. For this, I started from a spherical shape, I still do not know the final shape of my project but for the moment I am contemplating it as something spherical and small. Well, once I chose the shape, or rather the section I want to work on, I went on to model it in 3D in the Rhinoceros program. Then I took it to the CURA program to configure it and send it to the 3D printer.

Final project first scheme

Concept & Design Module

3d Modeling in Ultimaker Cura

Ultimaker Cura Printing Preview

Startin 3d Printing!

Detail Structure Printing

Geometry Module Design

3d Print Ready!
Thermoforming box parts
As a next step, it is important to develop the manufacture of a vacuum base made with wood and mdf together with my partner Stefany, we designed a small one to make the thermoforming process. Below I show some pictures of the 3D model and the laser cutting process we did, this time we used 5mm MDF wood.

Configuration for CNC

Cutting Parameters

3D Visualization

Fabrication started!

Parts ready for assembly

Assembly ready

Vacuum box ready for use

Others parts ready for thermoforming
Thermoforming process
The use of a wooden box as a mold in the thermoforming process is ideal for small production batches or prototypes. In addition, the wood material is easy to work with and can offer a wide variety of shapes and sizes, allowing for a wide versatility in designs.

The thermoforming machine needs to have the complement of a perforated base to place the piece on it, then the machine is turned on, the motor is activated and sucks the air generating the vacuum effect between the piece to be molded and the plastic to be thermoformed.

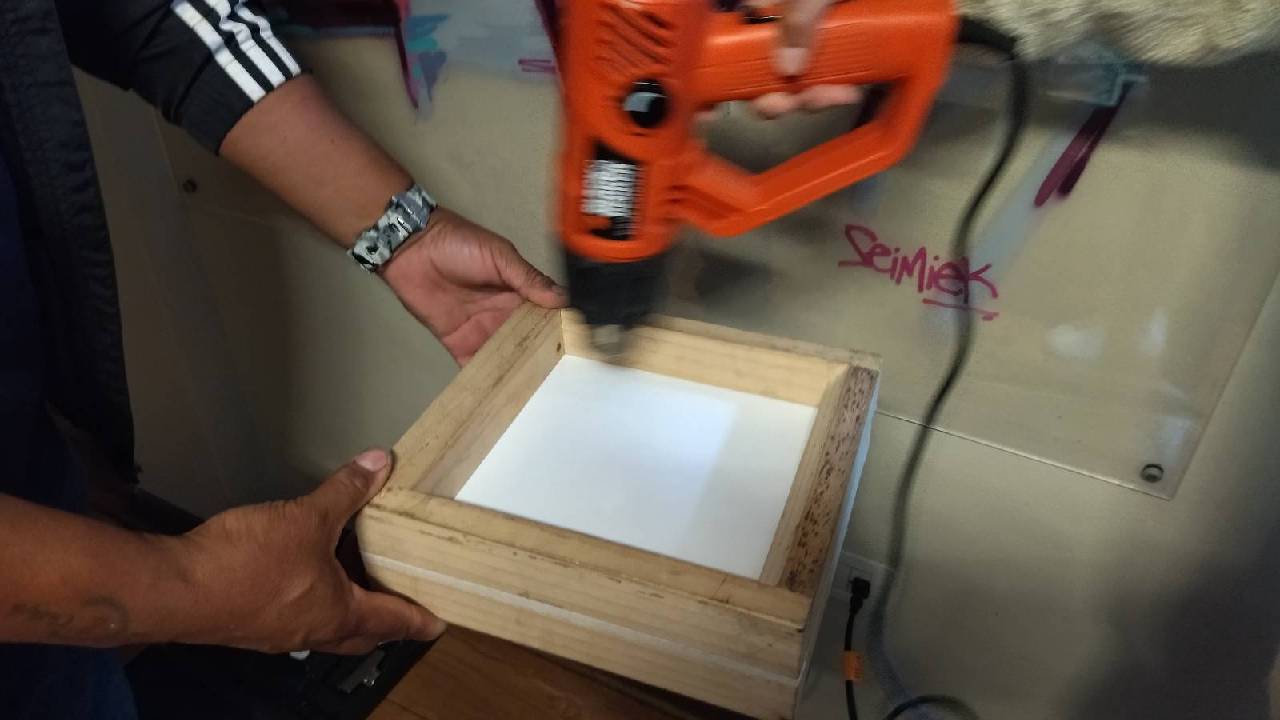
The idea is simple: take a sheet of plastic, heat it, and mold it into this wooden box. But here's where I want to do something different. Instead of using an oven, I'm going to use a heat gun. I have a heat gun that I normally use for smaller jobs, and while it's not the same as a kiln, I think it could work if I handle it right.

I place the sheet in the home thermoformer and adjust the heat gun to heat it evenly. If I heat it too fast, the plastic could bubble or deform in an uncontrolled way. So I start moving it slowly, letting the heat distribute itself little by little. The plastic starts to become more pliable, the heat is doing its job, but patiently.

Heating for thermoforming

The plastic sheet already formed

After letting the plastic cool a bit, I carefully removed it from the box. The shape has turned out pretty well. There are a few small imperfections, but nothing I can't correct with a couple of cuts or sanding. The texture of the plastic is uniform due to the care taken not to overheat the surface.
At the end of the process, I feel a great sense of satisfaction. I am impressed by how accessible it is to do thermoforming at home, with simple tools and some creativity. The wooden box has served perfectly as a mold, and the heat gun has done a surprisingly good job. This has been a test project, but now I know I can make more pieces if I need to, and I can also keep experimenting with different shapes and materials.
Download the files here
MDF Base
Module printing