My experience
First step
For this week
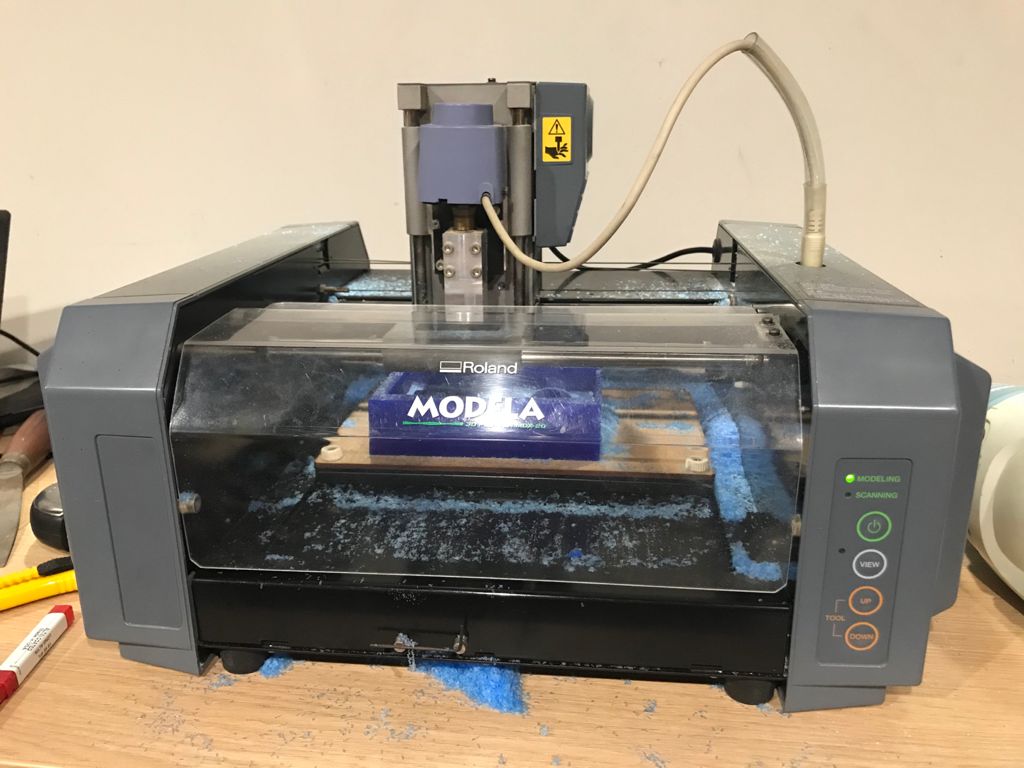
Stefany Casanova and me used the
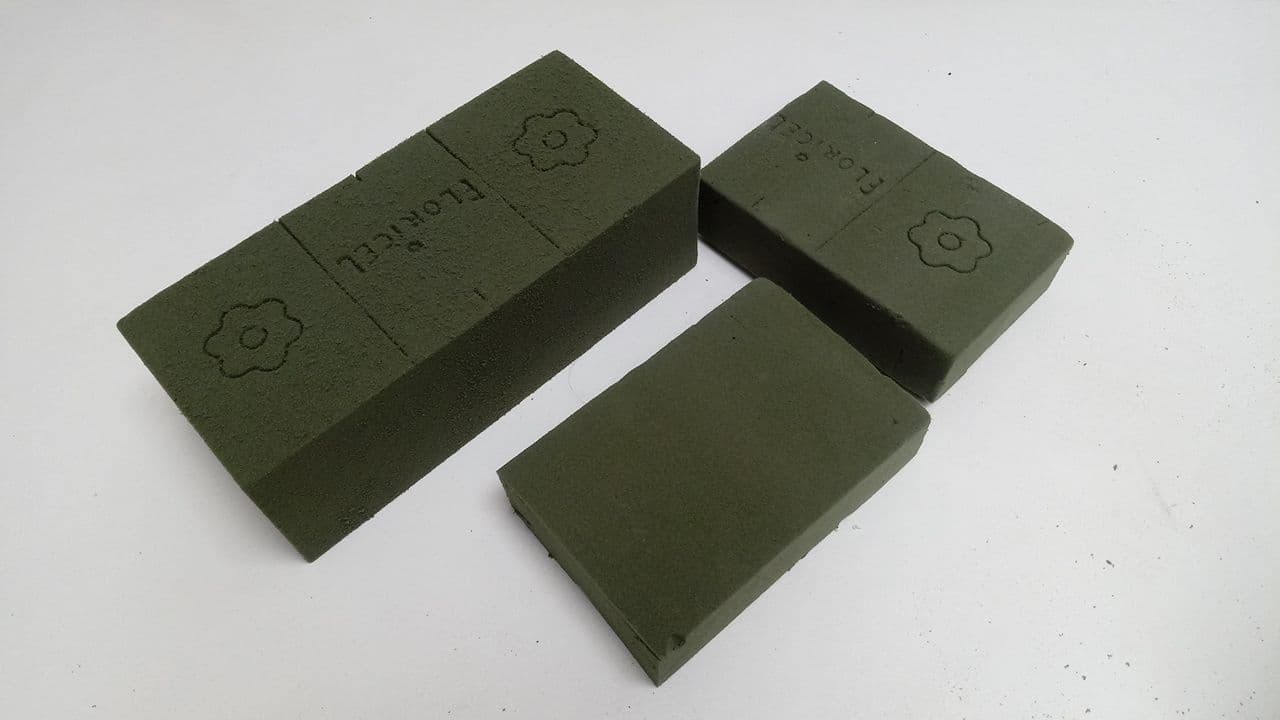
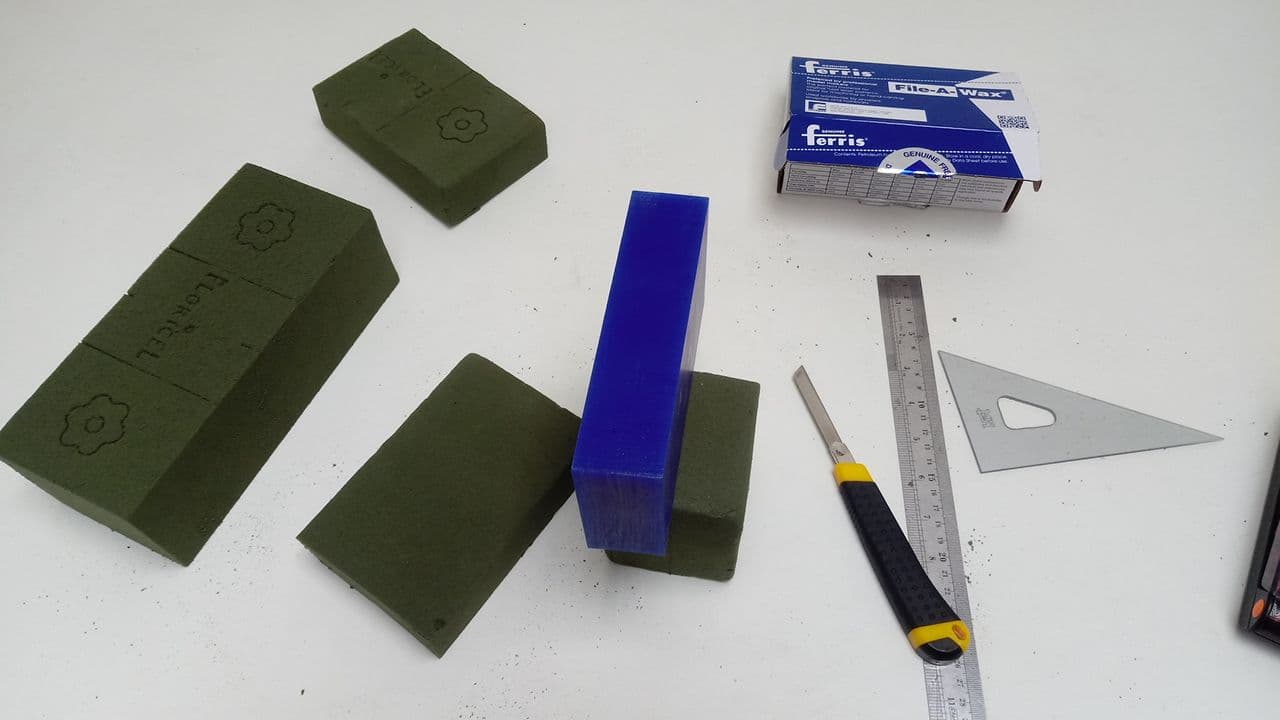
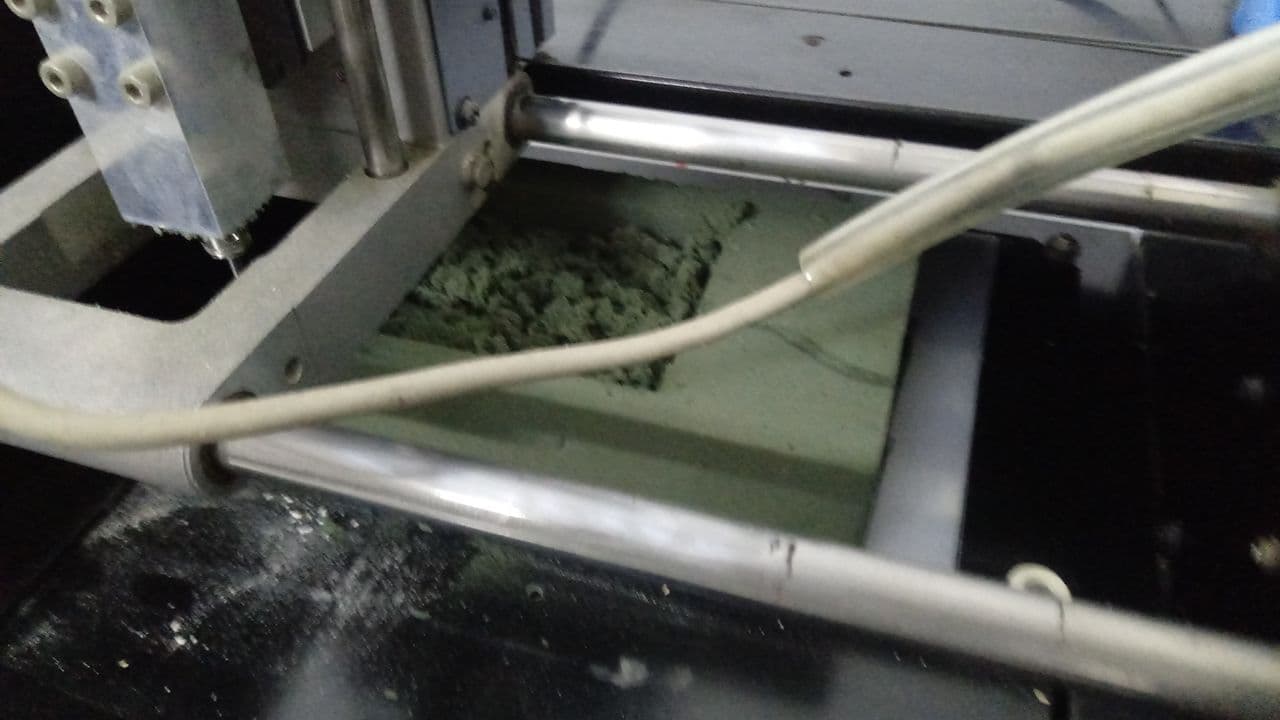
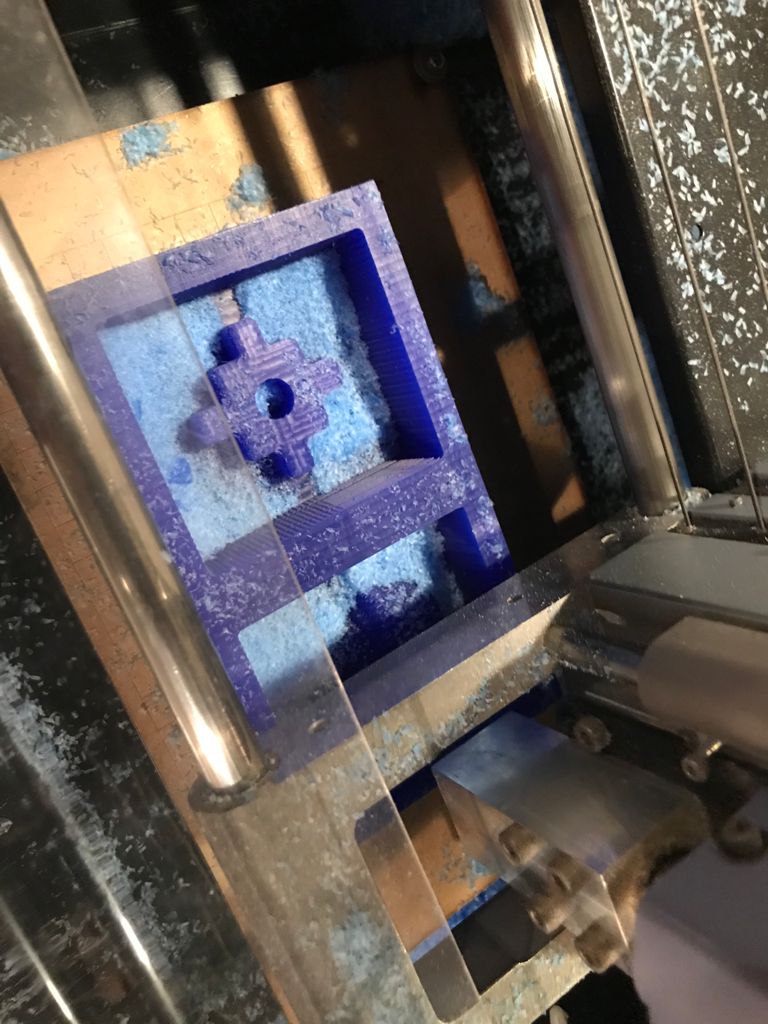
Modela MDX-20 3D Milling Machine, this machine still seems to have complications 😢 but it has served us well for the first part of this assignment. For our first test we used floral foam blocks, we were able to get them in a nearby store where they were offered as
absorbent material for the plants. Thanks to its texture and size we could make a first simulation as if we were using a Wax, something interesting was that with this first test we started our exploration of some programs like
ArtCAM and CNCjs. Next I show some of the design steps and then the milling with the foam. 💪
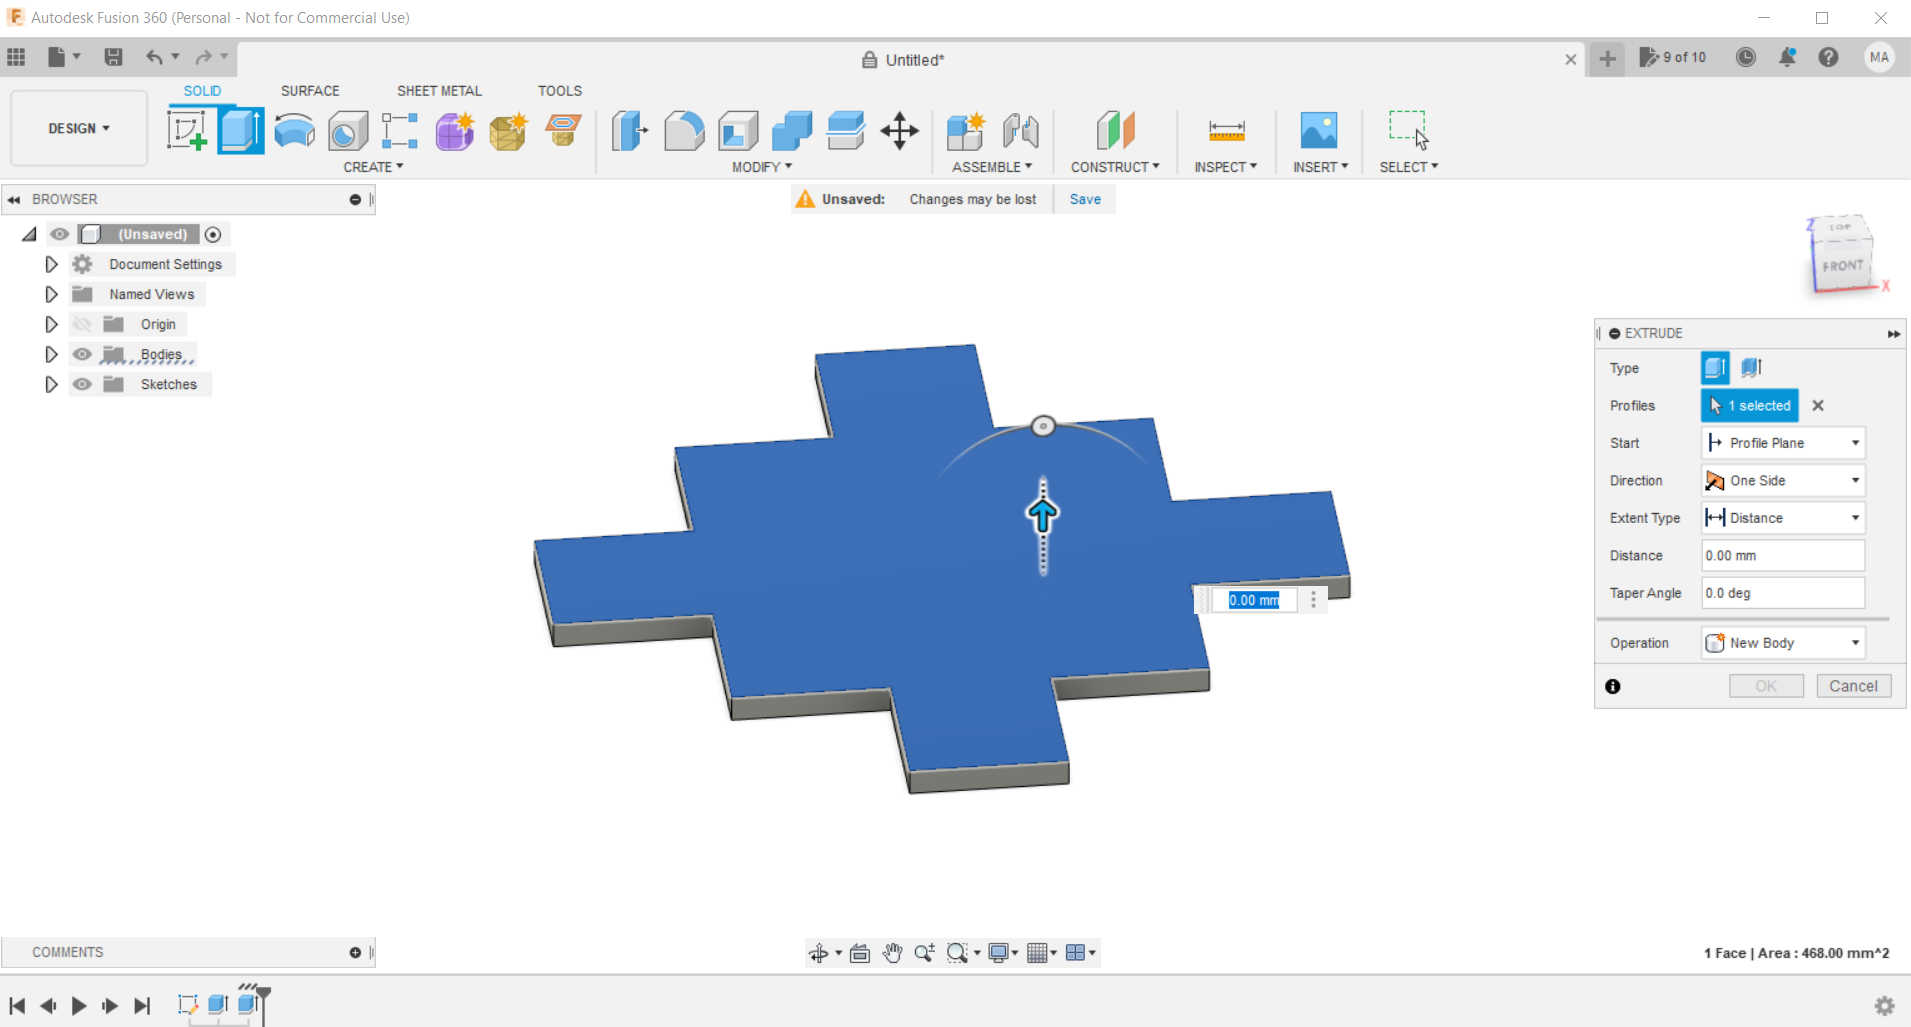
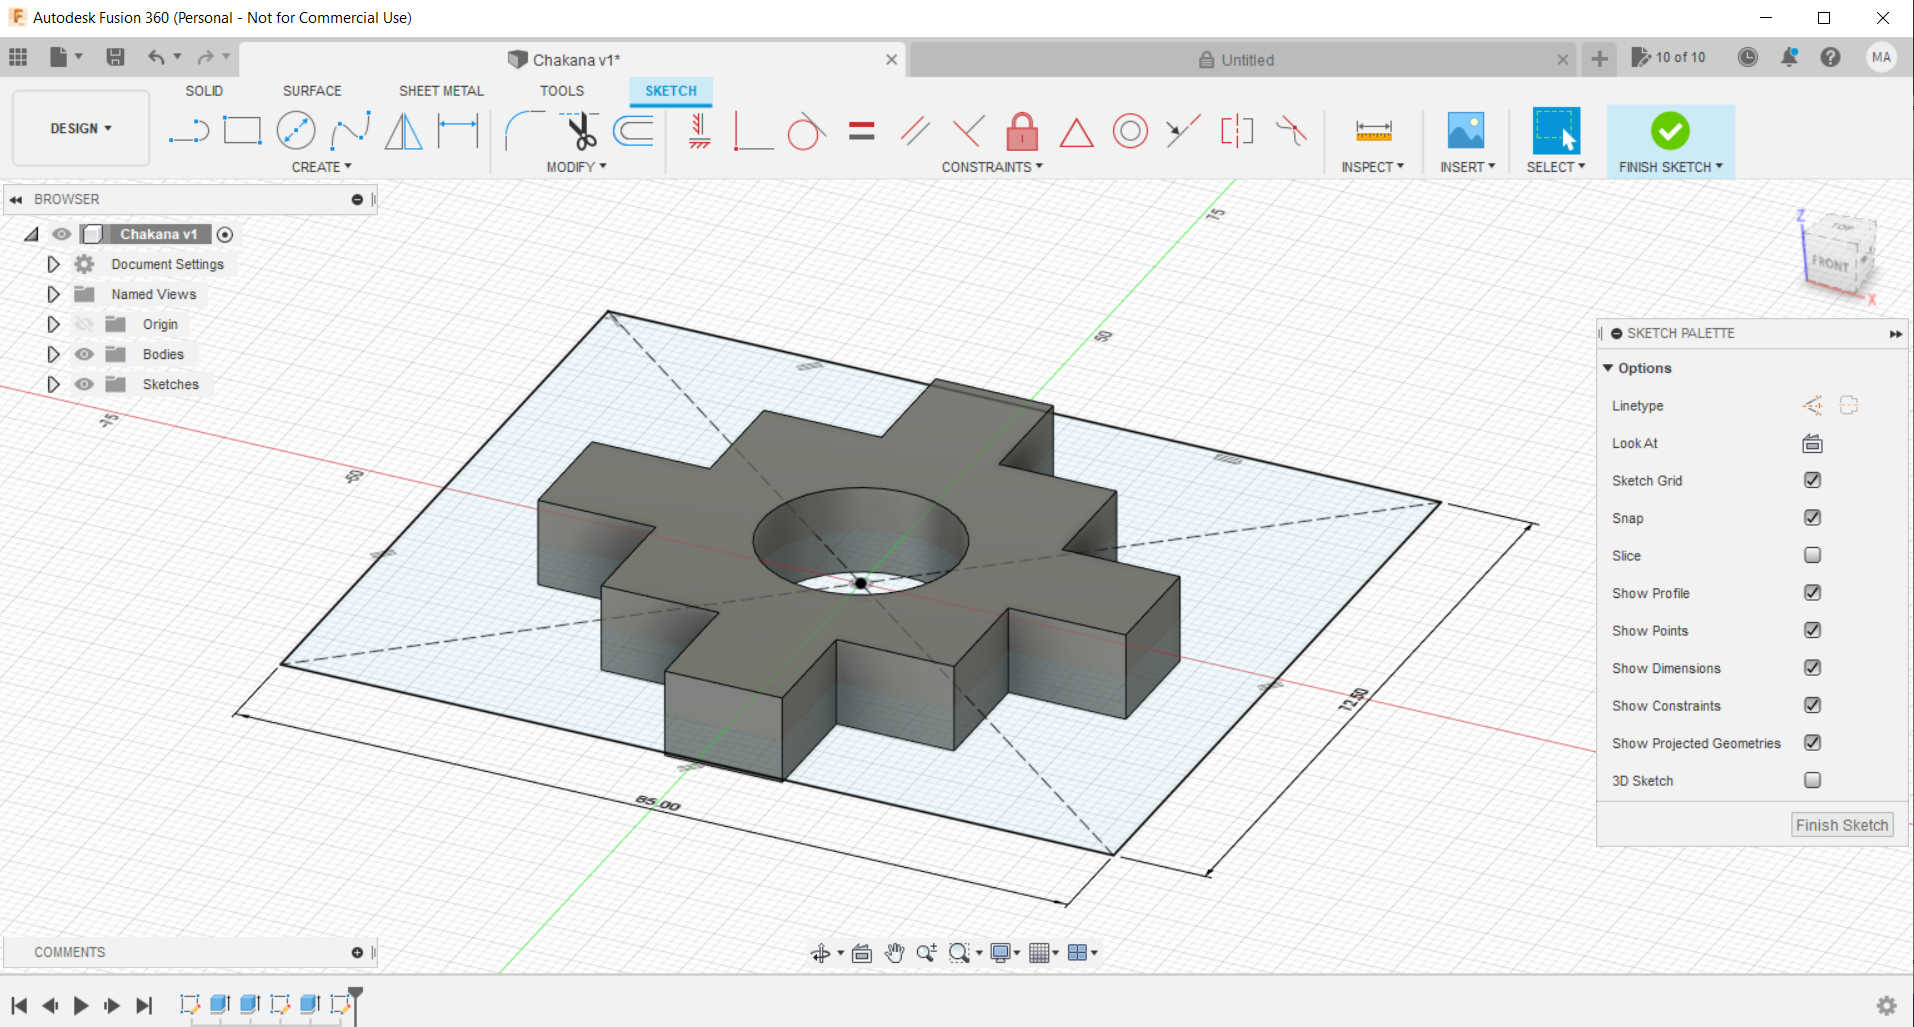
What's next?
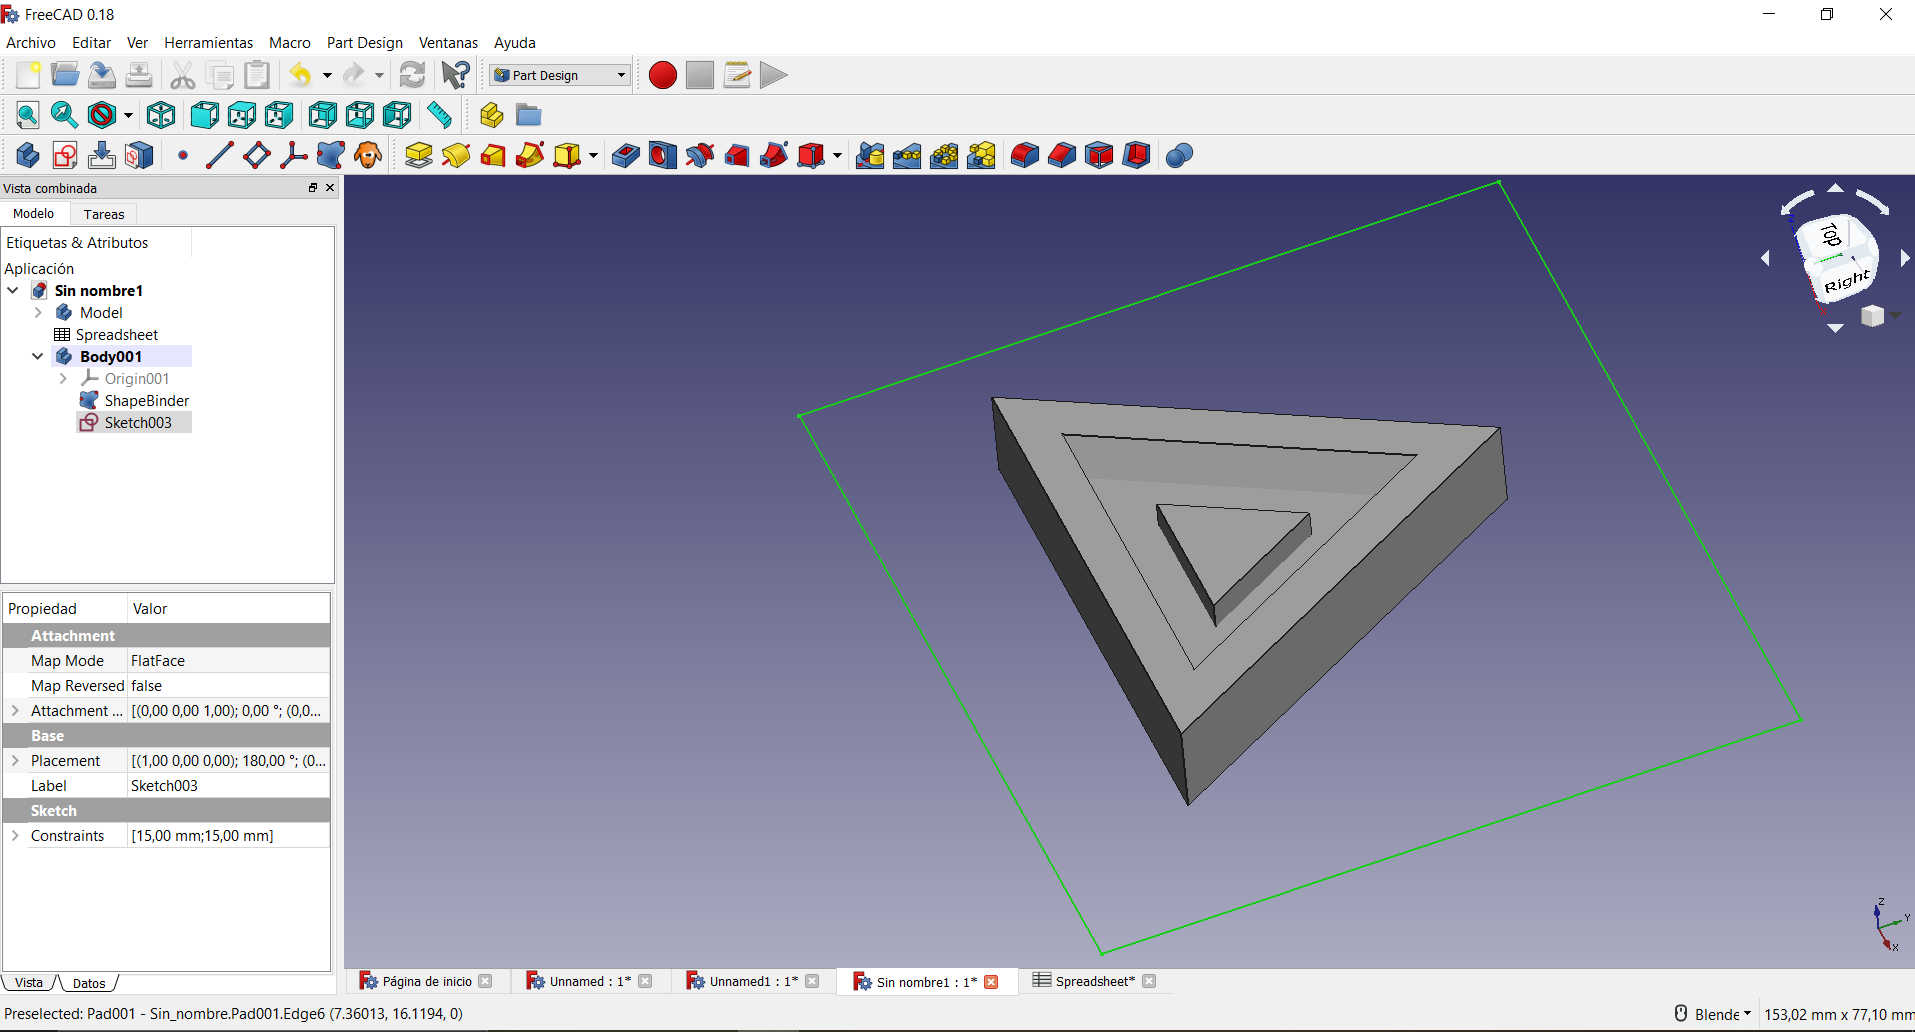
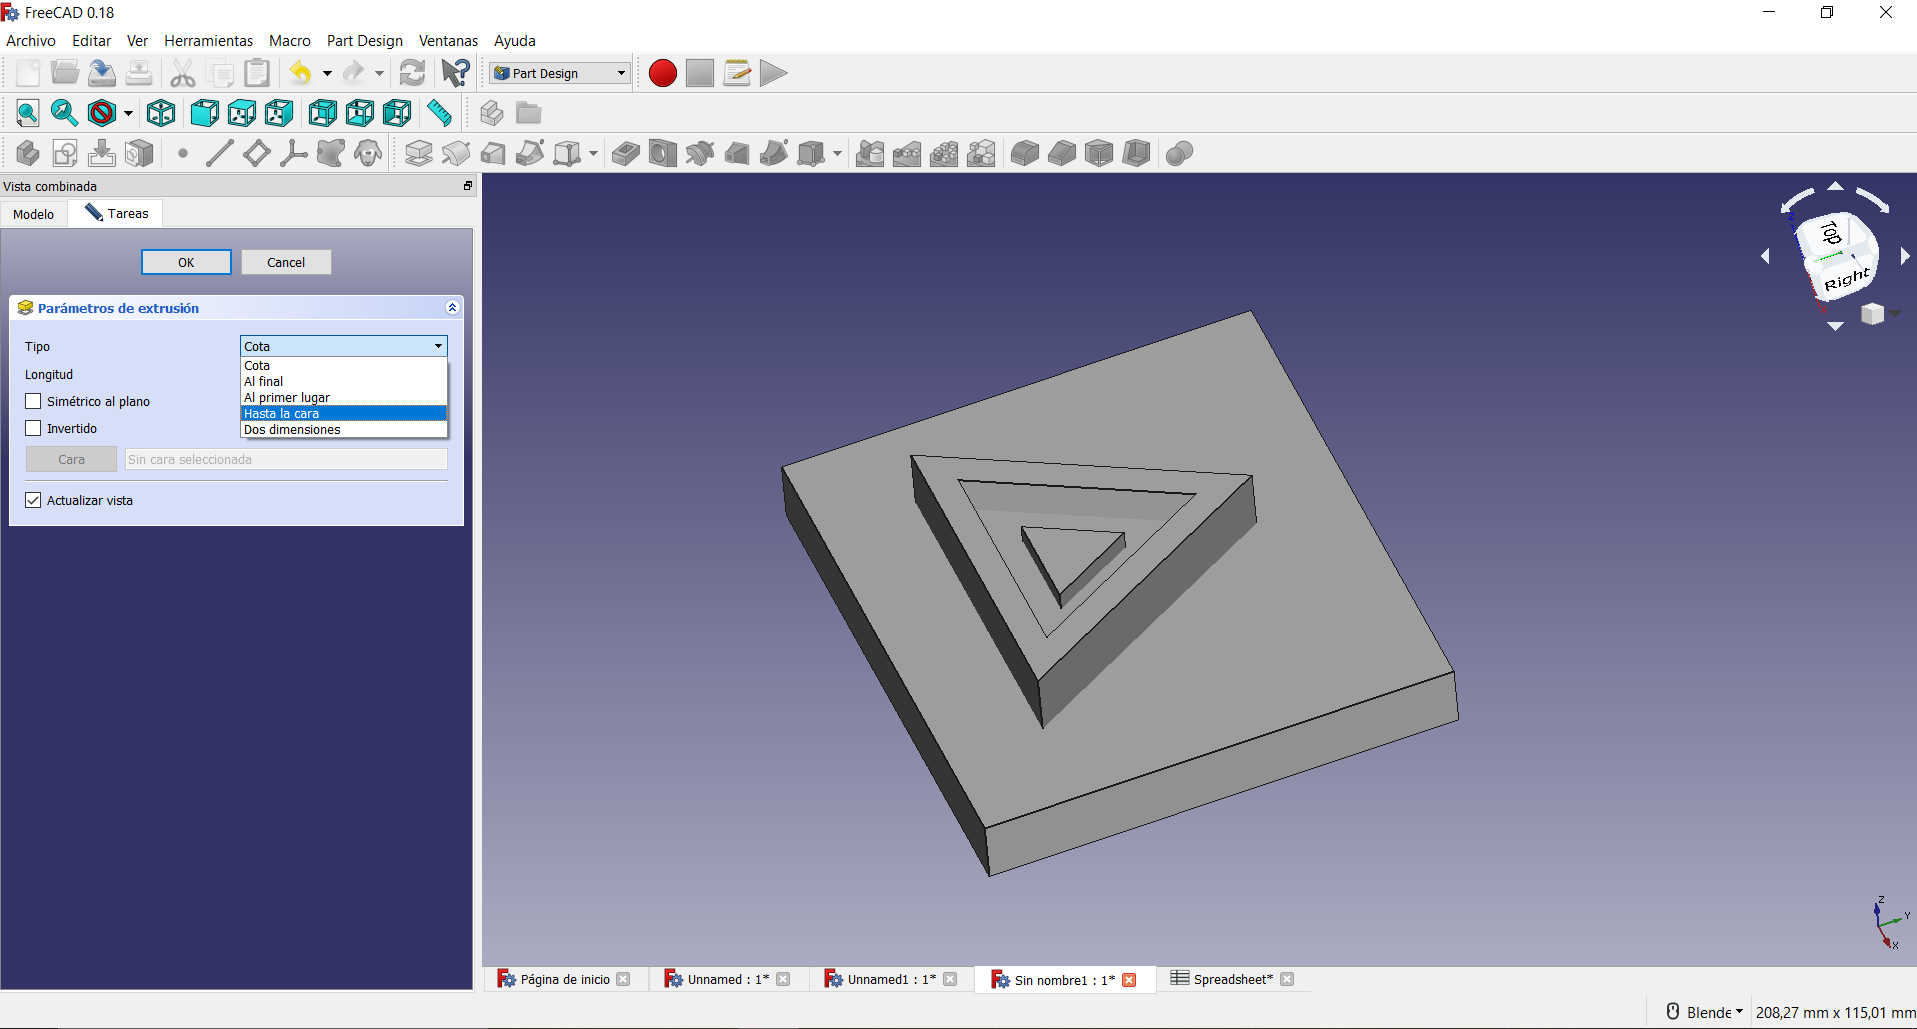
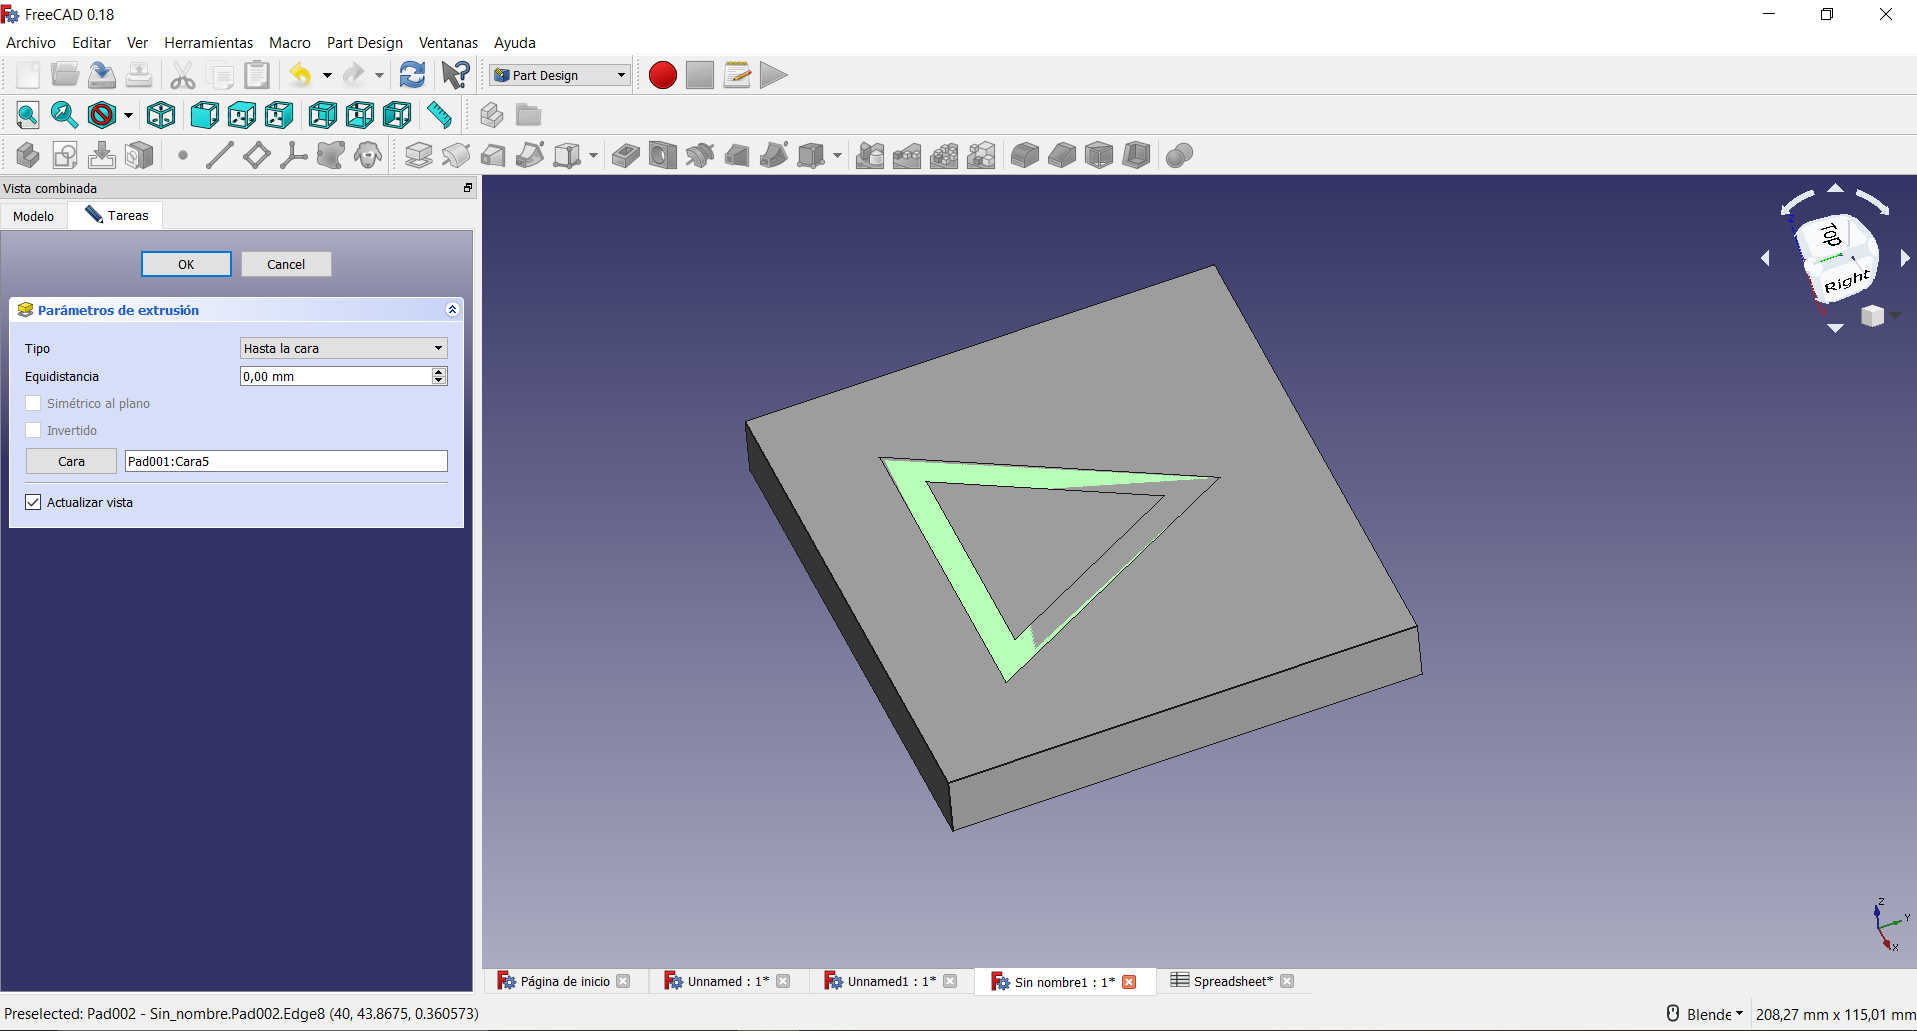
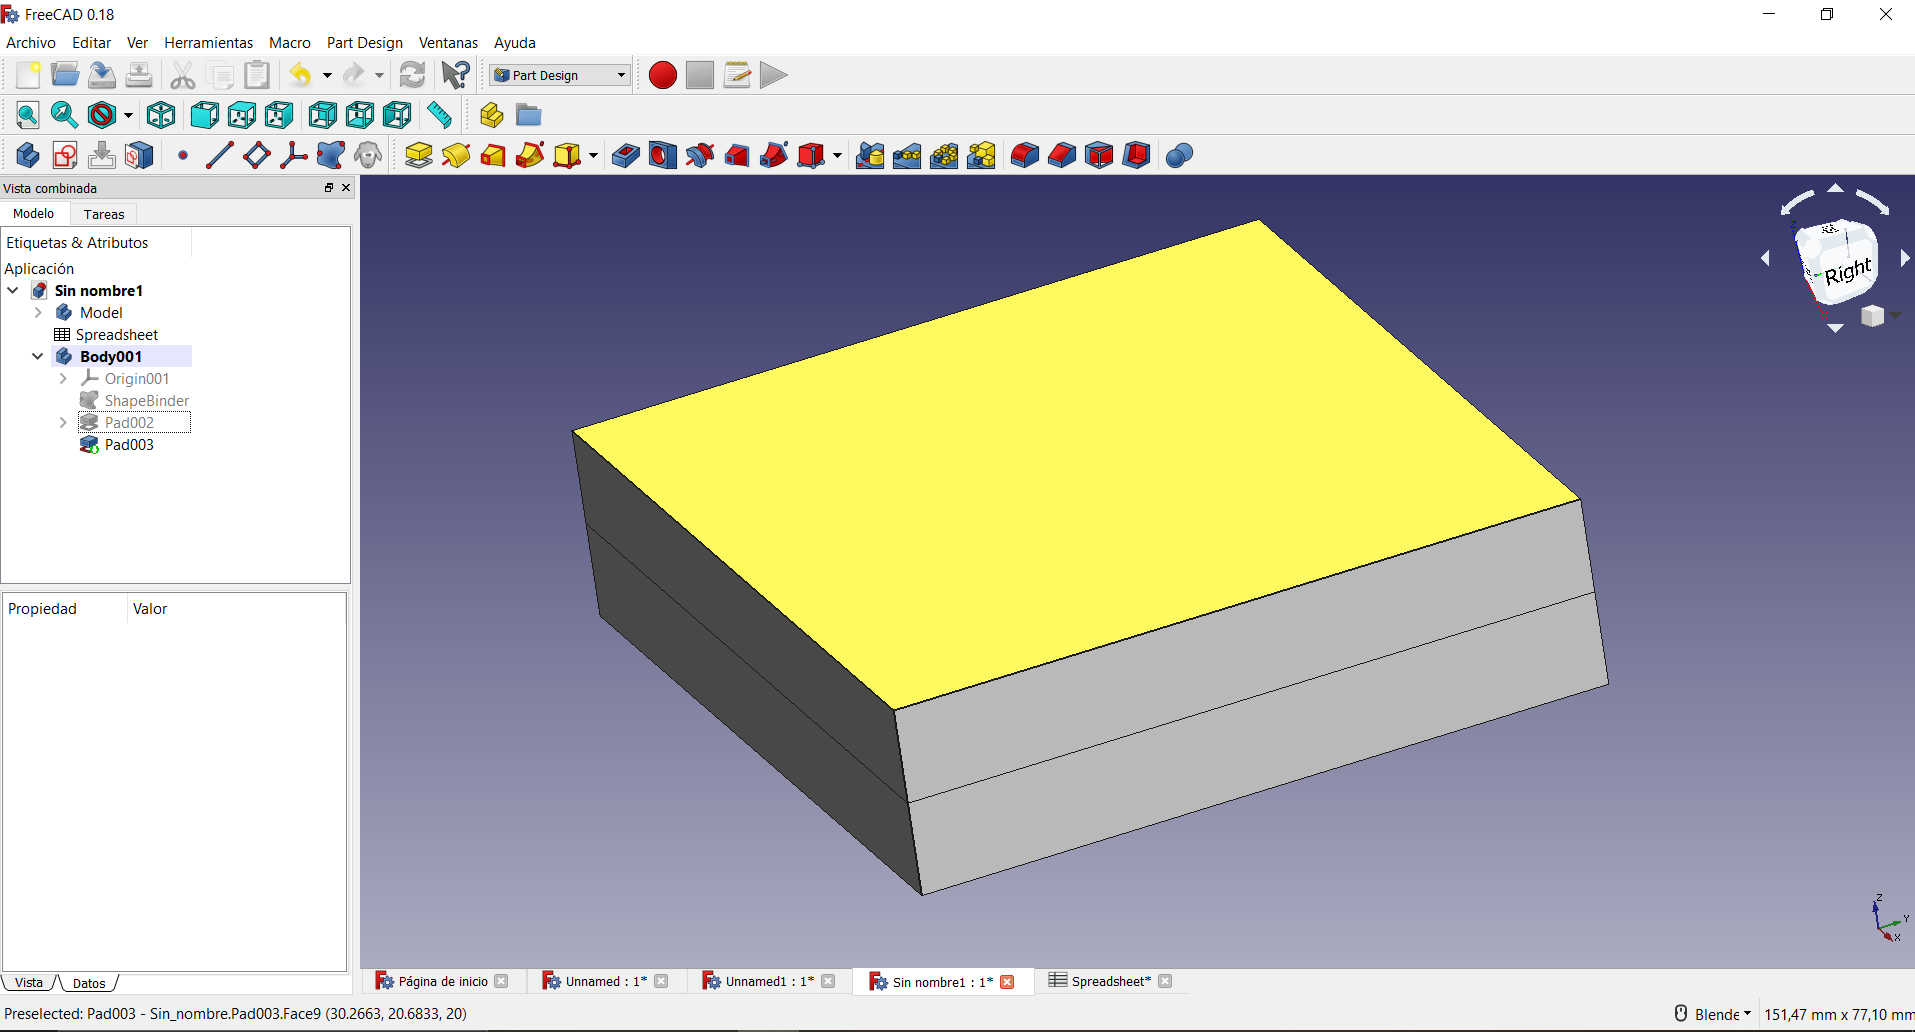
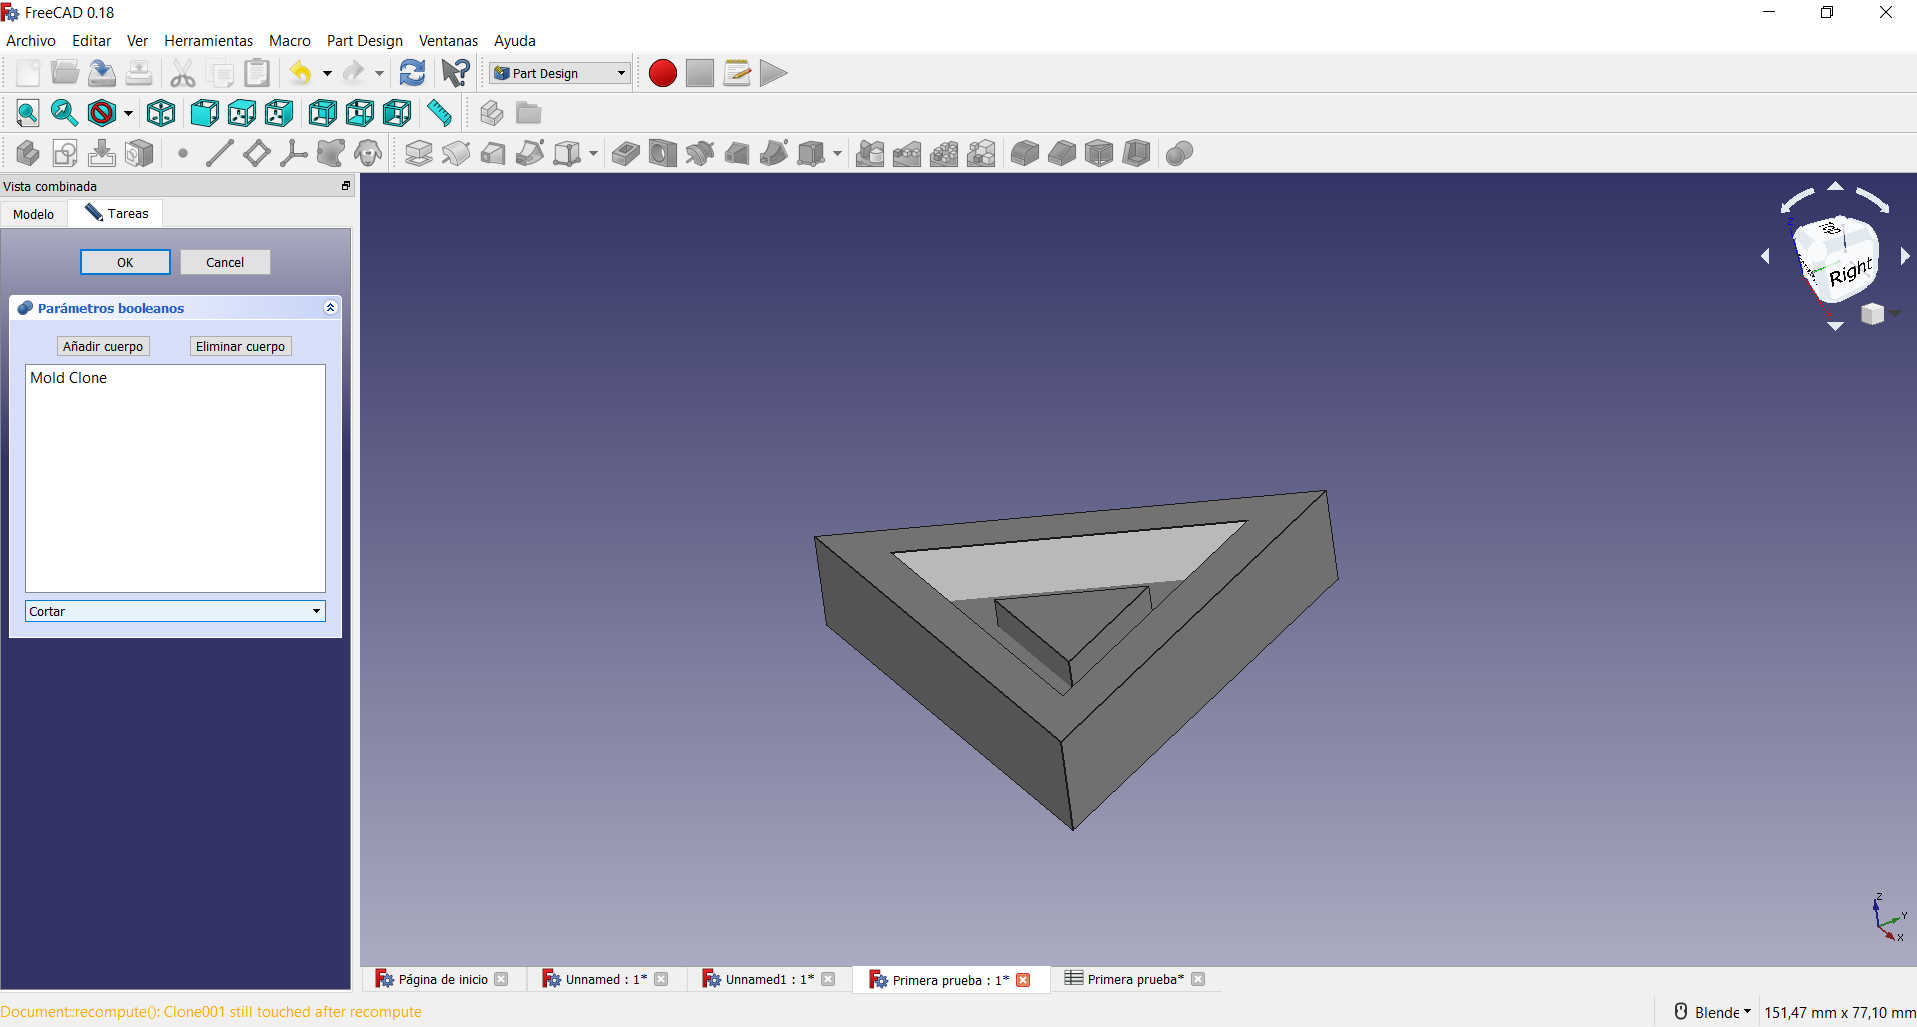
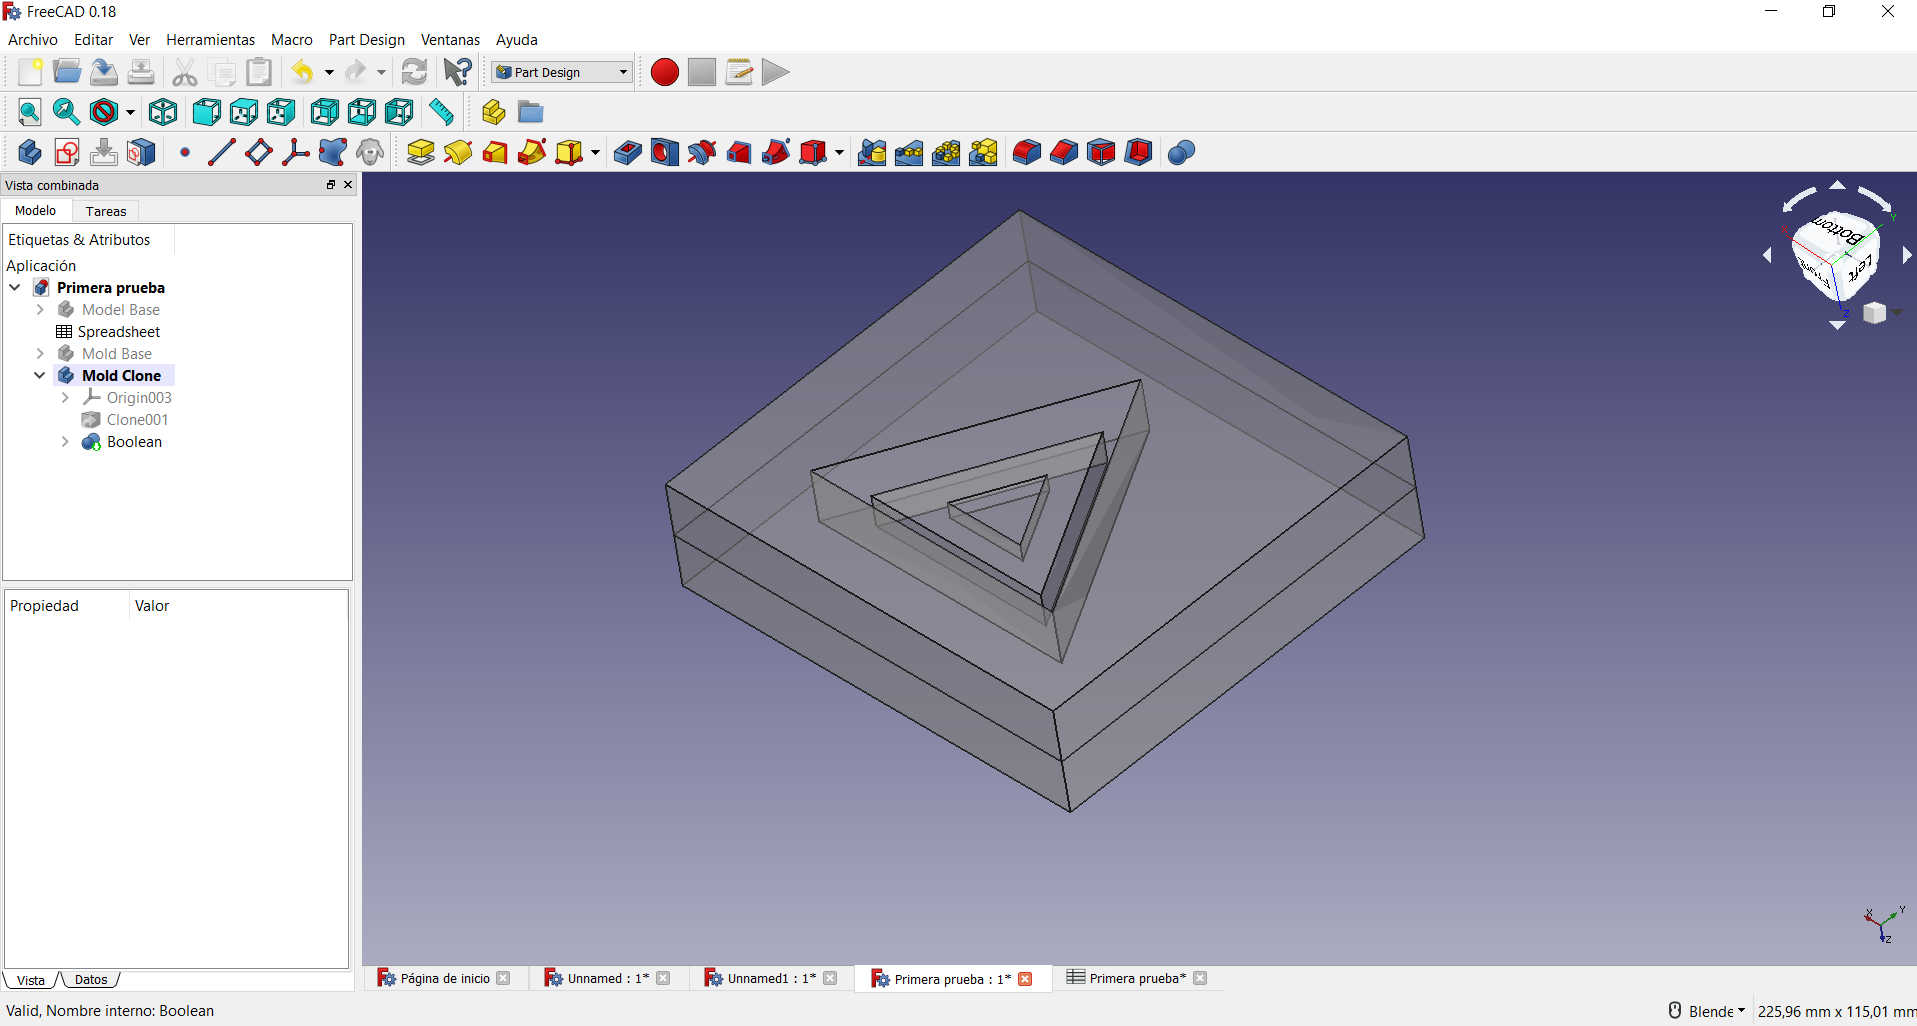
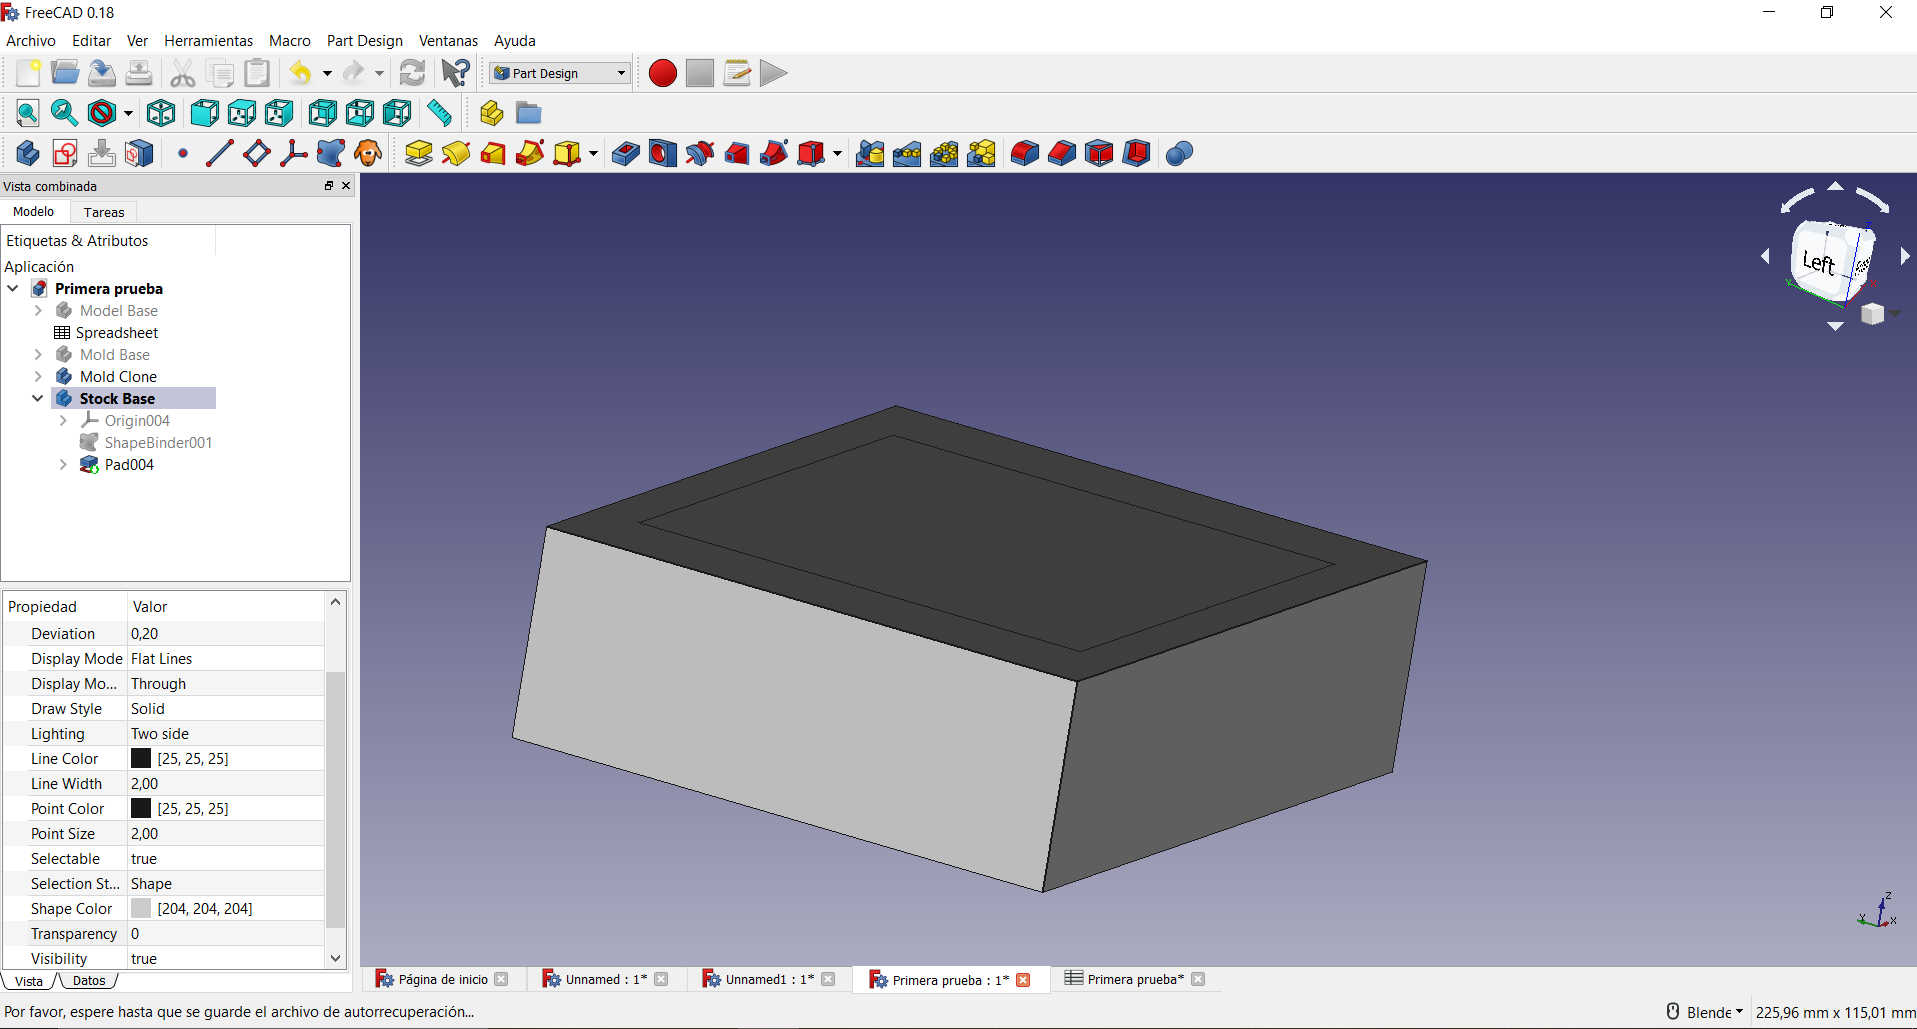
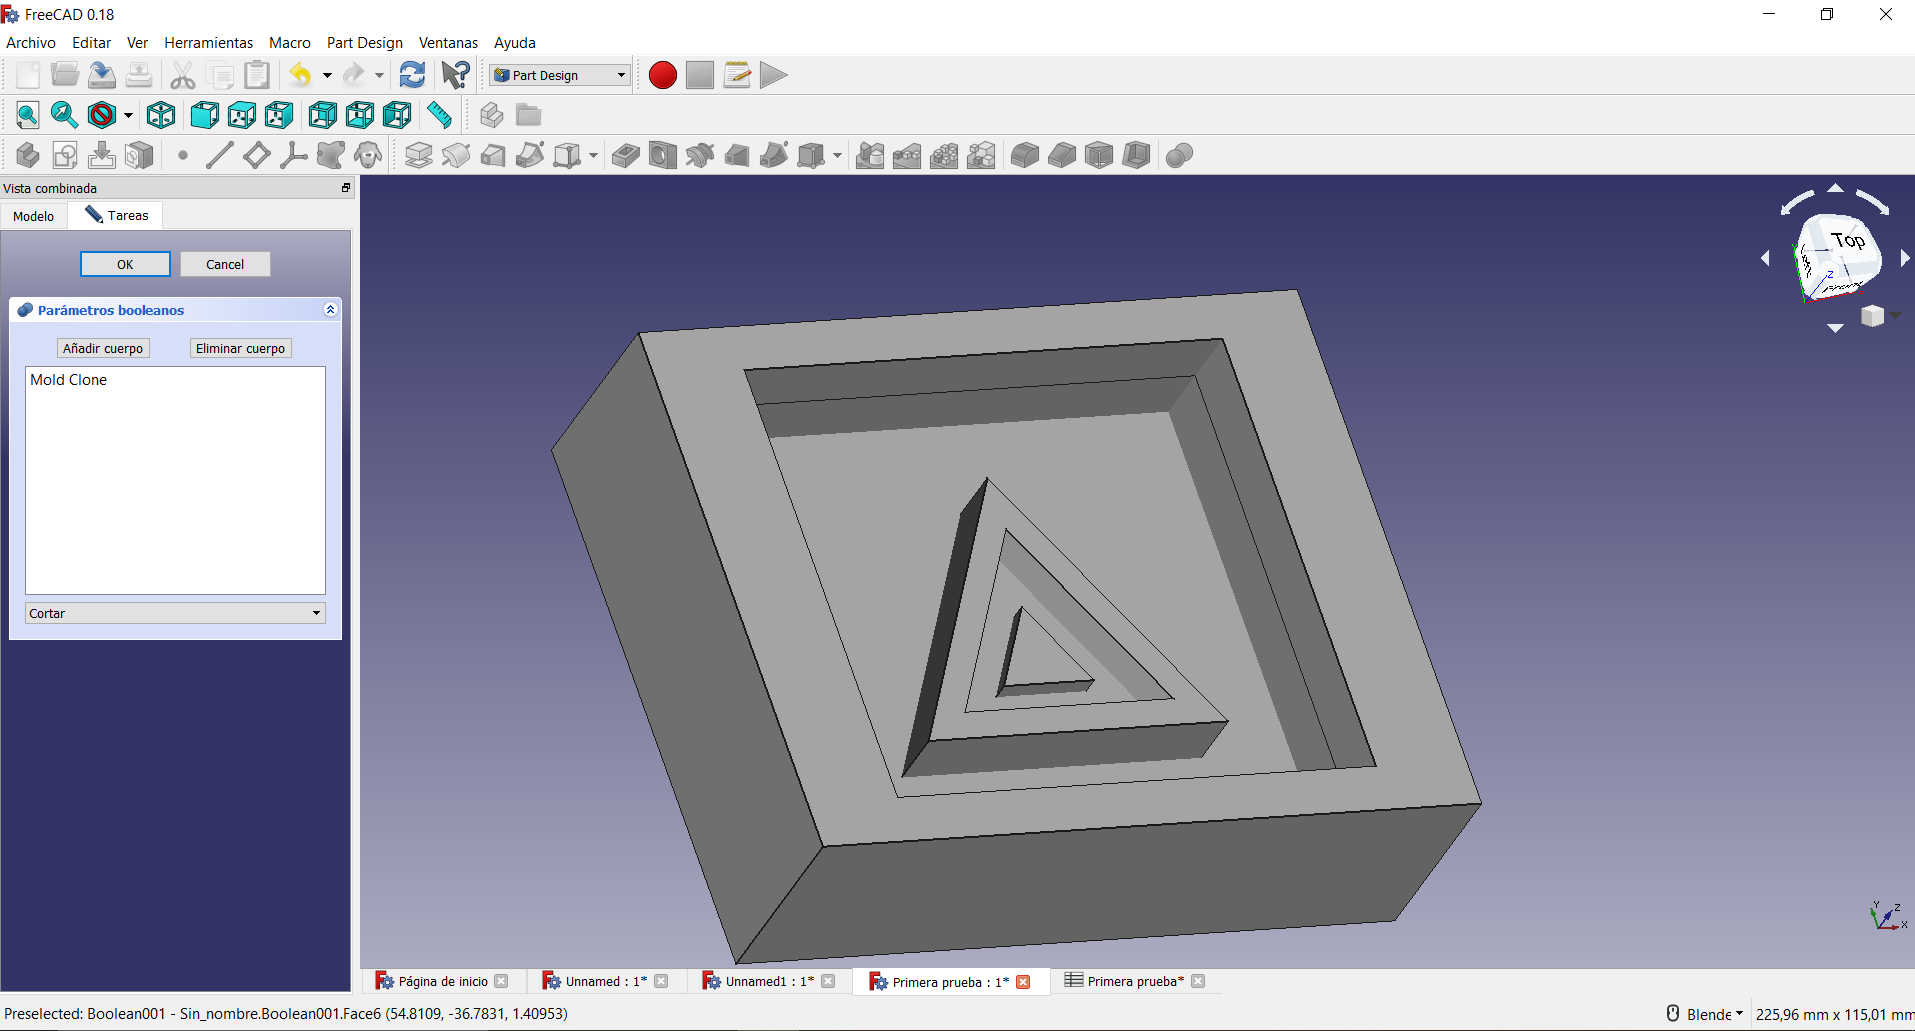
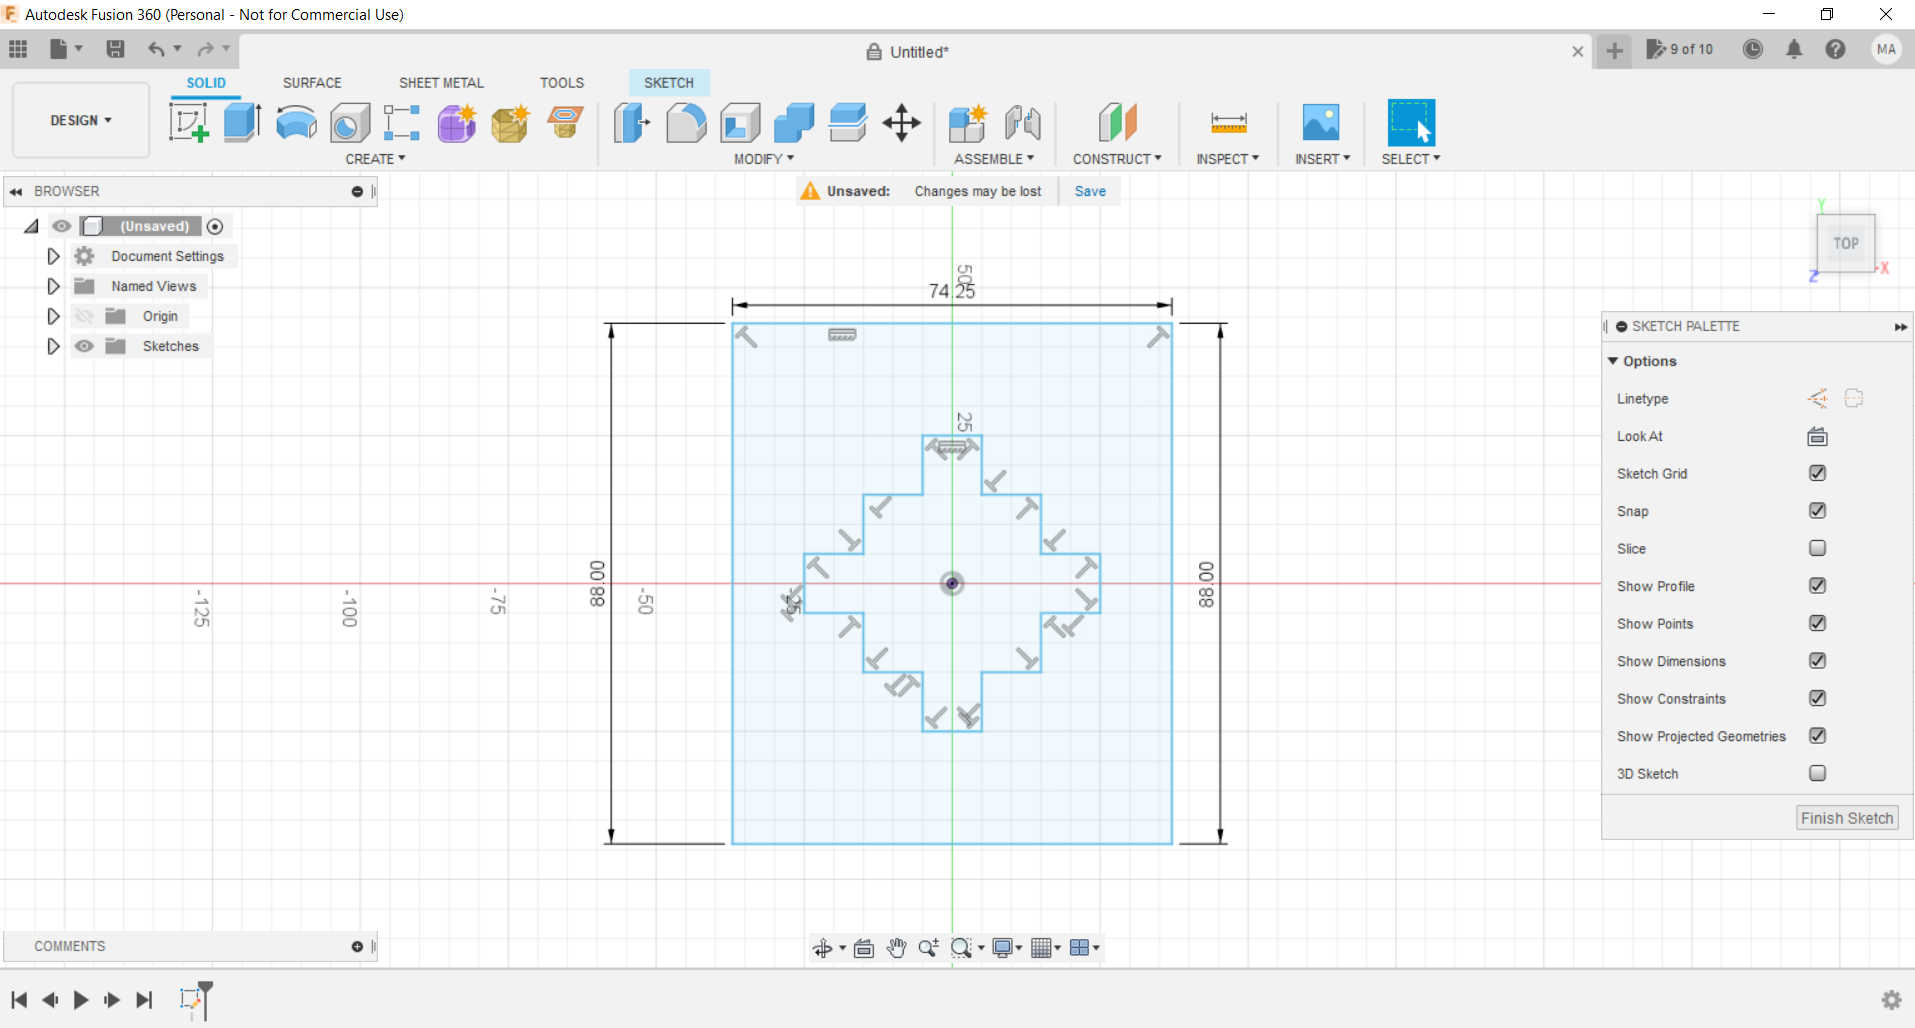
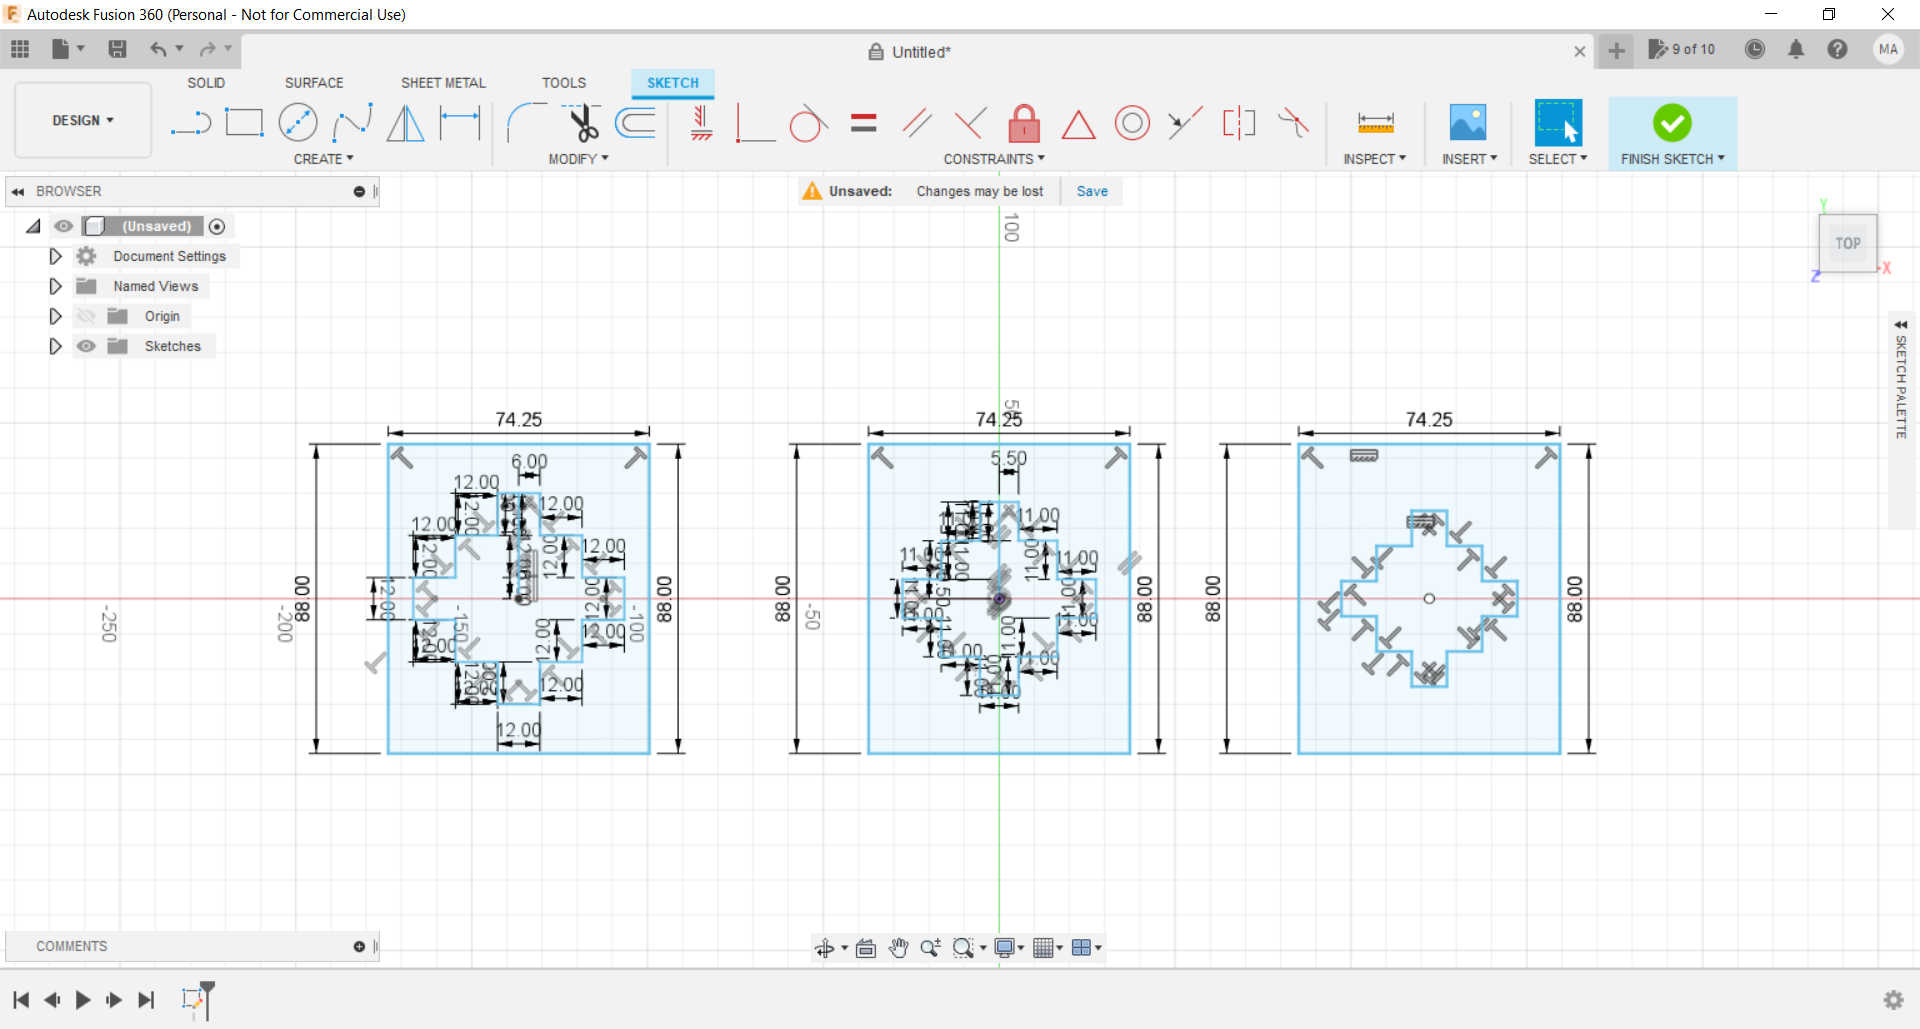
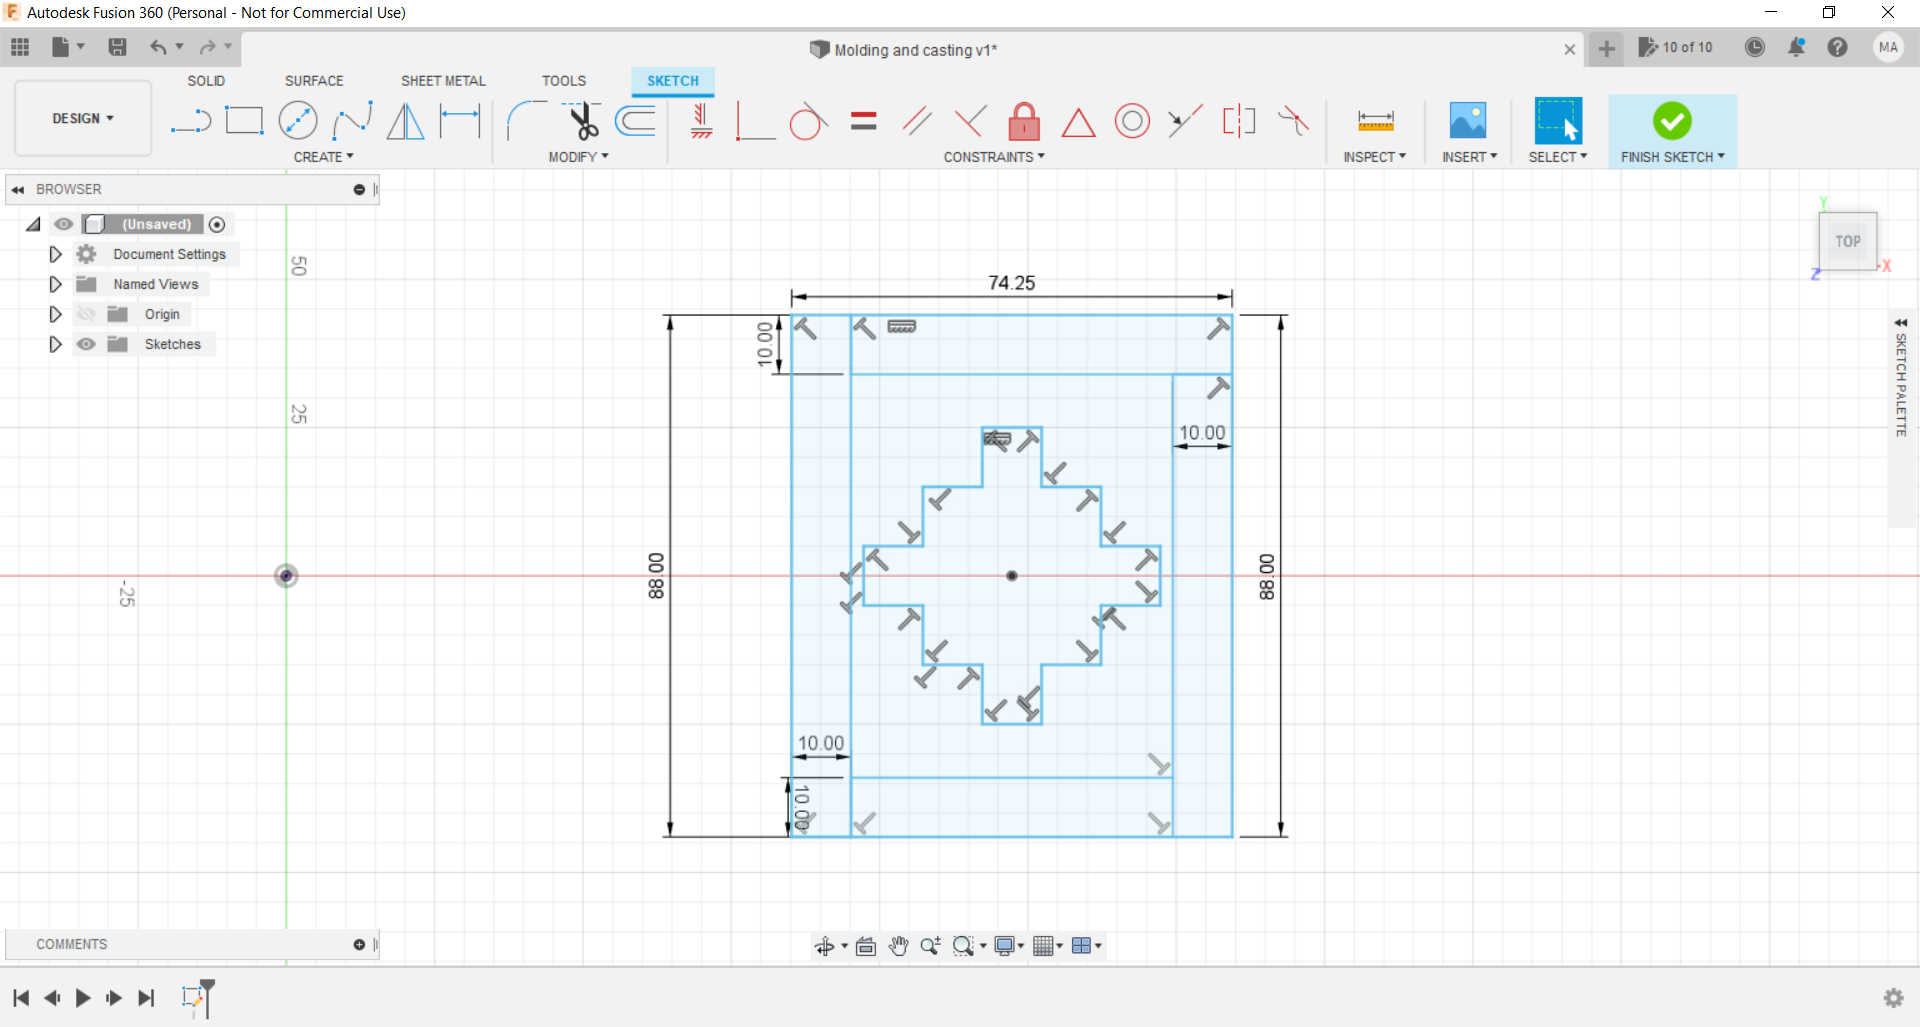
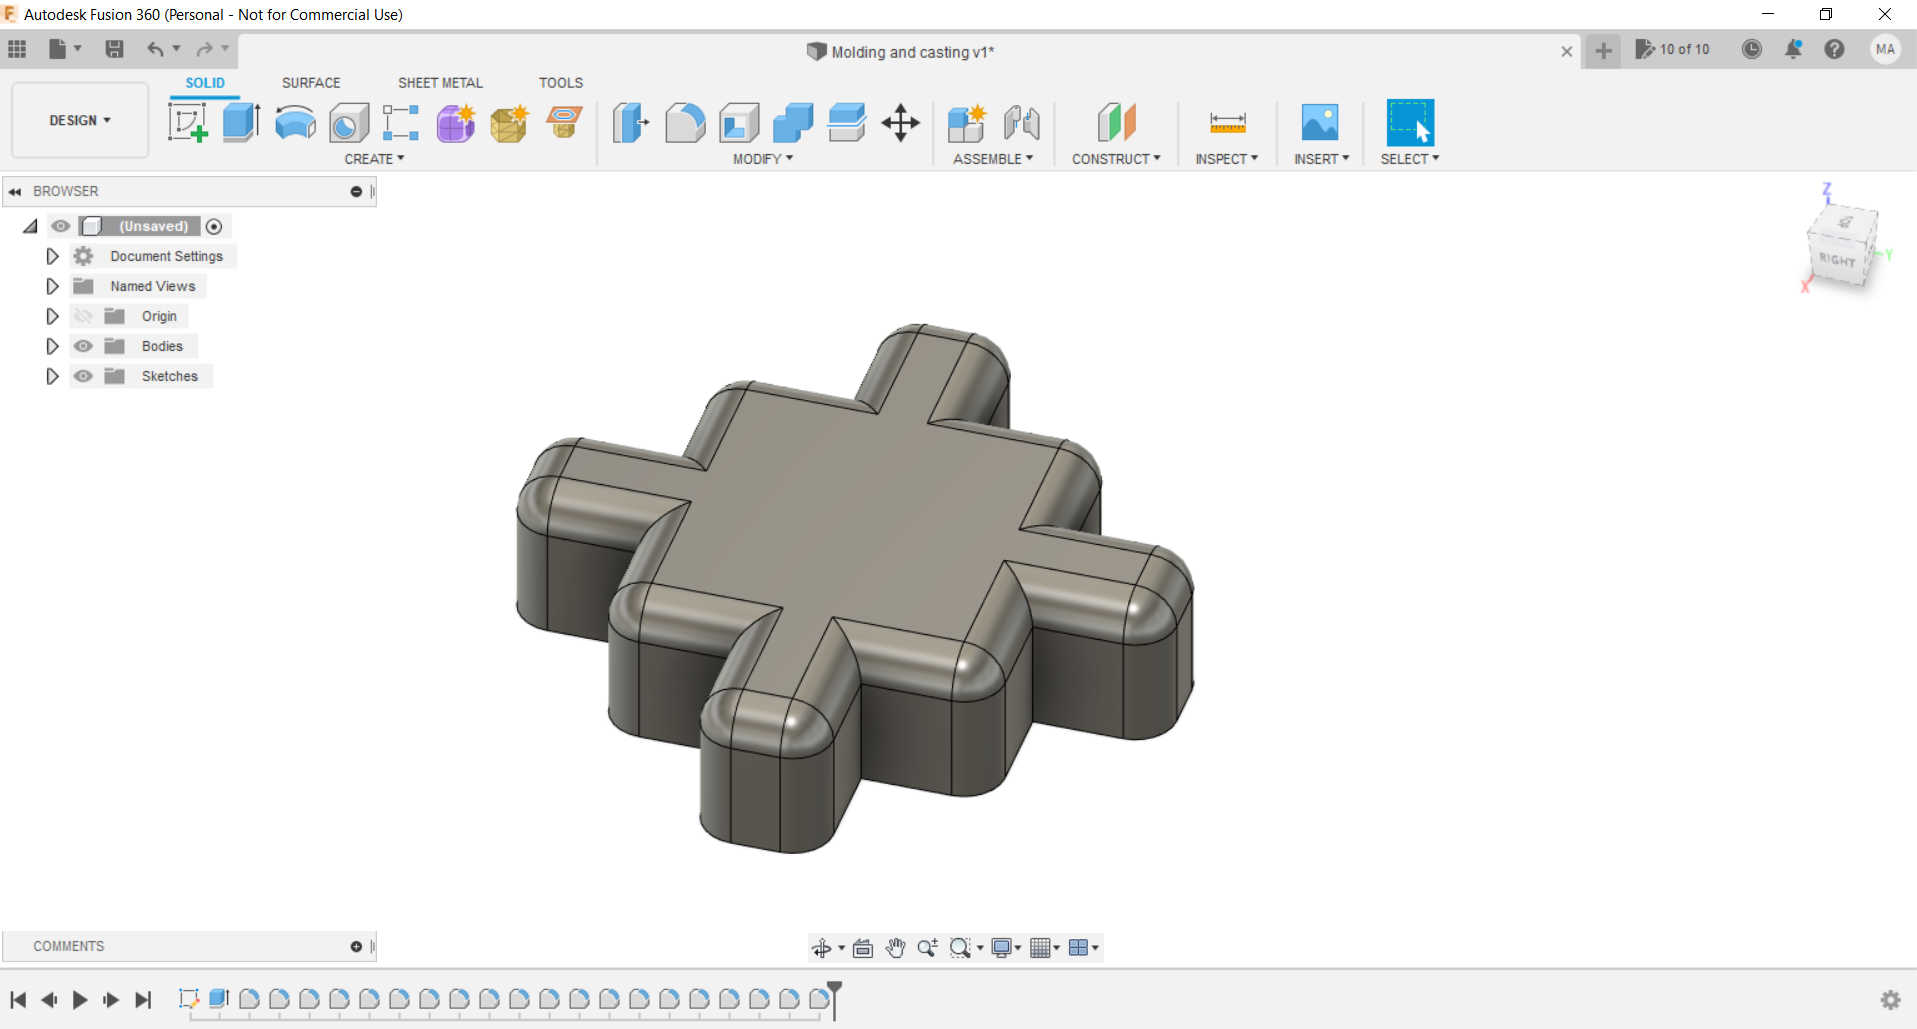
Thanks to many videos that I was able to watch and follow the step by step I managed to have a
first shape ready to mill. As I already knew a little
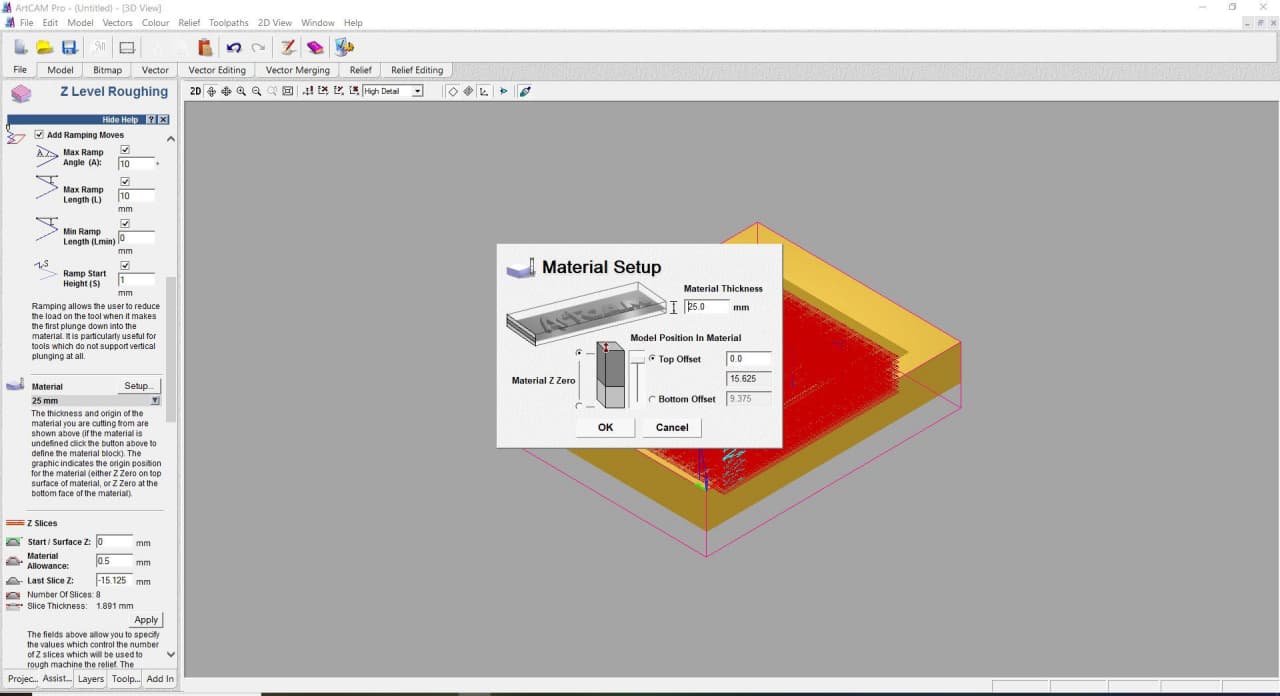
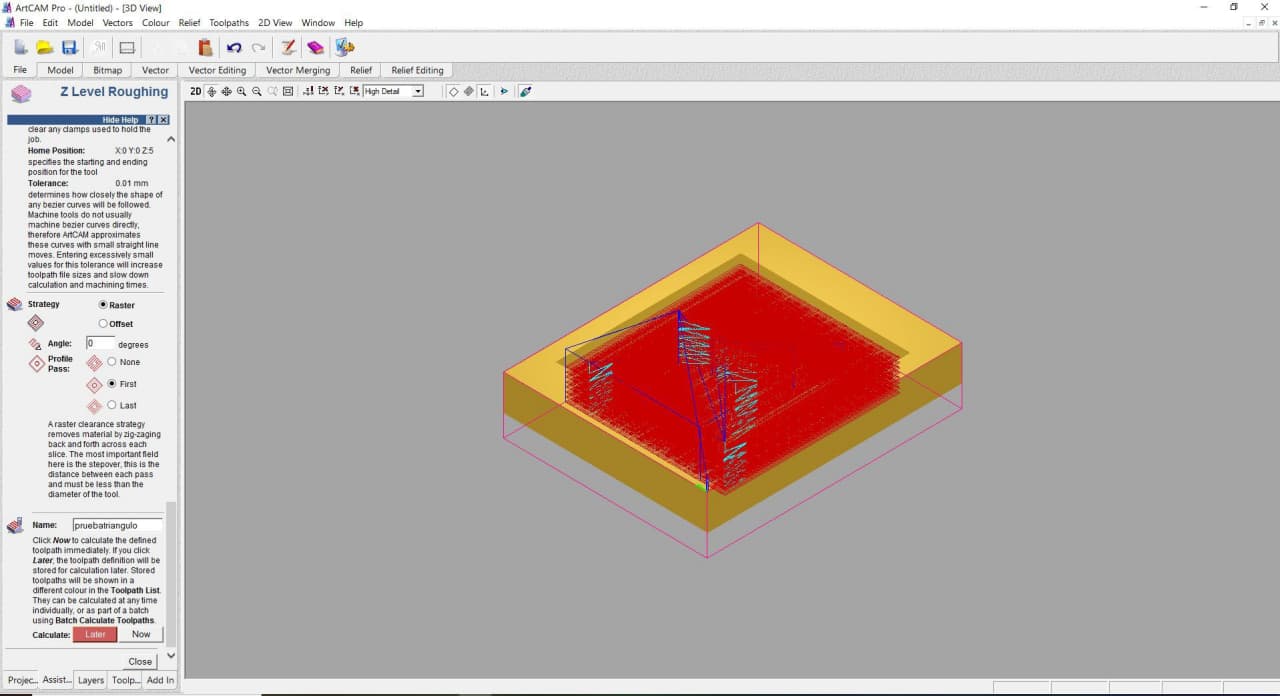
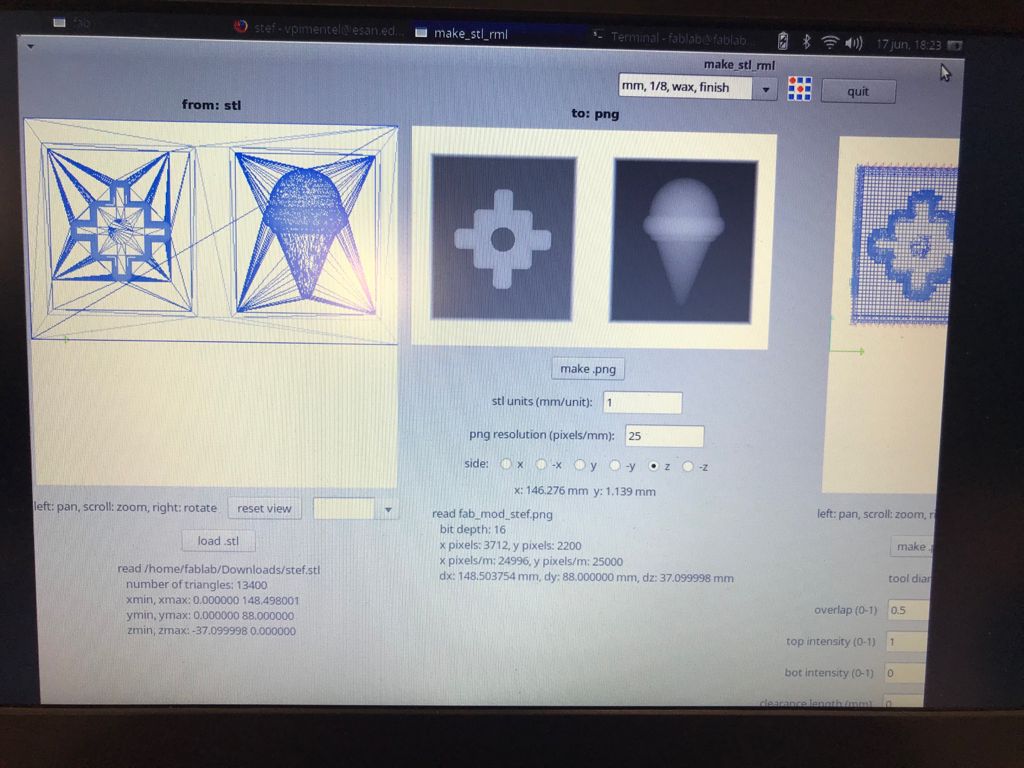
FreeCAD I chose to do it in that program to know how the process would be in this type of modeling, which for sure is something different from what we have been working. After finishing with the 3d we use the
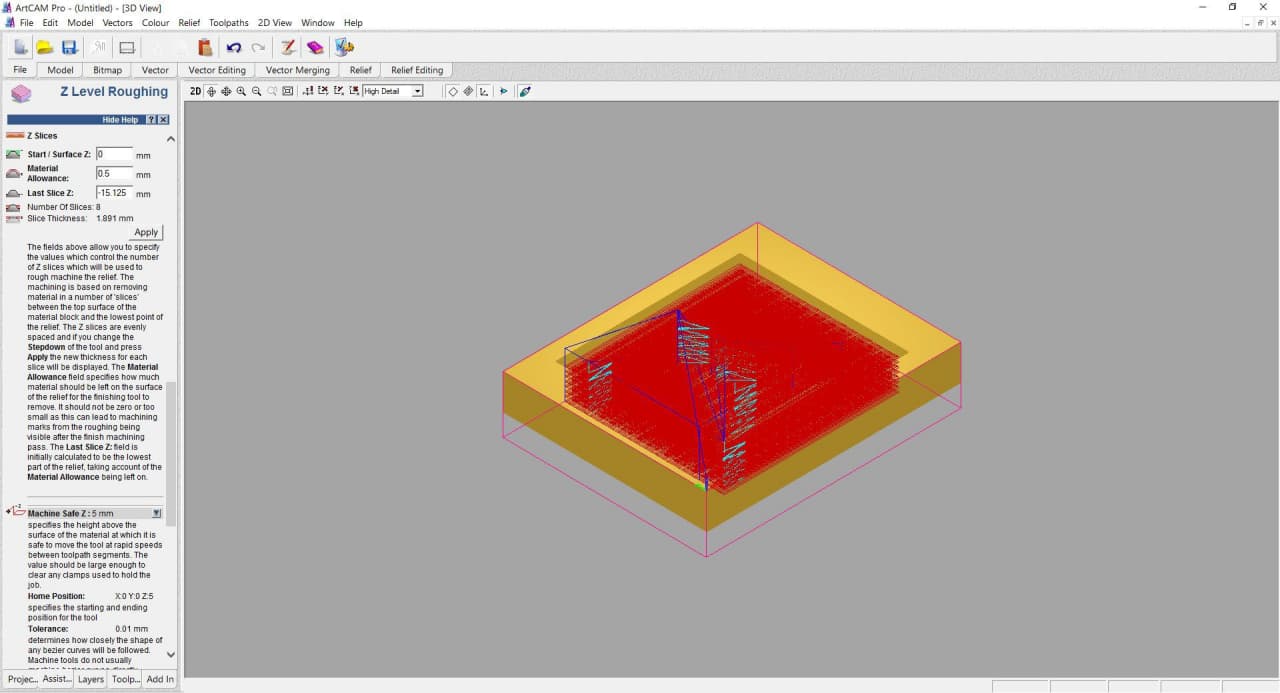
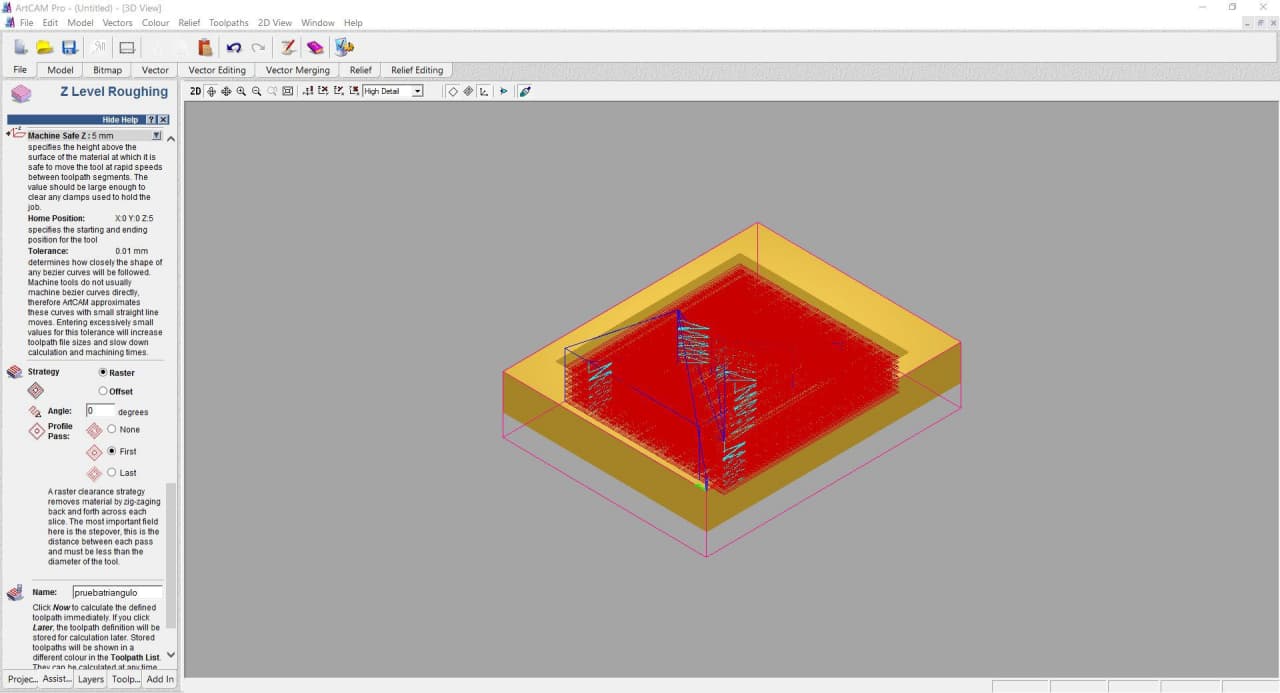
ArtCAM program, this allows us to prepare our file to send it directly to the machine to work. Here I show the settings we used to achieve the first test. Thanks once again to
Patricia because she already knew this program and with her advice I was able to learn it much faster. 💪
Fire test
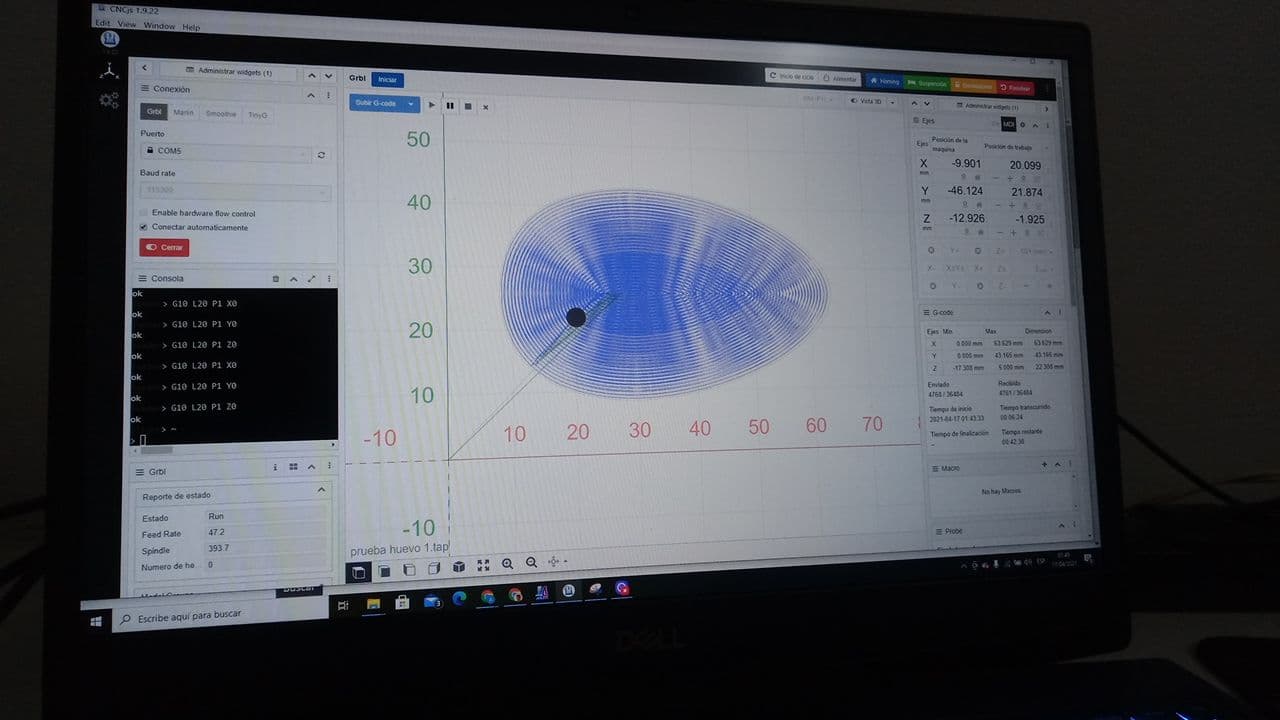
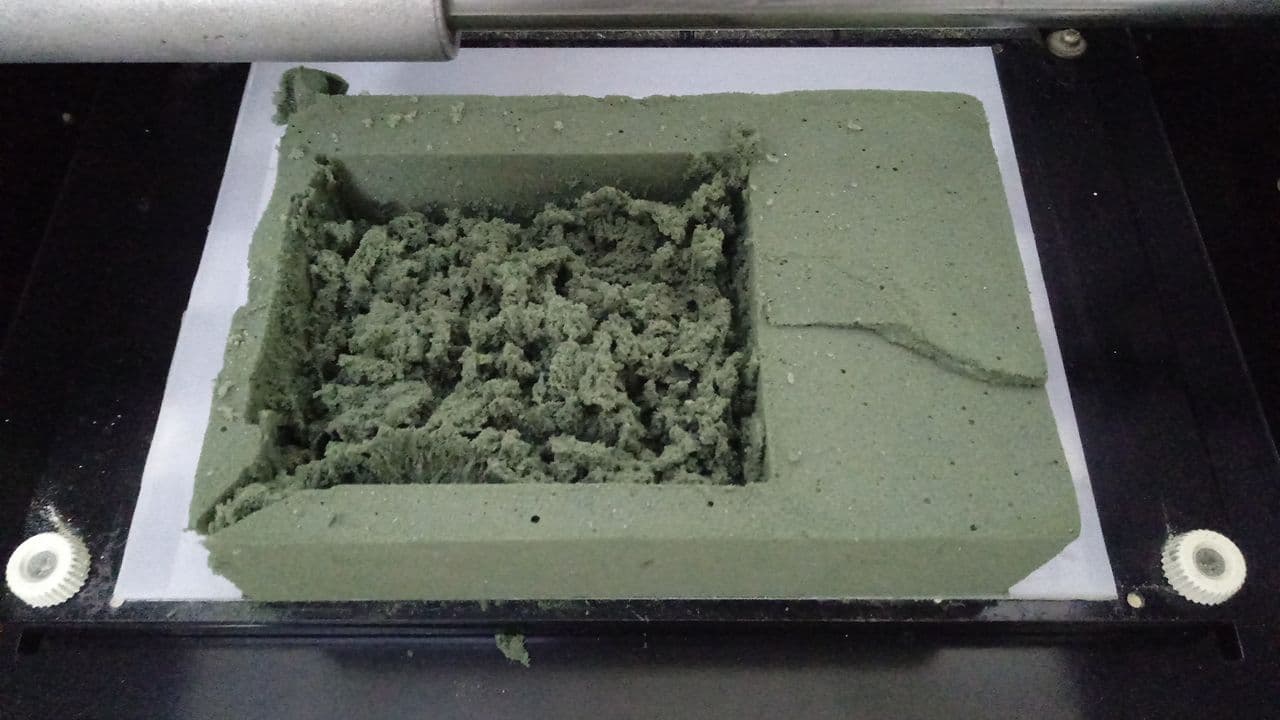
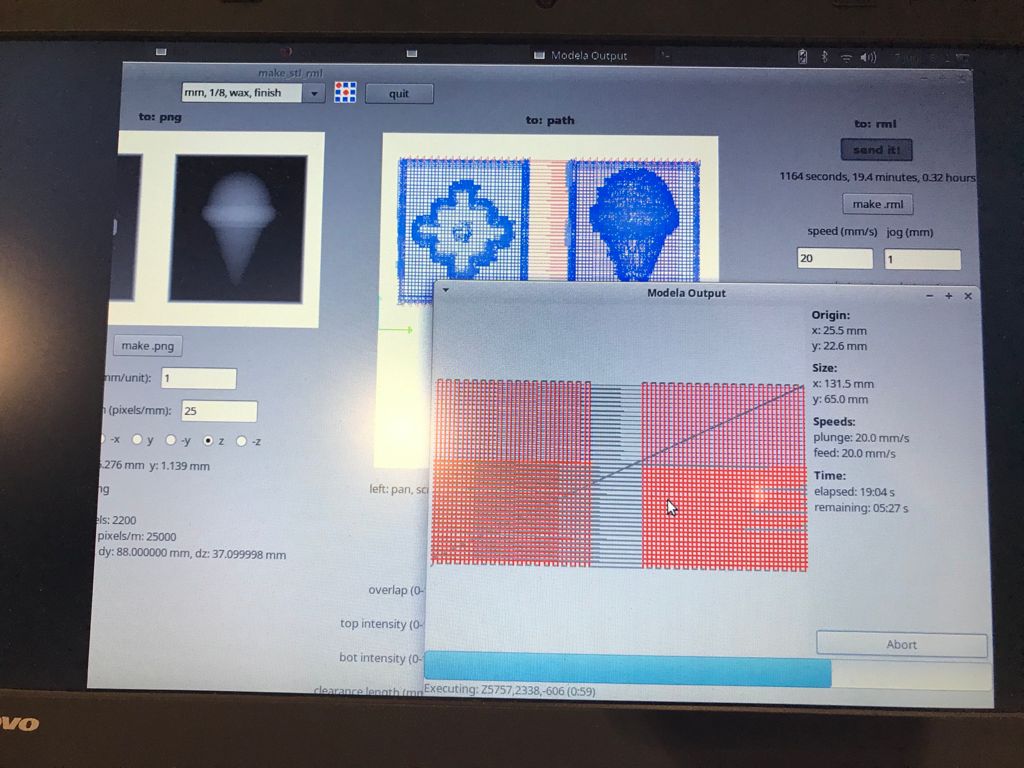
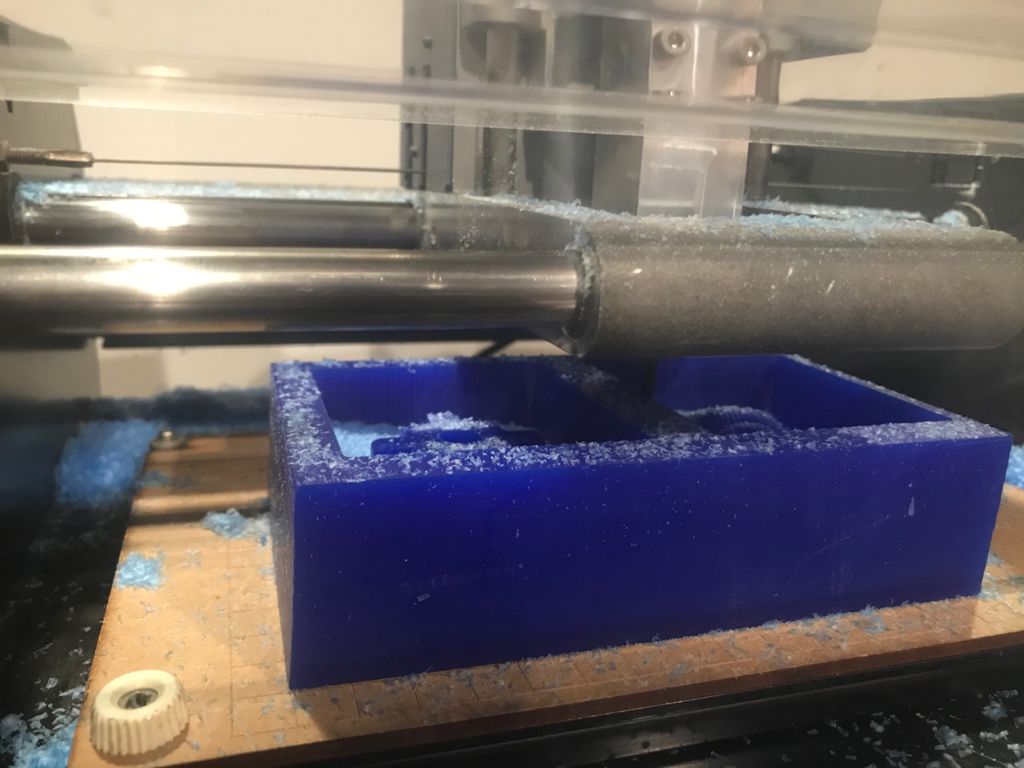
After configuring ArtCAM we had to send the file to the CNCjs program because with this program our model can work. It is important to review the dimensions with which we are going to work, at first I found it a little confusing and it is likely that for
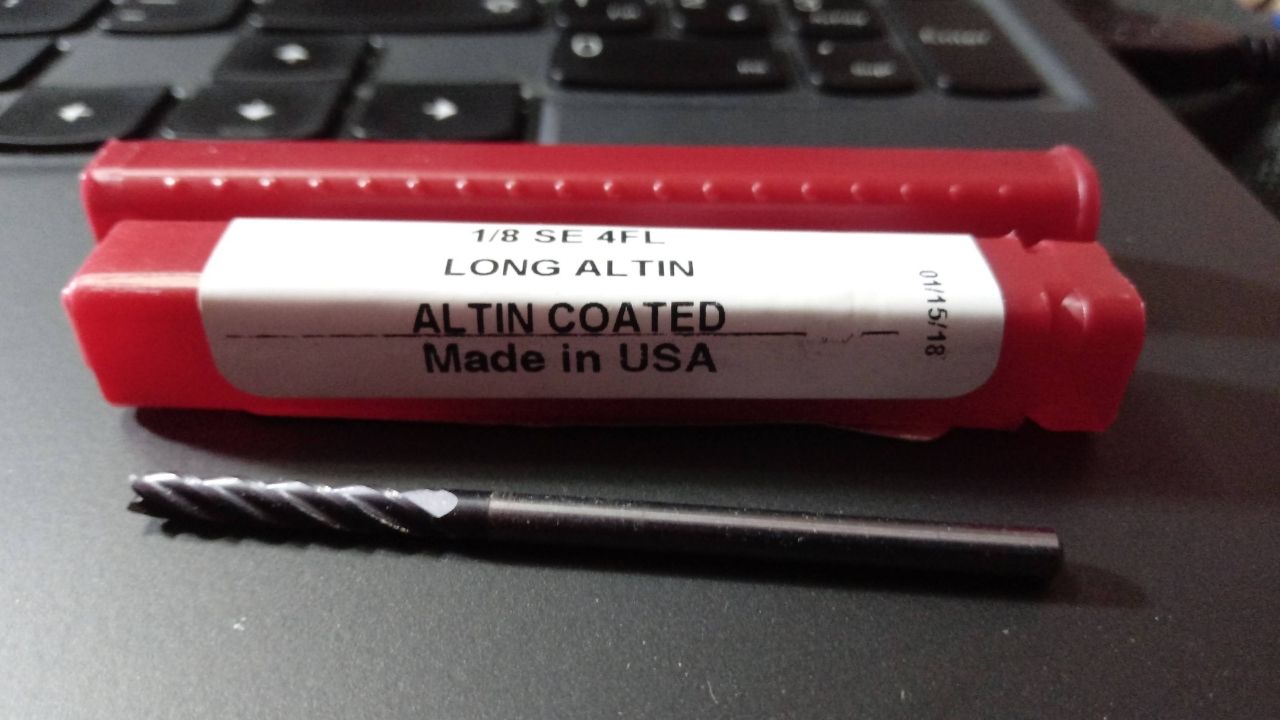
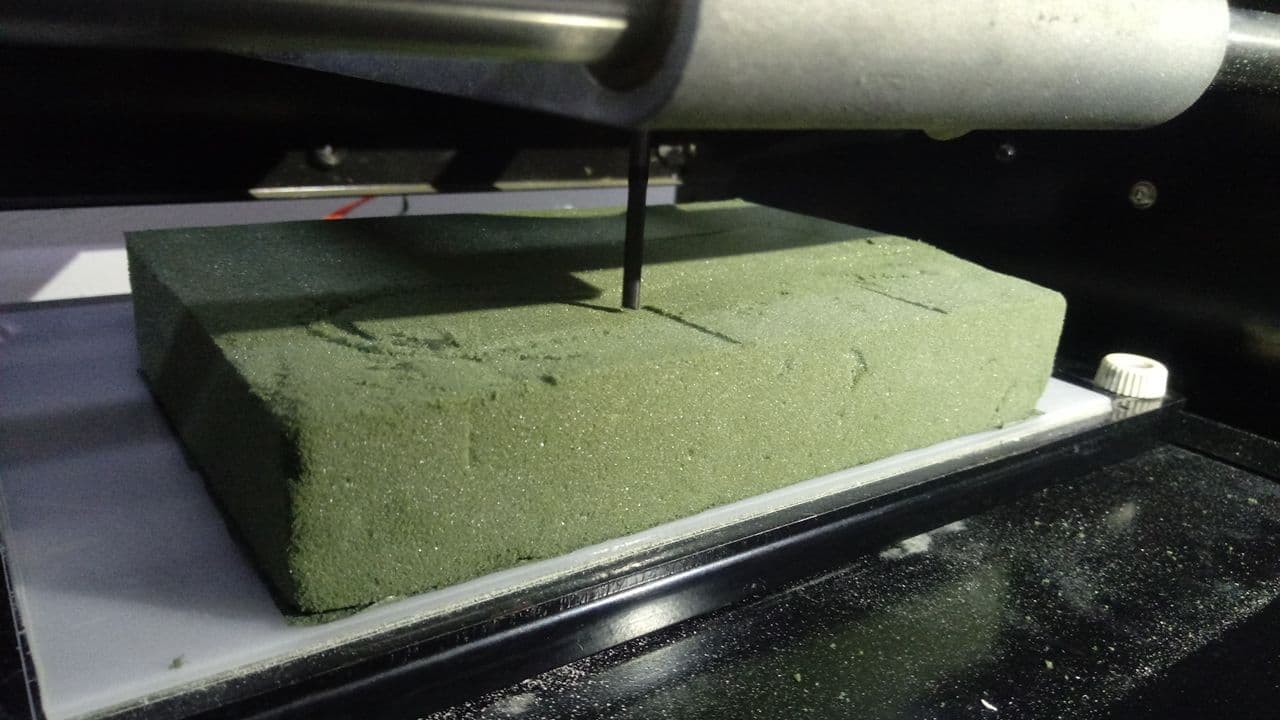
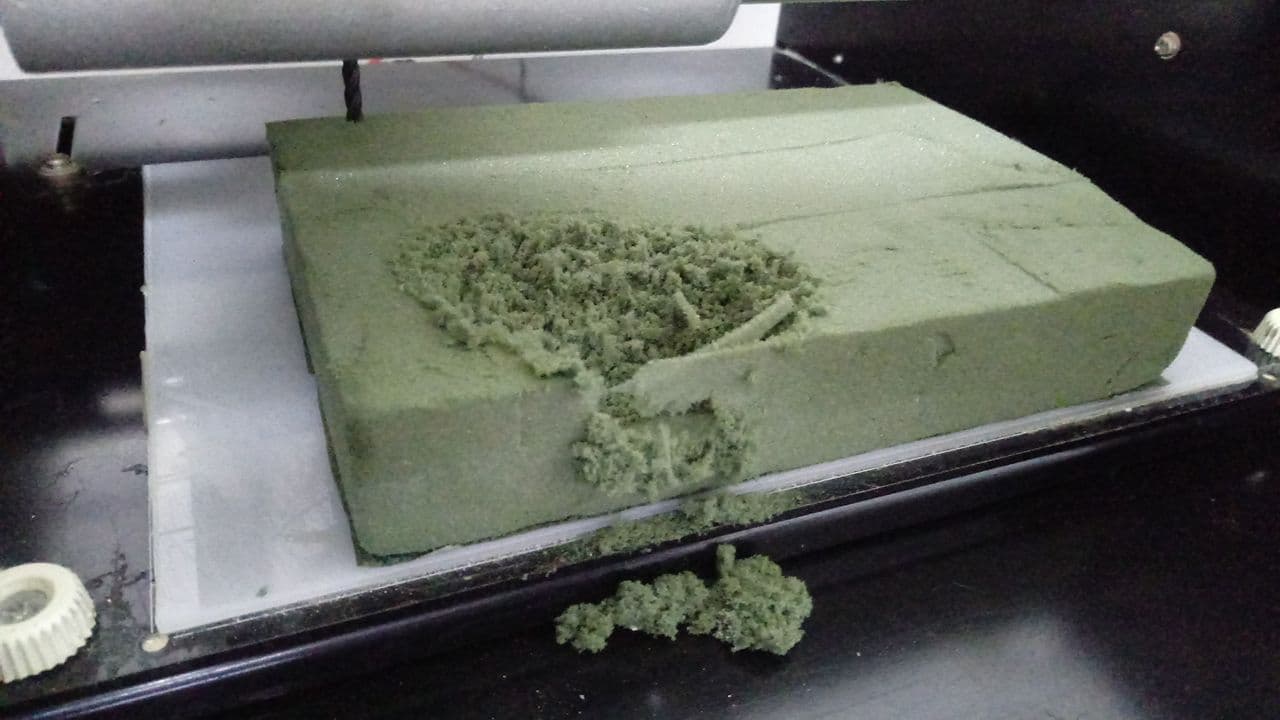
beginners like me this process will be difficult, but everything is possible with a lot of practice. 💪 As a next step we sent the cut with a 1/8" milling cutter that I have thanks to my instructors in
Barcelona and these were the results. 😃
First Conclusion
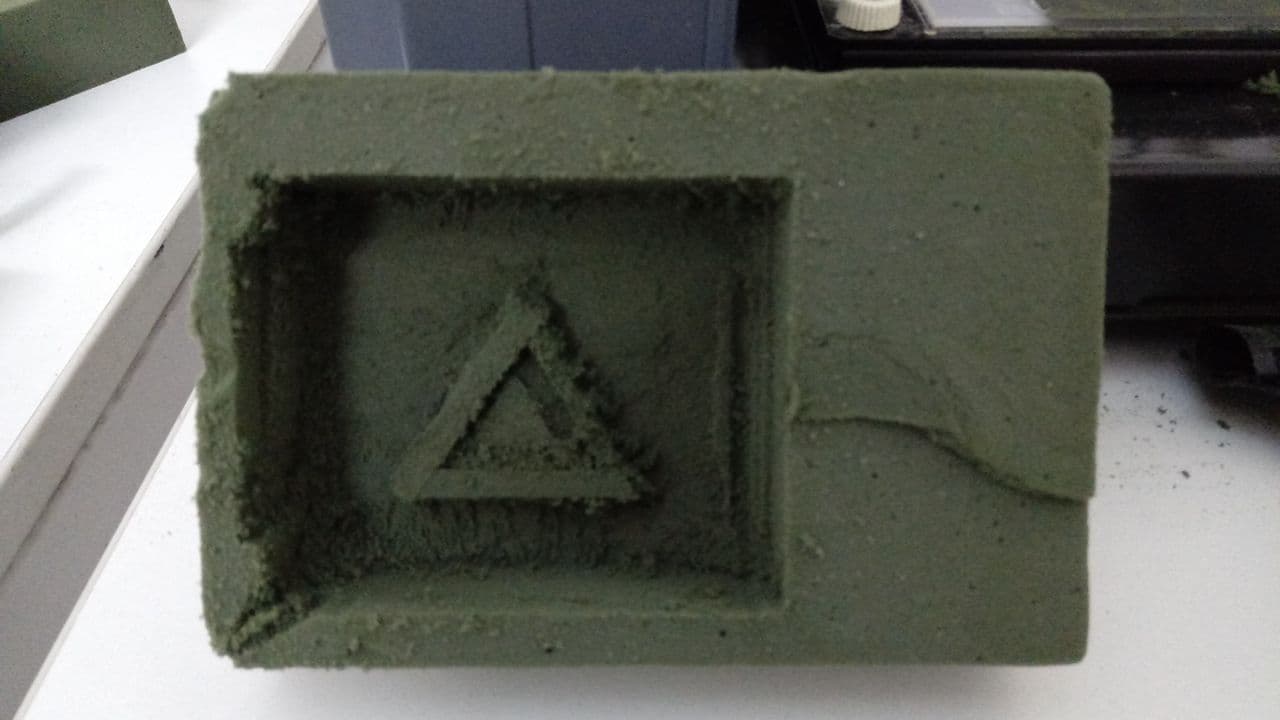
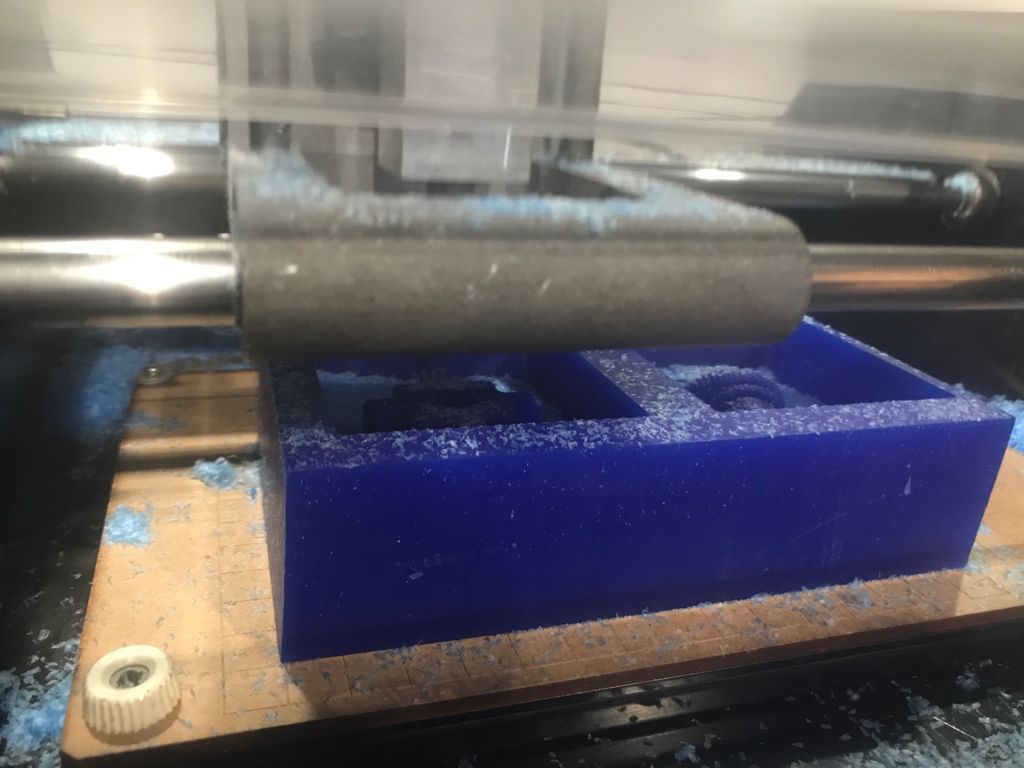
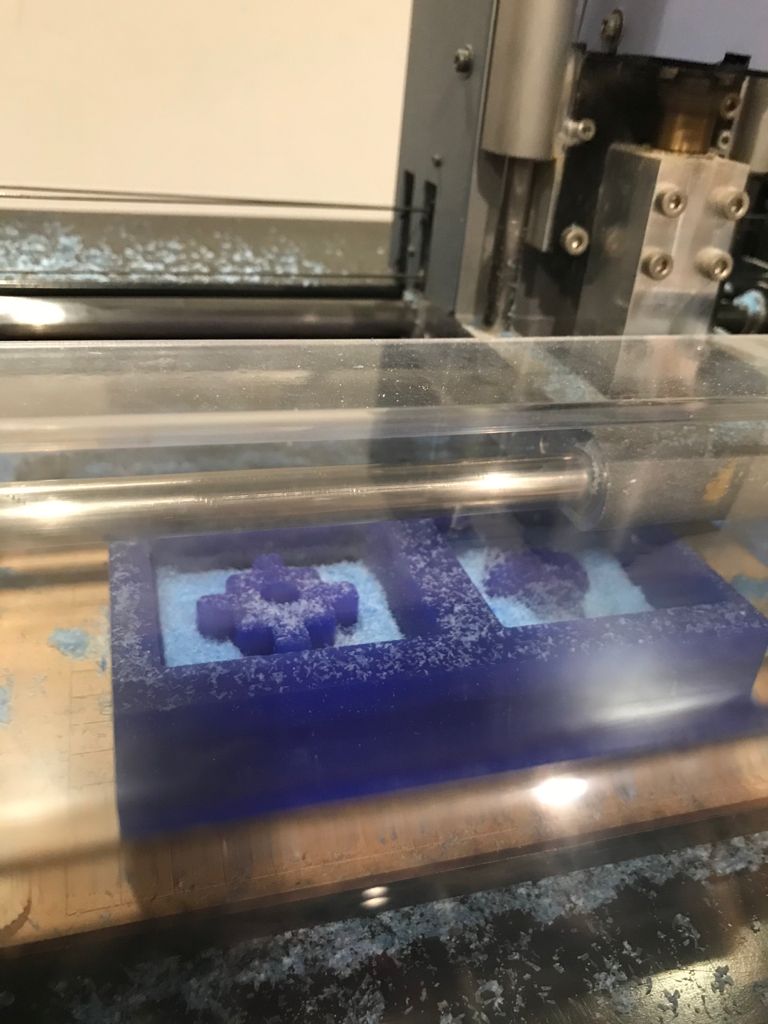
With this first test we realized that the height of our
milling cutter and the maximum height of our machine in the Z axis did not allow us to put our material at its natural height, it was
too stuck, we were afraid that the milling cutter would
break when we used it since it was the only one we had, This is another reason why we used a
foam block at the beginning because it would be very bad to break the cutter or damage the machine, so we cut the material and
reduced the height, the bad thing about doing this is that we did not get the top face
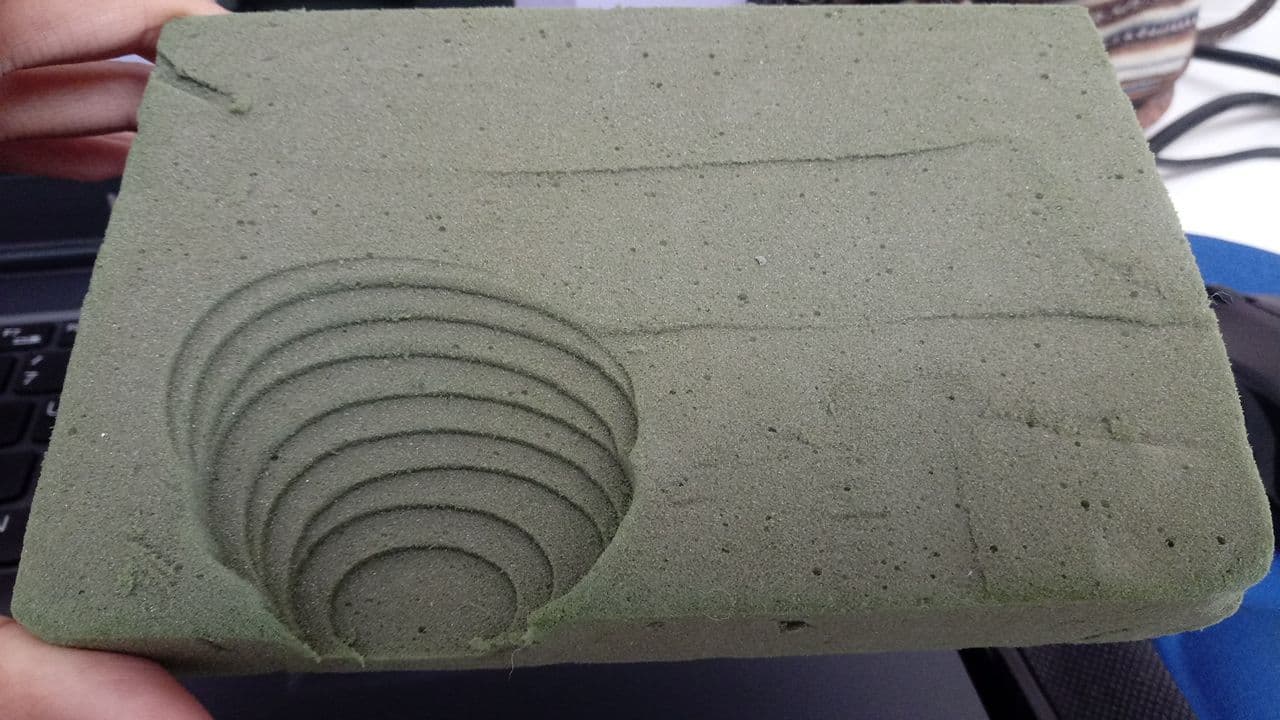
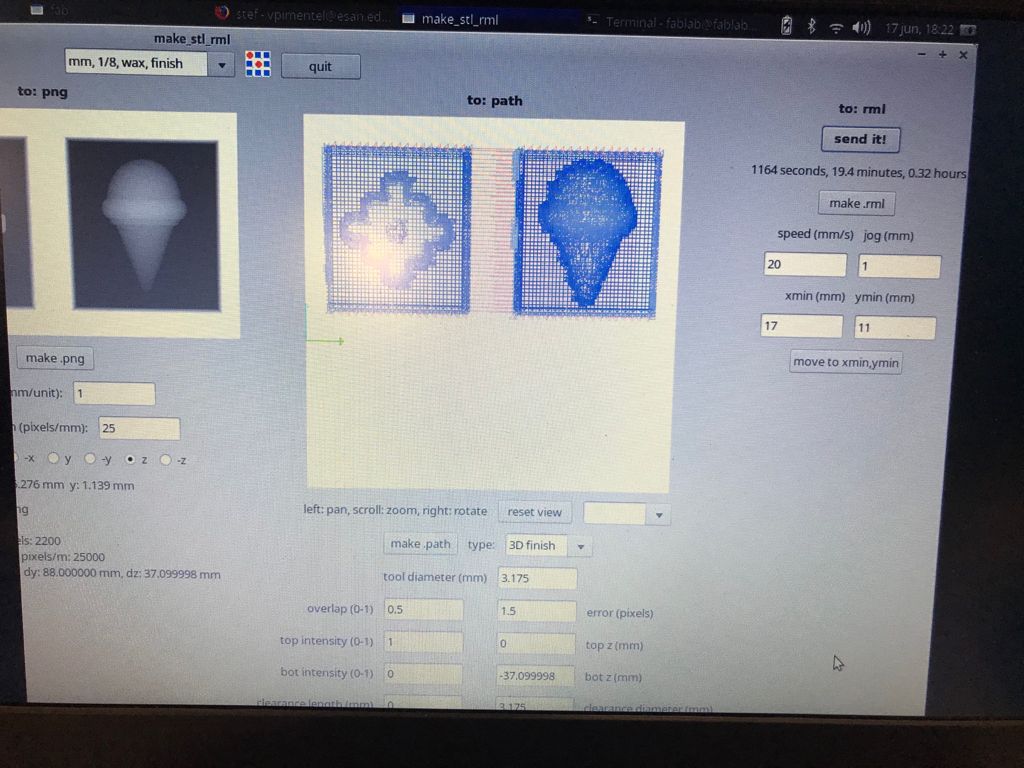
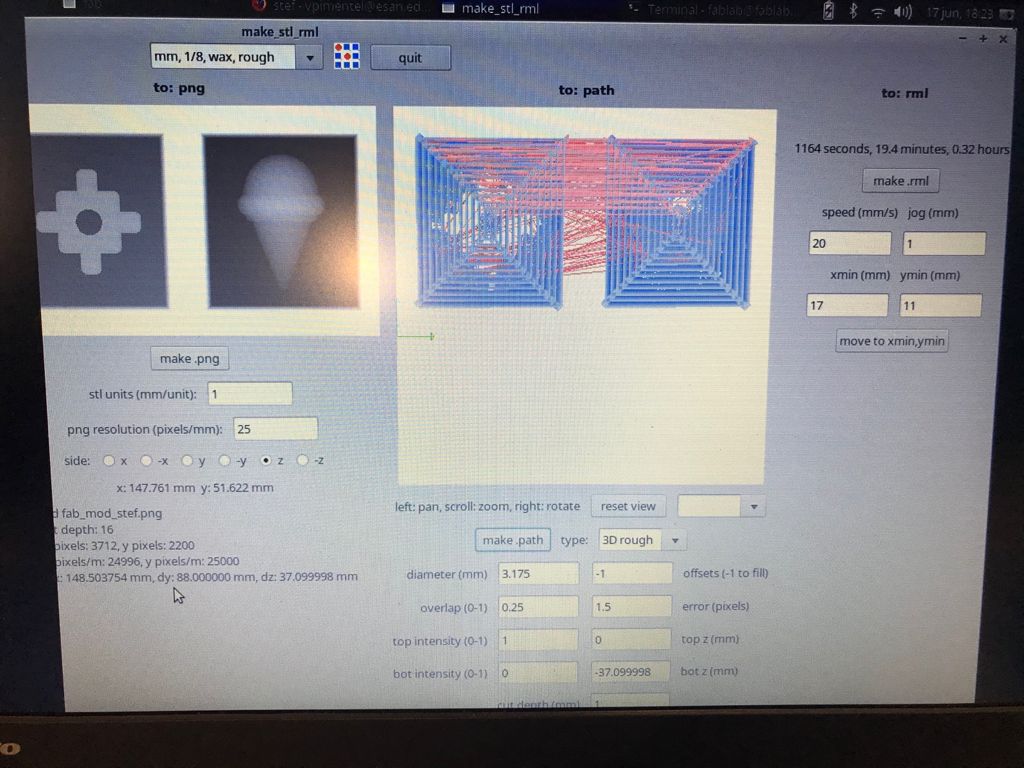
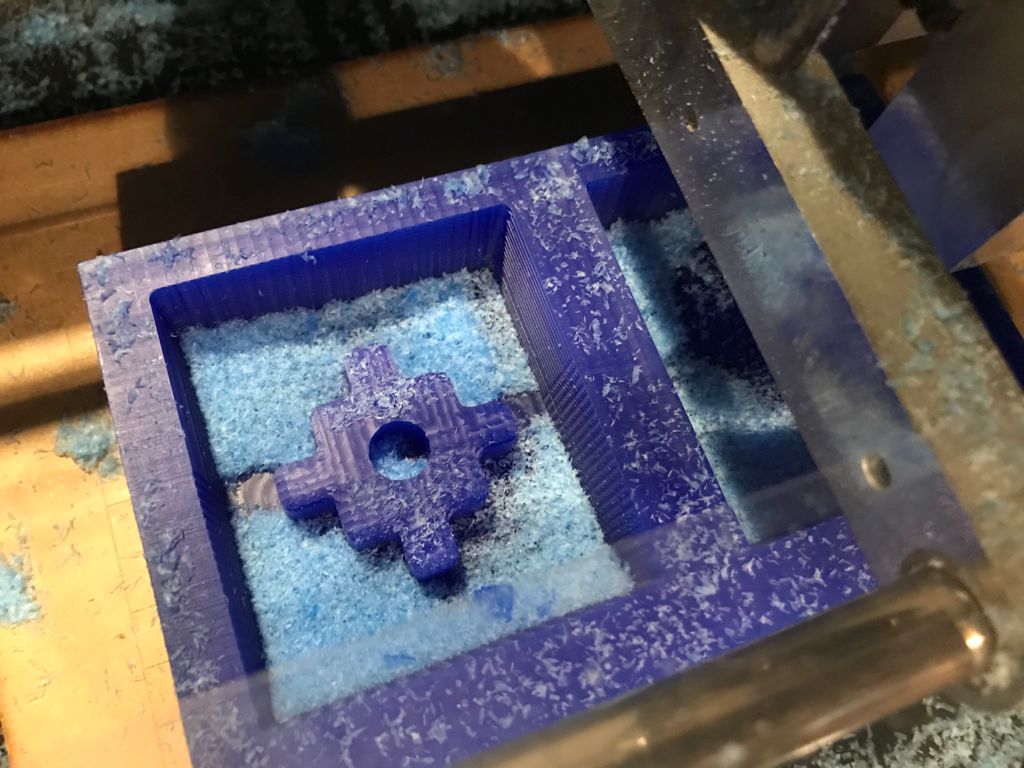
uniform, but it worked. Another point we noticed was that the router path seemed to make a
parallel movement for each pass without us giving it that command, this worried us because something in our
ArtCAM setup was going wrong. We reviewed the parameters and so as not to repeat the error we sought to change some parameters.
In the end it
was not the problem of our parameters but of the machine. Thanks to the support of
Eduardo Chamorro, my instructor in Barcelona, we managed to make some changes so that it would not go out of phase again and we succeeded. Thanks
Eduardo. 😍
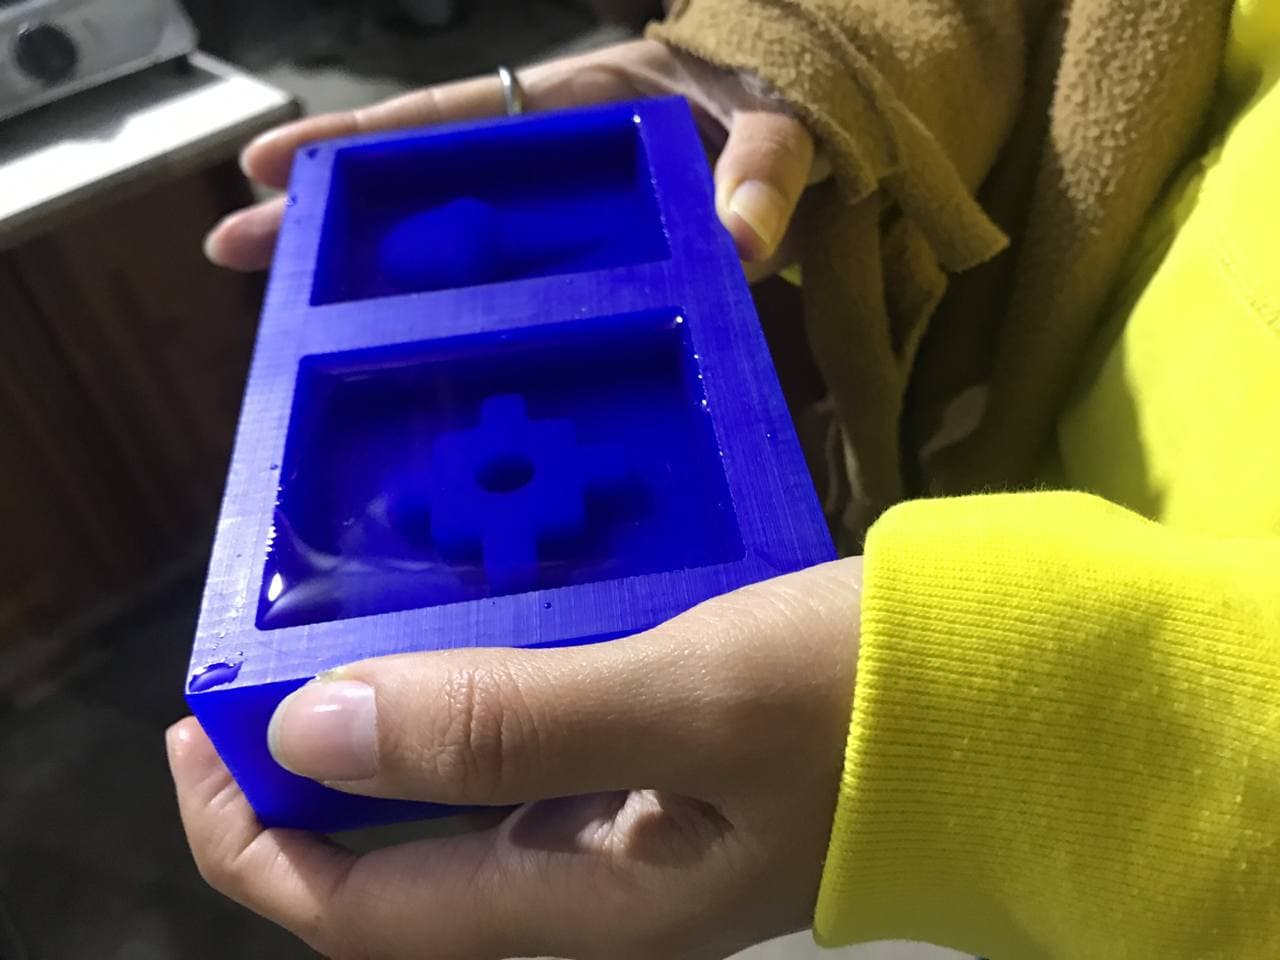
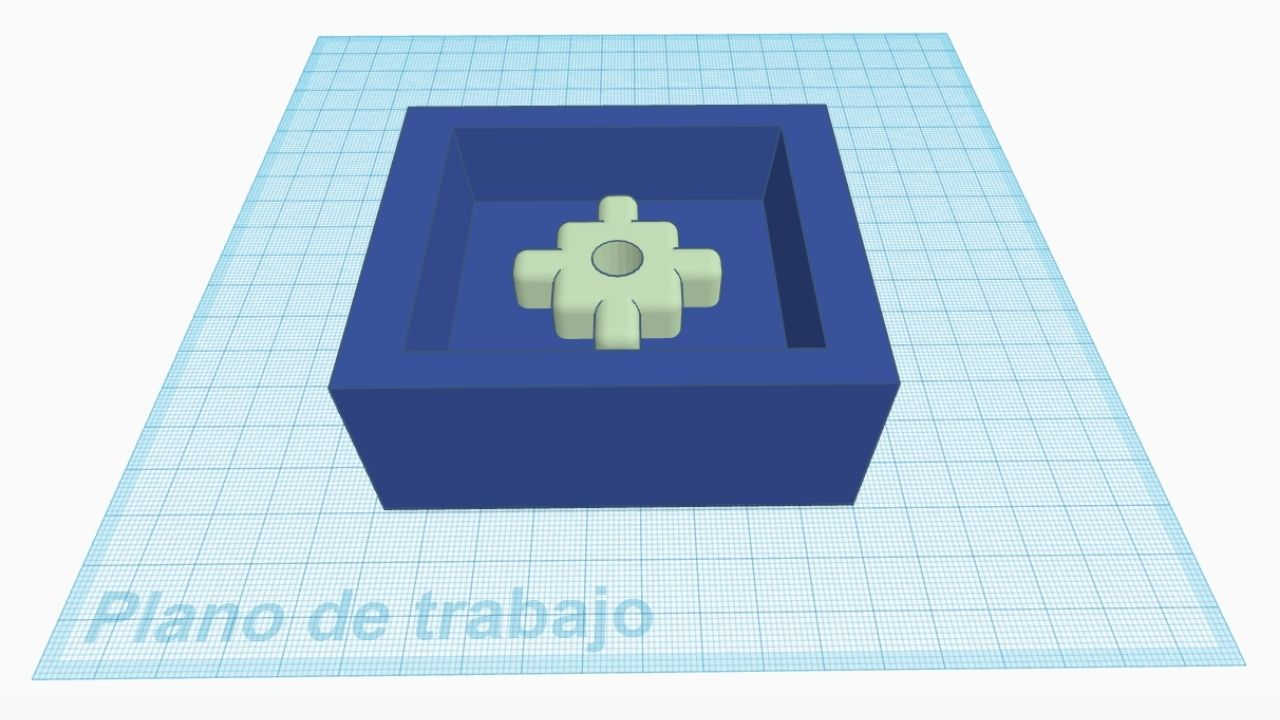
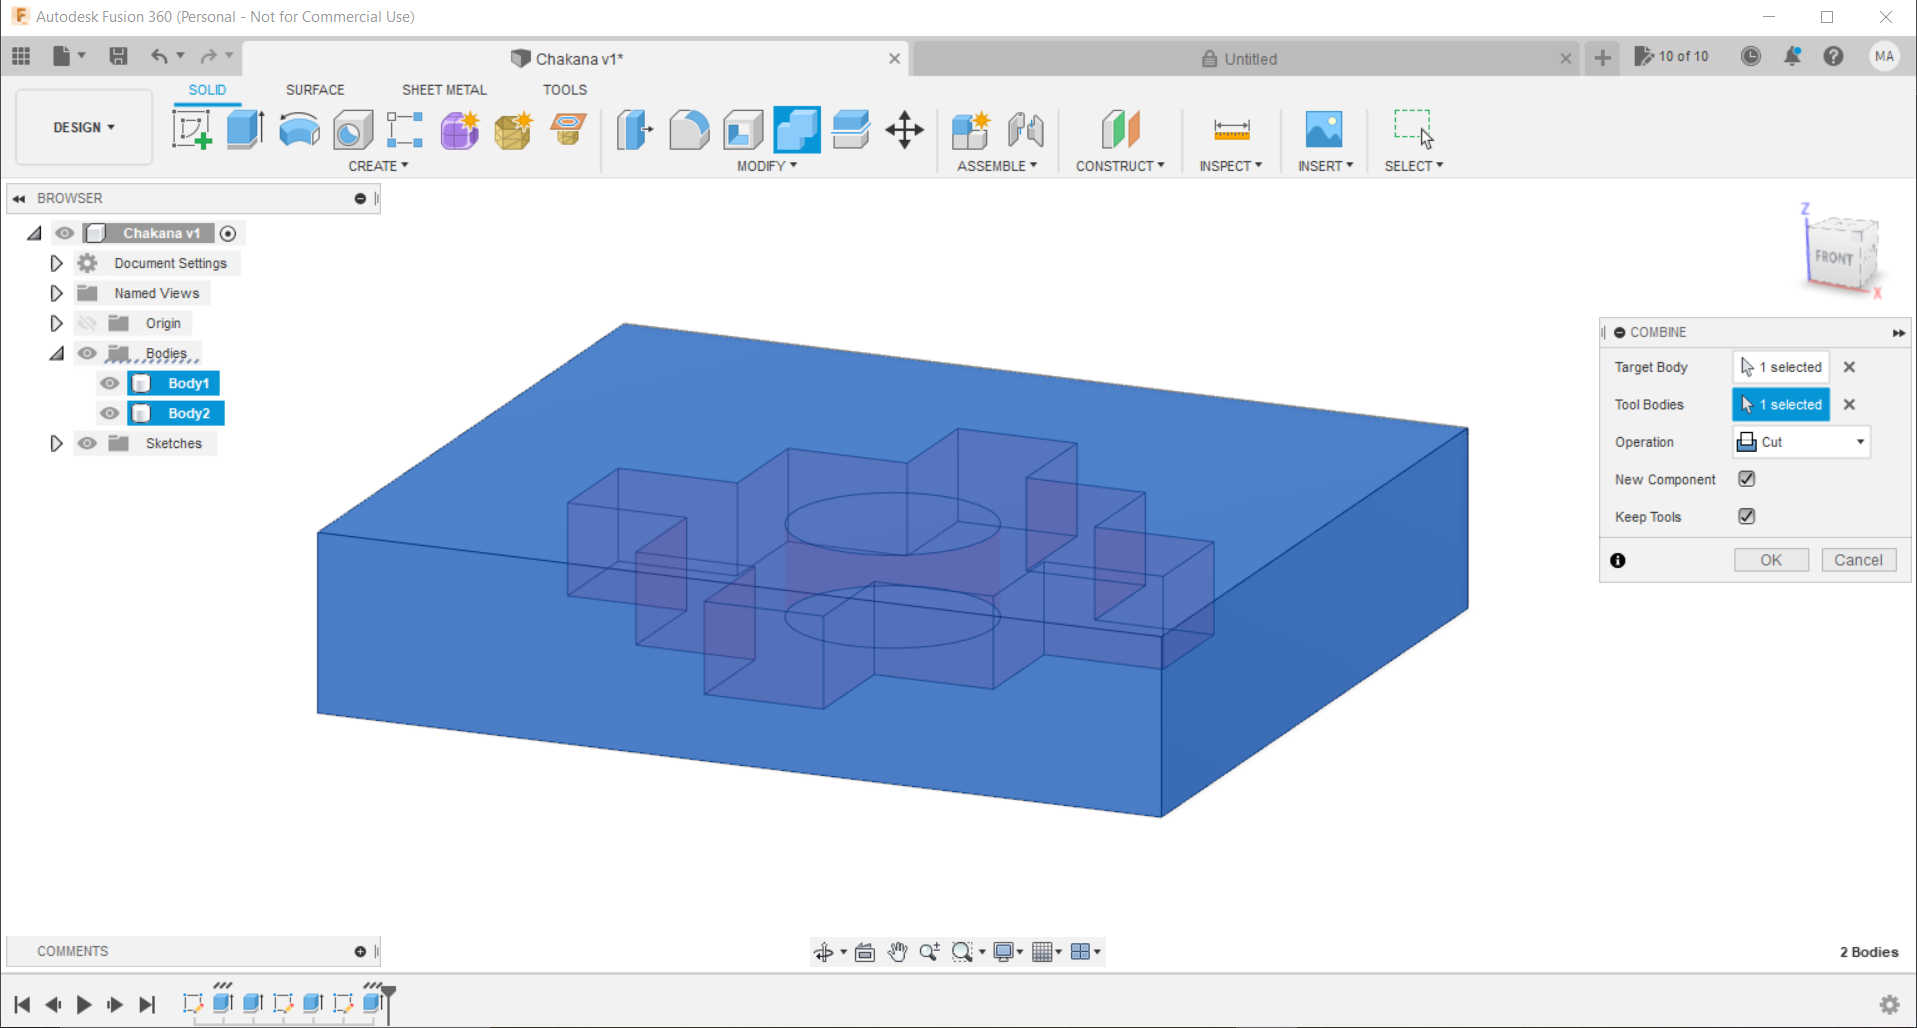
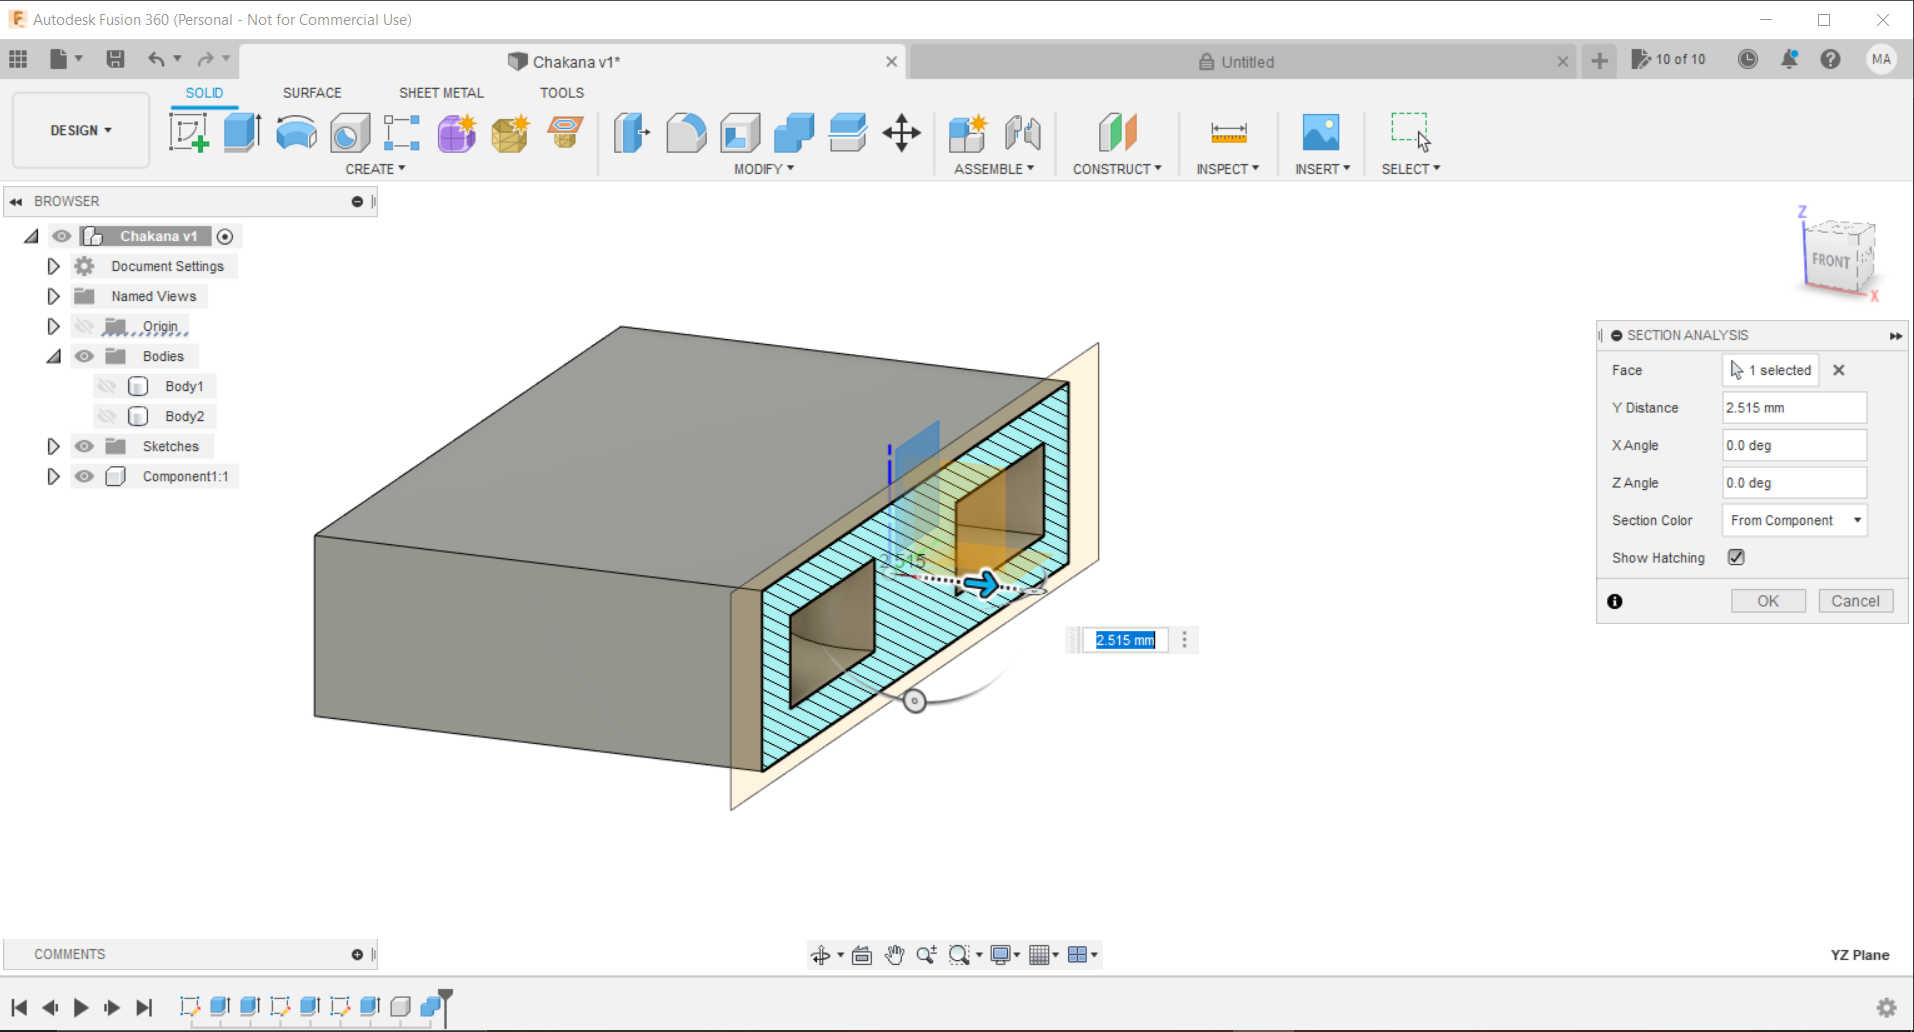
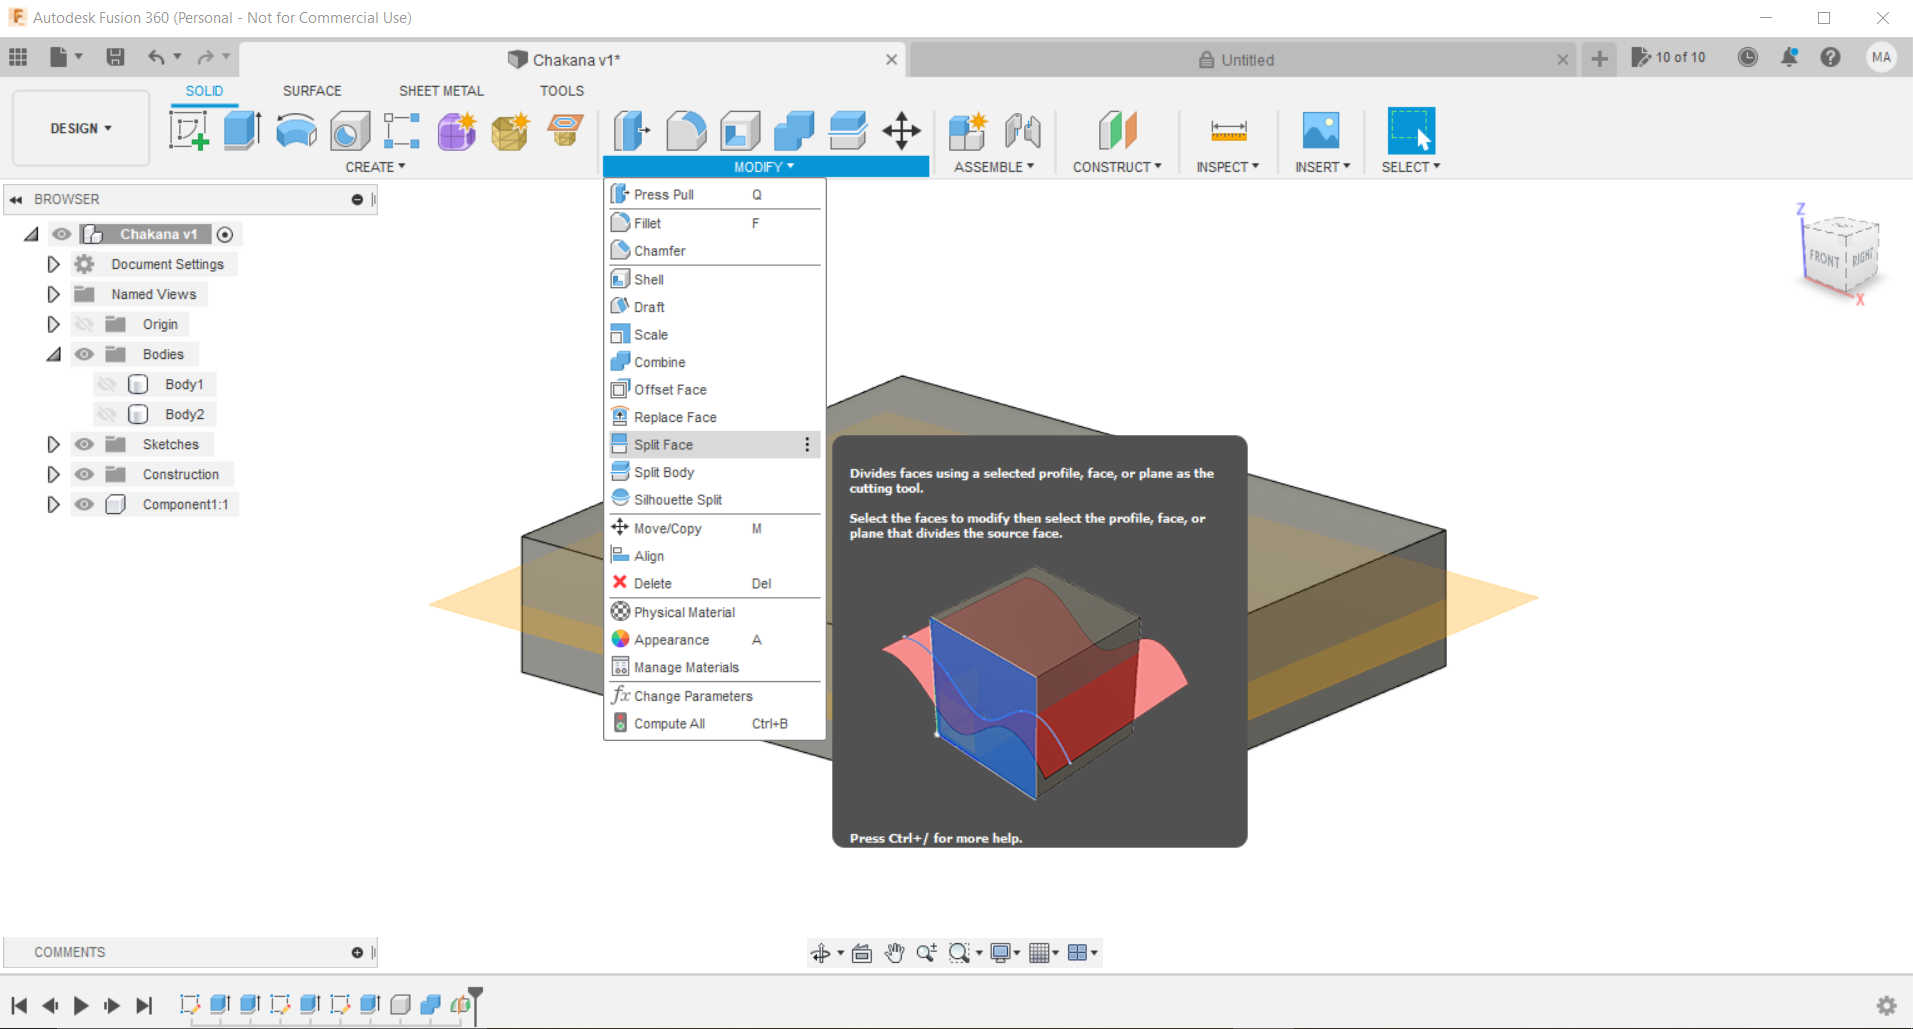
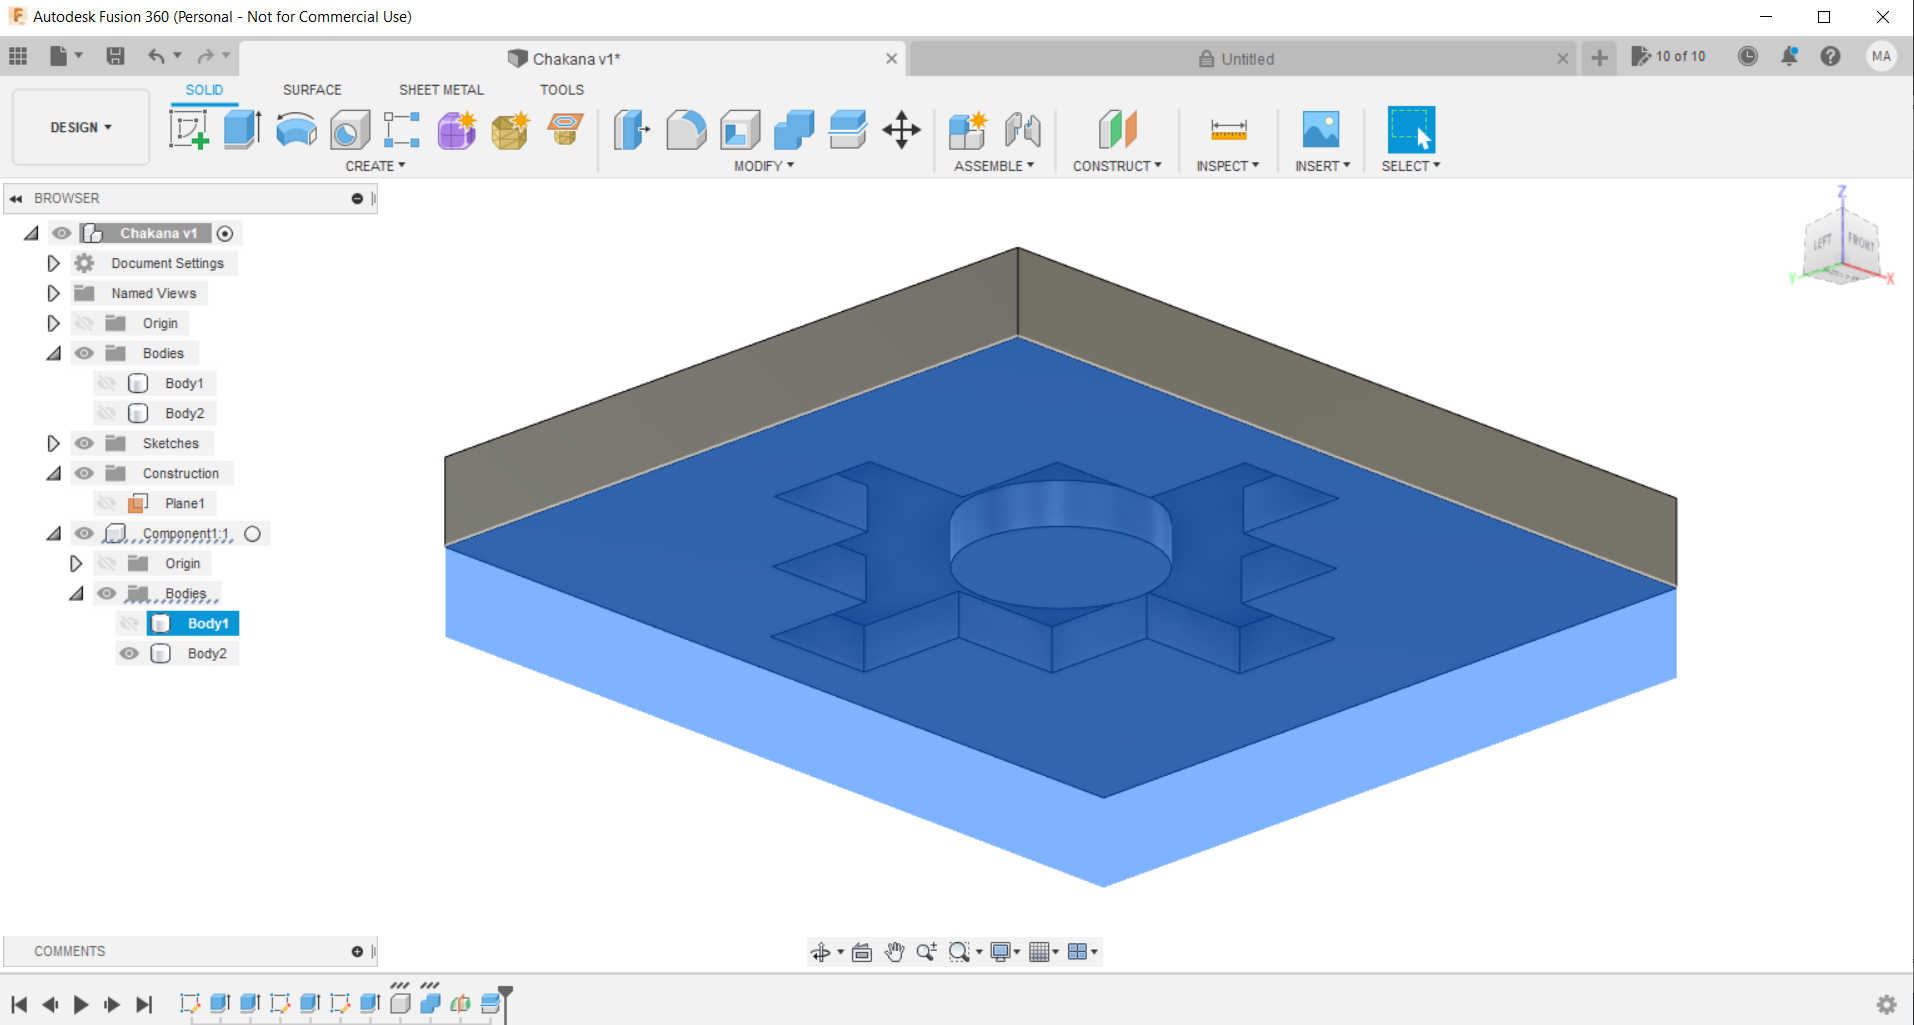
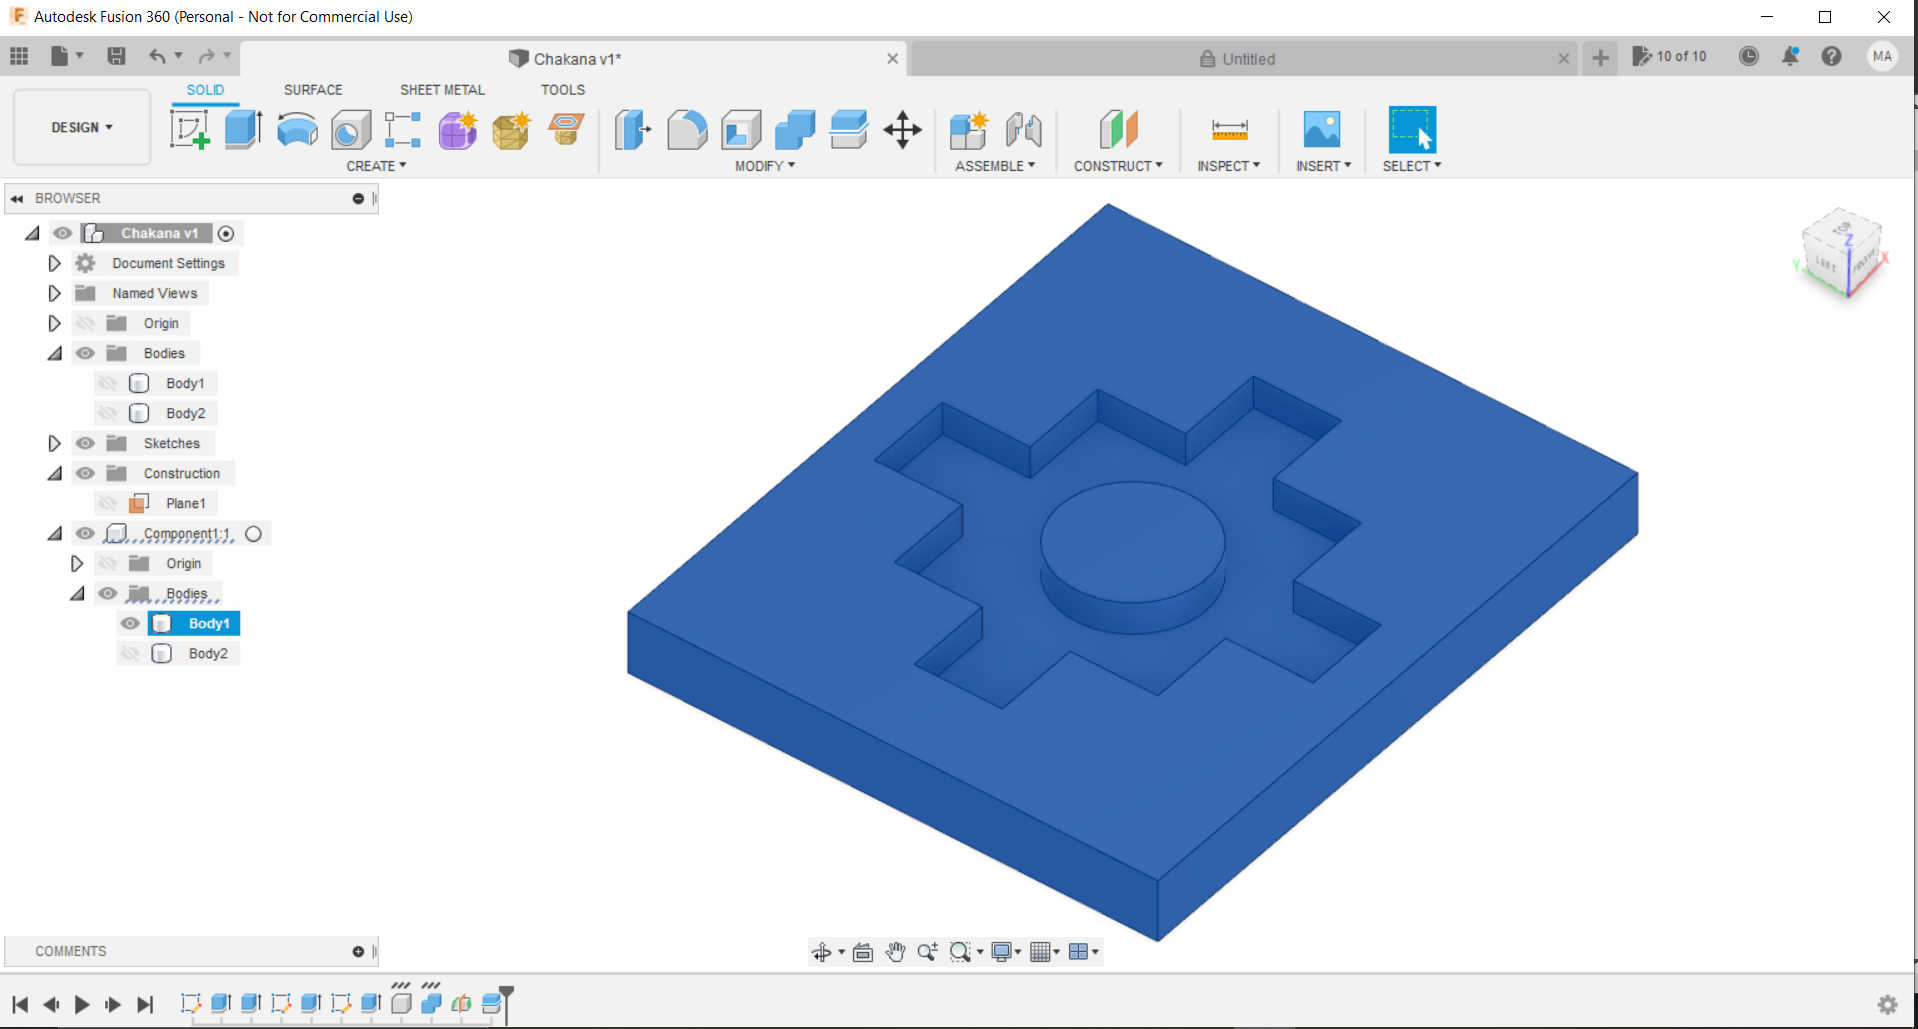
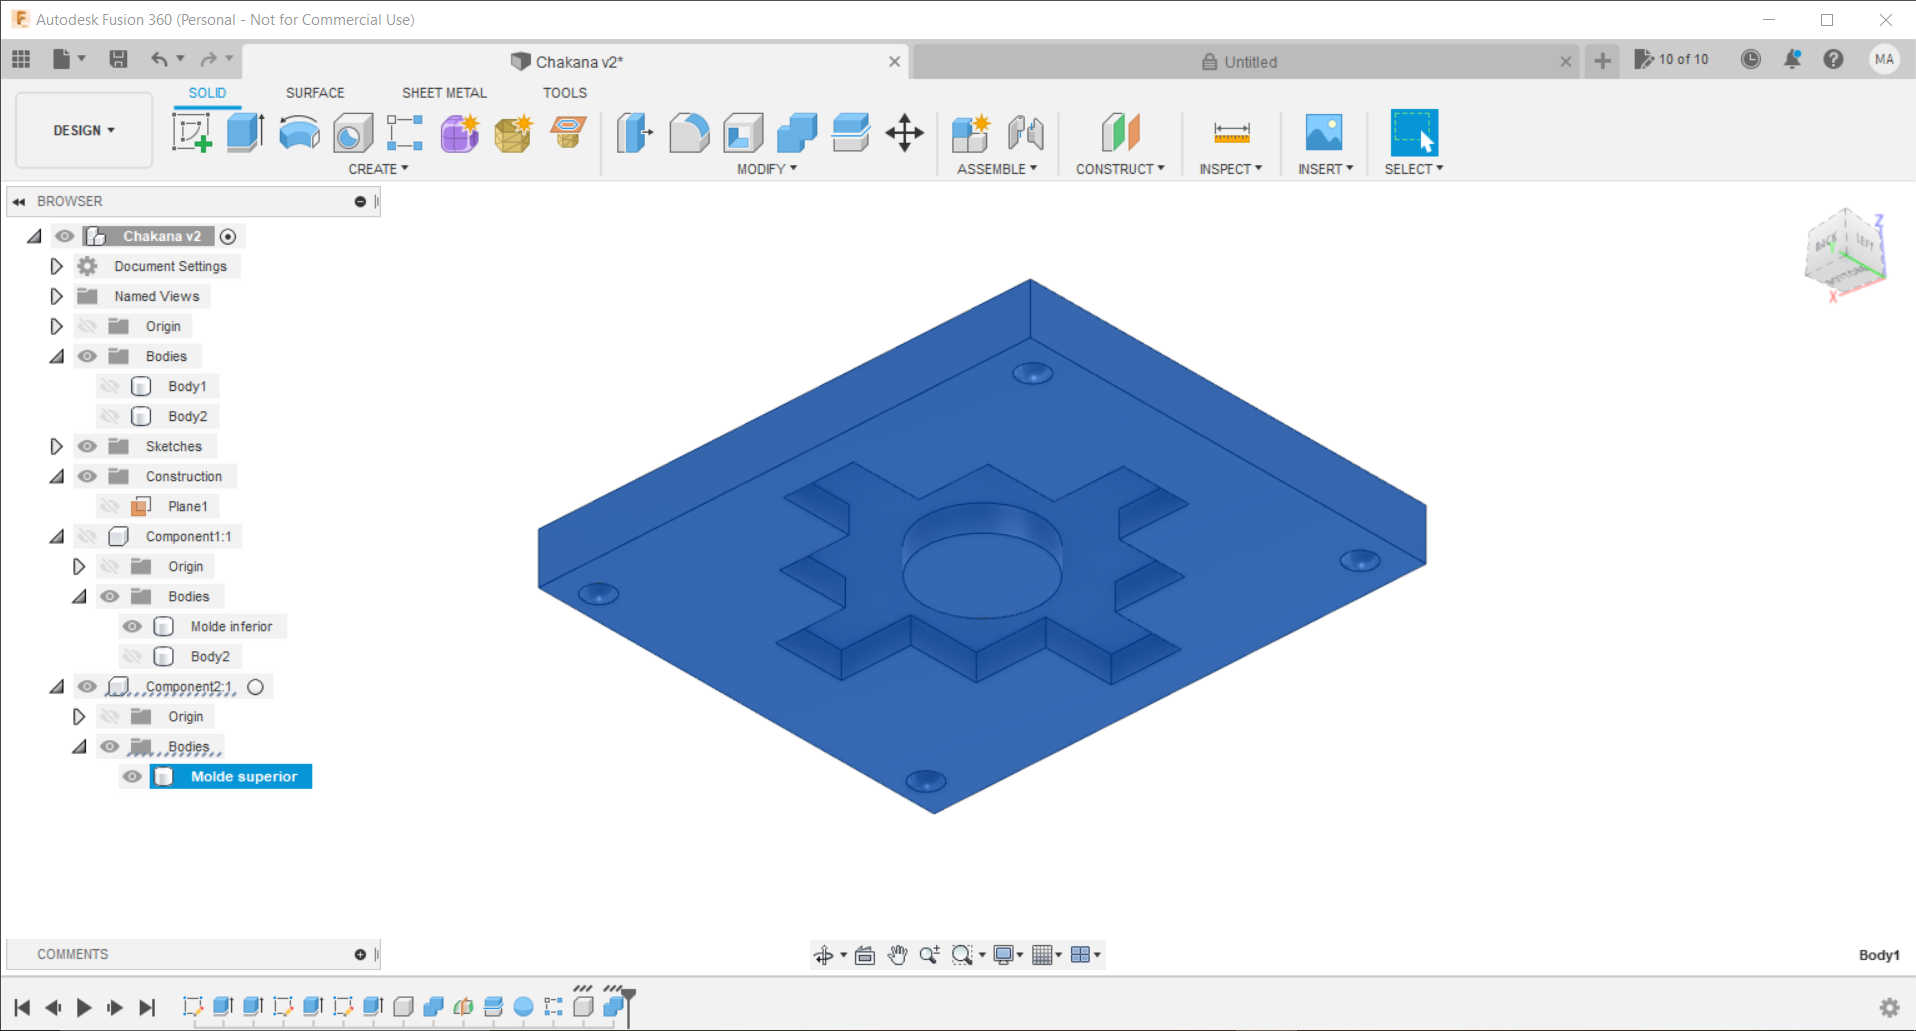
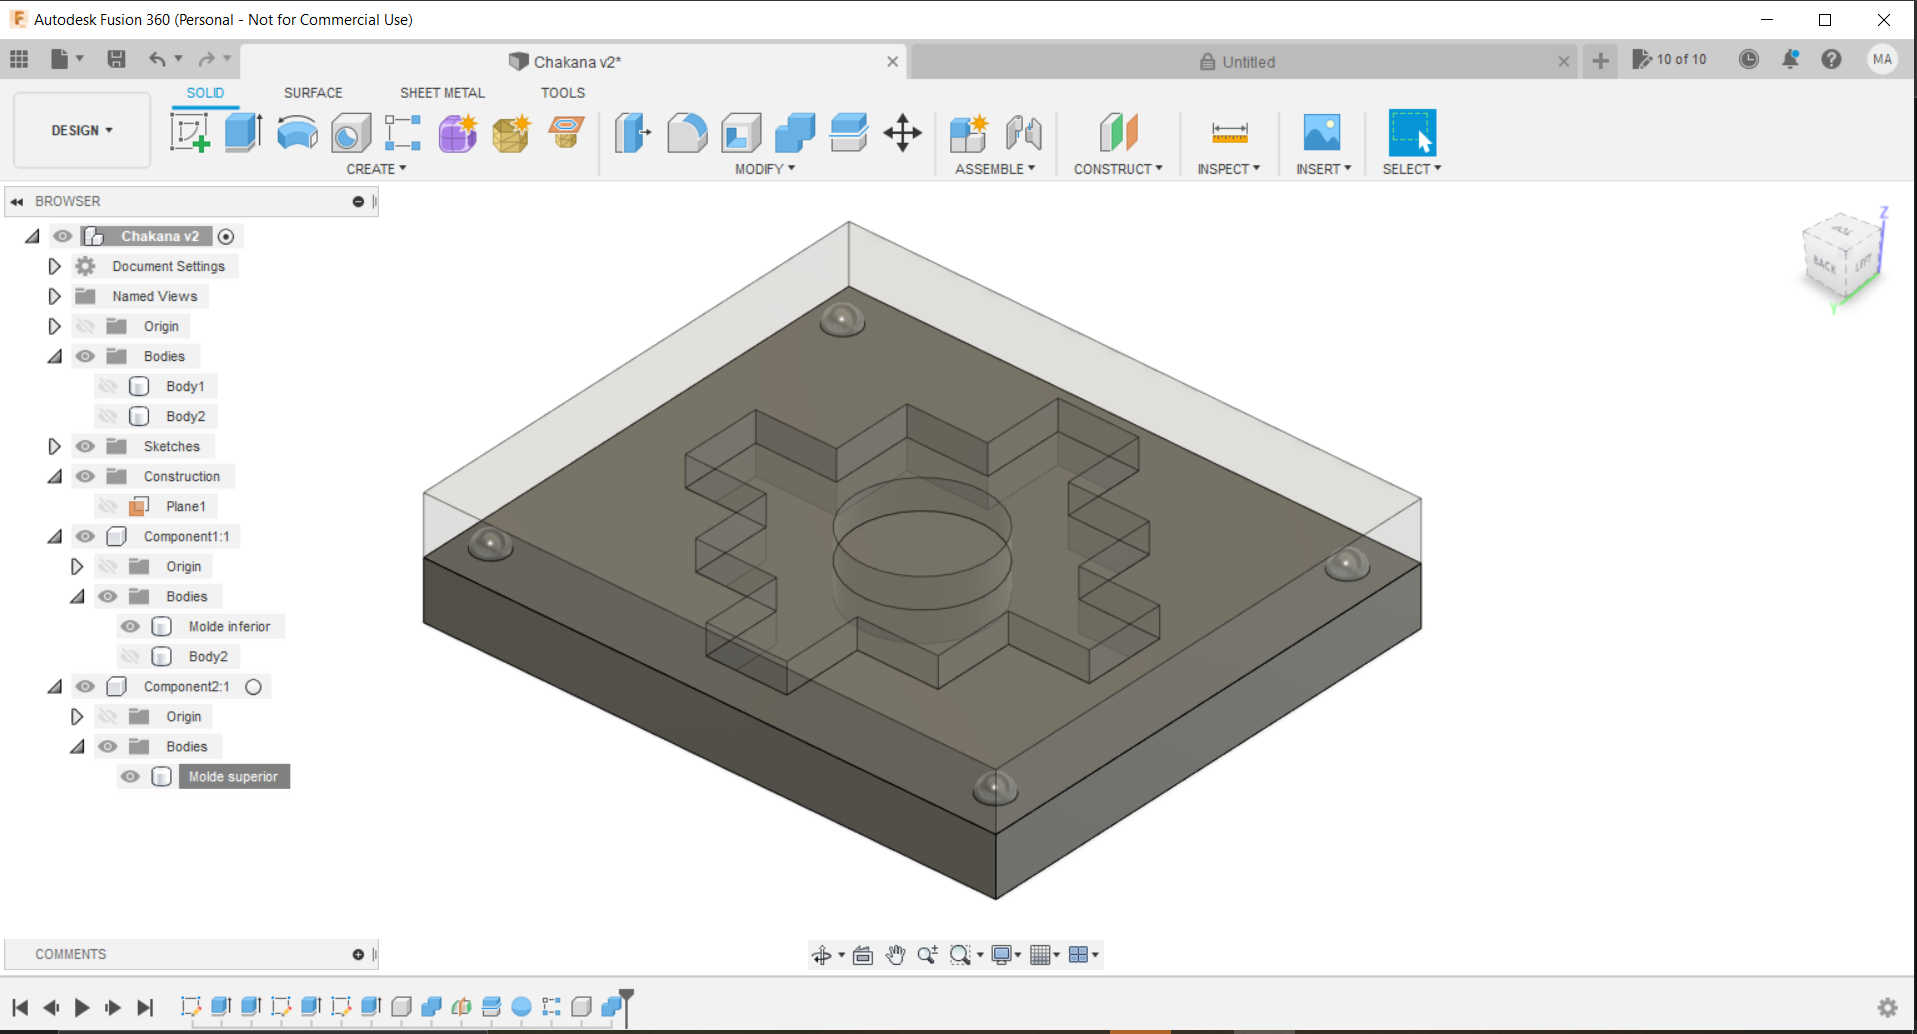
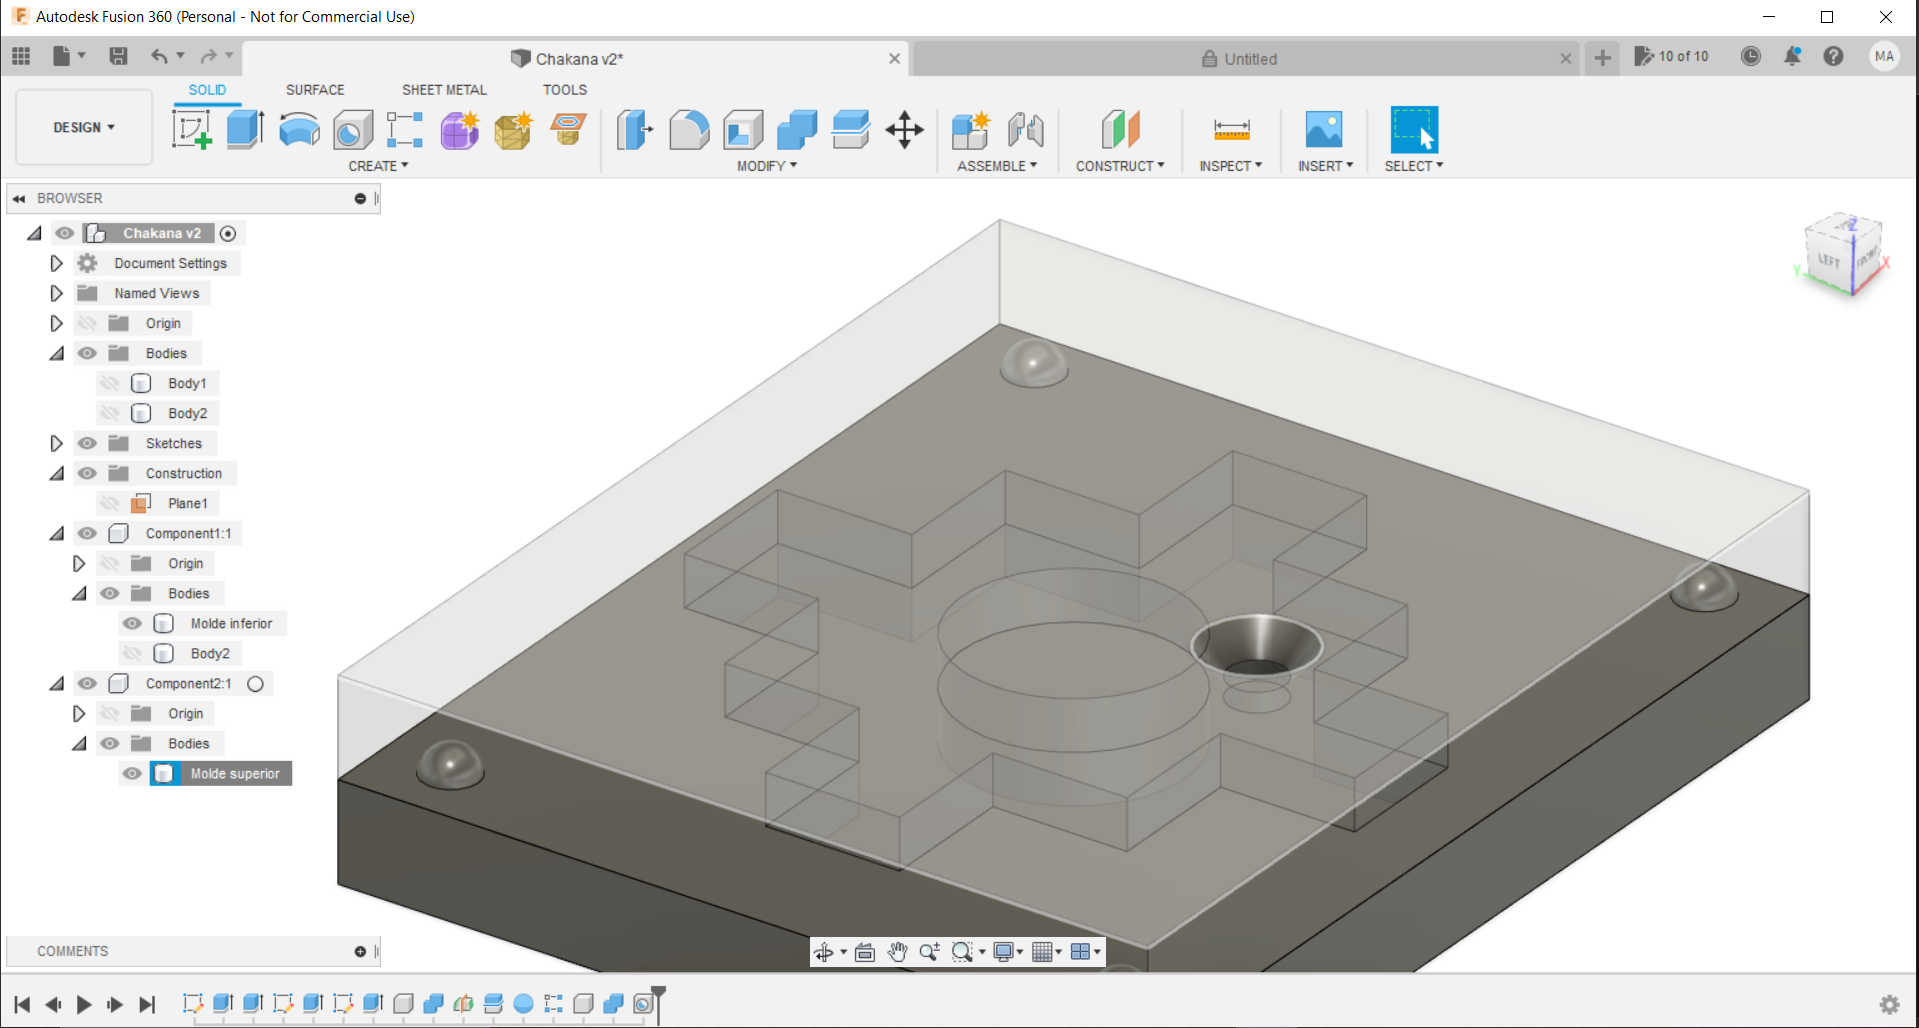
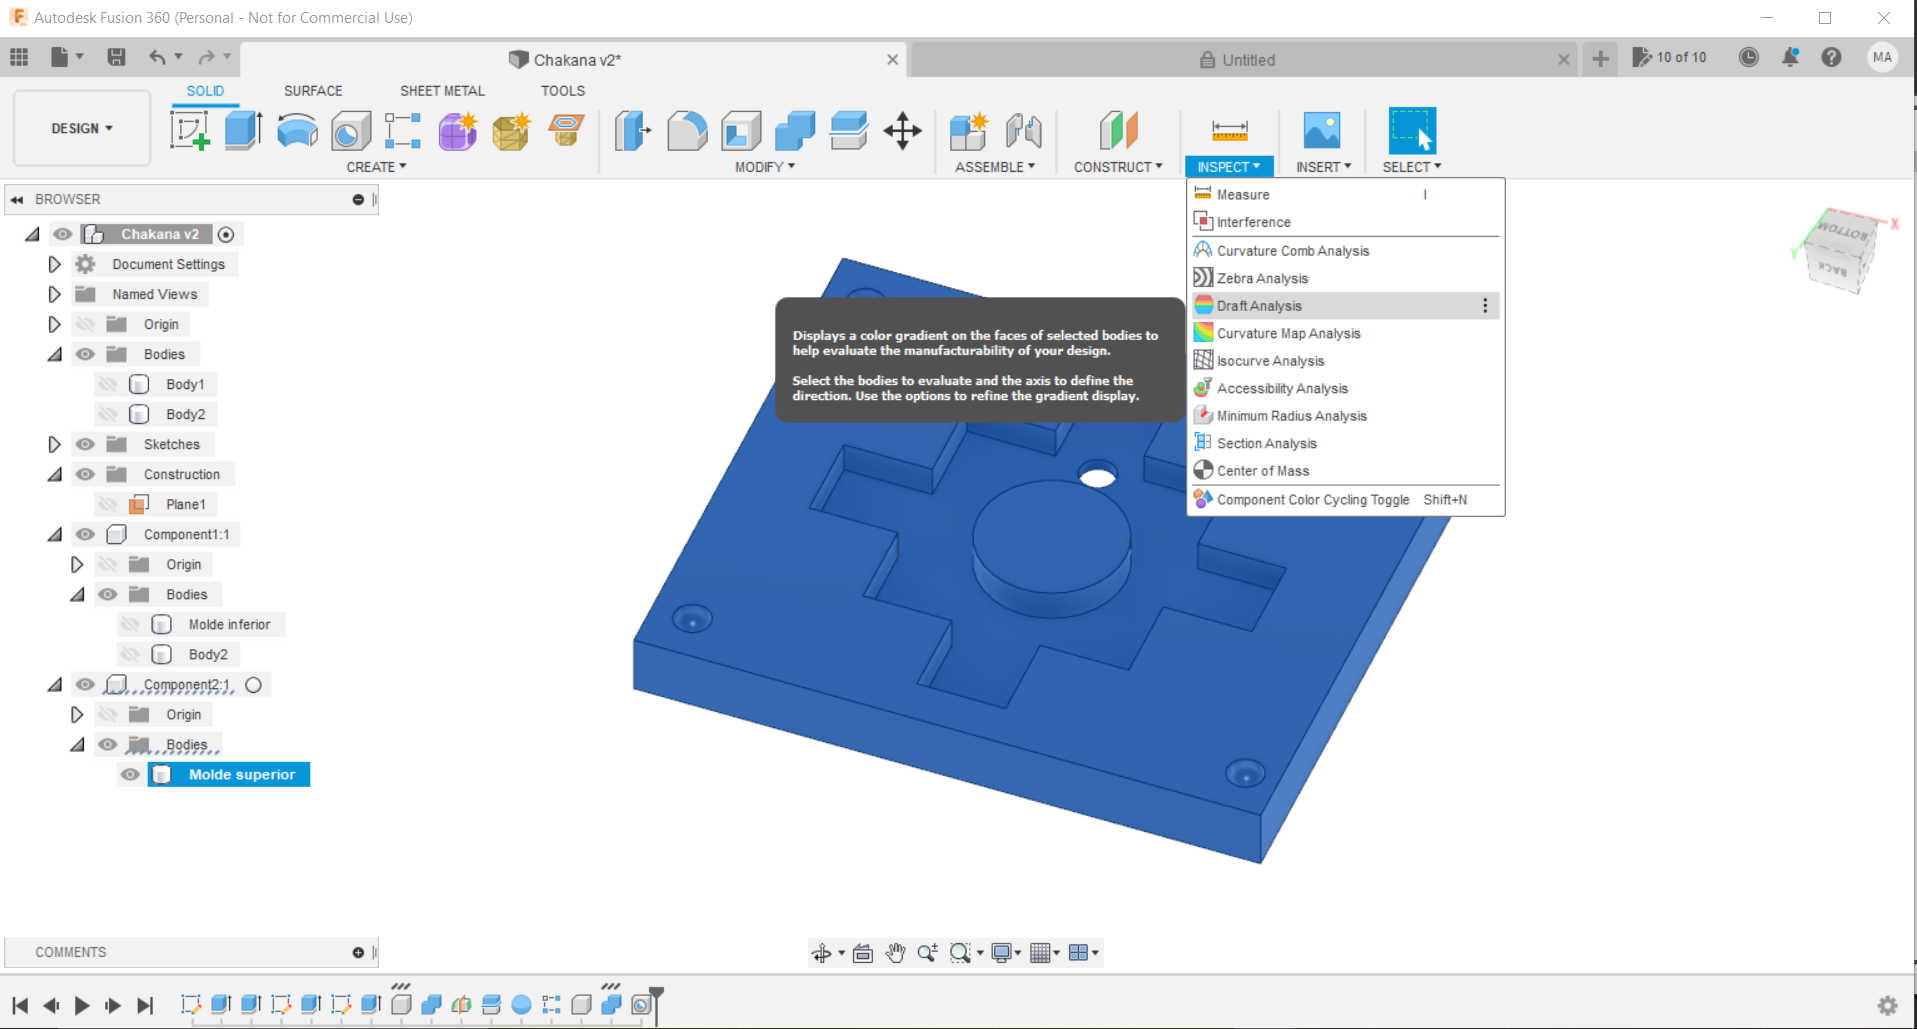
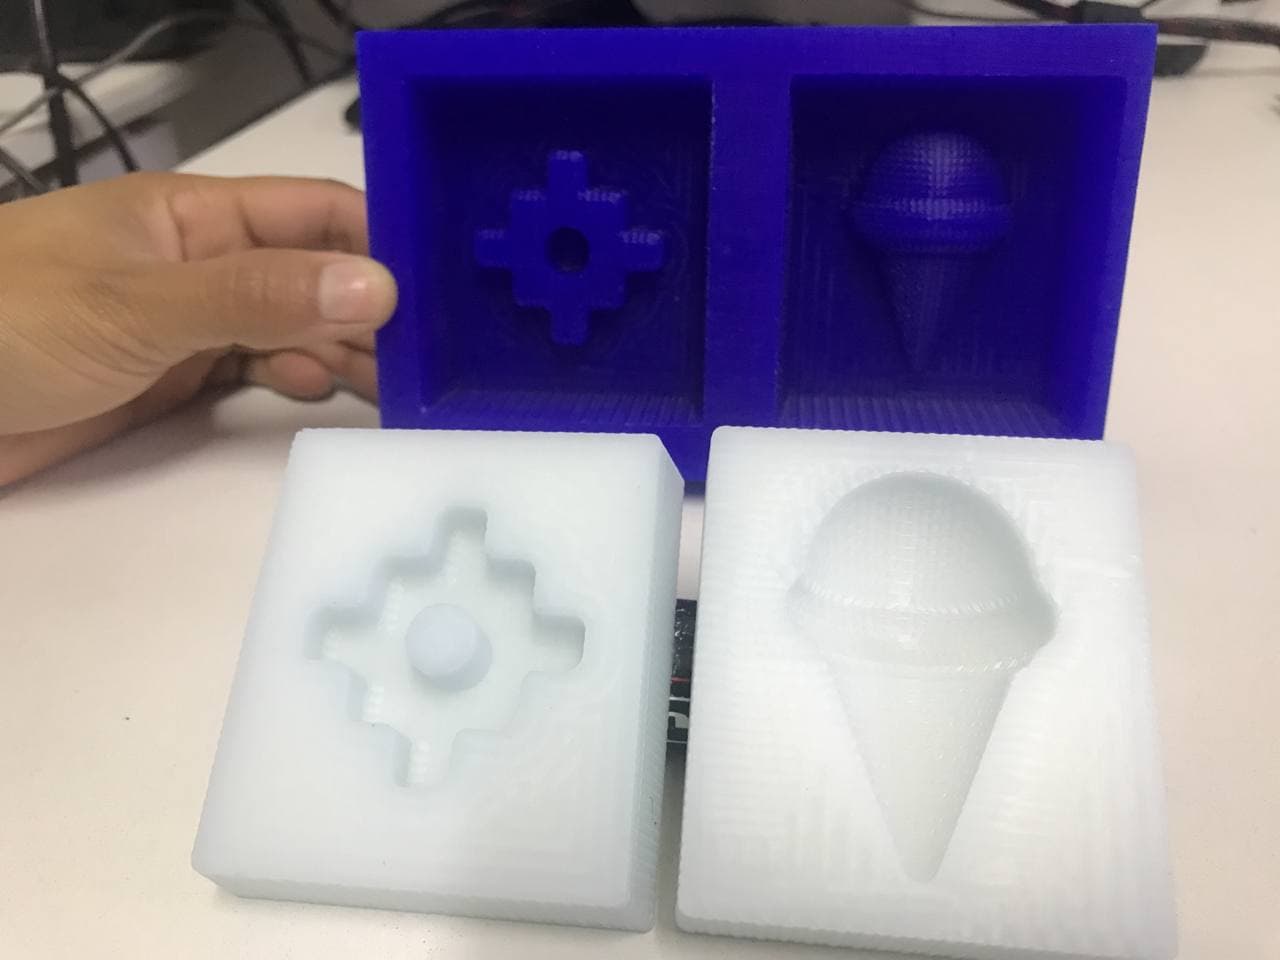
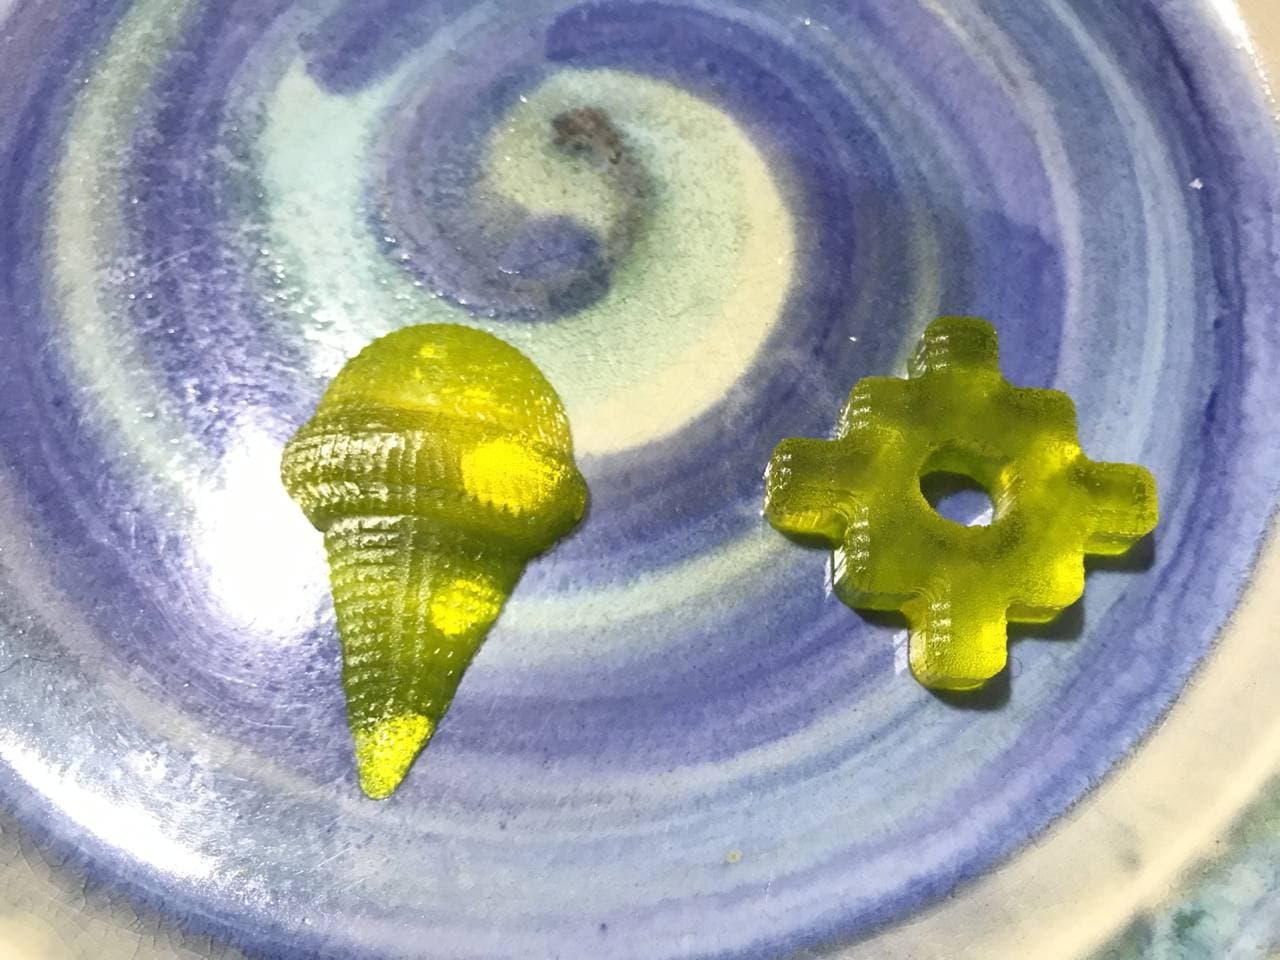
About design
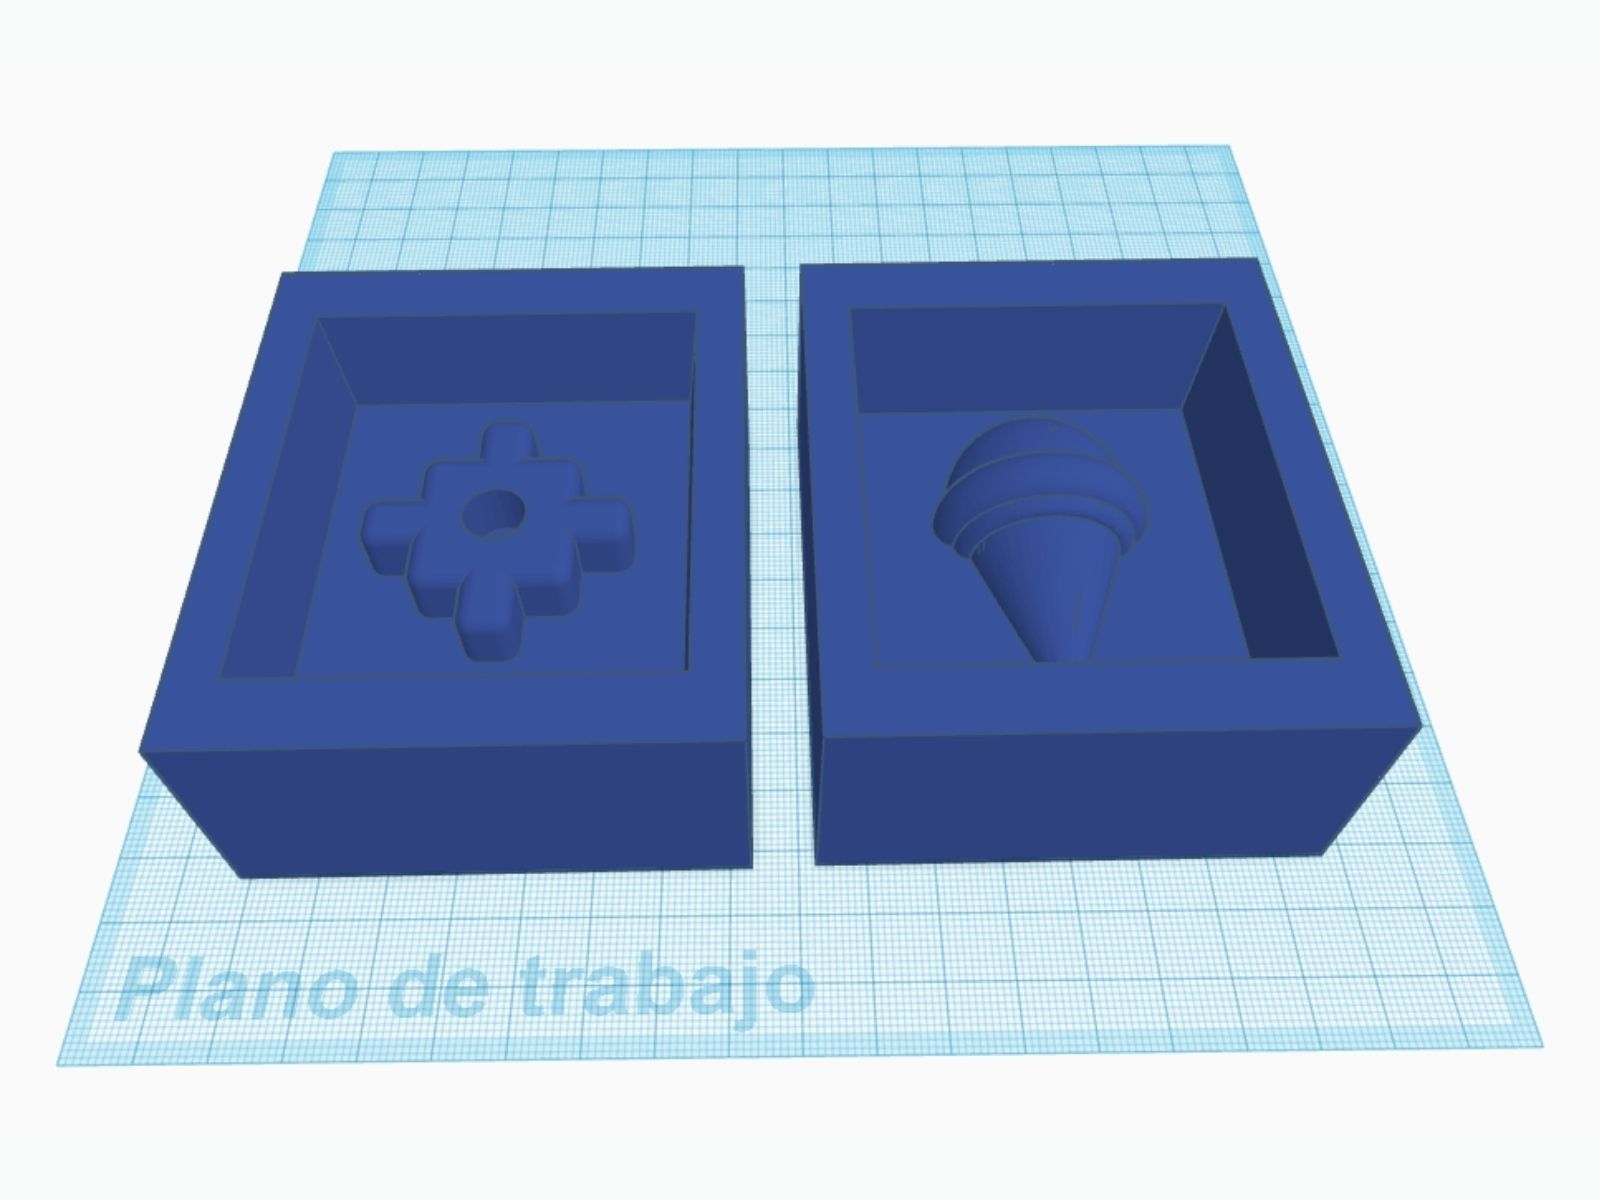
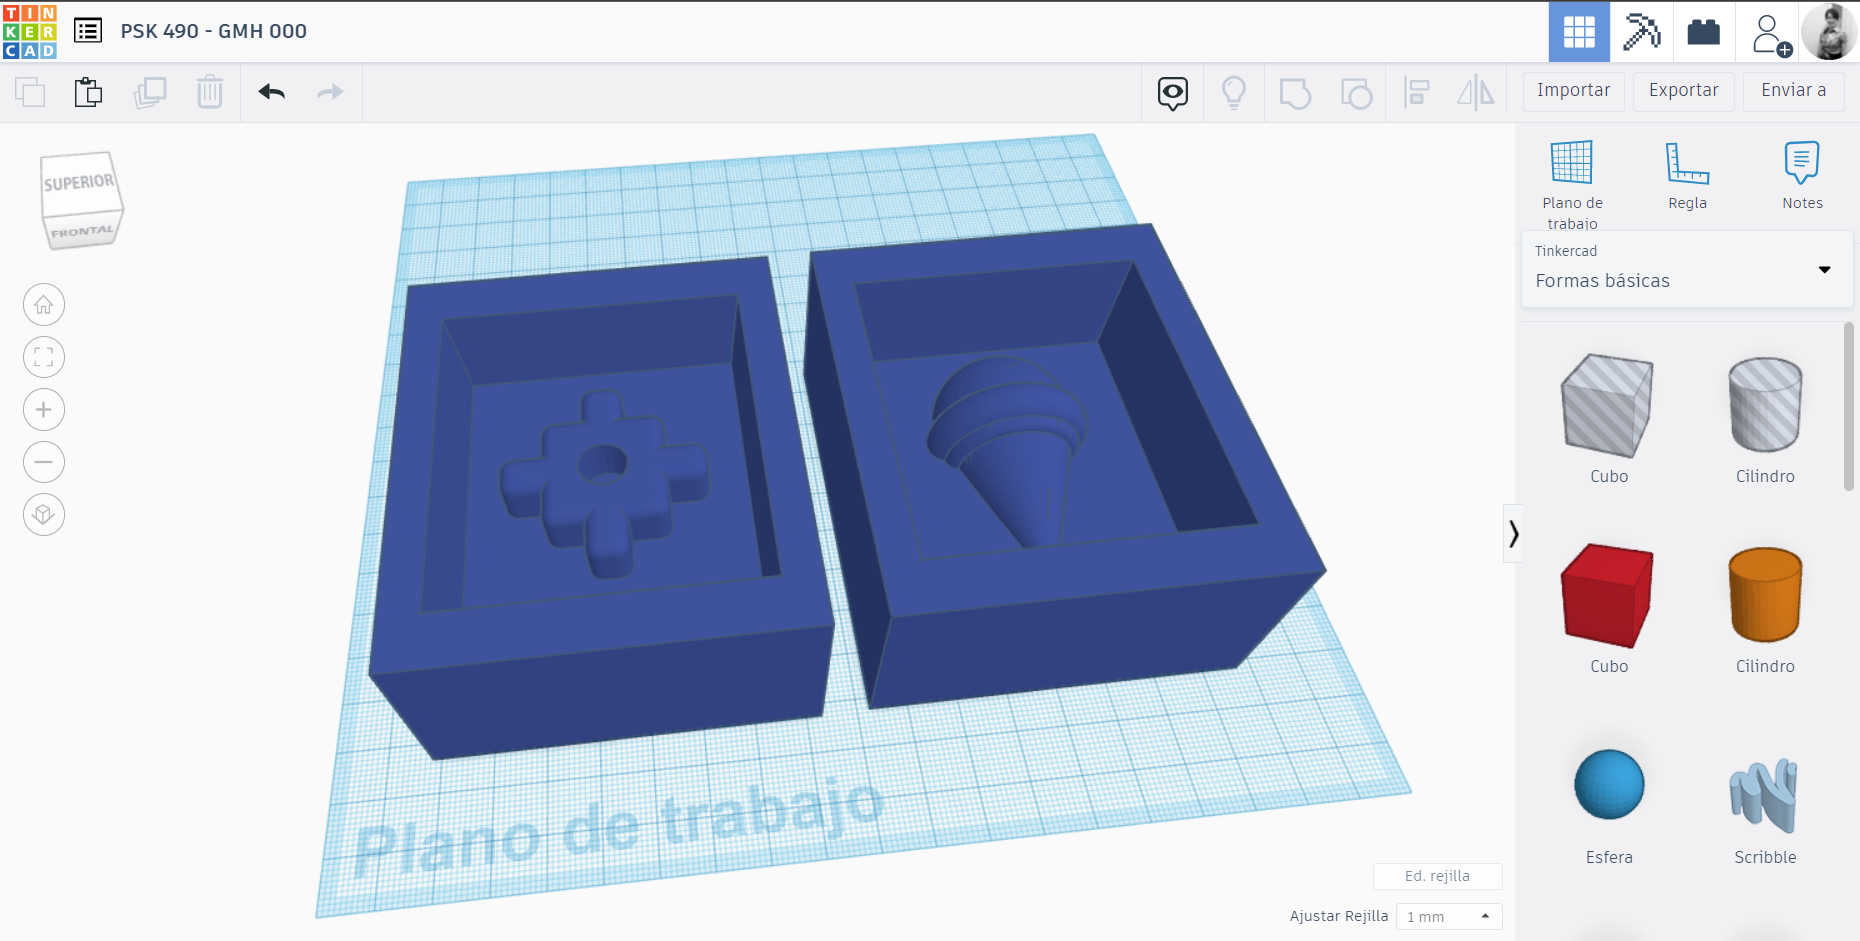
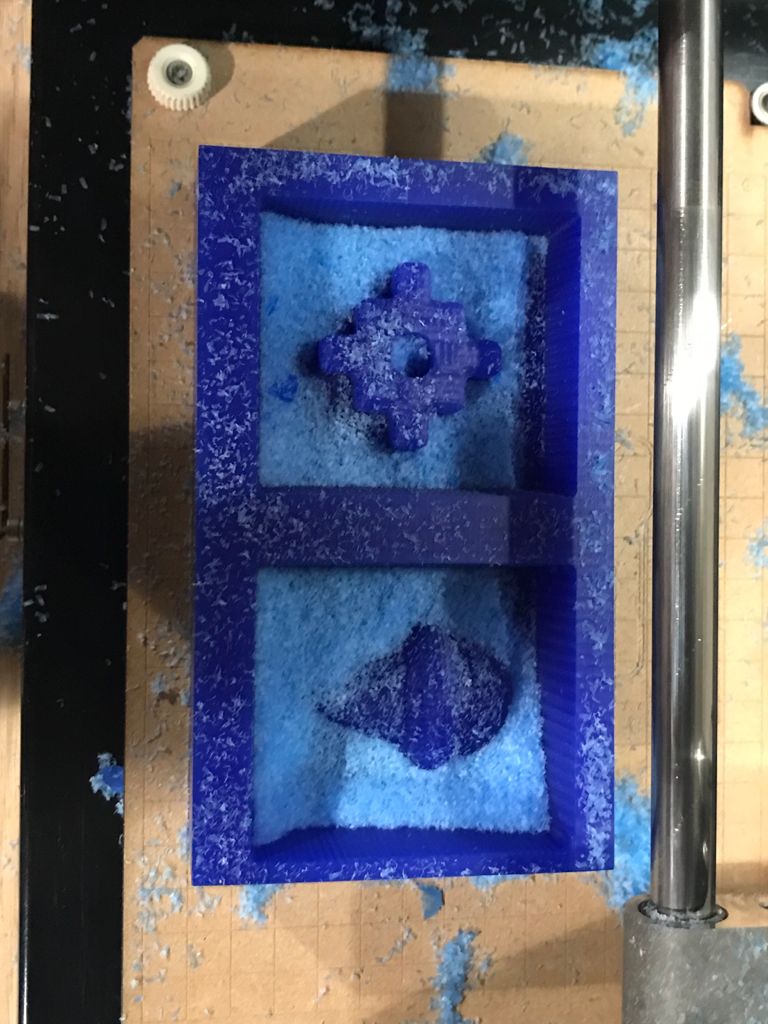
As part of the joint work with
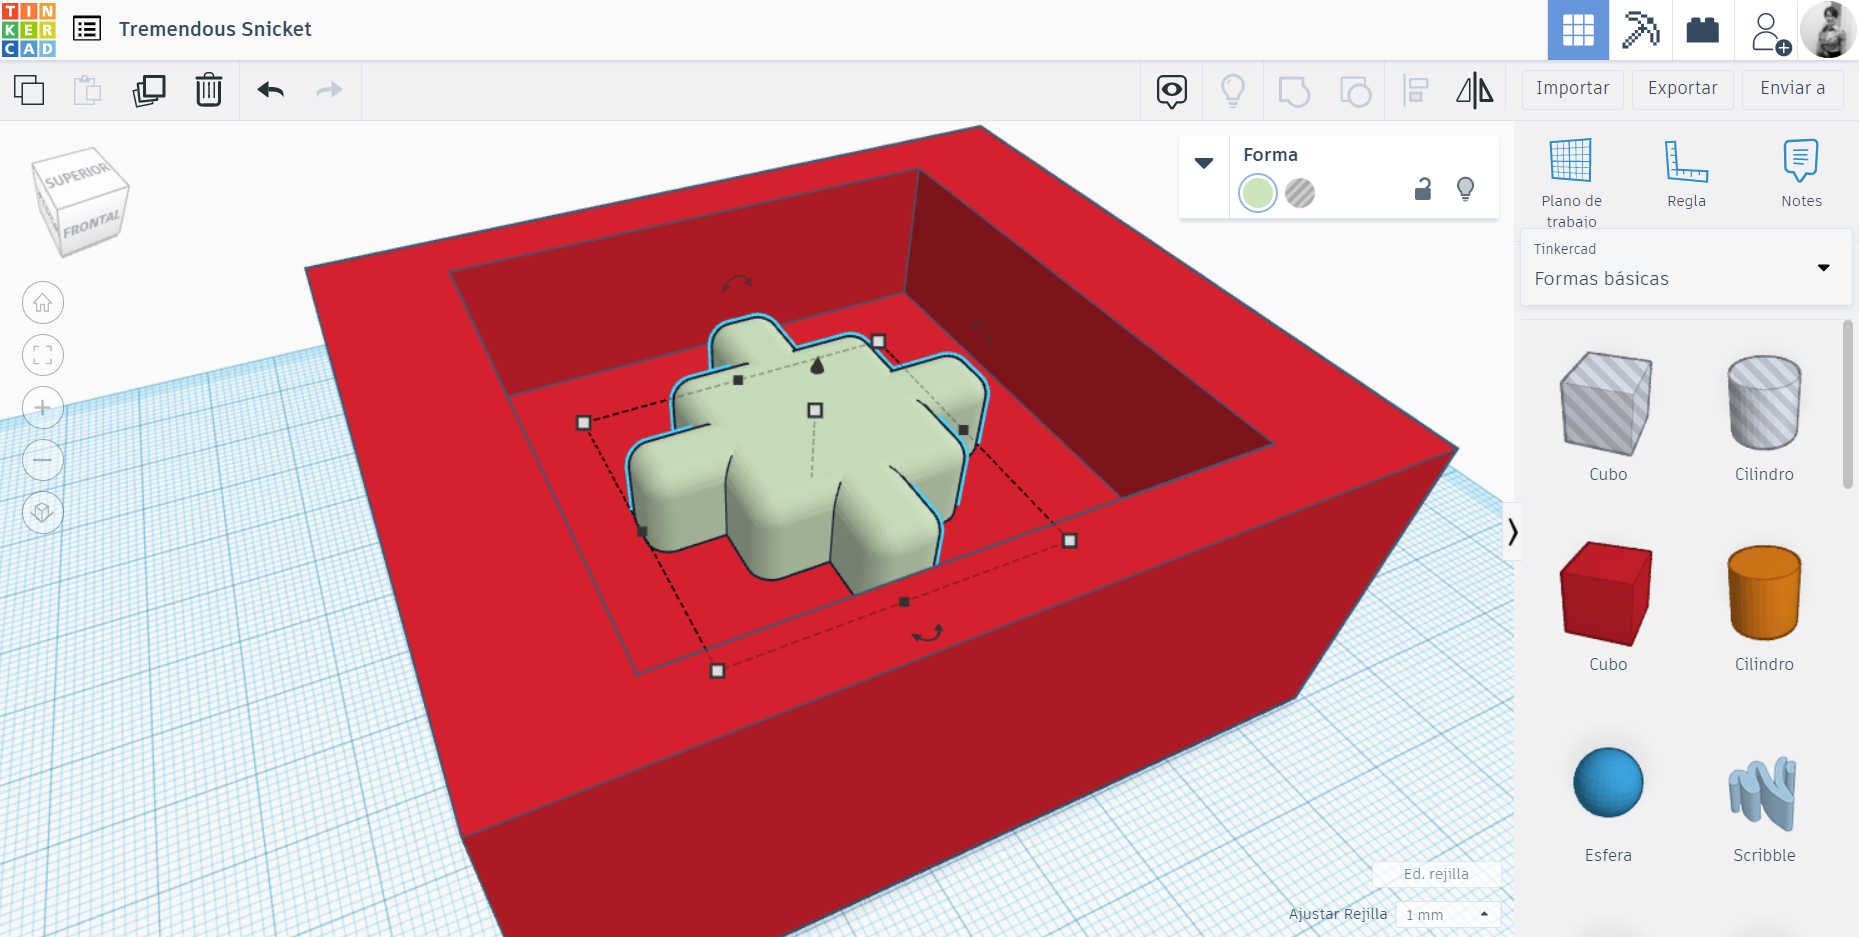
"Patricia" we decided to make a single work file to take advantage of the only
Wax we had, each one placed her design in the middle of the material, next I will show the photograph of
the union of files, each one worked in a
different software, at the moment of joining them we chose the
Tinkercad program.
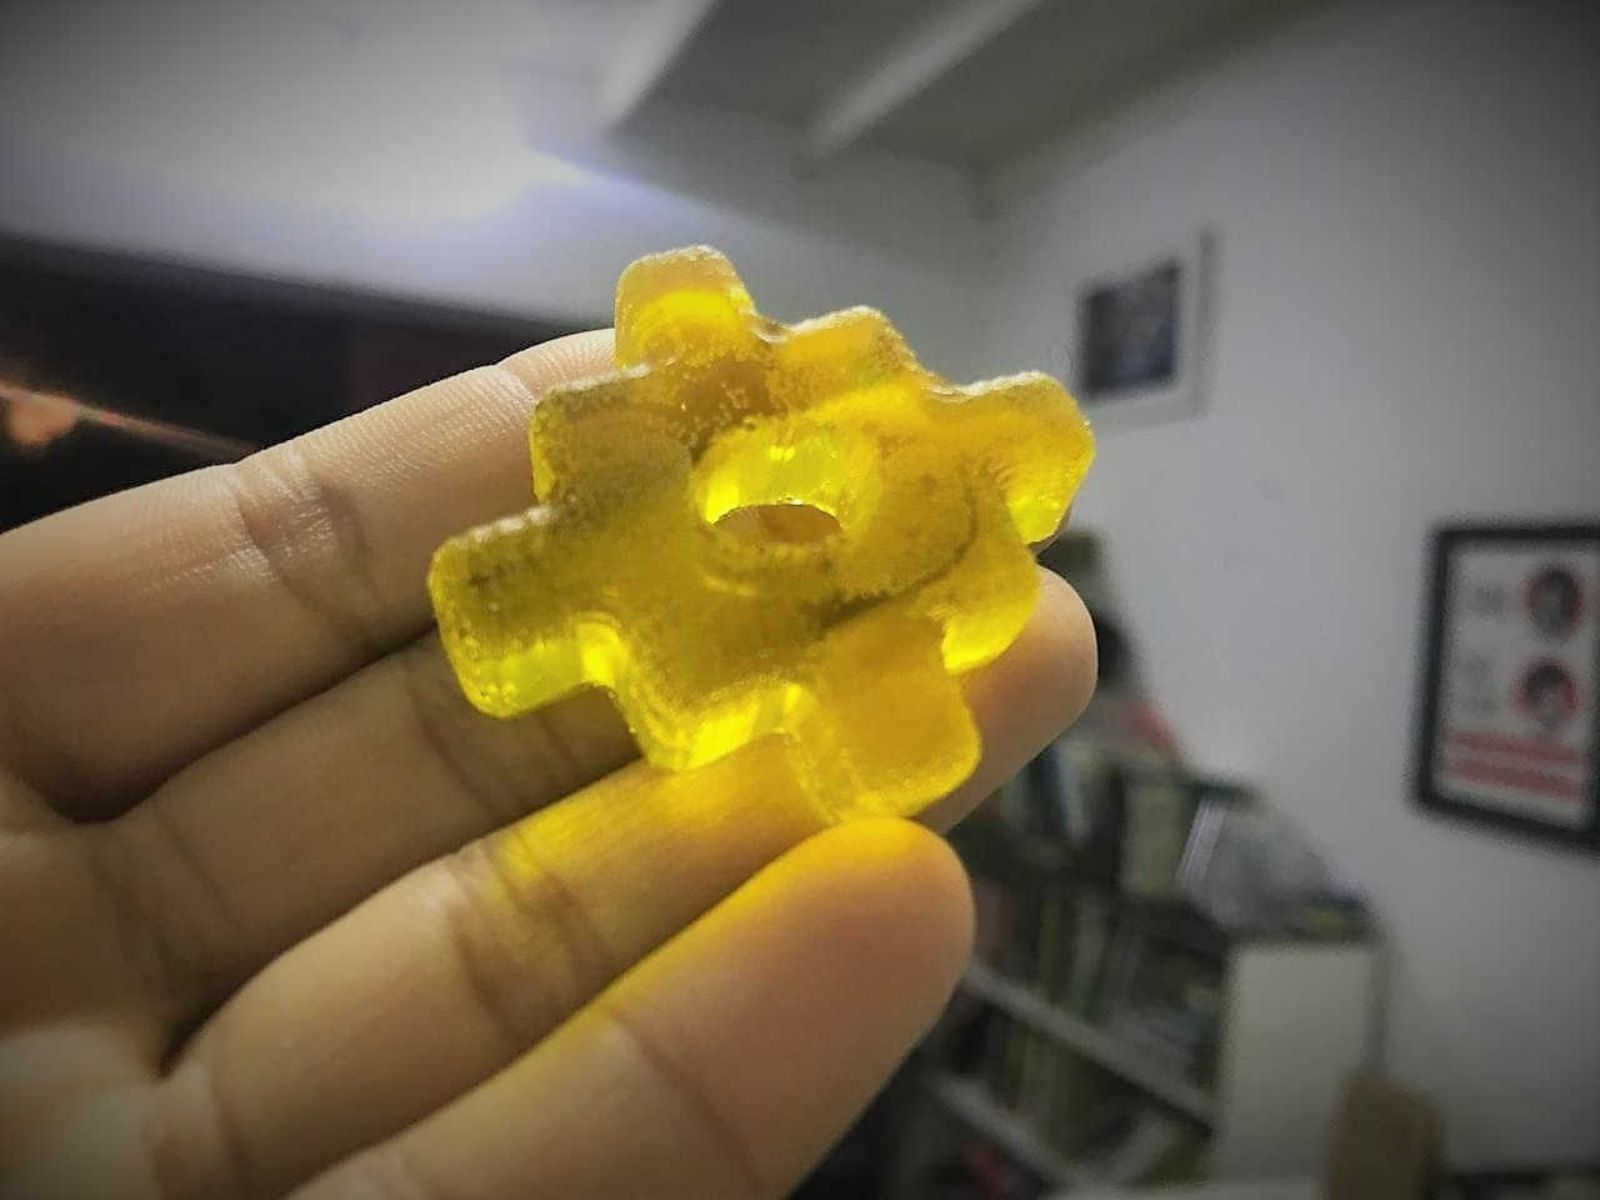
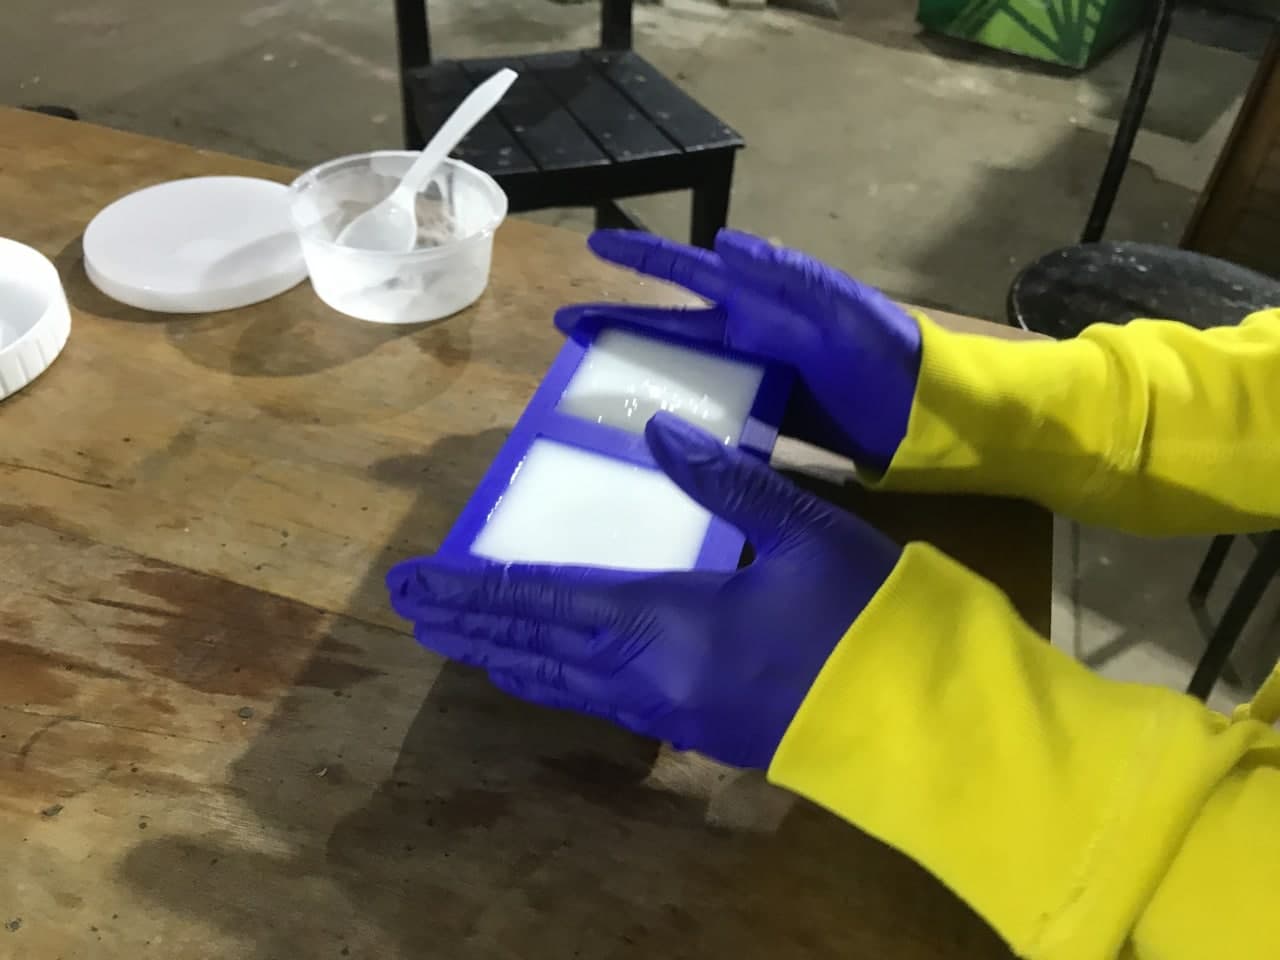
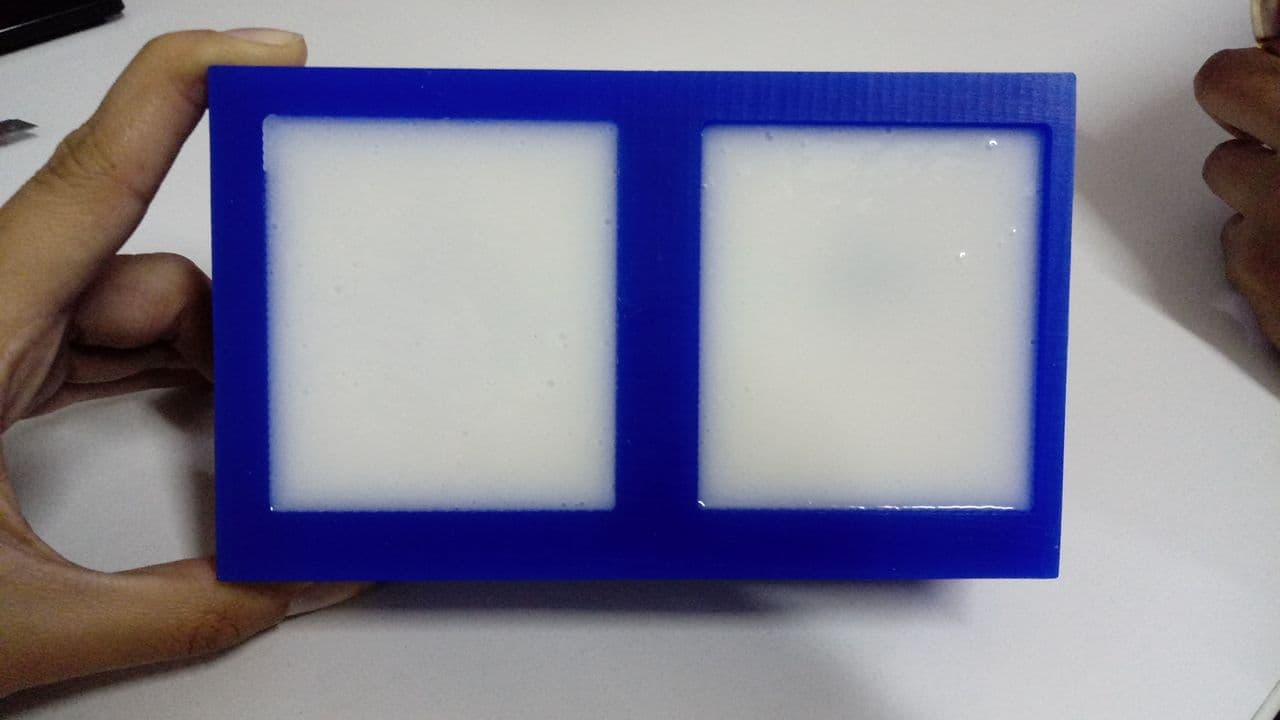
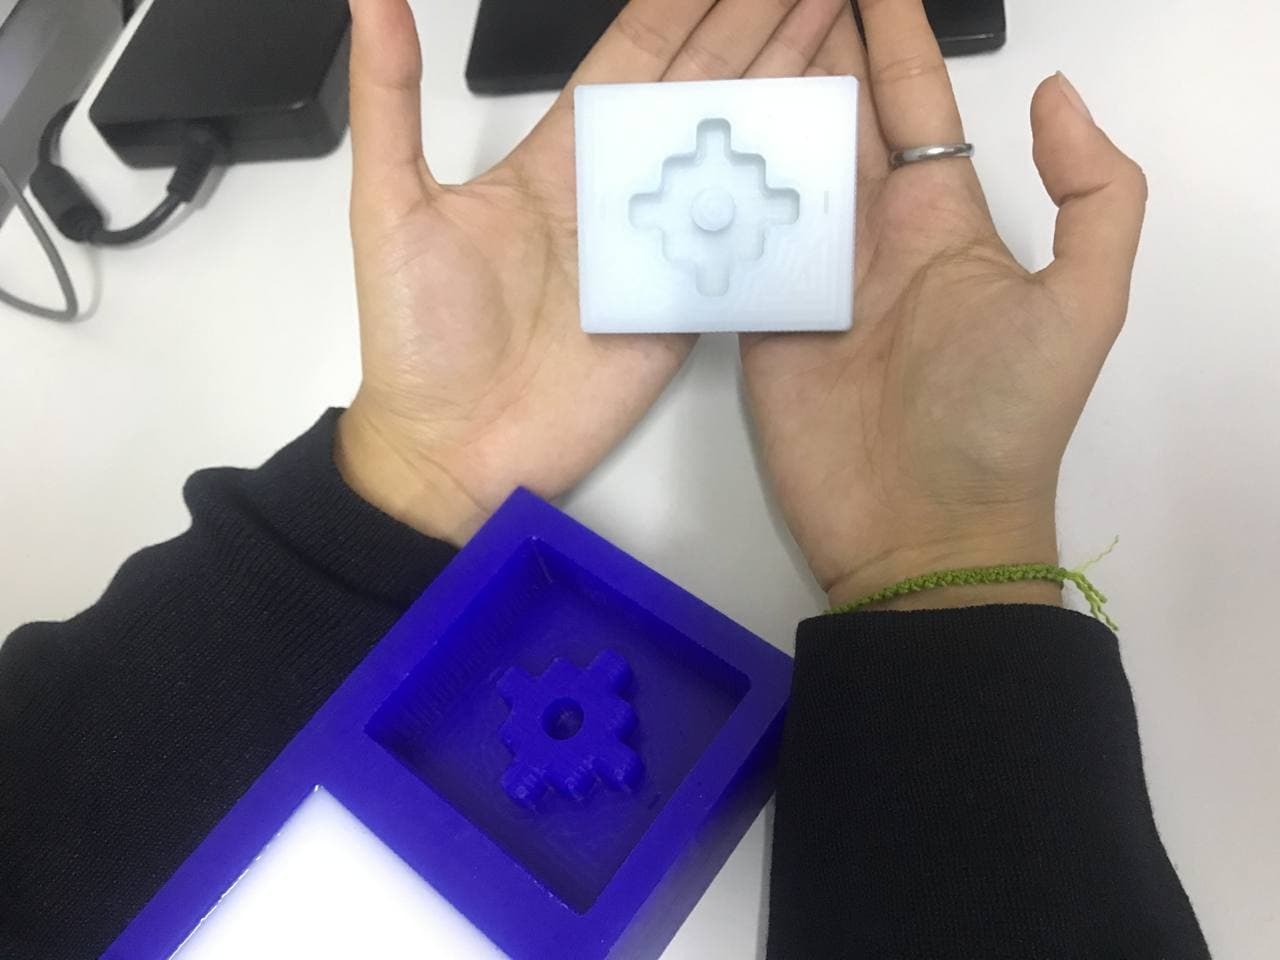
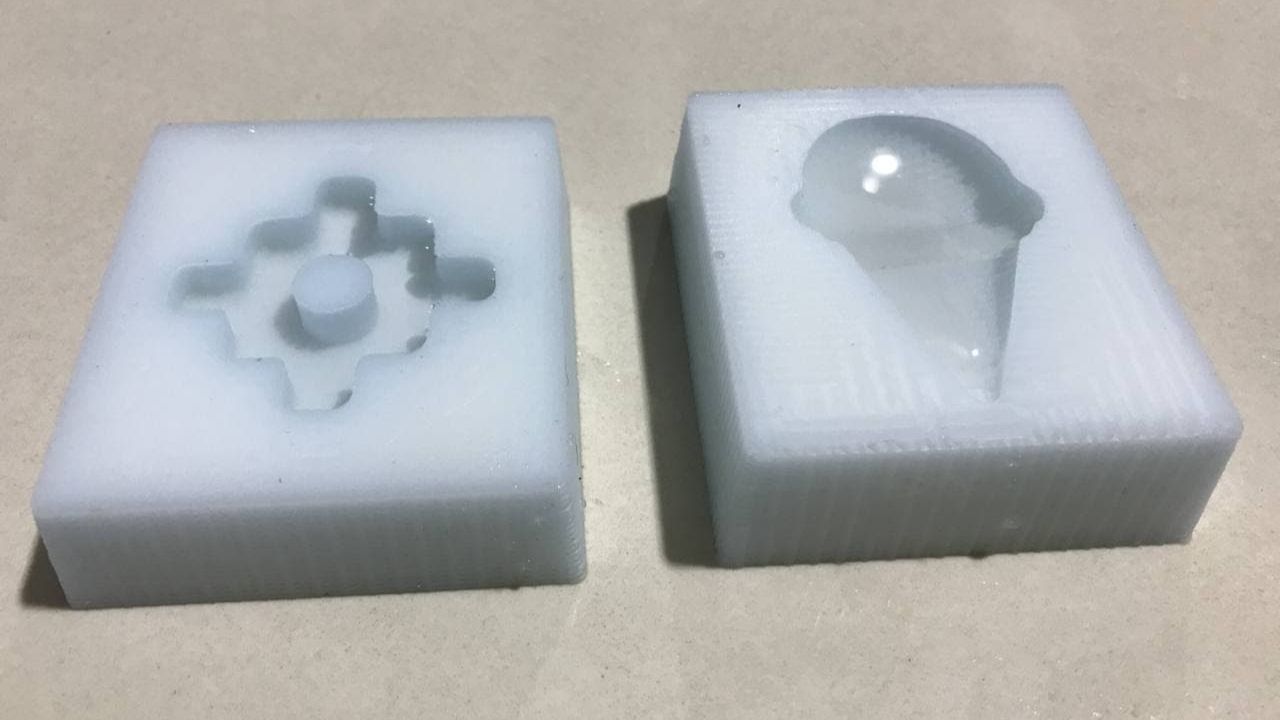
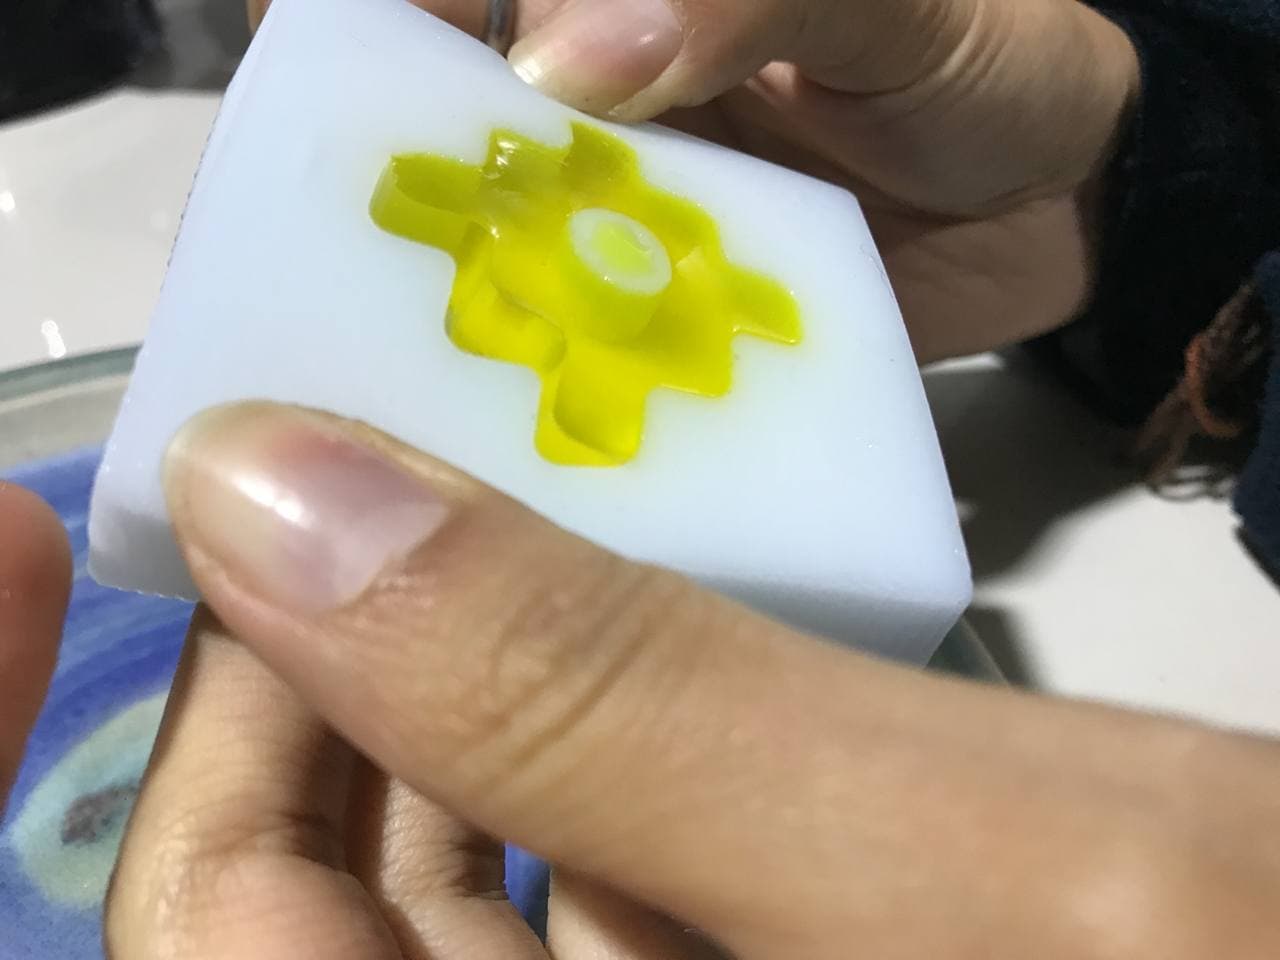
About the materials
We use a silicone Type 6 and a catalys, here some descriptions.
Silicone Rubber RTV SILIKAMOLD TYPE 6 + Catalyst
Medium/Low Viscosity
Color White
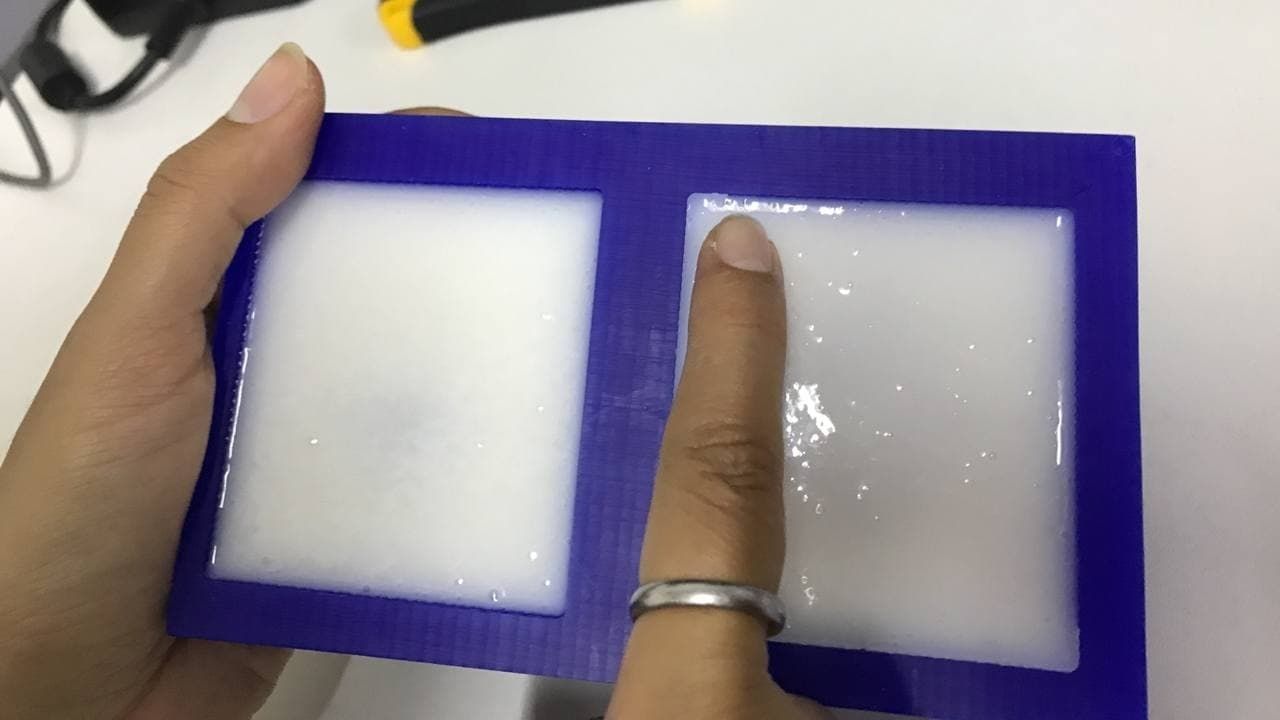
Working time 10 to 20 minutes.
Curing Time 4 - 8 hours in Summer, 8 - 12 hours in Winter.
Hardness/shore 30-A
Presentation Plastic Bottle Net Weight 1 kg + Catalyst 30 ml Dropper Bottle
Shelf Life 1 Year
Store covered, in a cool and dry place.
Exclusive and Imported Product by SILIKA MOLDES E INSUMOS EIRL.
(Source: https://silikamoldeseinsumos.pe/producto/caucho-de-silicona-rtv-tipo-6-1kg/)


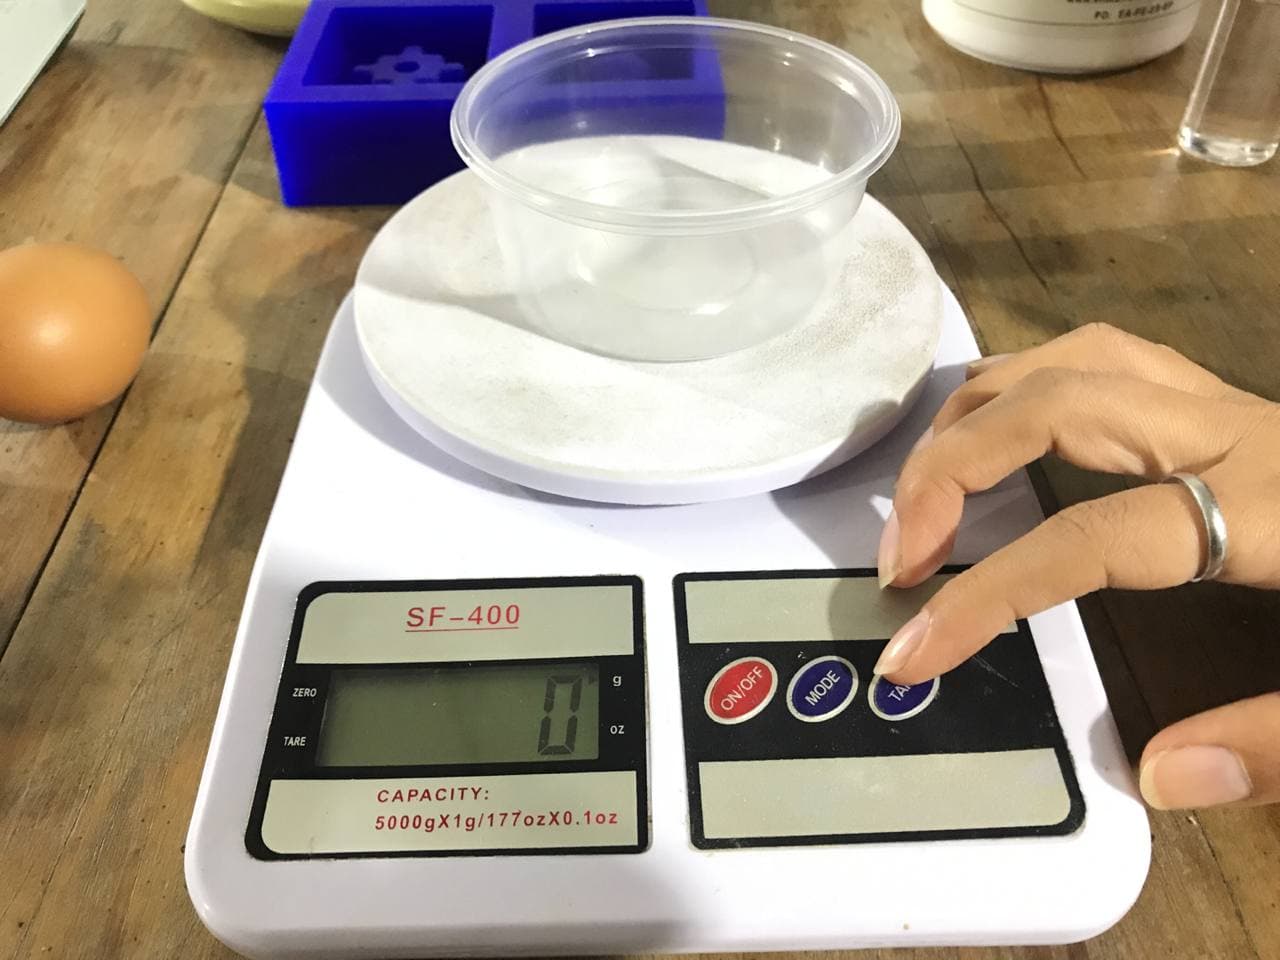
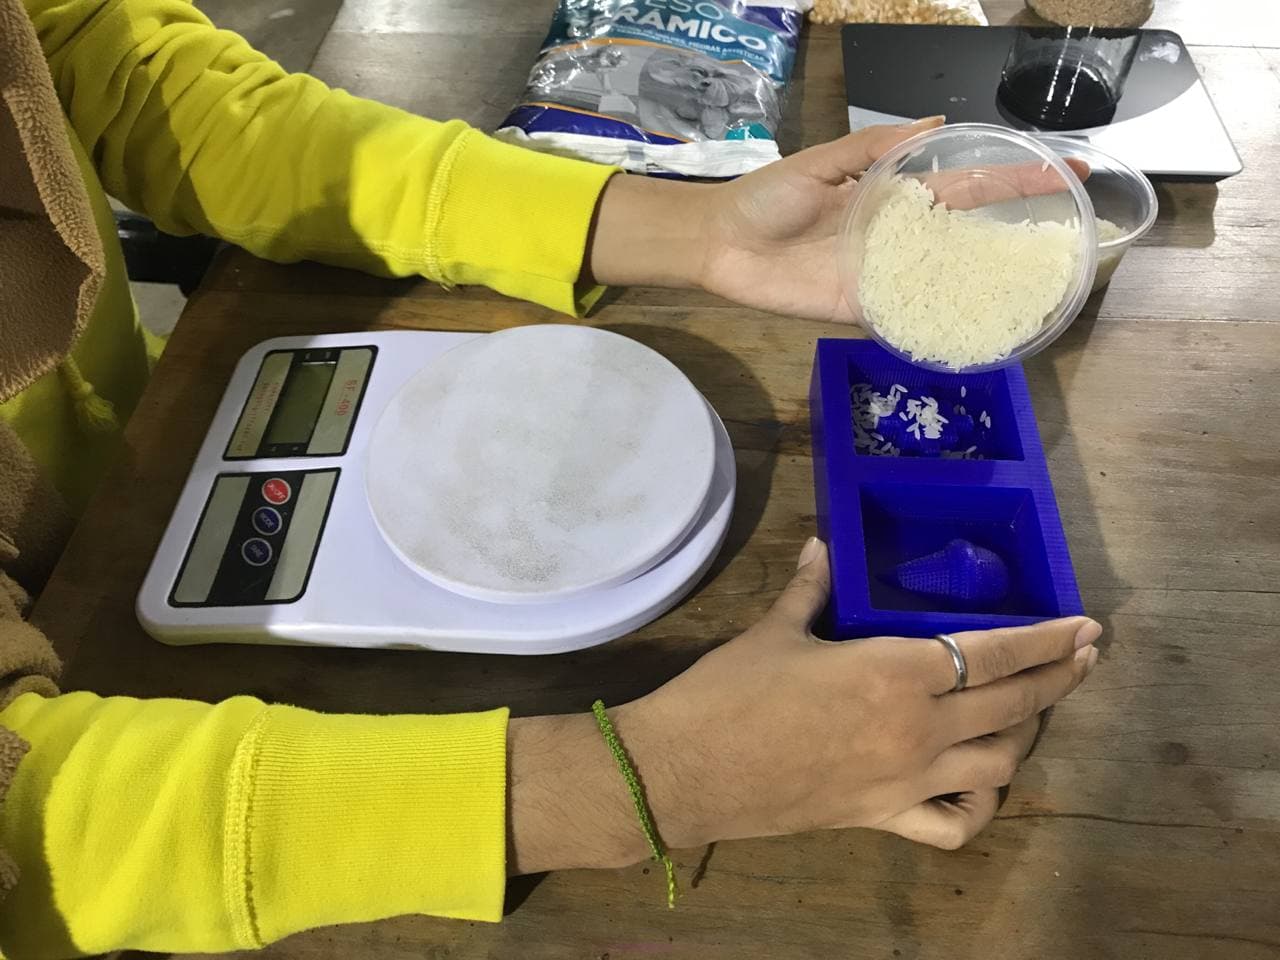
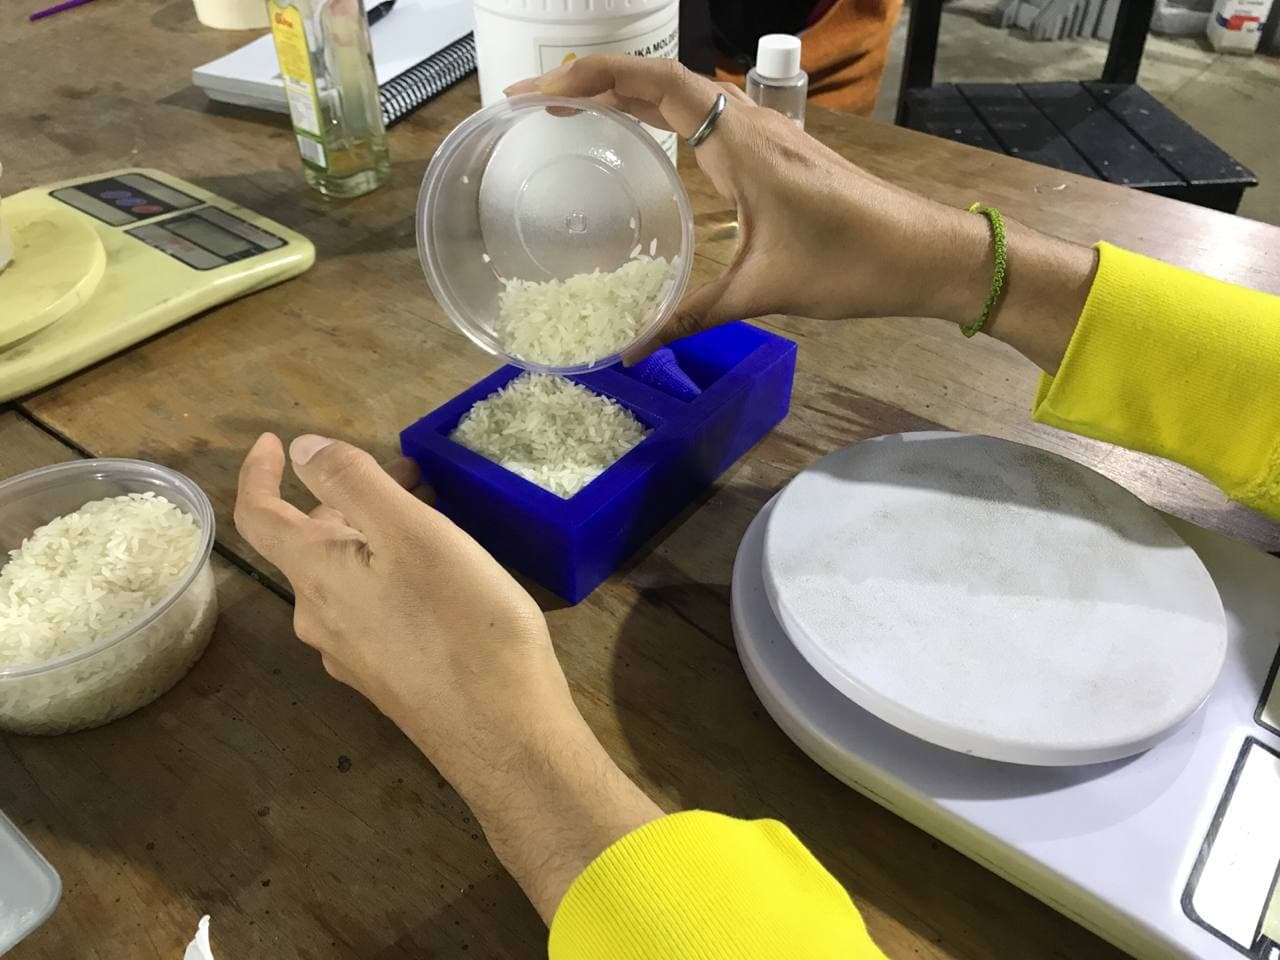
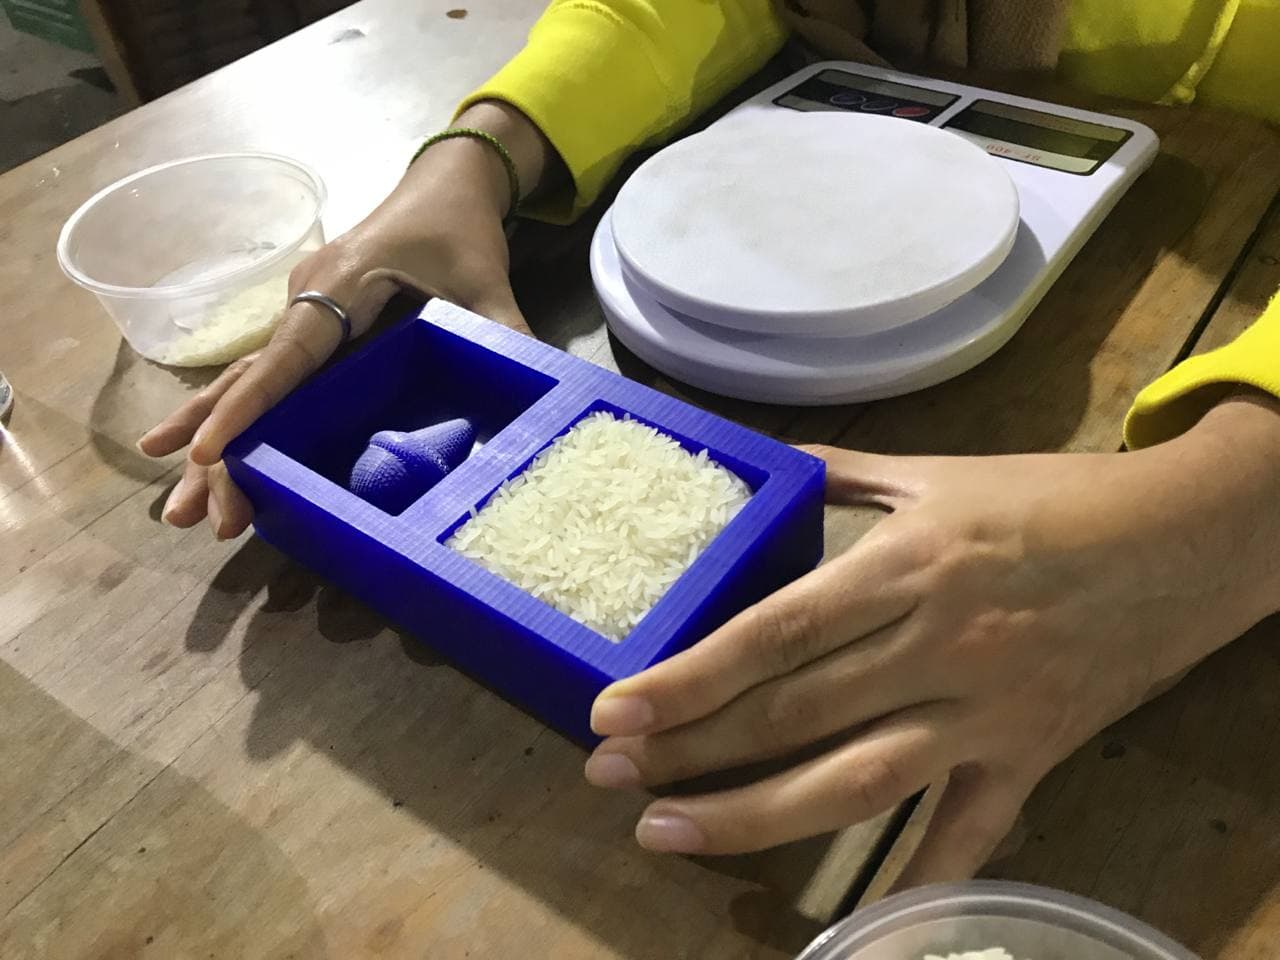
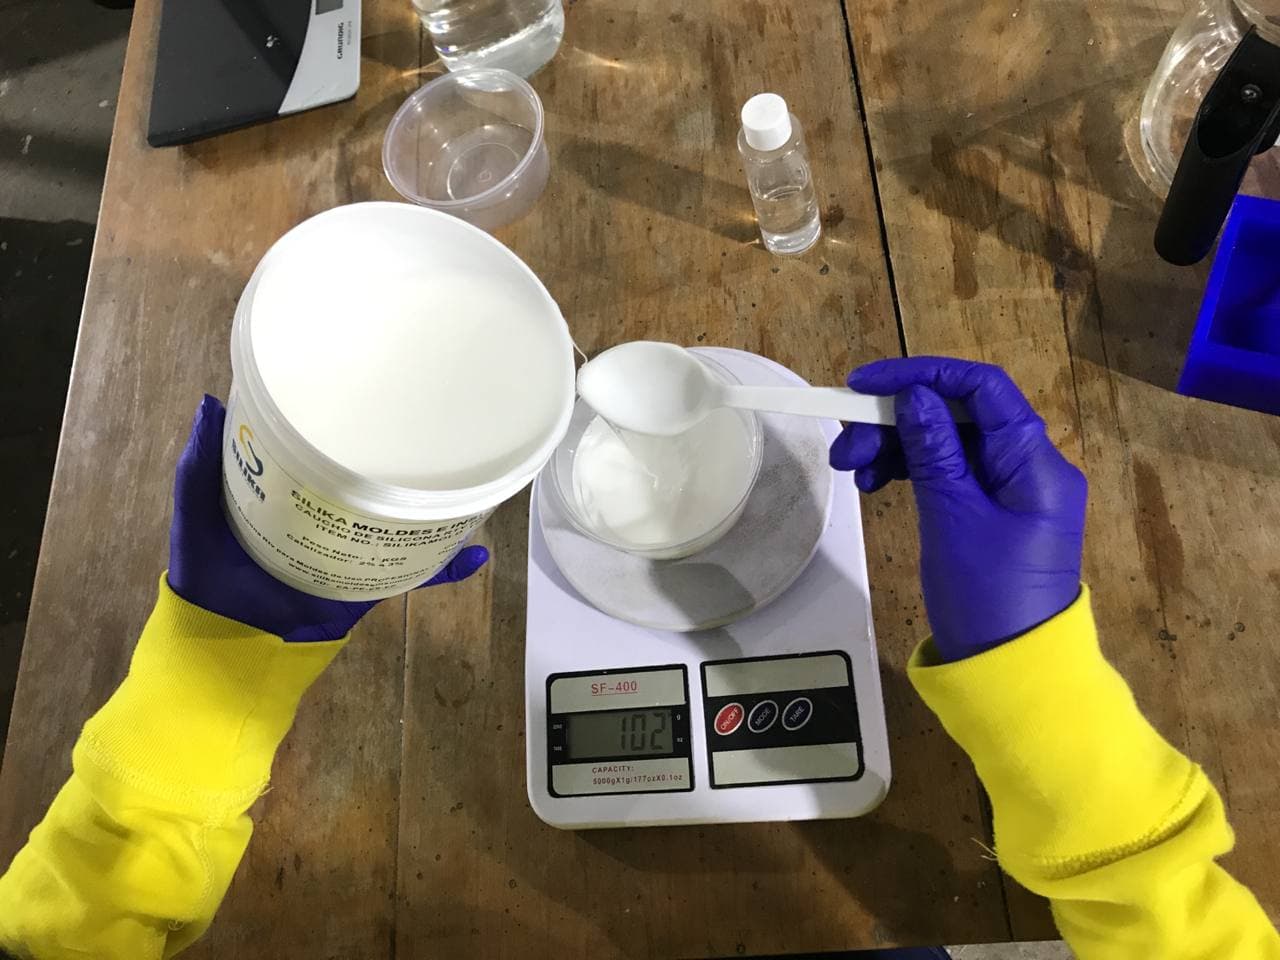
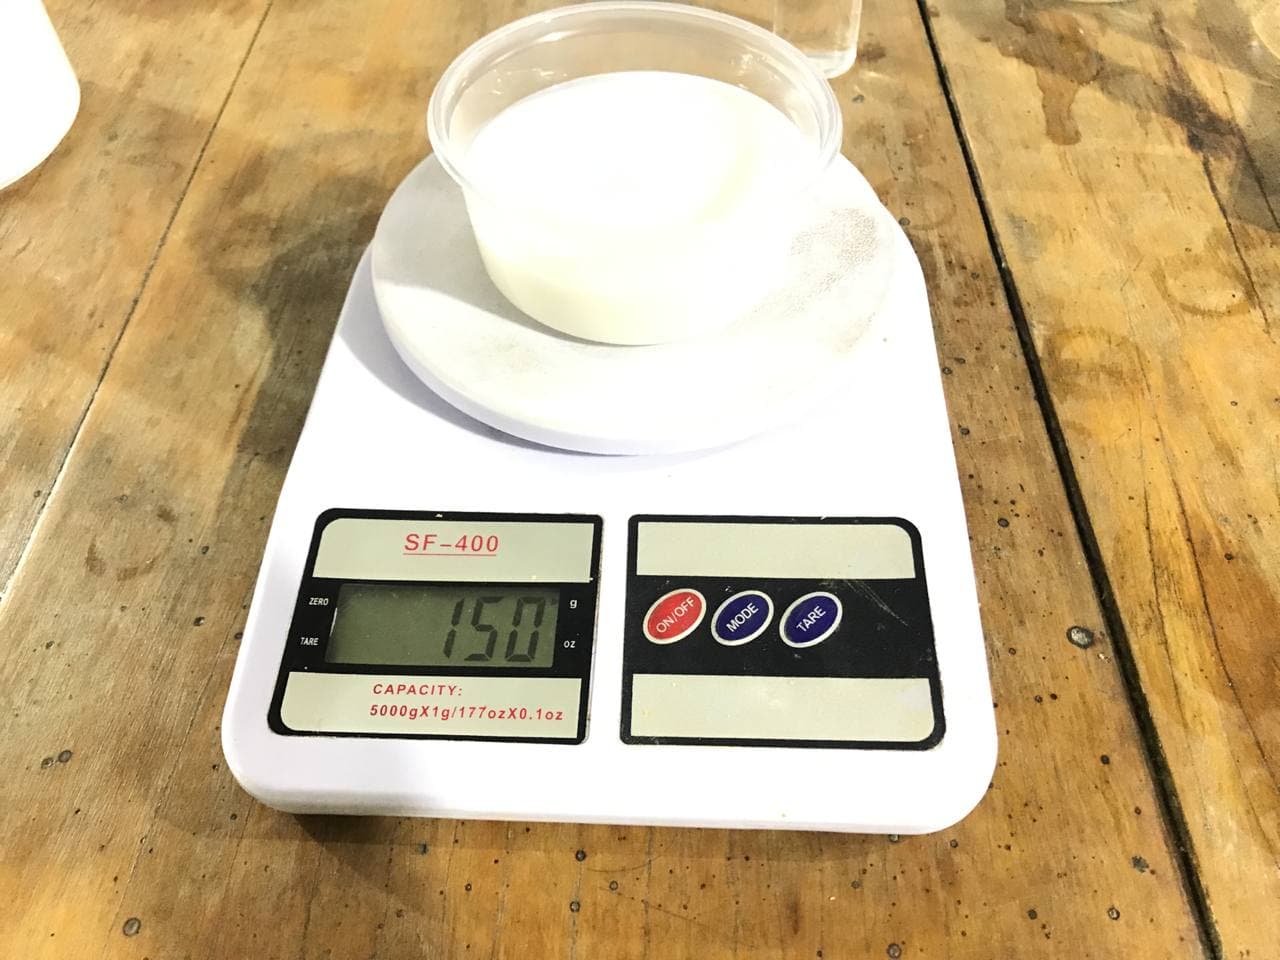
About the tools
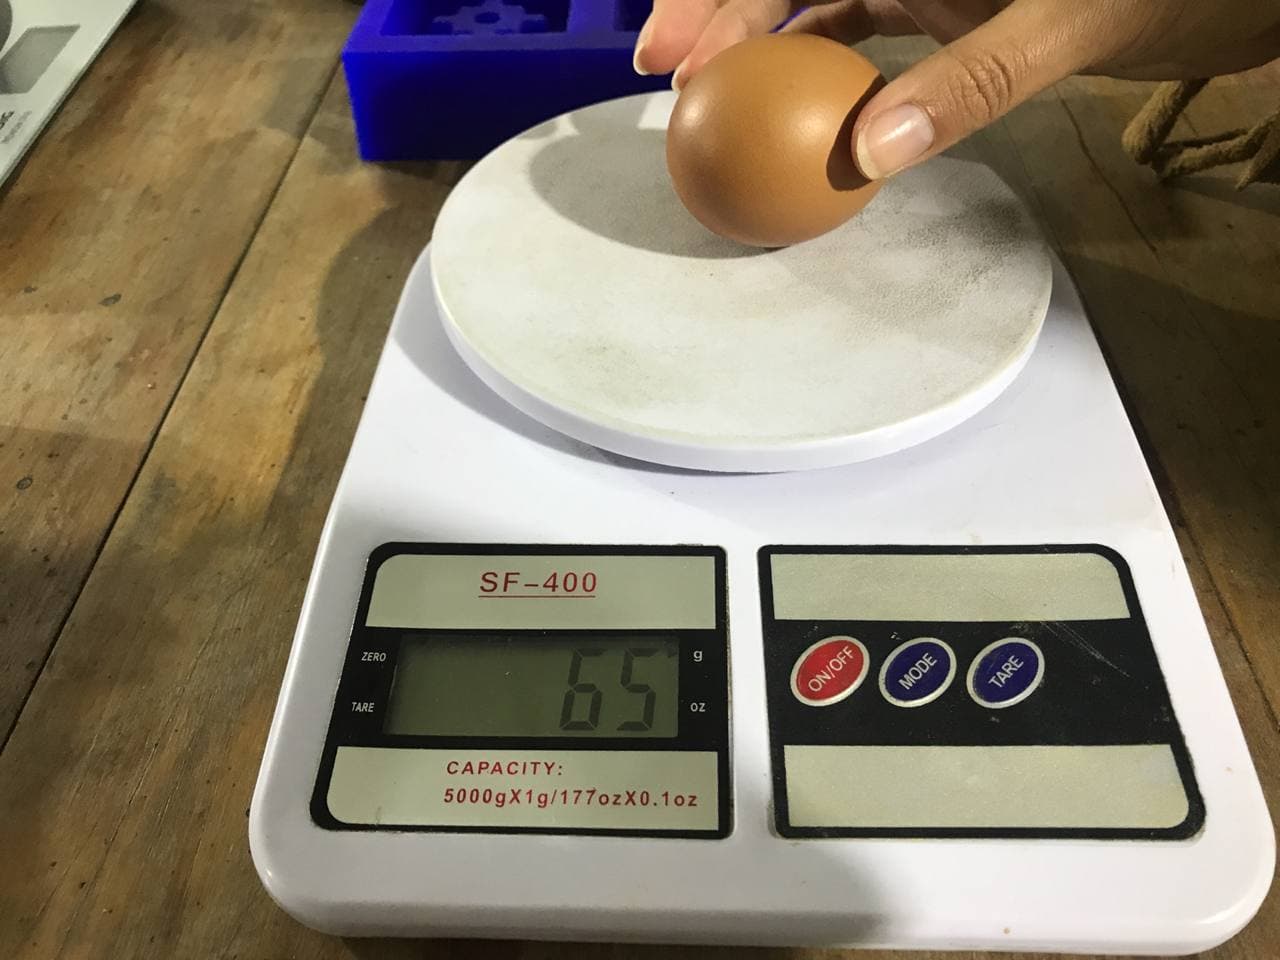
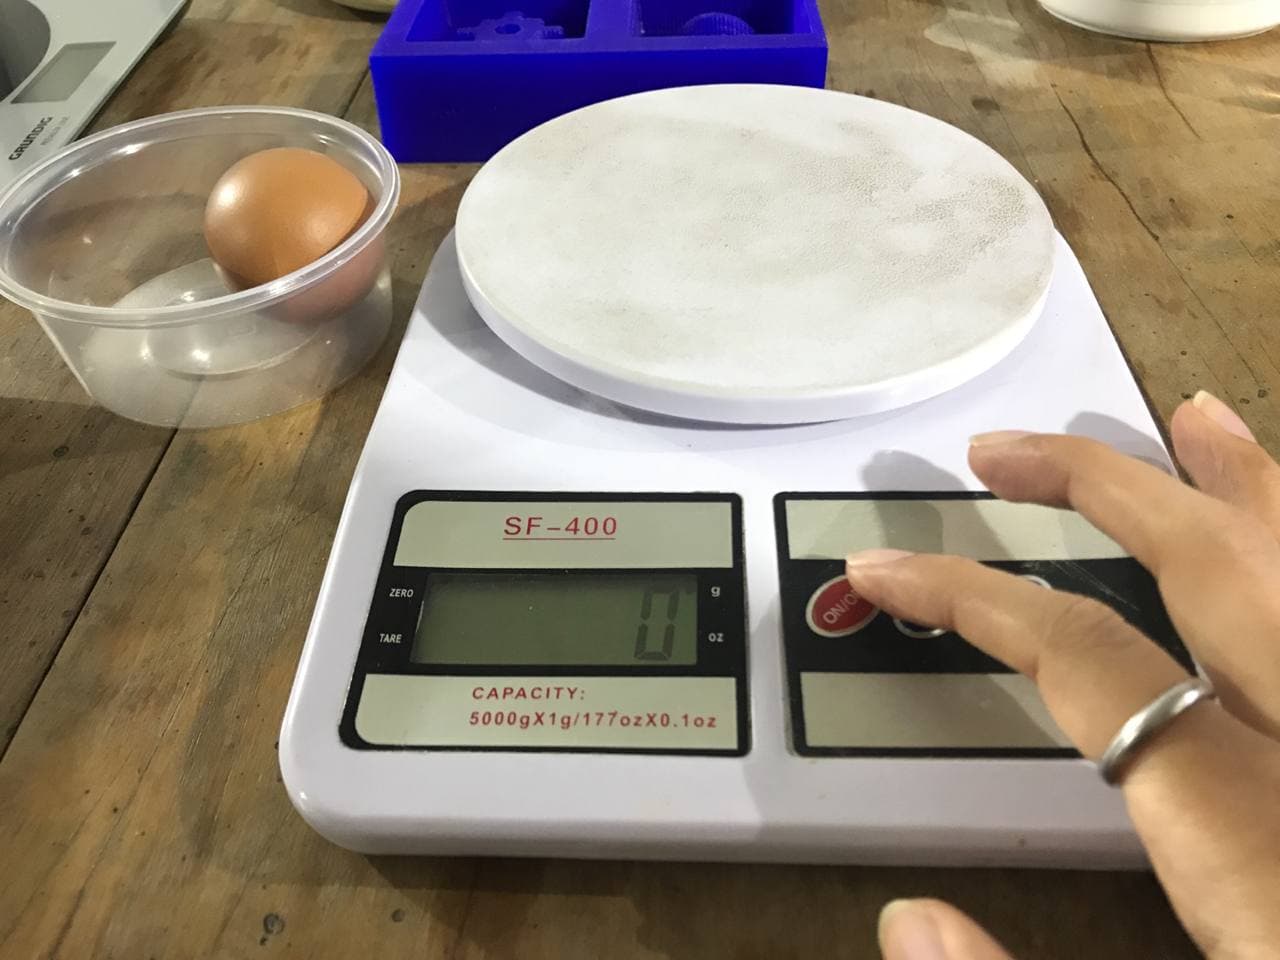
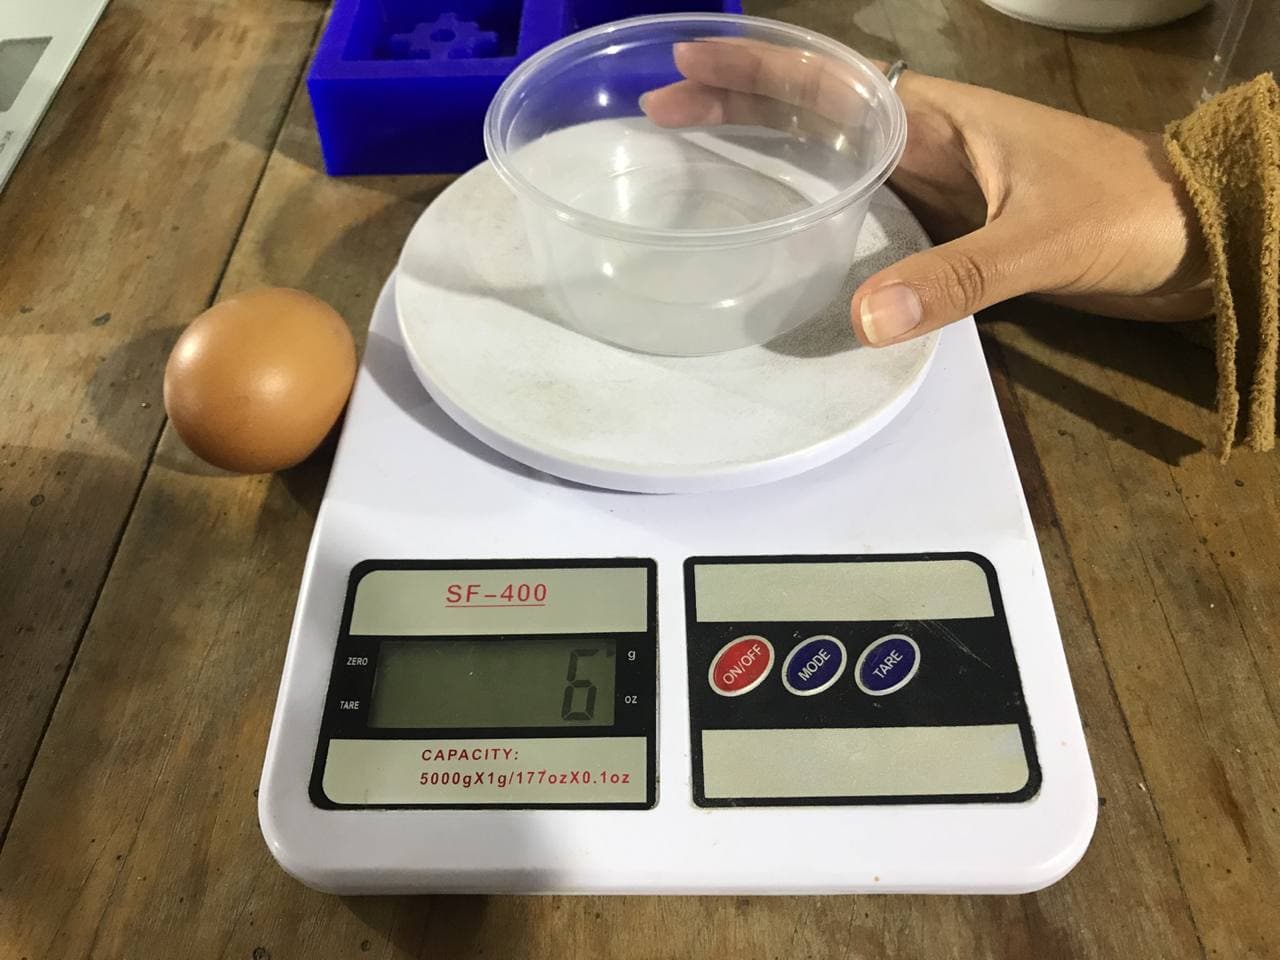
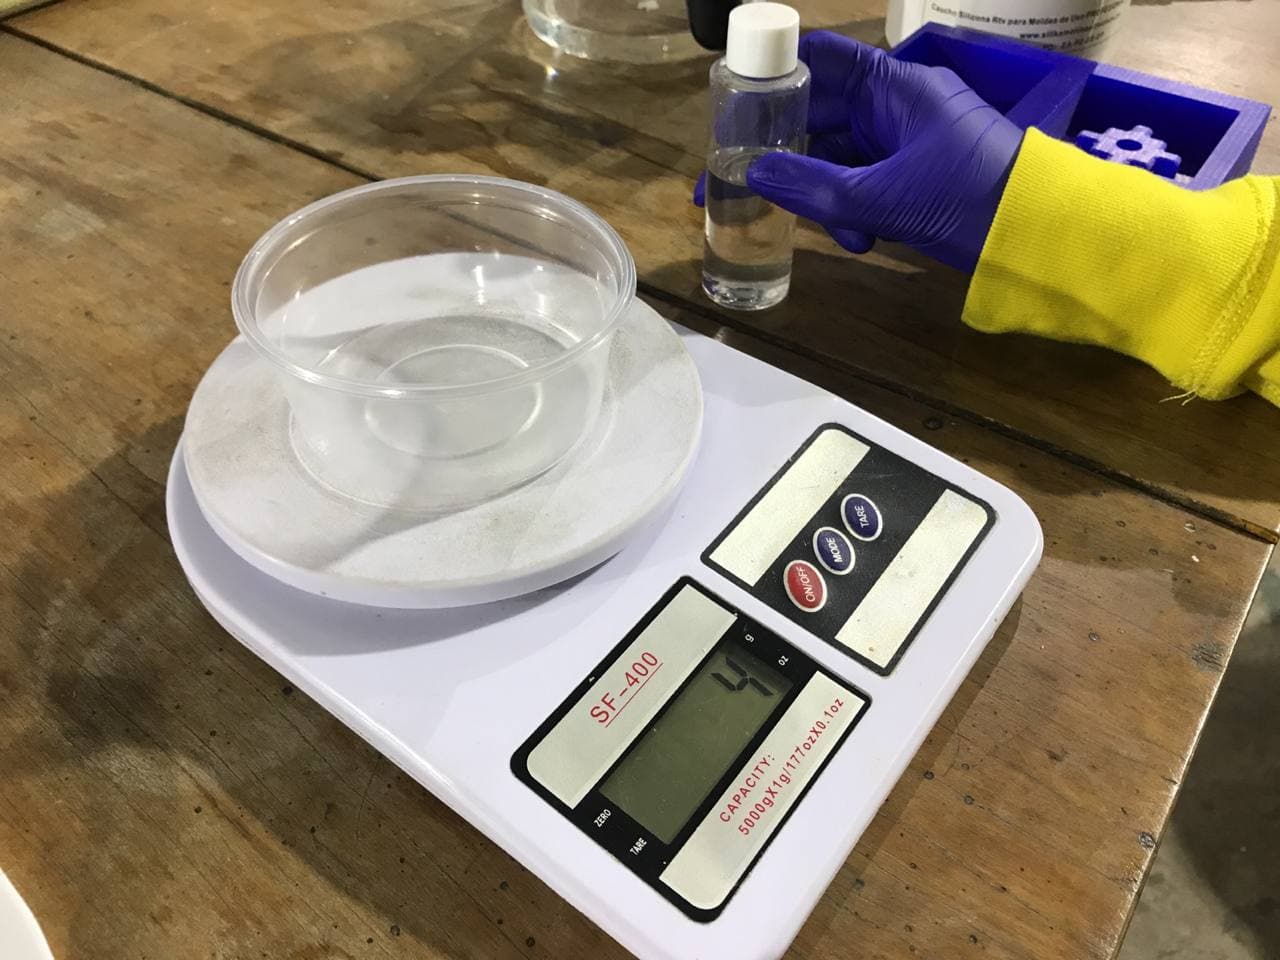
After getting support from other labs
(which I will explain in this week's individual section), we were able to test our foundry phase implements. Below I show the tests we did with a weighting machine and some items that will help us to work with our silicone.
We carried out this whole process with the support of references from other former
Fab Academy students and the advice of my instructor
Josep Martí , who also gave us a lot of support with the online sessions. 🤩
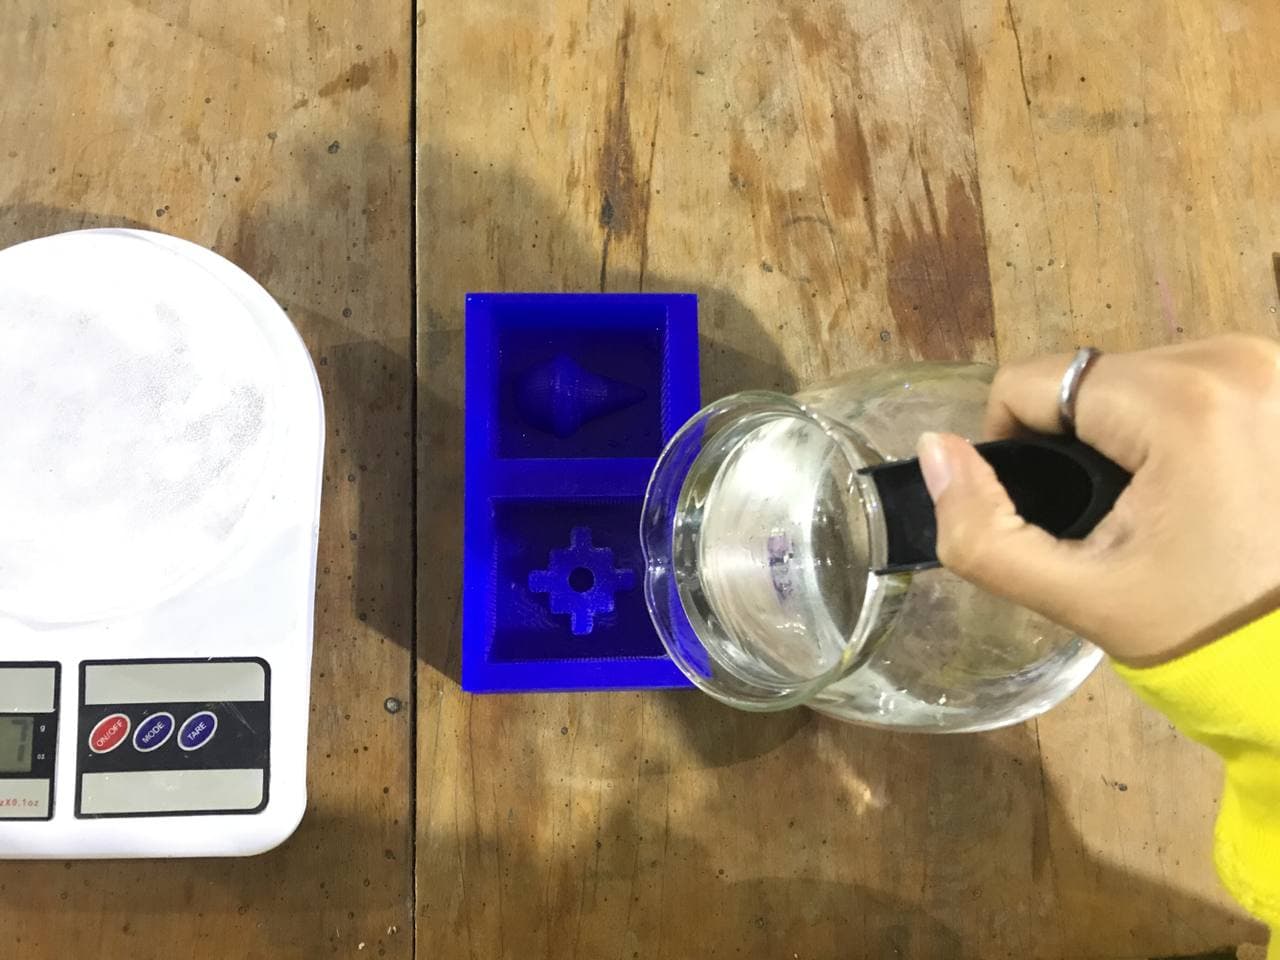
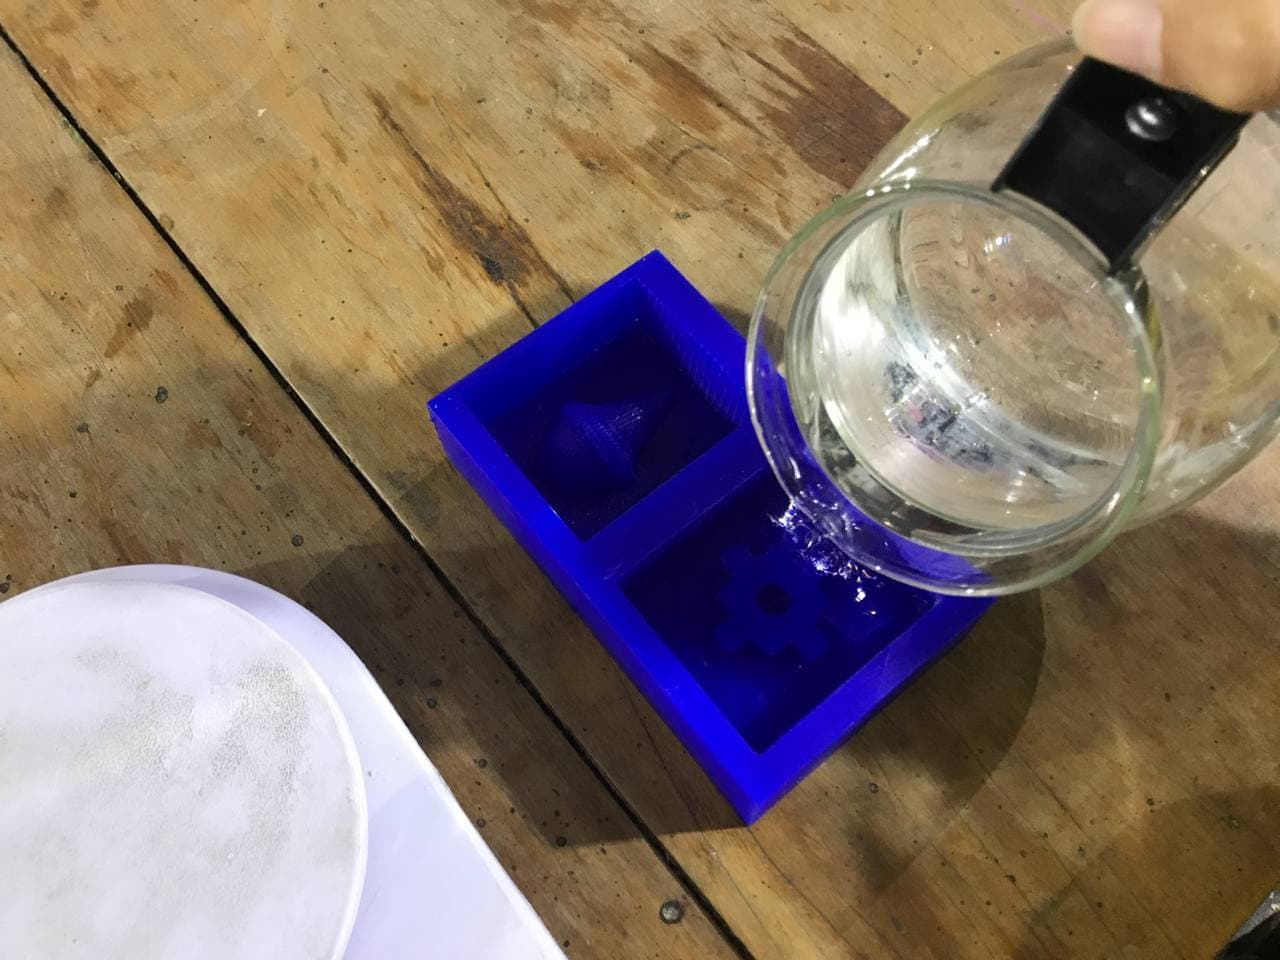
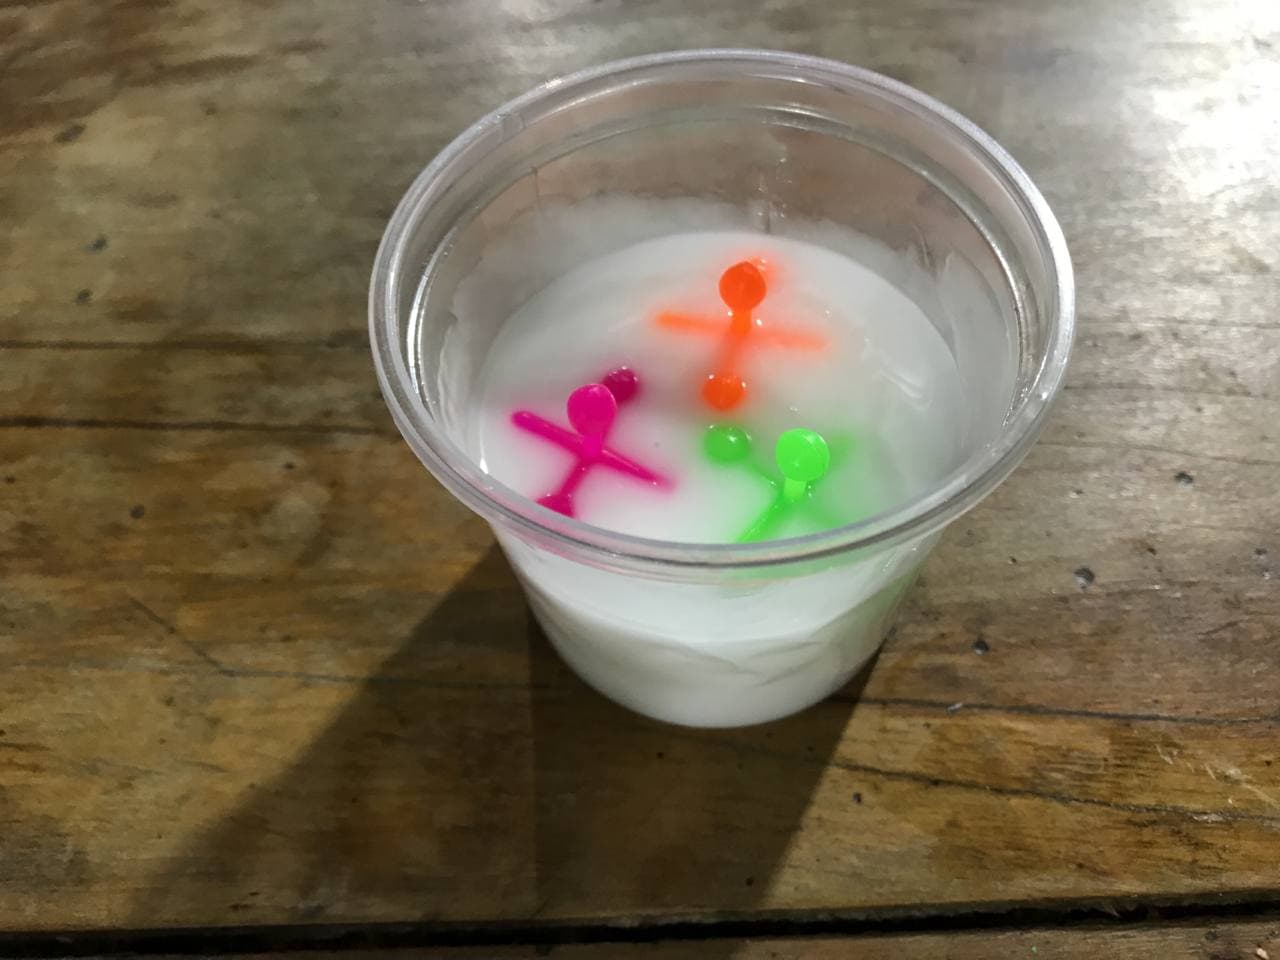
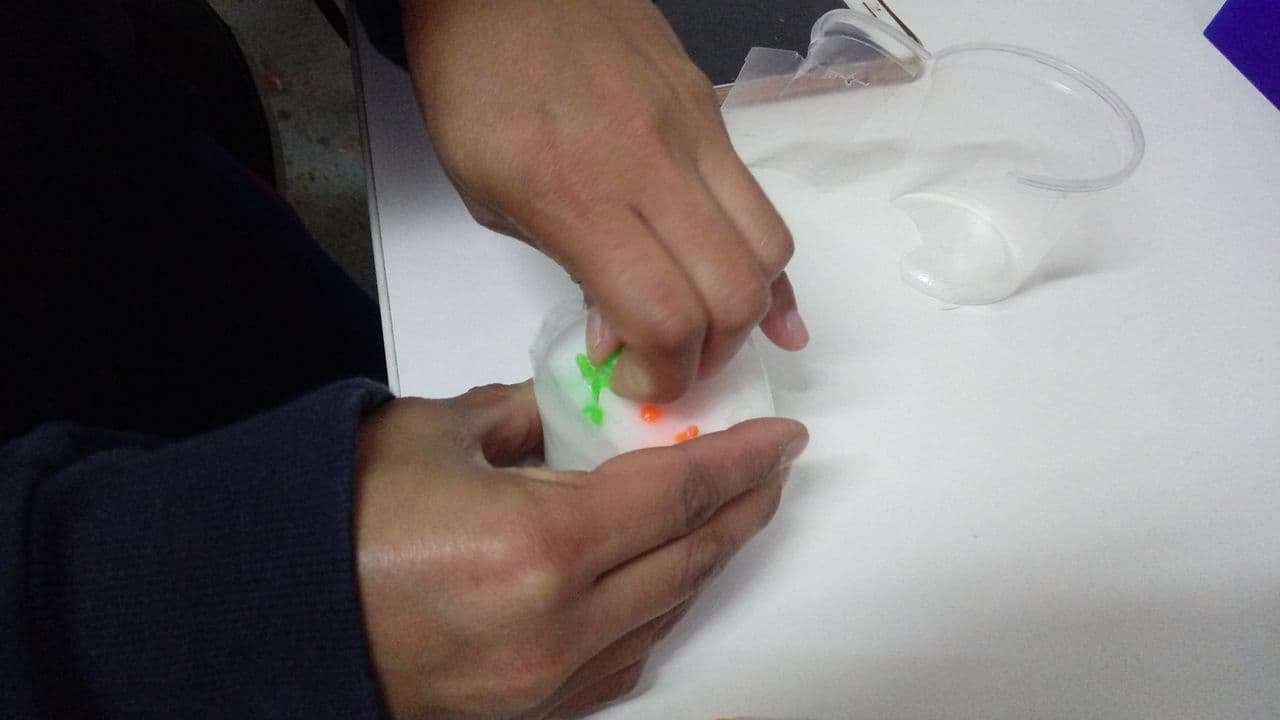
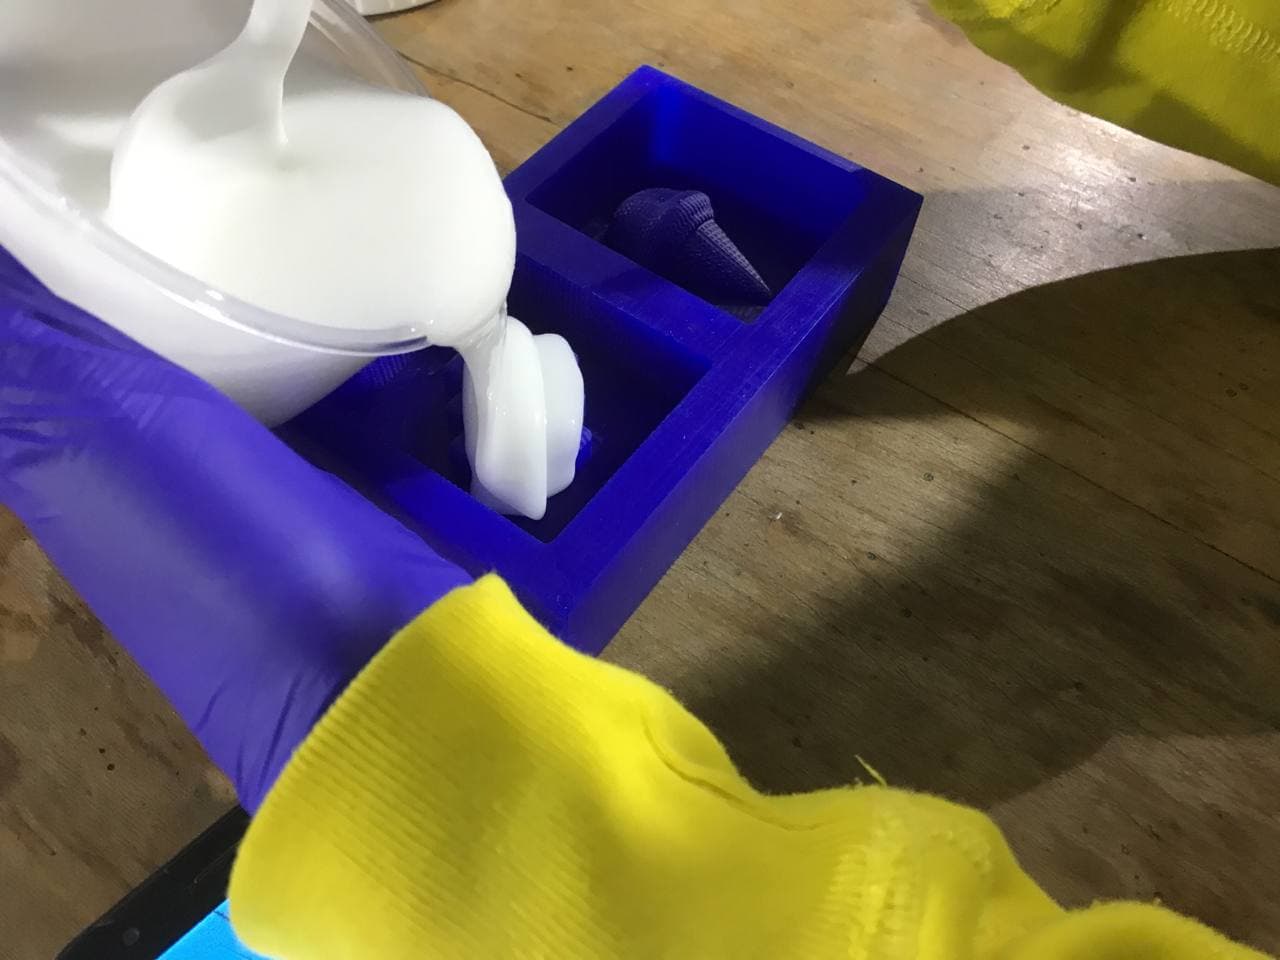
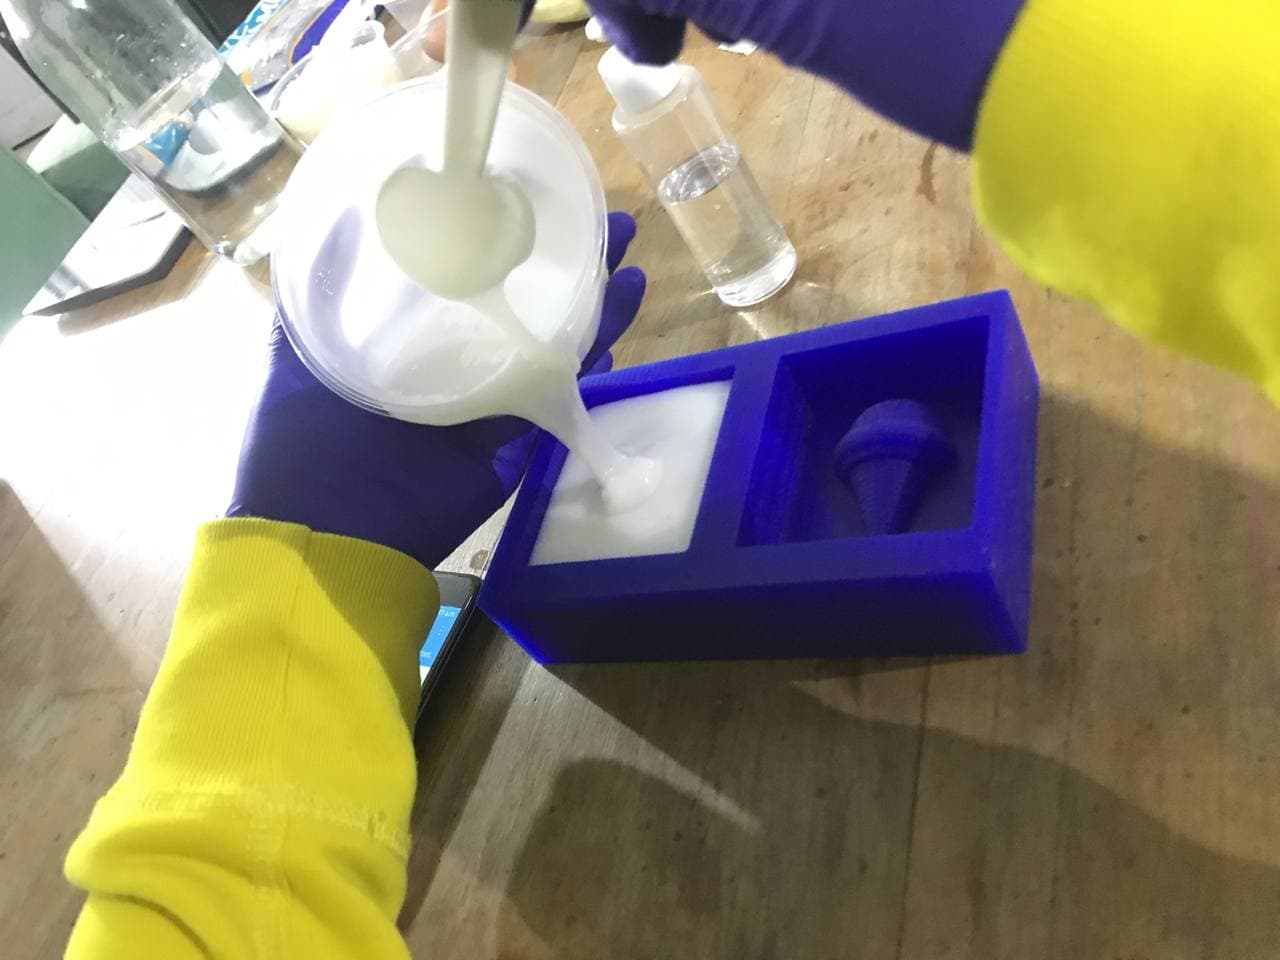
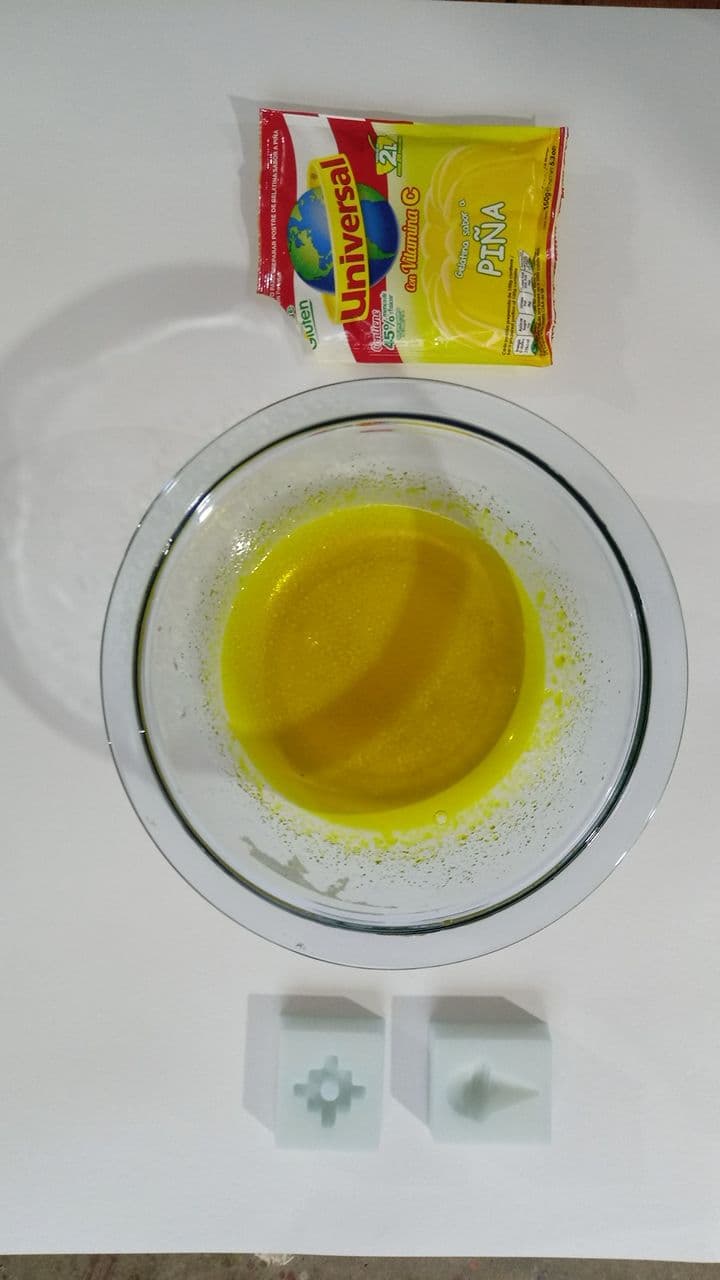
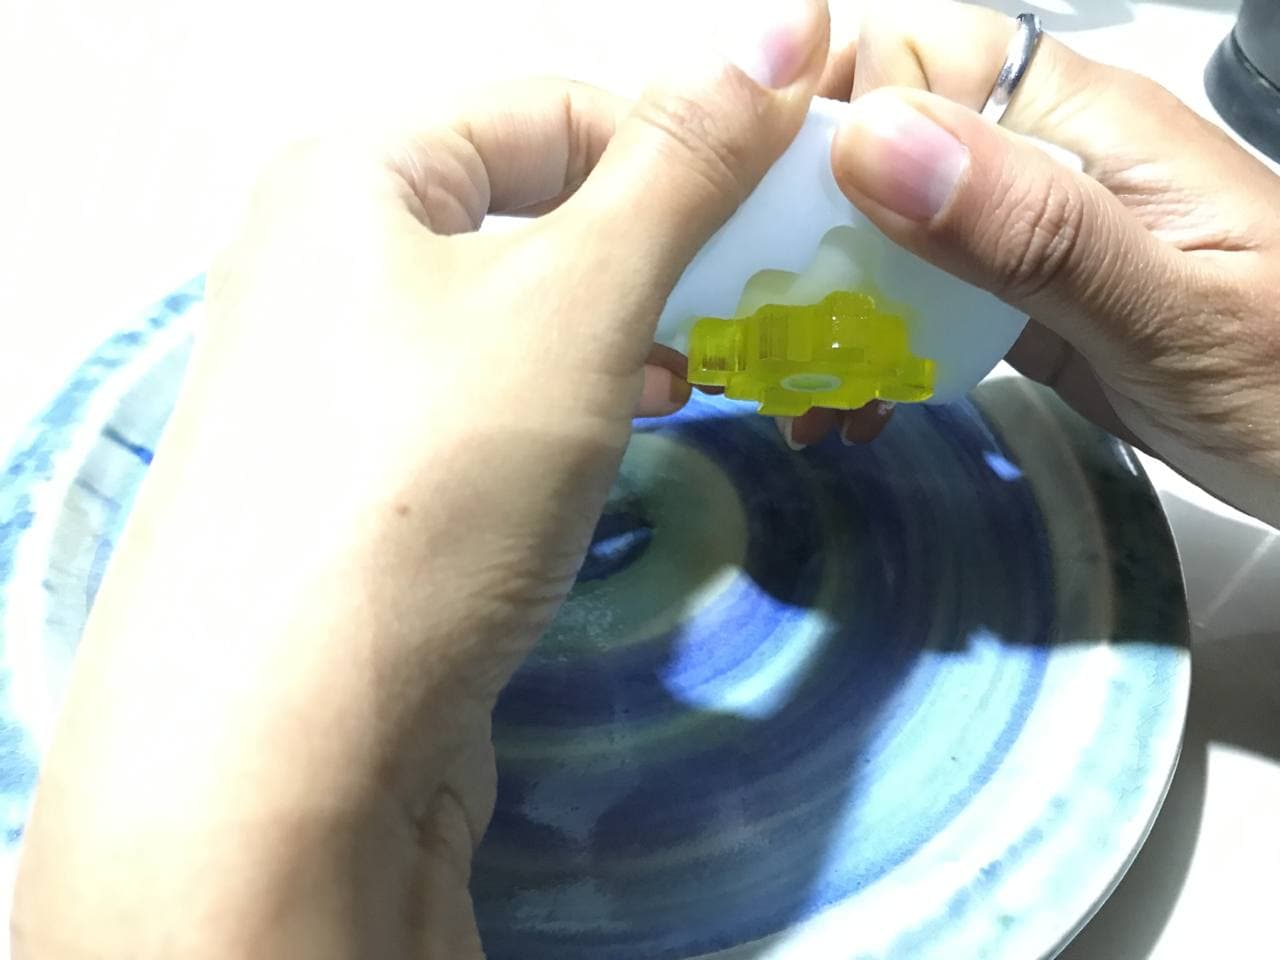
First Test
As a group test we made a little mixture of
the silicone with the catalyst in a small container, the idea was to dip some
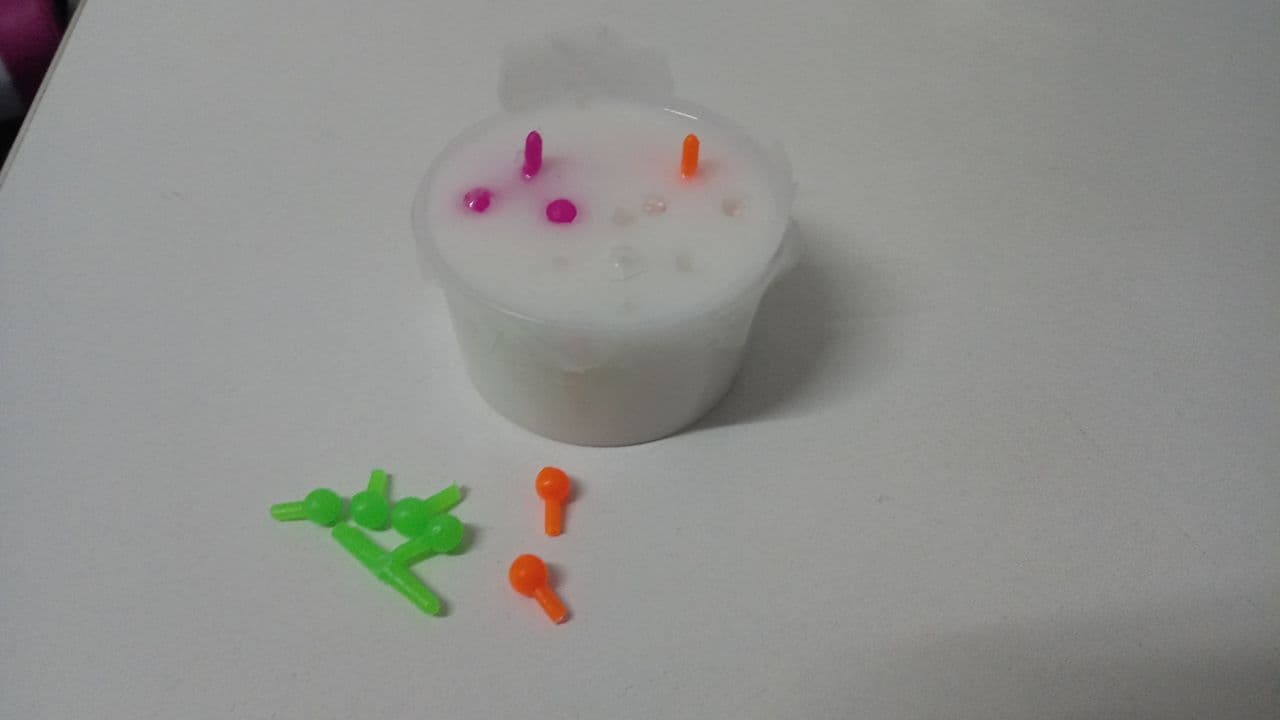
yases in the mass and then take them out to have the mold. I think that the test did not go so well, it was
complicated to take them out and even the yases broke. Regarding the measurements, we used
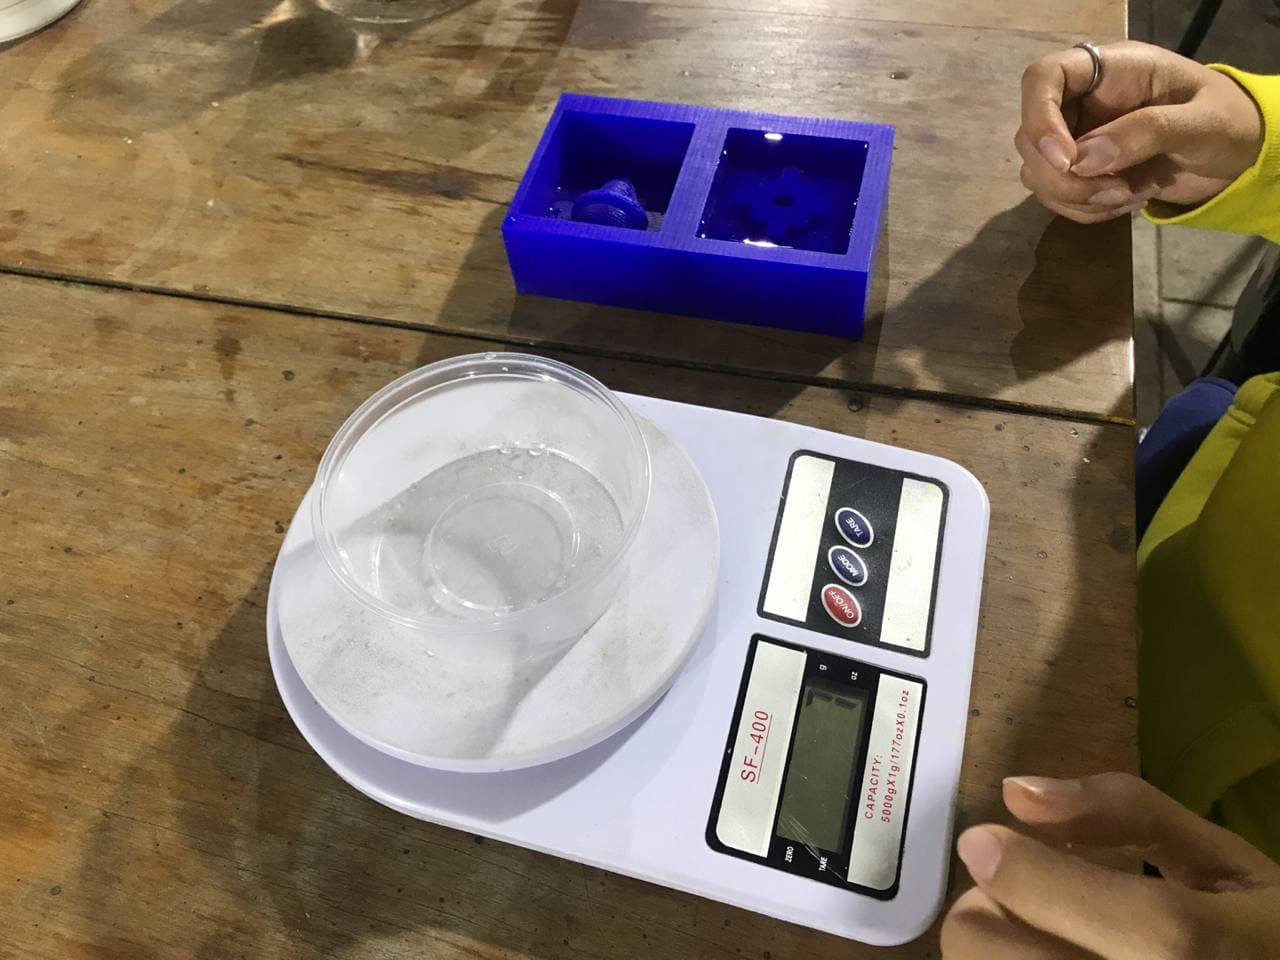
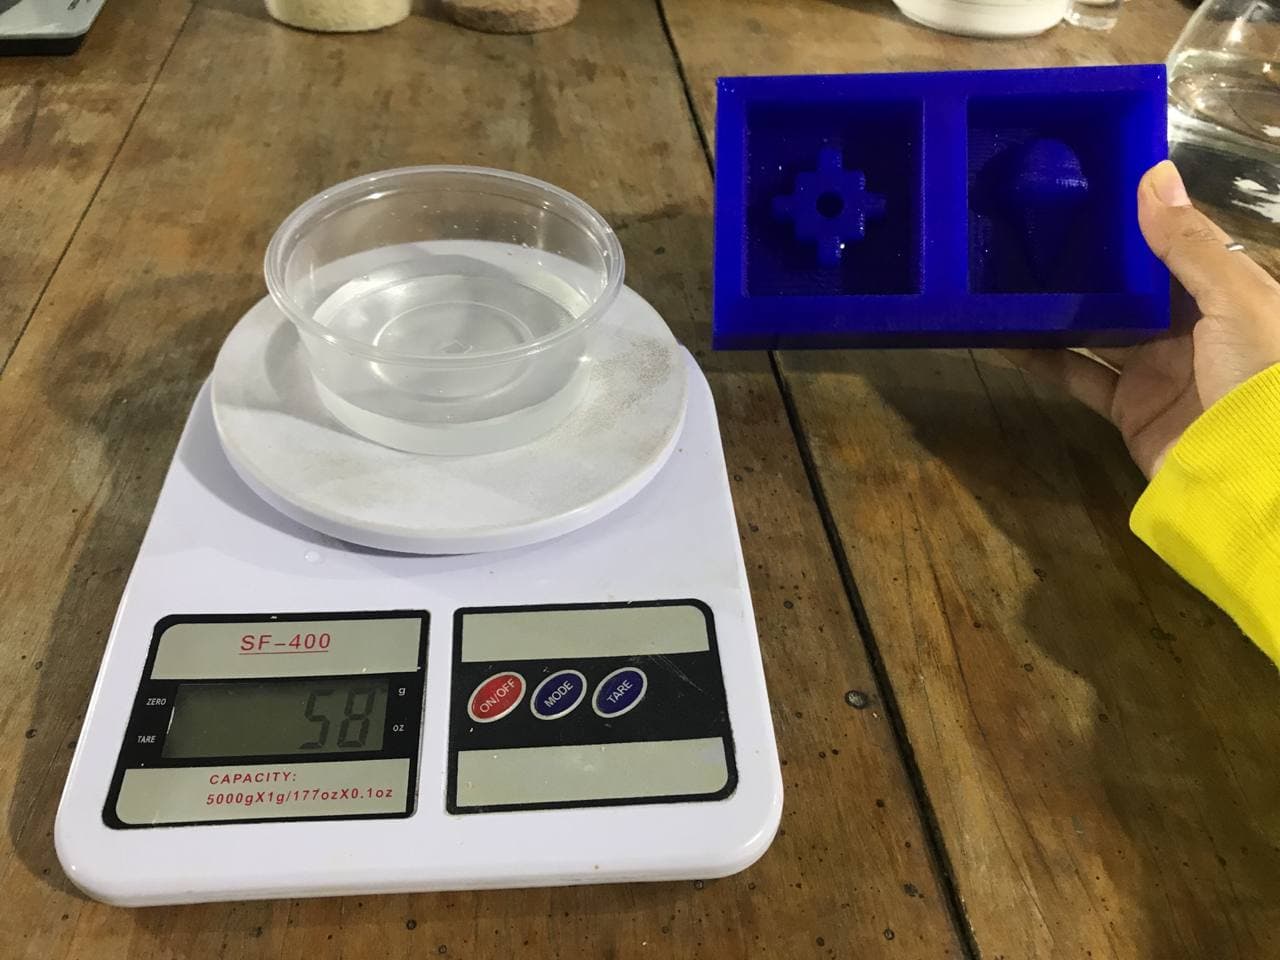
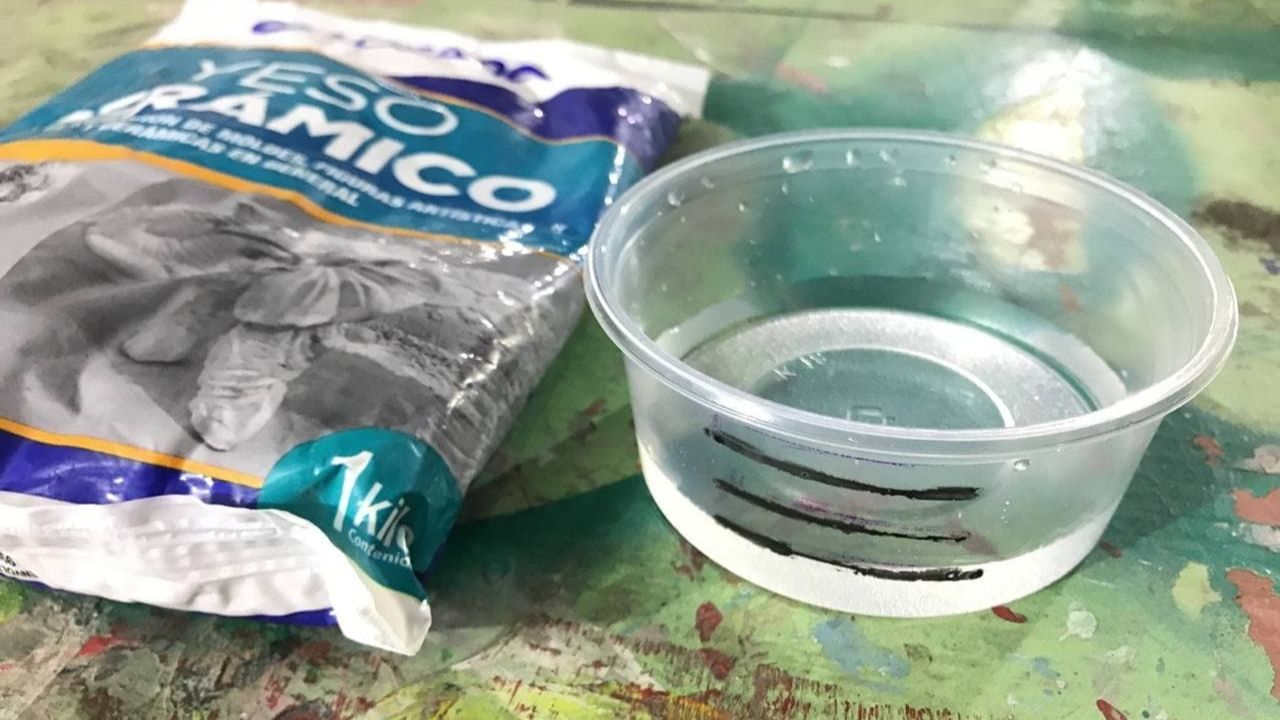
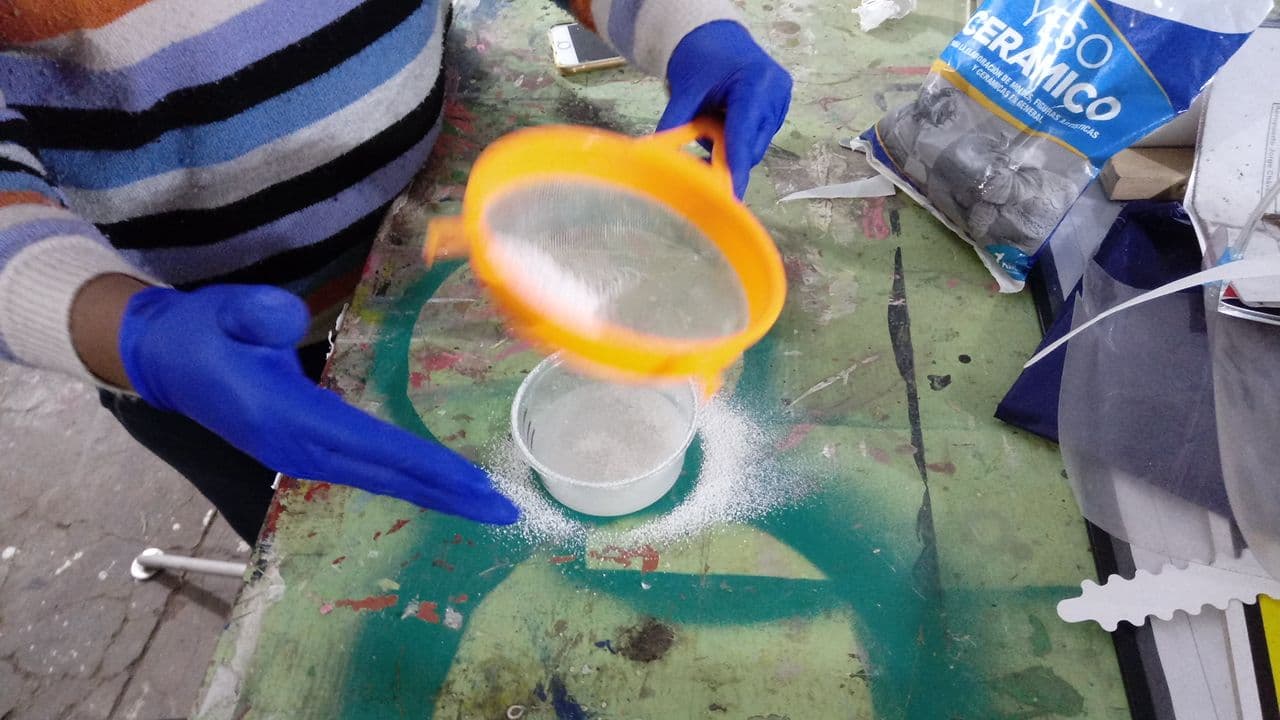
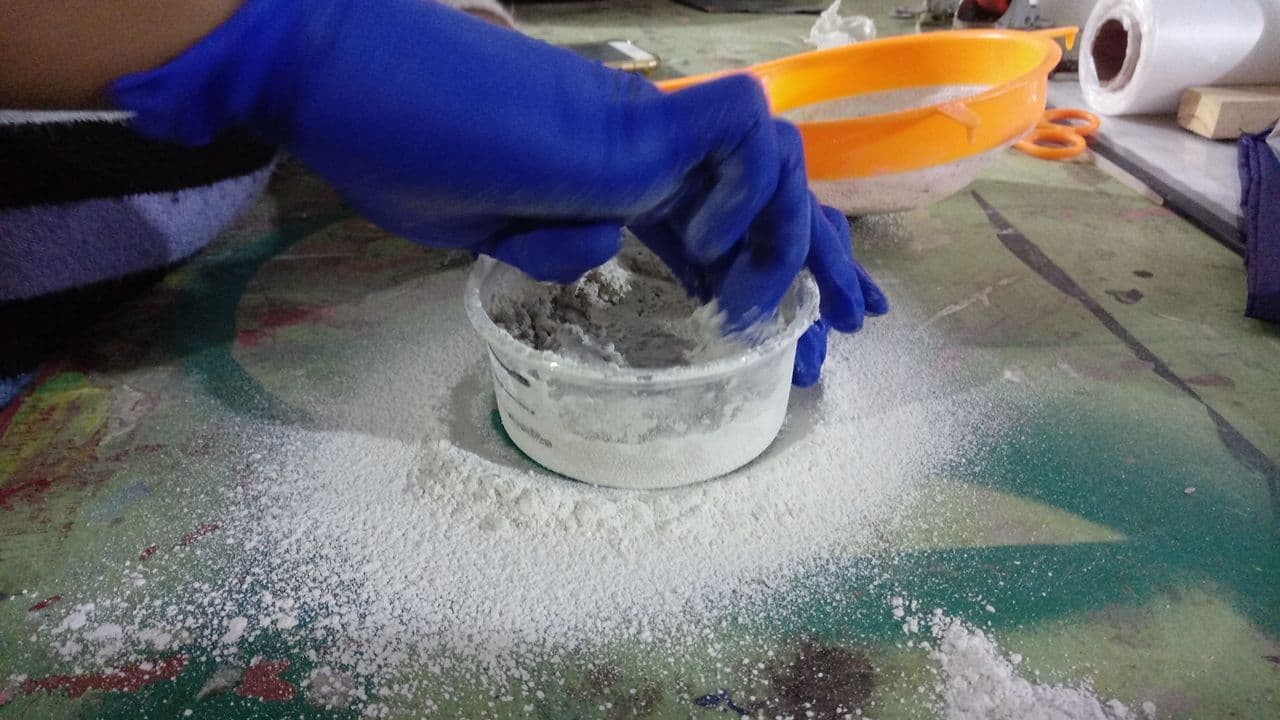
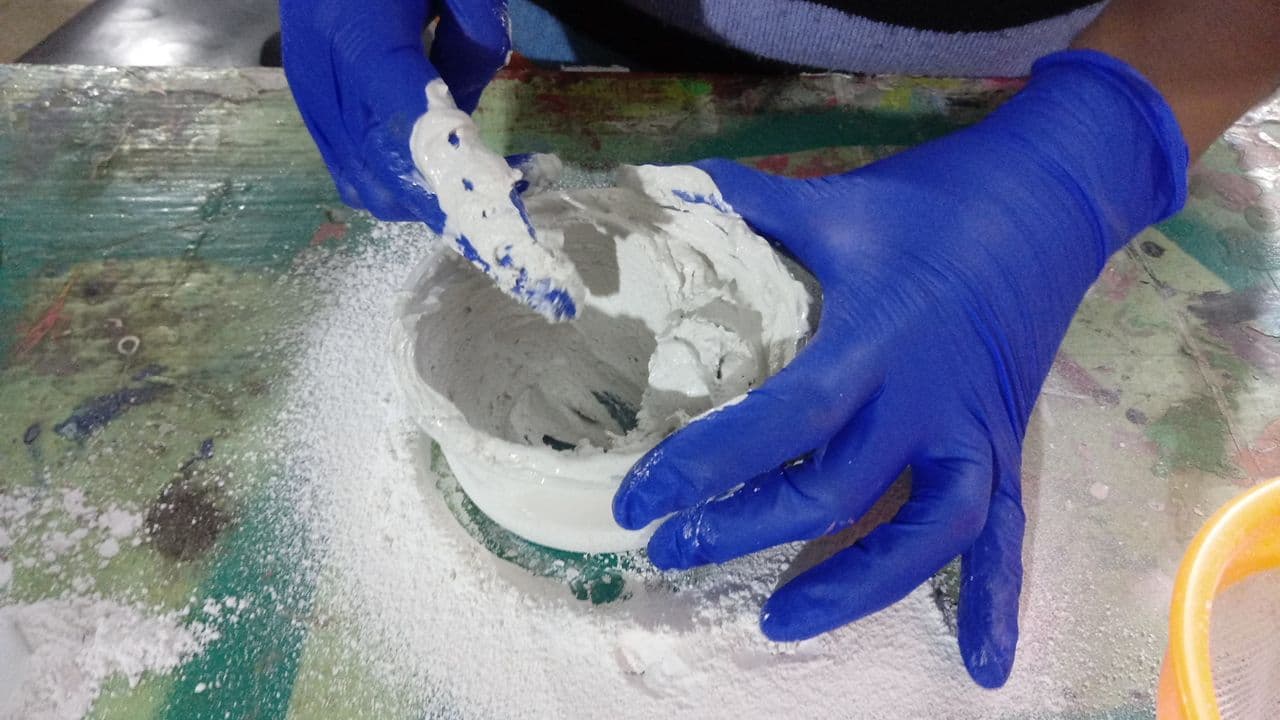
2% of catalyst with respect to the amount of silicone. We also tried to make a test of gypsum with water but together with
"Kelly" we realized that the mixture we tried to make did not work, we show the images here.
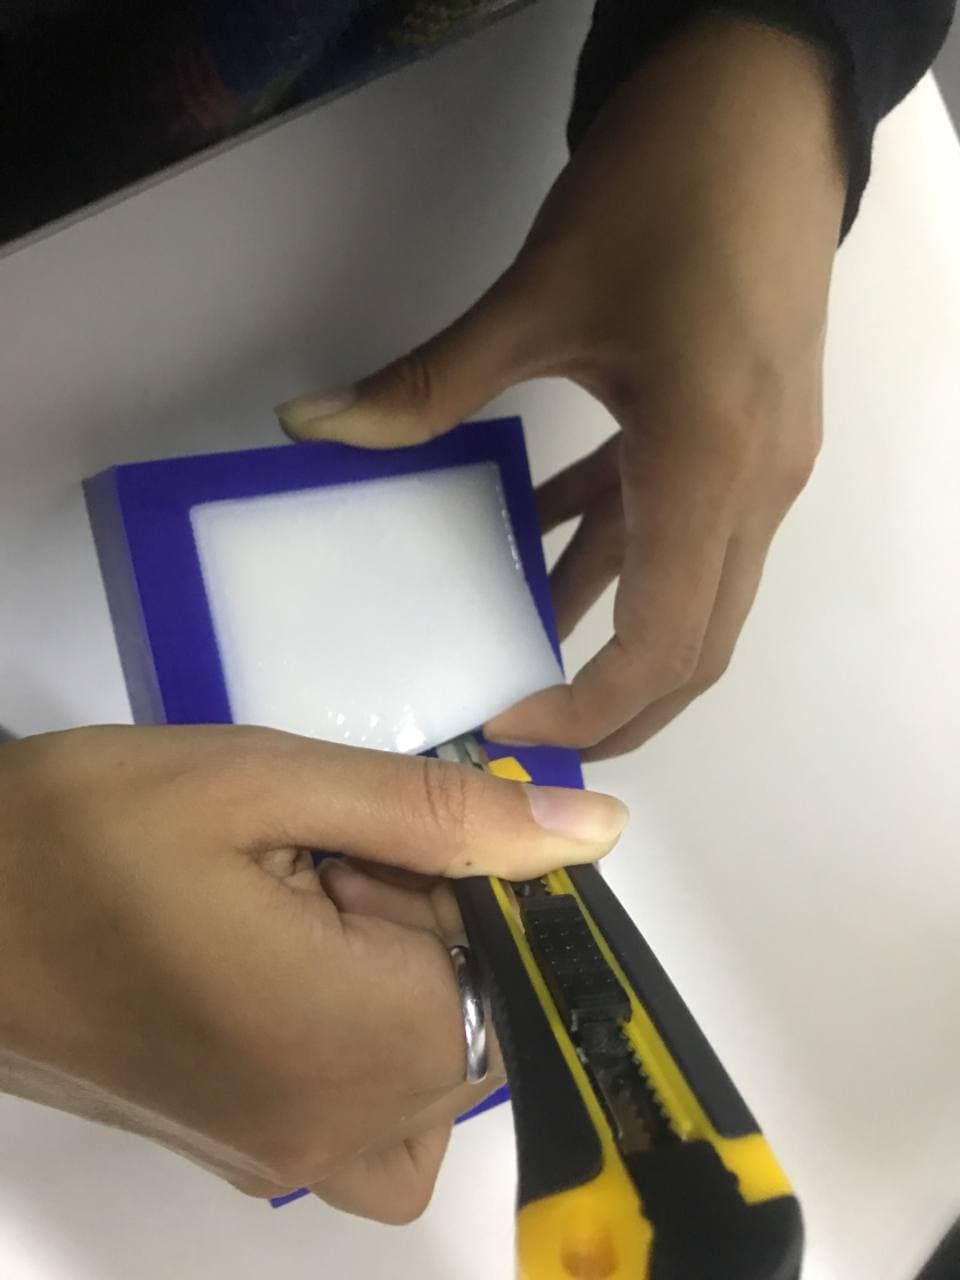
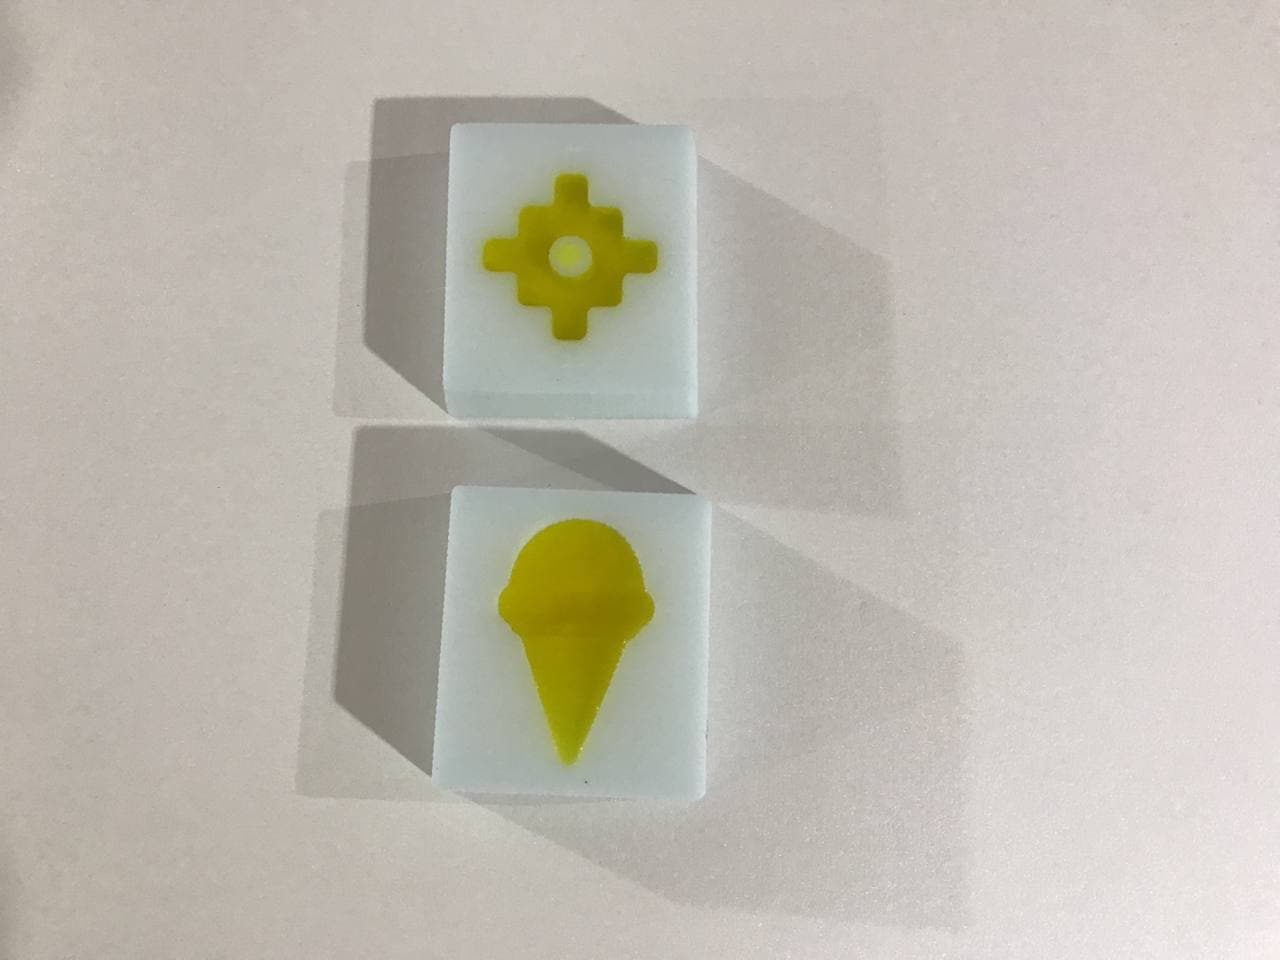
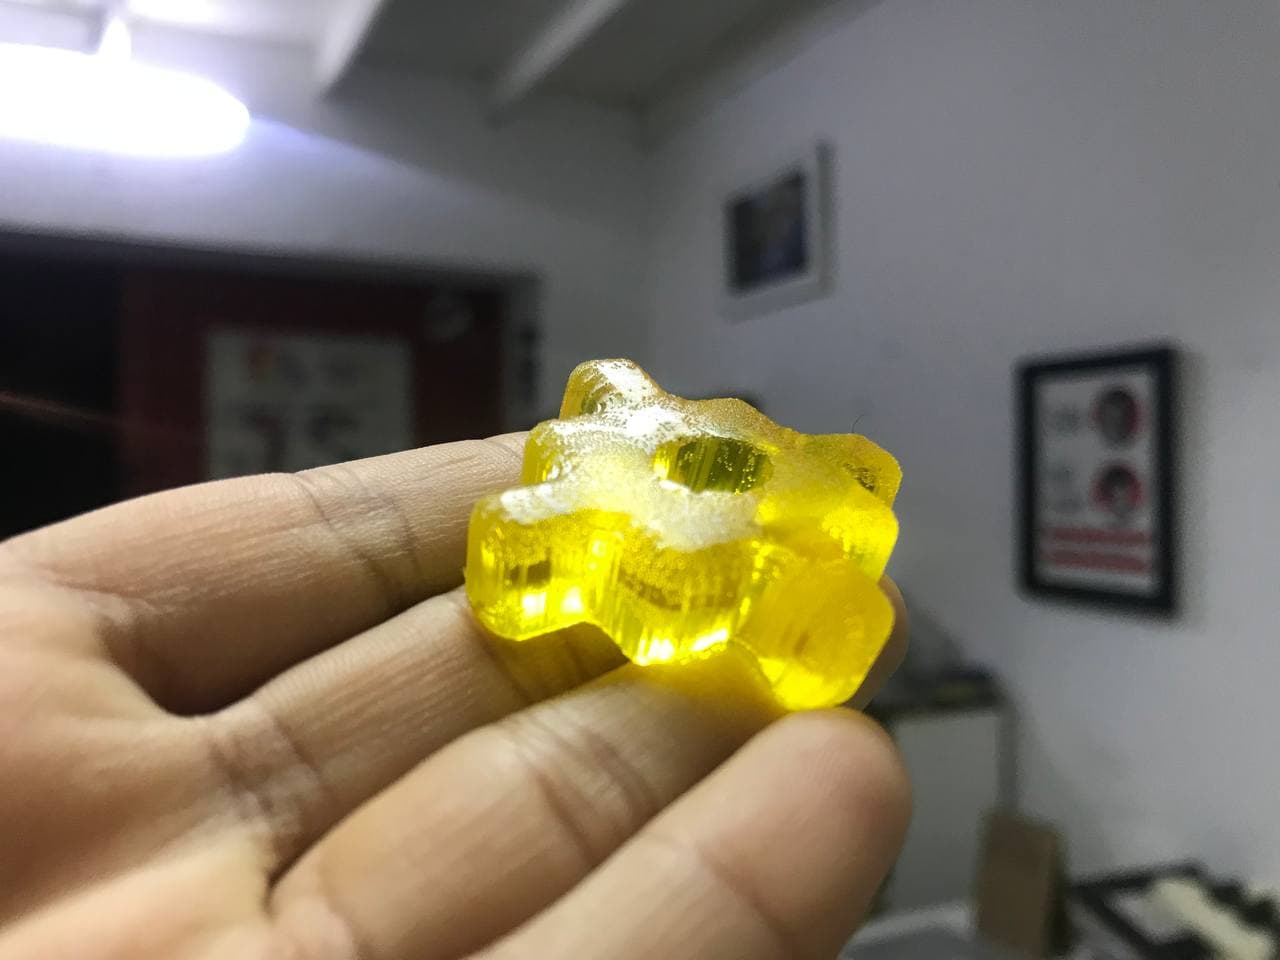
Second Conclusion
Thanks to the tests we were able to realize how important it is to have
established measurements, both with the silicone and with the plaster we did repeated tests to test and get to know the material.
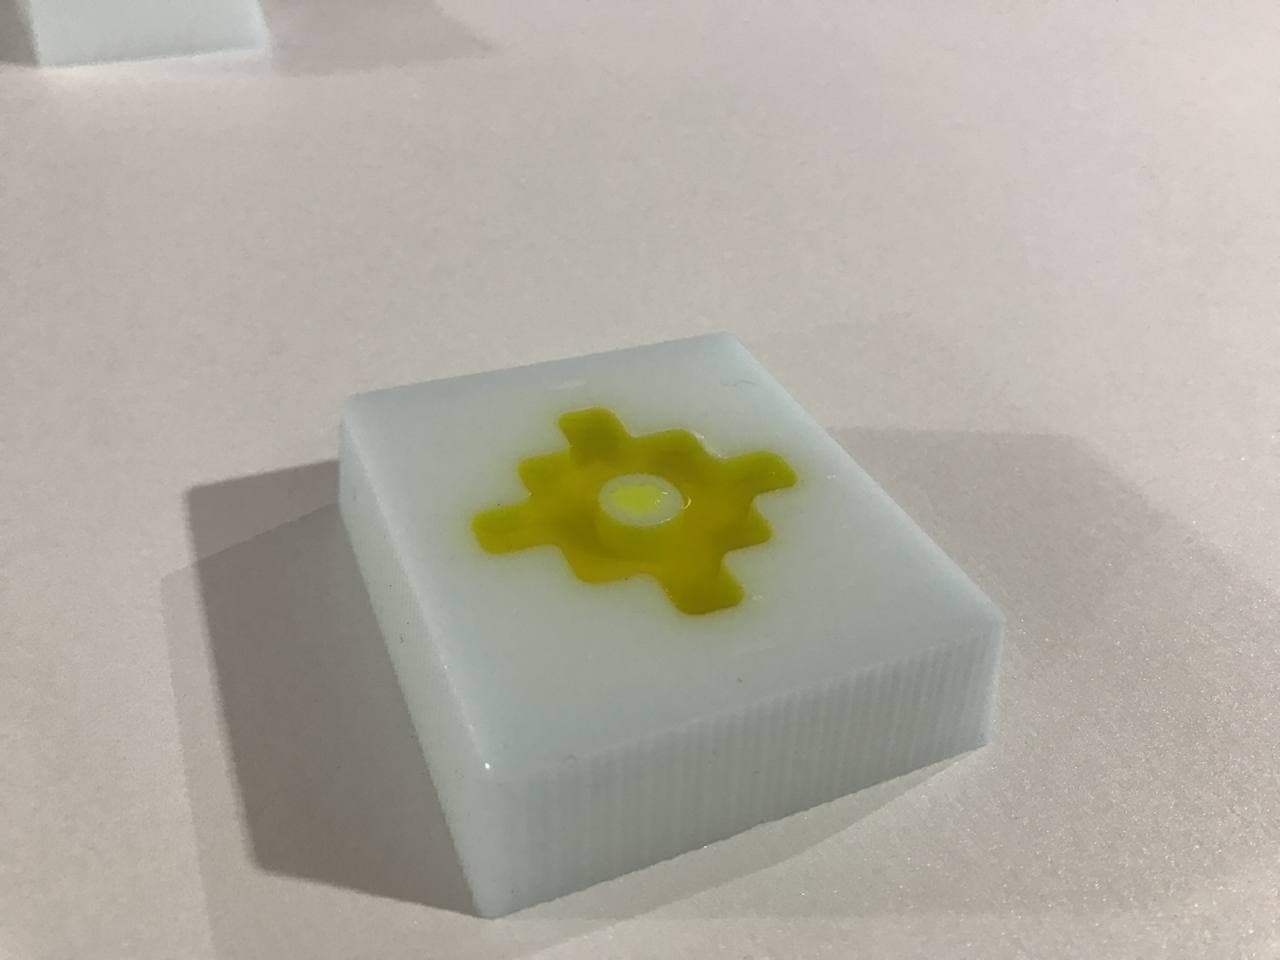
My recommendation is to always look at the
datasheet of any material you are using, for us it was important not to spoil the tests as we did not have much material but we still got great results, in the next section you will see everything we did in
more detail.😃