8. Computer controlled machining
Group Assingment
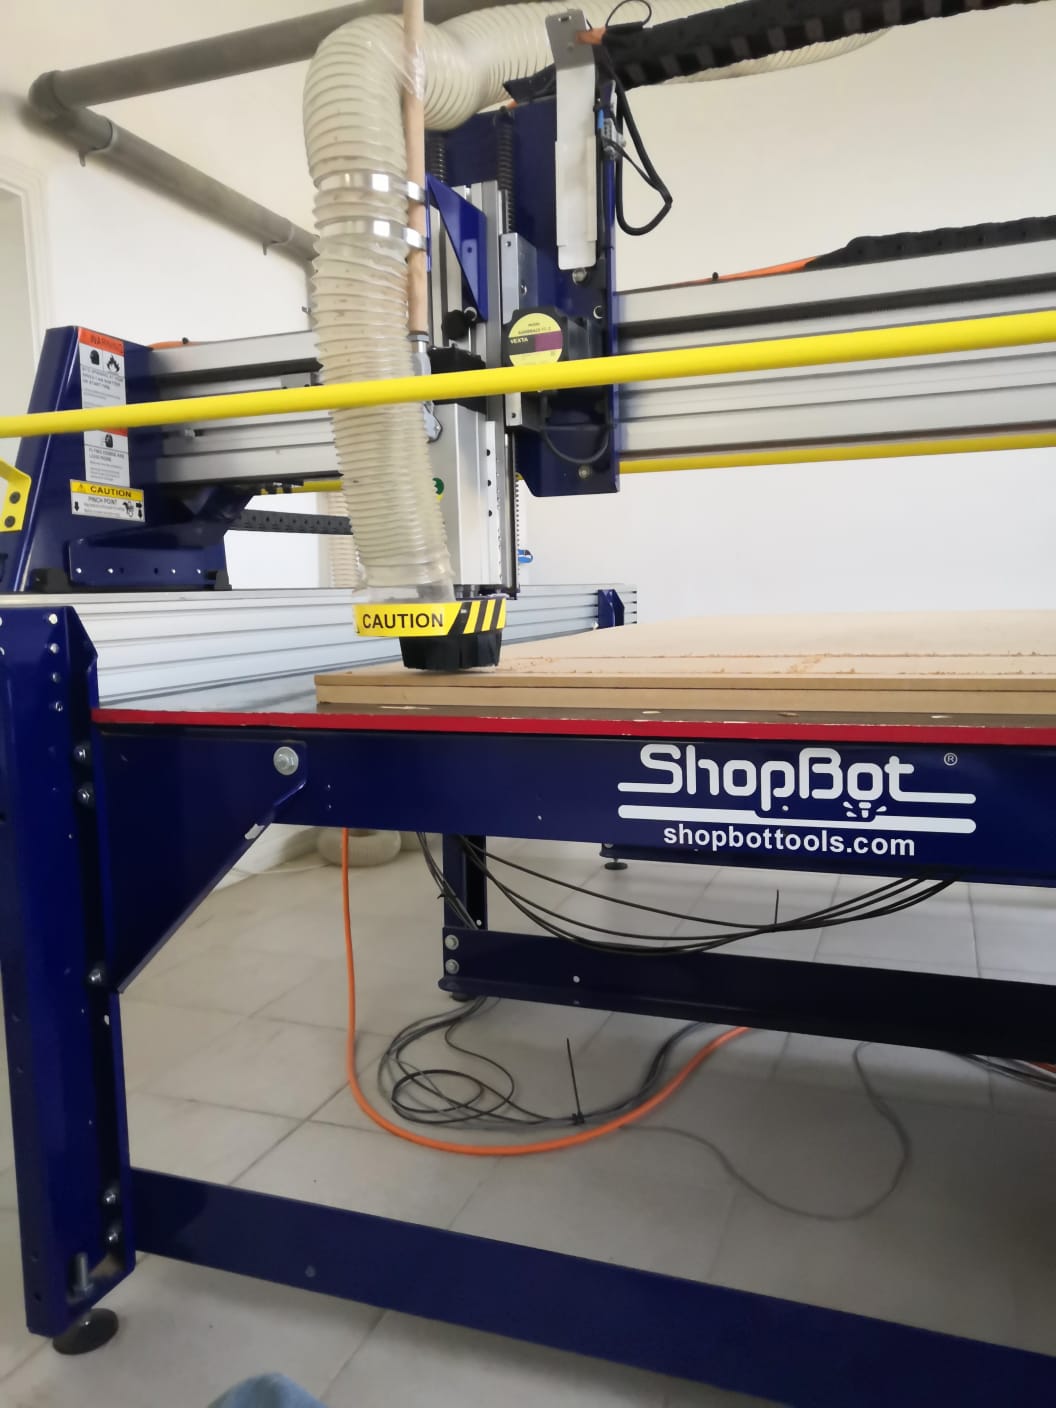
our machine is ShopBot PRSalpha

design
I had a few problems with the design my first design is a calendar that can move bout when I pat the design in the CNC platform some line disperse or not be contacted well.

I try to fix this problem but not all the line go lick the design so I decide to change the design, this problem happen because when I was making the design I put line up to each other .
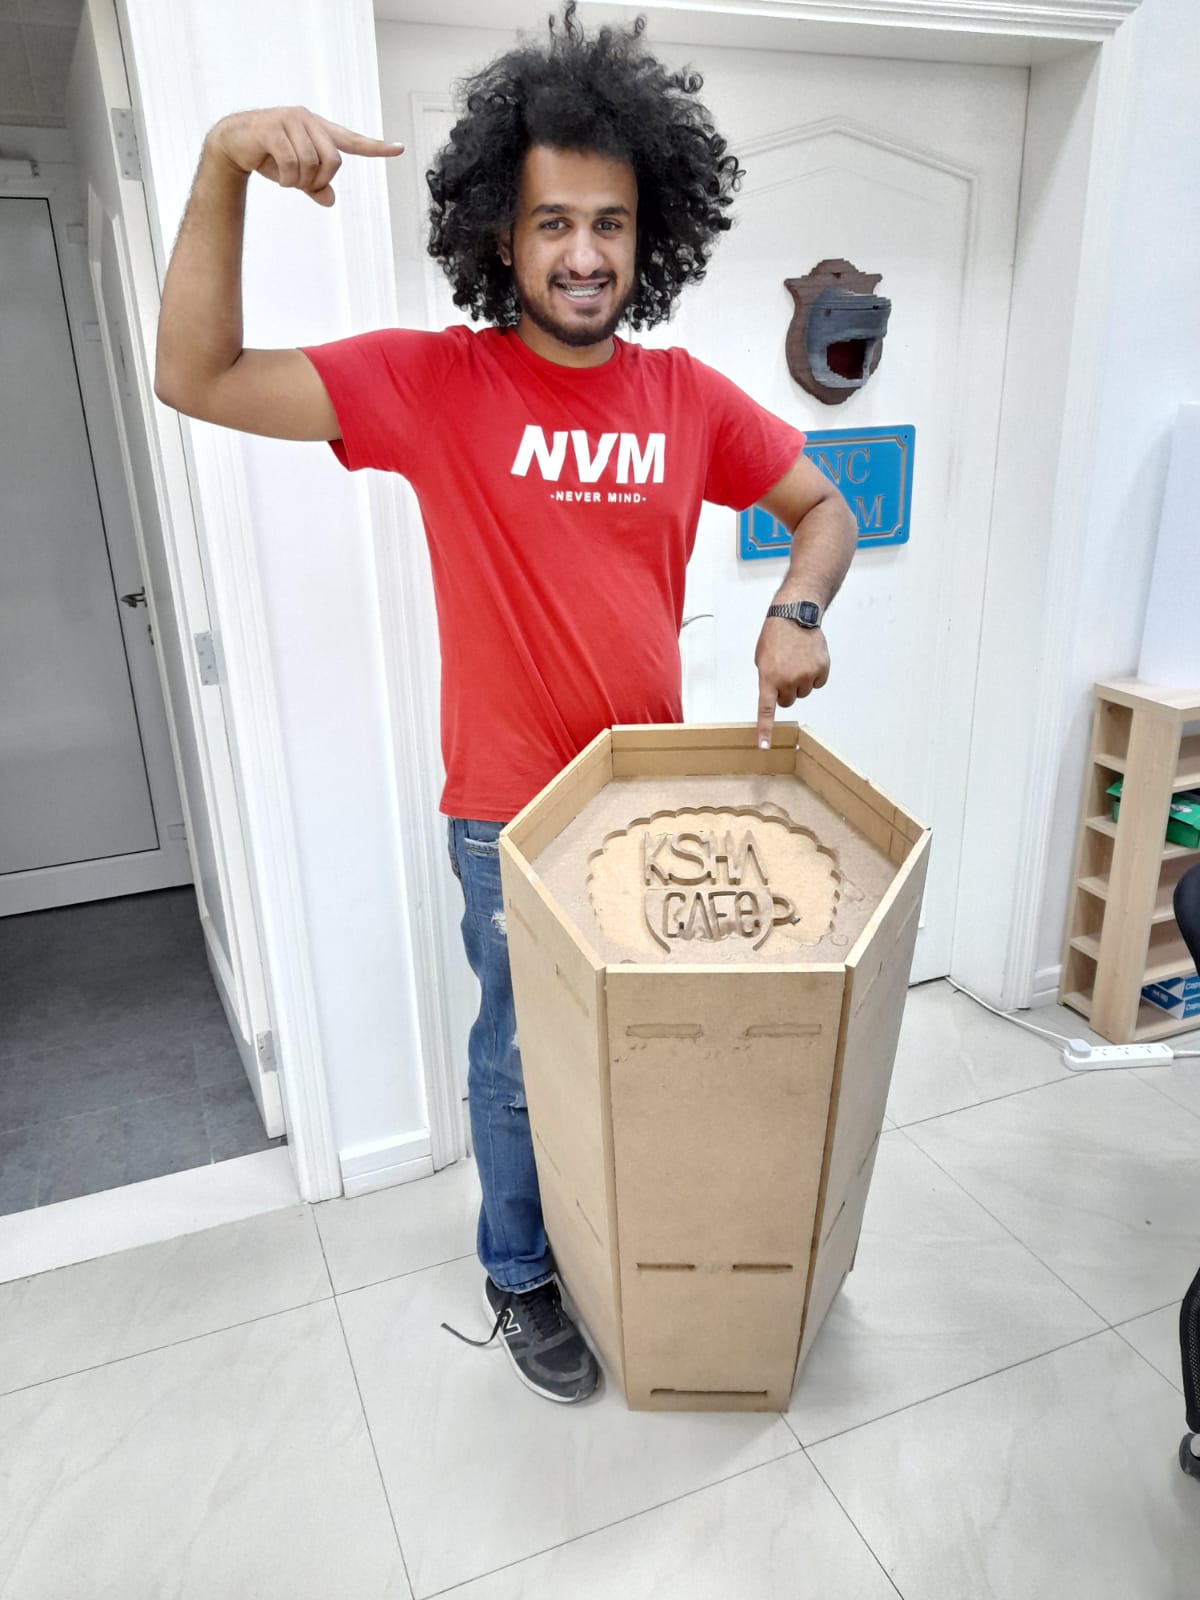
my second design was big coffee table for my café. hexagon tall table that you stand wile dinking the coffee and having take with other table, the goal from this table is to make people get to know others.
make sure that you save is as DXF.
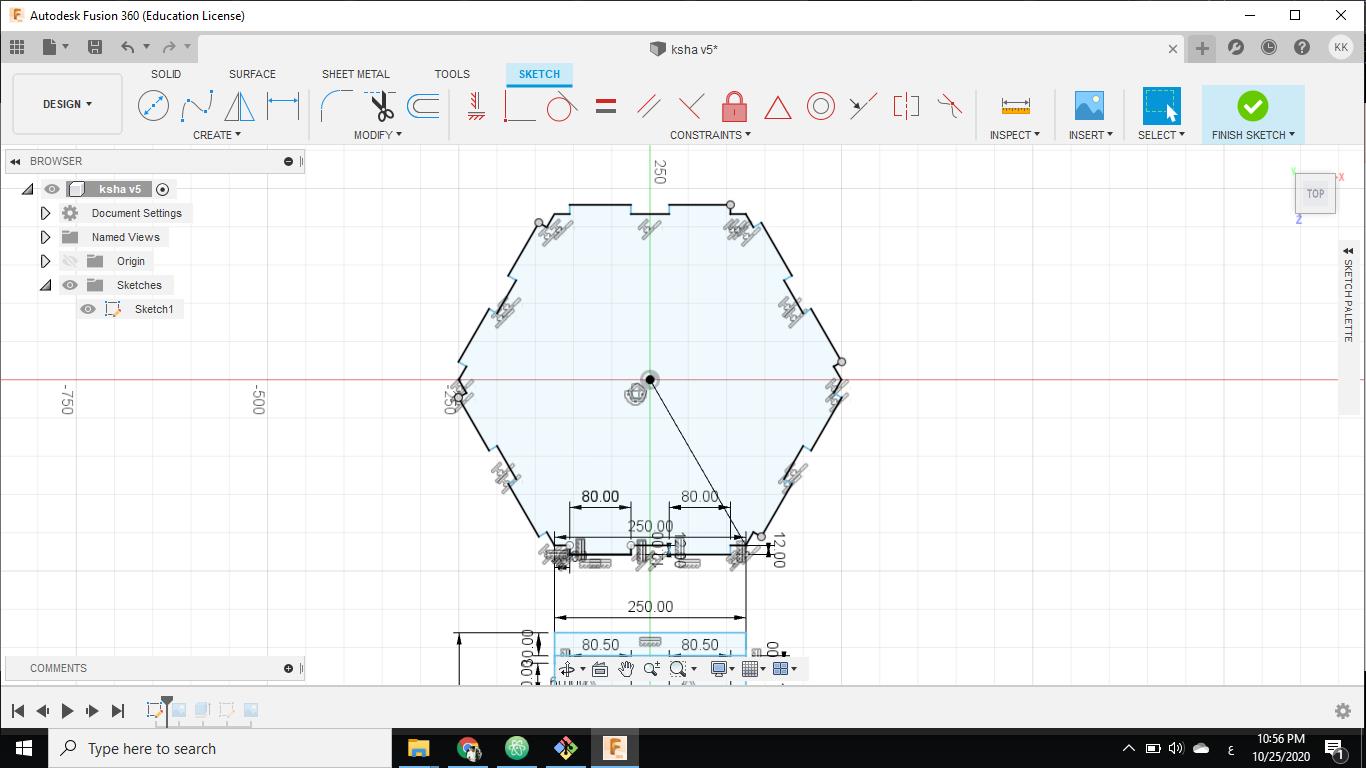 firs thing I made is the table top a hexagon shape
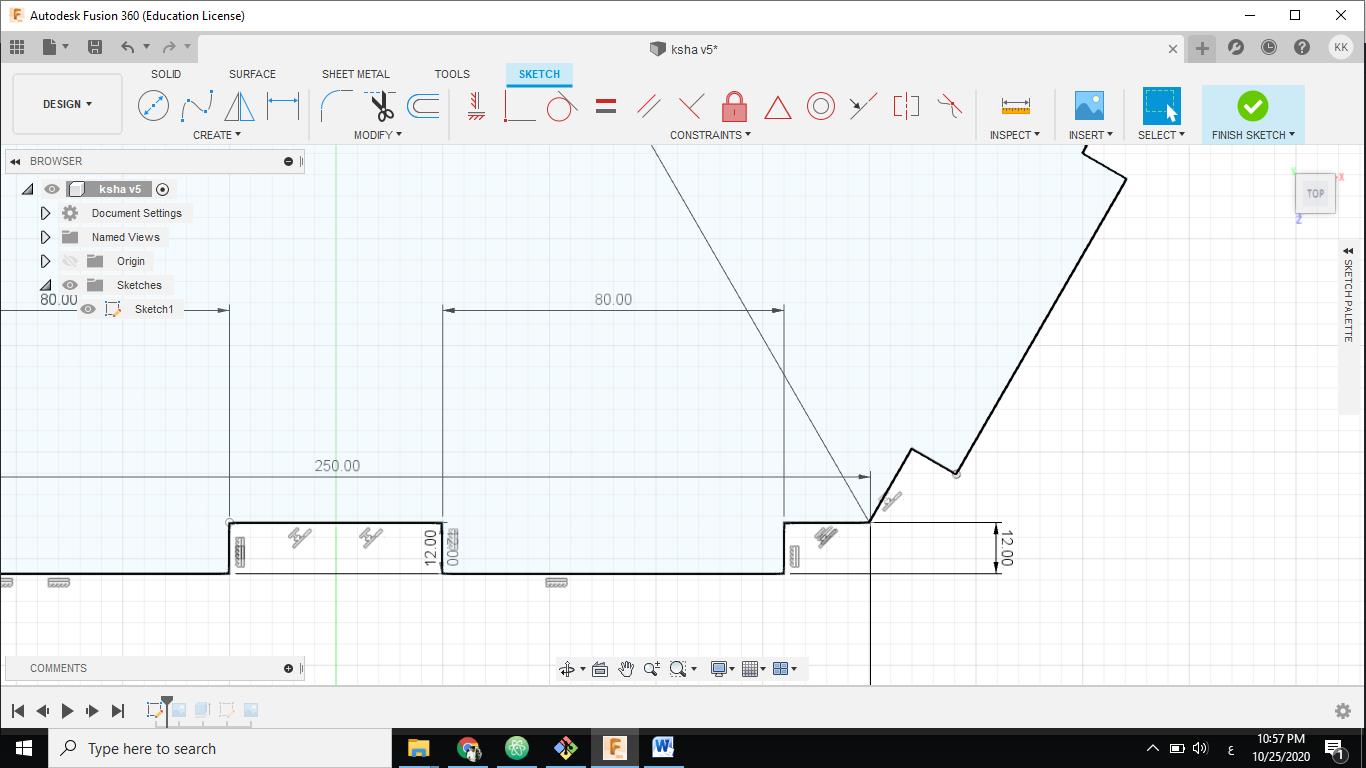 then I add two fins each side and they will fit in the table leg
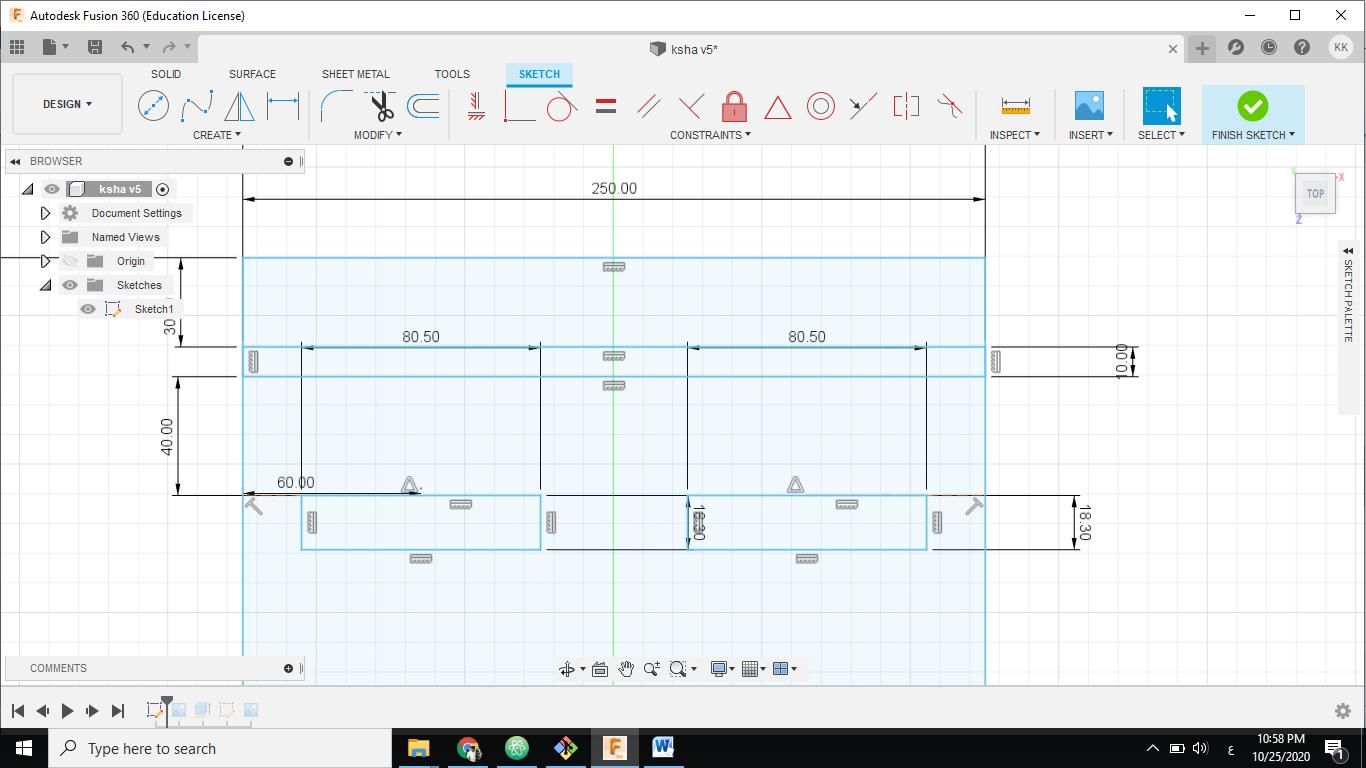 then I make the table leg and I put two hole but bigger deo to the fit and tolerance
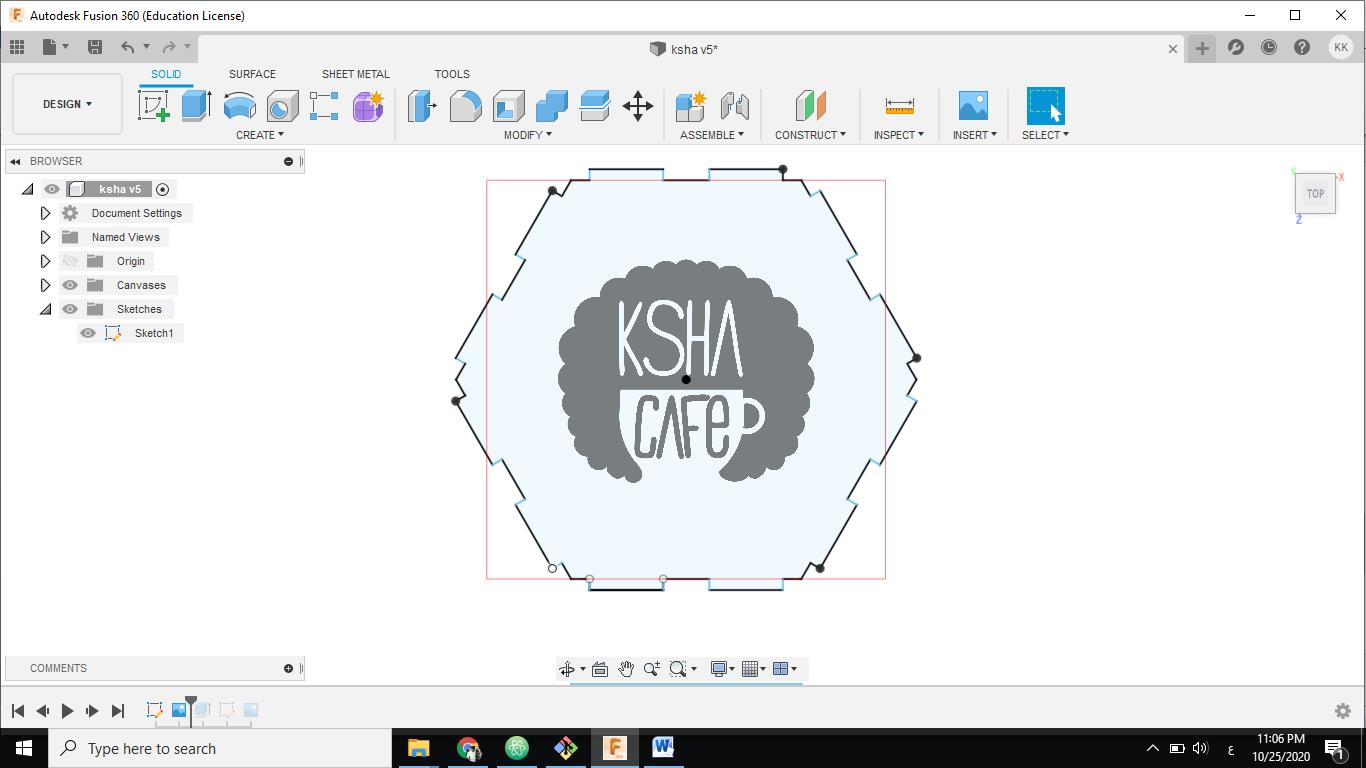 next I add my logo and put it in the meddle
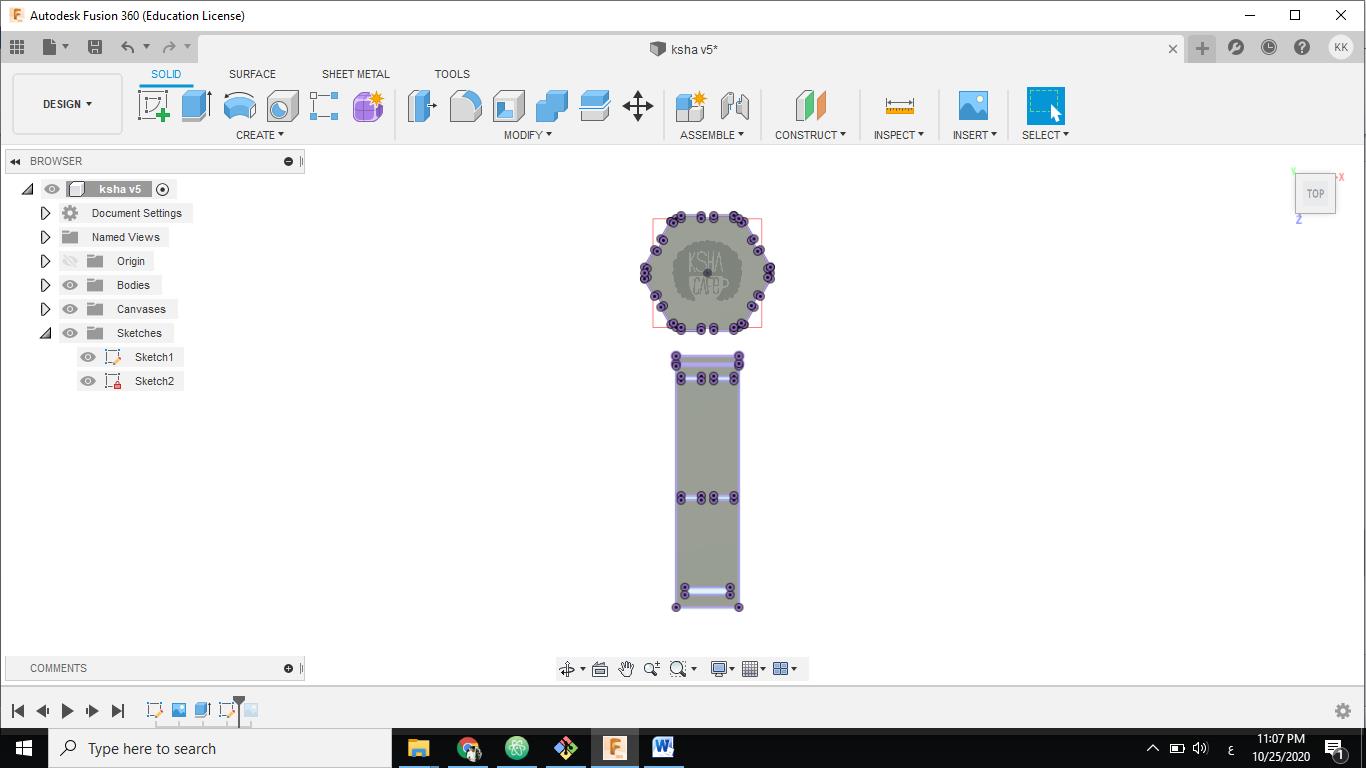 the last step is that I extrude the skitch and after I extrude, I select all of it and save it as DXF file.
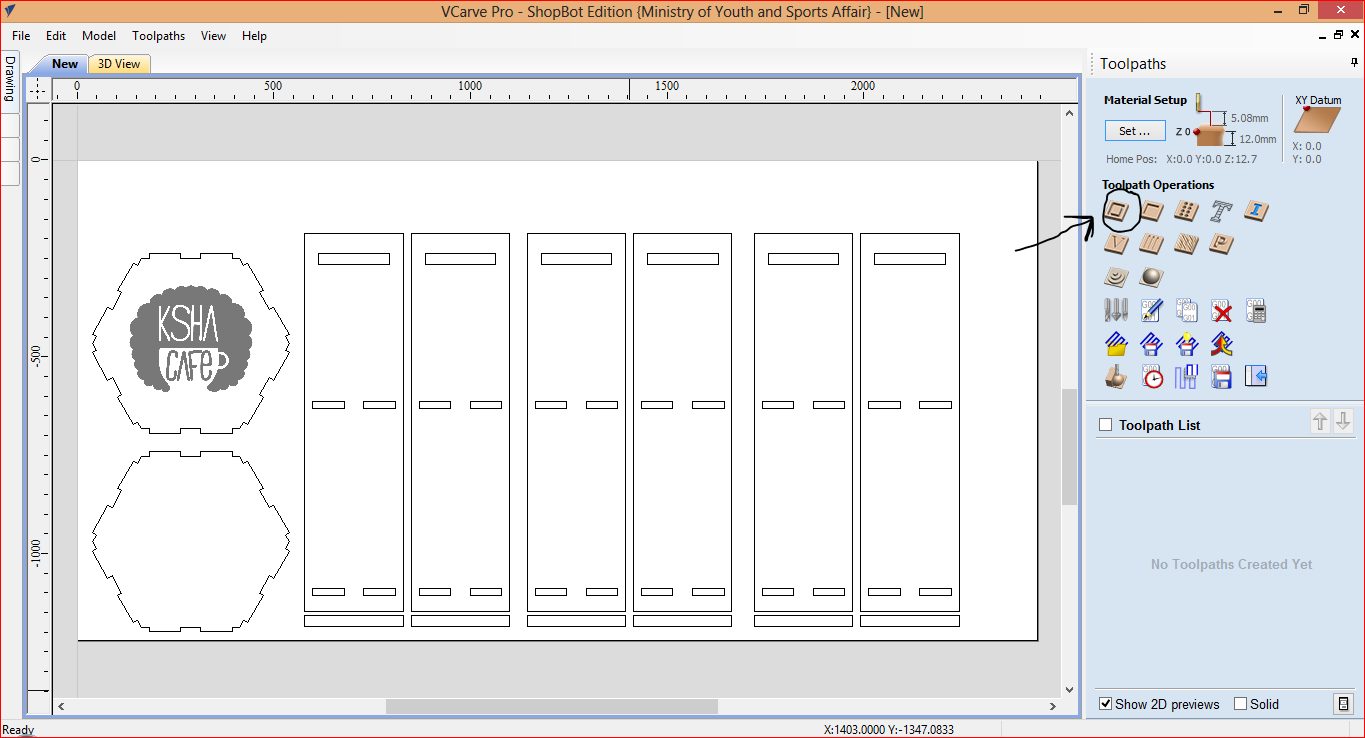
first I input the design.
 then I chose from the toolpath the cut off
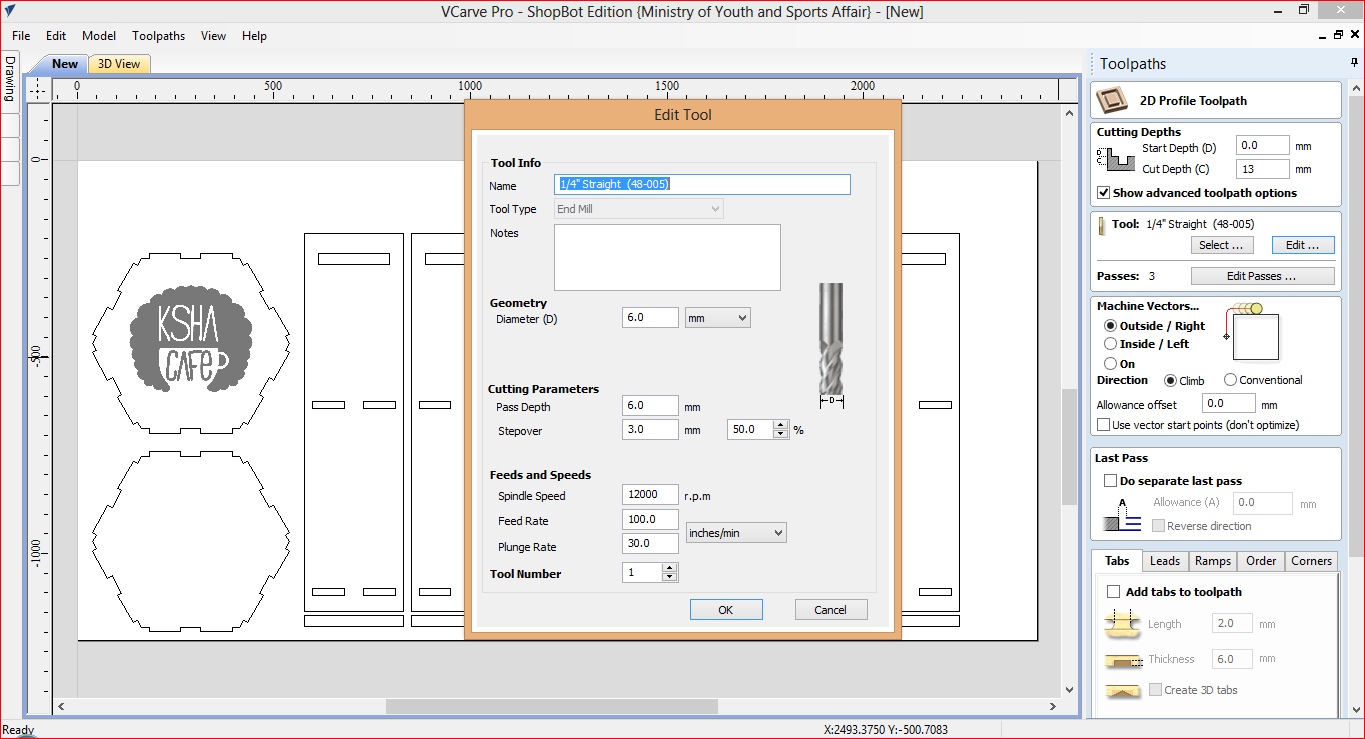
 then I edit the tool and put it as the drill bit that I will use
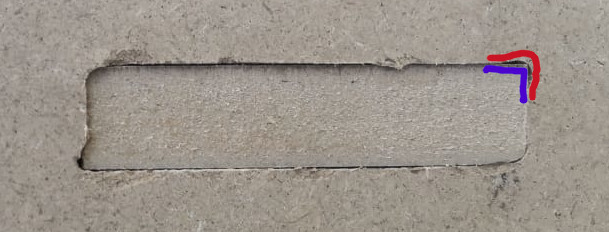
in every female cornaer we must add dog-bones
 we need the dog bone because the dill bit will made the carve cornaer and if this happen the male part will not fit in, so this is the reason that why we use it.

the I add tabs so the part doesn’t move while it cut
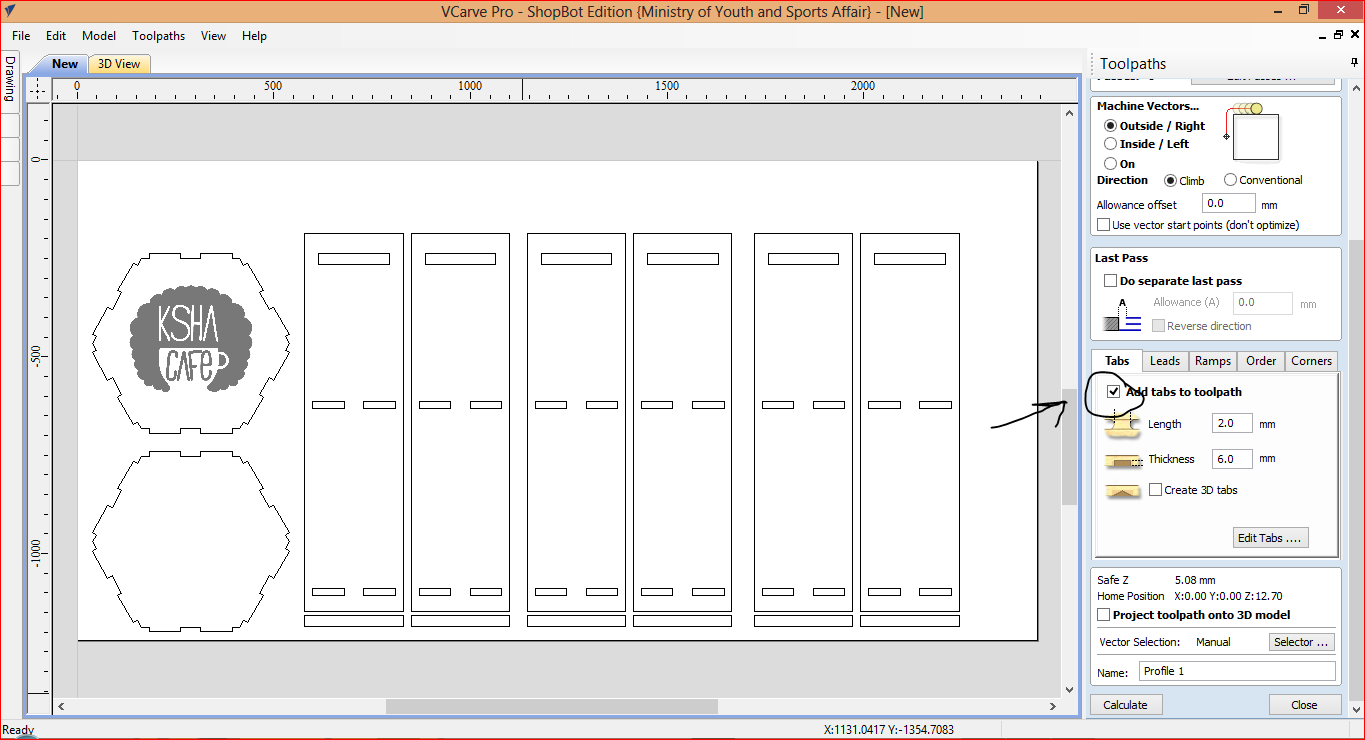 then I put extra tabs to make sure it real doesn’t move
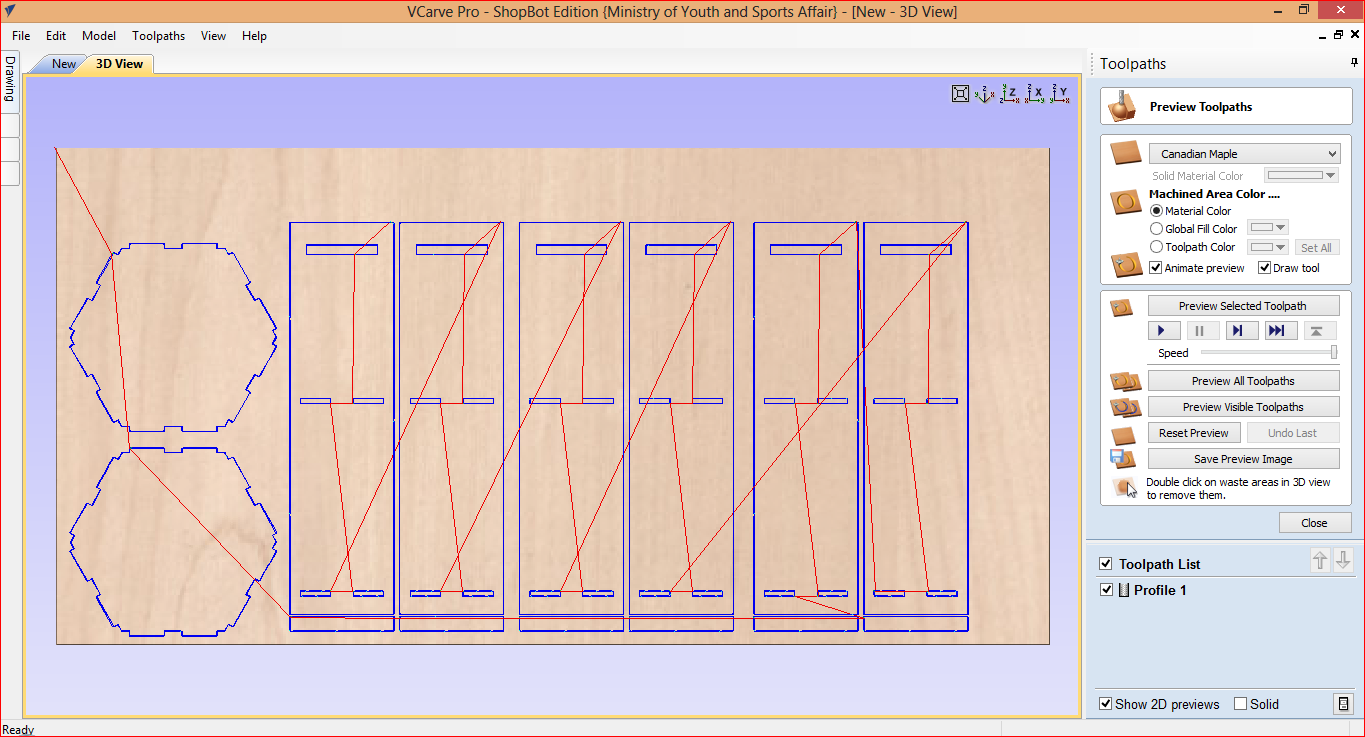
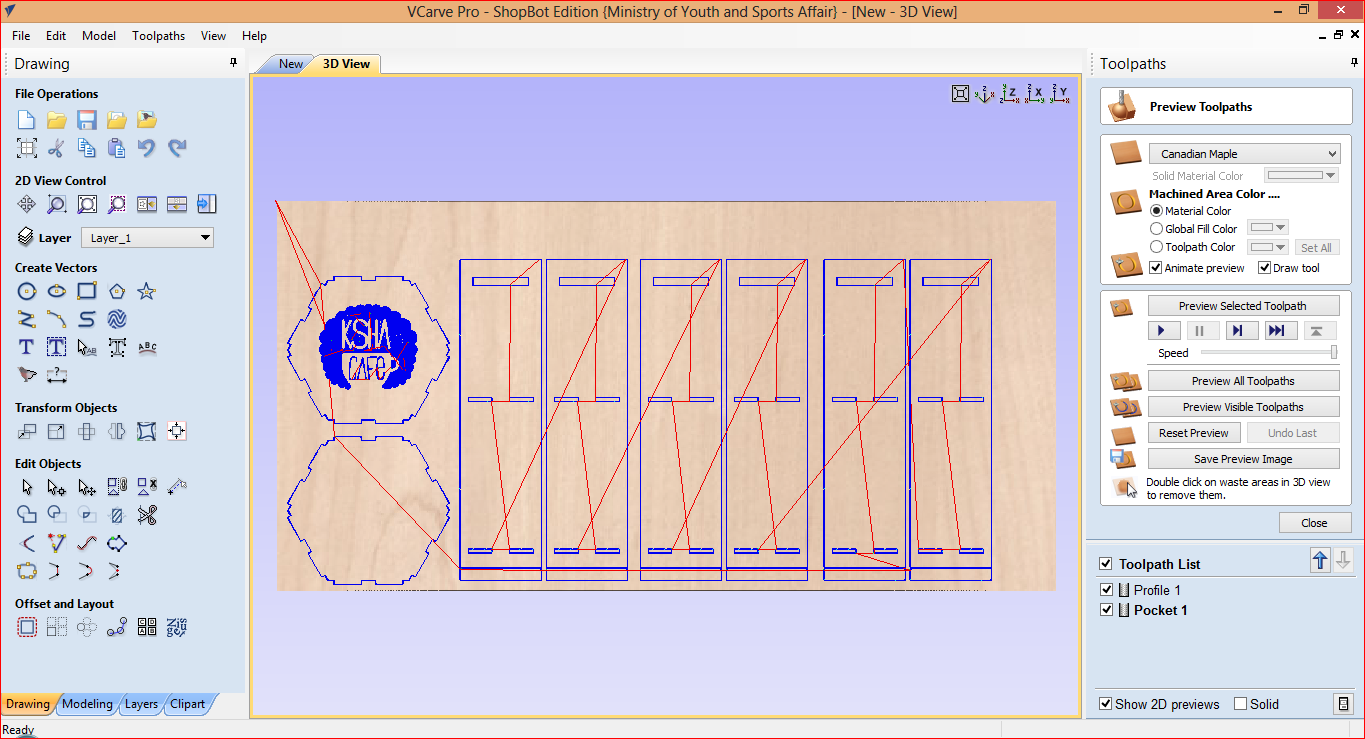
 next I view where the dill will go and how it will move
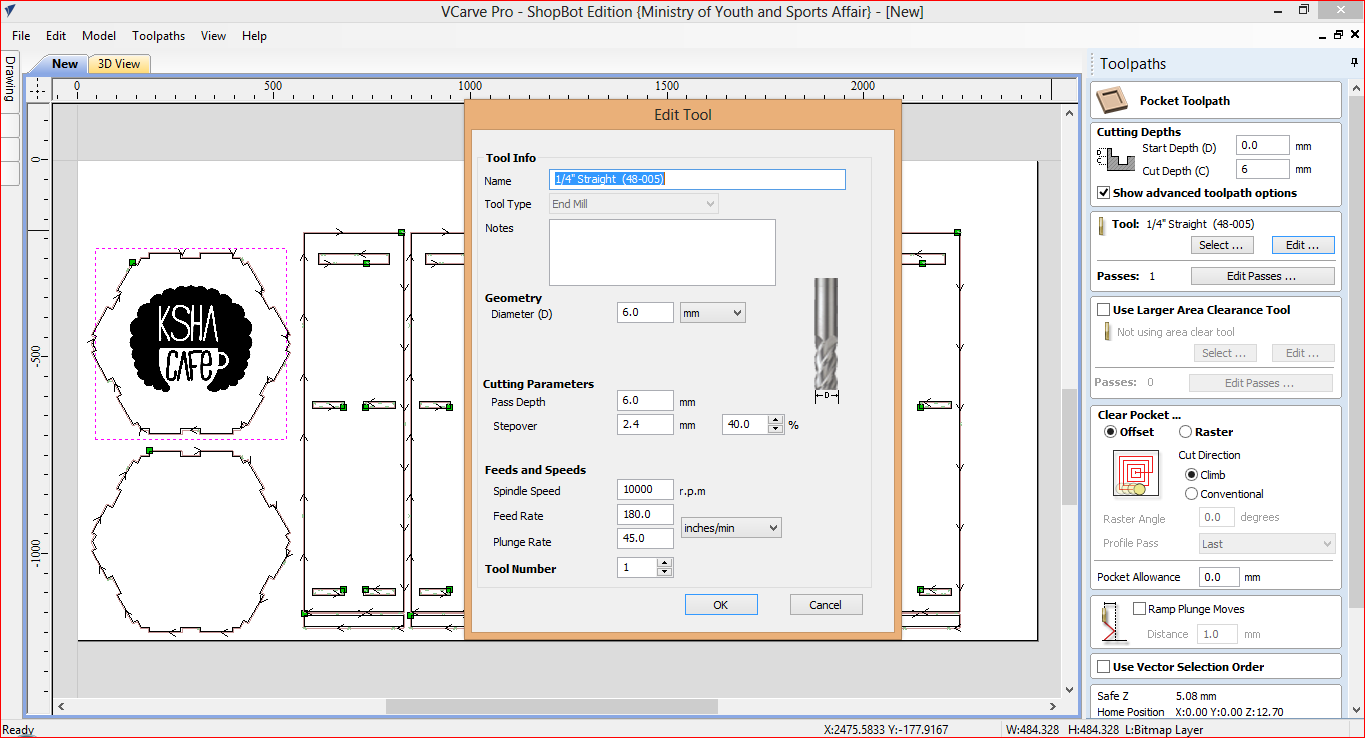
 the chose the pocket from the toolpath
 and edit the tool and make sure of every thing
 the last thing I did is to view where the dill will go
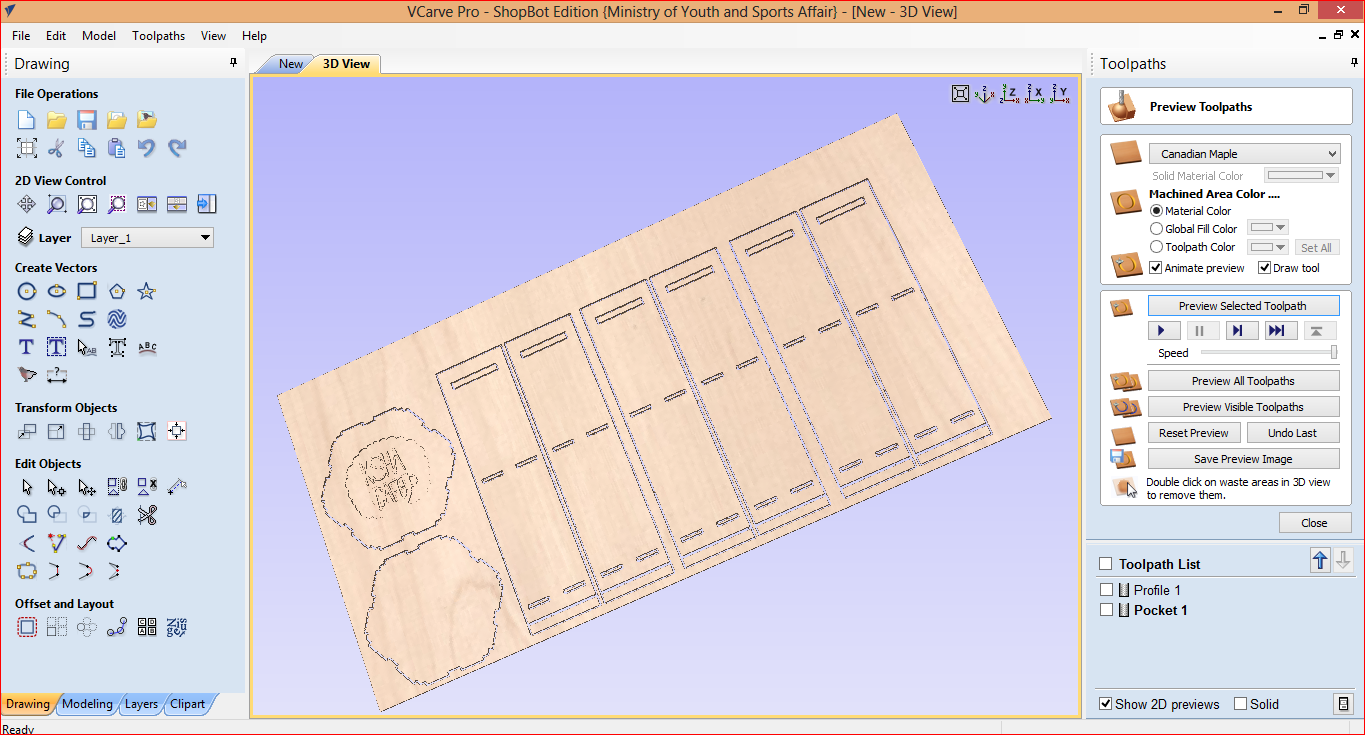
 the is how it look at the end when I finish every thing
paceing the wood
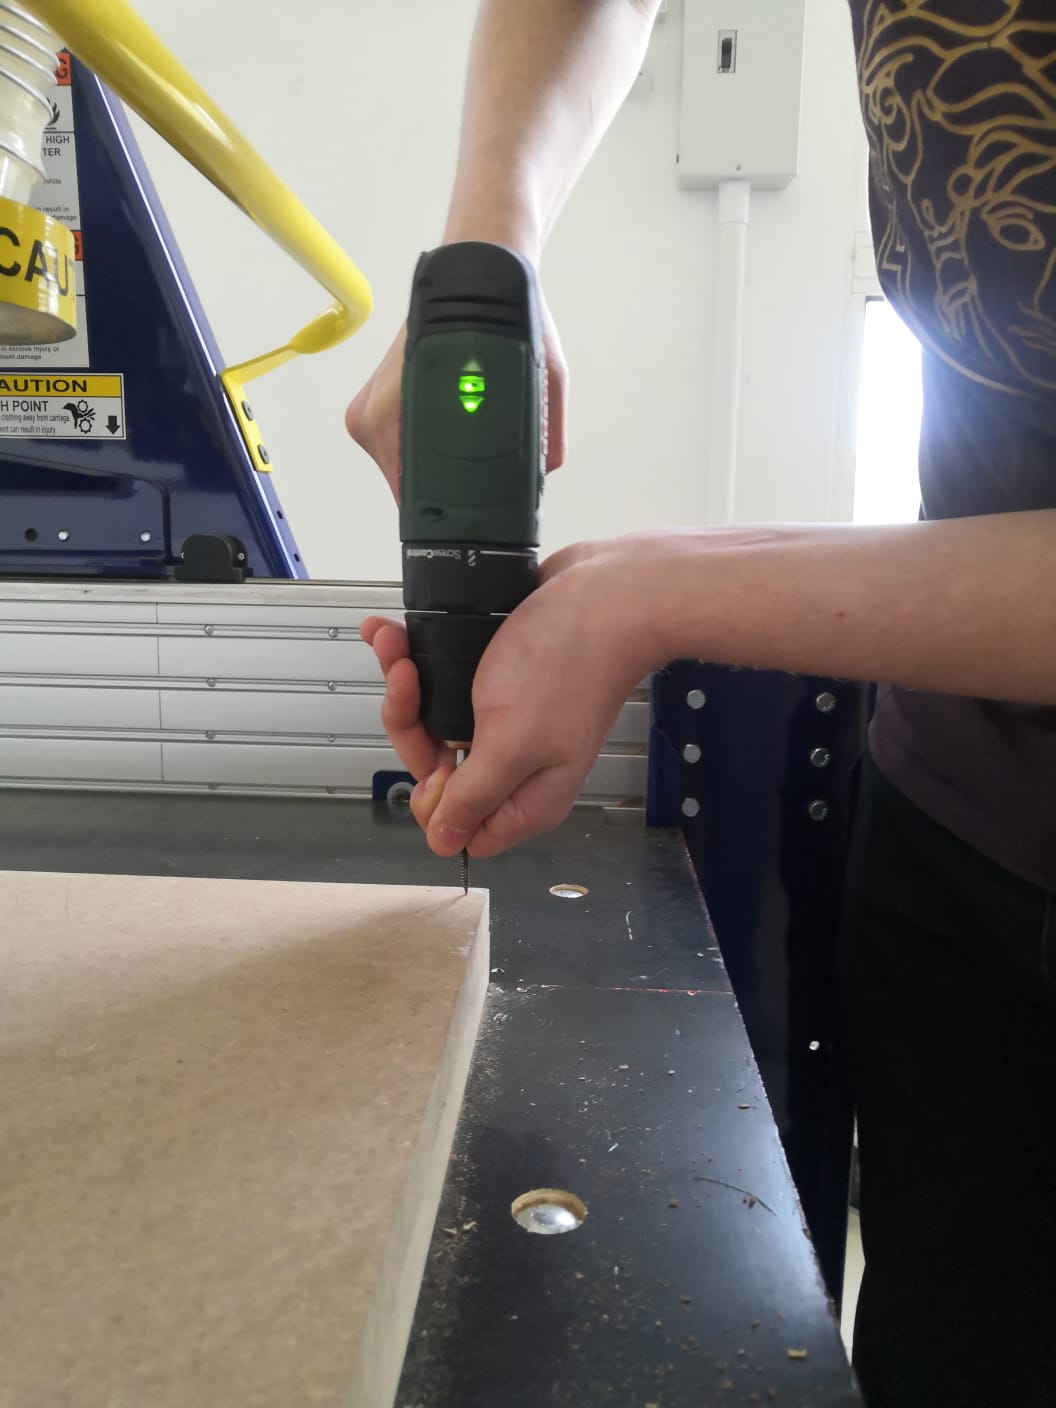
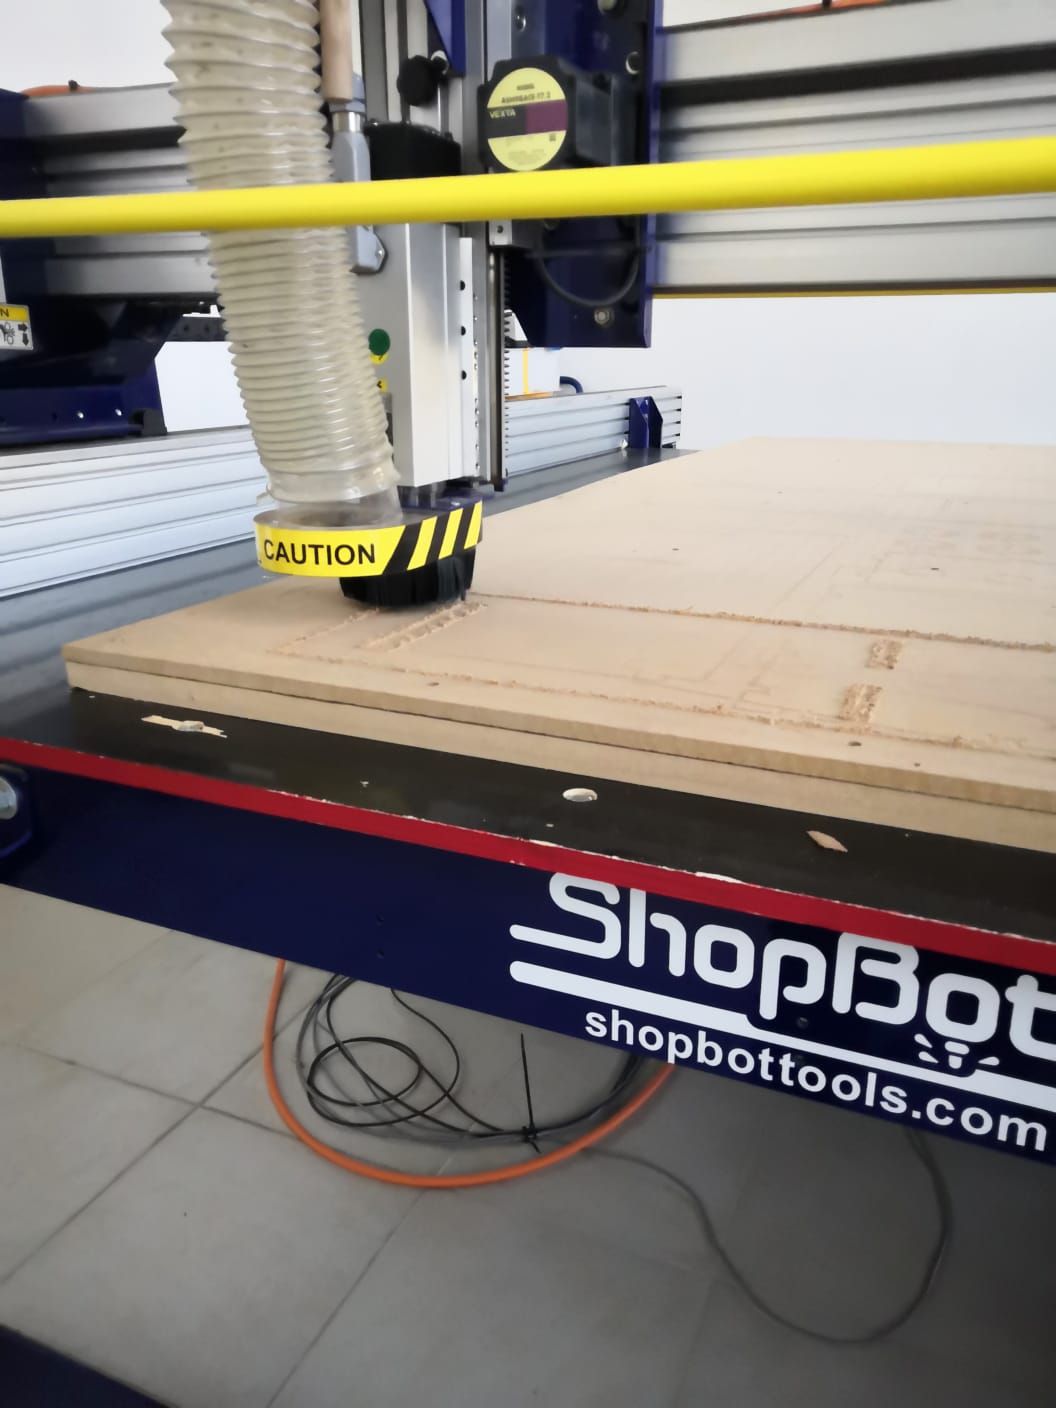
I chose the MDF with thickness 18mm, I start putting it in CNC pad and align it after that screw every corner in it than I screw on the sides to make sure that the MDF doesn’t move while the machine working.
before machine start we must make sure that Z axis is zero so
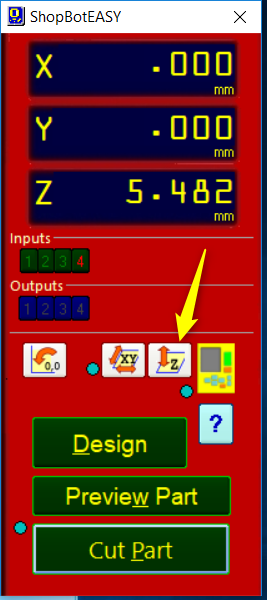
Place the grounding clip on the bit, if possible. Otherwise, place it on the collet nut or shaft of the spindle. Set the plate down directly beneath the bit.
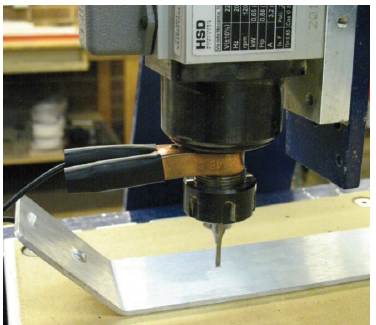
then to test the circuit before running the zeroing routine, touch the plate to the bottom of the bit. Check that input 1 lights up on the screen and goes off as soon as contact is broken. Click on the Z zero button, or type a C2 command. The Z-axis will touch the plate twice and then move up to a safe height. The Z-axis is now calibrated and the machine is ready to cut. Place the Z zero plate back in its holster. Remove the grounding clip from the bit and secure it safely.
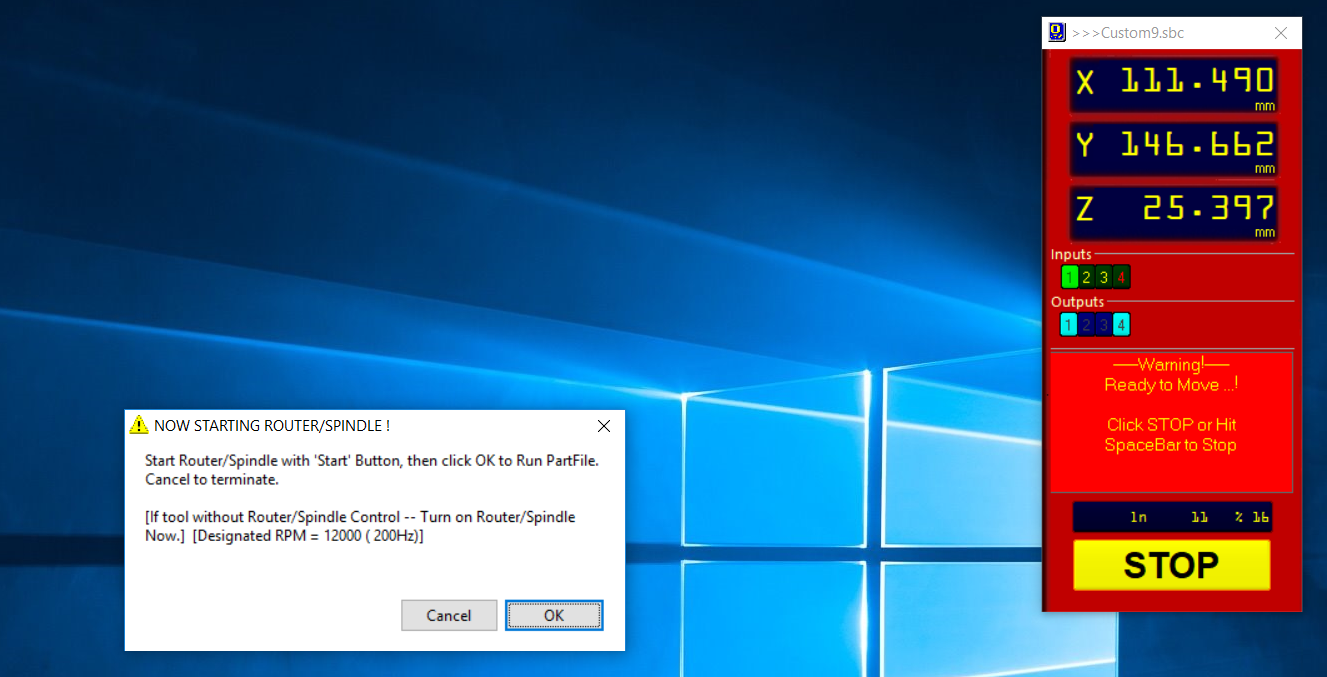
start catting
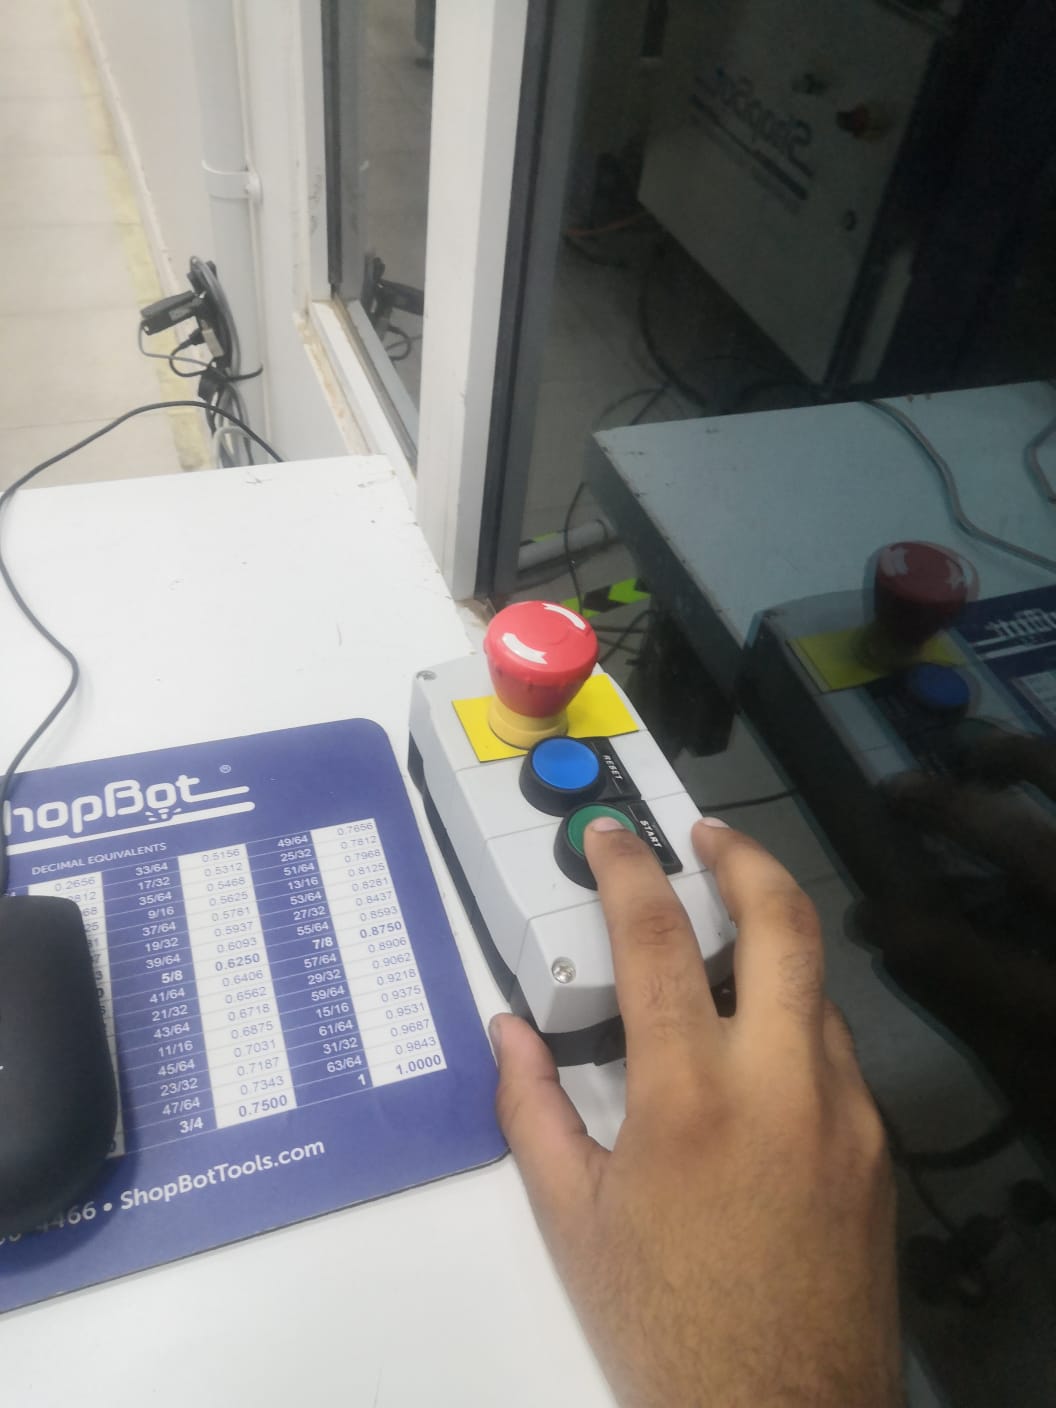
I press on start
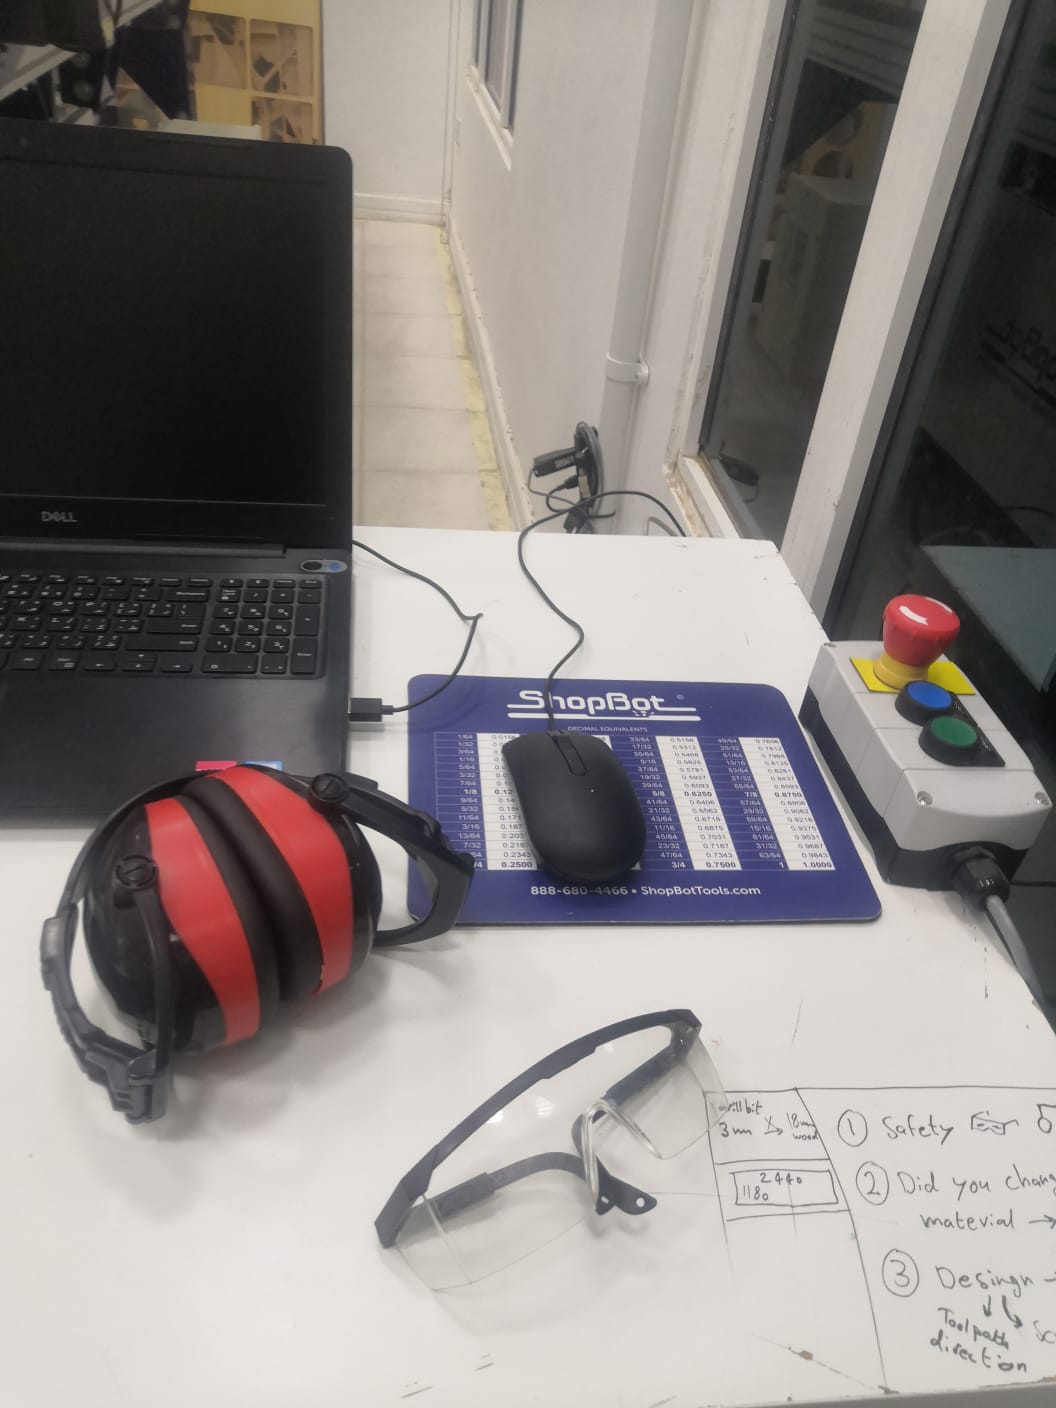
And before I press on the start button I must wear safety gears
Then I press on the start button and If anything happened and I needed to stop the machine I press in the red button
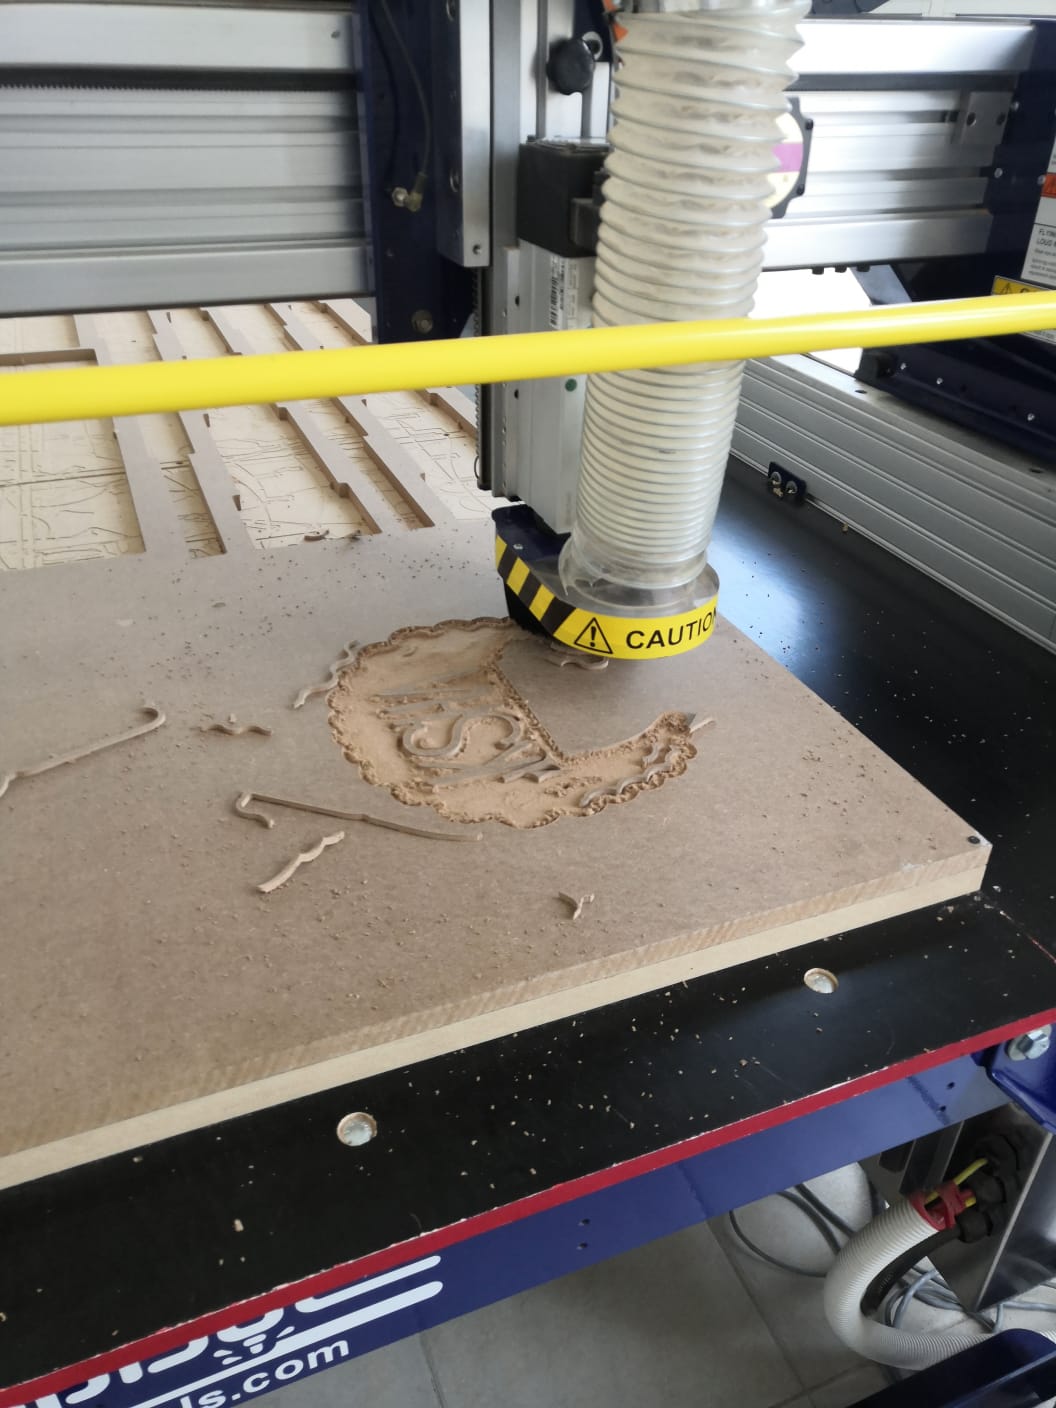
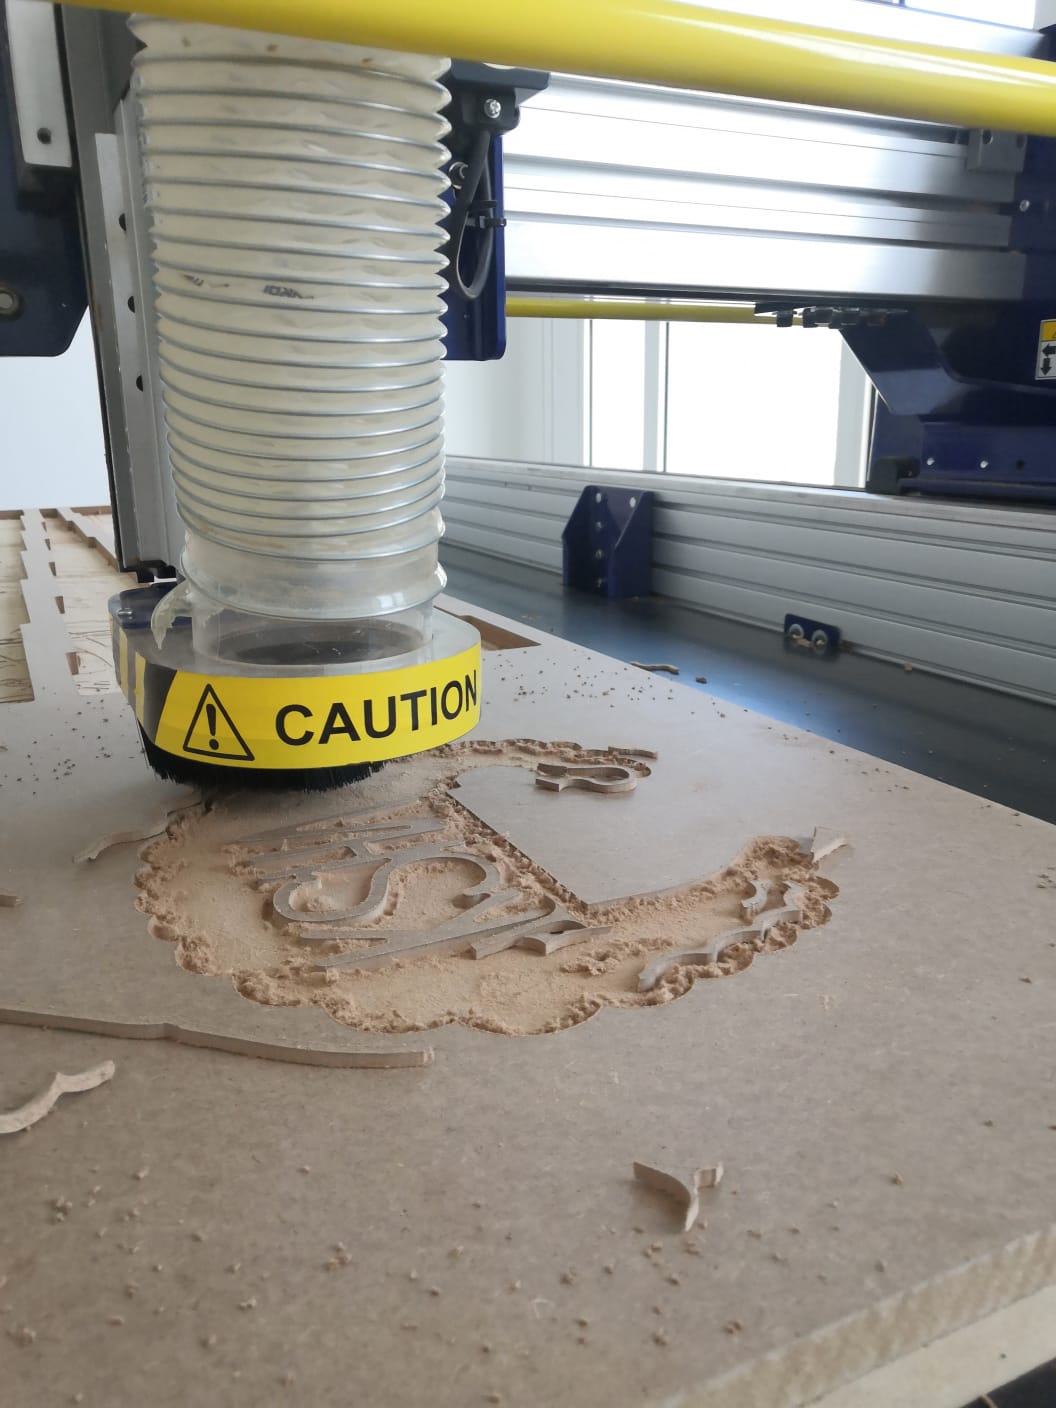
Then the machine start ingrave the top of the table and it have the café logo.
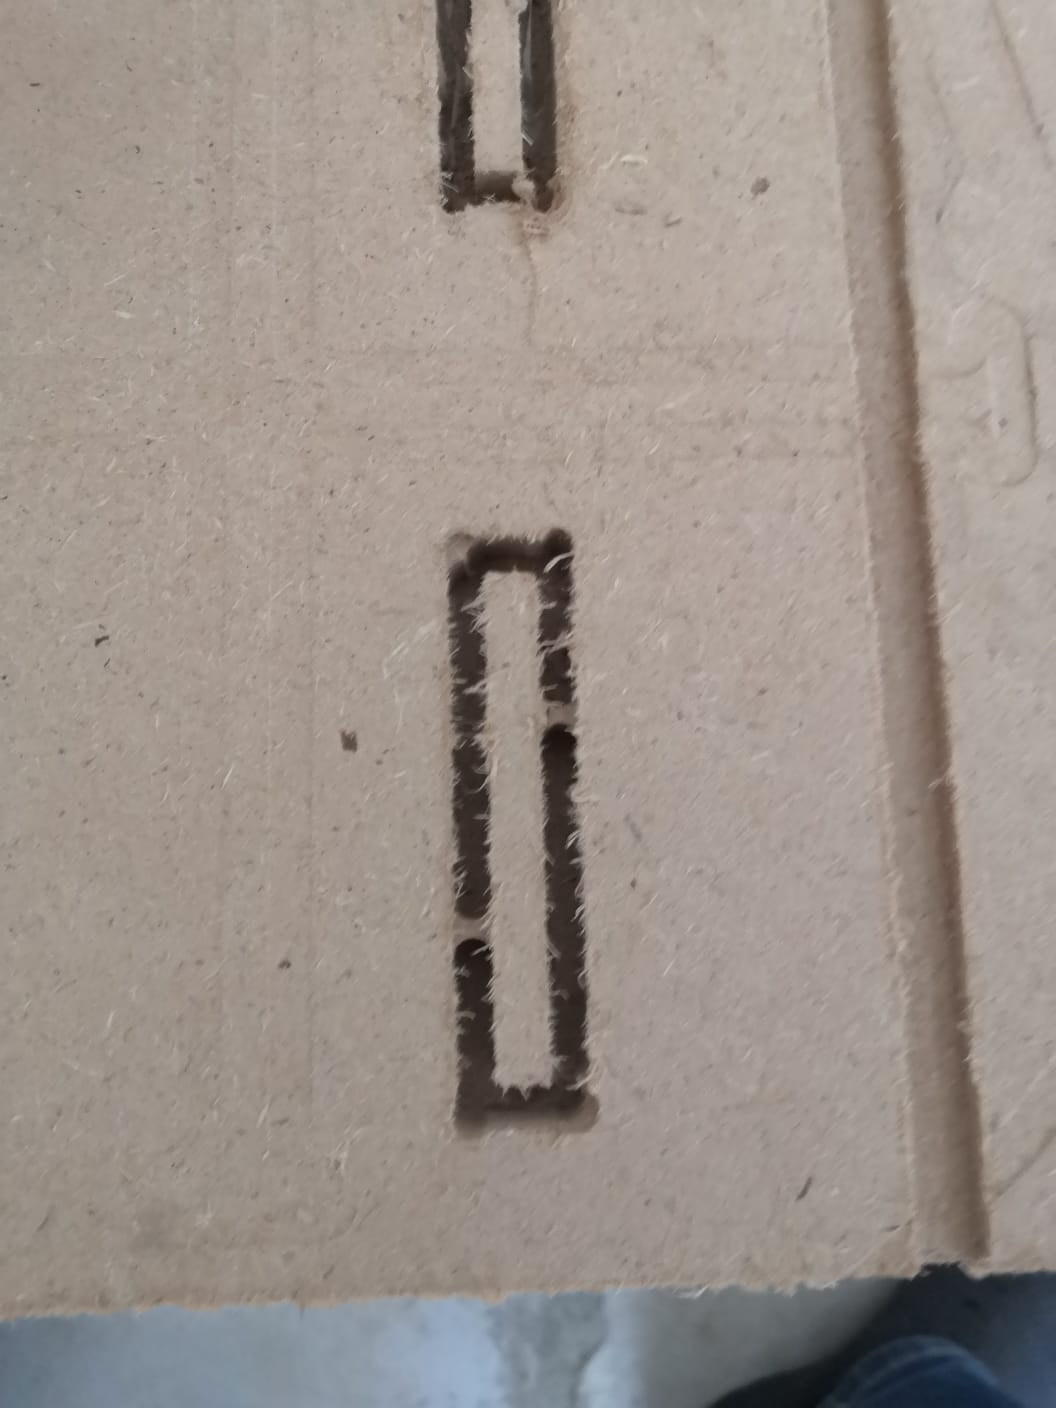
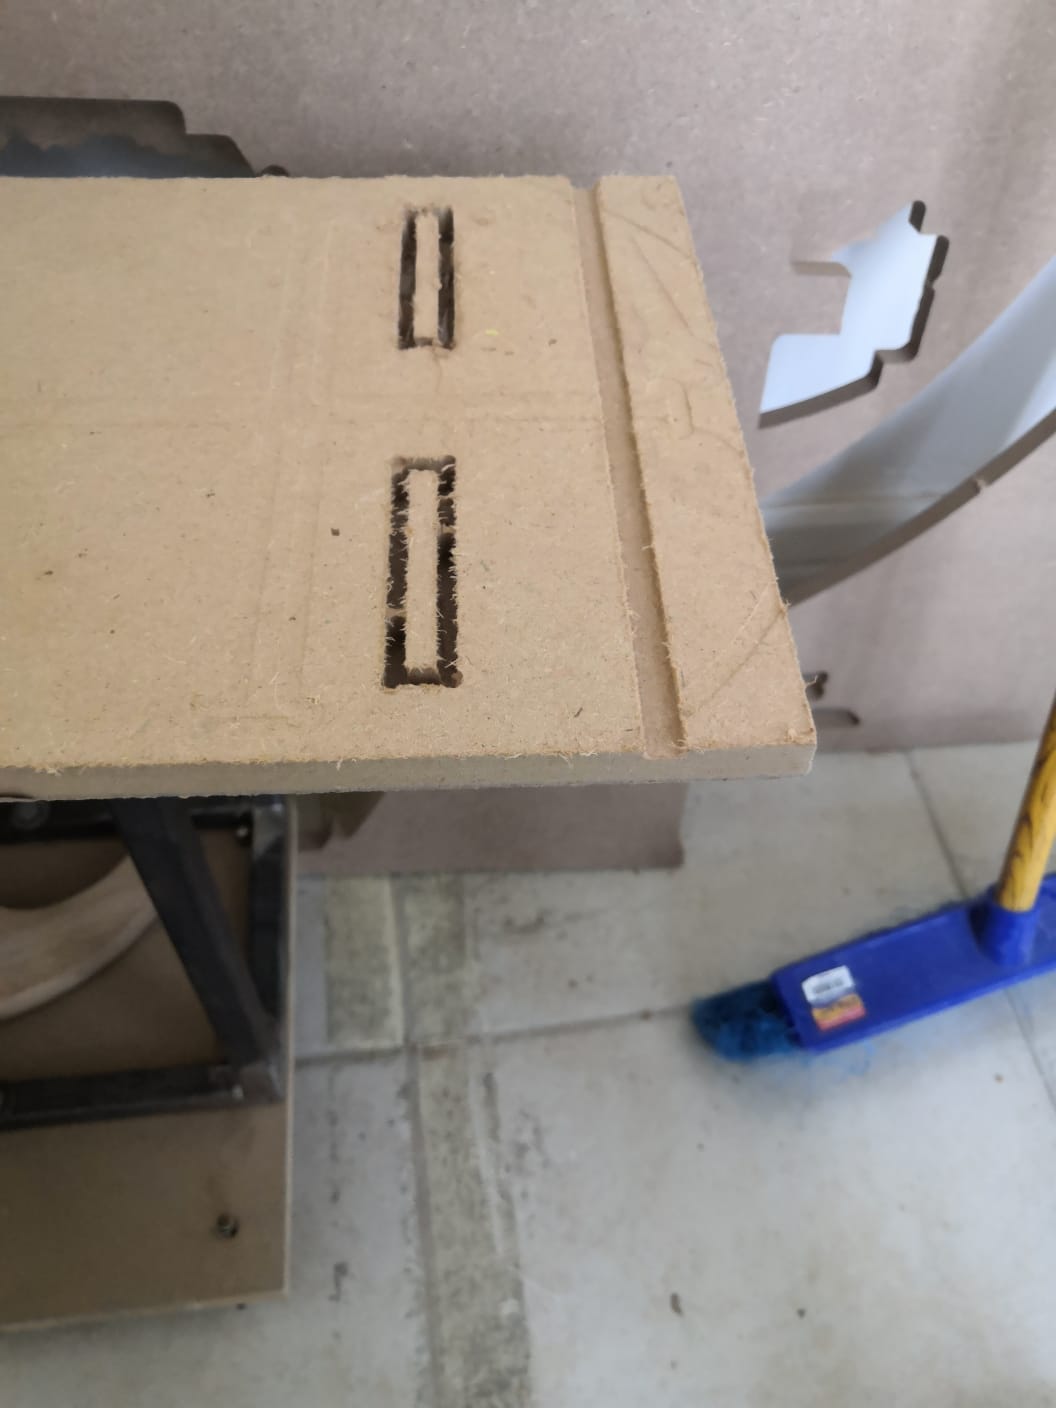
 this is the press fit on table side
press the wood together
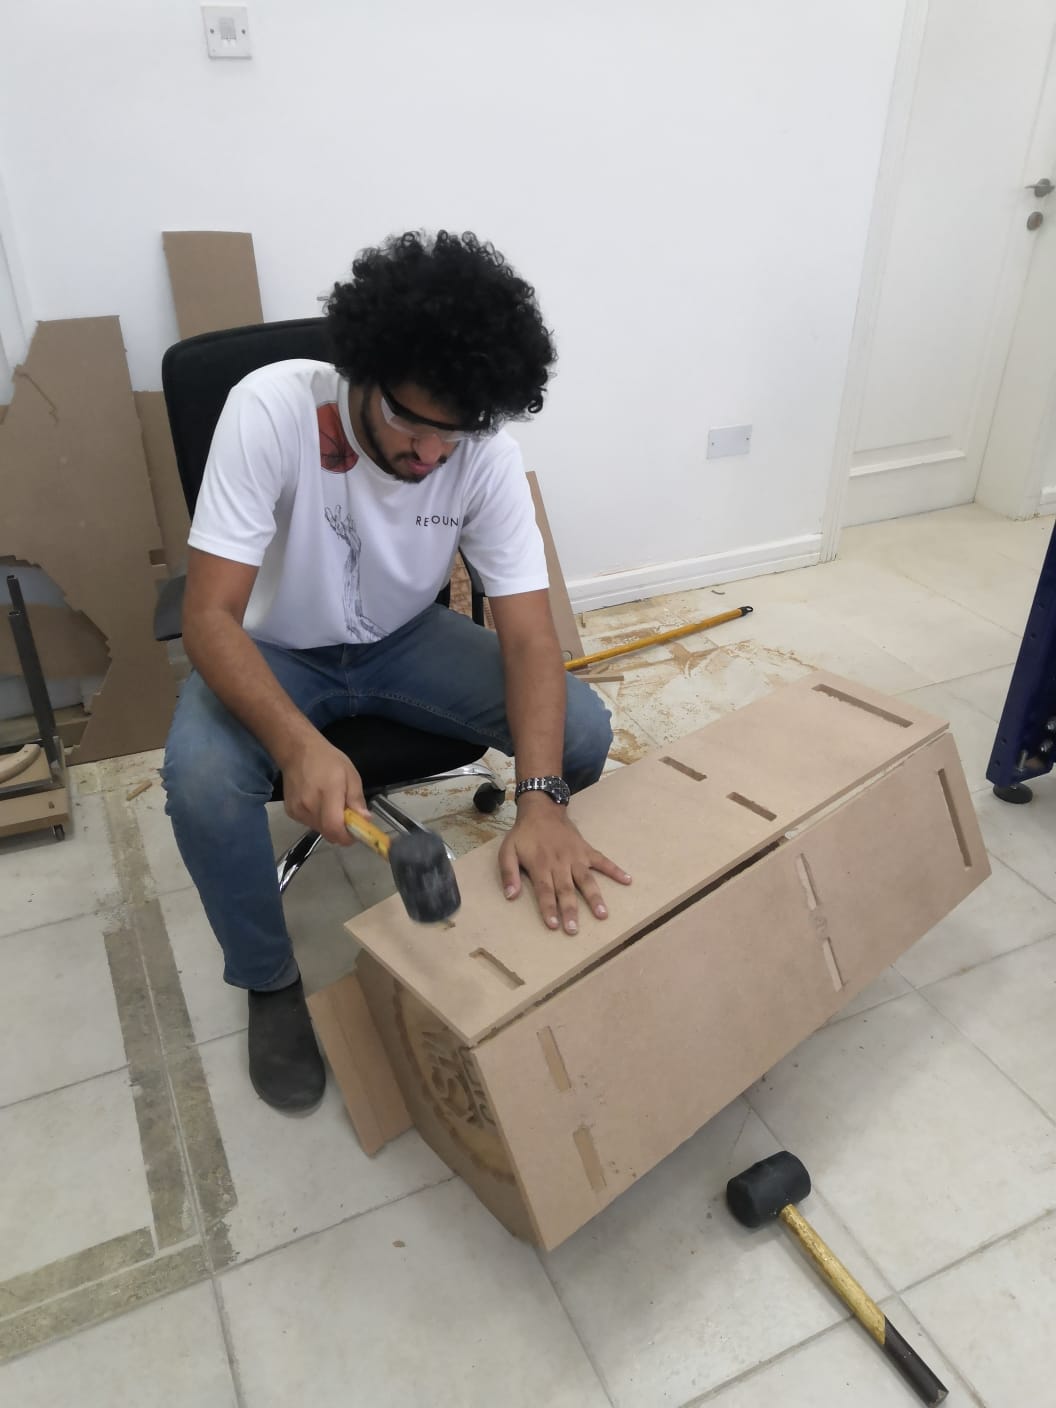
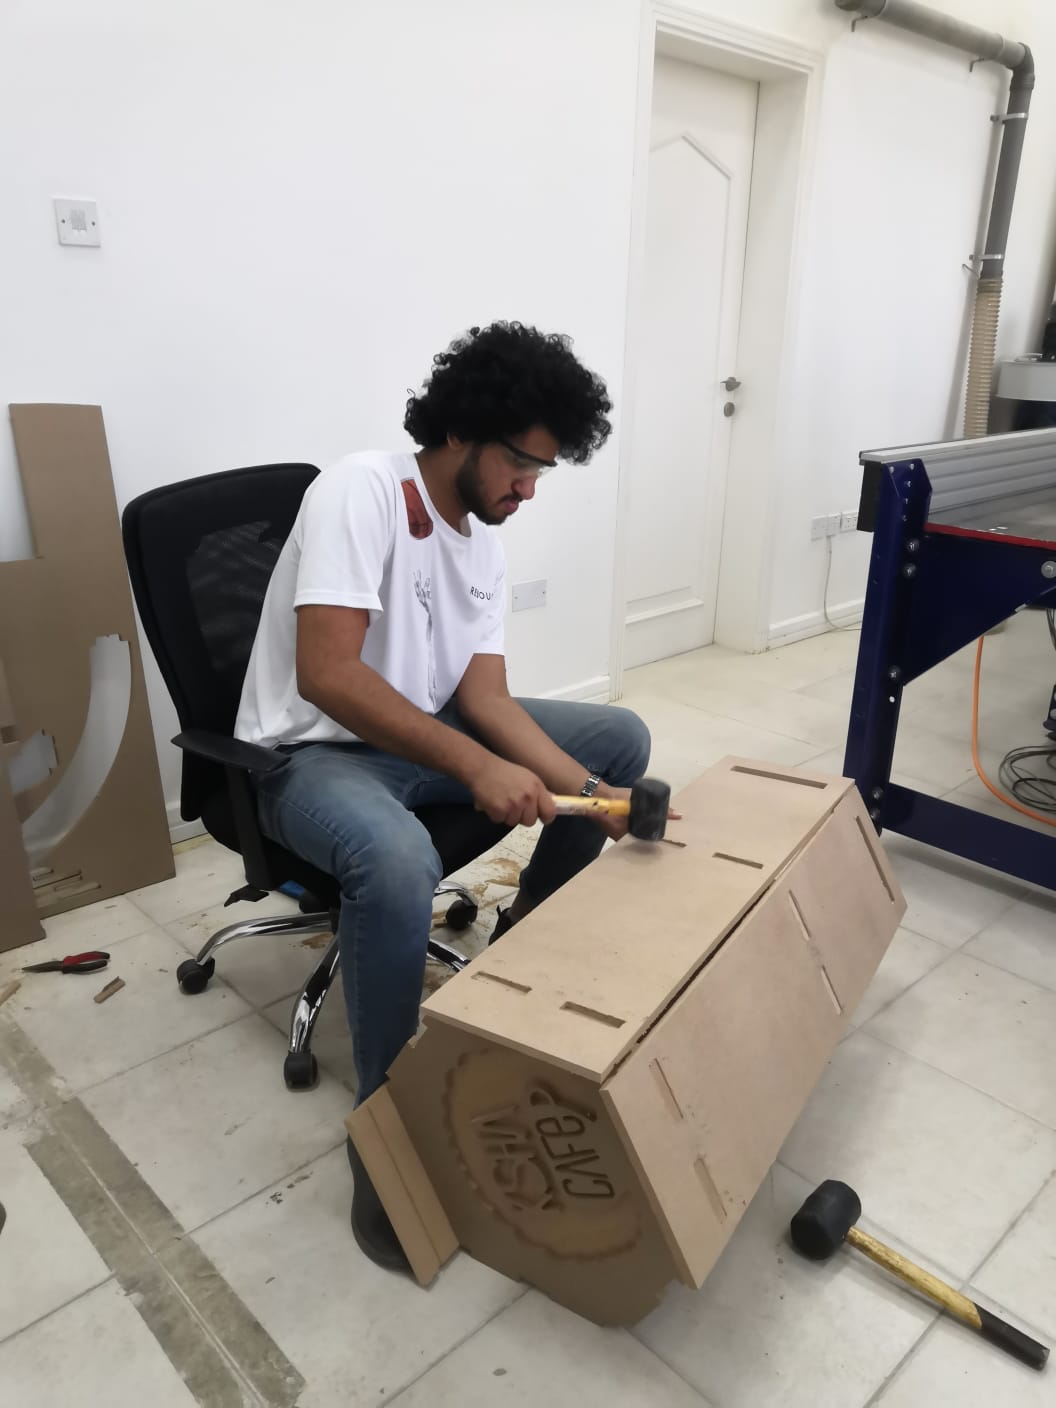
there is small problem and it is that the MDF gat some bend but it look okay.
As I explain before with this image you will understan why we need them .