17. wildcard week
- Objectives of this week are:
1- To select and apply suitable materials and processes to create your project.
2- To demonstrate workflows used in the chosen process.
Process
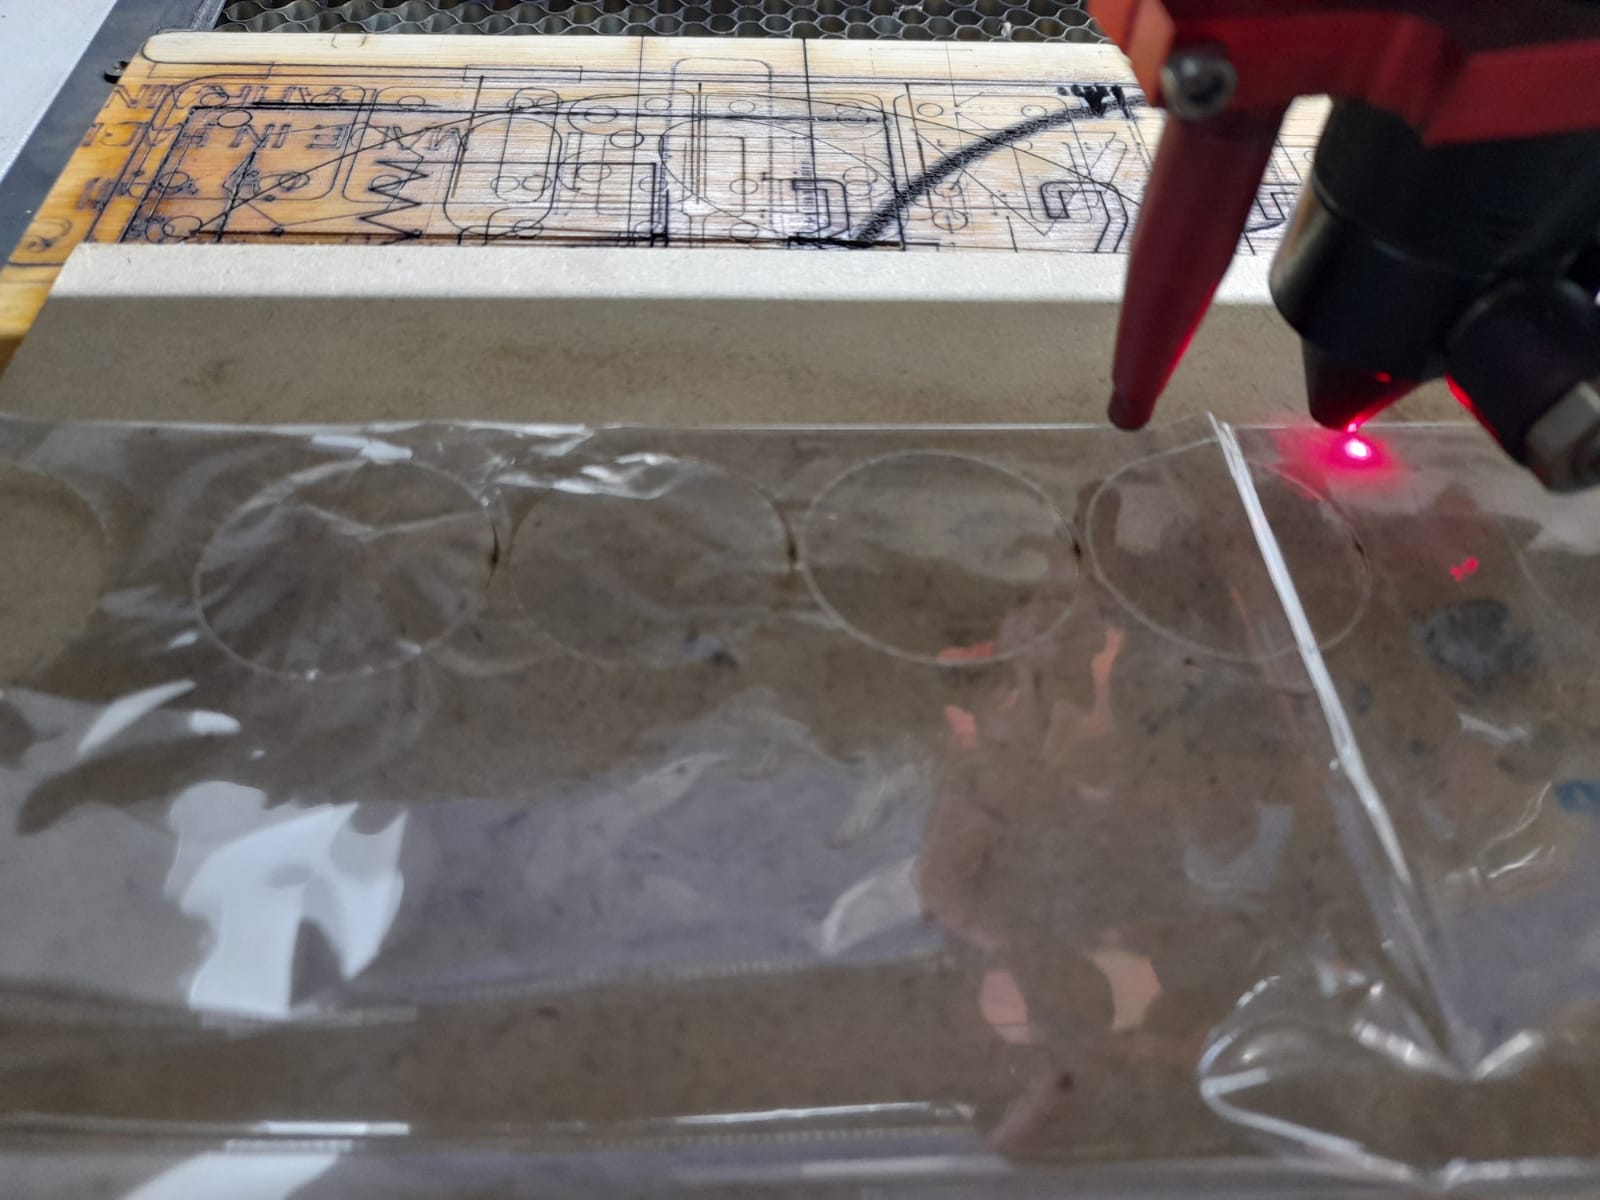
In this week, I chose to make an inflatable baloon by using the laser-cutting machine and oven bags. The concept used here is that the heat of the laser can be capable to melt plastic and create a bond and seal it together so we can ed up with enclosed shapes OR (DIY inflatables). In this assignment, a laser heat will melt a plastic in computer designed shape to create inflatables.
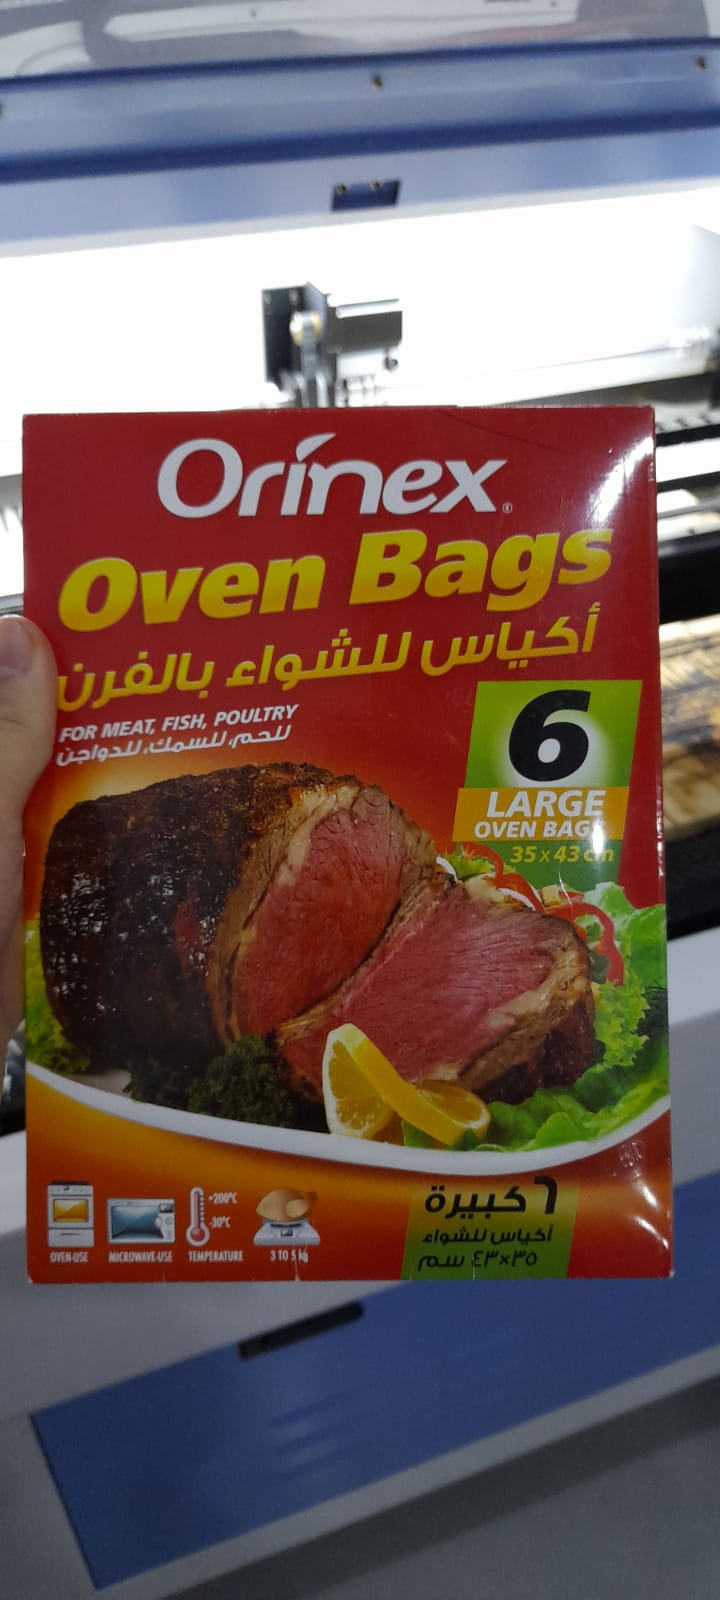
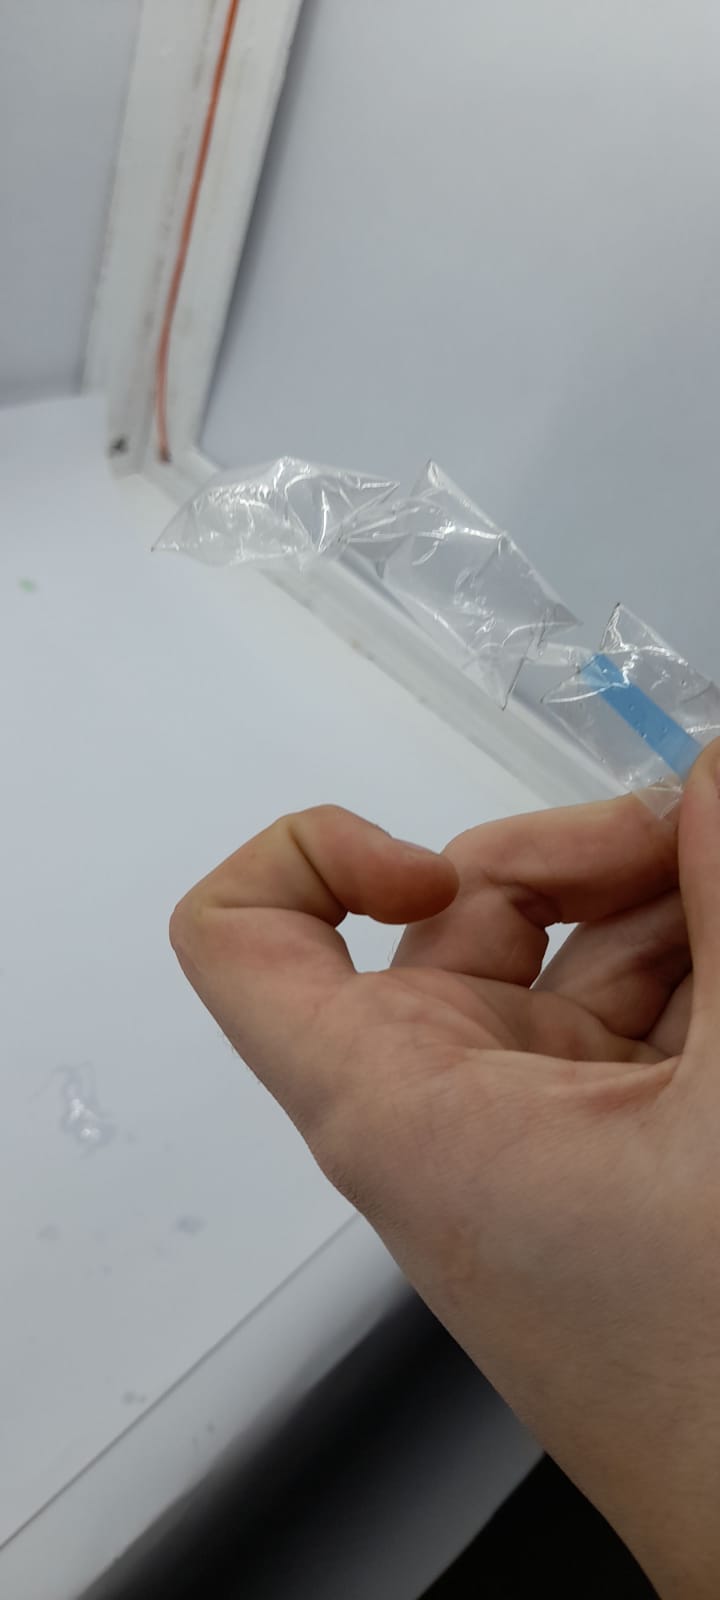
oven bags
The figure below shows the material I haved used to create the inflatable baloons which is acutally an oven bag! Note that many kinds of plastic should not cut or even engraved with the laser cutting machine as some of them contain chlorine which can release harmful fumes, while others may damage the machine. Therefore, I was looking for a suitable material that will not effect the machine and can be used safely. This can be achived by chosing a materail that do not contain chlorine. The best thing I found was oven safe PET plastic wrapping, so I started do testing with it.
Testing
Since this is a new material to test, the power, frequency and the speed of the laser cutting machine was unknown. Therefore, I have traied different settings to test which one is the best for cutting and sealing the material for creating the inflatable baloons. Here is the steps that I did
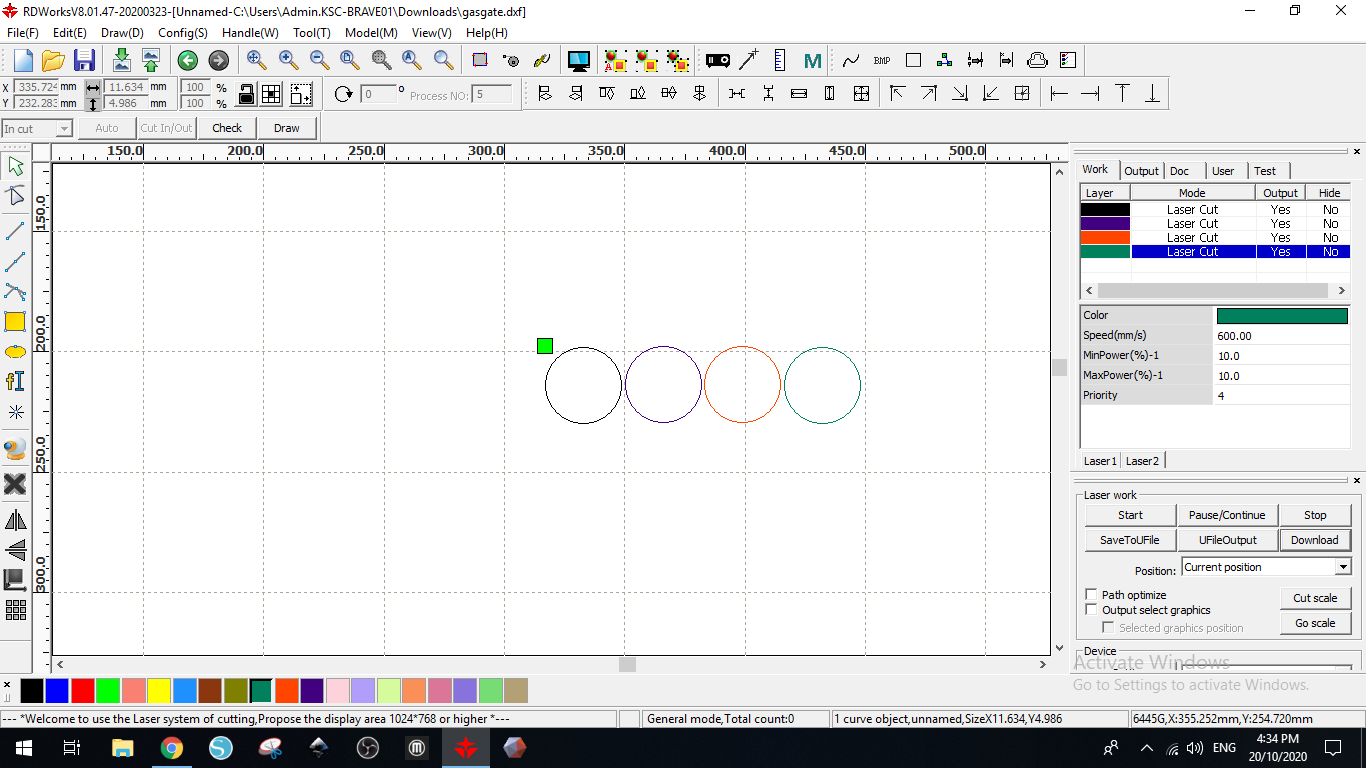
I started with changing one variable at a time so I started changing the power first and found that 10% is good then i started changing the speed here I set the speed for 600mm/s and 10% power
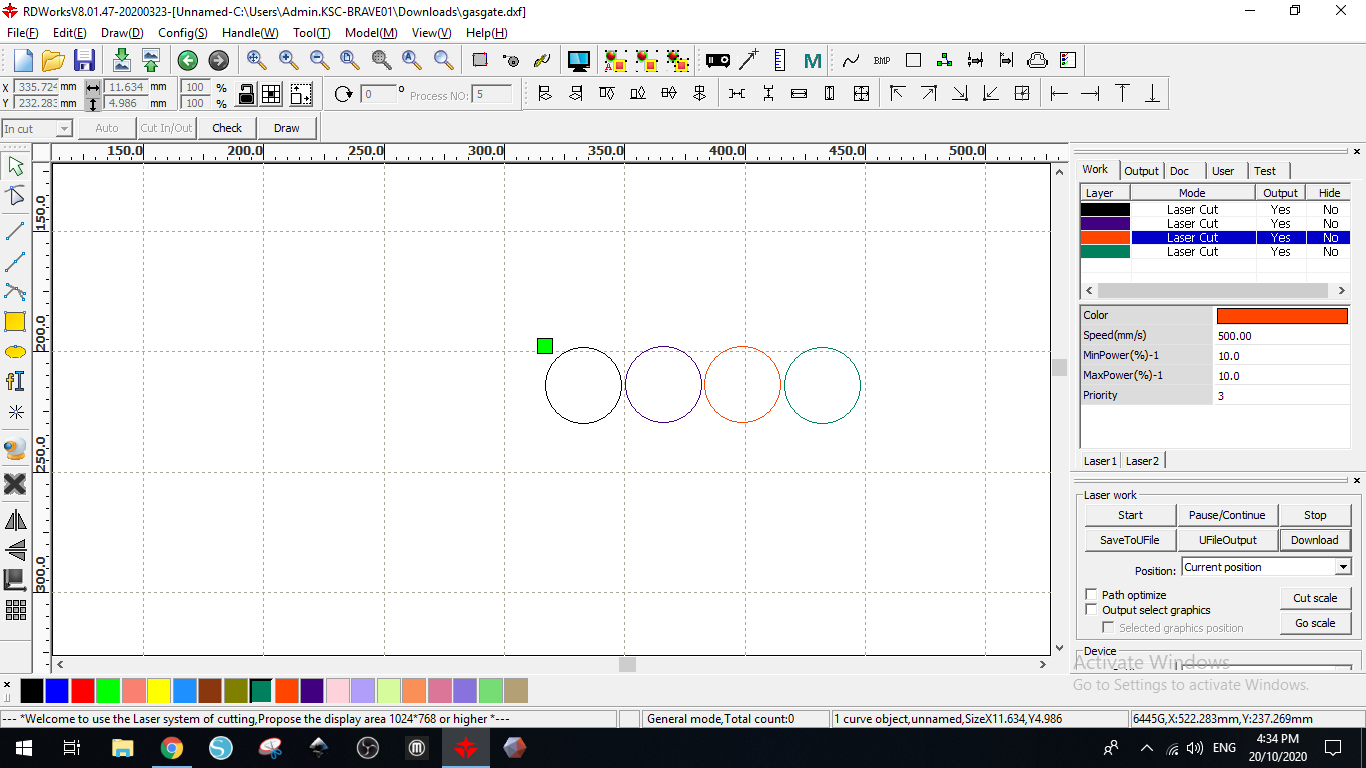
here I set the speed for 500mm/s and 10% power
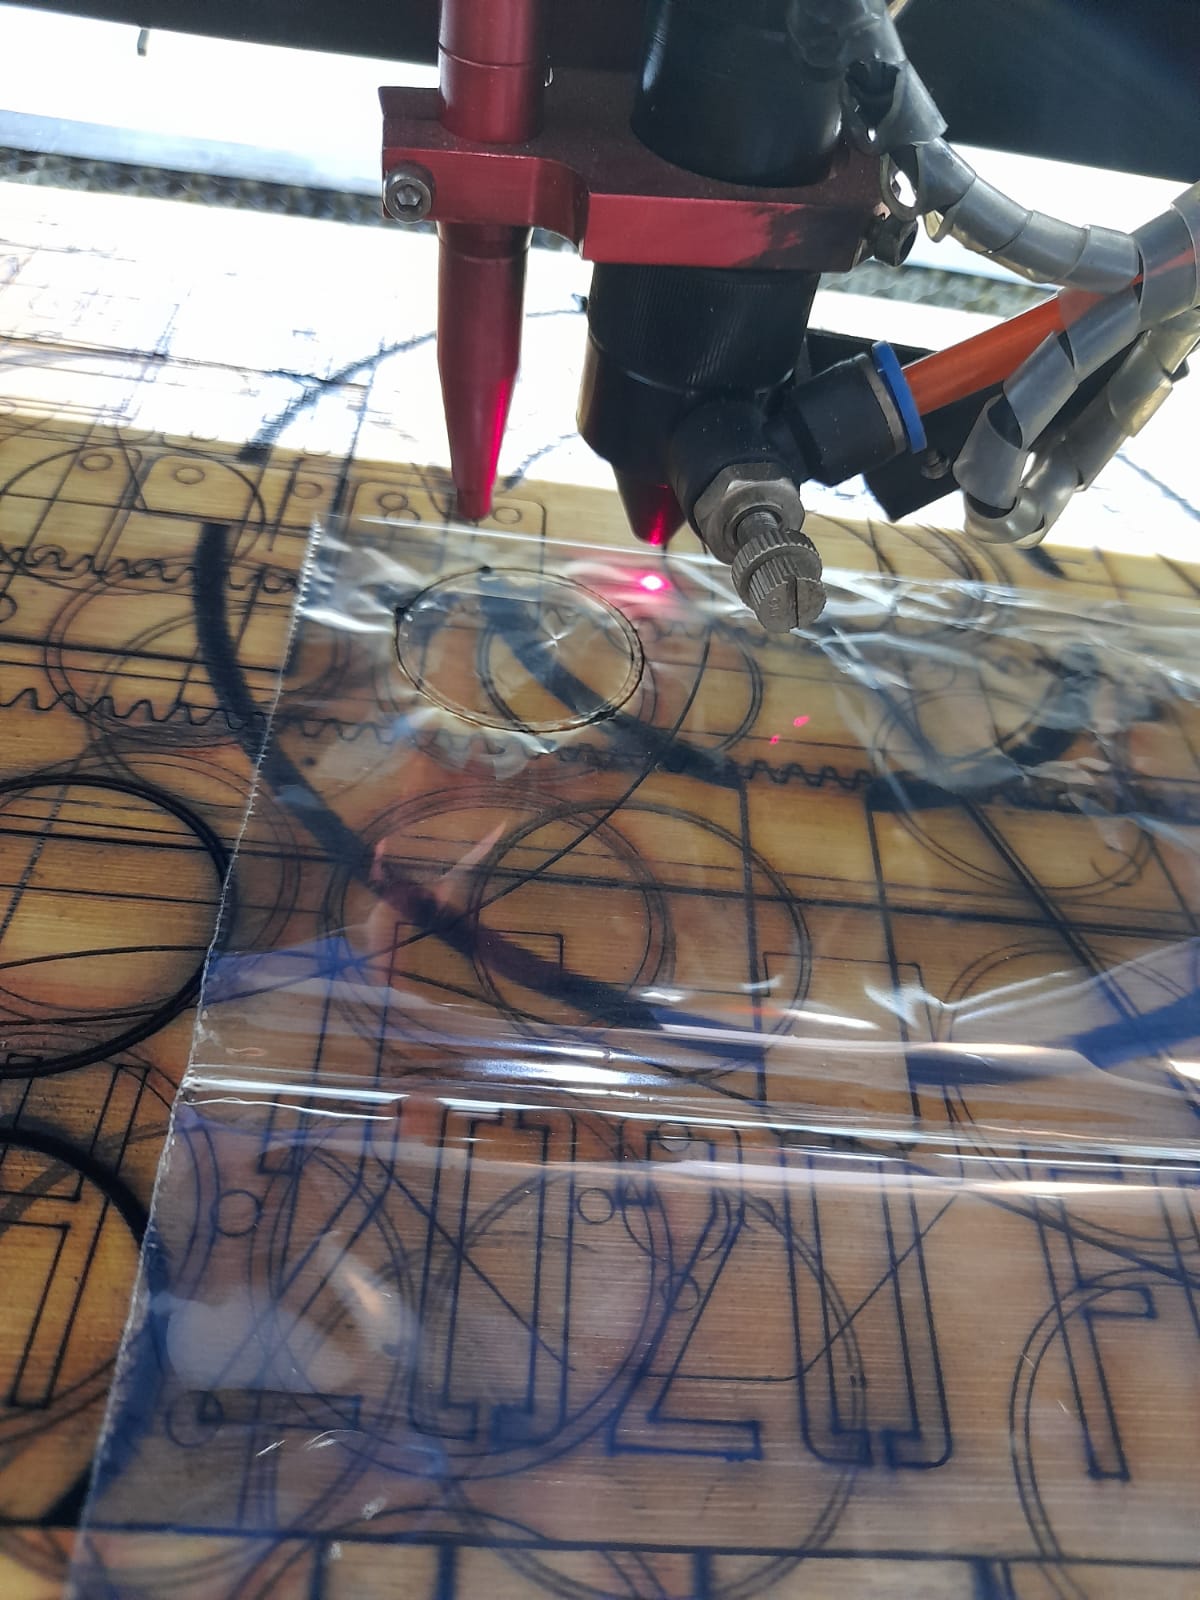
here I set the speed for 300mm/s and 10% power
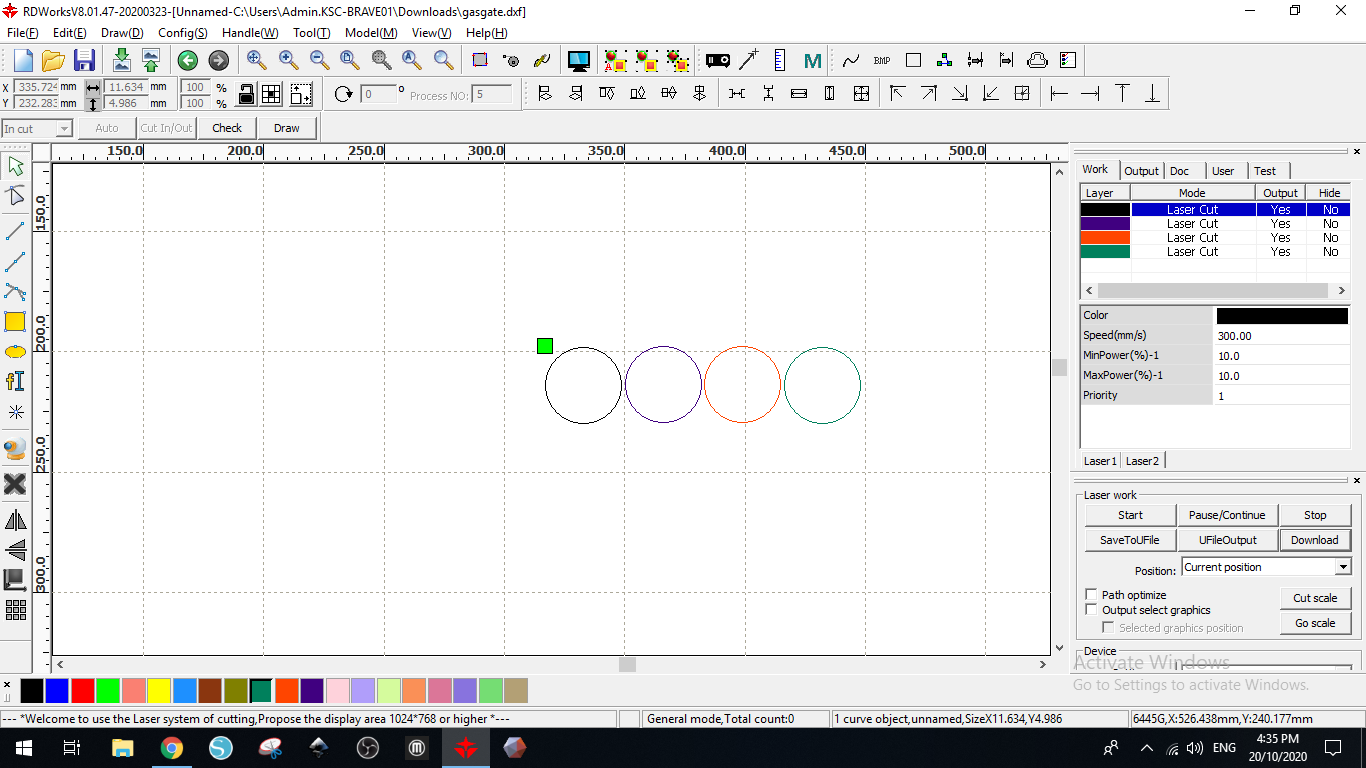
Score after testing
After doing the tests I found out that a speed of 300mm/s and power of 10% will weld the paper and will give me the result I want
Design steps
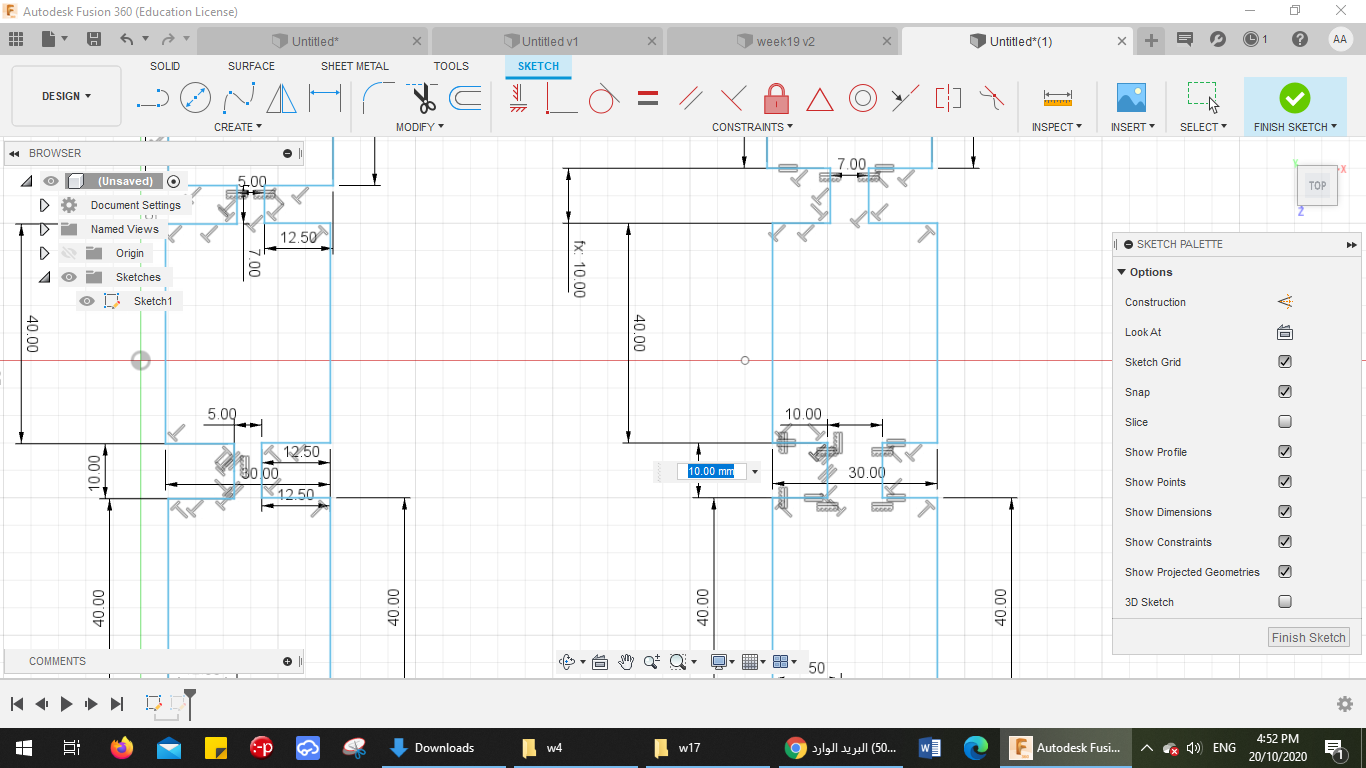
1.I made three designs to test the inflation rate so I started with adding dimensions to me “squares”. For this design I was changing the “Squares” connectors
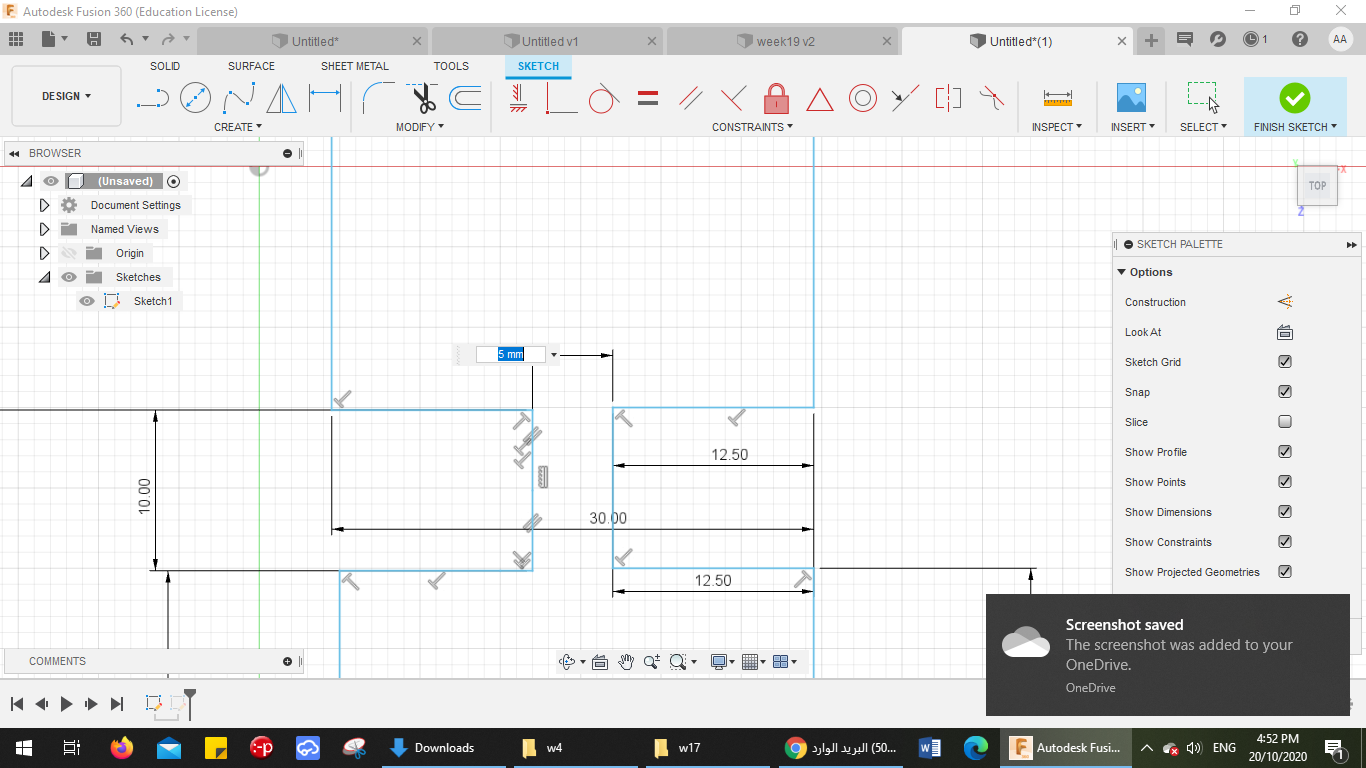
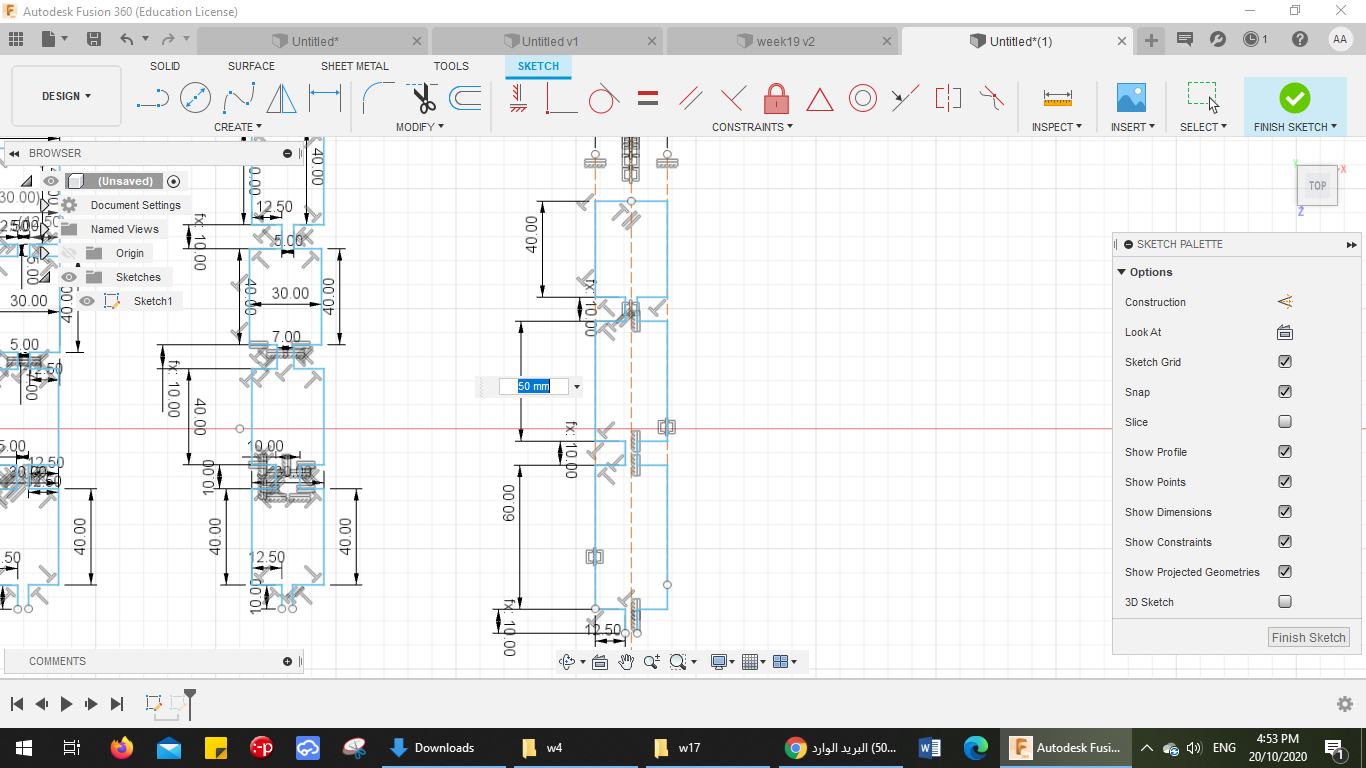
2.Here is the other design were I was changing the square size
 3. Here I was changing the “Squares” length
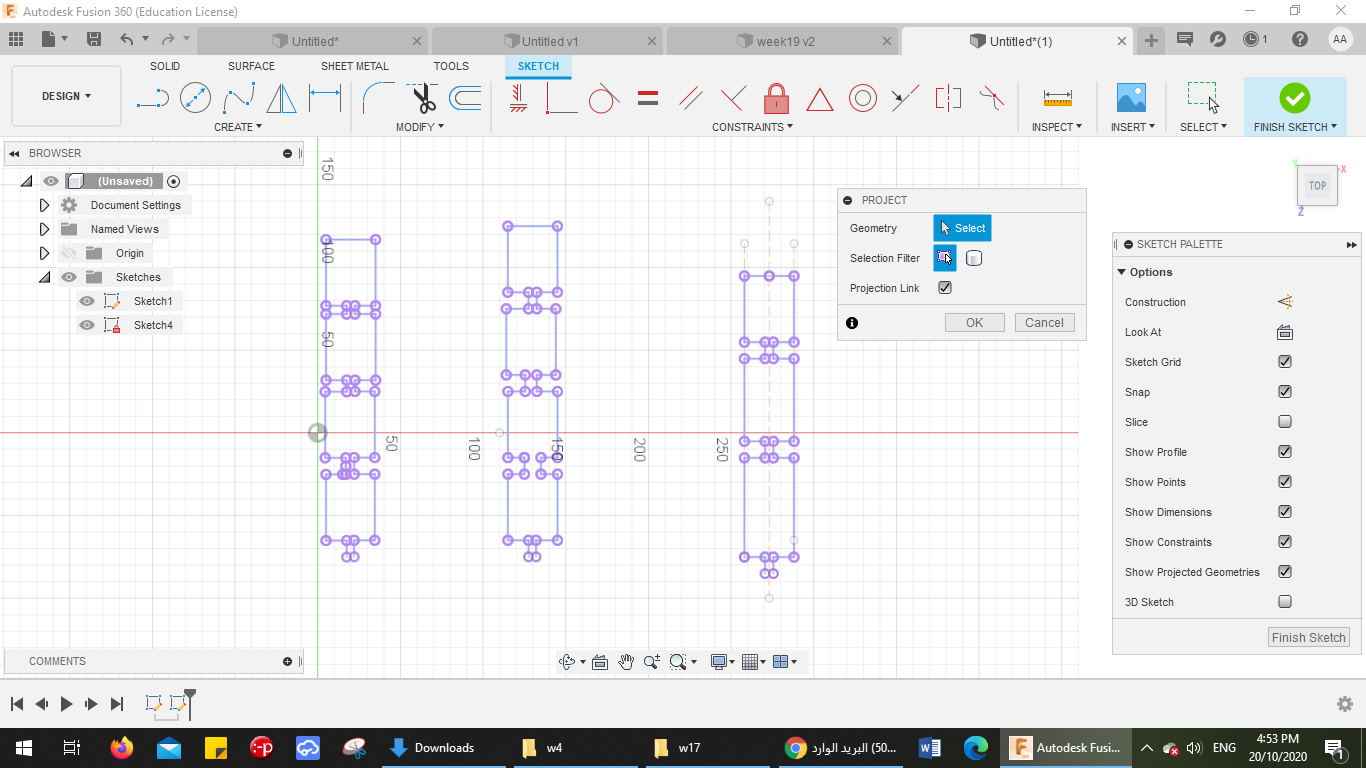
4.Here I prepared my design to be cut by projecting the design the saving the sketch as .DXF
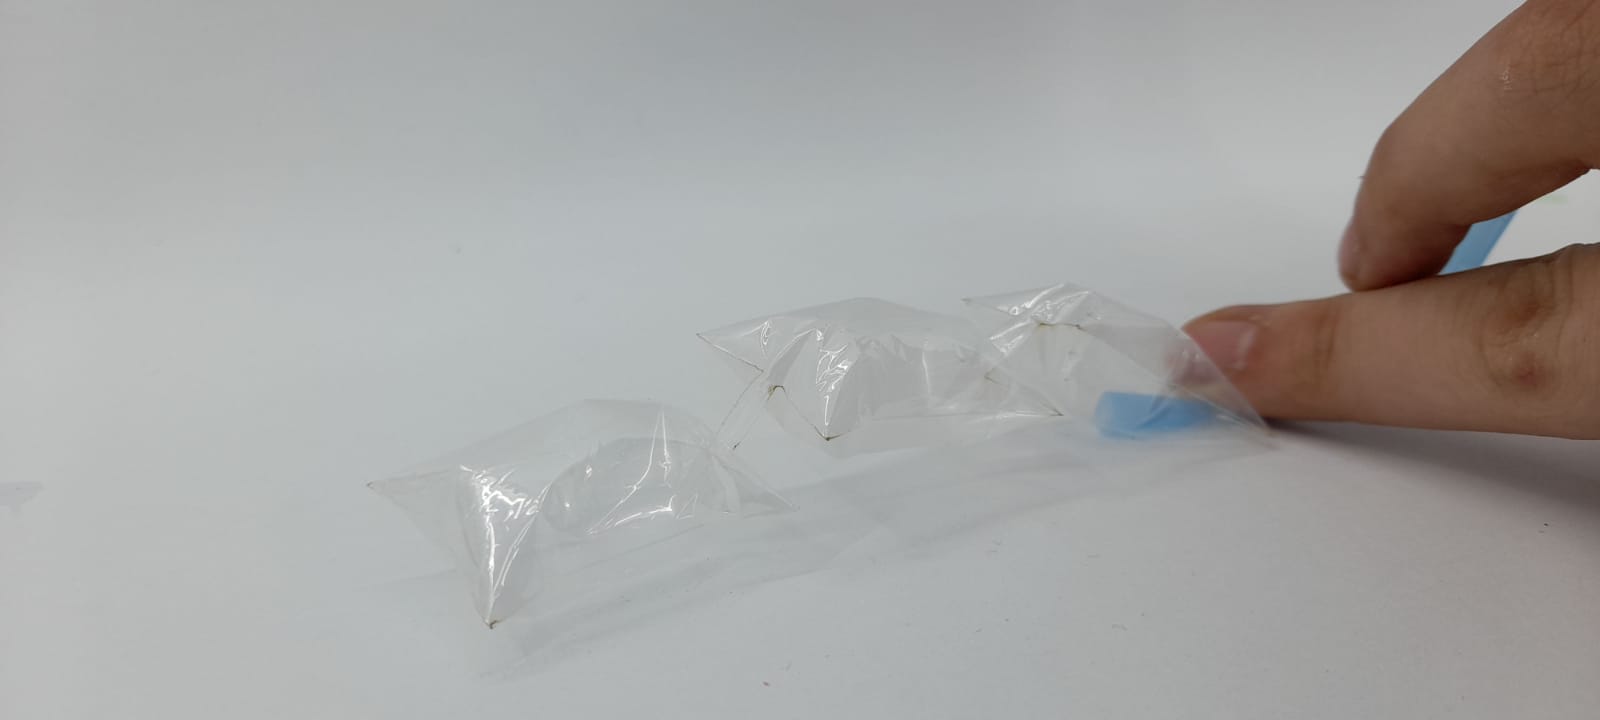
Result
My other wildcard idea
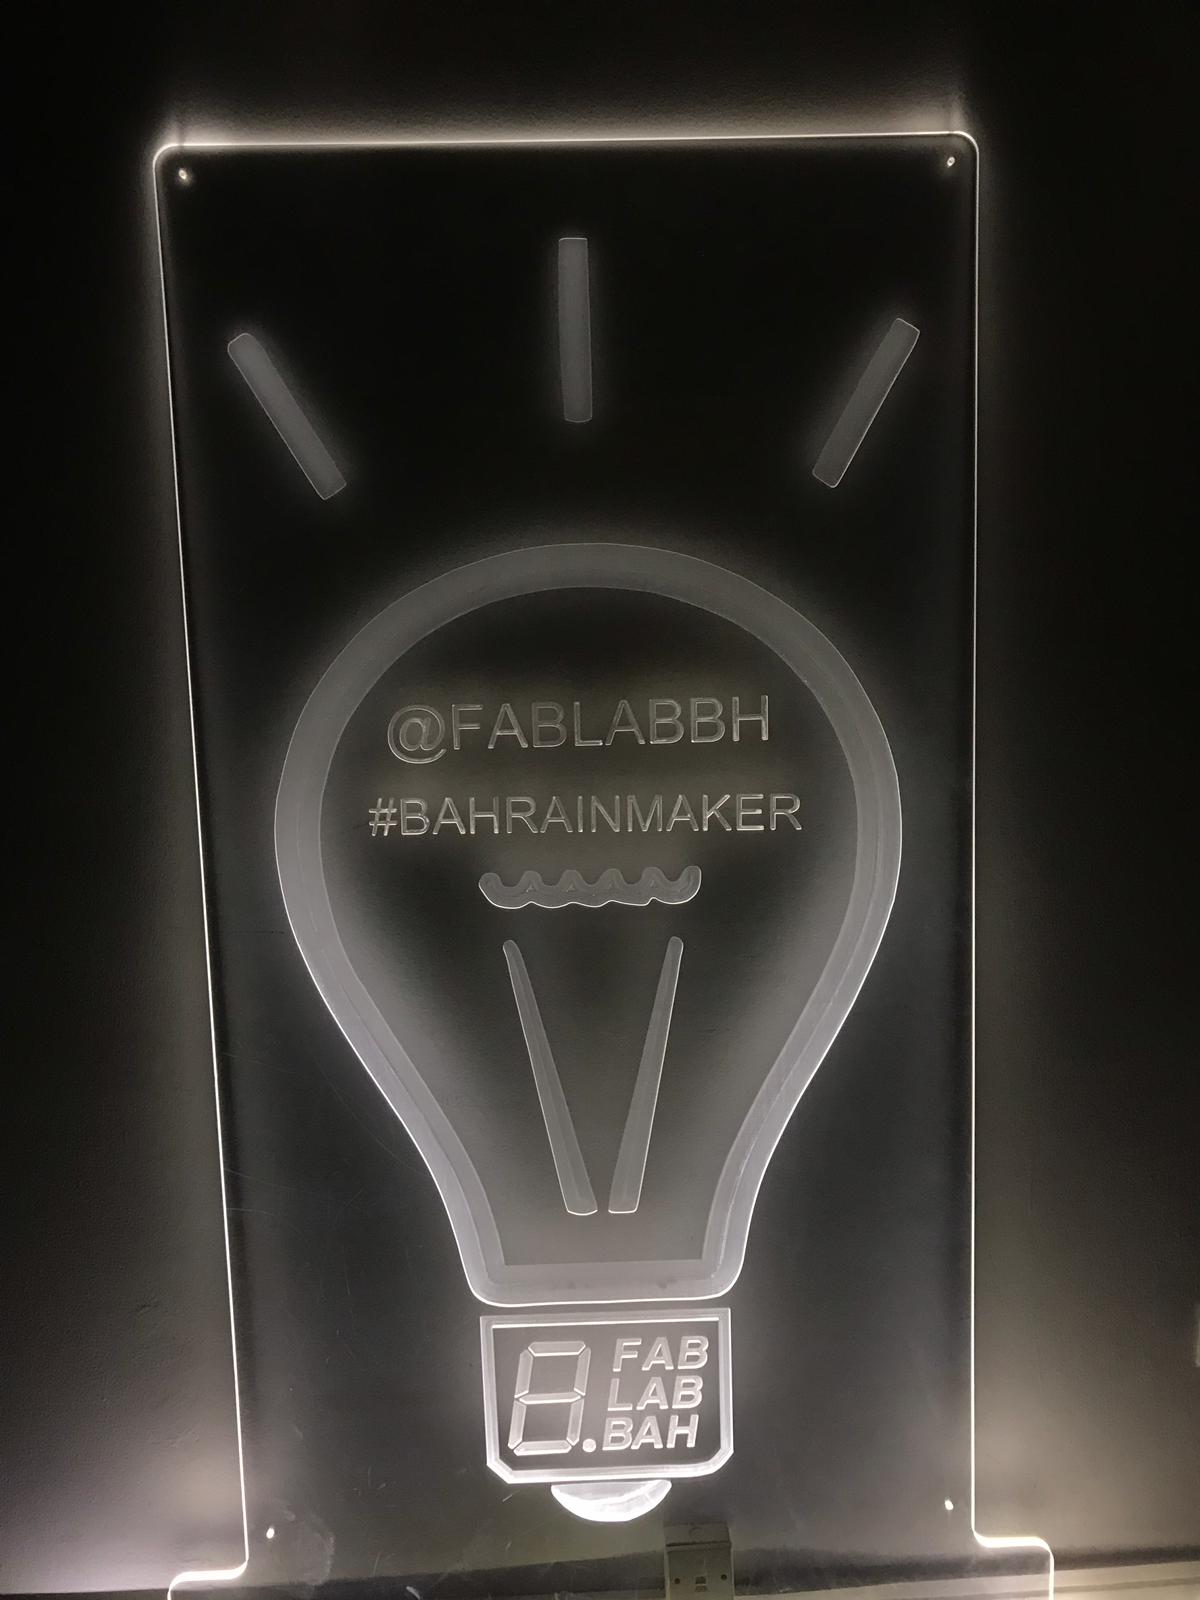
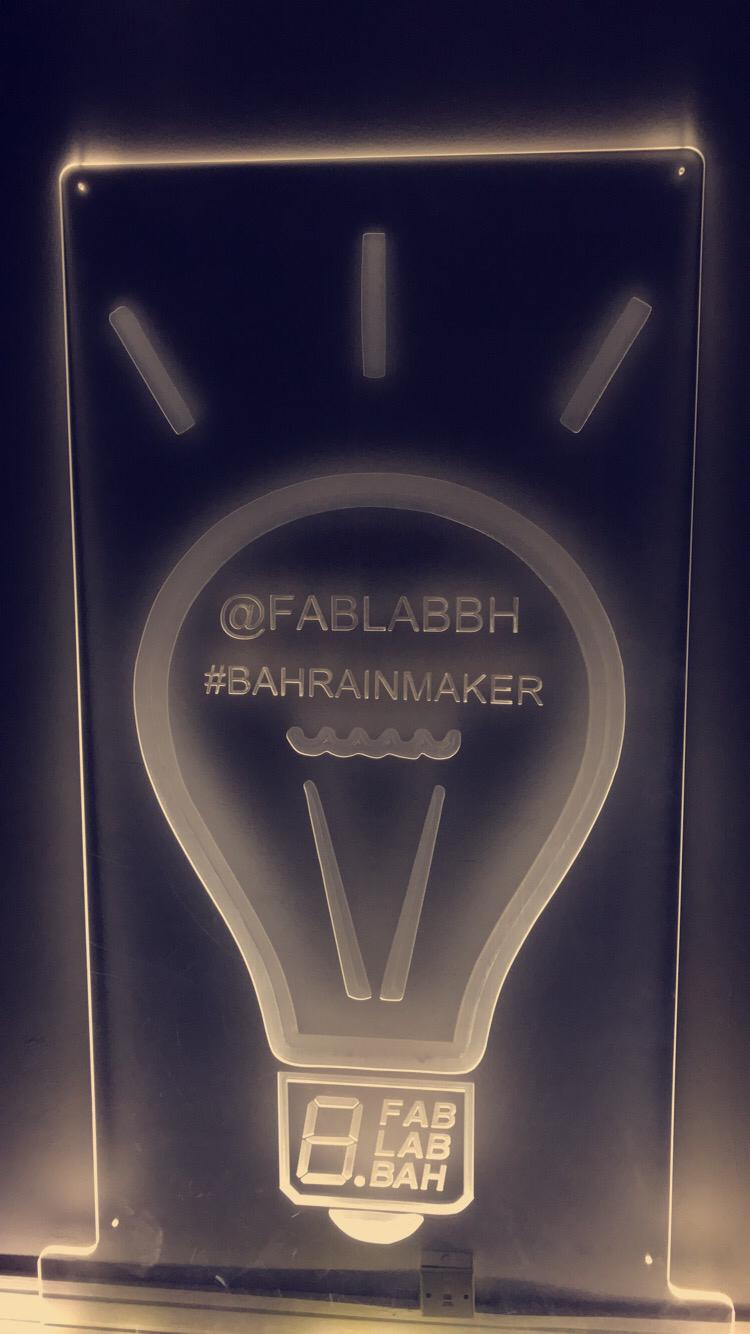
What is the design
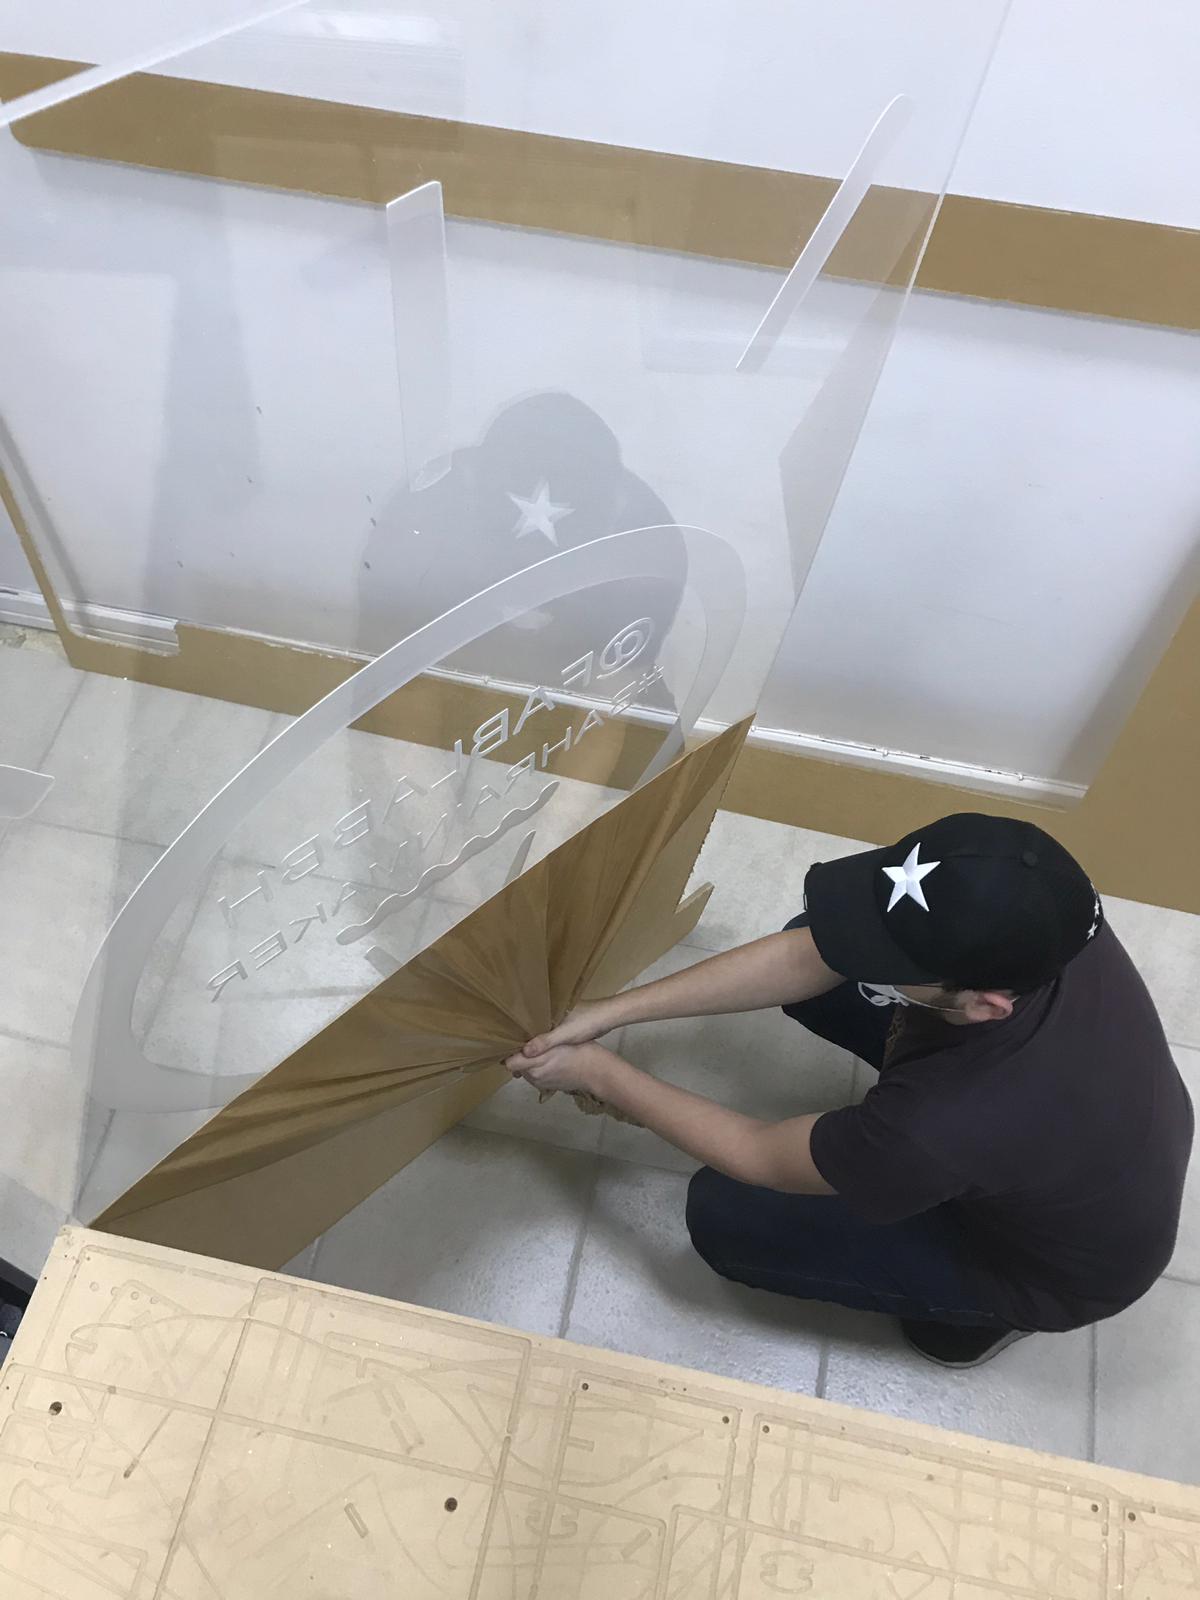
- This week I wanted to do something special for the fab lab bh and it would be a gift from mer to all their efforts that might be for me. I made a sign that includes the Instagram account and the hash tag for the fab lab bh so that the people who come to visit the fap lap will take a picture with him to make a memory for them
program used
- I designed this lamp using Fusion 360, which I explained about in the third week (3)
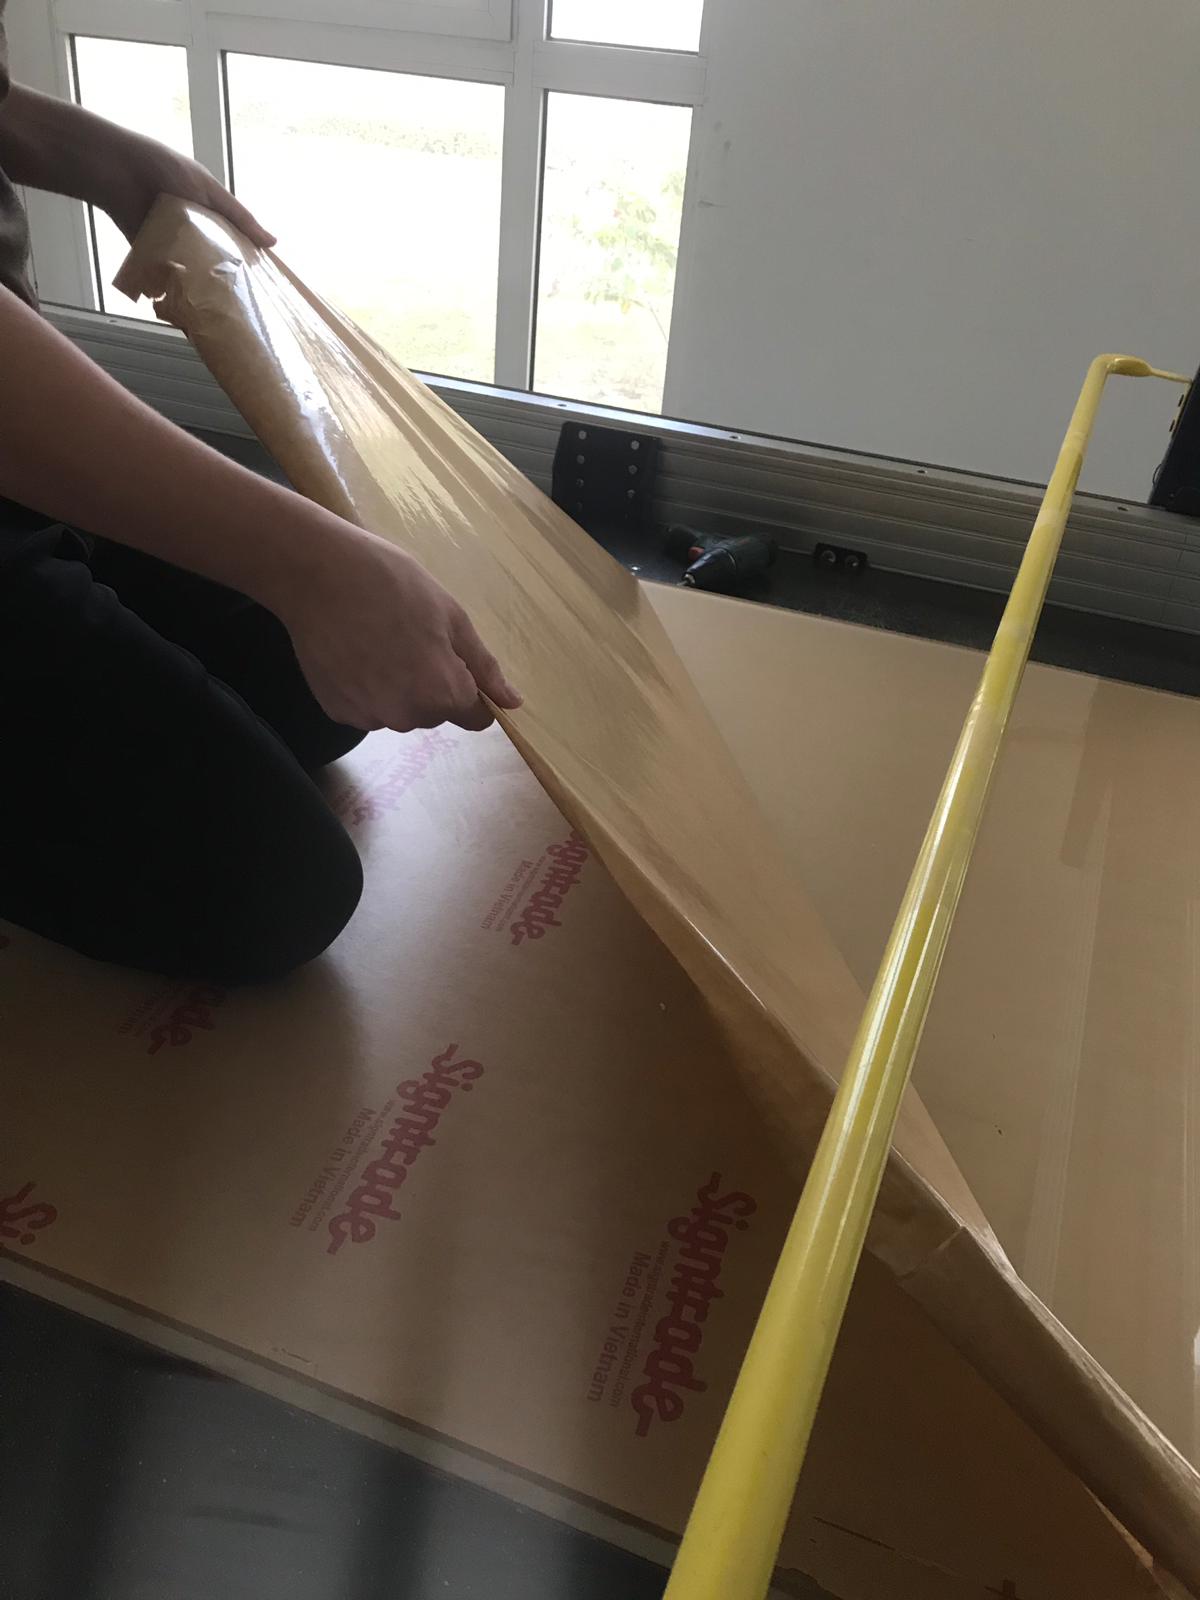
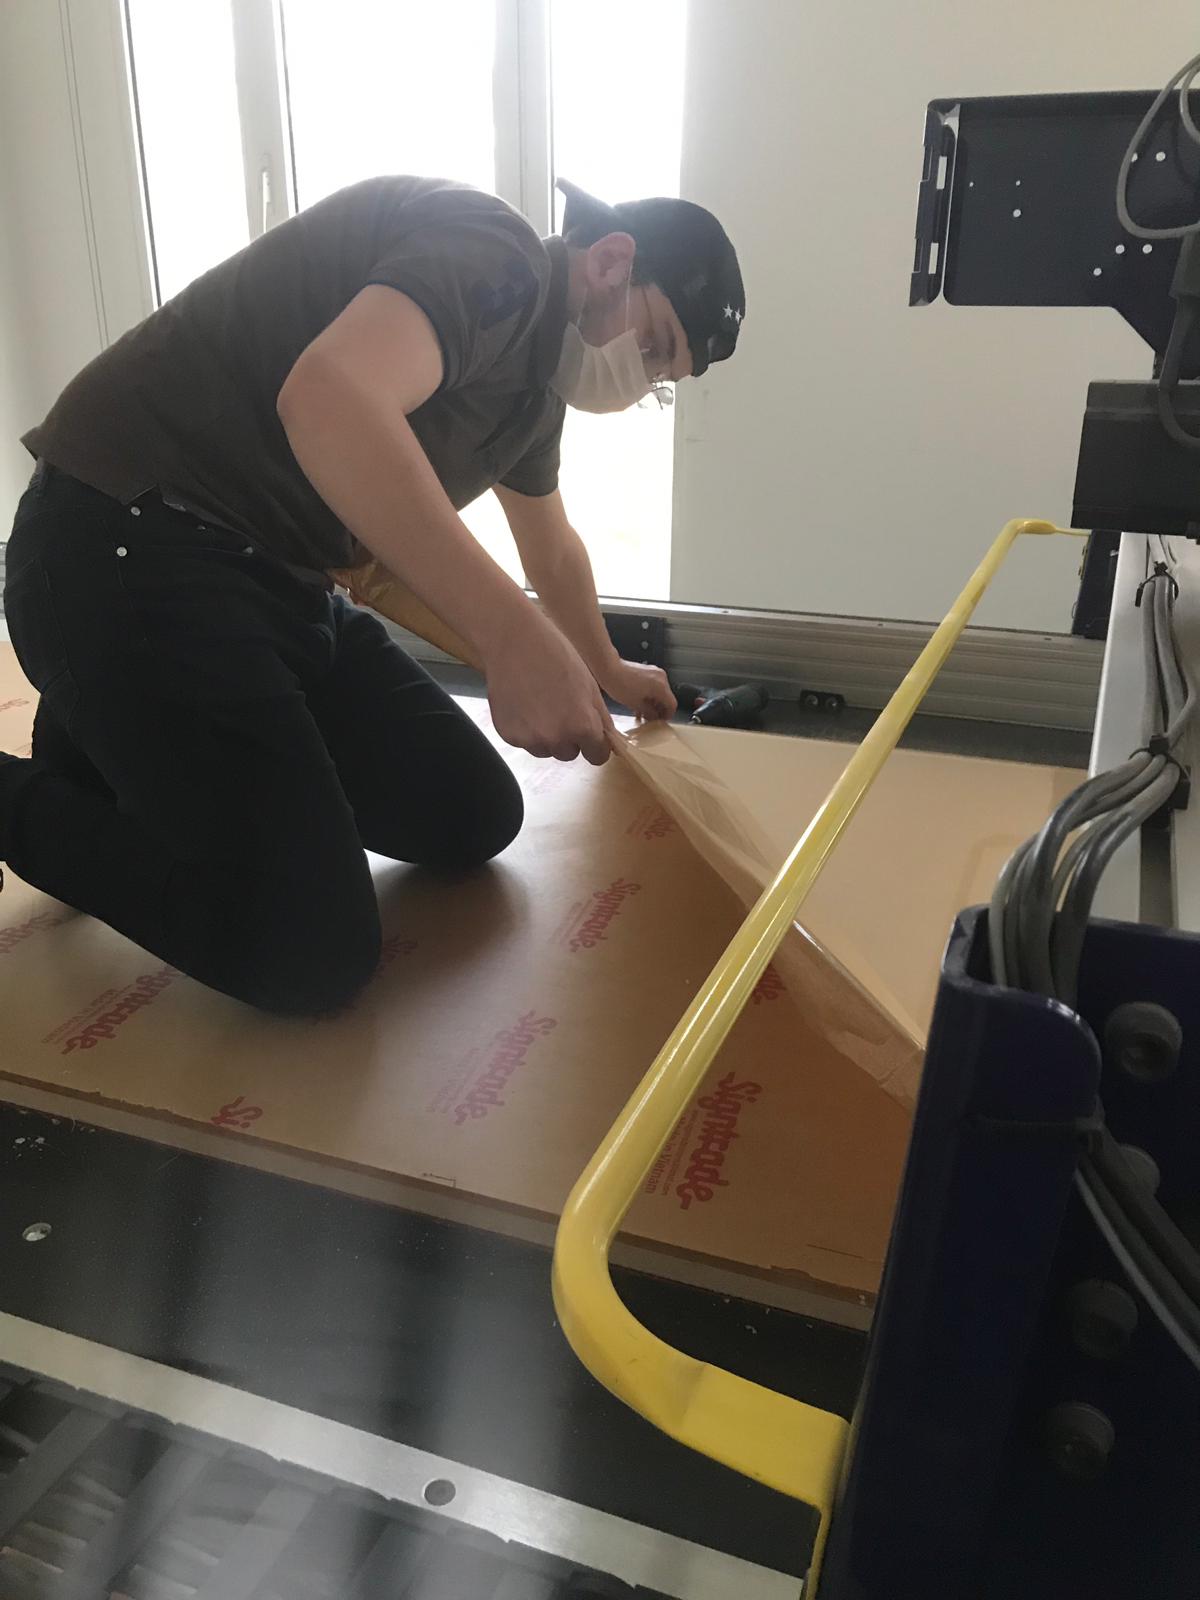
After I installed the acrylic plate, I managed to rotate the acrylic sticker, so that after cutting it is easy to use
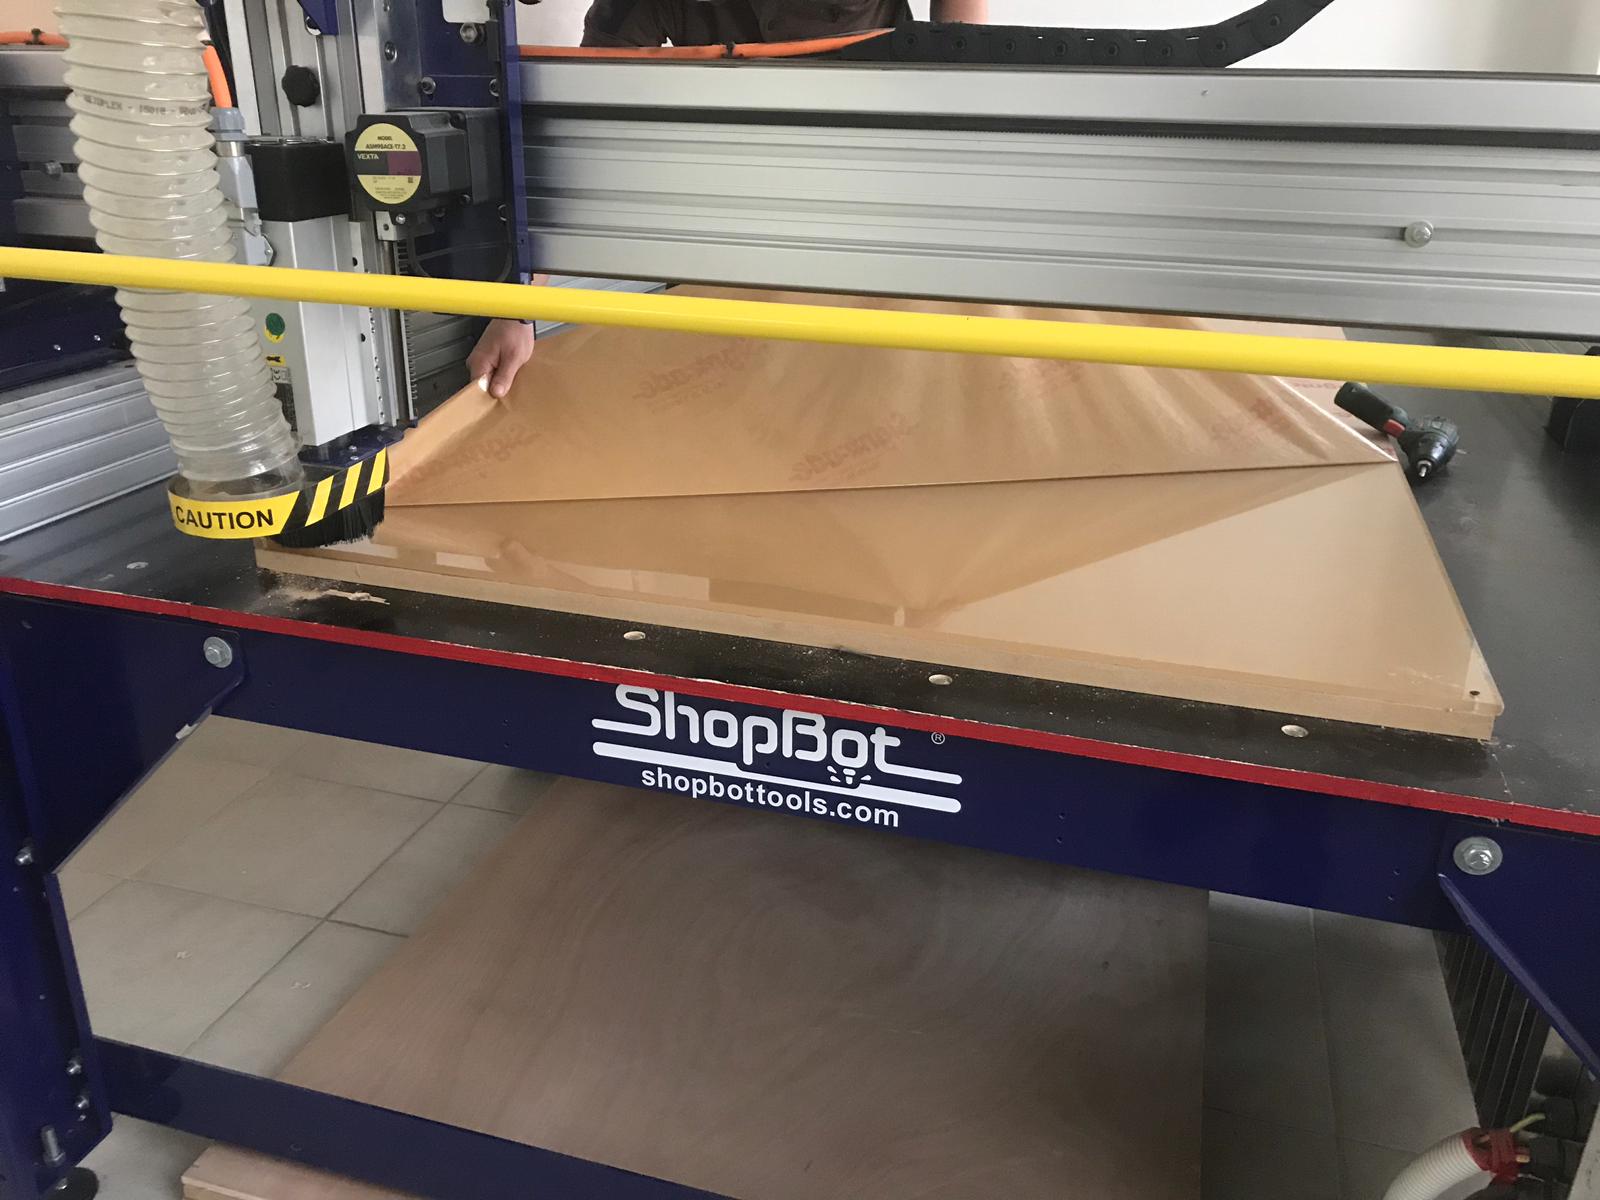
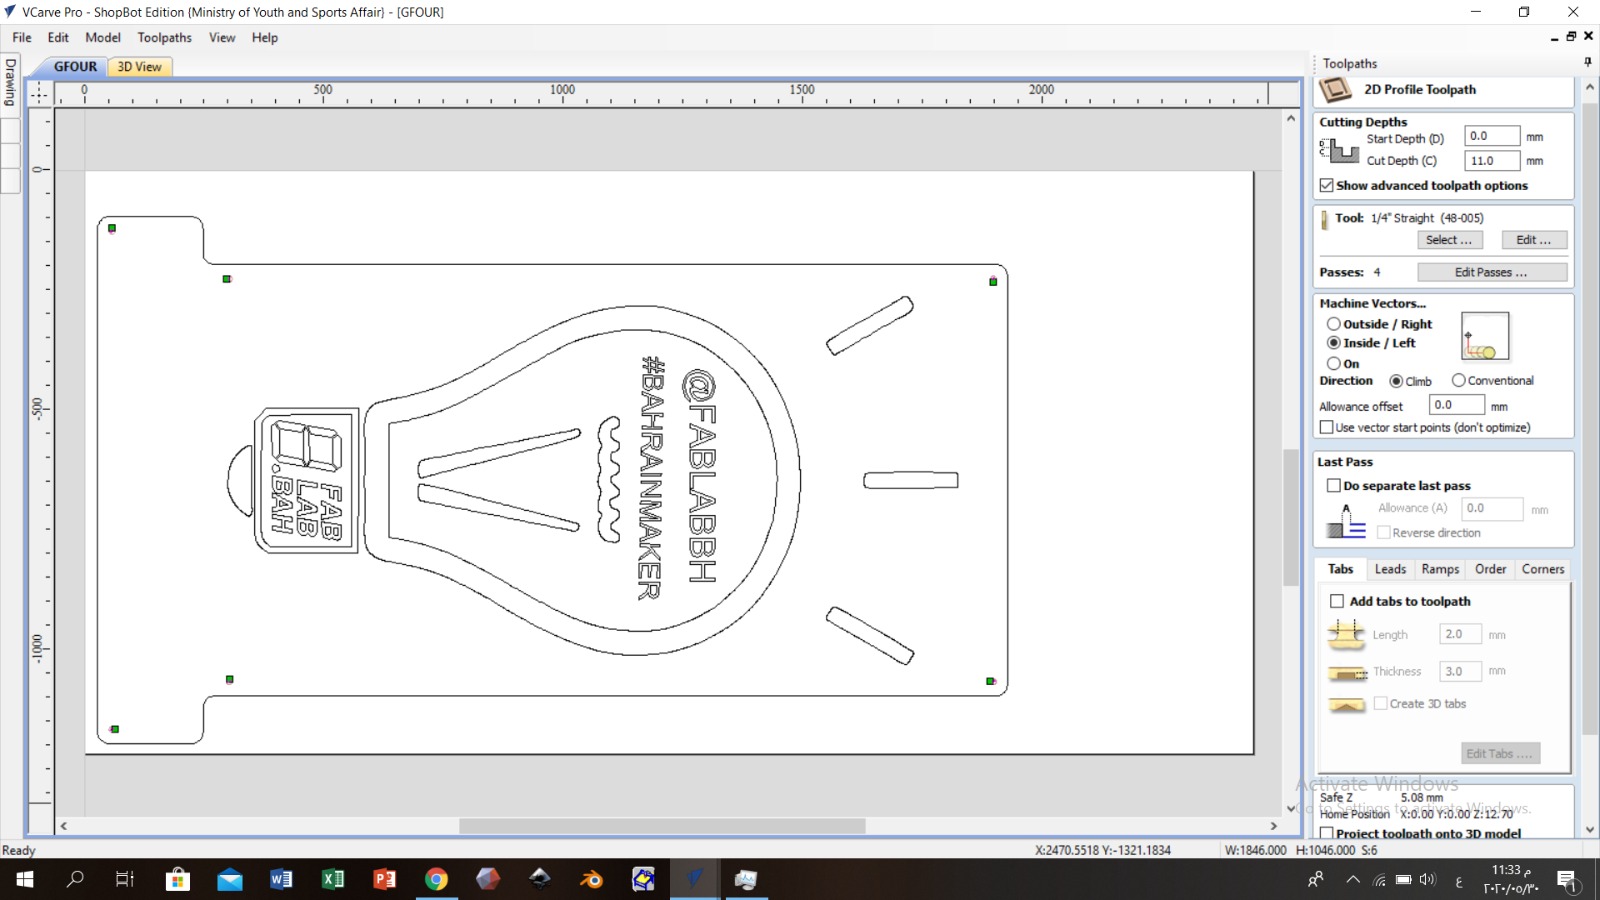
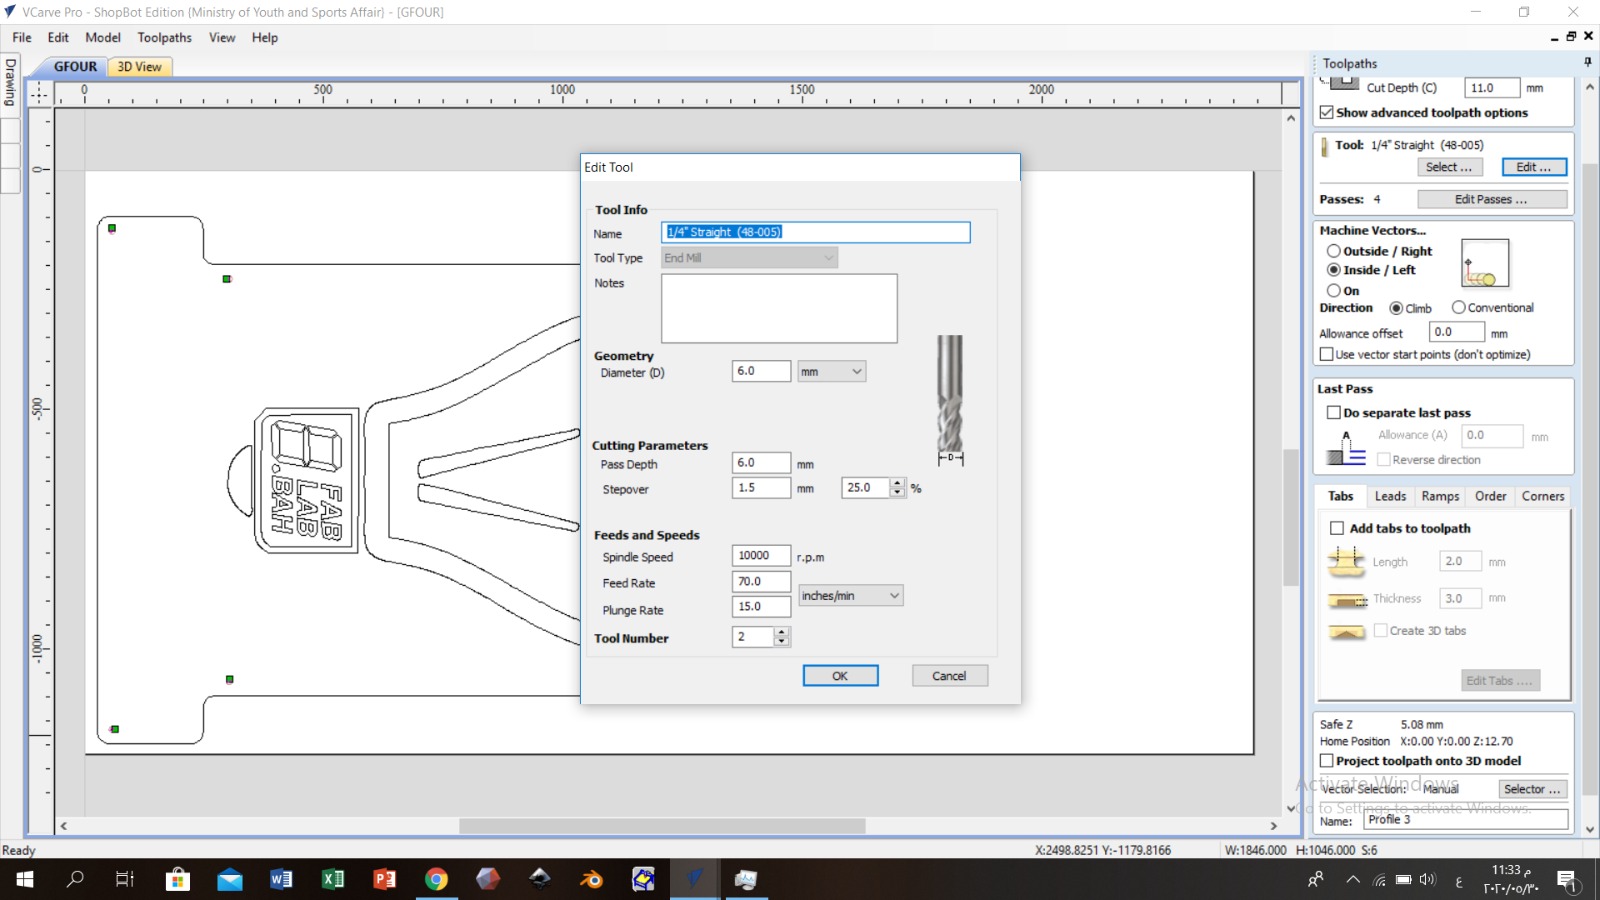
After I finished removing the adhesive, I opened the design in the CNC program, adjusted the settings to trim
I used the help of week (8)
to adjust the settings for acrylics to cut and drill acrylics

You choose the type of drill bit and change the speed / digging depth settings
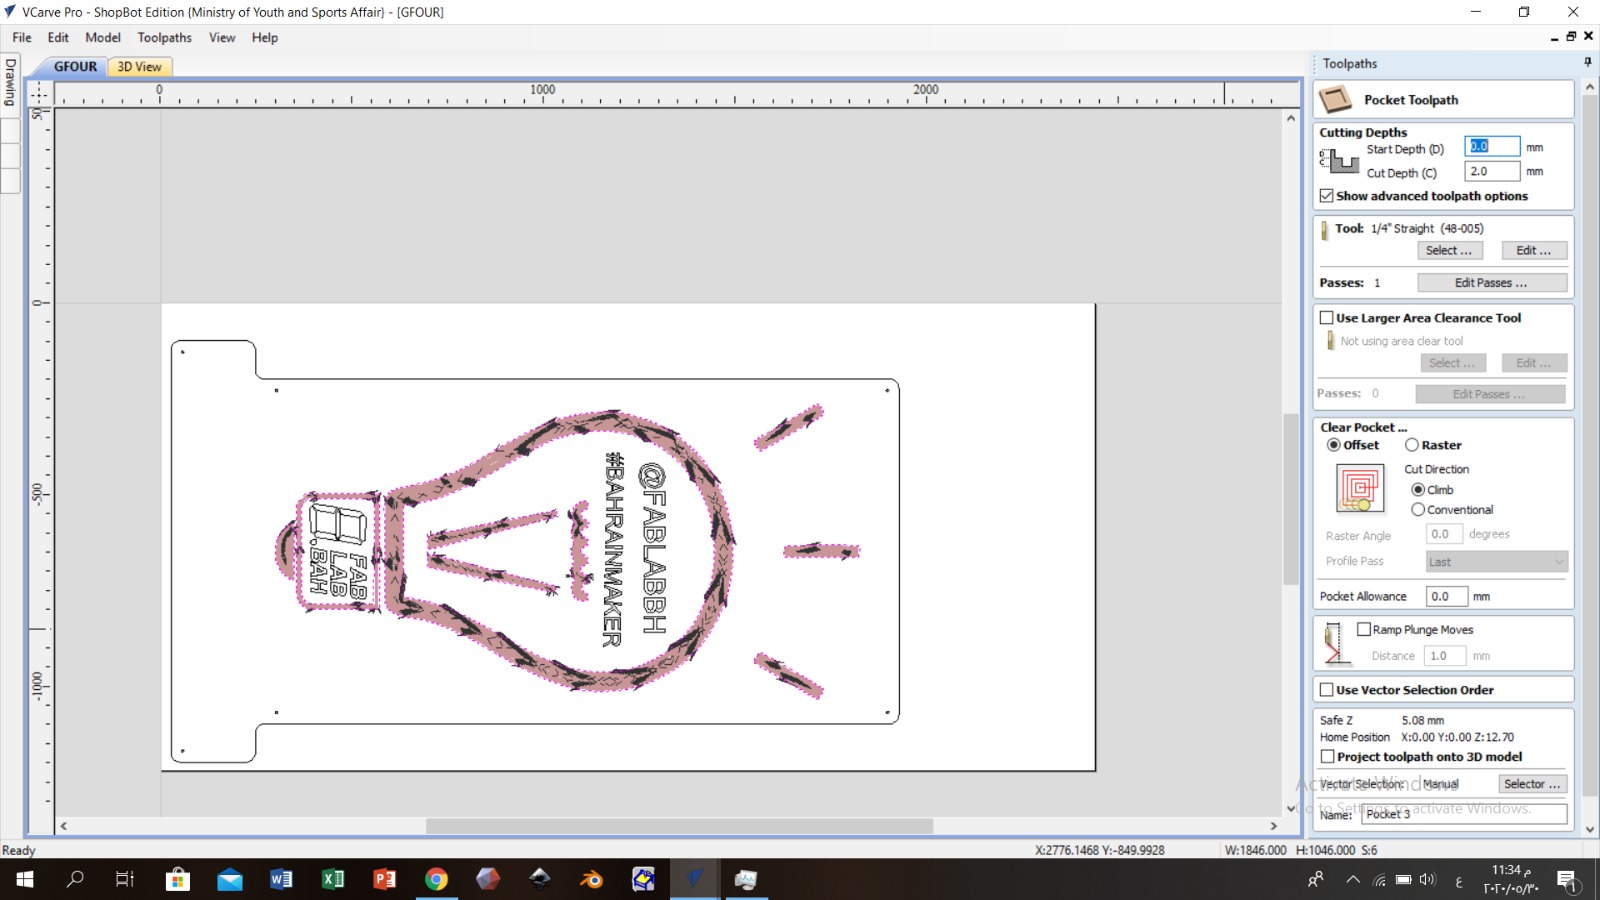
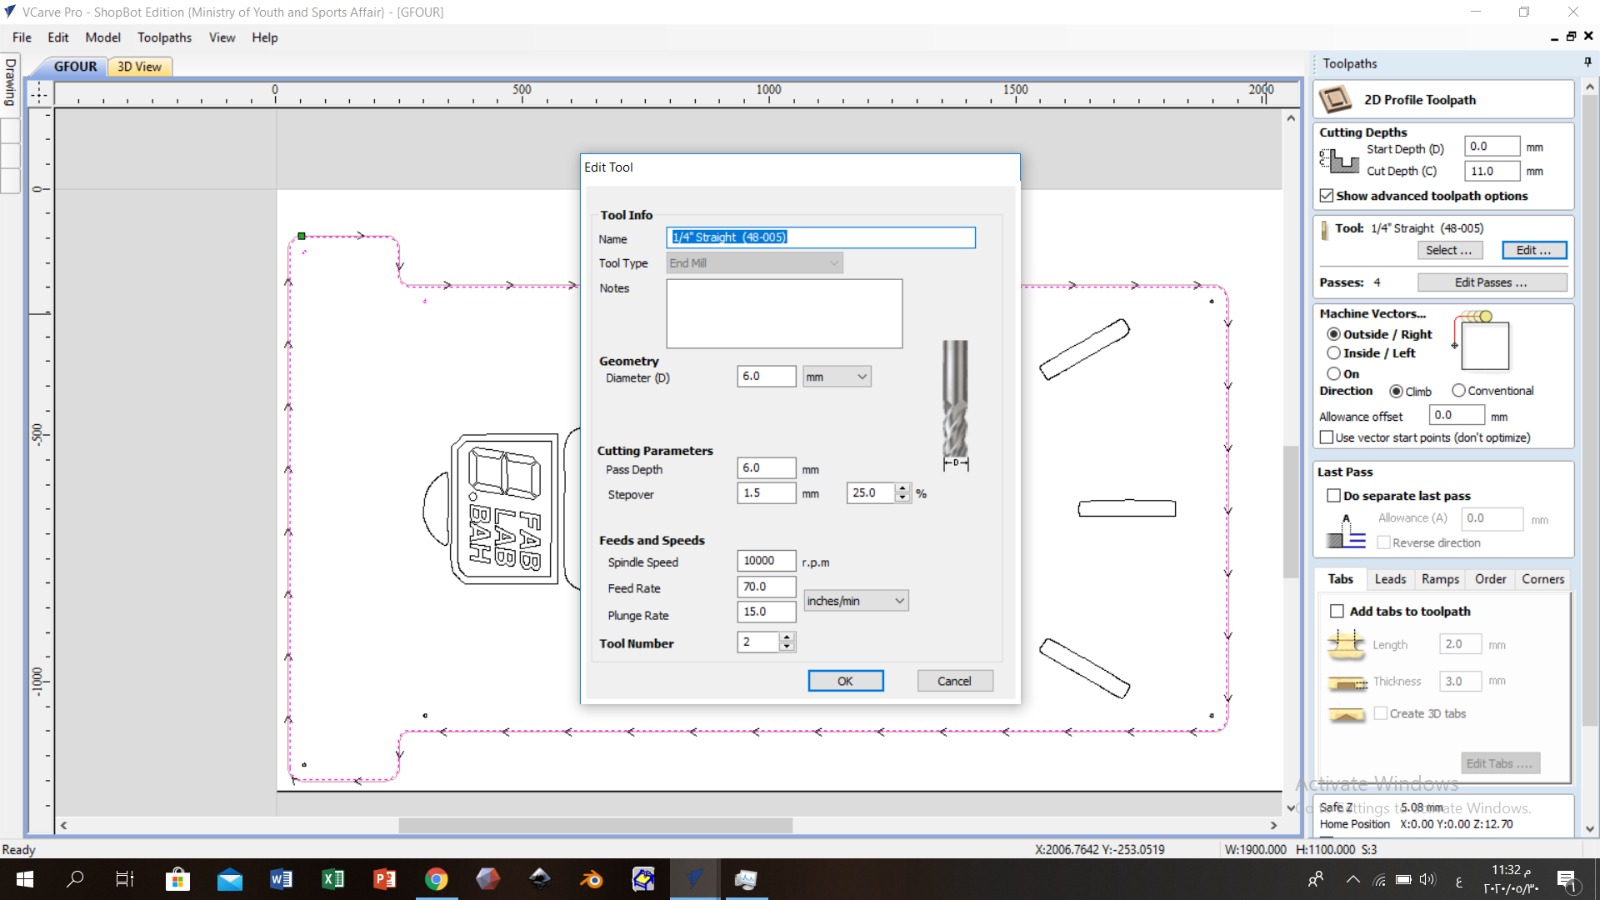 After the design is ready to be cut
You set the Z axis

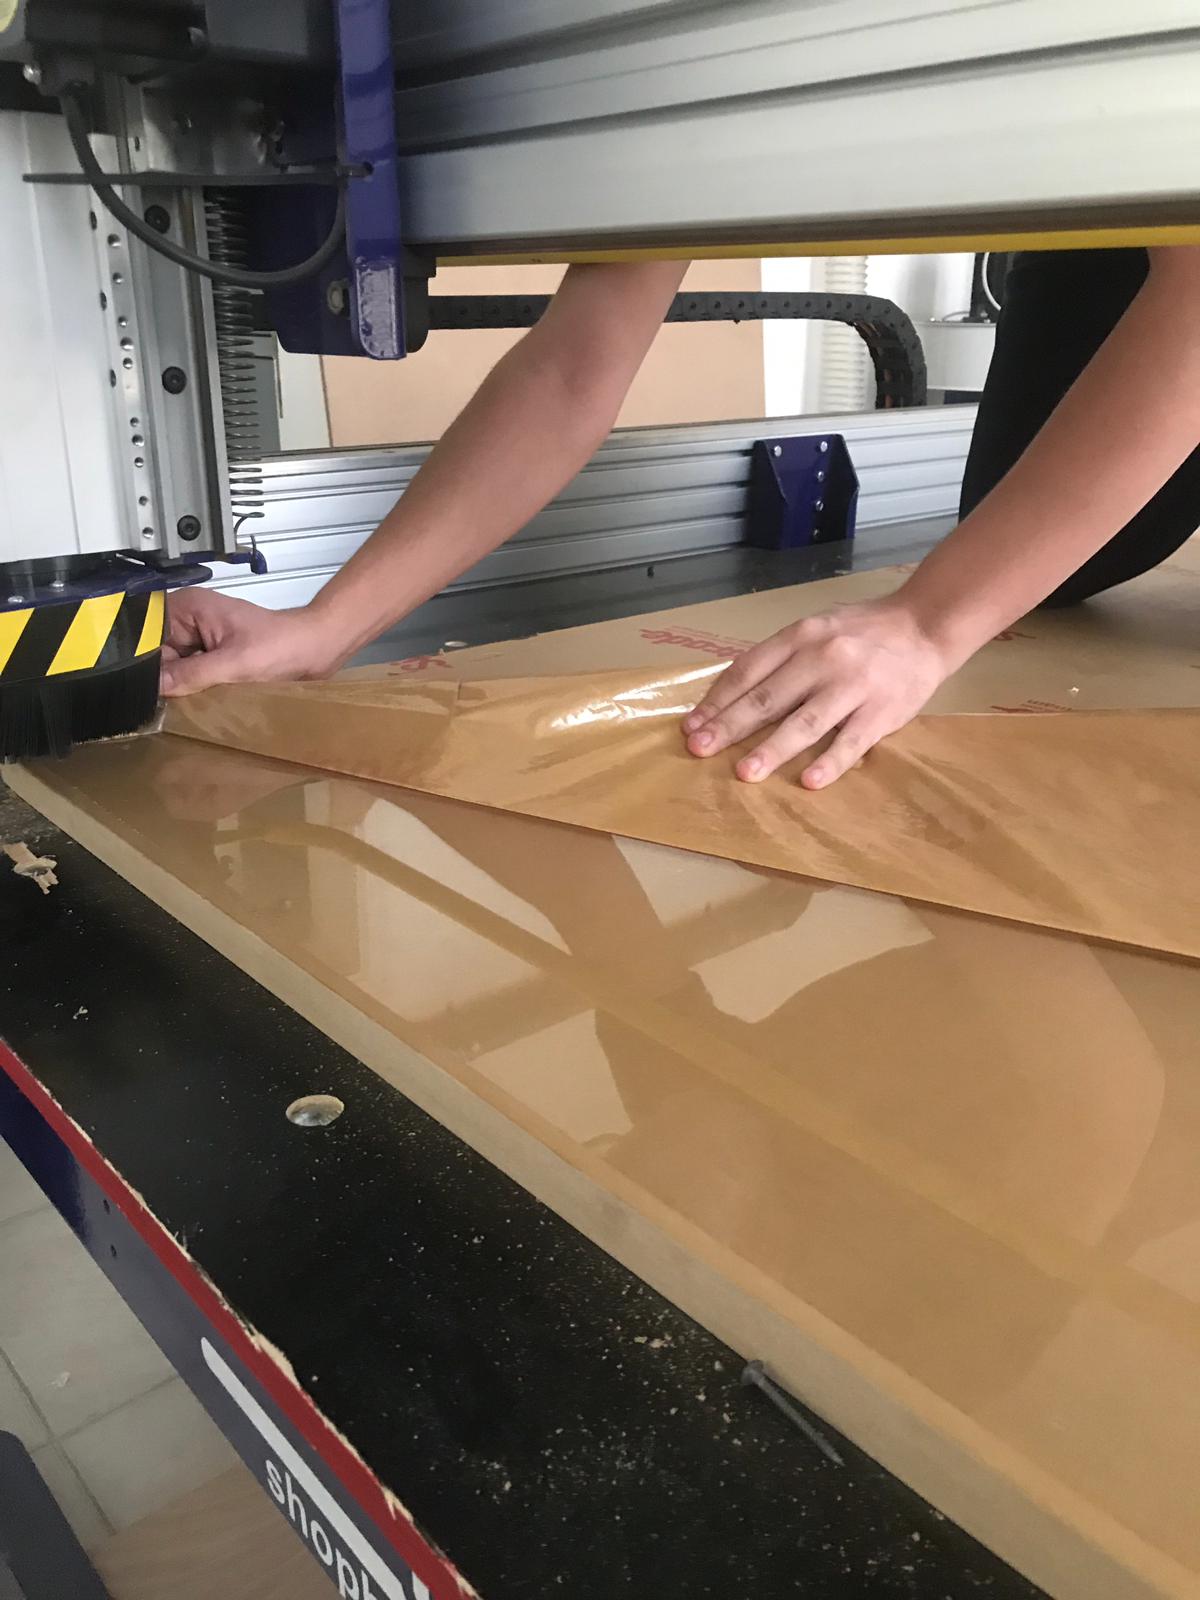
After I finished cutting, I removed the leftovers