Wildcard Week
Assignment List
- Shown how you made your project ☐
- Described problems and how you fixed them ☐
- Included your design files and ‘hero shot’ photos of the project ☐
- To Conclude & Reflect
Wildcard:
Design and produce something with a digital fabrication process (incorporating computer-aided design and manufacturing) not covered in another assignment, documenting the requirements that your assignment meets, and including everything necessary to reproduce it. Possibilities include (but are not limited to composites, textiles, biotechnology, robotics, folding, and cooking.
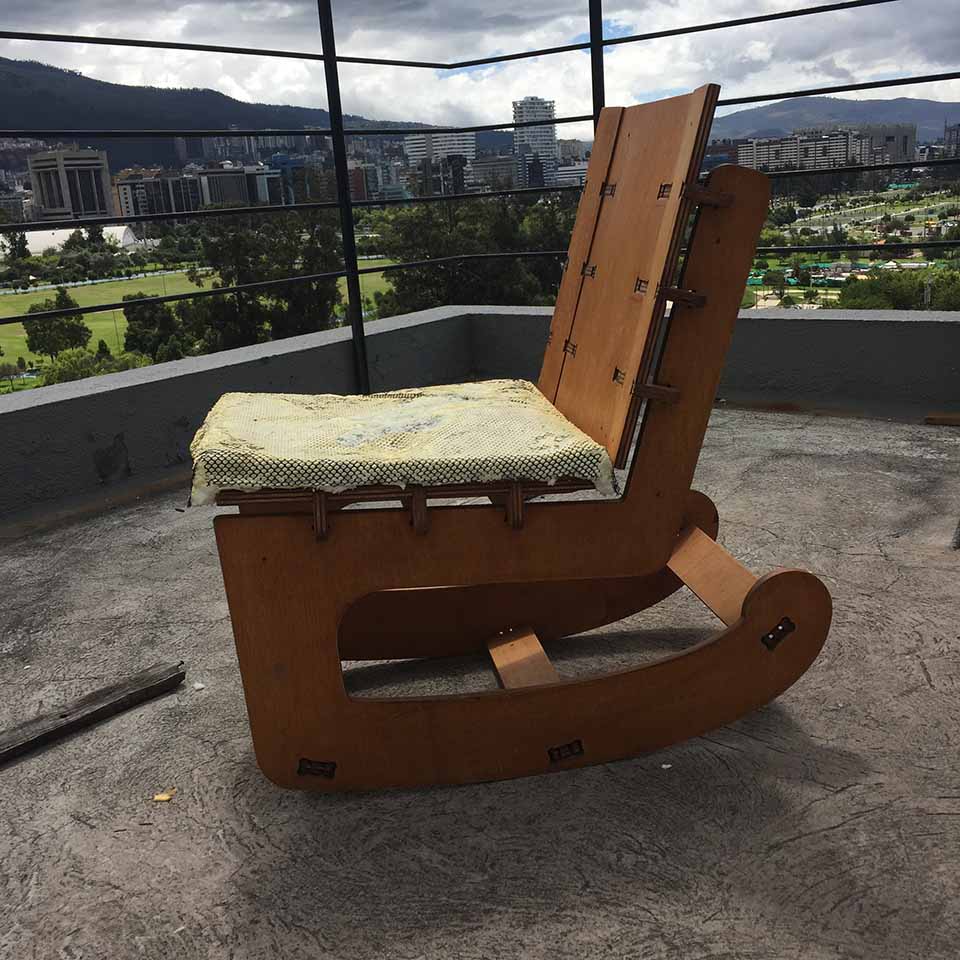
Seat cushion: a exoskeleton based composite.
Do to the nature of the chair project, It would be beneficial to have a seat cushion to hide the capacitive sensor
.jpg)
Additionally, the seat would be enhanced with a bottom cushioning for long lapses of time.
This week's project, I used the Expansive Polyurethane in conjunction with a polyester mesh in order to create a composite that would act as a seat cushion for my chair.
Most of the materials where in close rage from where I was. So I ended up laser cutting the mold and adding a flexible polystyrene plastic guided by the 2D cut outs I had done.
The process
The process done in order to create this cushion is as follows:
| 1. create a mold out of mdf & styrene |
|---|
| 2. Lay the outer polyester mesh on the end, and avoid rincles |
| 3. Pour in the PU foam up to the top of the mold, in one go so it all joins properly |
| 4. Let expand for 1-2 days(dry to touch ocures after 4 hours, but fully dry takes longer) |
| 5. Trim the excess mesh & excess foam in order to fit snug on to the chair. |
| 6. Hand Sand excess PU that filtered through the Polyester mesh |
The PU foam is brittle when it is by its self, and when the mesh joins it, it keeps the mass in its place for far longer before actually braking off.
Bonus: It also requires much more pressure before it deforms. I also attribute this to how the foam and mesh work together as composites.
This combination of PU foam & polyester Mesh create a reliable Composite material that brings the best out of both materials
.png)
.JPG)
.JPG)
.JPG)
Problem
Initially I planned only to use lateral-saped supports and styreene to mantain the mold.
Attempting to buld the mold I realized I required traversal supports between the shapes.
Due to time I drew them on the laser software = perfect boxes.
The best solution would have been do to snapfits as a structure. Because I did not do so, I had to glue and possibly wasted 2 hours just getting and holding the MDF in place.. tape is everywhere.
.JPG)
Lasercutting parameters
.JPG)
Assembly with traversal support, debugging.
.JPG)
Tons of tape to compensate the lack of snapfit assembly.
.JPG)
The pour of the PU foam
.JPG)
.JPG)
Aditional composite development
I did this second development of a composite in order to fully utalize the advantages of creating 3D shapes and utilize advantages of combining a solid strong but brittle material (poliester resine) with a flexible and resiliant material (fiberglass)
The final product was a concept to hold keys with a back magnet, yet I have not found a magnet strong enough yet.
.JPG)
.JPG)
I created the file with two perpendicular extrusion profiles, and joint them together. Later added a couple of fillets larger than 6mm: the diameter of the roughing bit.
Later I export the file in .stl, and create 3 processes in artcam: z level roughing (6mm flat head milling bit), machine releif (6mm flat head milling bit) & Finishing machine releif (3mm round head milling bit) in spiral motion.
The material I used was 30mm MDF. It was about a 200mm x 100 mm part. My cut out was 50mm sq with a 10mm depth.
.png)
.png)
here you can find: solidworks file, artcam file, stl file & gcodes.
.JPG)
In this case the roughing operation was small due to not eating too much mateiral.
.JPG)
Later the finishing was complete, with the 3mm round bit. I actually sent it again just cause the mdf I cut into had like hairs.
.JPG)
I later used spray laquer to seal off all the extra pores the MDF has in order to have a satisfactory casting prcoess.
.JPG)
the casting:
In this case I decided to cast my part with poliester resine and fibreglass. A strong composite that si widly accessible.
I took precausions, as the mateiral is not sold with safety instructions, I used chemically inert gloves and a mask against fumes.
The mixture ration I have found works for me is the following:
| quantity | product description |
|---|---|
| 100ml | Poliester Resin |
| 1.5 ml | COBALT |
| 0.75 ml | MEK |
I mix first the cobalt with the resin(until getting an even purple), and later mix in the MEK(getting an even brown green shade). Measuring ingrediants with a serigne is great. In this case I also added a bit of white pigment, but it didnt really show. the curing time is about 3 hrs. Used lots of WD-40 oil as a release agent.
.JPG)
.JPG)
.JPG)
.JPG)
I also pre-cut the flat fiberglass patterns to shape. The full area and strips to add on the specific curves of the mold.
Later used a couple of clamps to tighten the part into the mold.
.JPG)
.JPG)
The finished part actually came out with a couple of bubbles I was not expecting. I guess I should have placed in a bit more mateiral. Overall the smoothness of the part was really nice.
To Conclude
This week's assignment I did it a bit too rushed, in order to finish it and move on to bigger things.
On that way I found out an very efficient and cost effective way to prototype seating shapes and develope molds withough actually carving a solid wood block.
Questions that still arrise is to work more on the finishing.
Things I can be improved are the number of divisions in mdf created. This would result on keeping the shape of the mold with higher fidelity.
The mateiral (styreen) should have also been thinner, or another mateiral should have been used. Possibly waxed cardboard?
All in all I loved the process and plan on using it in the future.
In this case, it was very satisfying to actually got thought the entire process of creating the 3D part and machining it. It know takes much less as I feel higher in the learning process.
I did hoewrver had not tested the fiberglass on such small parts and possibly adding a bit of solvent in the future would have been a great addition to the part. I was impressed on the actuall strenght of the part and might cosider a better option for medium sized parts as oposed to using 3d Printing