Week 5 - 3D Scanning and 3D Printing
1. EQUIPMENT
The equipment used was:
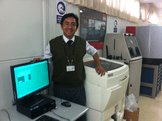
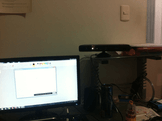
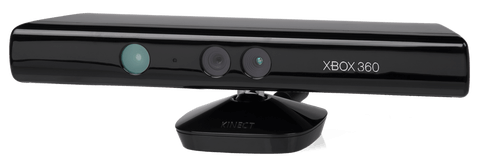
Sensor Kinect
The device has an RGB camera, depth sensor, multi-array microphone and custom processor running proprietary software that provides motion capture, full body 3D face recognition and voice recognition capabilities.
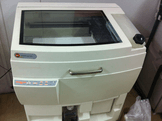
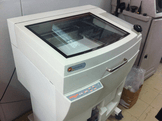
3D Printing Machine.
Programming 3D Machine
Another equipment is the
ZPrint 310 Plus
from 3DSystems, simplifies the 3D print, it is monocromo with a resolution of 300x450 dpi, minimum size of detail: 0.4 mm,vertical printing speed: 20mm/hour, Print size: 236x185x127 mm, material: high performance composite, layer thickness 0.0035 inches, and number of nozzles 304.
2. SOFTWARE
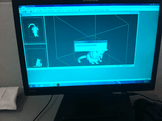
The software used was the Circuit Pro, This software make the process basic CAM operations, executing the process planning wizard, import the gerber files, import the drill file, establishing rubout boundaries, insert the fiducials and create toolpaths.
For the kinect sensor to work, I had to install several programs, between them i have the folowing:
the Kinect for windows SDK 1.8
Which is the driver of kinect, the install is very easy, you have to download it from de microsoft page and then install it.
OpenIN The OpenNI framework is an open source SDK used for the development of 3D sensing middleware libraries and applications.
I used the ReconstructMe software too, this
Reconstructme is a powerful 3D real time scanning system by web page, although it was not for me.
And finally i worked with the software called
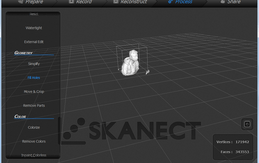
Skanect which can acquire dense 3D information about a scene at up to 30 frames per second. just move aroun your kinect to capture a full set of wiewpoints, and you will get a 3D mesh in real time.
Another software used was the ZcorpPlus, which send the 3D object to the 3D print
3. PROCESS
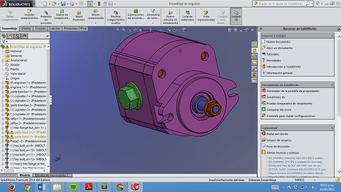
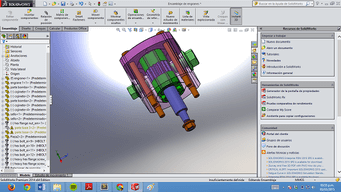
First the process beginning with the desing in solidworks, I design a pump like I show below
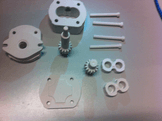
Then I saved the design in STL format, and then I opened the design with the Zcorp software to send the file to the 3D print
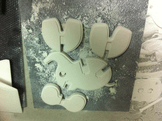
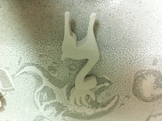
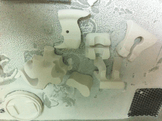
I printed another thing too, like a elephant and deer
The analisys was the follow: in the design the assembly was perfect, however after printed, the real 3D object has not any tolerance, reason why I could not joint.
The parameter to print like layer thinkness was 0.0035 inch, the printing took 3 hours and I had to wait half an hour to get the object while it dried , because the material is fragile
The cost of this material to print is approximately US.896 per 6 kilos.
The another process was the 3D scanning, for this i used firts the software ReconstructMe, like I show below:
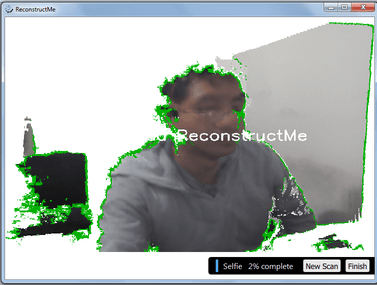
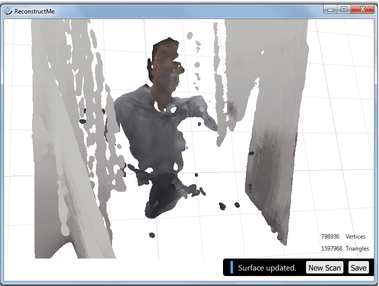
I had many problems whit this sotware, because the sample time of adquisition was very slow, then the light intensity interrupted the scanner, the software was not invariant for the light intensity, scale and I finally could not scan the object.
I searched for some technics in computational vision and I found the Scale Invariant feature transform (SIFT), and I think that all software should have this scanning technique.
After very hours trying and trying to scan something, I used another software called Skanect, with this software I enjoied this assignment, because the scan was very easy and I got this:
After I got the scan of me I had to fix the holes, this software allowed me easy repair, and then I saved in STL format, I get it in solidworks such I show below:
After this experience I can say it was pleasant however when I used the skanect, this led me 389,610 faces and 201,513 vertices, but when kept in the STL format, the software only allowed me to use 5000 faces, that is why in solidworks not 3D scanning nicely observed very well.
I think that this software has the technics in computational vision called the Scale Invariant feature transform, because i had no problem with the light intensity, scale and the scan was fast
How ever if I want to use the whole faces and vertices I have to buy this software, the price of this software is approximately US/ 200.
You can download the archives
here.


