Networking (with PSoC)
For the assignment of networking we decided to implement serial communication between two microcontrollers from the PSoC family that we have been using. The intention was to be able to read the distance from the sensor on a remote microcontroller.The set-up was straight forward. A new block was added: UART (universal asynchronous receiver transmitter) which enables the serial communication. As with previous assignments, the block can be connected to the desired pins for input (RX) and output (TX). Additional parameters specific to the UART were set in the configuration of the UART such as the speed (System Clock / 256), a token for message termination (in this case set to character '+' which is ascii 43 specified in "Command Terminator"), and buffer size among others.
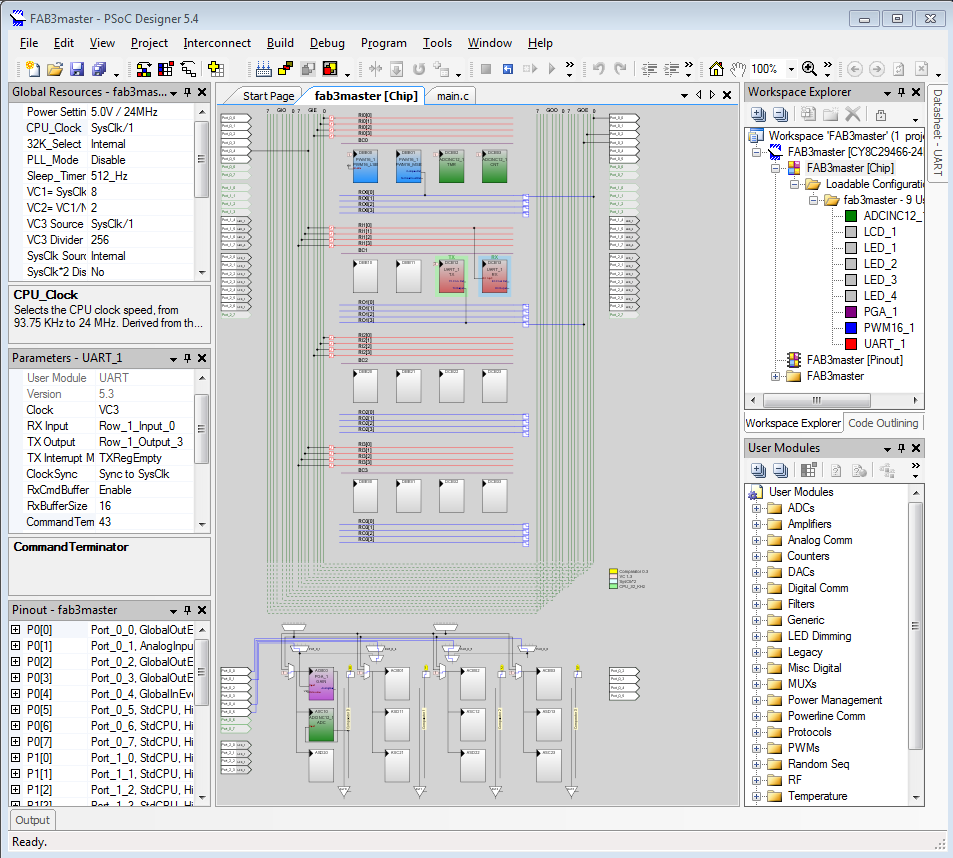
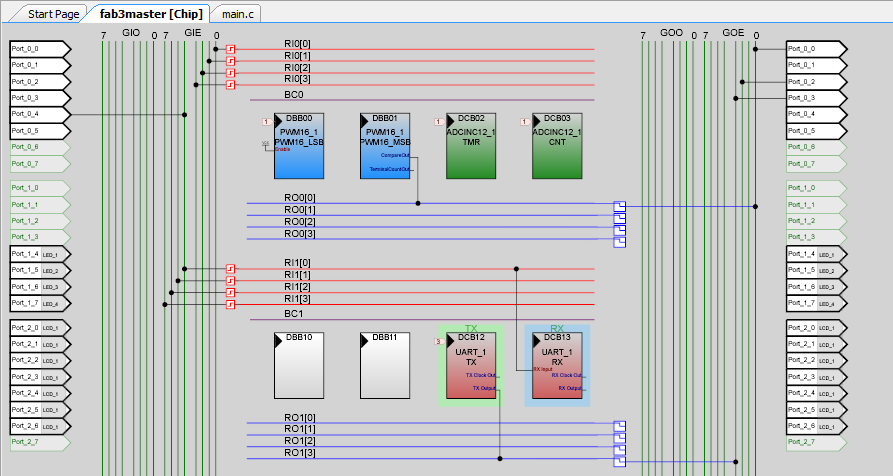
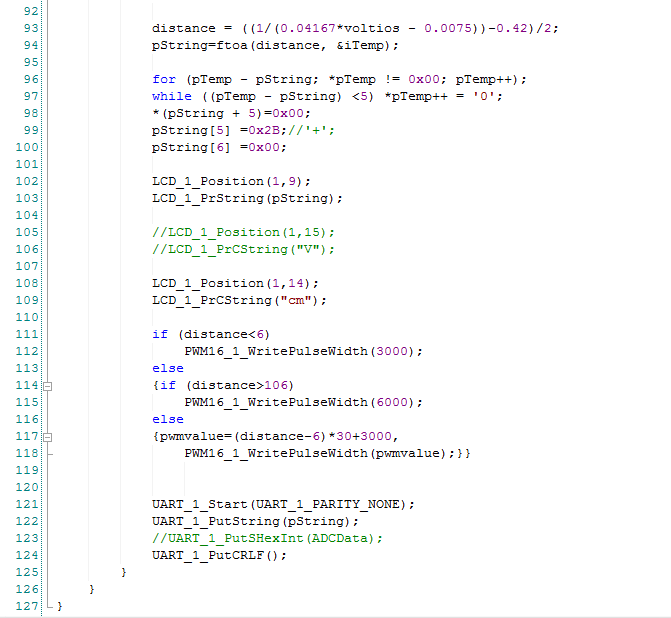
Once the set-up was done, the changes in the code
were really simple, consisting of initializing the
UART, sending out the string and clearing out the
flags after the transmission. Two alternatives were
tested, sending out strings and sending out integer
values which in this case corresponds to the read
from the analog input 'ADCData'. The remaining of
the code did not change and can be seen in the
output devices homework.
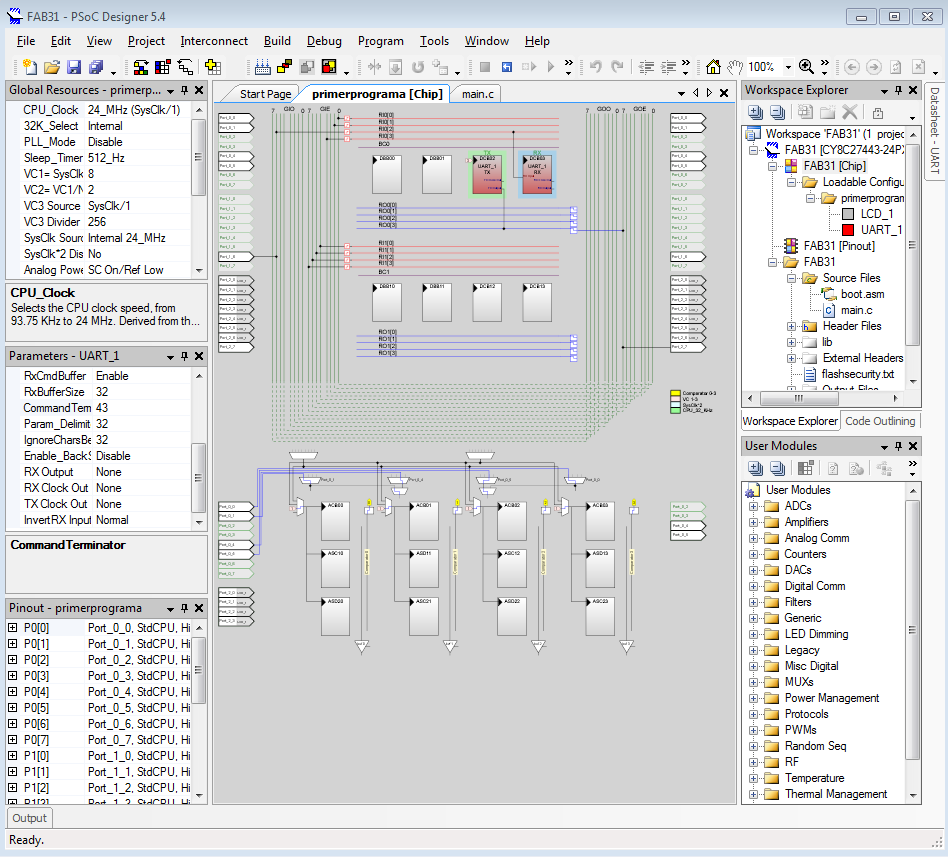
For the remote controller a commercial development
board of PSoC was used mainly due to availability.
This development board is just a platform with
access to all the ports of the microcontroller, a
small breadboard and an LCD, similar to both boards
developed in house that were used for the previous
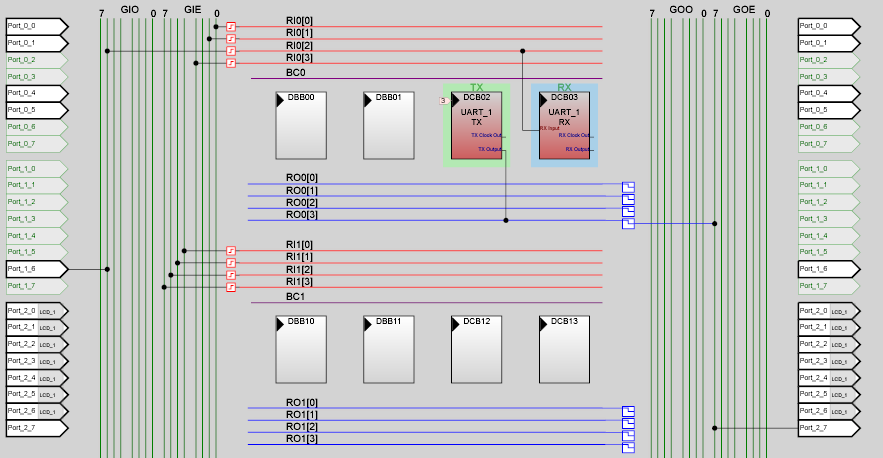
assignments and the master. The connection between
both systems was done through 2 wires TX and RX from
the master that went into RX and TX of the remote
respectively. The setup was similar to the one
described above including the UART block and
configuring the appropiate speed, token for
termination and buffer size.
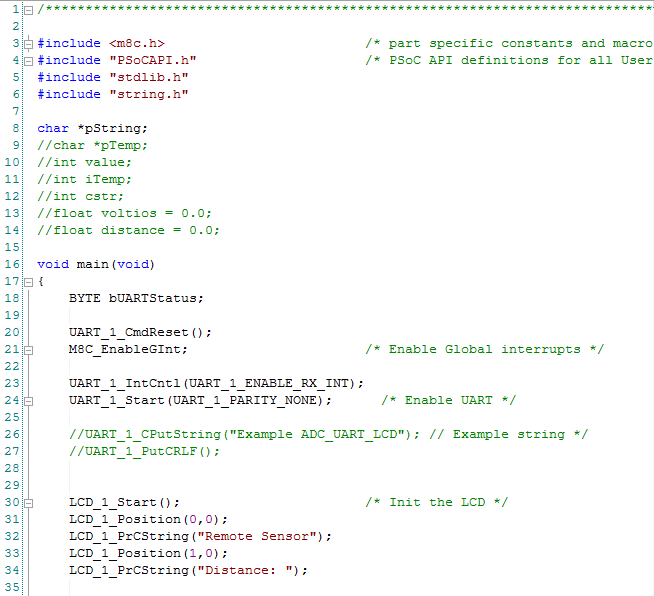
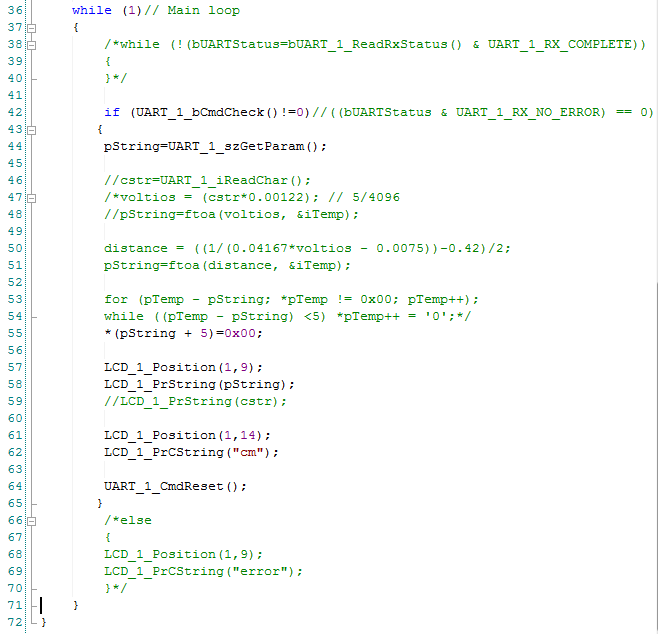
The code was fairly simple although it require a lot
of time to understand some of the details of the
microcontroller for a successful implementation. As
mentioned above two strategies were tested with
similar results, receiving strings and integer
values. The code necessary for integer values is
commented. For the strings the code consisted in
waiting for the termination token to be detected
using "UART_1_bCmdCheck()", then grabbing the string
in the buffer with a pointer and then displaying the
string in the LCD. The flag for the termination
token was reset and the process started all over
again.
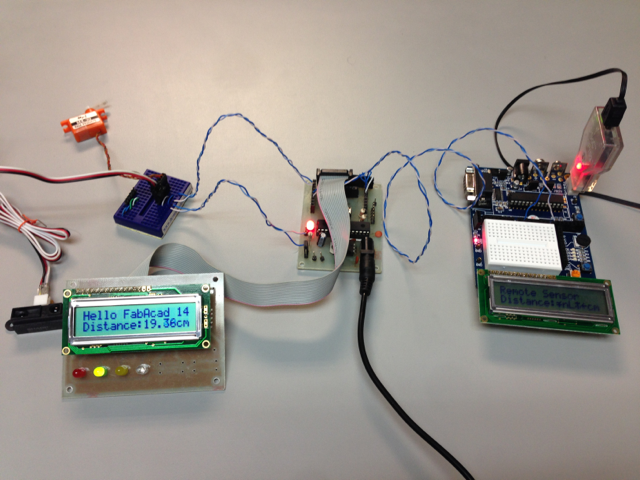
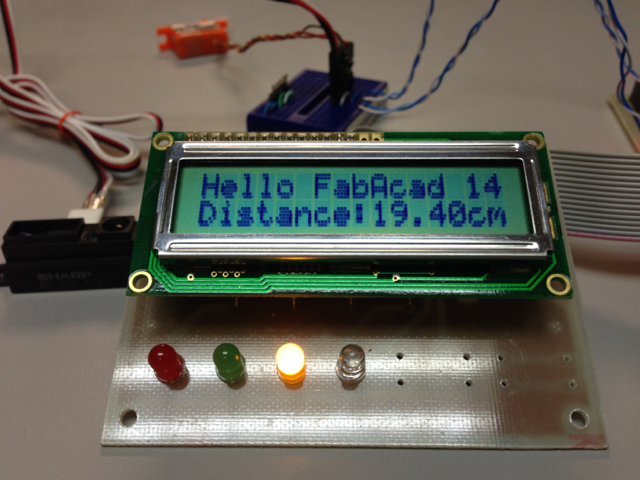
Although the code was simple and the message that
was being transmitted was simple, the first few
trials showed that there was something wrong with
the communication since data was received but it did
not correspond to the distance being read at the
master. Sometimes it was totally off, and sometimes
it was close like in the individual figures below.
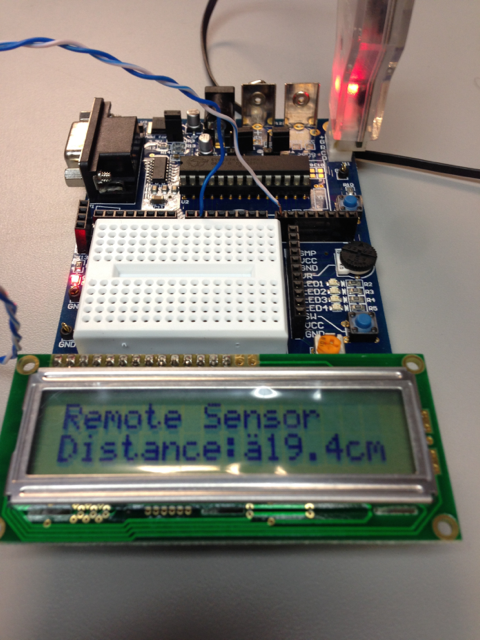
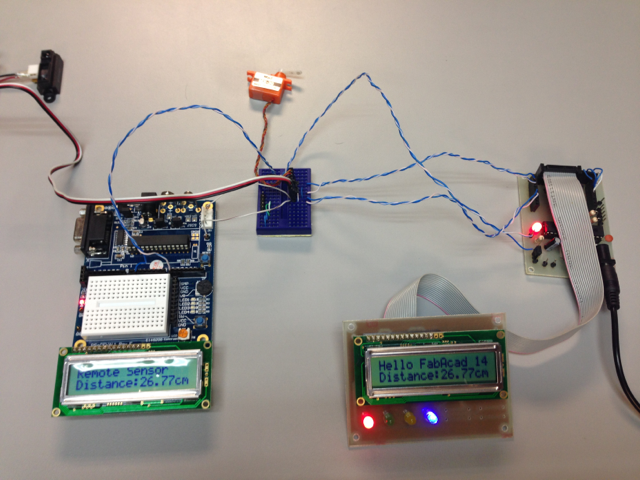
After a few trials and some debugging it became clear that there was noise in the transmission line and that having a common ground for both boards may eliminate the problem. Indeed having a common ground helped and both boards showed the appropriate values consistently.
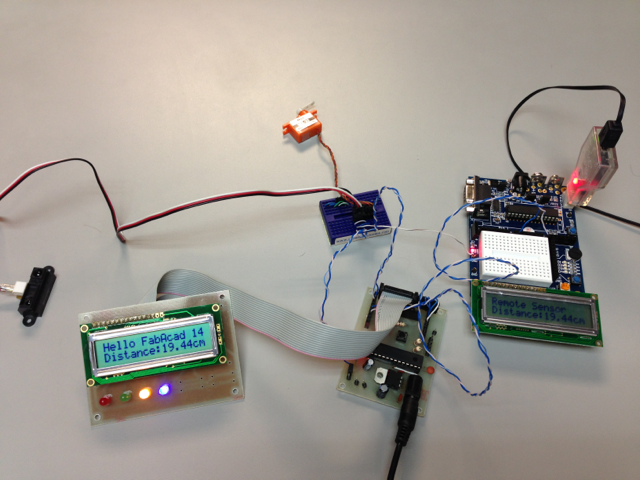
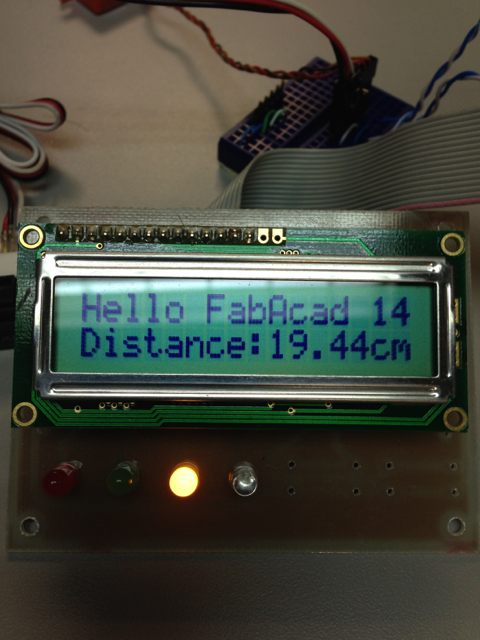
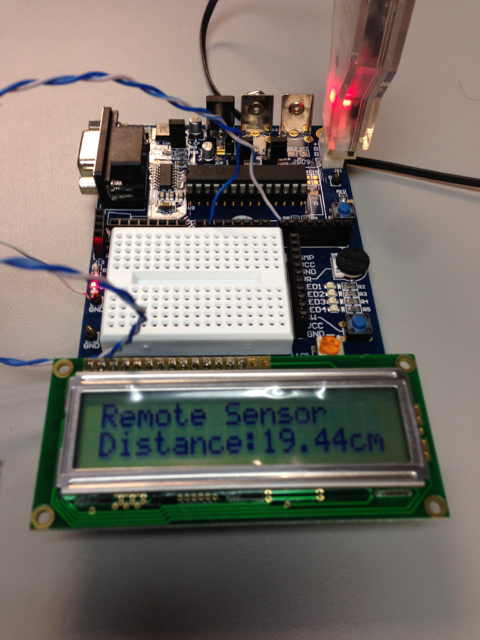
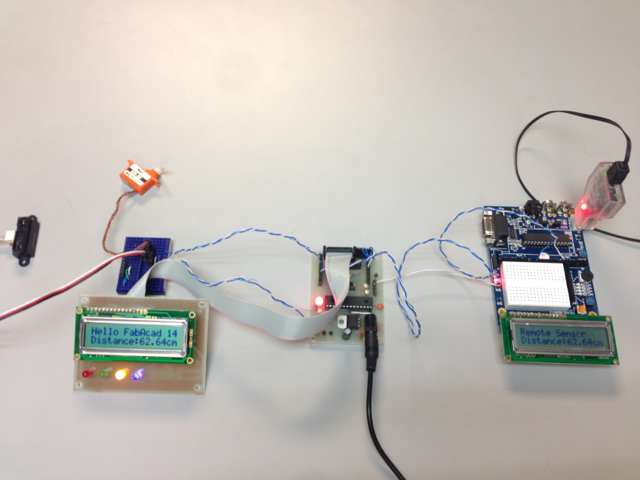
Finally the boards were set to work without any
connection to the computer (before the programmer
was supplying power to the remote board) responding
as expected.
Progress
- Project Proposal
- 2D and 3D Model
- Laser Cut
- Circuit Making - FabISP
- 3D Scanning and Printing
- Electronics design
- Make Something Big
- Embedded Programming
- Molding and Casting
- Input Devices
- Composites
- Output Devices
- Networking
- Mechanical Design
- Interface
- Applications
- Invention
- Project Development
- Project Presentation
Alvaro J. Rojas Arciniegas, PhD
Assistant Professor Department of Automatics and Electronics - UAO
+57 (2) 318-8000 ext. 11384


