14. Networking & Communications
Jump to: Connecting Boards | Programming | In Action
This week we are using boards for networking and communications.
Connecting The Boards
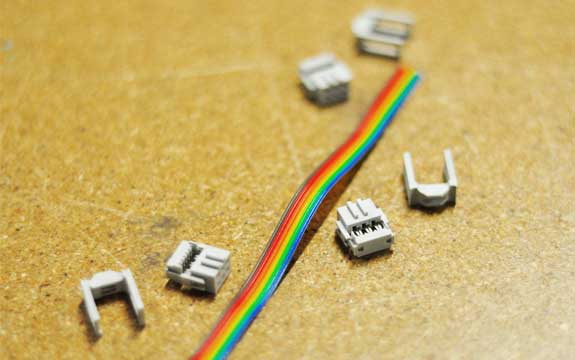
First step was to make a cable to connect to the boards (since we have had many problems with broken cables, I like to make a new cable for every new project). I opted for 3 connectors as I was going to start with adding 2 nodes and one bridge. Making a cable is very simple, just cut a cable to length, slide the connectors on and press down firmly.
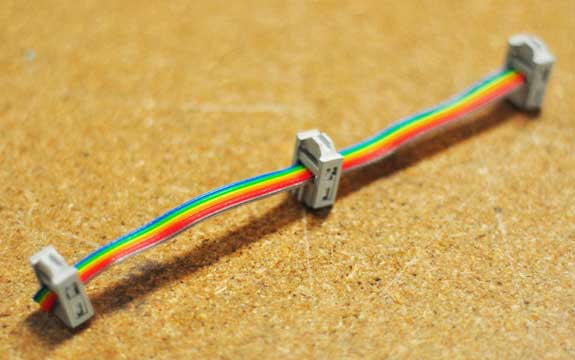
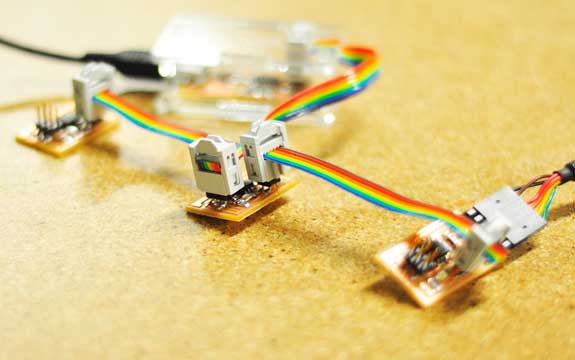
A finished cable, ready for use in connecting the boards.
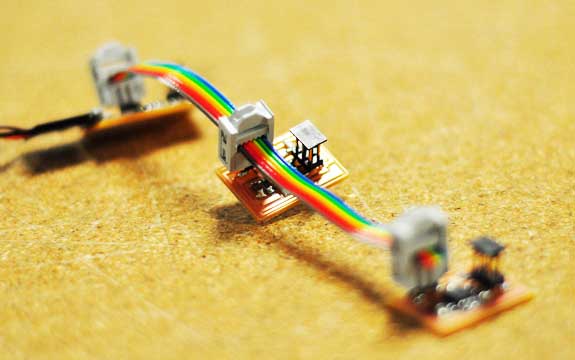
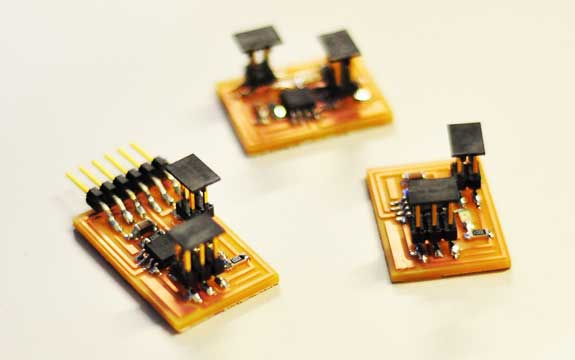
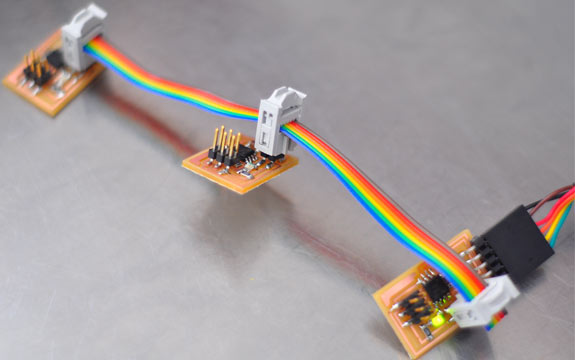
Boards (created using existing files from the MIT server under BUS) are connected and ready to be programmed!
Modifing the C Code
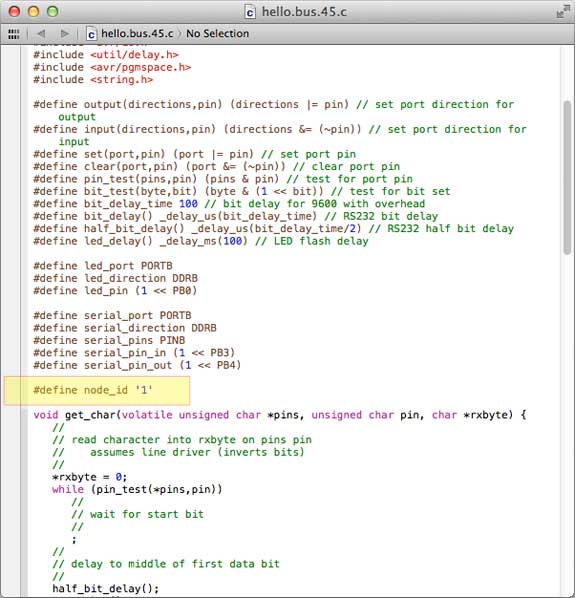
The first step is to modify the C code for each node -- #define node_id '0' -- for the first node (the bridge), then change it to -- #define node_id '1' -- for the next node, etc.
When flashing the code to the nodes, make sure the FabIsp is connected to the node you are currently flashing to.
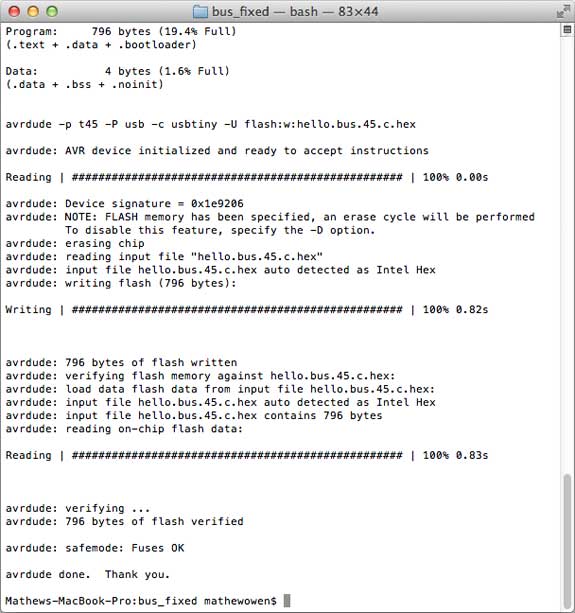
So once the C file has been changed and the FabISP is connected, we can flash the code. To do this we navigate to the file where the C code is located and type in sudo make -f hello.bus.45.make program-usbtiny. Then repeat for each other node. Straight forward if everything is working correctly and there are no errors with the boards or cable. If successful you should see the text shown above.
Boards in Action
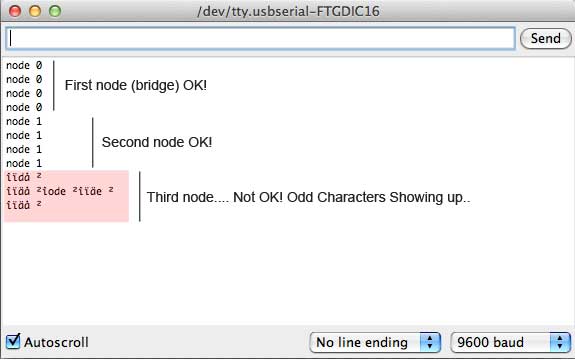
When sending code, everything works fine until i try the 3rd node (node 2), which sends out an approximate response - iode 2 instead of node 2.

The bit delay time for node 2 needed to be changed to 102 before it worked. Other fabacademy students changes it to 101 and other numbers before it worked. Reason why is not certain (why only a few boards have errors) but this seems to be what can resolve it.
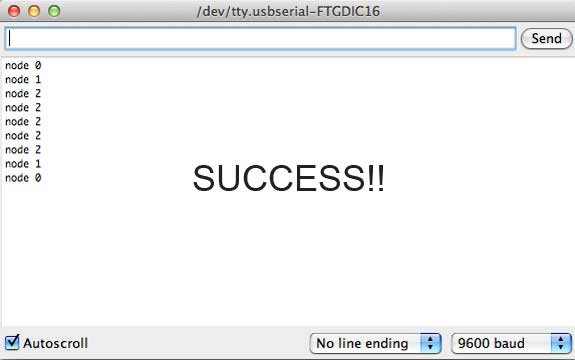
Finally after changing the last node to a bit-delay time of 102, it works!!
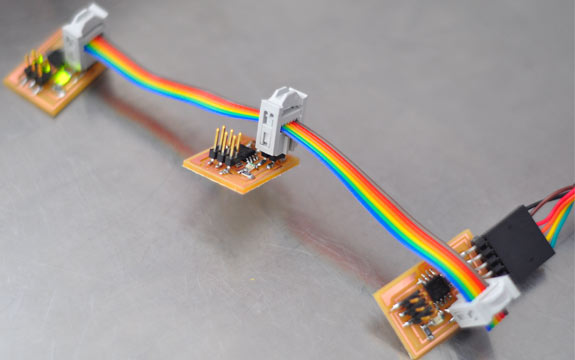
Node 0 (the bridge board) lights up when '0' is typed into the command line.
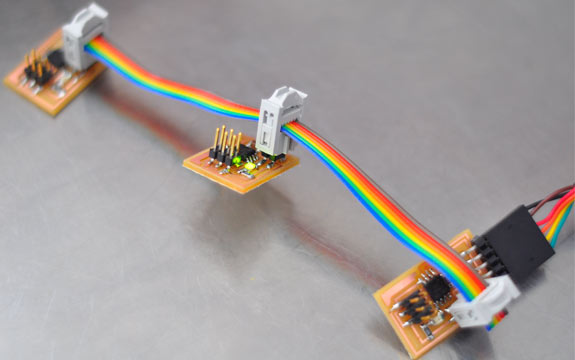
Node 1 lights up when '1' is typed into the command line.
Node 2 lights up when '2' is typed into the command line.

