07. Molding and Casting
Jump to: Preparing Files | Molding | Casting
This week is an introduction to molding and casting. I decided to use the 3D scanned model of myself (created in week 5) for this assignment and experiment wit it, not to be (entirely) narcissistic, but just to get a quick start to the process! In addition I am wondering how well the printed file will hold up against the milled file.
Preparing Files
Modeling the Mold Form
I split the model in two and designed a casting form around both sides. I added a small profile so that the two parts should easily fit together.
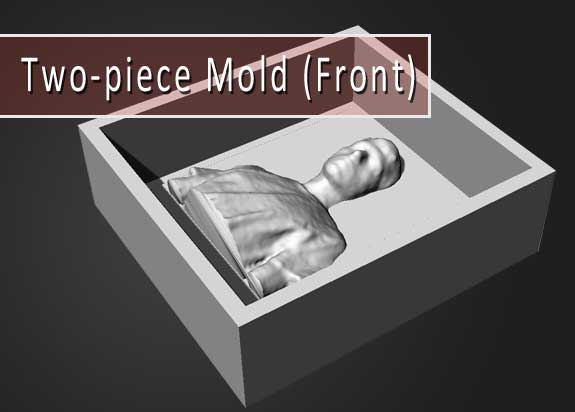
The image above is the front of the two-part mold, shown here in the enclosure / form.
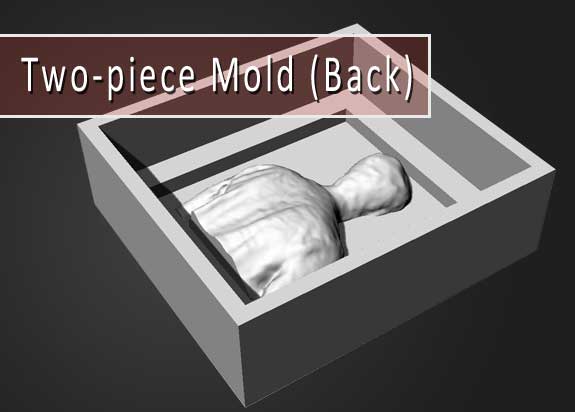
The image above is the back of the two-part mold.
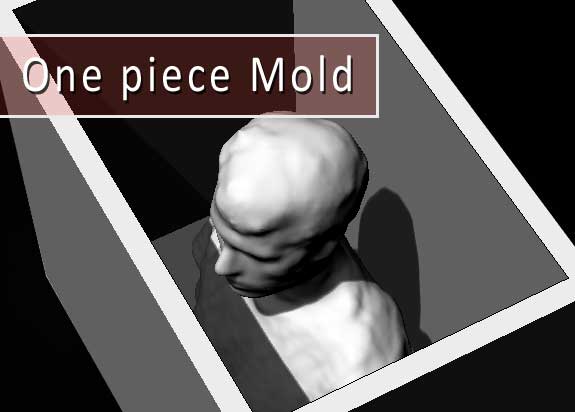
The image above is a second version where I only use one mold instead of two. The mold material should be flexible enough to cast the whole object in one time and still be able to get it out again. This will most probably only be able to be done using the 3D printer. The molding wax will be too thin
Molding (positive and negative molds)
Creating a Mold Form
The first set of molds created were with the 3D printer as they take far less time to make than the modela. I want to make sure that the mold will work and have not made any mistake before I attempt to mill the mold.
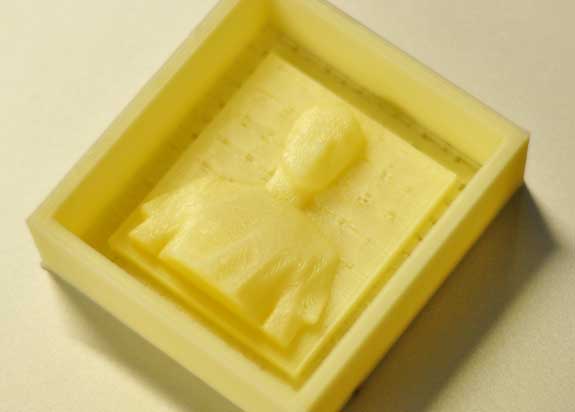
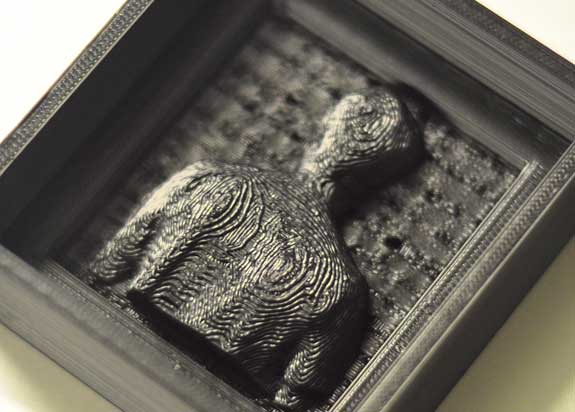
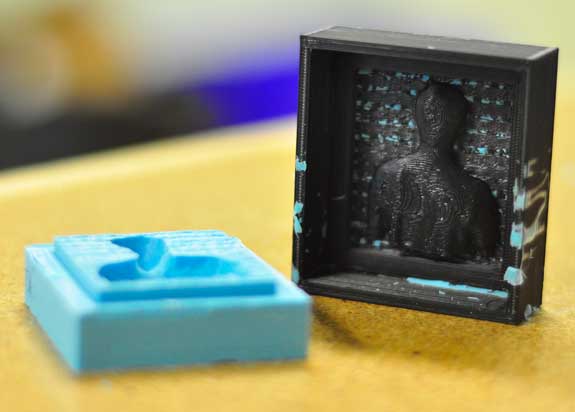
The image above is the front part of a 3D printed mold form which will be used to get the mold that will be used for casting.
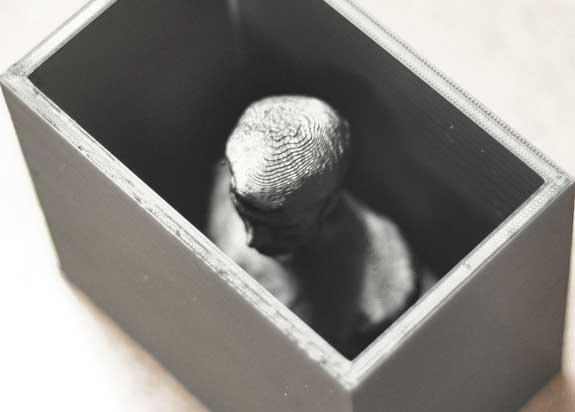
The image above is the back part to the same yw0-piece form mold. Due to some setting issues I have been having with the 3D printer it came out slight less smooth than I had hoped. I will re-do this part on both the 3D printer and milling machine asap to further test this possibility.
The image above is another version where I modeled the entire mold as one piece. This is too large for the milling machine to get a good result so this has been done with the 3D printer alone.
Casting the Mold with Oomoo
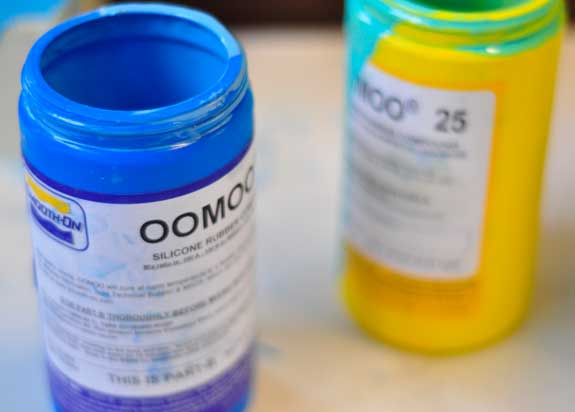
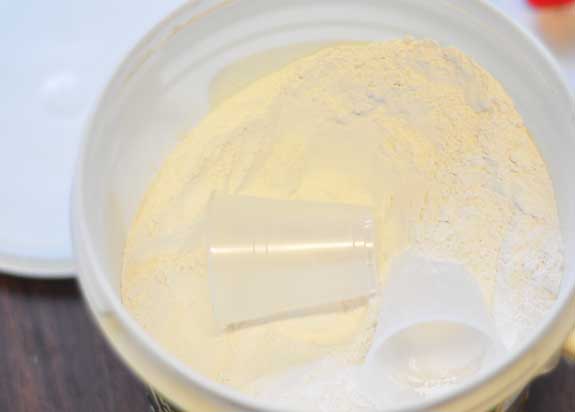
For the mold I used OOMOO, a two-part mixture which needs to be mixed equally for best results.
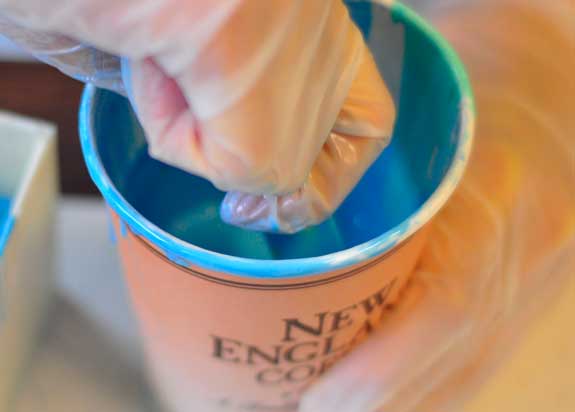
One of the most important steps in the whole process will be to simply stir the molding material gently to avoid air being added into the mixture. This can negatively influence the final result and create unwanted added or subtracted parts. Stir very gently but mixing as good as possible at the same time.
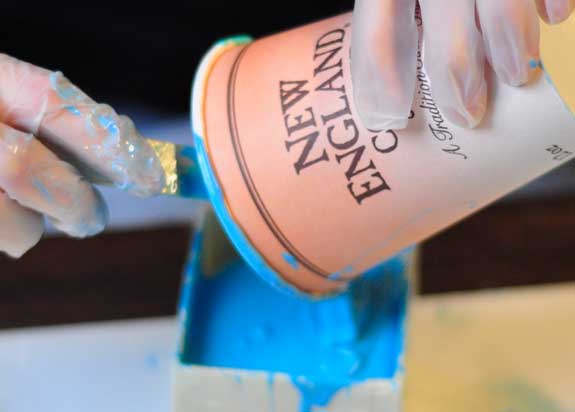
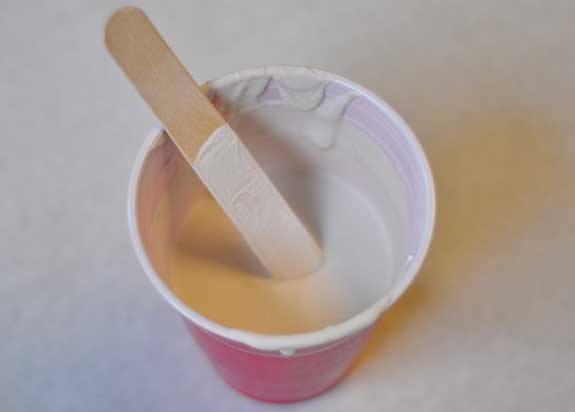
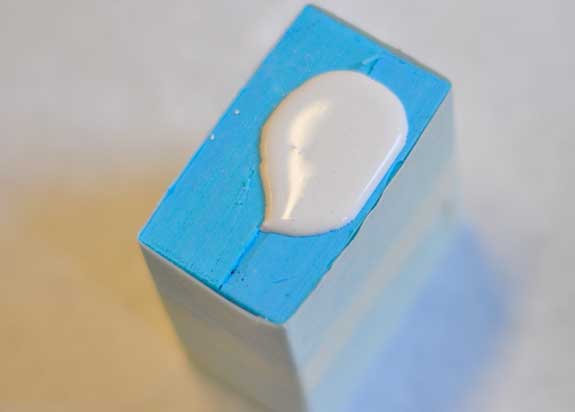
Use gloves! Pour carefully (unlike how I did it) and try to get some of the Oomoo into the mold form for best results! Perhaps a good idea would be to add something into the mix to help get it out later, also something I only thought of later.
Oomoo poured into the form mold. I set it aside and will wait for the next day to continue. The instructions say it is ready to use in 75 minutes if mixed correctly (so te be safe I will leave it over night).
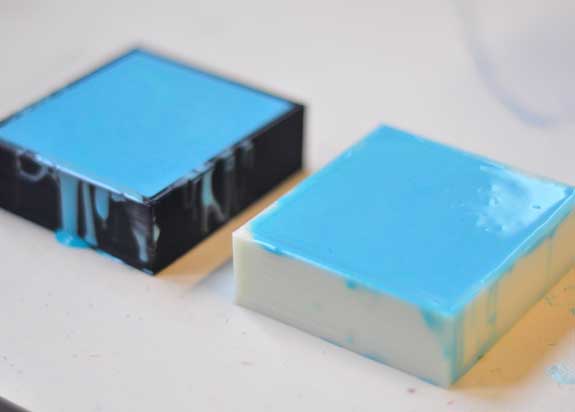
The set Oomoo mold taken out of the form. The back piece shown above. I let it set overnight (about 12 hours) and came out clean with no real errors.
Finished front and back of the two-piece mold. I manually enlarged the pouring slot, which I had designed a bit too small. This way the hydrastone can easily get poured into the mold and air can escape out the top.
Casting
Preparing the Casting material
Hydrastone - will be mixed with about 65% water to power ratio. If this will not come out properly I will try it again with a 32% ratio of water to power. I chose for a higher water content in the mixture to allow it to get into all parts effortlessly.
Hydrastone mixture of a ratio of 65% worked out very well. Look out to cast it quickly as it hardenes very fast once mixed.
Casting with Hydrastone
I casted the material in excess to make sure it will spead to all areas of the mold. This proved to be useless, but it did no harm and is eaily removed at the end. I taped the mold together just to make sure it stayed in place (which also turned out to be overkill as it sticks together very well without).
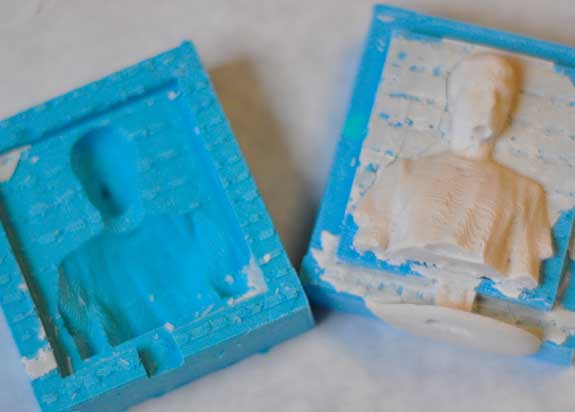
Opening the mold shows a decent result, perhaps I could made the mixture with more powder so it will spread less, but cleaning it up is relatively effortless.
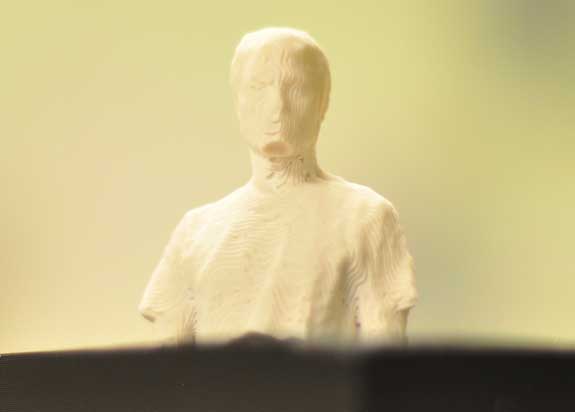
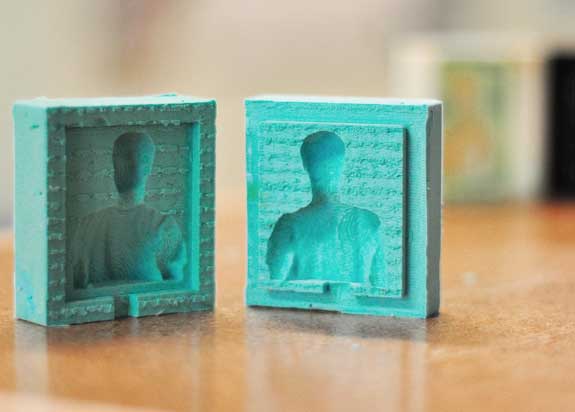
The image above shows the final result (or one of the final results). It came out very accurate, of course the 3D printed form mold could be of higher resolution to allow for a better result, but it came out quite well. The next step will be to fine-tune the molds and create one using wax.

