11. Composites
Jump to: Design | Mold Fabrication | Vacuum Bagging & Finishing
This week was an introduction to composites. We will be using resin with fabric for our composites.
Designing a file
RC Airplane design
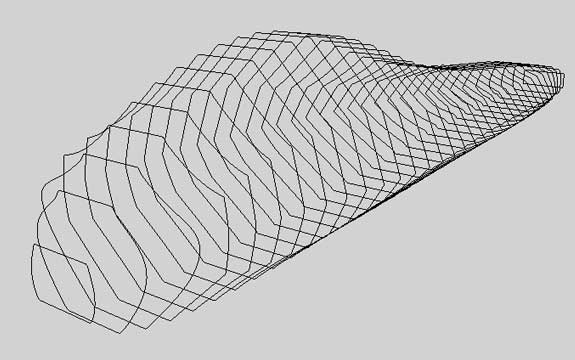
Start off with an initail body contour. Based lightly on a cessna 172.
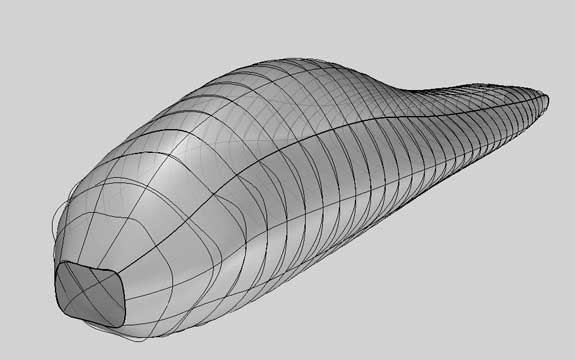
Lofted the contours to create a body surface.
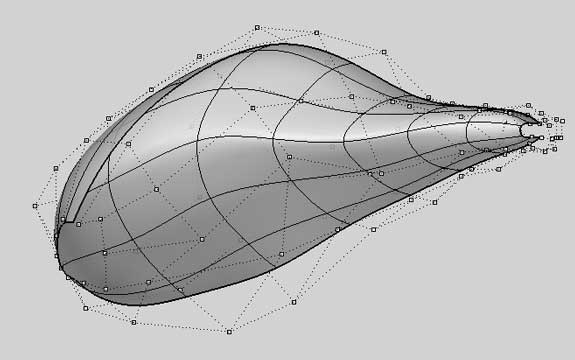
Adjusting the body to align with other components of the plane.
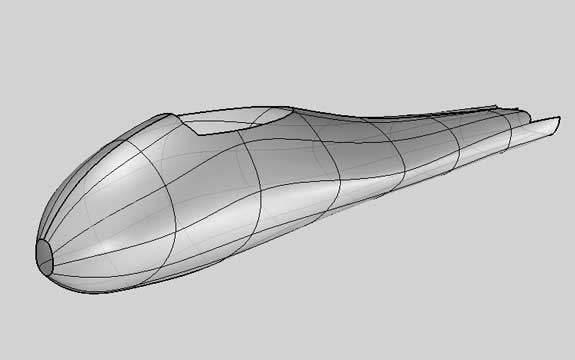
The final shape with sections cut out for attaching the parts.
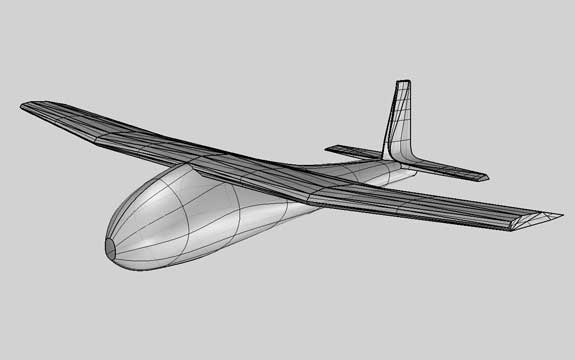
The final design with parts attached.
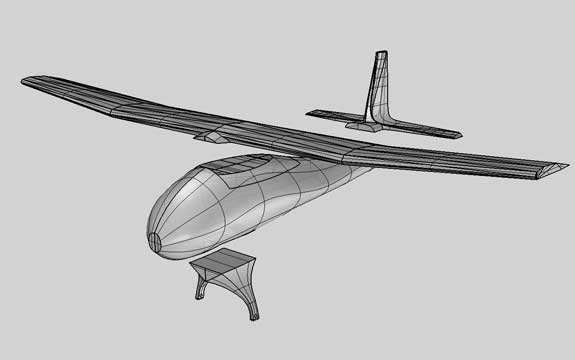
The final design, shown with parts that will be molded or 3D printed separately. The foam thickness is 50mm so will scale the body down slightly to fit it on a regular piece of foam.
Fabricating the body mold
Shopbot
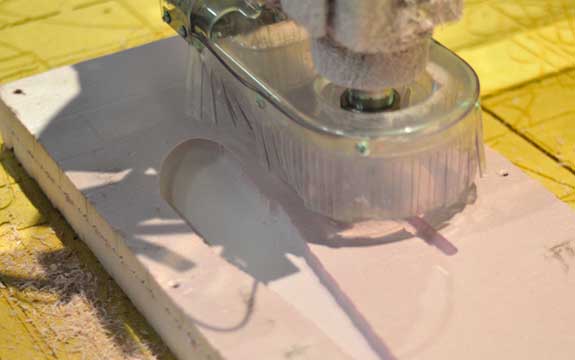
Rough pass on foam. Used a .5 inch bit.
Rough pass completed.
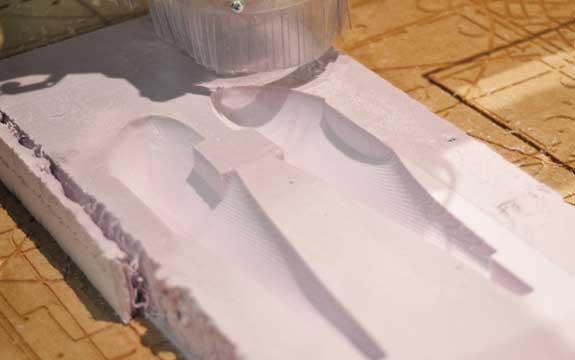
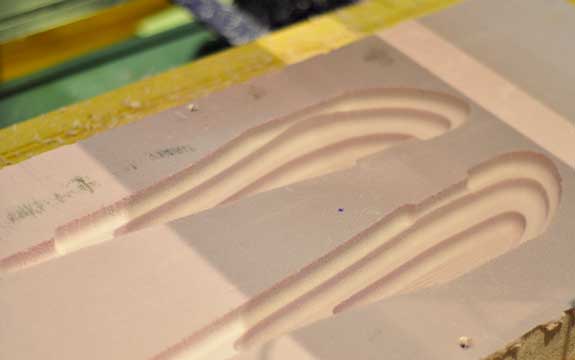
Finishing pass completed. I used a .25 inch bit for the finishing pass.
Vacuum Bagging & Finishing
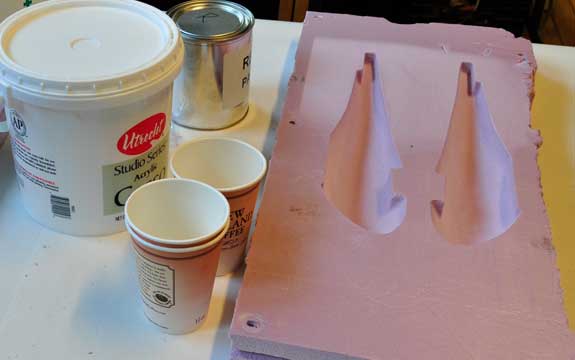
After I sanded down the mold lightly, I painted it using Gesso, a canvas sealant.
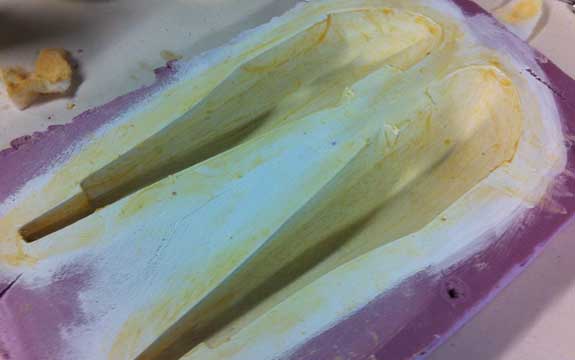
Once the paint had dried (2 layers @ 6 hours) I rubbed wax anto it and sprayed it with a release coat.
Applying resin and the cloth material - used a thing light weight cloth.
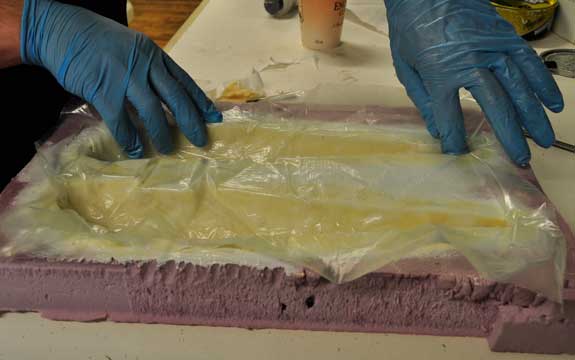
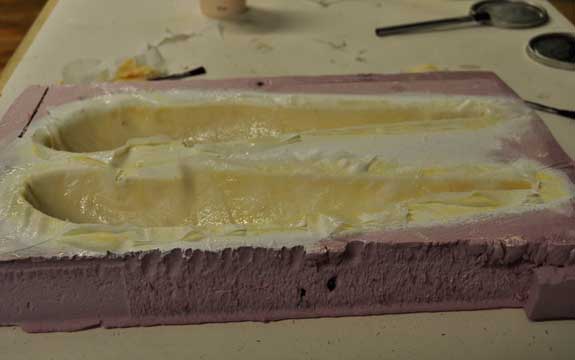
Preparing the completed mold for vacuum bagging. Here I am placing a thin plastic material that releases easily from the resin, so that the vacuum bag does not get stuck to the mold.
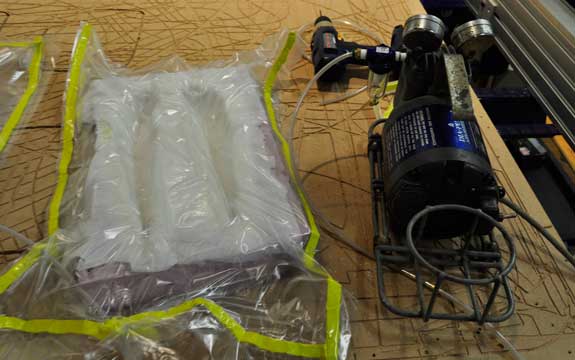
Vacuum forming with an air compressor. Unfortunately this part is where we had a lot of issues as it simply was not generating enough pressure to get a vacuum.
Final results
The final results were interesting as the resin became so hot that it partially melted the foam mold. I was able to correct it a bit by sanding it dowm, however it most likely will have some errors as it will be off balance. It was an interesting experiment none the less.

