08. Embedded Programming
Jump to: Arduino IDE | Echo C Program | Hello Arduino
This week we are programming the Arduino IDE and creating a new arduino, the "Hello Arduino" that will be used for future projects, including the final project.

Arduino IDE - Button + LED
Programming the Arduino IDE
Continuing from week 6, we are programming the Arduini IDE we created. Luckily my board had no problems so this step was fairly straight forward.
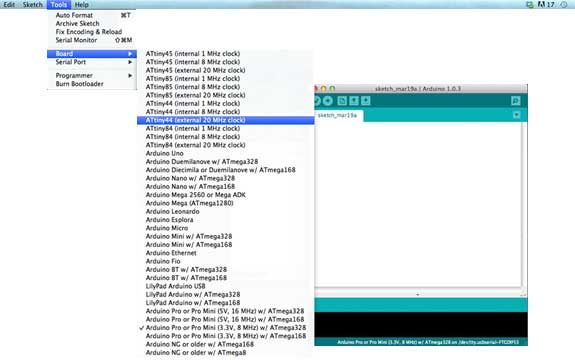
I first burned the Bootloader for the using my FabISP from week 4. To do this we needed to select the board - a Attiny44 (20mHz clock) as well as a serial port and a programmer.

Once this was selected I hit "Burn Bootloader" and several seconds later I had a working working device.
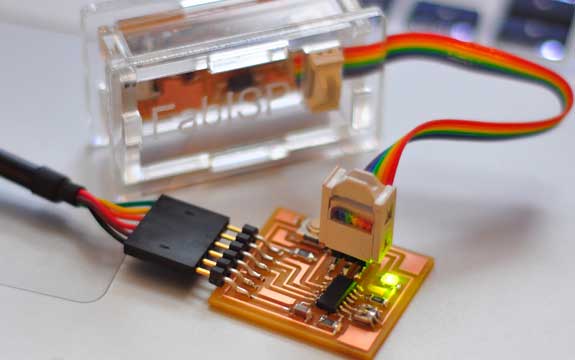
The Hello Echo Arduino plugged into the FabISP for burning the bootloader. Once it has successfully burned the bootloader it can be disconnected and used with the arduino software independently.
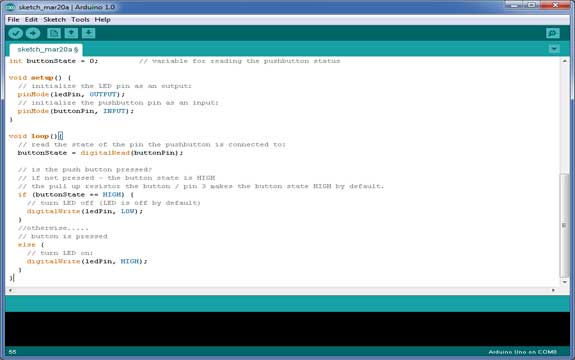
Now that the board has been programmed we are able to send code to it. We do this by pressing the upload button second from left below the menu bar. The sketch will compile and send it to the board.
Echo C Program
Echo Back Keyboard Inputs
To do this we need to go into Terminal (on mac) and go to the directory where we saved our files (hello.ftdi.44.echo.c and hello.ftdi.44.echo.c.make). We then need to type in the line sudo make -f hello.ftdi.44.echo.c.make program-usbtiny and after a few seconds we are ready to use it.

The image above shows the serial monitor once the ATtiny is programmed using the Echo C Code.
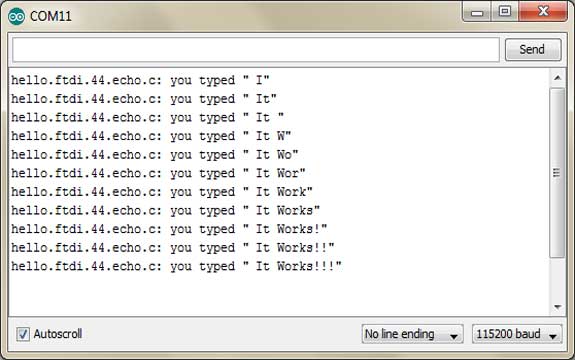
This assignment was to program the board using Neil's C code to echo back keyboard input. The program will store each character and repeat the series back to you each time. It took quite a while before I finally realized that my computer was blocking this set up. I tried it using another computer and worked normally. A frustrating process that finally got resolved after several hours of trouble shooting.
Creating the Hello Arduino
Milling & Assembling the Hello Arduino
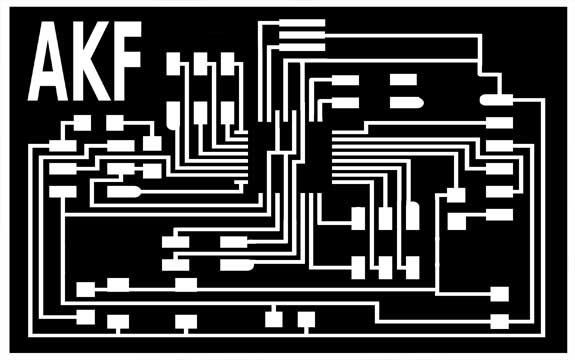
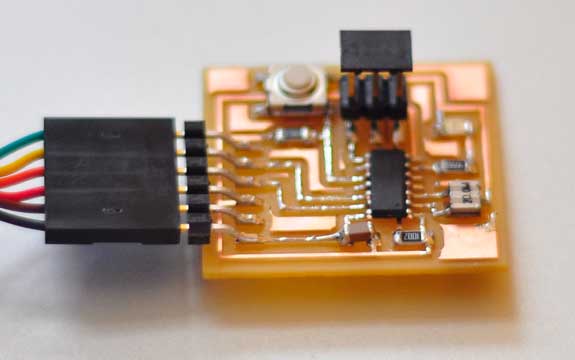
The trace file for the hello arduino. Anna's extended version of Neil's board, where all pins are used. This will be great for use later on our final projects.

The bare board, milled and ready to go.
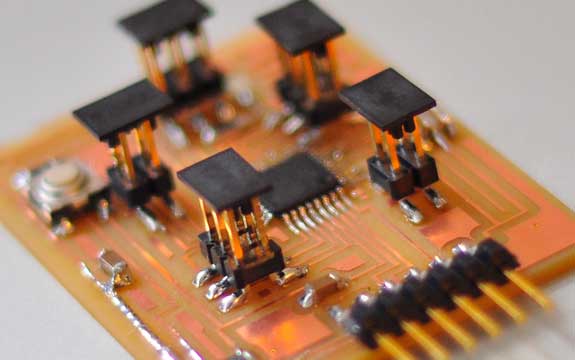
The assembled board with all components connected. Clearly a lot more pins that the original board. Again. this will come in handy for our final projects once we get to that stage.
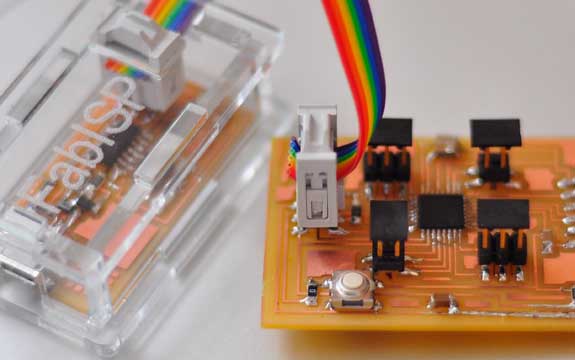
Programming the hello arduino using the FabIsp created in week 4.
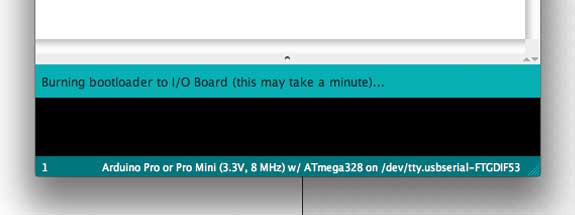
Burning Bootloader. The long 2 minute wait to find ut if I managed to get this one right.

Done Burning Bootloader, no errors on the first try!! Unlike other weeks, this week I managed to complete the assignment in one go with no problems. The errors that occured in previous weeks in fact have been very beneficial to learn how not to do it.
The Arduino is working!!! Now to have some fun!!
Comparing it to an off-the-shelf Arduino
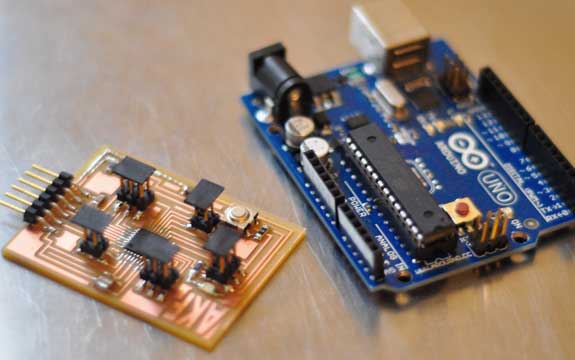
I wanted to get to know how the arduino will compare to a 'regular' store bought Arduino that I am more familiar with. Most importantly I would like to know which pin resembles which pin on the arduino.

