05. 3D Scanning and Printing
Jump to: 3D Scanning | 3D Modeling | 3D Printing
3D Scanning (using XBOX Kinect)
3D Scanning using the XBOX Kinect as a efficient yet low cost 3D scanner and capturing the 3D model using the free version of ReconstructMe. Instructions on how to install ReconstructMe software found here.
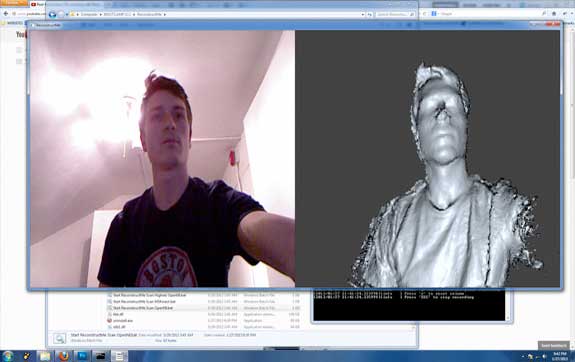
Once the ReconstructMe interface has started the main commands are 'P' for Construct and pause, 'R' for reset and scan again or 'Esc' for exiting the program and saving te data. The scanning process itself was straight forward which involves a swivel chair to turn around one axis or rotating slowly in place while standing. The most important aspect, however, was to make sure you are at a perfect distance. The best results were at about 70-80 cm from the kinect making sure not to stand too close to any other objects.Once satisfied with the scanned model it is exported as a .ply 3d model which will be used for editing and sent to a 3D printer.
The video above shows the process of 3d scanning using a Kinect.
3D Modeling & Repair
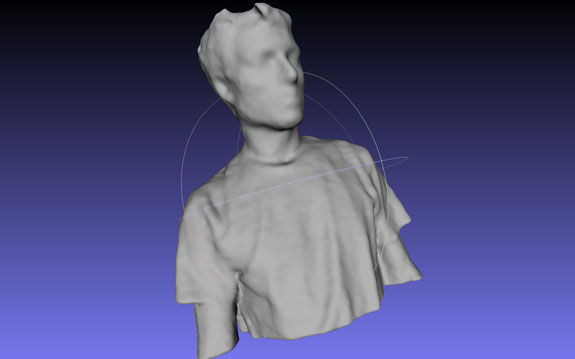
Once a scan has been made and saved as a .ply I imported it to Meshlab software pack for editing. The next step is to repair or edit the mesh created witht he 3D scanner using the mesh editing software NetFabb in combination with MeshLab, Mesh Mixer and Blender. The mesh has several holes taht need to be closed as well as overlapping geometry that needs to be removed before we can use it for 3D printing.
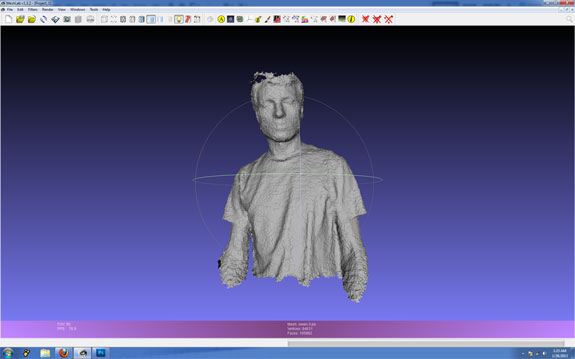
The first step to repair the geometry is to import the model to Meshlab's software package shown above. The best model created with the Kinect (shown above) was then imported into the NetFabb mesh editing software for repair and editing of various parts shown including the top of the head and parts of the back.

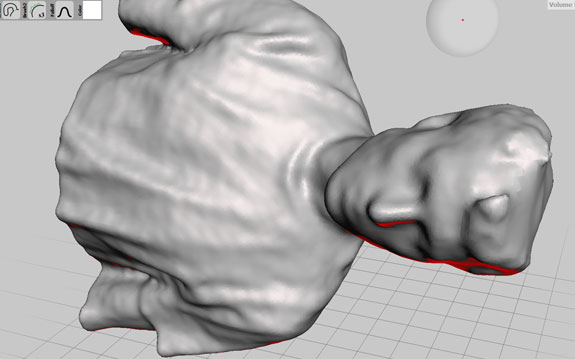
Some parts of the body have not been fully scanned which need to be cleaned up. The head will need to be adjusted and the lower part of the body cut to a flat plane.
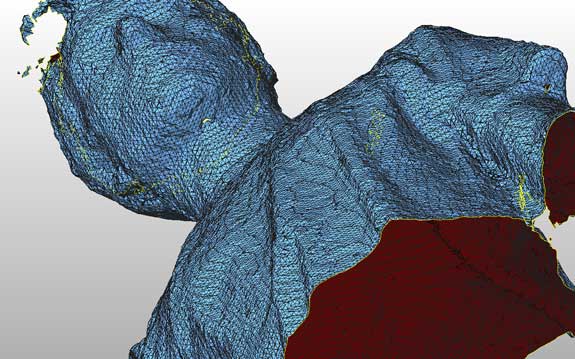
Above is shown how the lower part has been cut in a straight section just above where the mesh starts to fall apart.
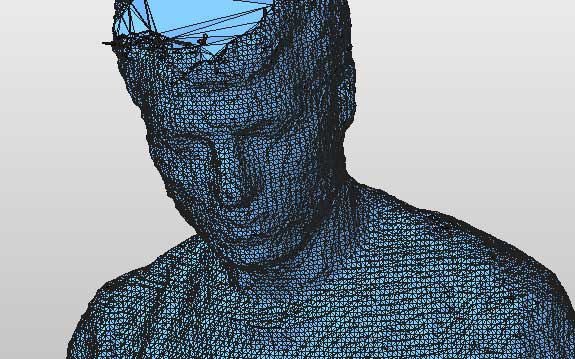
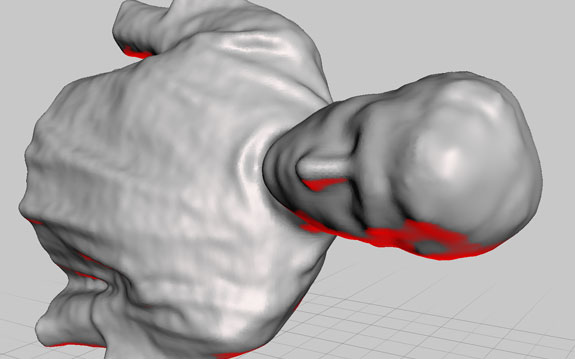
The view above shows how the head has been flattened when running the repair script in the netfabb software package. The rest looks good and all holes have been closed.
The next step is to import it back to Meshlab and run the poisson command (under 'filter' -> ''point set' -> 'surface reconstruction: poisson'). This generates a cleaned up and smooth mesh from the original scan. The higher the octree depth chosen the better the resolution. My selection hit a maximum of 10 for the octree depth, higher depth would cause a crash each time.
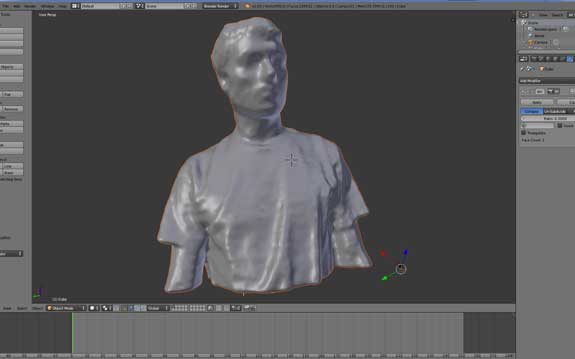
The next step is to export the model as a .obj model and import it into Autodesk's MeshMixer. As shown above the head has greatly been improved with meshlab's poisson restructure command, however it is still very flat and needs to be partially resculptured using the volume brush, surface brush and smooth brush commands.
Above the final result can be seen that the head and hair have been greatly improved. Still a few minor corrections to be made before exporting it back to netfabb for a final repair.
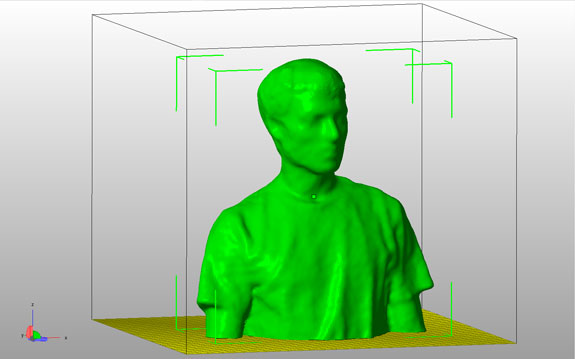
Again the model is cut in the z axis to remove faulty geometry created when running the poisson command. Once the z axis has been cur and repaired the model is scaled to fit within the building volume of the 3D printer. We are using the makerbot replicator which has a build volume of ...
The final step before 3D printing is to reduce the file size to under 10 mb to avoid printing issues. Commonly a model will be 40+ mb so we run the command 'decimate' in the program Blender and the reduce the ratio to about 0.3. Once completed we export again as a .stl file.
3D Printing
I will be 3D printing my scanned model using the Makerbot Replicator.
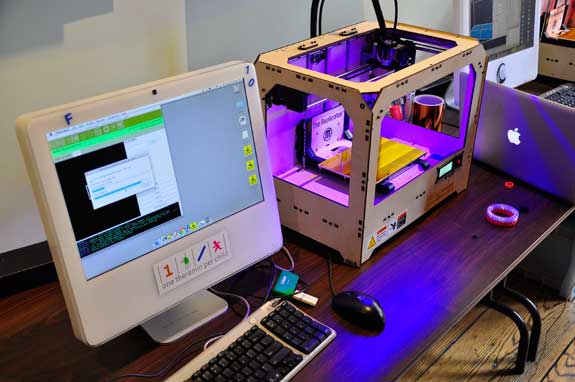
The image above shows the setup of ReplicatorG's Gccoder slicing up the model to send to the Makerbot Replicator. The G-code will be used to make the actual 3D print. It is based on the slices made which will be printed layer by layer with a filament (the Makerbot uses PLA and ABS).
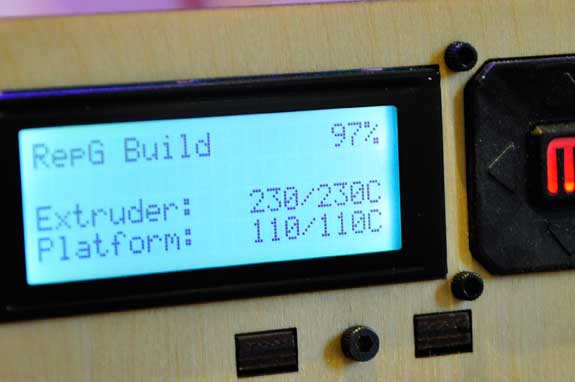
ABS uses a platform temperature of 110 degrees celsius and an extruder temperature of 230 degrees celsius. PLA can use a lower temperature which can have large benefits over ABS. For the next test I will use PLA.
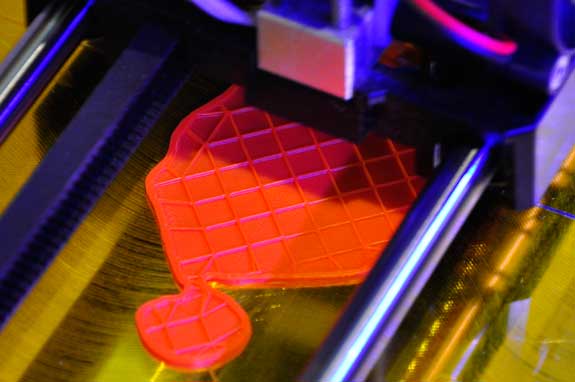
The image above shows the internal structure of the 3D print. Note we dont print a solid block but rather a heneycomb structure for support. This way less material is used and prints can be finished far faster. Here I have selected a 10% fill, to increase speed of the total process.

After almost 3 hours the print is nearing completion. The model is printed quite large, at approximately 7" x 7".
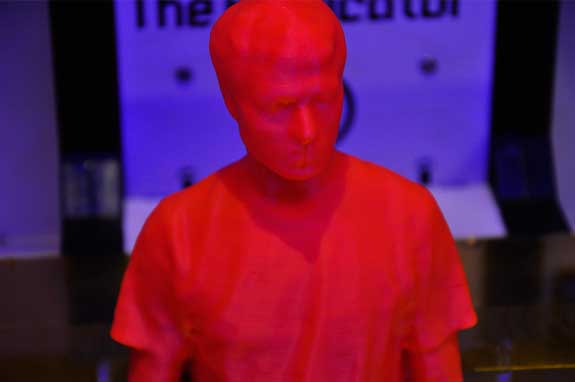
The final result of the 3D printed model. It came out pretty good! Only a few minor problem areas, such as under the chin and a tiny issue with of contraction on sleaves (left about a milimeter gap). For the rest it turned out great, high quality with minimal errors.
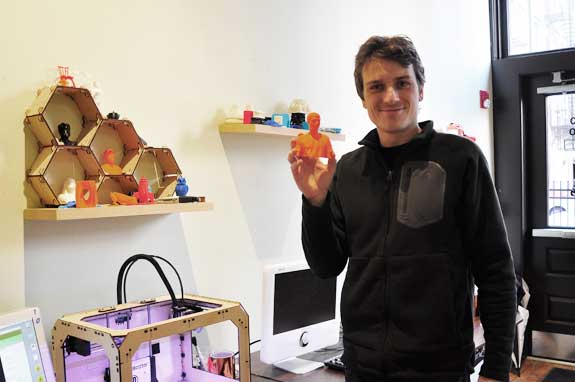
Proud owner of a freshly 3D printed me.

