03. Computer-Controlled Cutting
Jump to: Laser Cutter | Vinyl Cutter
Laser Cutter
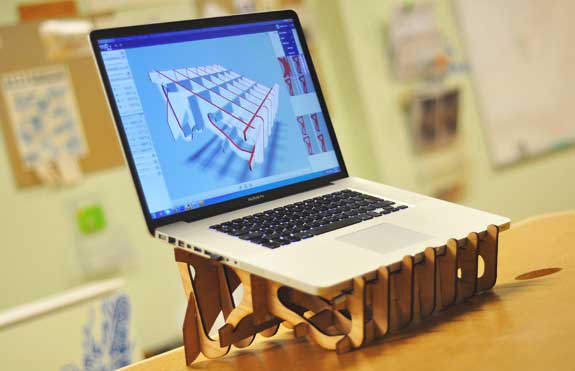
For this weeks assignment we are experimenting with creating press-fit construction kits. The model I worked on to create a press fit construction kit was the same model as I had worked on the previous week. Not only do I like the design of the laptop stand, it is actually something I really need to keep my laptop from overheating!
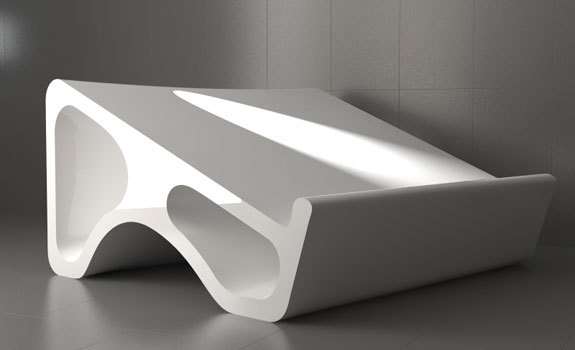
The first step I took was to model the laptop stand according to how I wanted to create it and to give me an idea of what steps I would have to go through in order to achieve the final result. The model below was simply generated using Rhino 3D, manually drawing each piece to give me an idea for a final result and to act as a reference to what my final goal would be.
The challenge was to see what programs would give me the best results and how accurately I could replicate my model (shown above) using these different programs.
Testing Materials
Designing a test file
Before setting up the model for cutting, I first needed to know the exact parameters of the interlocking slots. I made a couple test pieces with different slot widths to test what would work best. At a later point I want to experiment with a more parametric approach where I can change or define an exact slot width on final pieces.
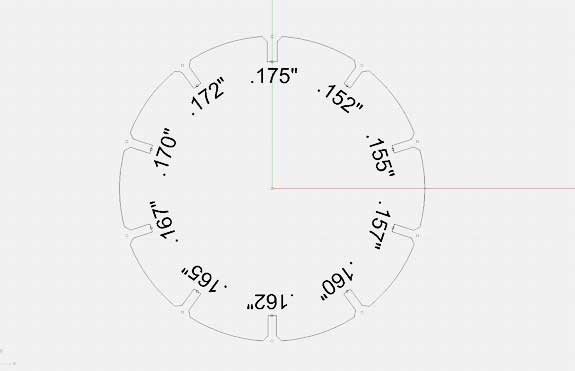
I made a simple size chart wheel where I had approximate dimensions of the material I was going to cut ranging from .152" to .175" with close tolerances to get a perfect fit.
Cardboard Test Cuts
First test was done on cardboard which seemed to have a perfect fit between .152" and .155" - as it is a more compressable material it has a high tolerance and can achieve tight fits with ease.
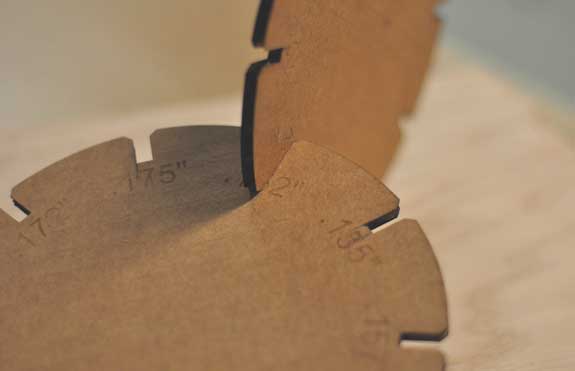
Plywood Test Cuts
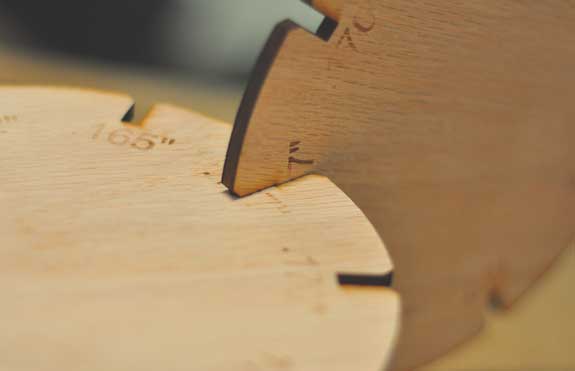
The next test was done using 1/8" oak plywood, the material I am planning to use for the final laptop stand. A perfect tight fit was achieved with cuts of .167" to .170" (shown above).
Slicing / Preparing Files for Cutting
Autodesk 123D Make
123D Make is an amazing free program with a great amount of flexibility for exporting designs for fabrication. The ease of use is simply incredible, the visuals are very pleasing and the final result is near perfect.
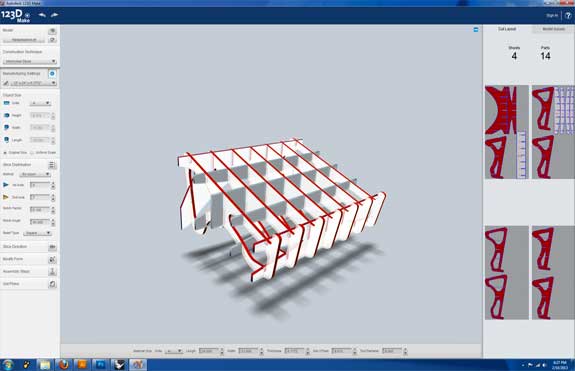
The issues I had were that I could not get the edges to align and was left with extruding parts on the side (something I did not want). In addition the logic of how parts were built was slightly off as well. Many things are customizable, but often this was hard to do or simply not possible. This is an excellent program for those who wish to create fabrication ready files in minutes, however it lacks a few crucial aspects.
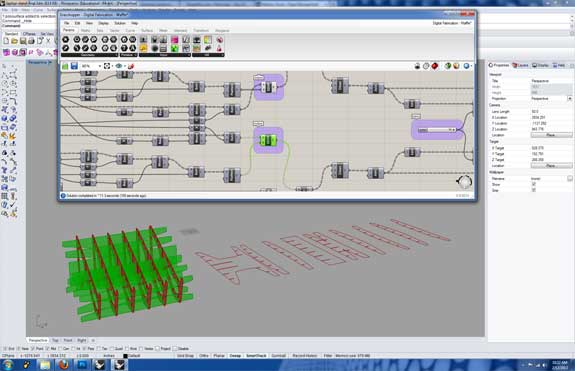
Grasshopper 3D & Rhino 5
Grasshopper is another program I used to define the cuts of my 3D model. The issue I was having is that it can be very difficult to set up if you have little experience. I was having a lot of trouble customizing a script which was cutting properly, however it was not taking into acount how the pieces would be put together. I have some experience in Grasshopper, but am far from an expert. Although Grasshopper is a free program, you will need a copy of Rhino to be able to use it, which might be a barrier for many.
Cutting and Assembly
Laser Cutting Materials and assembly
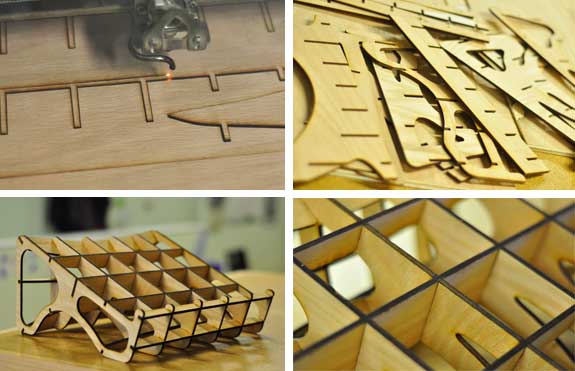
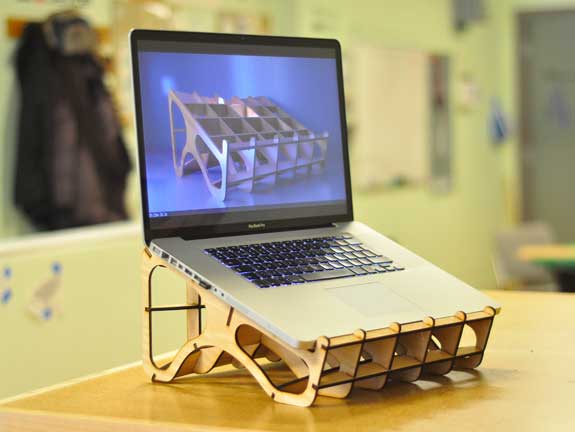
The image above is of the cutting and assemly of the press-fit laptop stand. I decided to only chamfer on the bottom (the pieces the fae downwards) so that it would be out od sight. The cut fit great and wedges perfectly into a tight fit. The bottom right image shows the pieces connected with no use of extra hardware or glue.
The Final Product
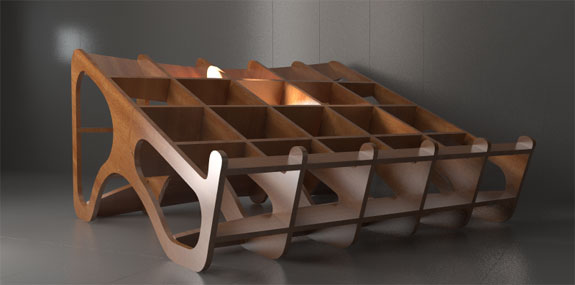
The final product was cut using 123D Make as it is a very easy to use free application with a lot of flexibility. I will continue to experiment with other programs to get an even better result, but for now the best result that I can achieve is through 123D Make.
Alternative Section Design - (Cleaner Sections)
The image above shows a second method of cutting in which the outcome is a far more clean and easy to assemble press fit kit. The joints fit tightly without having to apply too much pressure.
Download the model on Thingiverse http://www.thingiverse.com/thing:49812.
Vinyl Cutter
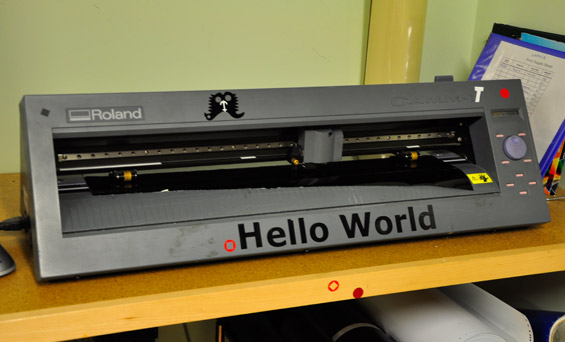
The vinyl cutter (a Roland Camm-1 CX-24) - load the vinyl at the back after unhinging the lock lever located on the right back side. Once in place set the rollers to be on the edges of the vinyl, yet within the range indicated with white tape. Once in place lock the vinyl by pressing the lever back down. Press enter for "roll" on the screen, then set origin and the cutter is ready. Once this in completed then simply click on File -> Print [or Ctrl+P] and select the vinyl cutter.
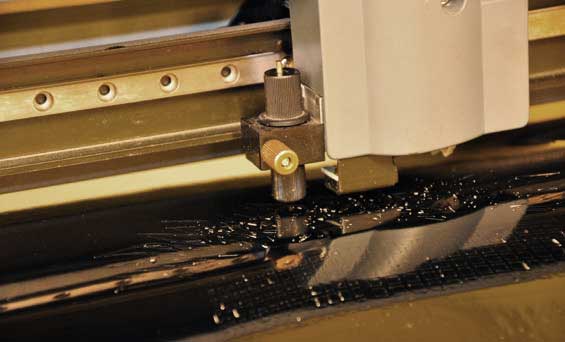
Some detail issues can be seen when lines are too small or close to each other. I went back and simplified the lines a bit in Inkscape to avoid this problem.
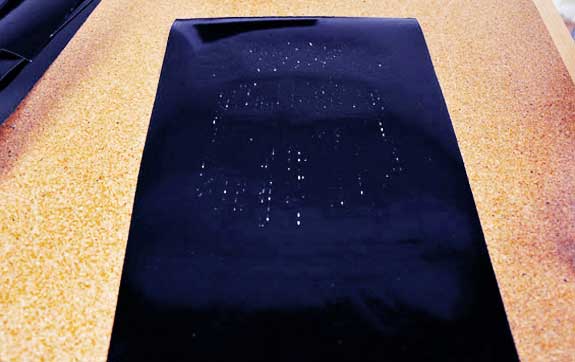
The final cut vinyl sheet (some issues, but cleaner from the alst)
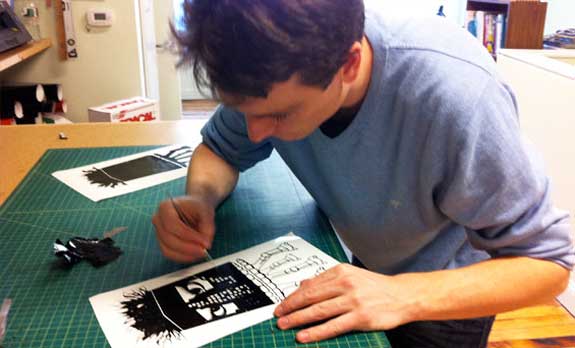
Carefully remove excess vinyl, leaving only the design exposed. A long and tedious process best done with a small pick or tweezers.
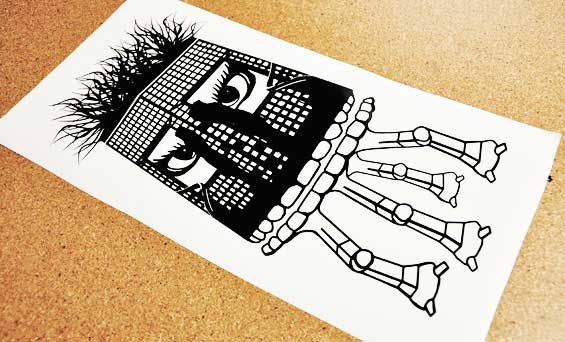
The final design with vinyl carefully removed.

