
Principles and practices, project management
interface and application programming
mechanical design, machine design
For this week´s assignment I decided to use the Kinect together with molding and casting. By doing that I managed to explore my final project idea of working with 3D scanning and thus improving the result of my week assignment.
My first idea was to scan a face and make from it an ice cube tray. I imagined that would be a nice idea to scan all the Fab Lab Brasil members´ faces and make a personalized tray, just for fun!
I noticed later, after doing some tests that my idea was feasible but it would demand much more than the time I had for this week´s assignment. In addition of the work of scanning all the different faces I would have to fix all the 3D files in order to fix the mesh and adapt it to a larger tray. So just to test I started with just one face mold.
First thing I did was choosing a face to scan, so I chose Heloisa Neves, that is our tutor in FabAcademy. I decided not to scan my own face because I wanted to participate in the scanning process.
The scanning was made with the Kinect and the software Skanect. I had done other tests in the Skanect software and it worked really well on body scanning. I´m still trying to make a successful scan with objects but the results are not so good like when I scanned people. Below are the steps that I took when scanning with Kinect and Skanect:
1) Connect the Kinect to the computer USB port;
2) Open Skanect software and change the setup information;
2.1) Skanect:
At “Prepare” window I went to New / Start a New Scan / Define Scene as “Body” / Let the Bounding box to be 1 x 1 x 1 meters / Defined the path to save the file. At Settings I changed the “Recording Feedback” to GPU (Graphic Processing Unit) in order to get a better scanning / In “Feedback Quality” I let the default “Medium” quality for not overloading the computer capacity / In “Offline Recording I checked “All Frames” (default) and turned off the “GPU Live Point Cloud”.
3) After defining those additional settings I started the scanning on the window “Record”. There I defined the scanning time period (20 seconds) and the timer before start scanning (5 seconds).
The Skanect software has three windows that you can check while you are scanning, so I positioned the monitor in a way that was easy to see while I was scanning Heloisa´s face. At the center of the monitor I could see the result of the scanning, at the upper right corner I noticed through coloured shades what was being identified by the kinect (the red shadow was the object/person being scanned) and below to that window I could see the geometric mesh being generated in green (not always what it´s seem in green in this window is what I will get as a result in the center window).
When I finished scanning her face I generated the mesh in the Skanect software and exported it to a PLY format. In Rhino 3D I imported the file and started fixing the problems in the mesh surface. The face area was great but the neck was missing. I scanned one more time trying to capture the neck but it didn´t work well, so I decided to continue fixing the first file.
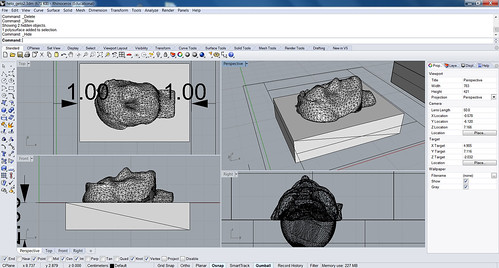
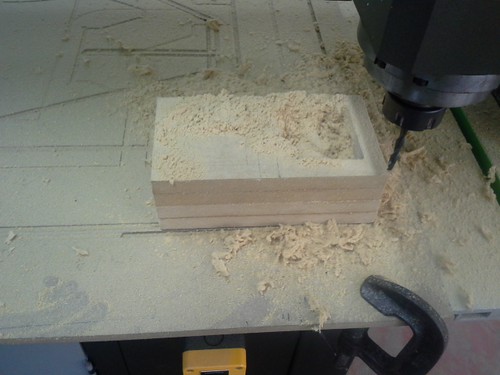
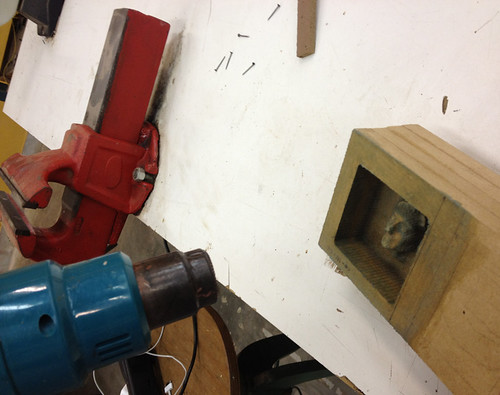
After fixing the face I started thinking about how the mold would look like. I wanted a small square tray with only one space for the ice. I started measuring the material I had: a MDF of 100x188x62mm and decided the size of the face to be carved inside of it. I adjusted the digital file in order to adapt it to the tray I imagined. After I finished the file I sent it to print in a CNC router milling machine. With the help of the lab instructor I fixed the raw wood into the milling table and defined the setup information to send the file to print in a software called VCarve:
1) Check the material size and the final object size.
2) Define the mill diameter (6mm) and type (helicoidal);
3) Determine the space between each milling layer (the time of carving can be determined here), the less space between each mill path the better will be the resolution;
4) Adjust the “Finishing” parameters;
5) Referencing the mill while resetting the X/Y/Z axes;
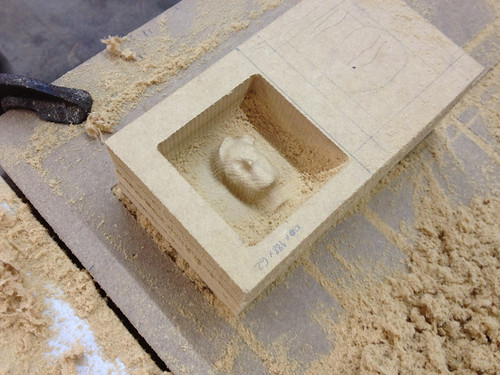
The milling process was really fast after setting the parameters. The result was fine, it remained similar to the original face but it wasn´t with the exact appearance of the digital file. The reason is simple; I should had used a mill with a smaller diameter in order to get a surface with better details. I just didn´t use the Modela because, it was in use during the time I had to make my mold and because I wanted to try a different milling machine just to compare the results.
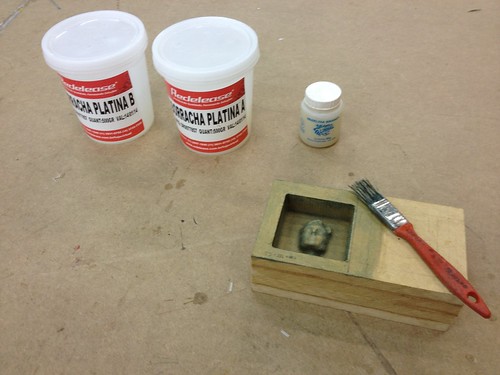
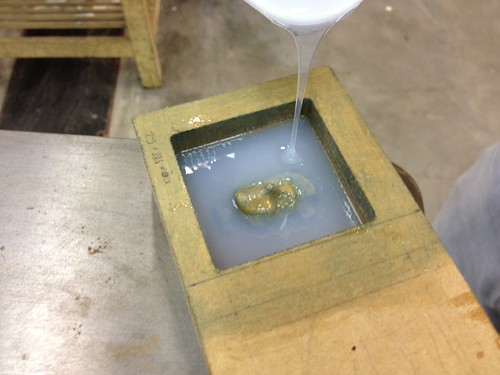
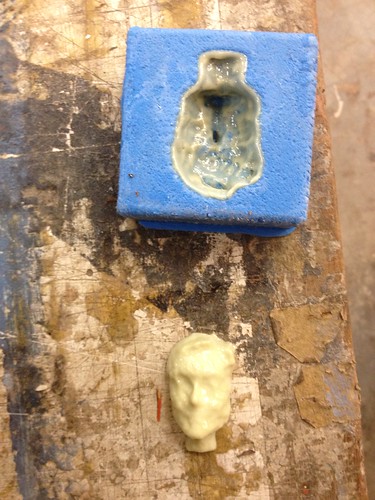
I cleaned the material from the wood dust and started working on my mold. I had a food silicon to do my mold called "Borracha Plástica A/B" (Plastic rubber A/B) and I followed the steps bellow to prepare the mold:
1) Brushed Vaseline into the mold to prevent the silicon from sticking;
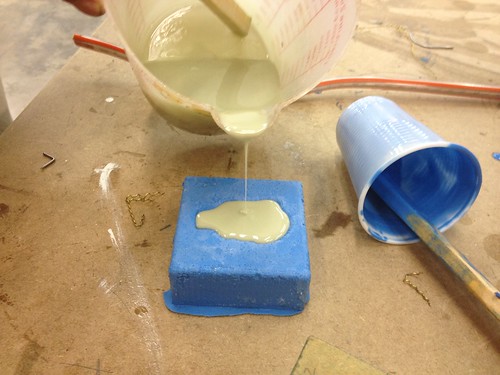
2) Prepared the silicon by mixing in equal measure the A and B components until I get a homogeneous mixture;
3) After the Vaseline dry I poured the silicon into the mold;
4) After 12 hours I removed the piece from the mold;
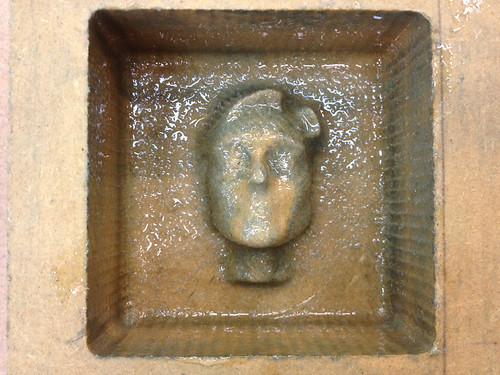
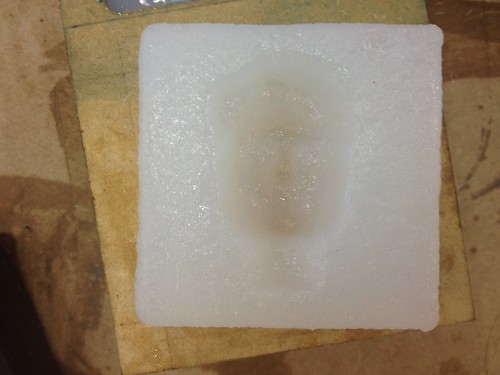
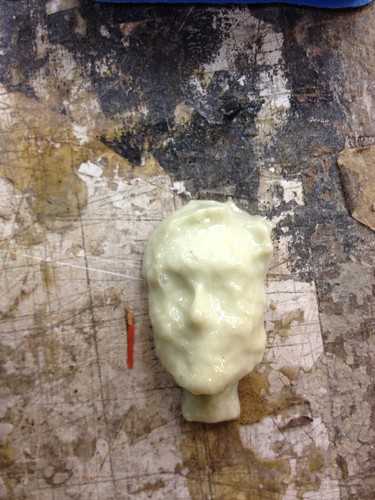
Here I would add a remark. The result of this first casting was terrible. The piece was sticky and seemed to be crumbling in some parts. At the beginning I thought I exaggerate with the Vaseline but after washing the piece a lot of times with a proper detergent I realized that indeed the piece was not totally cured. After the bad experience I did what I should have done since the beginning: call to the silicon manufacturer and ask exactly how long I should had waited until the mold was fully cured. The answer was: 24 hours! So I did the experience again repeating exactly the same steps but taking care for not exaggerate in the Vaseline and making sure that the waiting time would be respected. The result was far much better, but still the piece looks a little bit viscous.
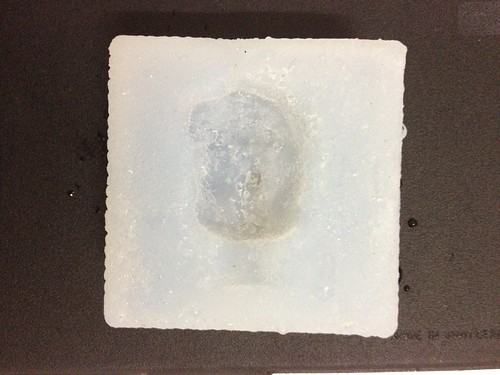
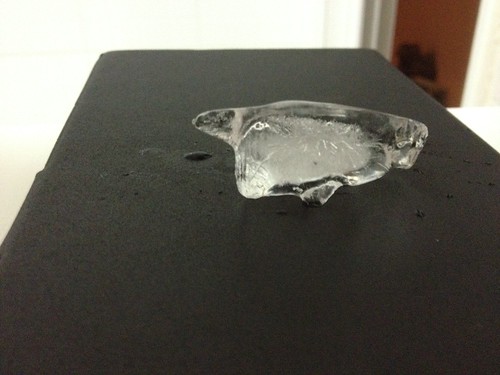
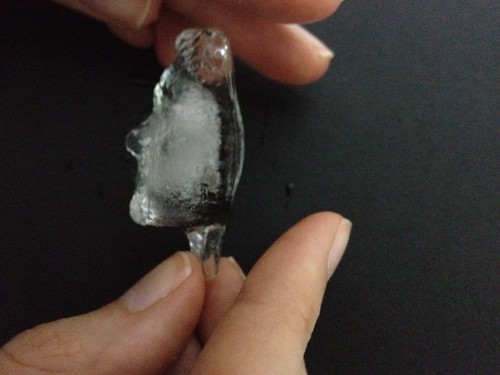
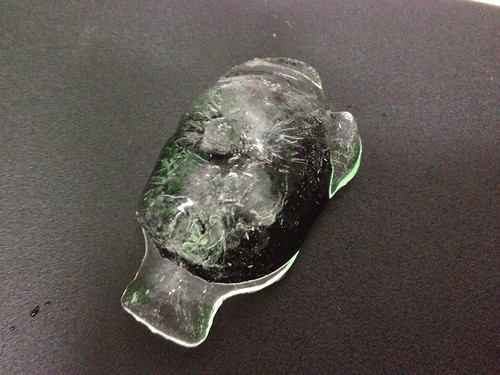
I made the final test adding water to the mold and letting it stay on the fridge until it froze. The result was very good because I could see the details of the face and that the mold really works!
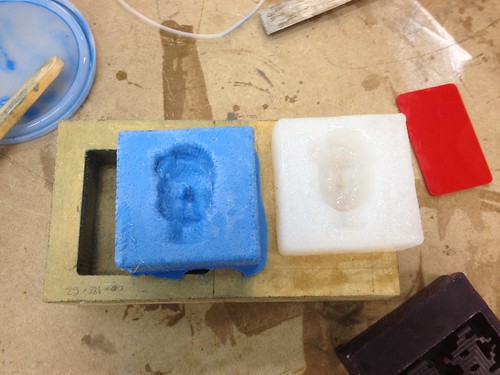
I made other tests with the MDF mold and when using PS blue rubber the piece was much more rigid and consistent although this material is not meant for food. This piece became a mold where I poured another material that was supposed to be flexible. I let the material curing during two days (just to be sure) and the result was not ok. The material didn´t solidifie entirely demonstrating that there was something wrong with the preparation of the material or the material itself.

What I learned from the experiments:
When building the MDF mold I forgot to project it with an output angle to help releasing the piece from the mold.
What I intend to do in order to complement this assignment:
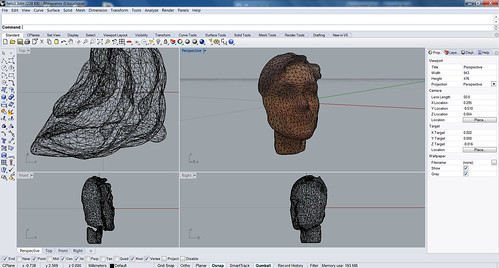
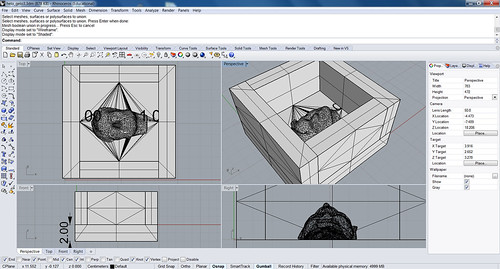
I´m working on a mold made of two pieces. The idea is to mold an entire head that will be proportionally bigger than the face I represented in the first experiment described above. For this experiment I´ll need to follow the steps listed below:
1) Scan with Kinect a head (not only the face);
2) Fix the resulting mesh with Rhino 3D;
3) Develop a mold structure that would be splitted in two parts in order to let me get as a result the entire head;
4) Mill the file on Modela MDX-40A;
5) Test a different material/resin that would be more rigid;
In what I think this assignment could help me in my final project:
I´m quite sure that over the past few weeks I have improved my skills in how to work with the Kinect. The idea is to adjust the 3D scanning to the assignments whenever it´s possible. This way I´ll have different chances to adapt this technology for different purposes. For sure, the use of 3D scanning together with the molding and casting experiment allowed me to get a result much richer in detail and closer to reality.
What inspired me to do this assignment:
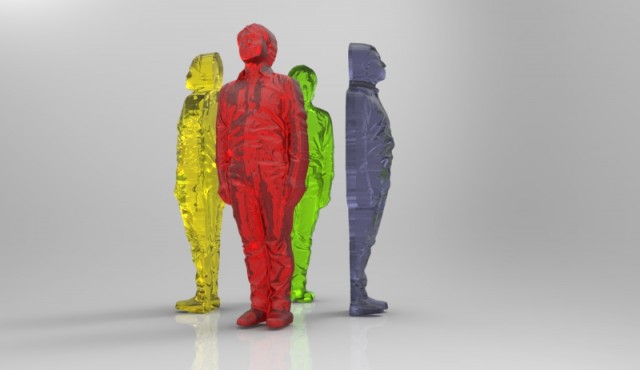
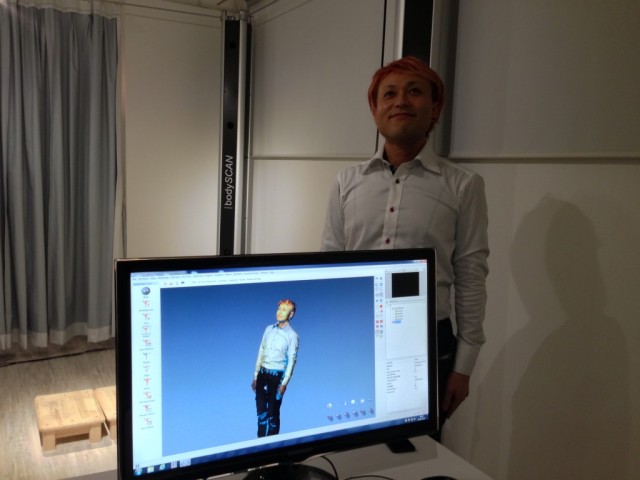
This is a project from FabCafé in Tokyo that offers to print a 3D gummy replica of a person. My idea when learning about the project was to scan with kinect a person and make a miniature of it with the technique of molding and casting. The only difference would be the purpose: an "face-shaped piece of ice" instead of a "person-shaped candy"!
----
Software: Skanect / Rhino 3D
Hardware: Kinect
Files: Rhino file