
Principles and practices, project management
interface and application programming
mechanical design, machine design
Assignment:
For this week´s assignment I had the opportunity to put into practice the knowledge I had about 3D modeling while trying to represent my final project. As a beginner in this area I had a lot of difficulties to achieve the task. First I tried to use SketchUp, but I didn´t get very comfortable with the concise interface. So I decided to move to Rhino 3D, with now I´m understanding each time more and was able to represent easily the structure of my project, with the software’s various options. The steps I followed and the things I learned were the following:
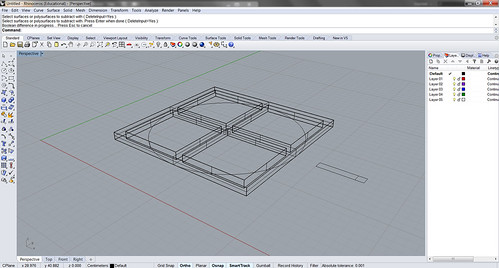
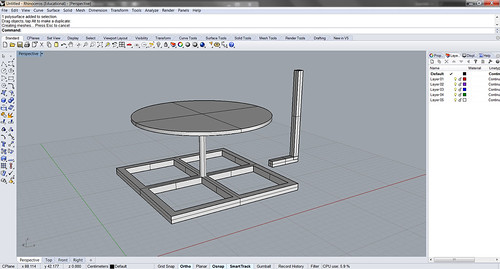
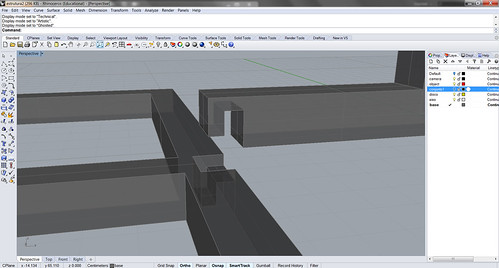
- Draw basic shapes using polylines in order to represent the top view of the parts that comprise the structure;
- Extrude those shapes in order to give them a third dimension;
- Learned how to work with layers separating each part of the structure to its respective layer. (Just to be organized ;)
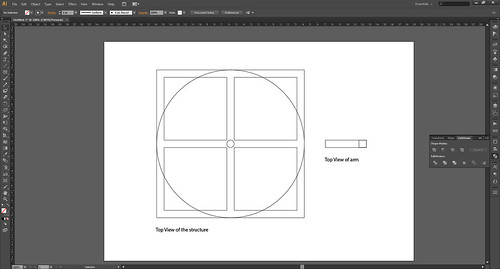
This was a quick test just to try to create my structure. Later I decided to start all over again using Adobe Illustrator to draw the top view of the structure and exported it to a PDF file. It was ok to open the PDF file in Rhino 3D, because it preserved all the shapes on a vector format.
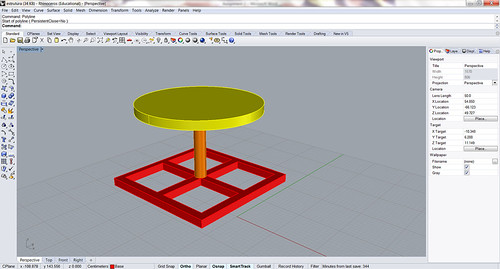
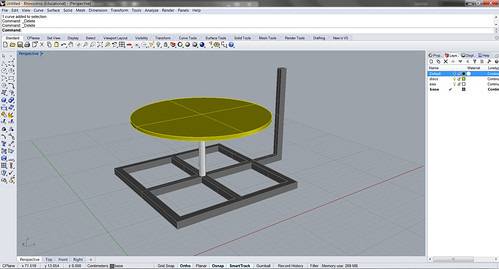
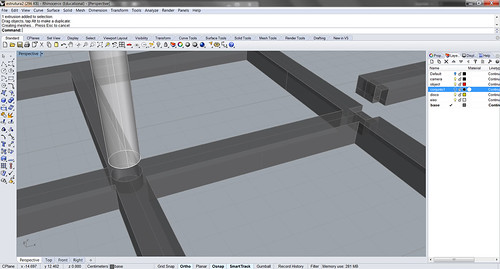
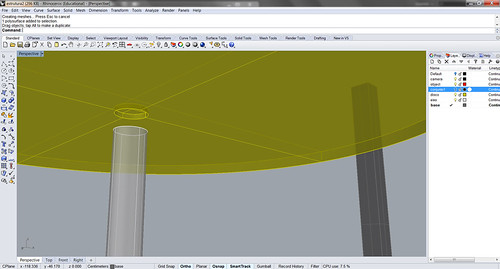
After importing the PDF file in Rhino 3D, I extruded all the shapes and placed them in their right place and layer:
- Import PDF file
- Extrude shapes according to their sizes
- Position the parts of the structure in the right place
- Separate the parts in different layers and name them
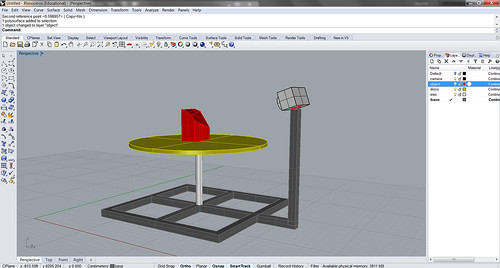
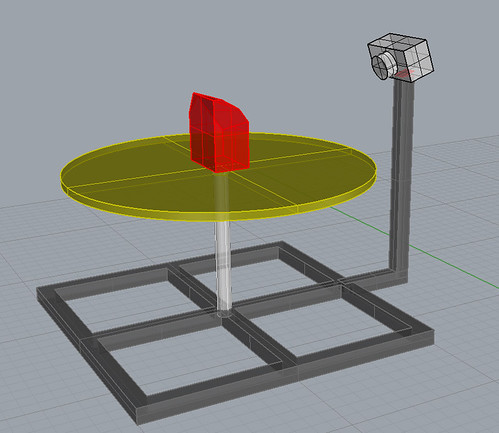
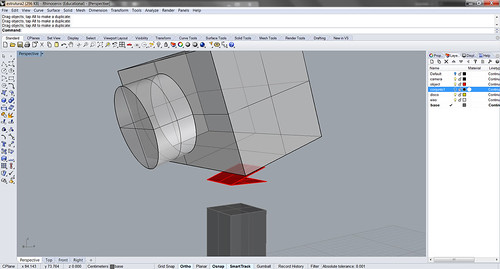
Since I created all parts of the structure in Rhino 3D, I tried to create an exploded view out of the original structure. This wasn´t very easy as in an exploded view, it´s expected to show how the joints between the parts would work. As I´m in the beginning of this course I intend to spend more time thinking on better ways how to connect the parts so that the group would work fine. This exercise helped me to think about the difficulties and obstacles to achieve my initial idea. In this case, I tend to think that creating the structure won´t be that hard, but solving the problem of how capturing a moving image on a 3D point cloud will be the bigger task!
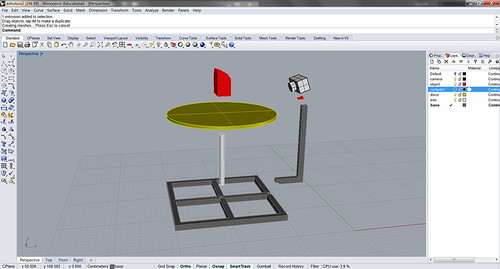
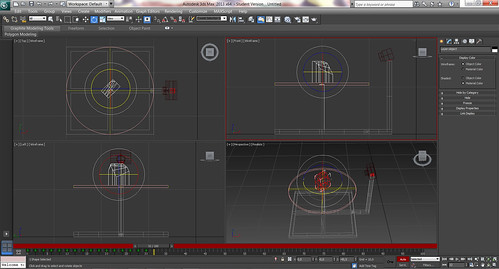
I also tried to represent the structure in motion. For this I needed a software that could show in a movie the steps of the rotation, frame by frame, so that I could get an movie as a result. I decided to use 3D Studio Max for this task. I managed to rotate the object, creating several frames but something went wrong in the render process. Somehow I wasn´t able to make it visible for the render, I think that something went wrong during exporting out of Rhino 3D. Here are the steps I took:
- Export the structure from Rhino 3D to a DWG file
- Open DWG in 3D Studio Max
- Create frames in order to bring motion to the object
- Add light to the scene
- Failed on rendering

I intend, during this week, to find out what went wrong with the rendering process in 3D Studio Max. I chose this software because I thought it would be the best way to keep the 3D structure initially created in Rhino 3D, and by only adding some tweaks I could easily get my structure in motion.
I created an account in Flicker so that I could upload my progress within the upcoming assignments.
----
Softwares: Rhino 3D / 3D Studio Max
Files: Rhino 3D file