Principles and practices, project management
interface and application programming
mechanical design, machine design
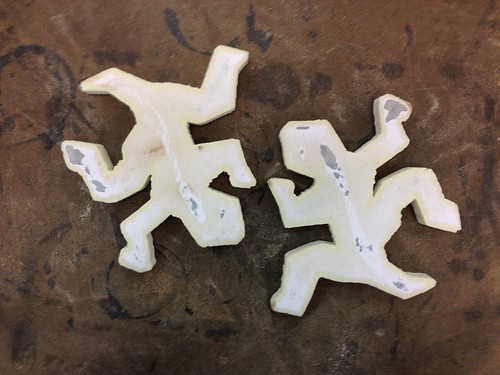
Lizard Module
Manual Lamination with Fiberglass and Open Mold

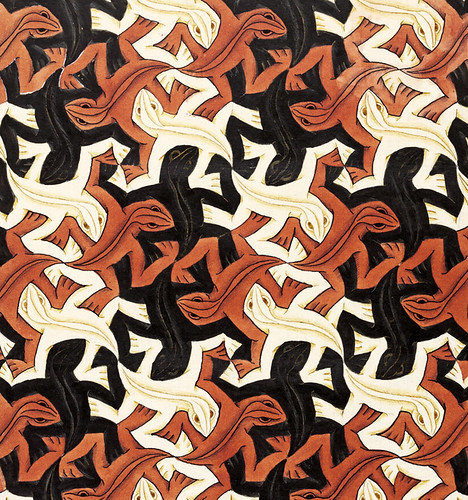
The idea was to create a module that would be used to assemble a panel. The shape of the module I chose was inspired in an artwork of M. C. Escher called “Lizard”. It´s a symmetric shape of a lizard that together with other lizards create a mosaic.
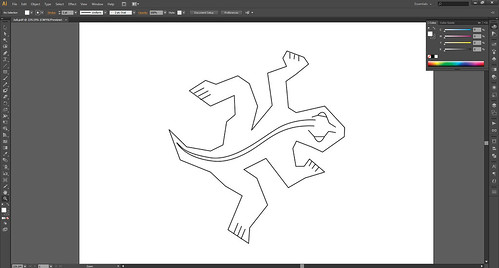
To start I redraw the lizard shape in Adobe Illustrator CS6 and exported the file in PDF.
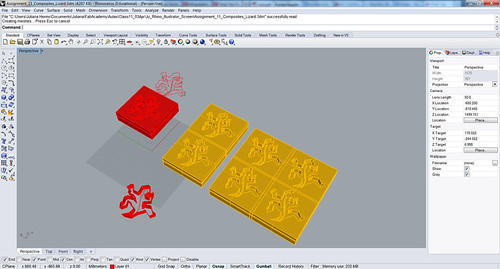
I imported the PDF file in Rhino 3D where I extruded the curves and shaped the Lizard so it wouldn’t look so flat. I exported the resulting shape in a DXF file in order to open it in the Milling machine software.
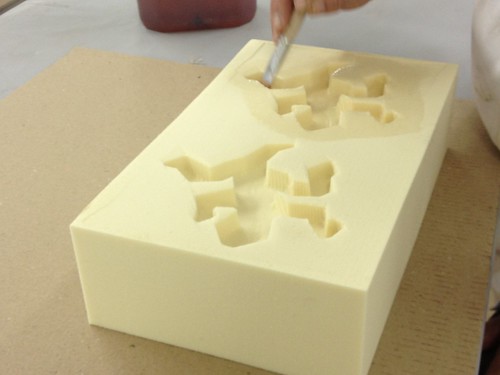
The material I chose for the mold was a polyurethane (PU) with a density index of 100. I milled the polyurethane mold in a CNC Milling Machine and it was a very fast process (due to the mold size).
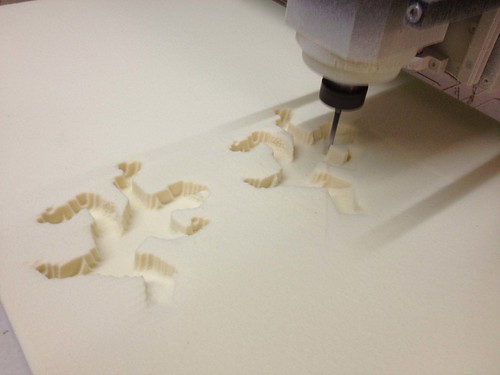
It was advised, by the technical staff of the laboratory, that the mold should be carved in MDF wood but there was no mill in the lab for this kind of material and not enough time to order it, so I chose to risk using a high density polyurethane foam.
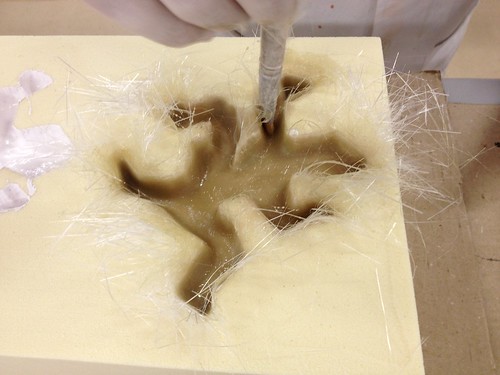
Once the mold was carved I covered its surface with polyvinyl alcohol (PVA) that worked as a demolder and was supposed to close the pores of the polyurethane (at least I thought so).
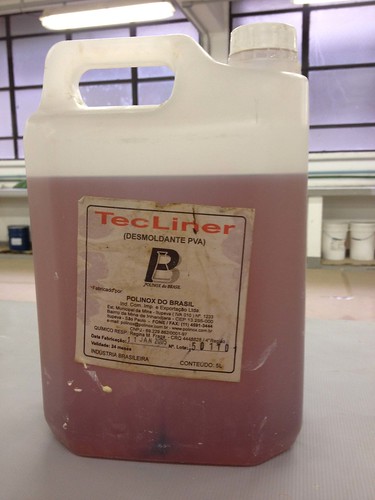
Later I noticed that I should have never closed the pores of the PU mold only with PVA. I should had added an extra layer of spackling paste.
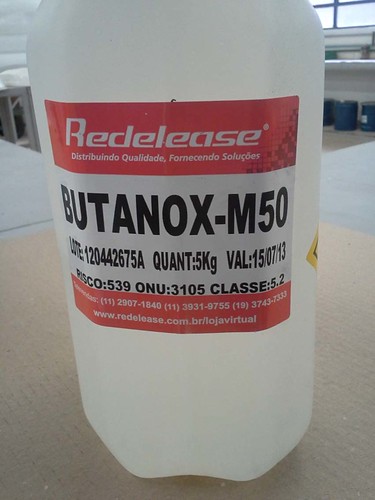
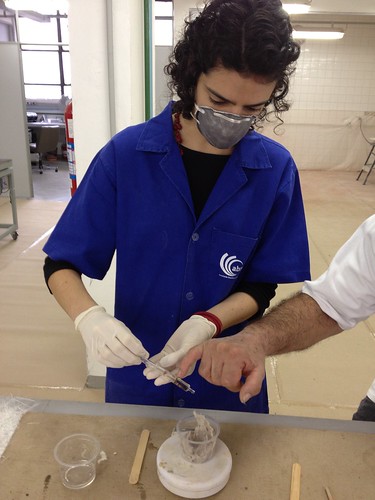
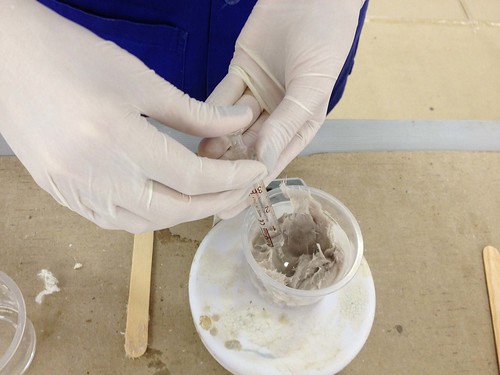
For the surface finish I used Gelcoat. To initialize the polymerization of the Gelcoat I added to it Butanox-M50. For each 50 grams of Gelcoat I added 1.6 ml of Butanox-M50. When those two components were mixed the resulting resin started to harden and I quickly applied a layer of it in the mold surface.
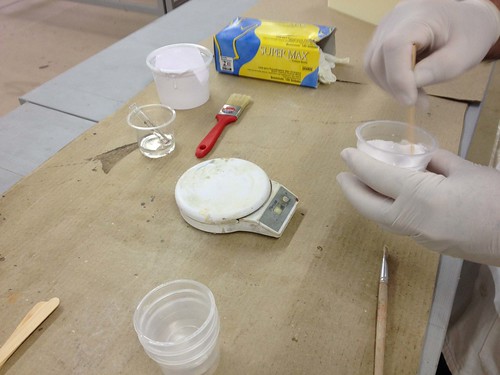
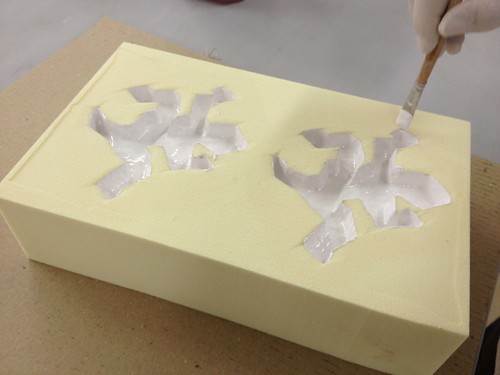
I waited the Gelcoat polymerize before adding the fiberglass and resin. Because the day was humid I used a dryer to speed up the polymerization process. I took care not to overheat the Gelcoat cover to prevent the surface to crack.
Lamination Process:
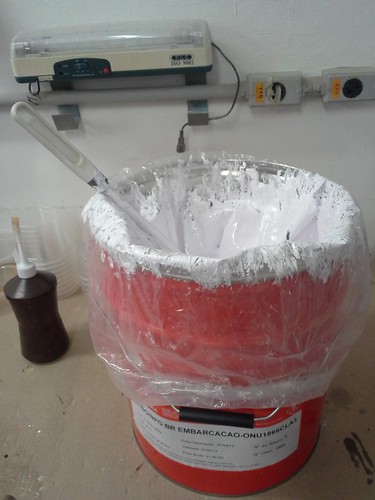
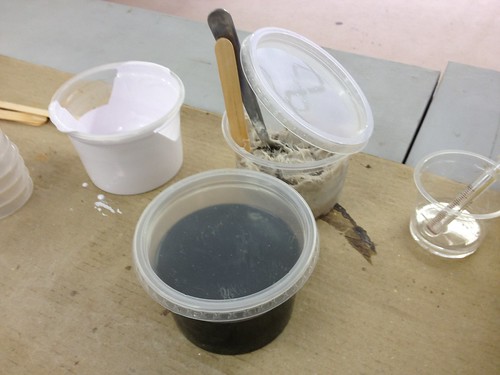
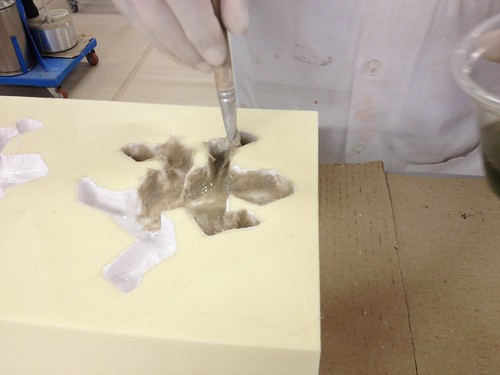
To protect the corners of the mold I used a paste made with Glass Fiber mixed with MEKP. After placing the paste I applied a layer of polyester resin.
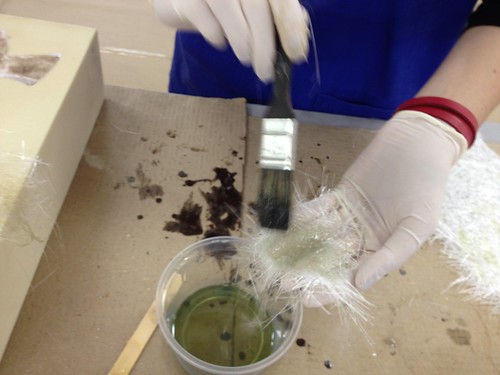
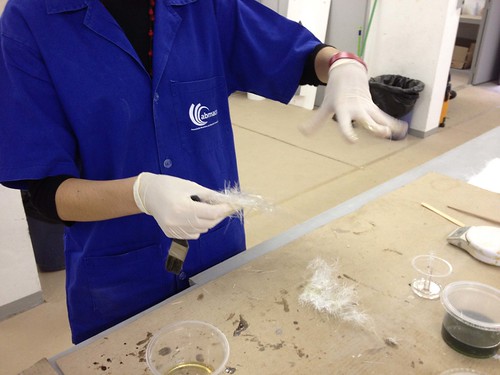
I started preparing the polyester (PET) resin that I mixed with MEKP in order to polymerize it. Then I cut the Glass Fiber and moisturized it with the resin and quickly placed it all over the mold covering its surface.
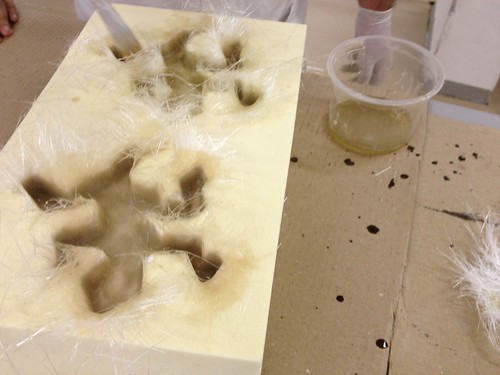
I left the mold to polymerize for about three days before demolding it.
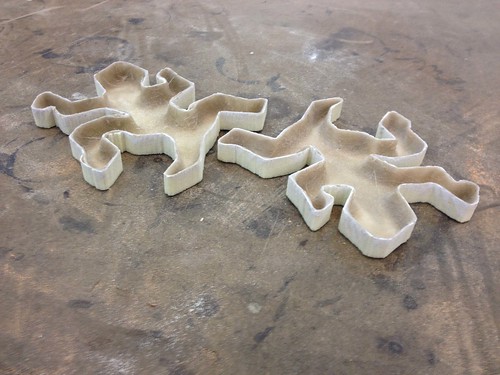
The demolding process took me a lot of time because it didn´t work as I thought. Because the piece didn´t demold easily I first cut the shavings of the fiber glass to the edge of the mold and secondly tried to remove the piece using a sharp end tool. It didn´t work, so I decided to destroy the mold to release the piece safely. The technicians helped me trying to break the mold but it was very hard, so we decided to cut around the mold with a band saw. I also eliminated most of the polyurethane that was stuck on the bottom of the mold pressing it against a sanding machine.

What I learned from this experiment:
The piece didn´t demold correctly. I thought that it would come out easily but it didn´t. The piece got stucked in the polyurethane and nobody was strong enough to release it.
A solution for this problem would be to make the mold in MDF wood. The fiber glass combined with the resin would not get stuck in the wood´s surface once it does not have open pores and because I would seal it previously with a proper wood sealer.
If I still would want to use the polyurethane as a mold, I should apply spackling paste before the polyvinyl alcohol (PVA). This may solve the “stucking in the mold” problem I had.
I intend to repeat the process making the mold in wood and maybe trying a new composite technique.
---
Hardware: CNC Milling Machine
Software: Adobe Illustrator CS6 / Rhino 3D / 3D Carve
Files: Adobe InDesign / Rhino 3D
.