21. Appendix: Experiments and theory of electrolysis.
Different ideas about how to implement the Electrolysis pool
Here are some tests I used in the final project. These should probably to be moved elsewhere. However, they do answer to the question what has been done before.
My first proposed idea for the final project is a electrolytic hydrogen production module for hydrogen foam formation. The initial idea is described in the Week 1 documentation.
Update for the final project 03.11.2022
I decided to let the 3d printed chamber go and try laser-cutting instead. I am interesteed in trying to bend the plastic with the lasercutter. I found an interesting video(external link) and decided to try it.
First I created a simple (and unstable) setup for bending the plastic in the lasercutter. The process required setting the beam out of focus so much that the energy will disperse to large enough area that the plastic will melt instead of burning away. The gravity bends the molten plastic if it is not supported from below. That’s why the sheet must be placed above the metal grid usually supporting the sheet.

I didn’t follow the procedure in the video. I decided to let the airflow unchanged. After a few unsuccesful attempt, some mariginally good values for the focus and power were found. If the focus is too good, there will be bubbles in the plastic. Note the differences. The plastic could also be heated and then bent by hand.
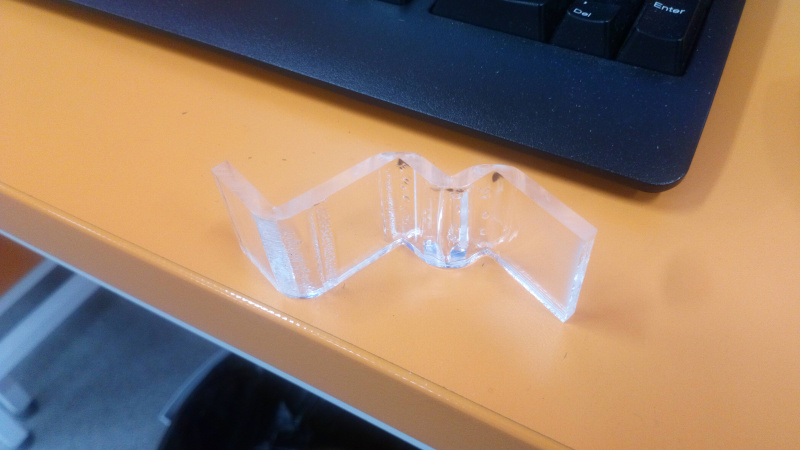
The process required multiplying the bent lines by hand in Inkscape (Object and selecting line from object list and multiplying it with control+d). The first tries required more than 100 out of focus cuts before the 5 mm acrylic sheet bend. Because the number of repeats is unknown, the process should be done in carefully planned phases so, that bending parts of the process could be repeated. Also, if the bending direction changes, the plate must be turned upside down.
I made a prototype design for the pool. It is made of one single sheet and will store only hydrogen. It requires turning the sheet around, because bending is required to both directions. I need some way to position the plate back. Setting the sheet on the side of the grid is not possible, because the sheet must be risen above the grid. The preliminary design (in plane) is shown below.
Update for the final project 21.3.2022
I found out, that adding excessive amount of salt produces chlorine gas instead of oxygen because of the location of Oxygen and Chlorine in the electronegative series.
The material for anode is a problem. Most metals, including copper, can’t handle it for long. Titanium is one of the suitable materials. There are titanium plated milling bits. I wonder if the plating holds long enough for electrolysis?
NaCl, table salt, is not a good ion source because of possible chlorine formation. Chlorine is a problem only if too much salt is added. Glauber’s salt (sodium sulfate) is considered as a better option for water electrolysis. Sources for this information are here and here. The litmus can be used for observing the electrolysis, because of pH changes on electrodes.
Test for the final project 19.3.2022
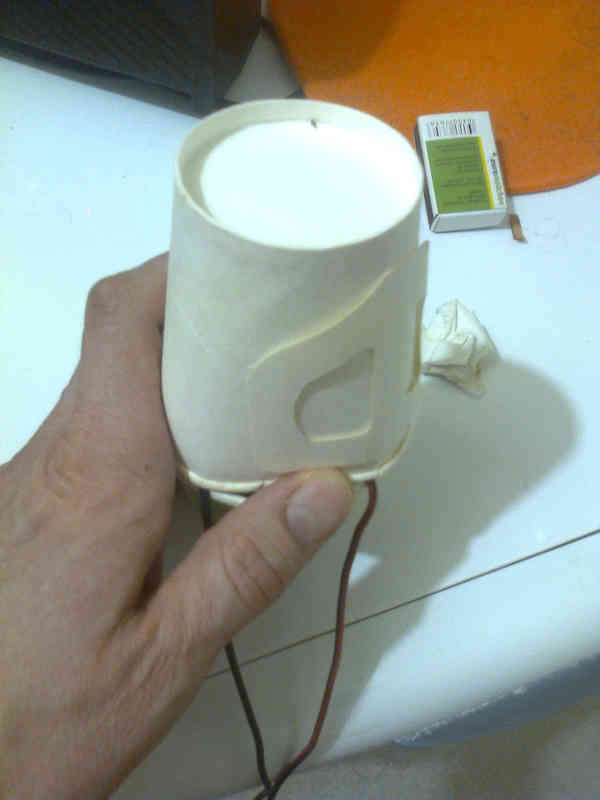
I constructed a small electrolysis equpment.
Some seasalt.

I found a paper cup.
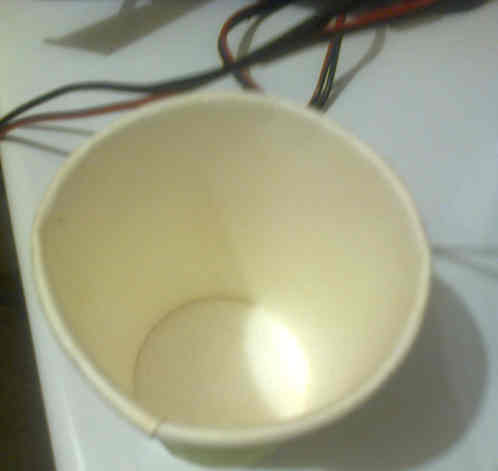
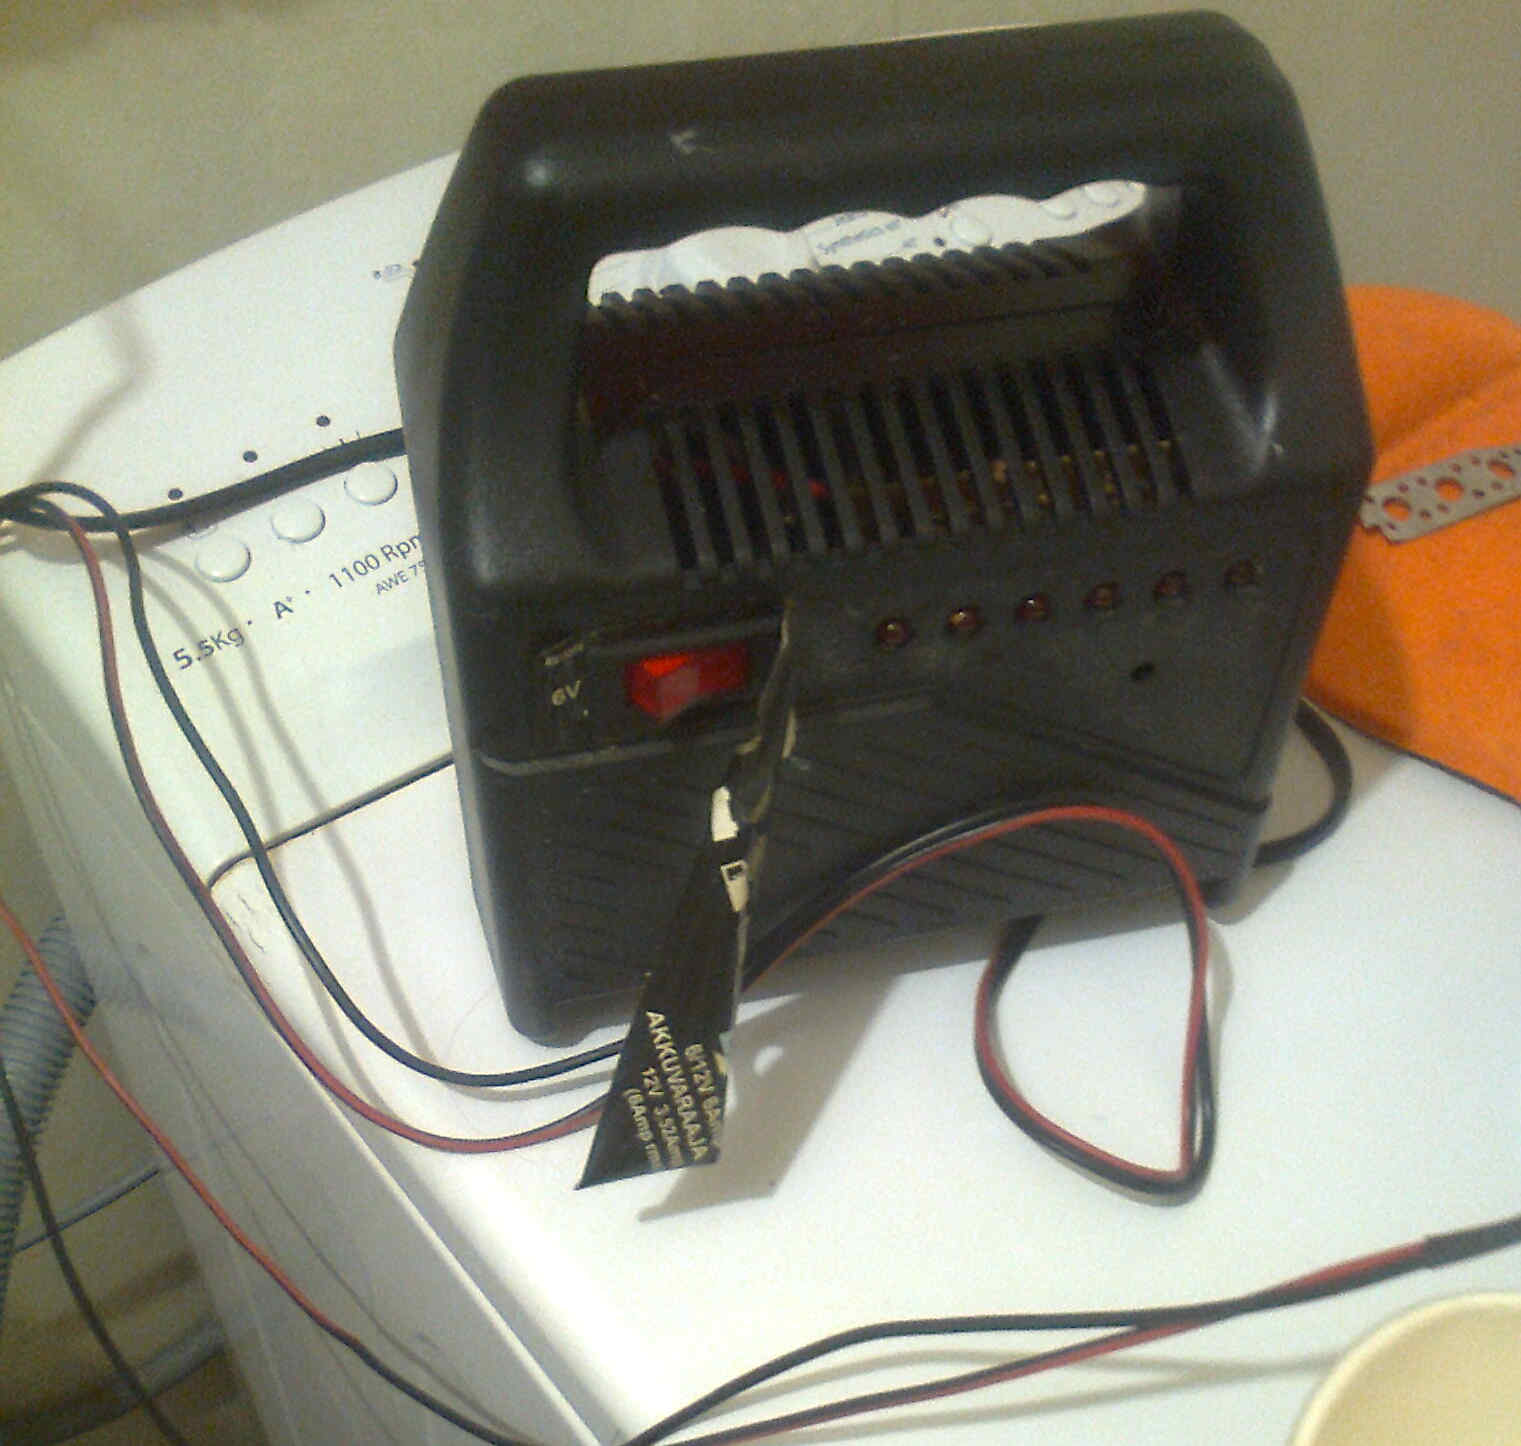
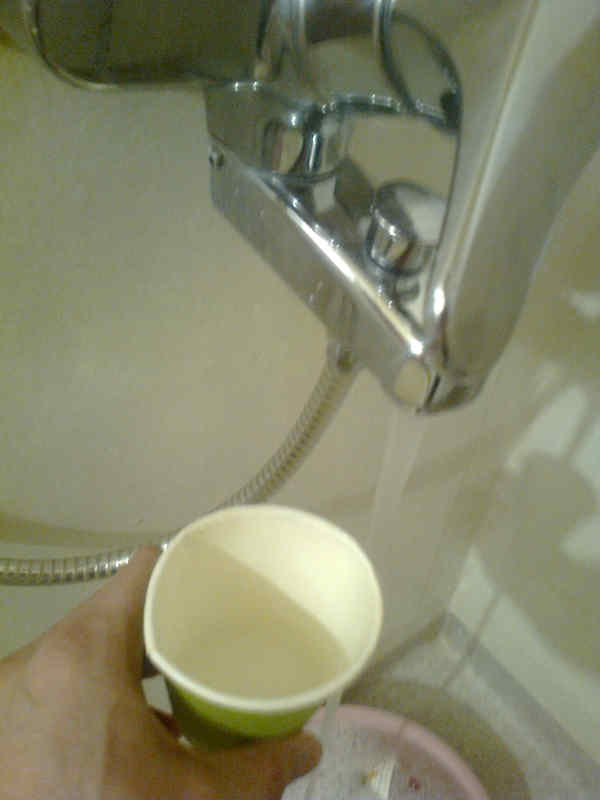
I have an old car battery charger.
I put some seasalt into the cup.
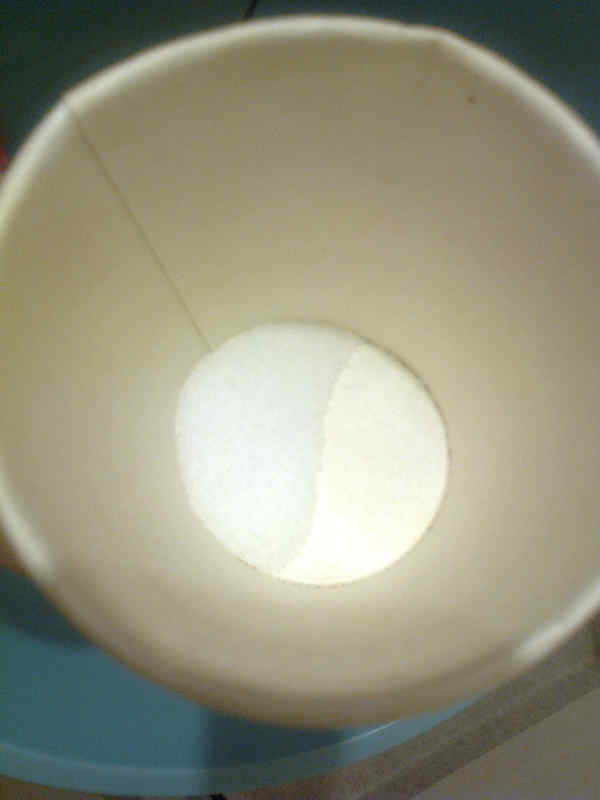
I added some water.
I found some metal for electrodes.
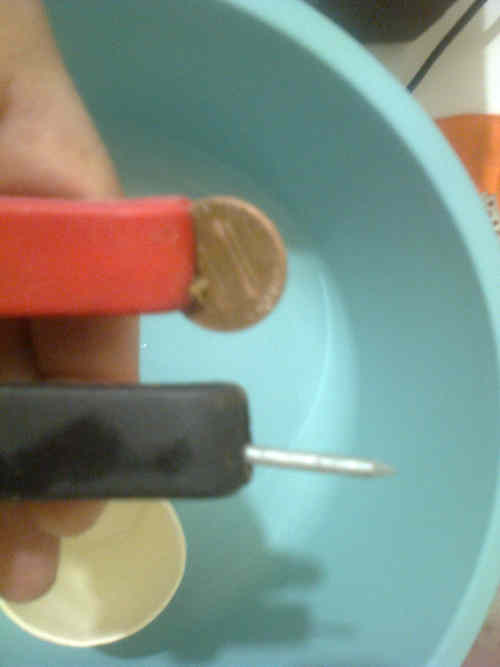
I plugged in the battery charger, placed the electodes in the salty water and the reaction began.
I checked the electrodes and immediately regretted using a perfecty good “Lincoln Memorial” one cent coin as an electrode on the positive terminal, instead of a zinc-plated nail I used on the negative terminal.
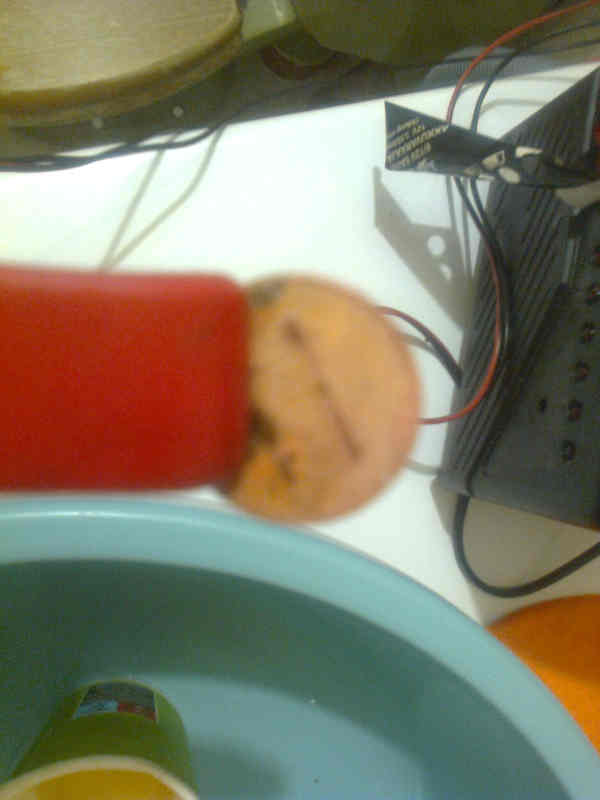
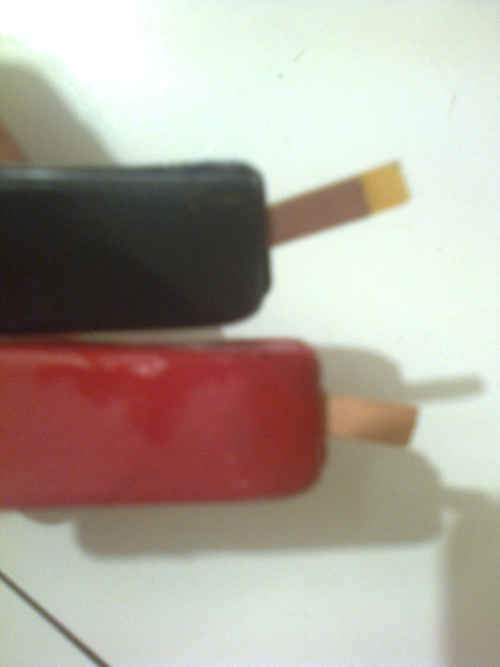
I looked of another electrodes. I found a piece of circuit board I had grabbed from the FabLab waste bin for this purpose.

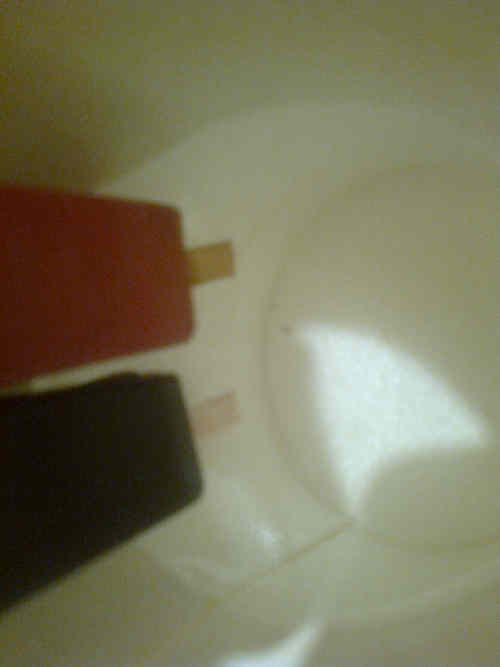
I replaced the electrodes.
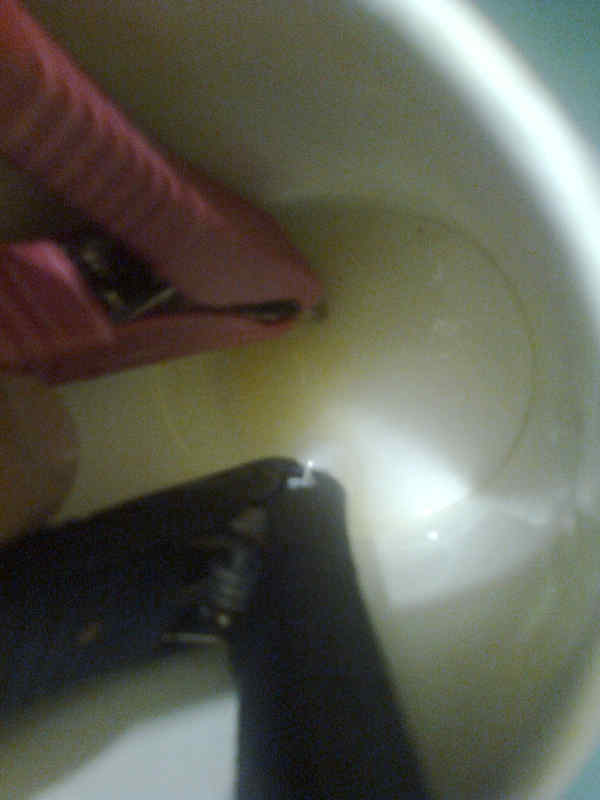
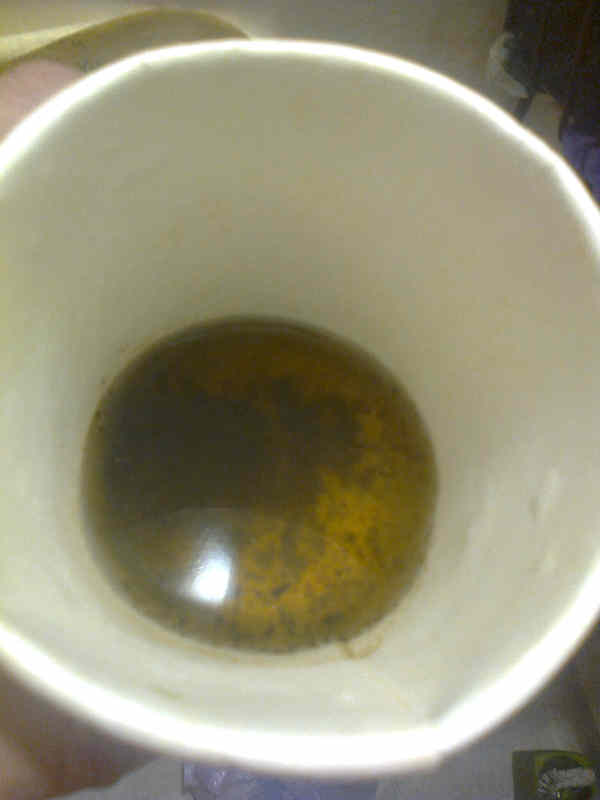
I made some new salt water and put the new electrodes to the salt water. Gas immediately started forming on the negative terminal.
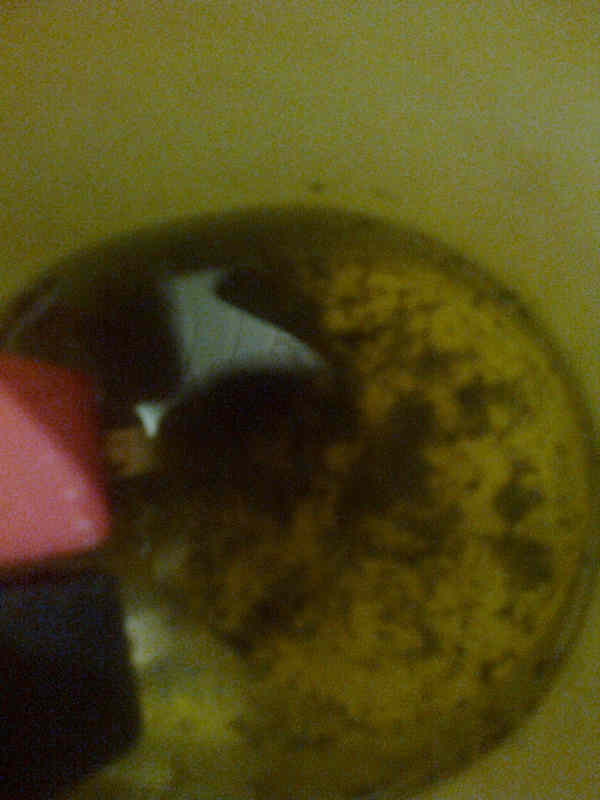
Something else was going on on the positive terminal. Green stuff started forming there.

The process continued: Gas on the negatice terminal (catode) , green stuff on the positive terminal (anode).
This is actually fine for me, because according to the theory, hydrogen should be formed on the negative terminal.
Still, I wonder what that green stuff is? It has probably something to do with sodium and chlorine ions in the solution.
I documented and decided to do some more testing. I created a new salt solution, added larger electrodes and let it ran.
First I tried to collect some gas and burn it, but it didn’t work.
I added some soap to the solution, and let it run. White dense foam formed from the anode. The charger led display was lit, showing increased resistance. Also, the solution wamed up, but all the voltage over 1.48V causes warrming, I was running the electrolysis on around 13 V.
I tried to lit the foam, but nothing happended. I dropped a burning piece of toilet paper on the foam. Some popping sound resulted. I had no time to add the pictures.
Progress in the final project (18.3.2022)
We had a meeting with Jani. He suggested, that I remove the sugar bubble part and do only the controlled hydrogen generation part. I agreed. Based on the discussions with other instructors Jani also suggested, that for safety reasons, mainly for fire safety reasons, I should do electrolysis only outside. I pointed out, that for this I am going to need a portable power supply for that. The obvious solution would be scaling down the electrolysis so that it can be done with an 9V battery. This obviously makes the final project a lot easier for me.
Progress in final project (9.3.2022)
- Use of FR4 circuit board as electrodes.
- Use of acrylic sheet as electrolysis chamber. Two transparent sheet, carved space for circuit board.
- Holes in the circuit board. Empty space around the holes in order to achieve optimal distance between electrodes.
- Electronics include in the electrode plates (FR4 double sided boards, solder plated?).
- Gases should not mix. Small holes, oxygen and hydrogen stay on their separate sides.
- Still modular design.
- Method for generating pressure for creating bubbles? Mechanic syringe type design? Should one mechanims cover multiple electrolysis units? Valves like in the old bicycle valves in order to contain pressure?
- Electrolysis should be tested.
- Perhaps a large barrel could be better concept? Inner and outer part for different gases, room for mechanics creating the pressure? Any other format?
- A meter scale barrel producing hydrogen?