2. Computer-Aided Design(CAD)
WEEK 2
This week’s assignments are:
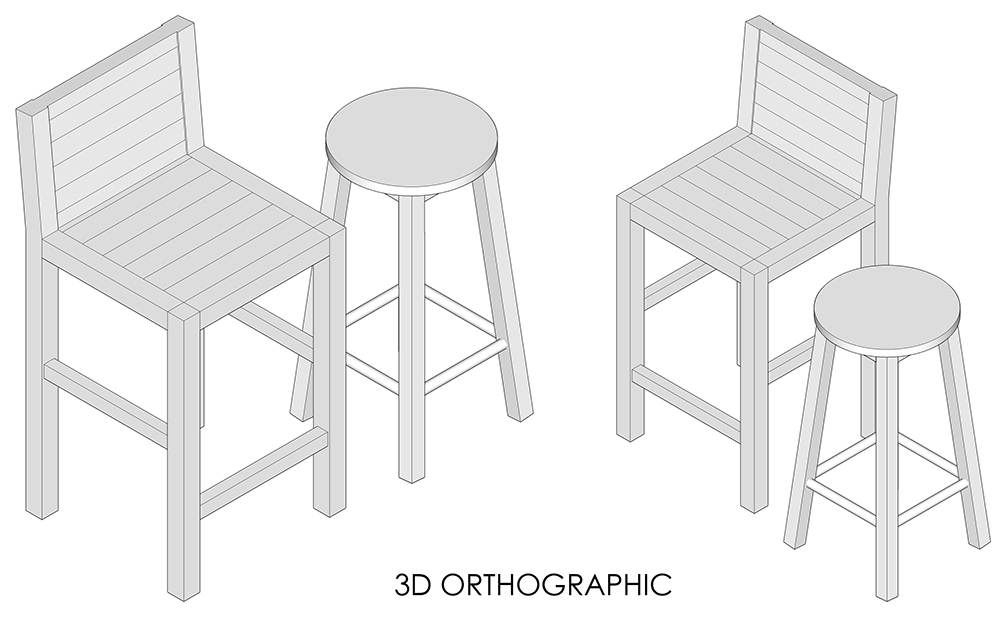
- To model a possible final project
- To learn more about Computer-Aided Designing(Raster, Vector, 2D, 3D, Render, Animate, Simulate, …)
- To learn to Compress Images and Videos
- To Post a discription with my design files on my webpage
Introduction to Computer-Aided Design(CAD)
This week we learn about Computer-Aided Design. As the name suggests it is being able to design and create using computers
Now lets classify them into 2Dimensional(2D) and 3Dimensional(3D)
2D Computer-Aided Designing
2D or 2Dimensional images are those that consist 2 dimensions namely X axis and Y axis
We can classify 2D images to raster and vector images. In short RASTER images are those which hold colour information of each pixel but while zooming-in we can notice pixelation and will lose clarity and, VECTOR images are those which store information of objects in the pitcure that way it is able to render and preview with lossless quality and hence are very useful for computer controlled machines
GIMP

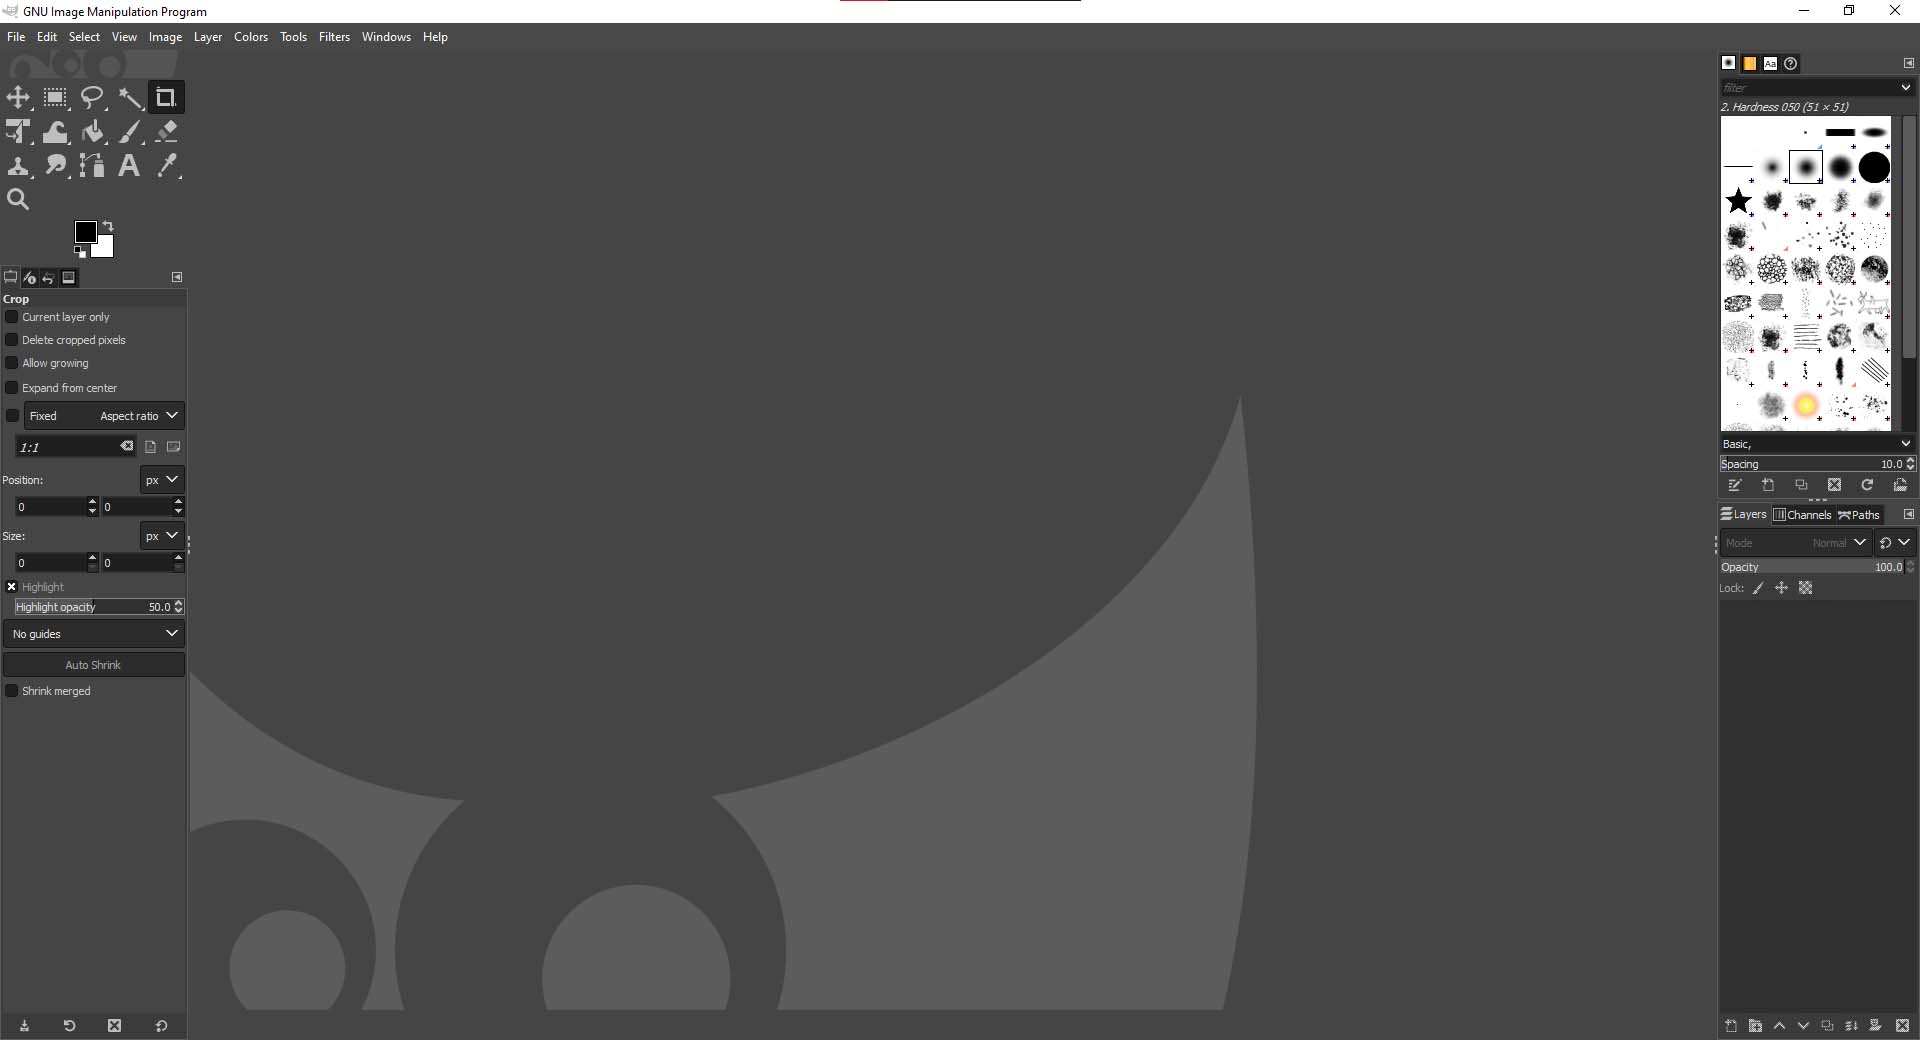 GIMP landing page
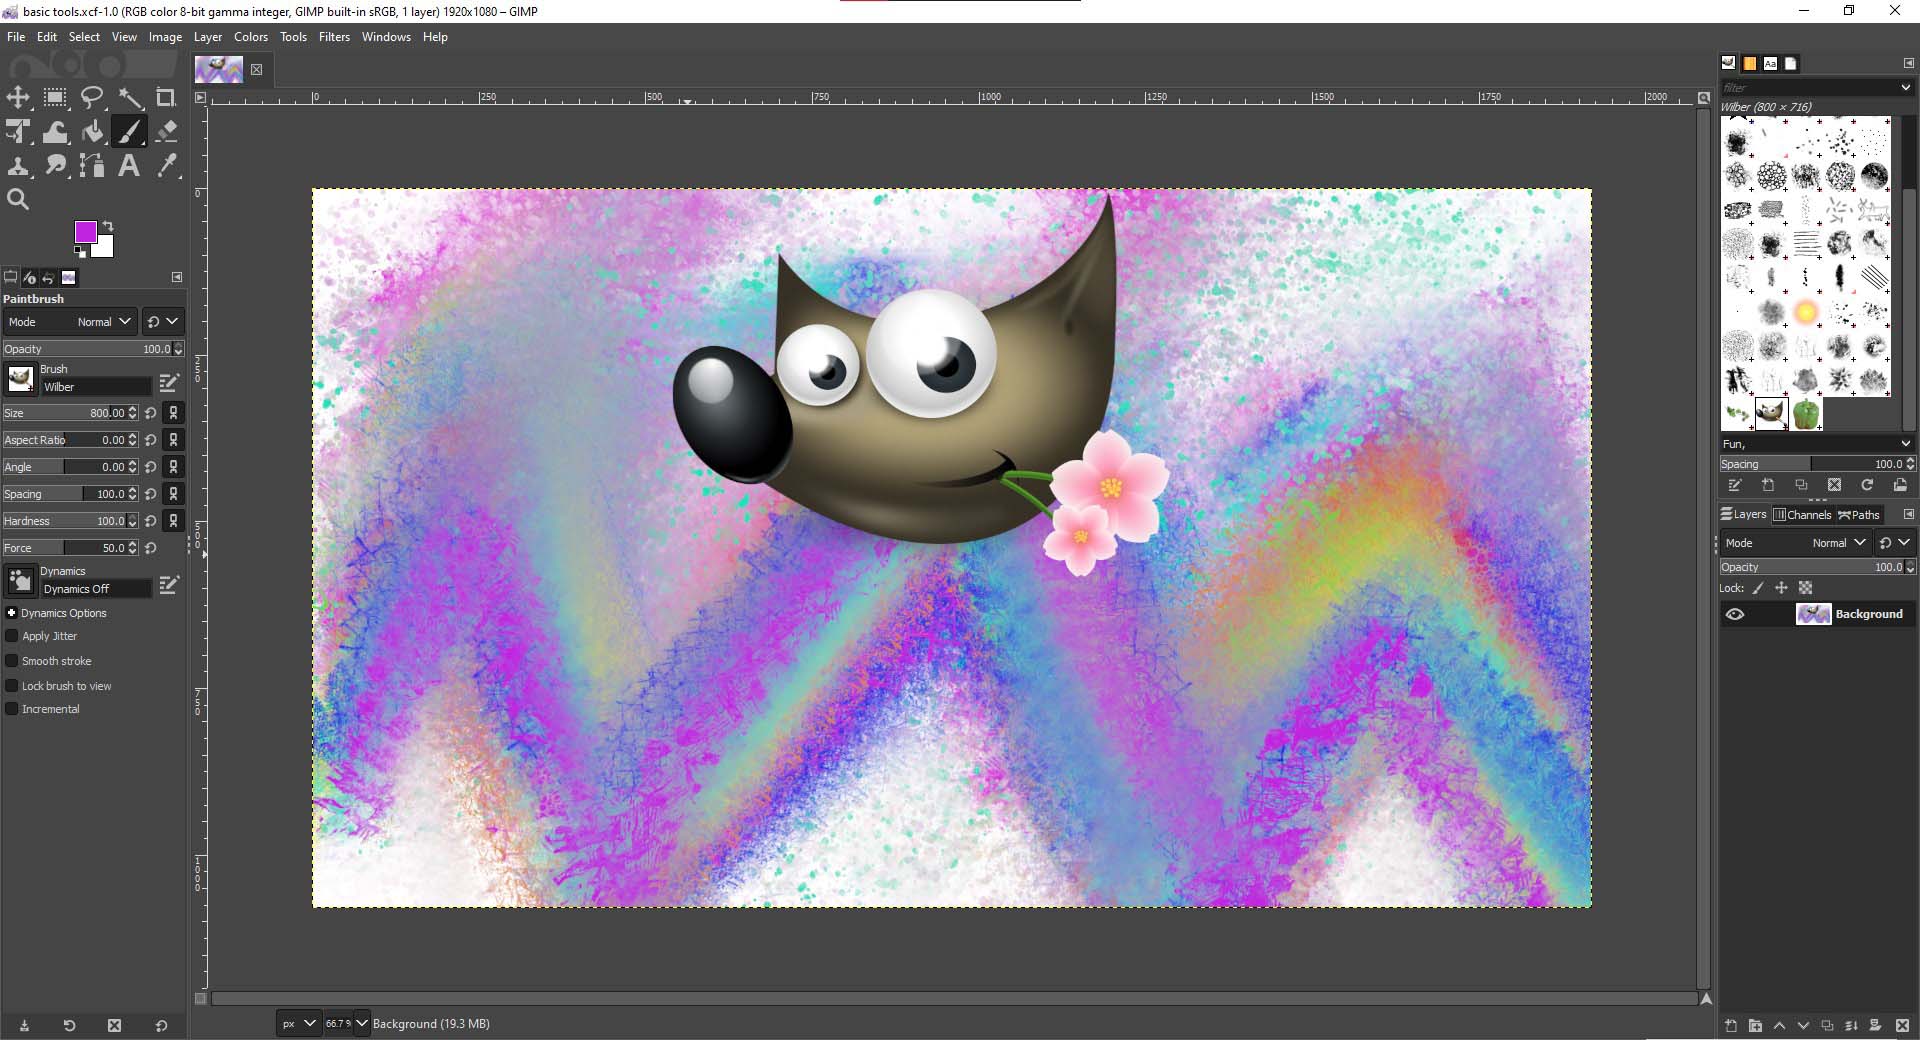
Being new to GIMP I first tested and tried all the tools just to learn and understand and get a hang of them and be more familiar when to these tools. So I first decided to make an artwork with all the different brushes…
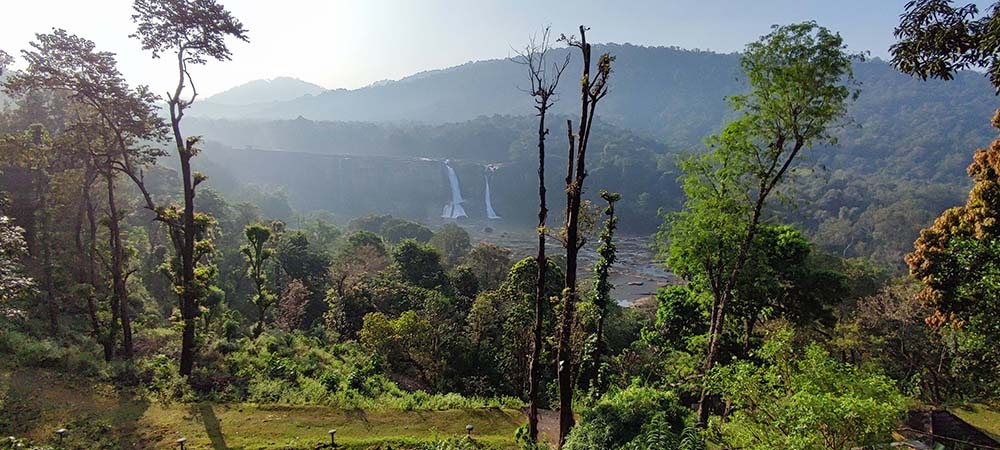
Then I went ahead and saw a couple of tutorials on how to mask and how to add filters and edit pictures and started with a picture I clicked…
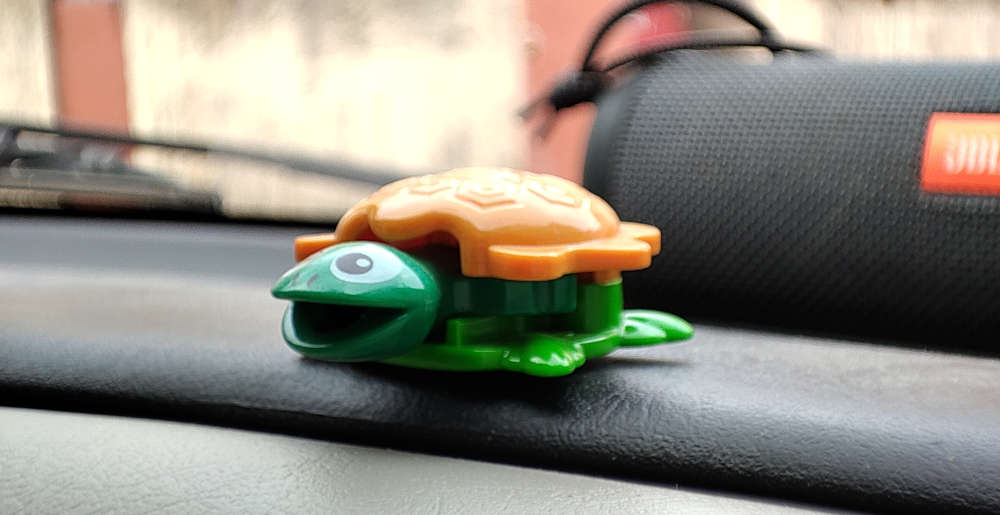 Before…
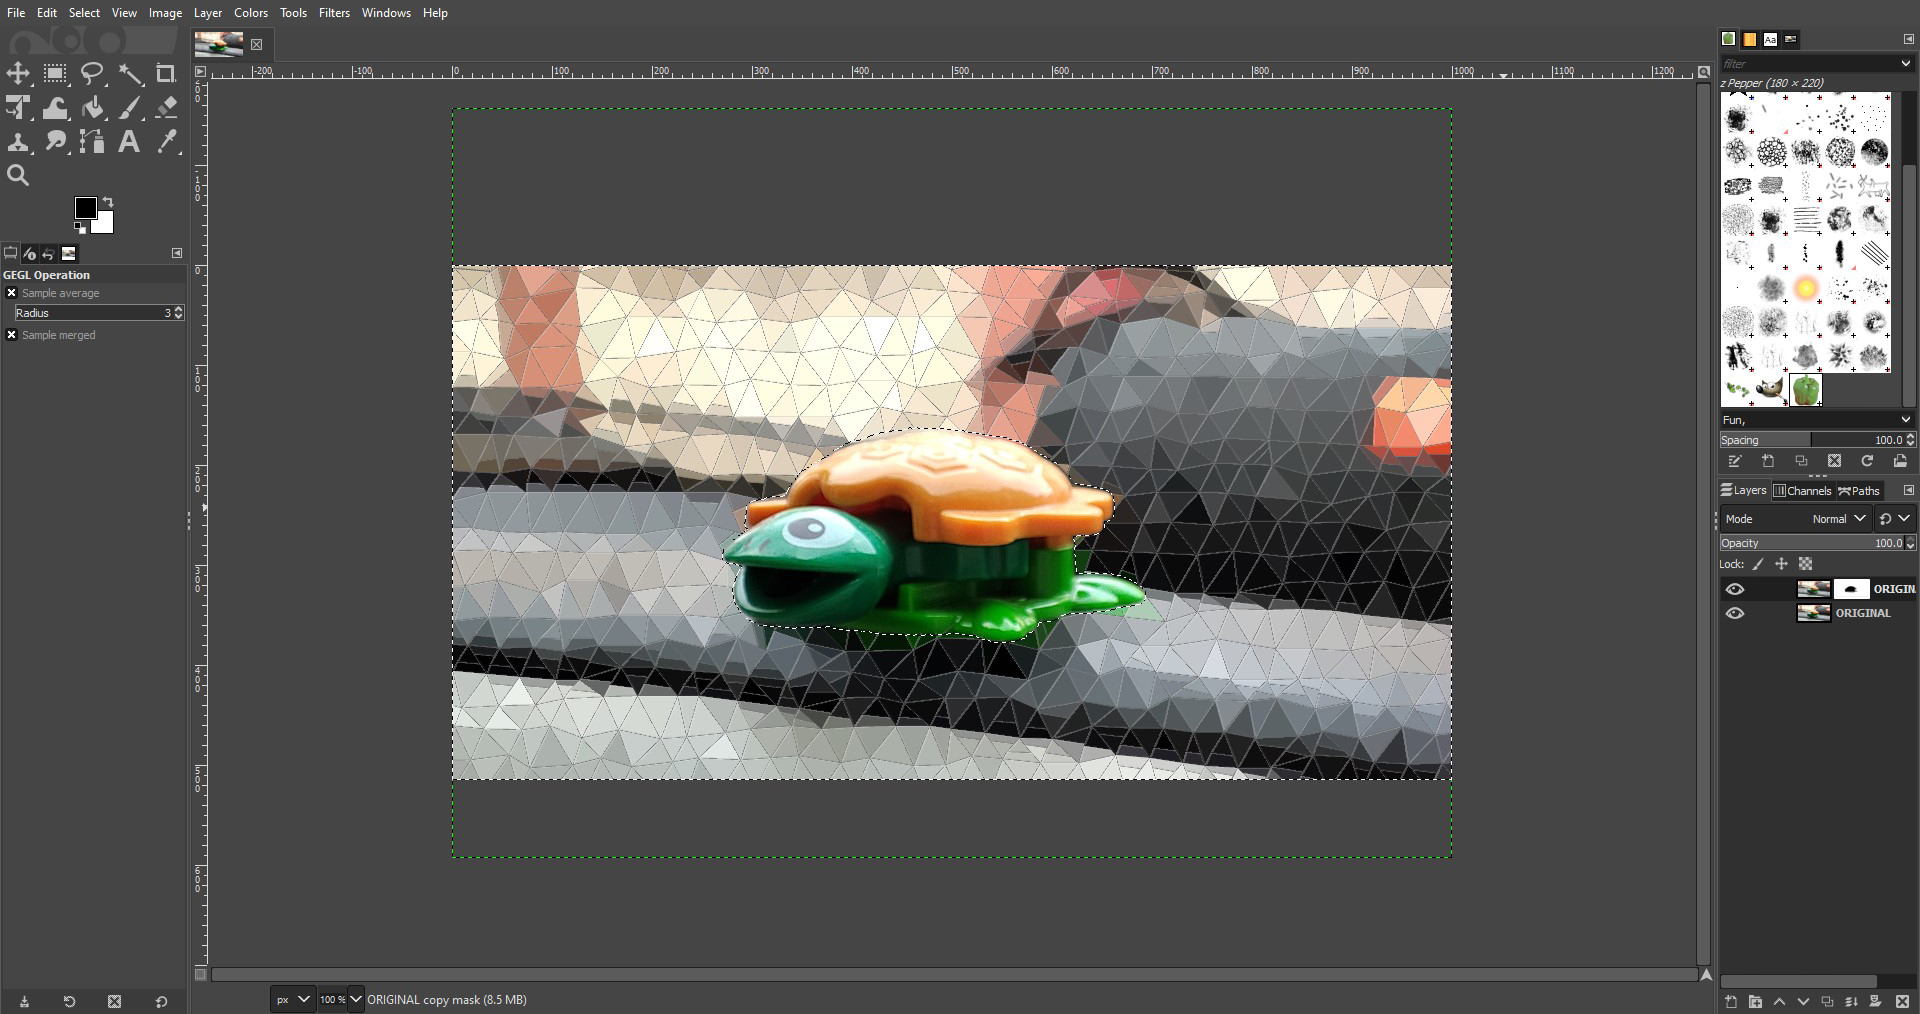
And then used Mosaic filter over the image and masked it out of the foreground
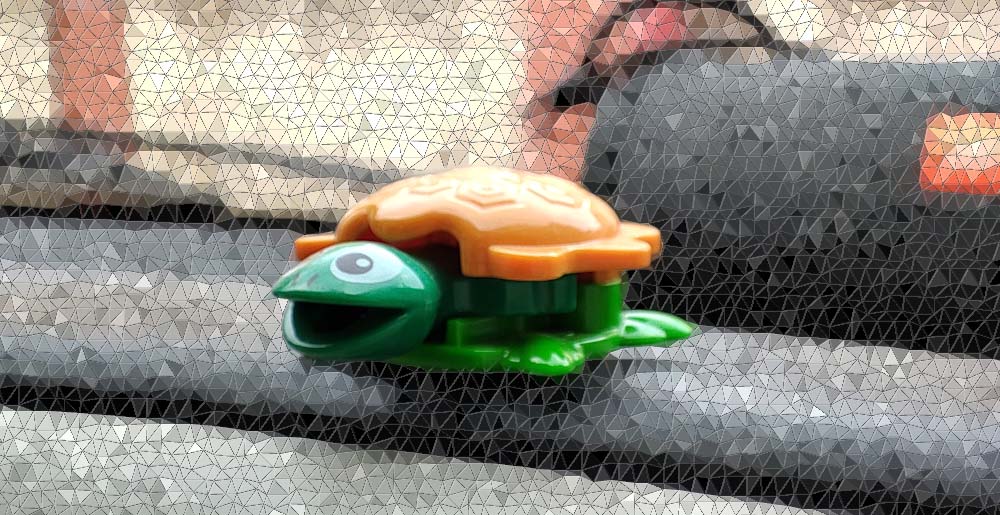 Found an interesting link focusing on Mosaic Filter
PHOTOSHOP

With my past history with Photoshop I am familiar with the basic tools, so I took up the challenge to create something with a Photograph I took…
 Before…
Using the text tool I added the text

After…
Inkscape

After downloading and installing Inscape I opened and went through the different tools to get used to the interface and was able to make this…
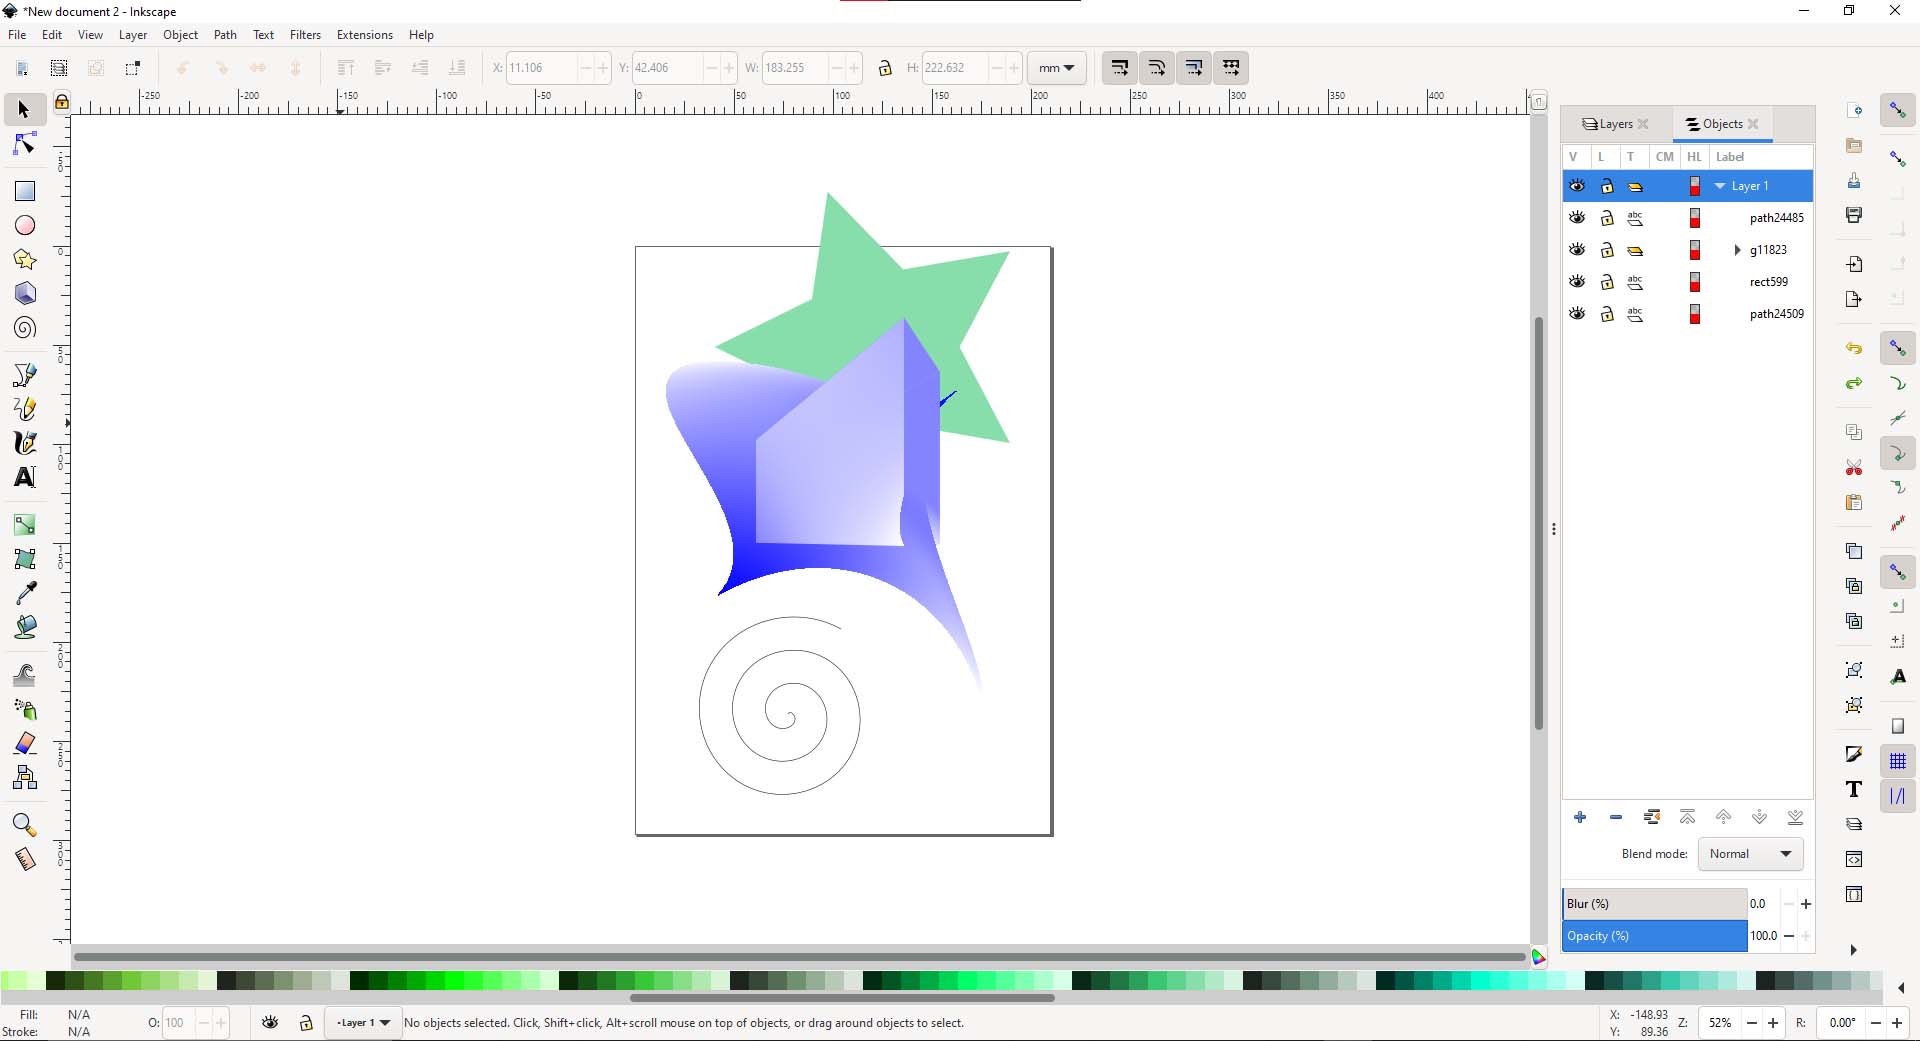
So I tried making the XBOX Logo using Inkscape, and the logo being a vector it will be easier to give commands to computer controlled machines

Final Render…
AutoCAD
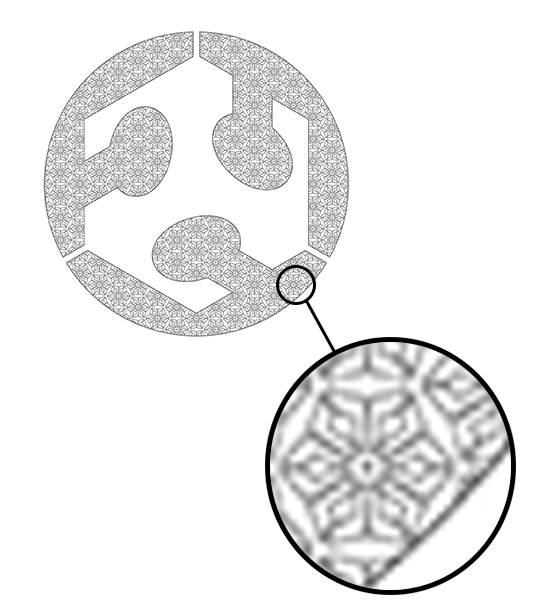
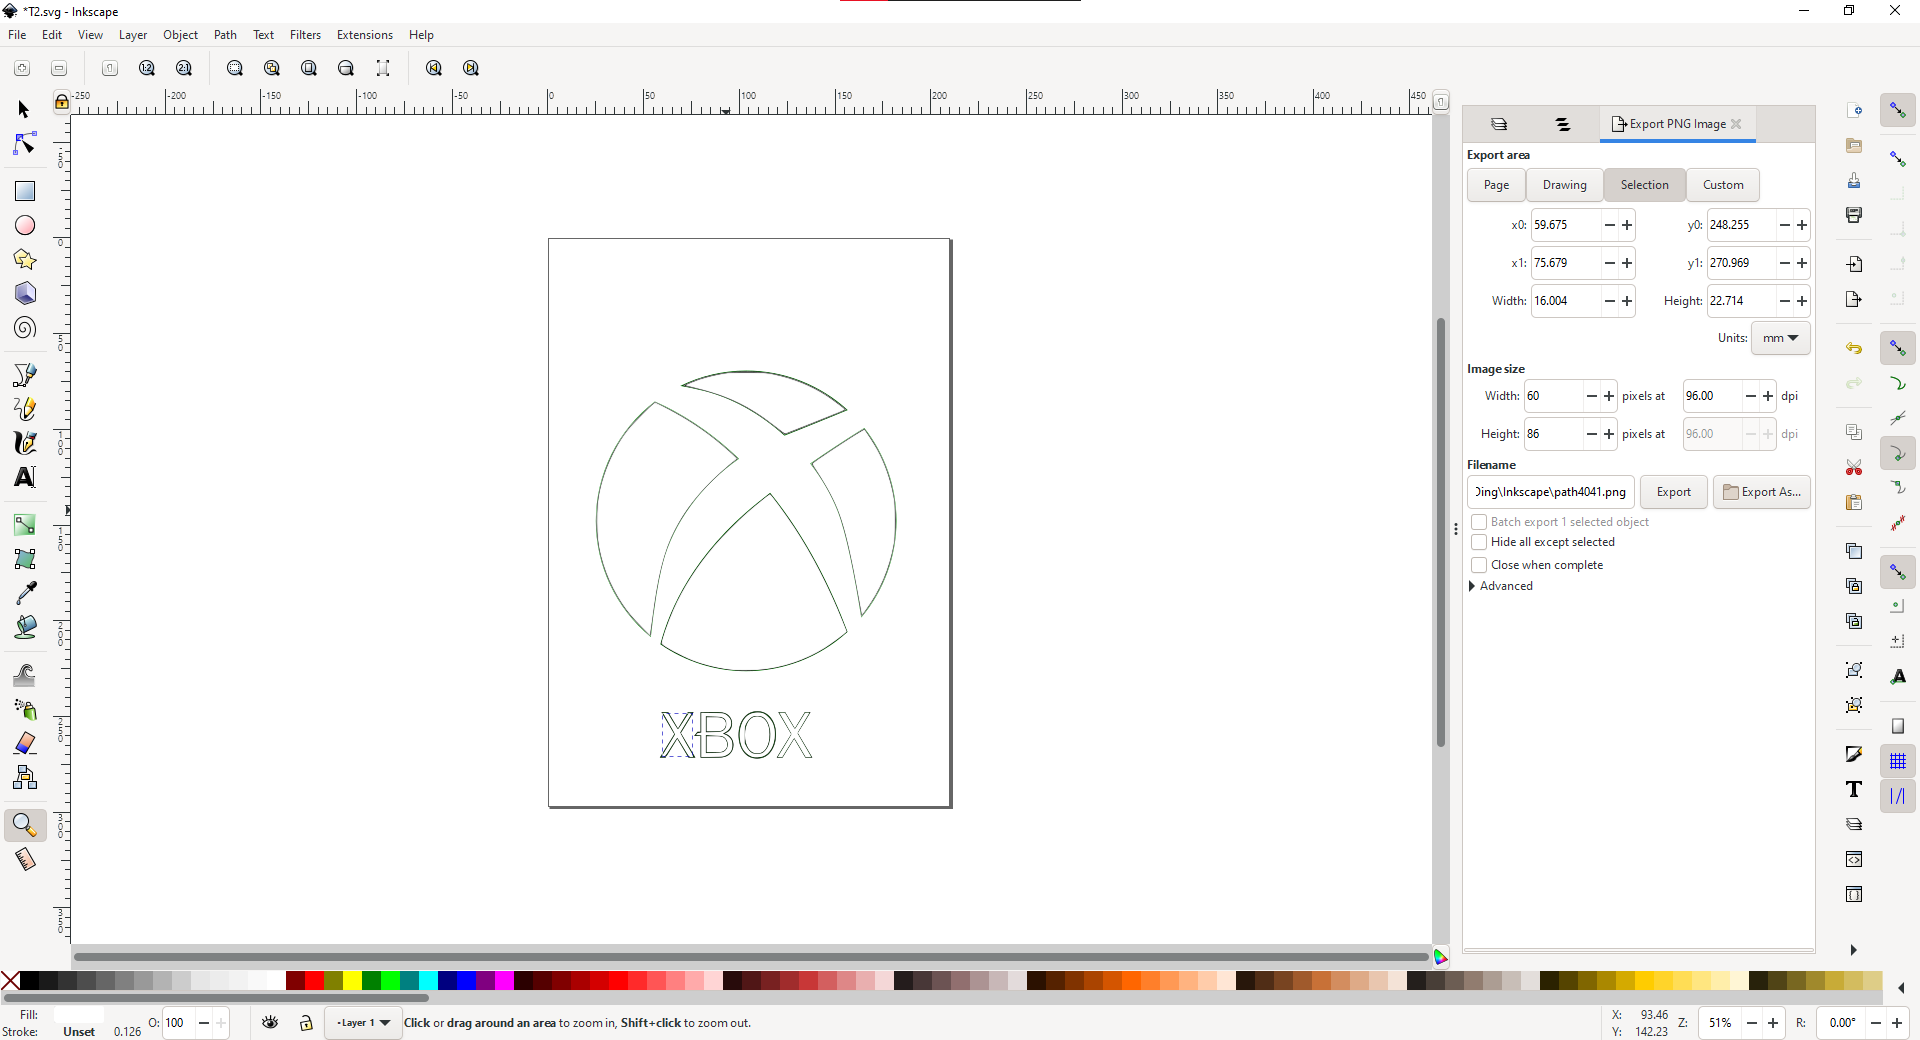
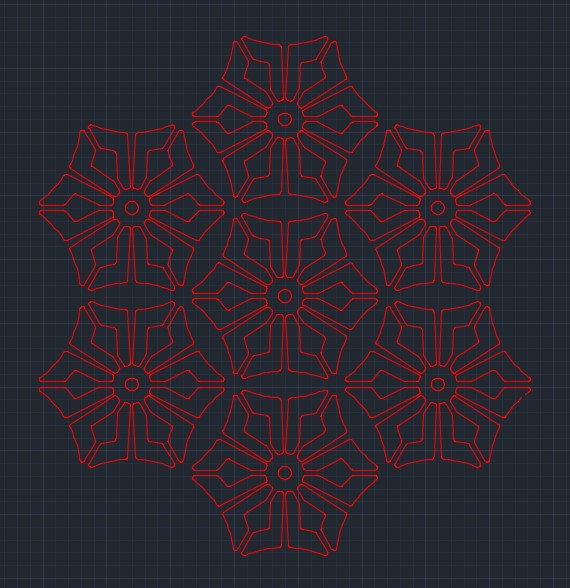
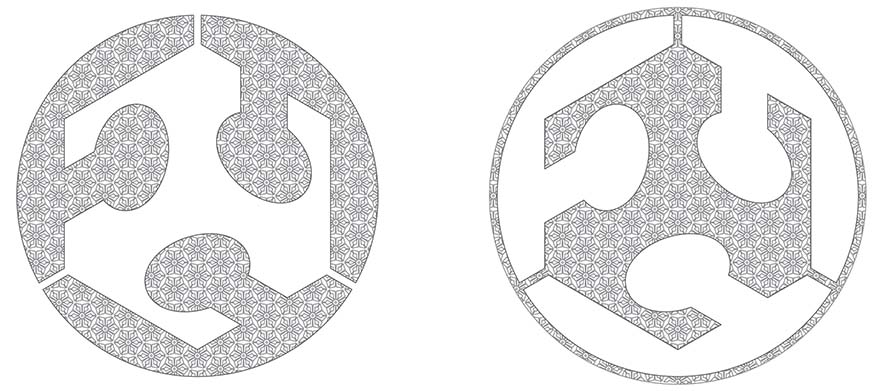
Since I have little previous experience in using AutoCAD I decided to make a symmetrical Arabic Mashrabiya Design, so I first drew a circle and made the base design
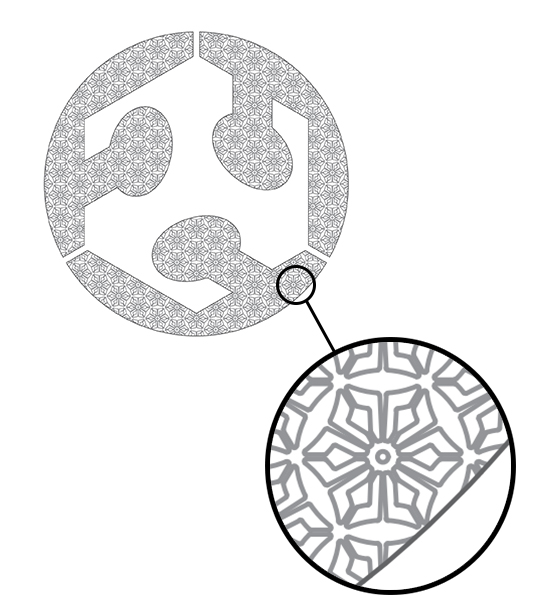
Then I made clones of it around so we can clearly visualise the Mashrabiya Pattern
Then I made it into a tile/block so its easier to copy and more handy to carry a smaller piece rather than the whole file
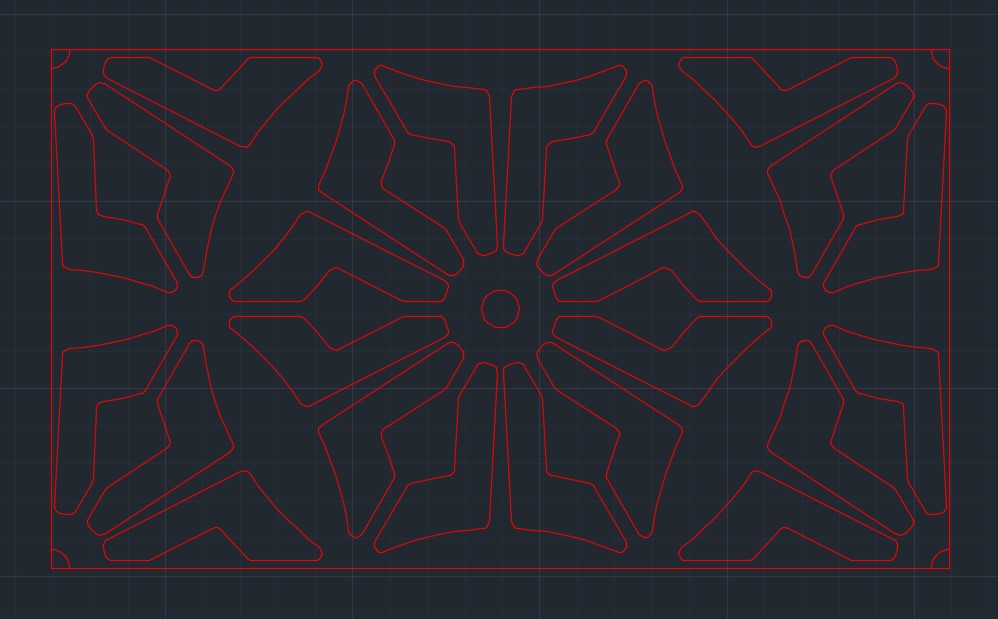
Even though it can be made into an even more smaller tiles/blocks I didnt opt it as that might cause orientation problems while arraying meanwhile in our case we can array it without rotating or mirroring the tile
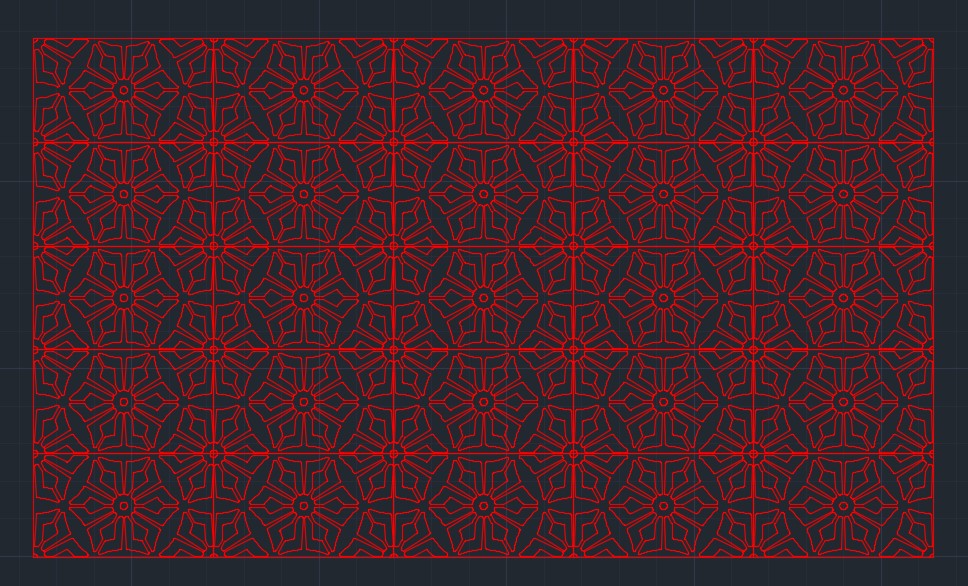
This is how it will look when we array and arrange these tiles…
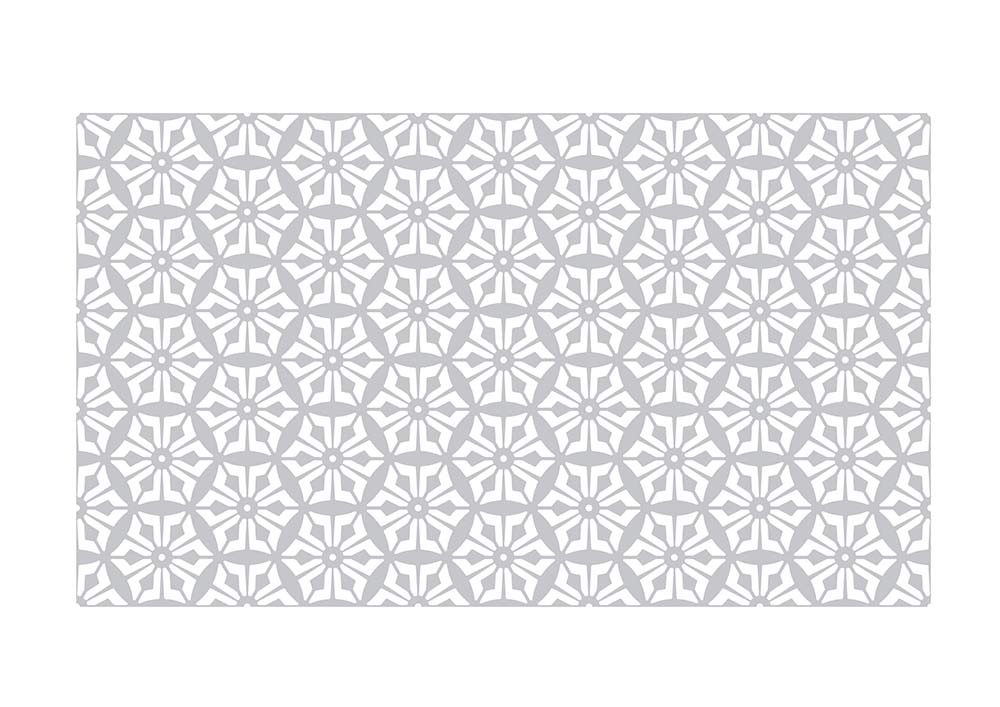
And finally the end product will look like this…
I then took it another step up and masked it over the Fab Academy Logo also which I drew in AutoCAD
3D Computer-Aided Designing
3D or 3Dimensional images are those that consist 3 dimensions namely X axis, Y axis and Z axis
In most 3DCAD applications we can Render our 3D model by adding lights and texures
 A sample render I made using Vray for SketchUp…
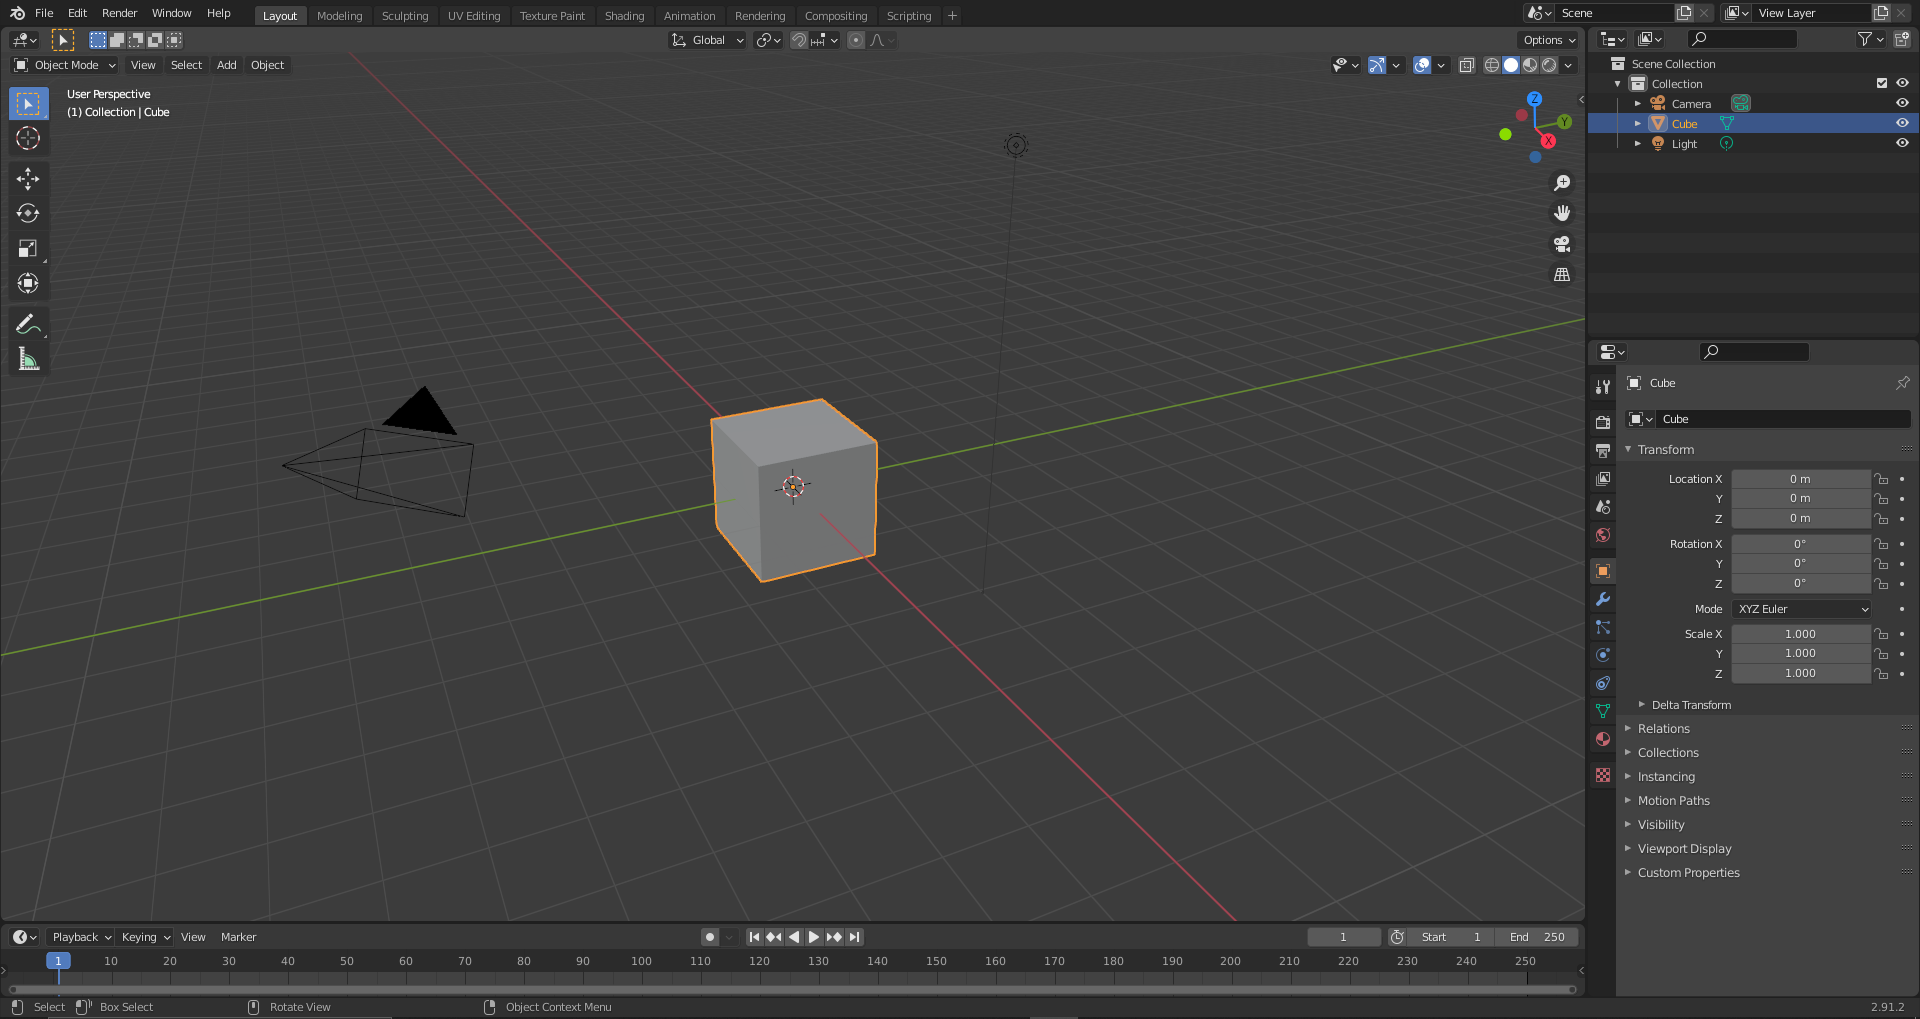
Blender
![]()
 Blender Landing Page…
I have tried blender in the past and have a basic undertanding of how it works so I jumped into a few tutorials on animation, adding materials and rendering
I have always wanted to make a short satisfying video loops on blender so I explored on how to make such videos
The final product before RENDER…
 Want to do this yourself?? Follow this Link
Fusion360

Started off Fusion trying to build a Lego brick from a box and try and render it
 Made a small GIF showing how I progressed…
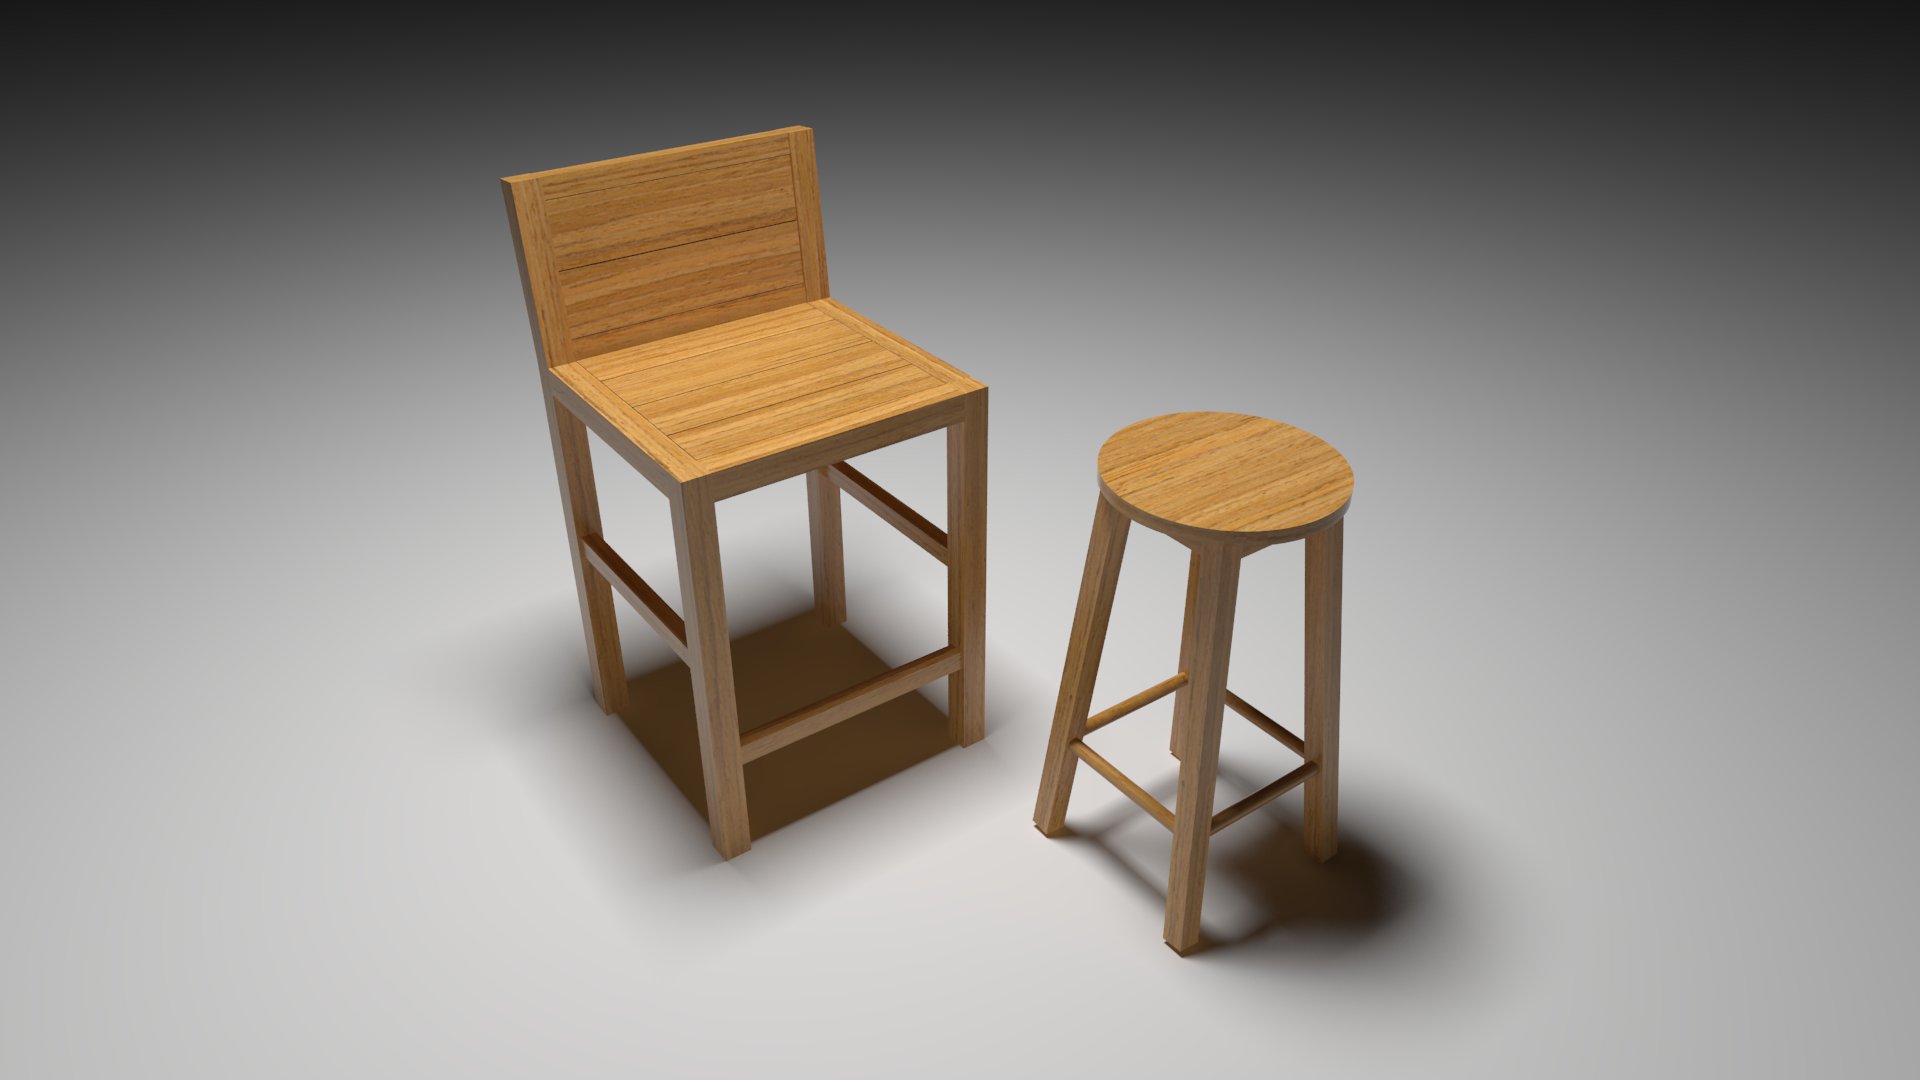
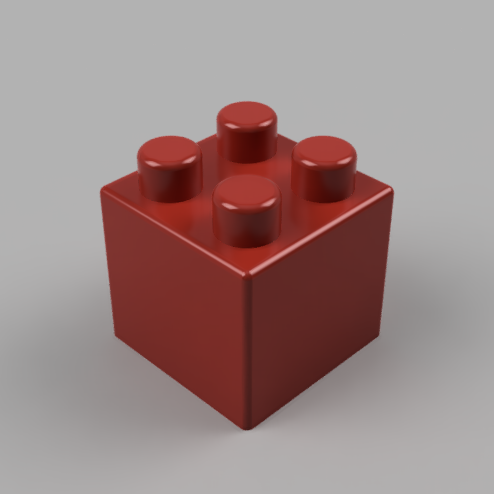 And made a trial render using the basic settings…