17. Machine design
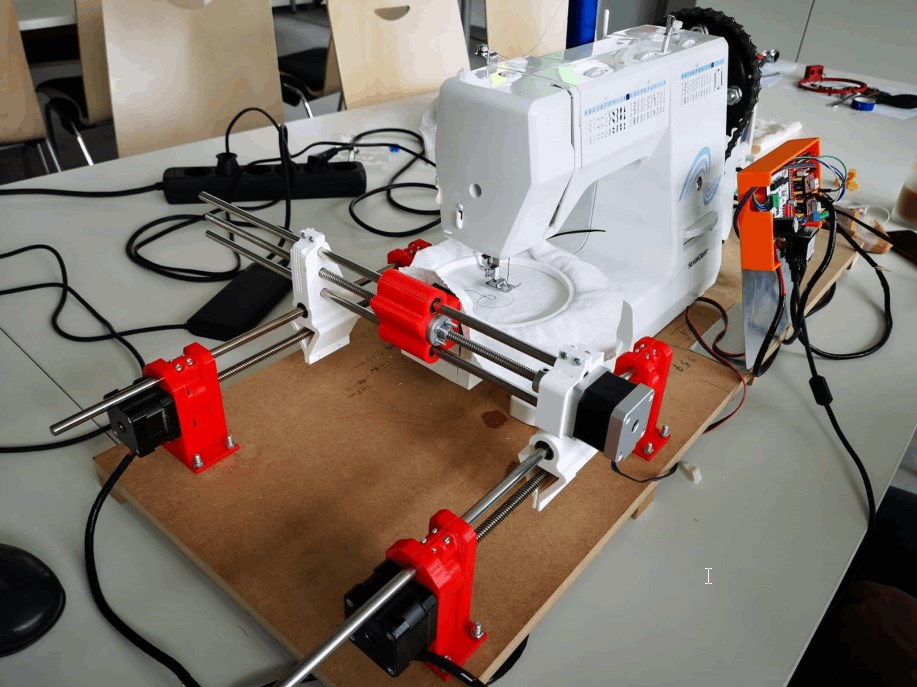
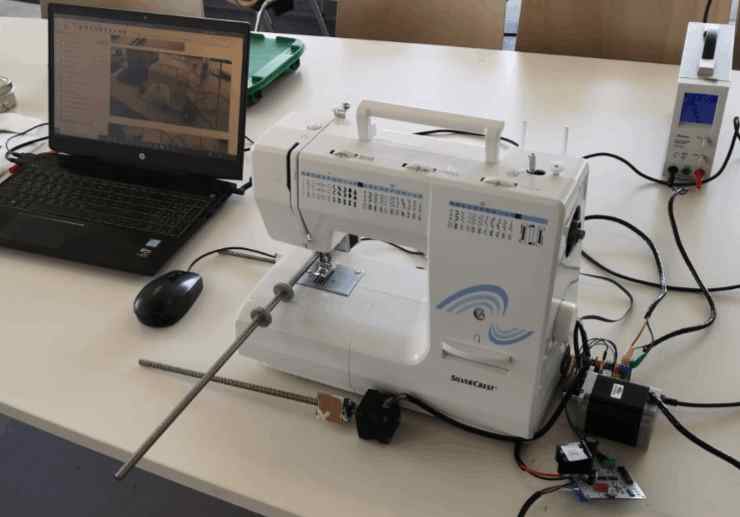
Embroidery machine
Group assignment
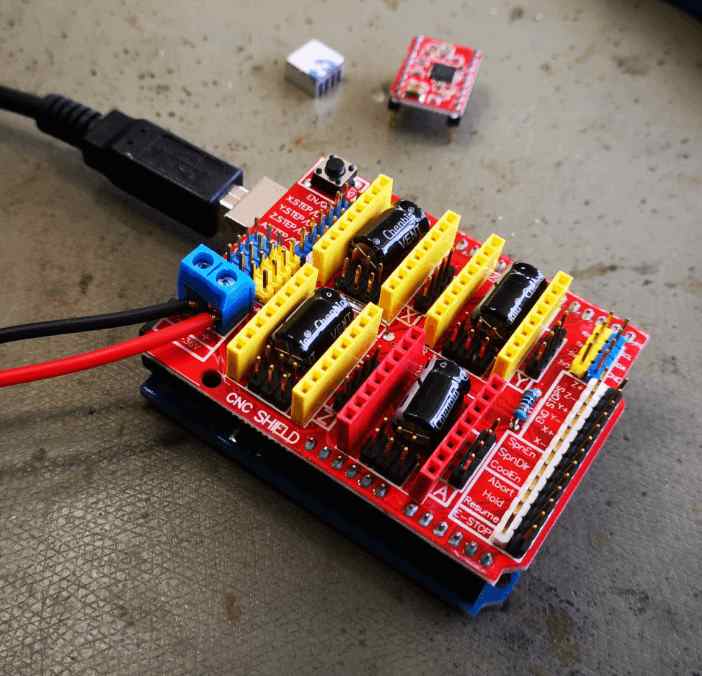
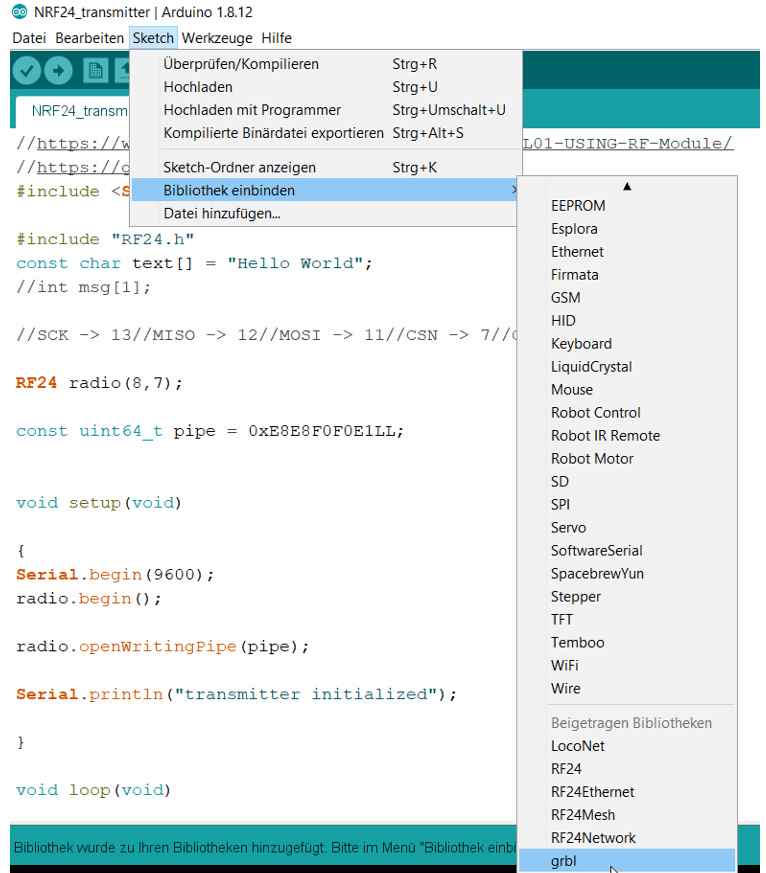
My part is to provide an Arduino Uno with a shield, printer drivers and software that the stepper motors for the work process can be controlled with a G code.
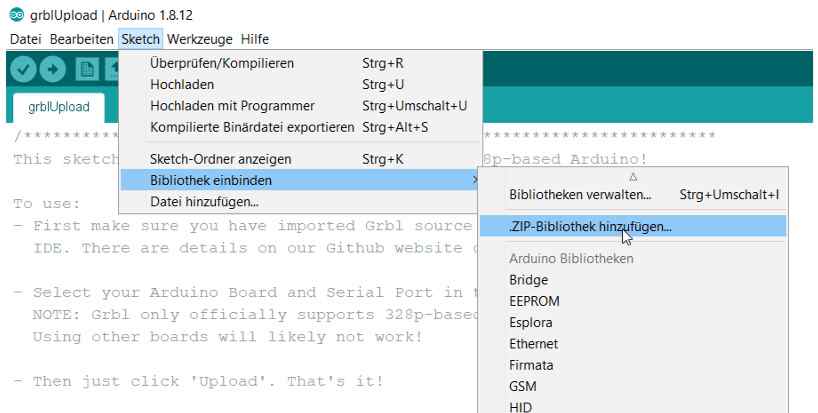
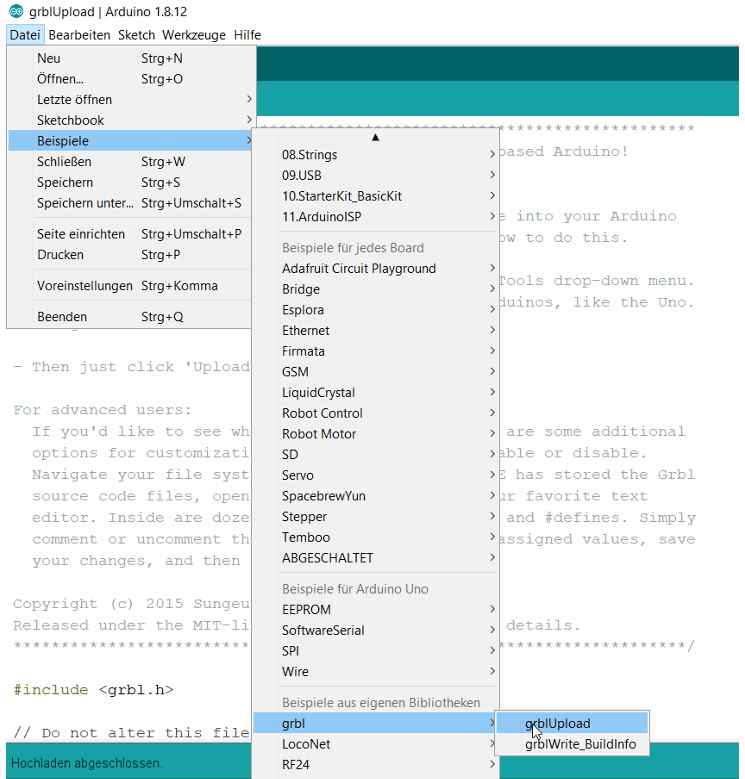
First of all we need the Arduino IDE again and have to load GRBL into the library. Then I put the shield on the Arduino and uploaded GBRL to the Arduino uno.
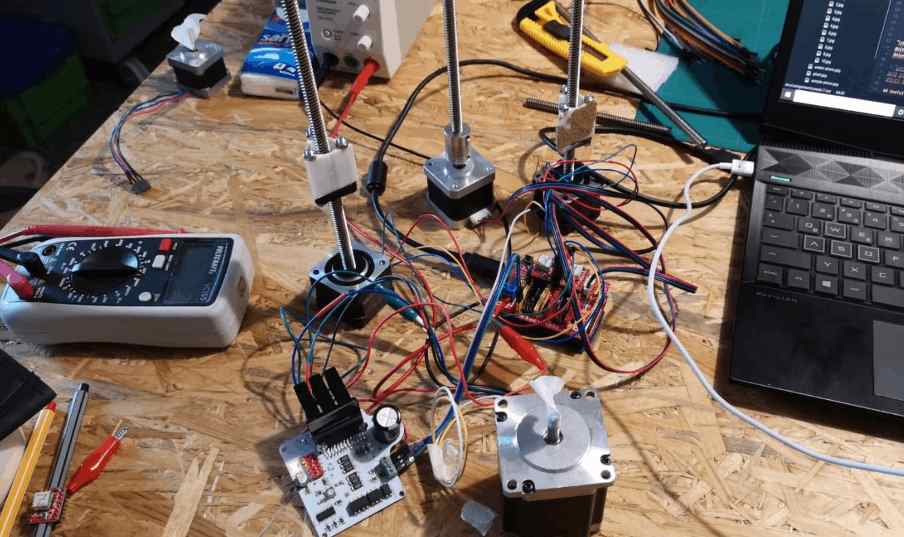
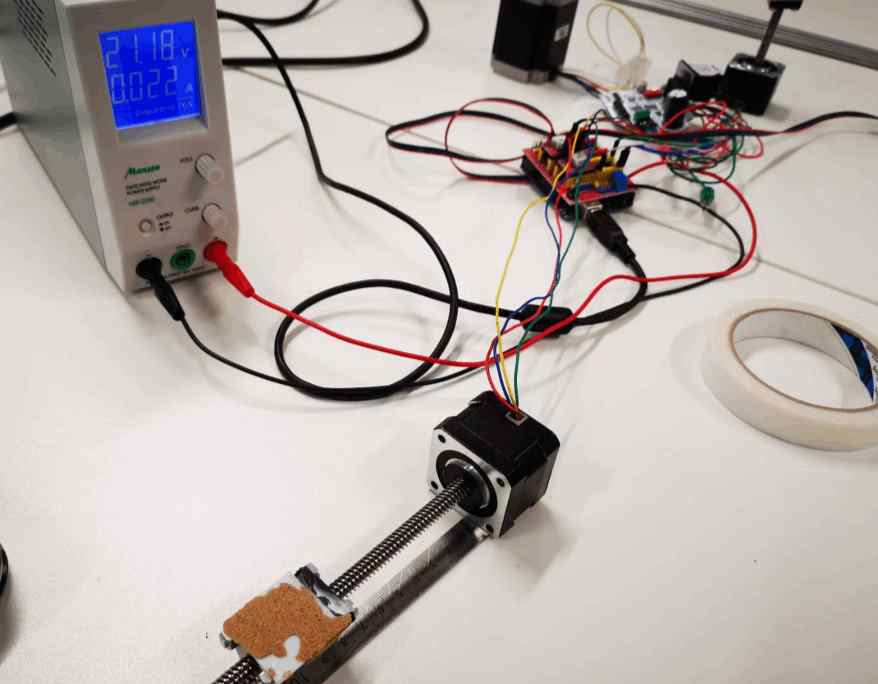
Check the motors
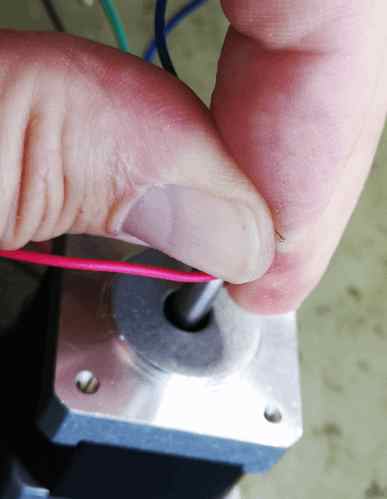
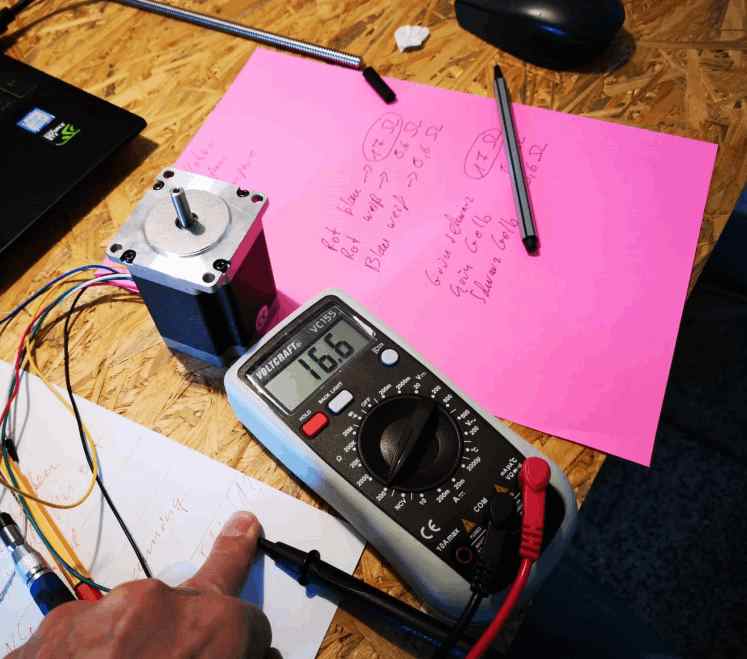
The next step is to check and prepare the motors so far that they can be connected to the motor drivers on the shield.

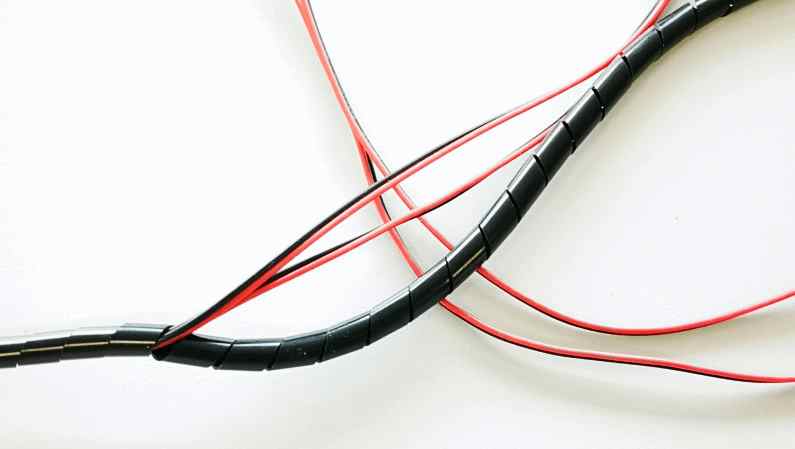
A simple trick to check which pair of cables belongs together is to connect the cables one after the other and to check on the axis whether the resistance increases. If the resistance increases noticeably, the right pair of cables has been found.
Now the corresponding pairs must be soldered to the plugs.
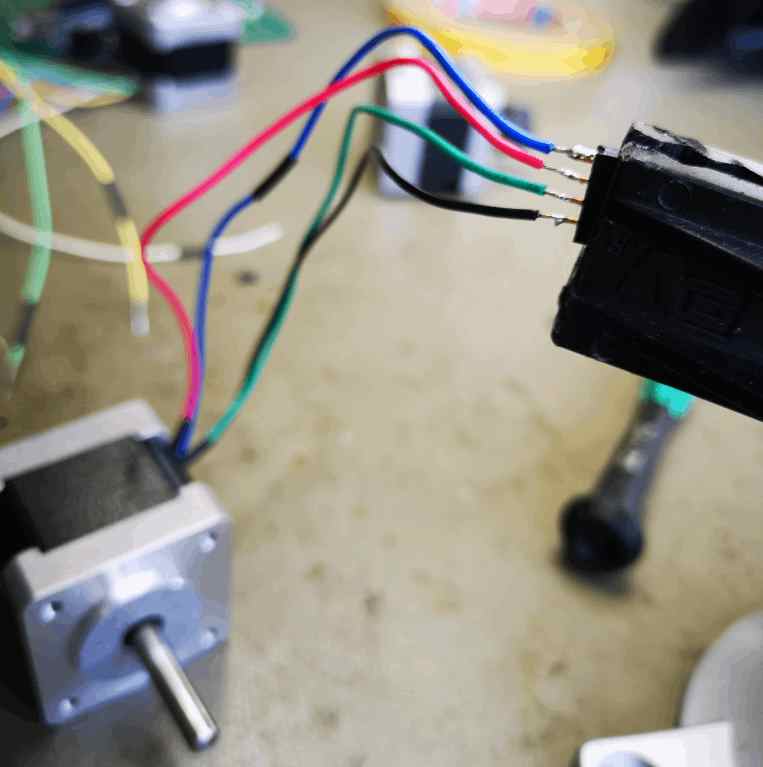
Another way to find the corresponding cable pairs, especially if there are more than four cables, is to measure the resistance. The cable pairs with the greatest resistance belong together.
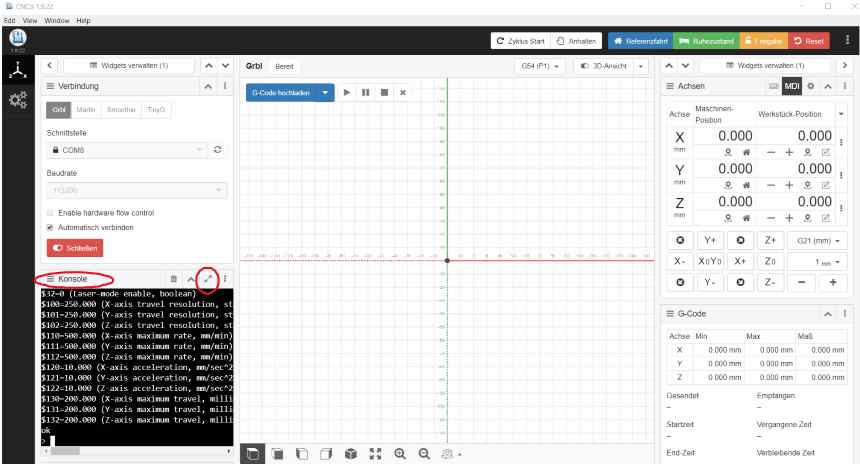
Interface and programm for the gcode
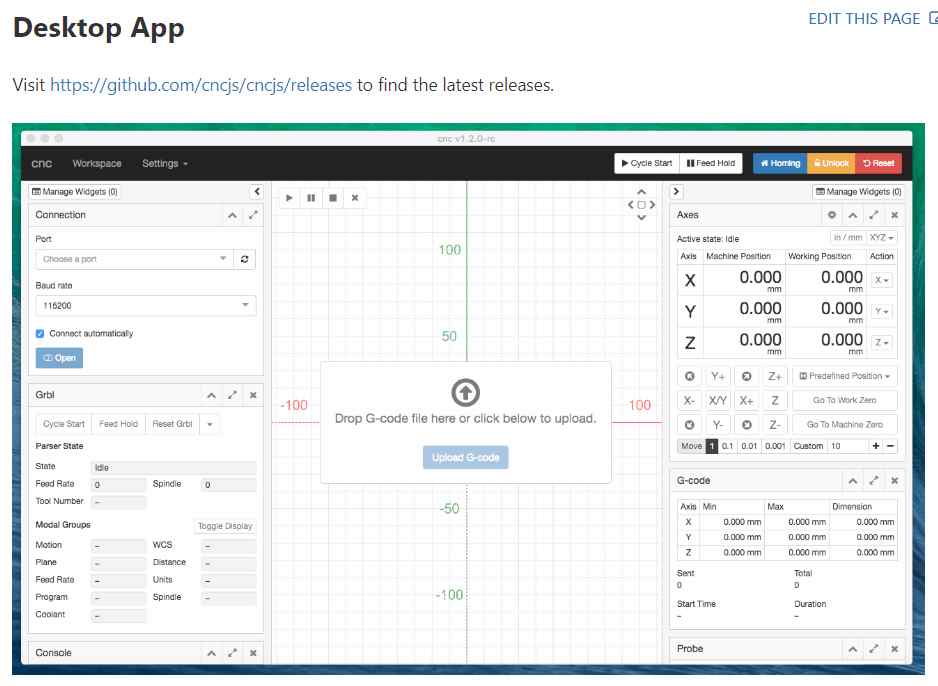
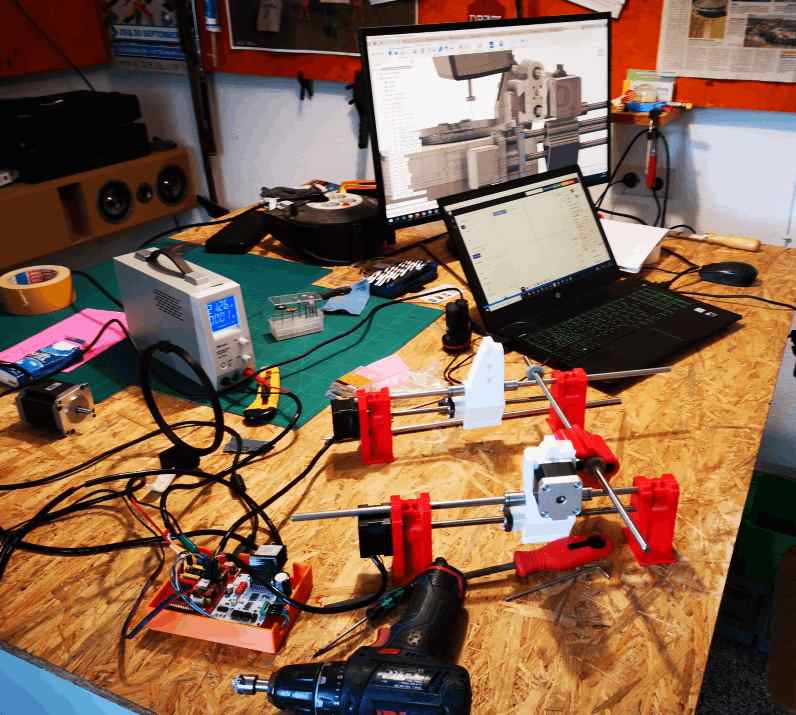
In order to check whether the GRBL is working, we need an interface for CNC milling. Here we chose CNCjs.
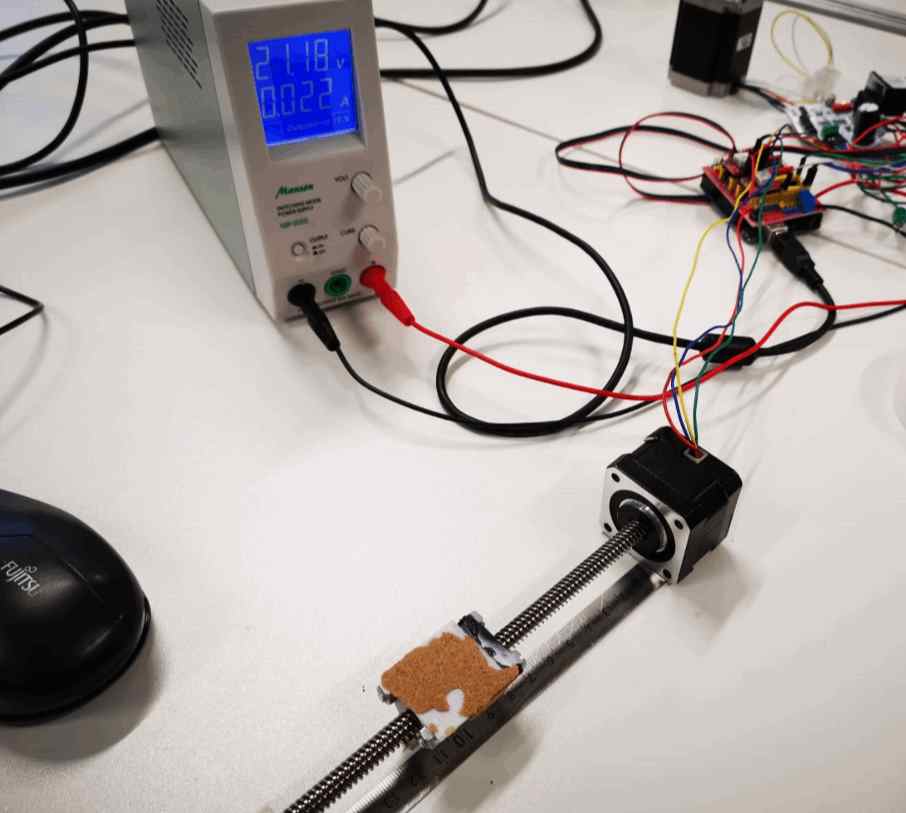
Testing the motors, arduino, shield and CNCjs 1.9.22
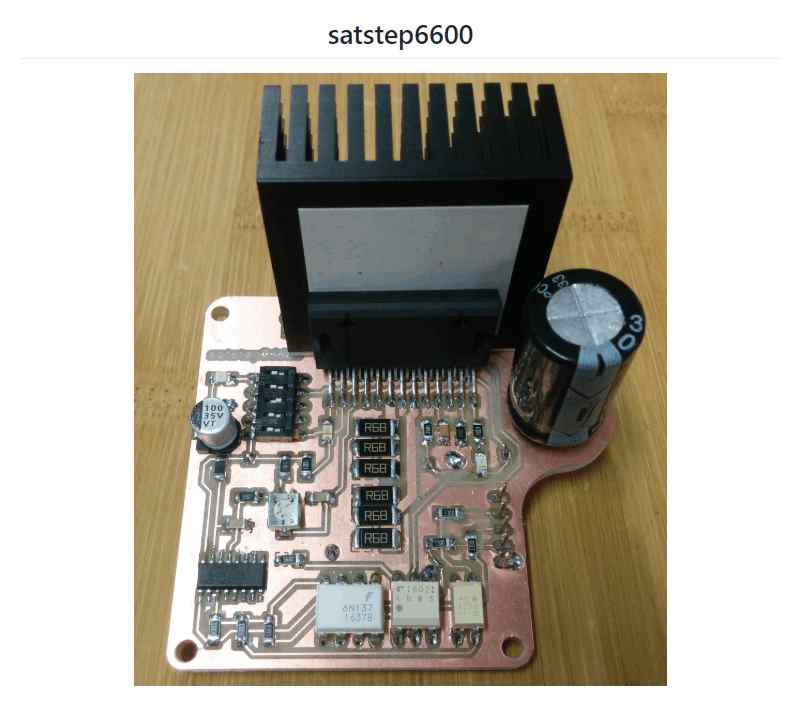
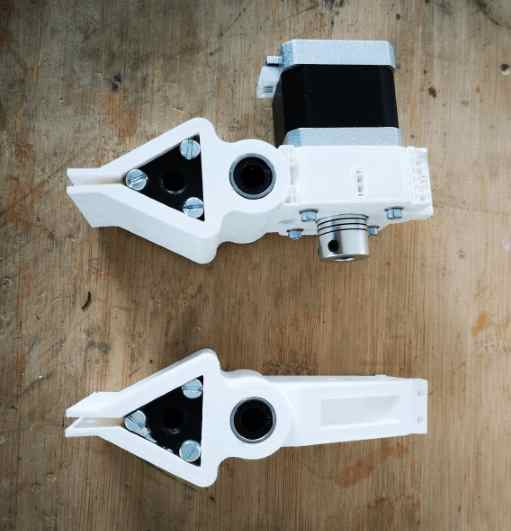
Since we want to use a stronger motor to lift the sewing facial expressions, we decided on a more powerful printer driver for the Z-axis.
Here we chose the satstep6600 from Daniele Ingrassia.
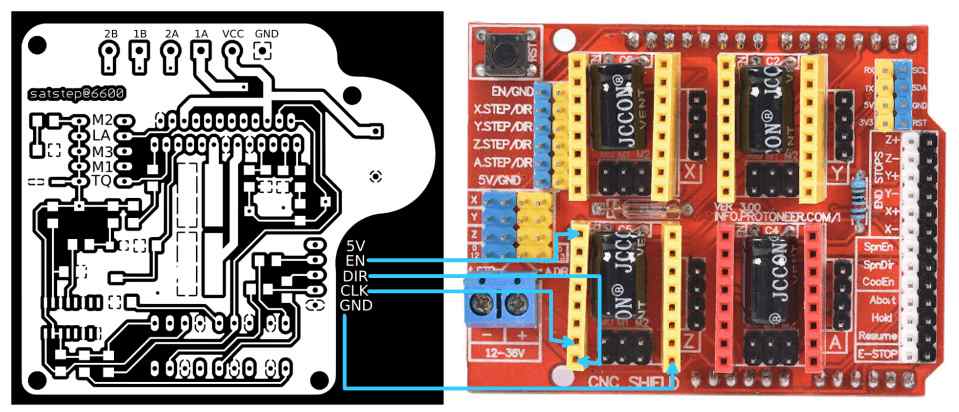
First setting with satstep6600 and a bigger motor
Check the new motor driver and the motors
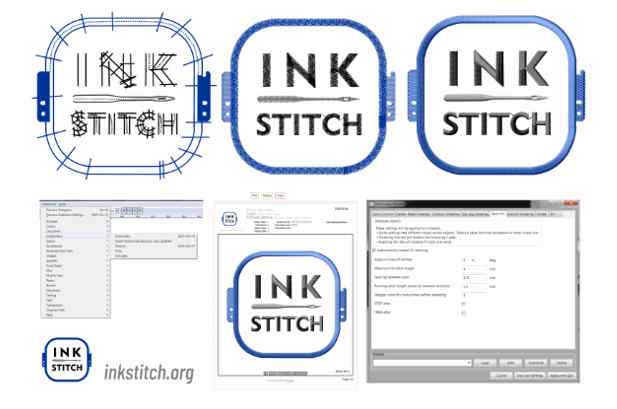
INK STITCH
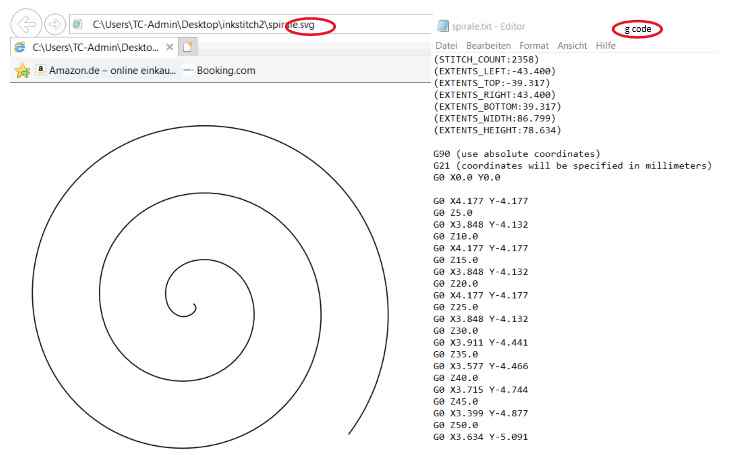
For Inkscape you can download a plugin called INK STITCH so that we can also send embroidery files as gcode to the machine.
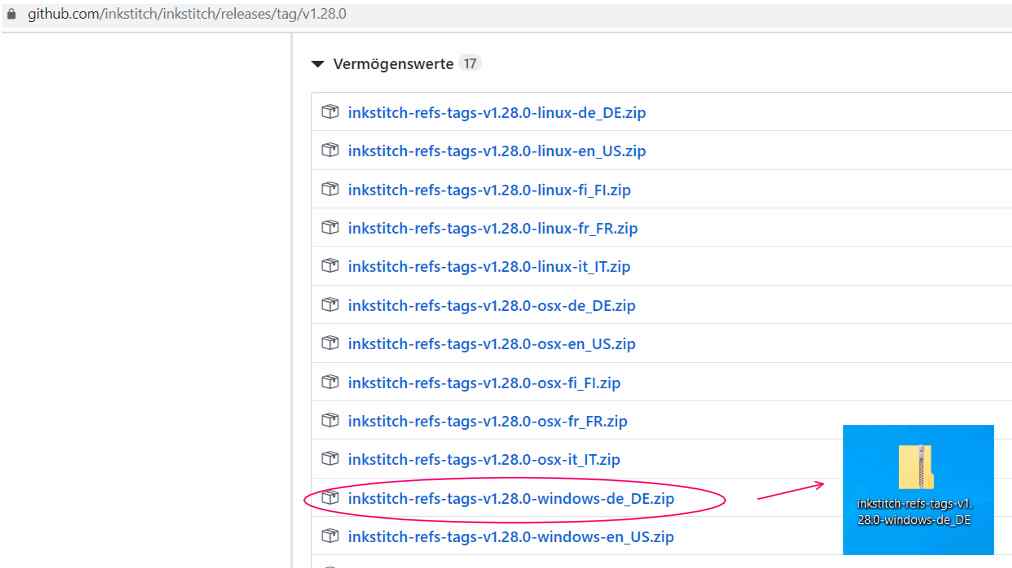
For the german version.
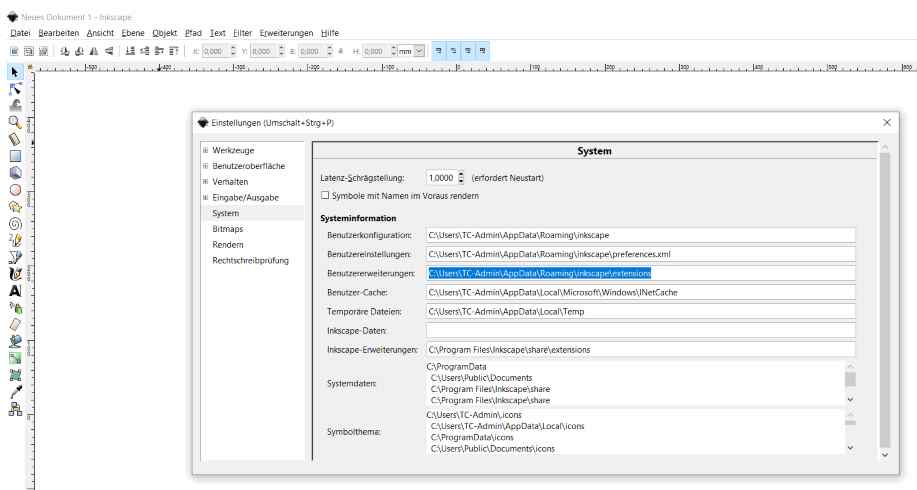
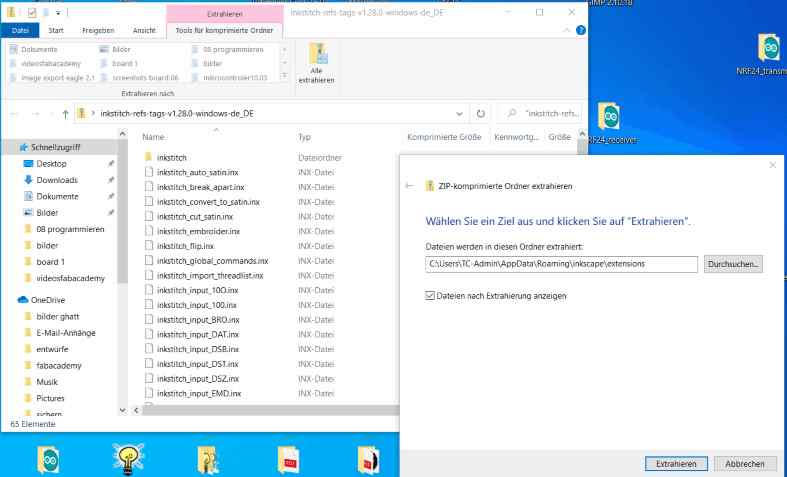
Unzip the ZIP file in the folder.
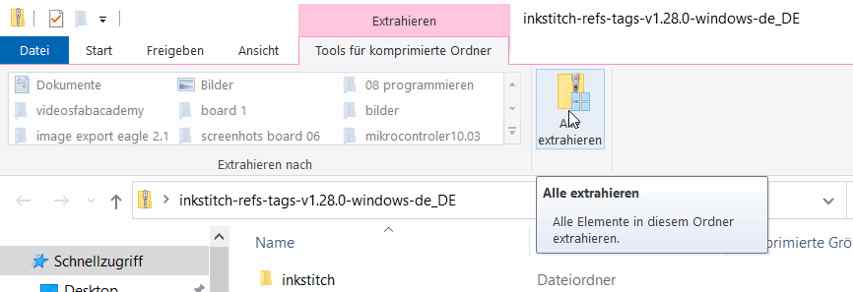
To do this, paste the target directory copied above.
Restart Inkscape
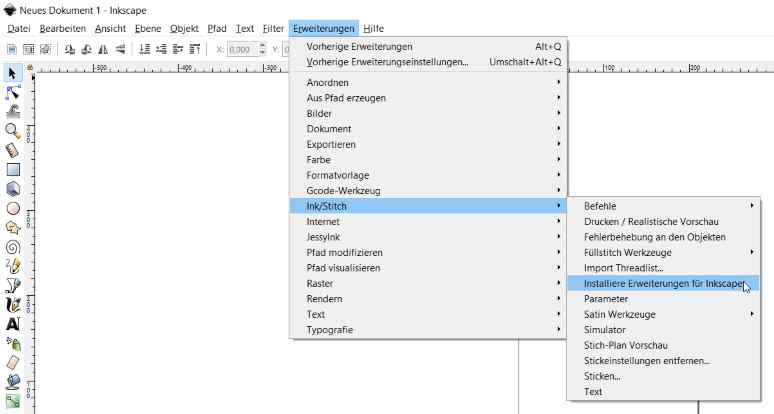
Inscape is installed and it is possible to load directly extensions.
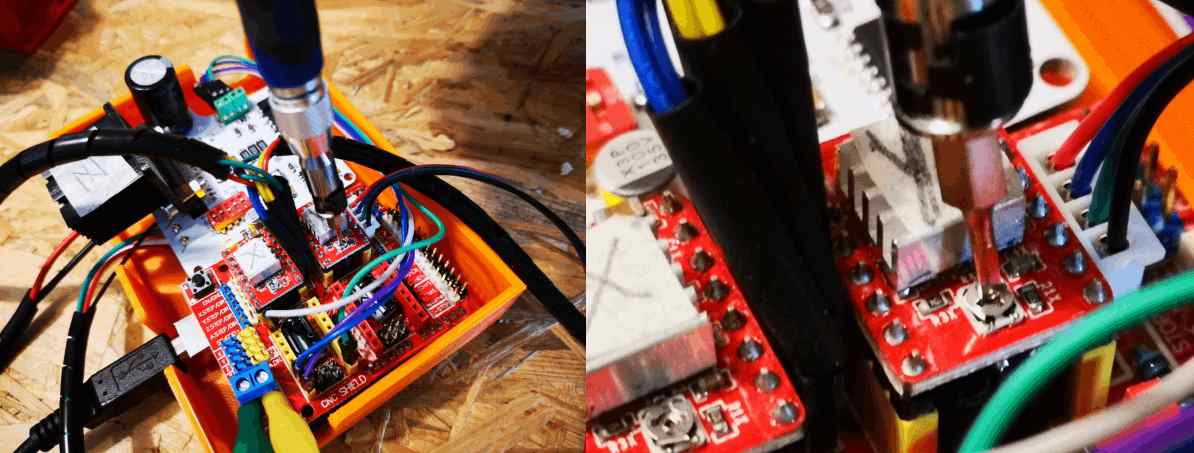
Continue with the electronics
Put in the jumper
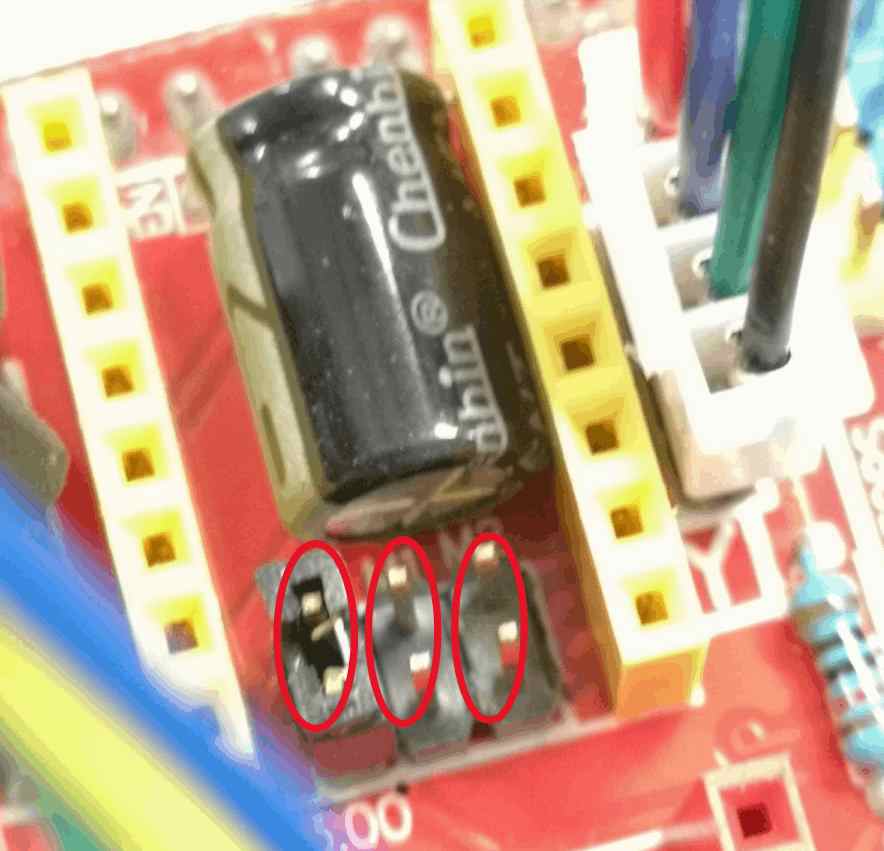
Clear the situation
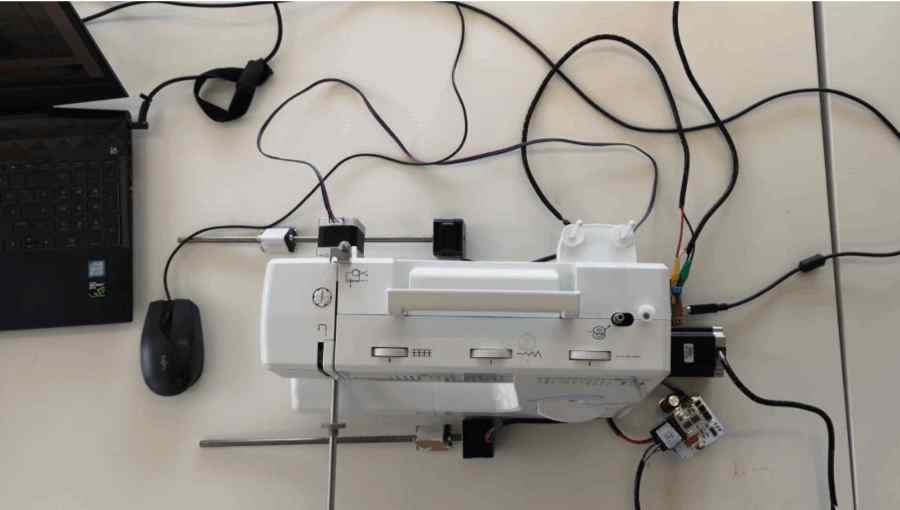
First settings of the electronics at the machine
Top view
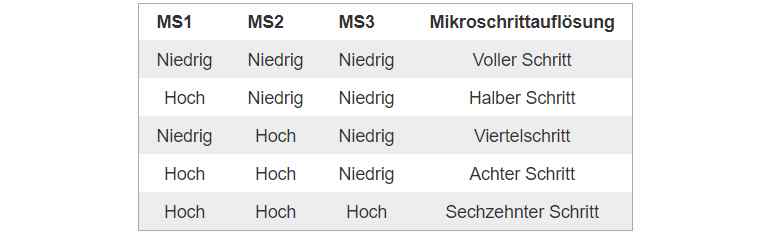
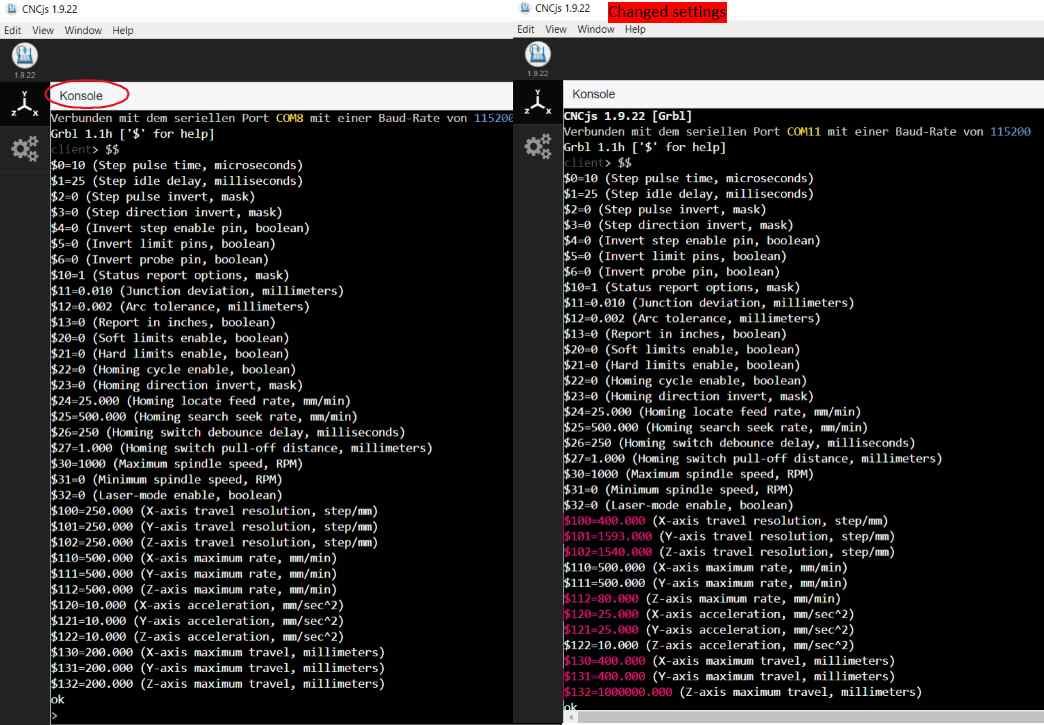
Calibrate the axis/motors
Change the settings
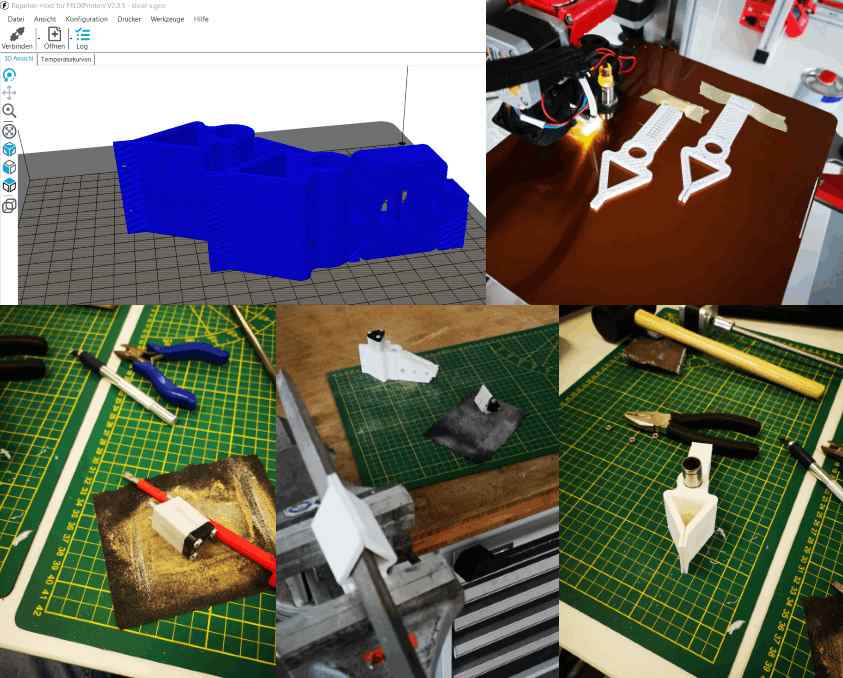
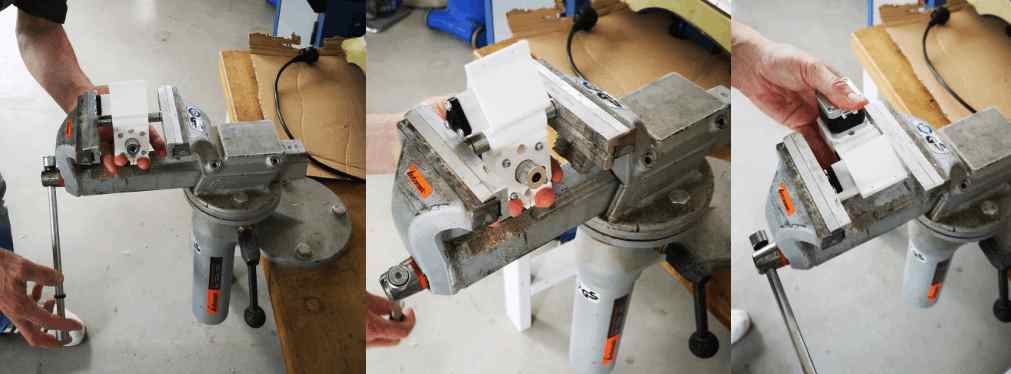
Fit and rework the 3d printed parts for the electronics

Calibrate motordriveres with the potentiometer
First assembly test x and y axis
z axis
First settings
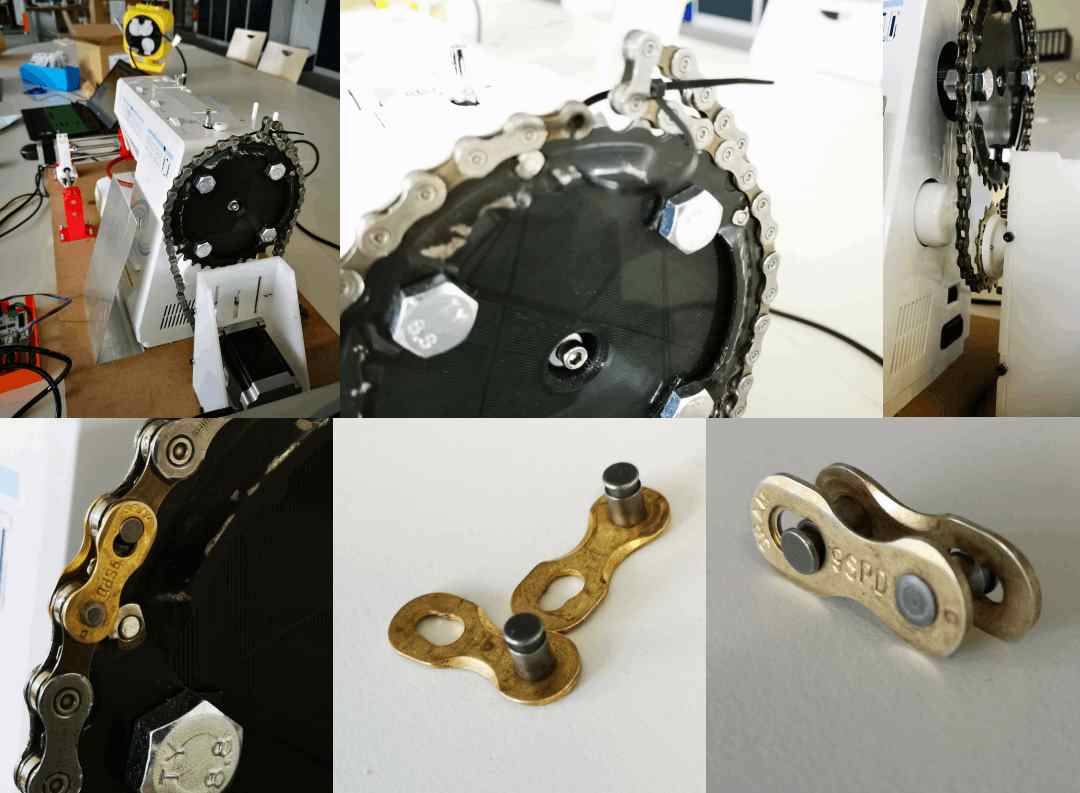
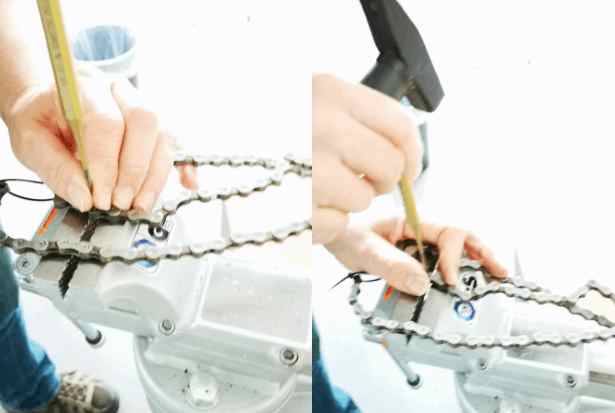
Shorten the chain
Assembled
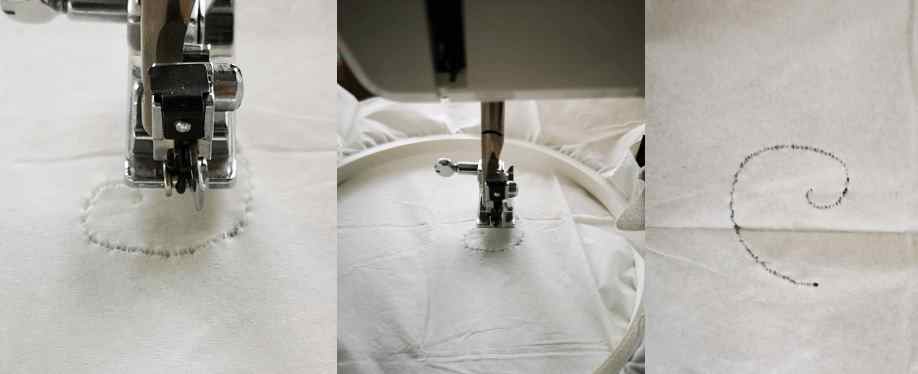
Testing the movements with a paper handkerchief
No test
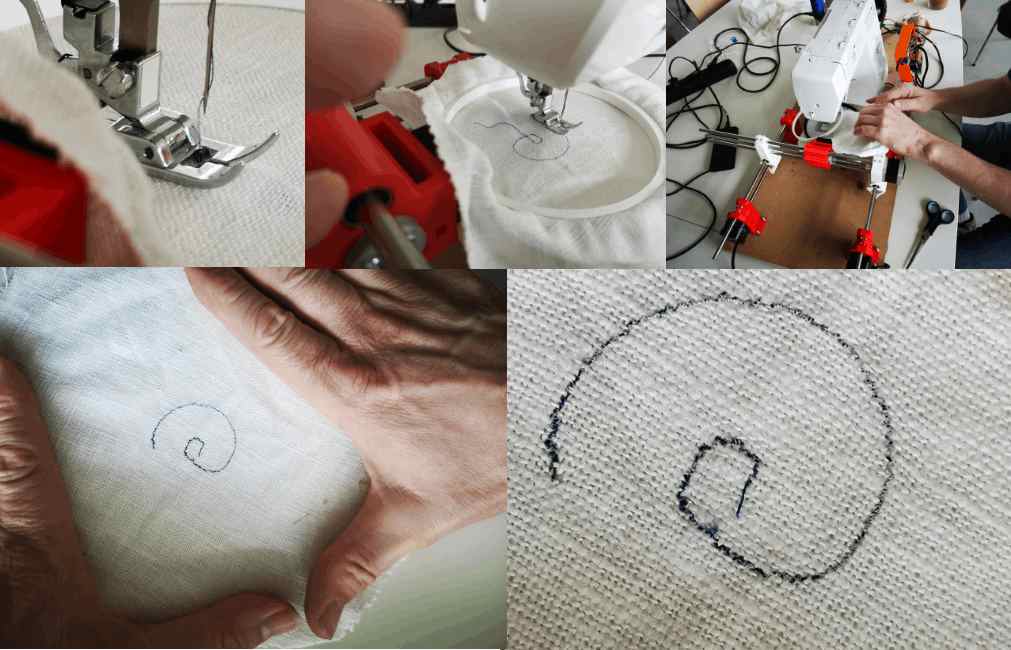
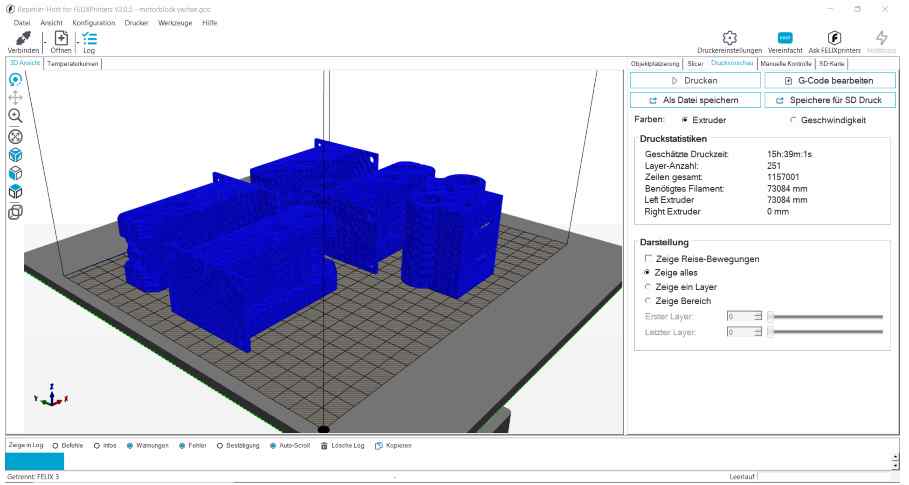
Motiv and gcode